
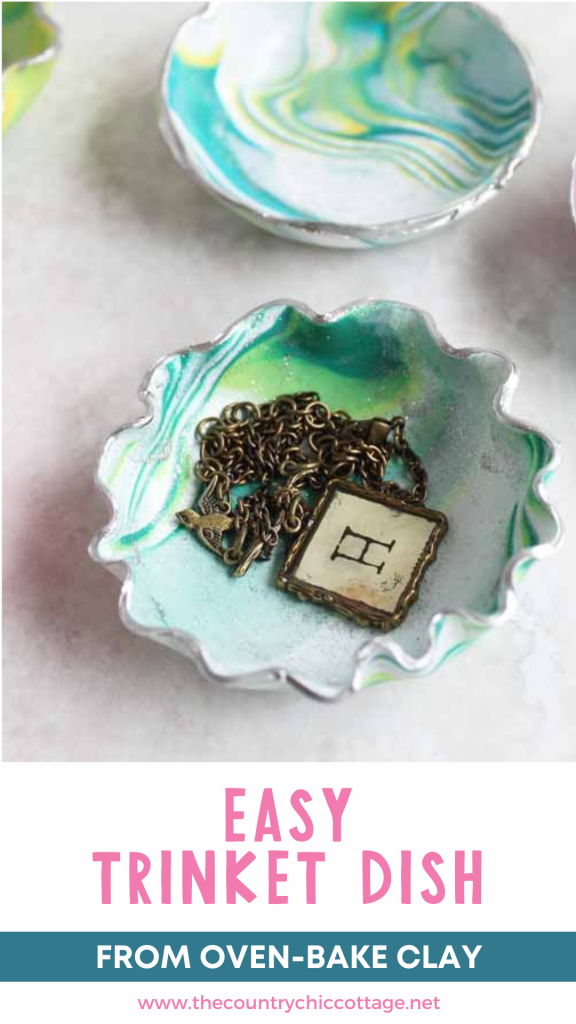
Creating a trinket dish from oven-bake clay is very simple, and it makes a wonderful gift! These marbled clay bowls can be made in just a few minutes, and kids can join in on the fun, too. Start by picking a few colors of oven-bake clay from your local craft store, and feel free to add glitter for an extra touch!
How To Make A Trinket Dish
If you have never worked with clay before, have no fear! This trinket dish DIY is the perfect place to start because all we are doing is rolling out our clay, stacking it together, cutting it, and rolling it together again. The process is super easy, and you can make these trinket dishes in any color that you choose.
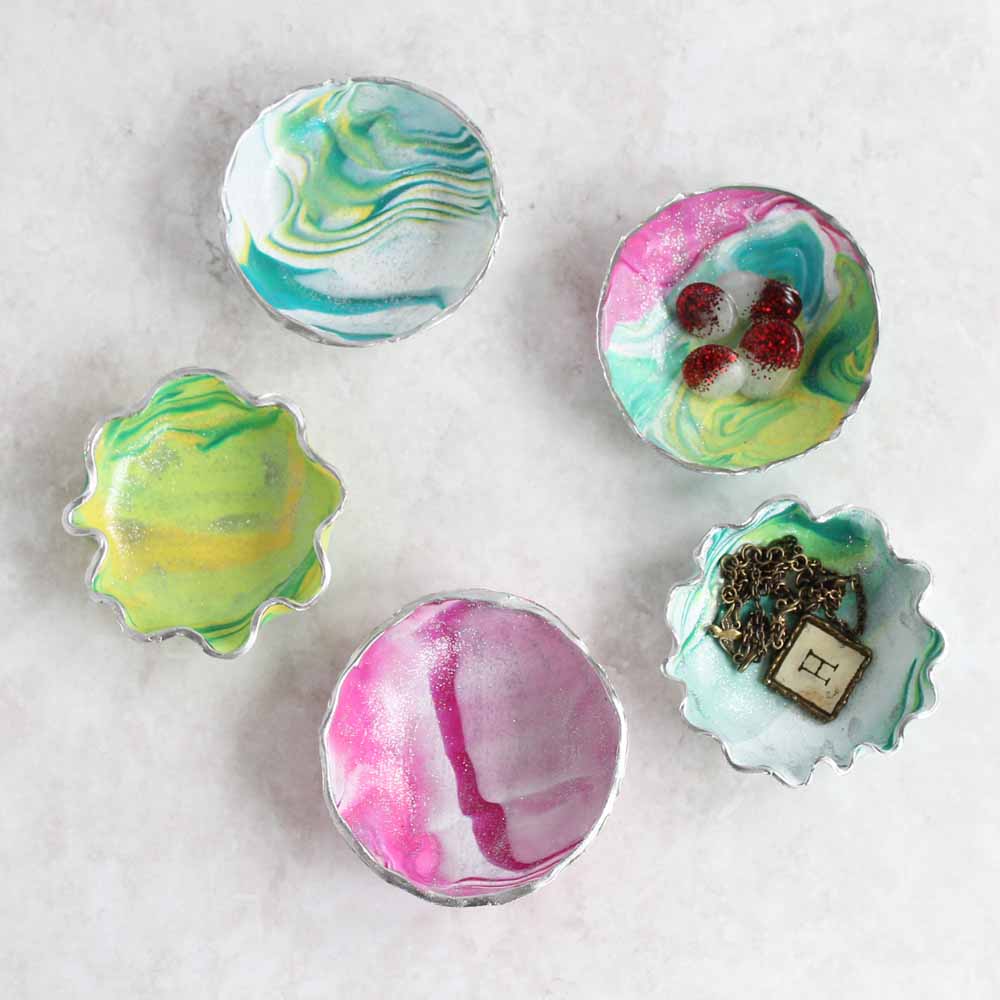
As you can see by the photos in this post, I had tons of fun coming up with different color combinations! So, feel free to experiment and try out different color combinations based on your favorite colors, the season, or holidays. The possibilities for this project are endless!
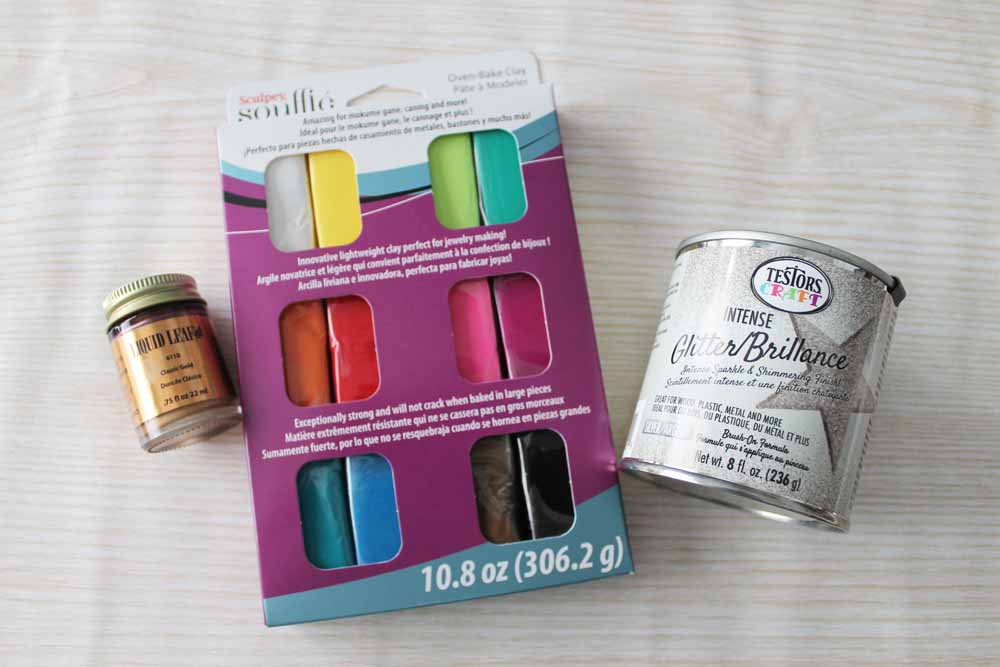
Supplies Needed To Make A Trinket Dish
- Sculpey Souffle Clay in three colors
- Clay tools (optional)
- Testors Intense Glitter Brilliance
- Plaid Liquid Leaf
- Paint brush
- Oven
- Mason jar ring or small oven safe bowl
- Oven safe mat
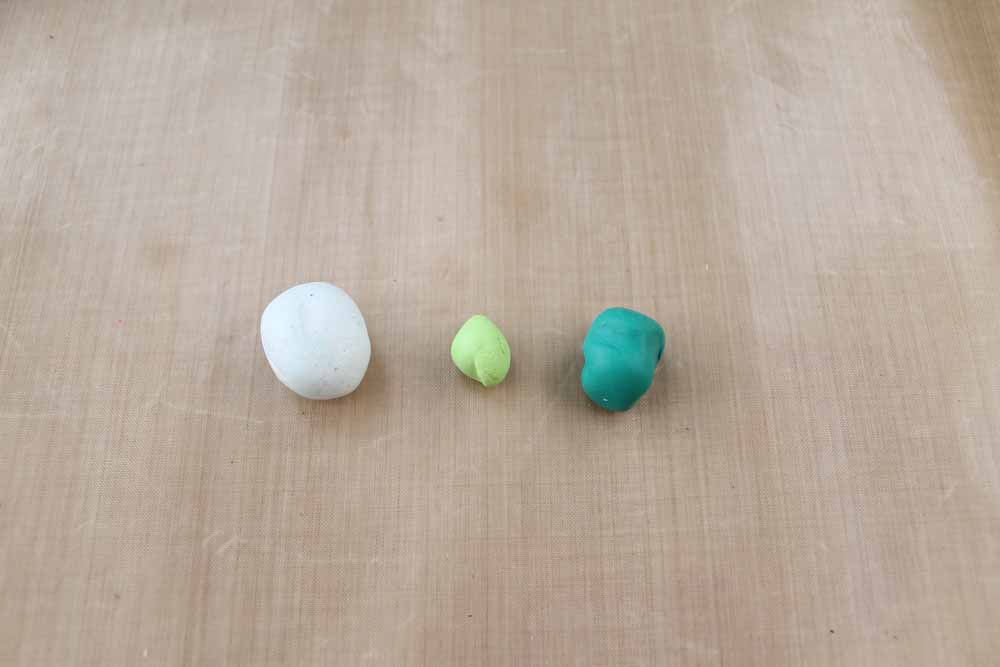
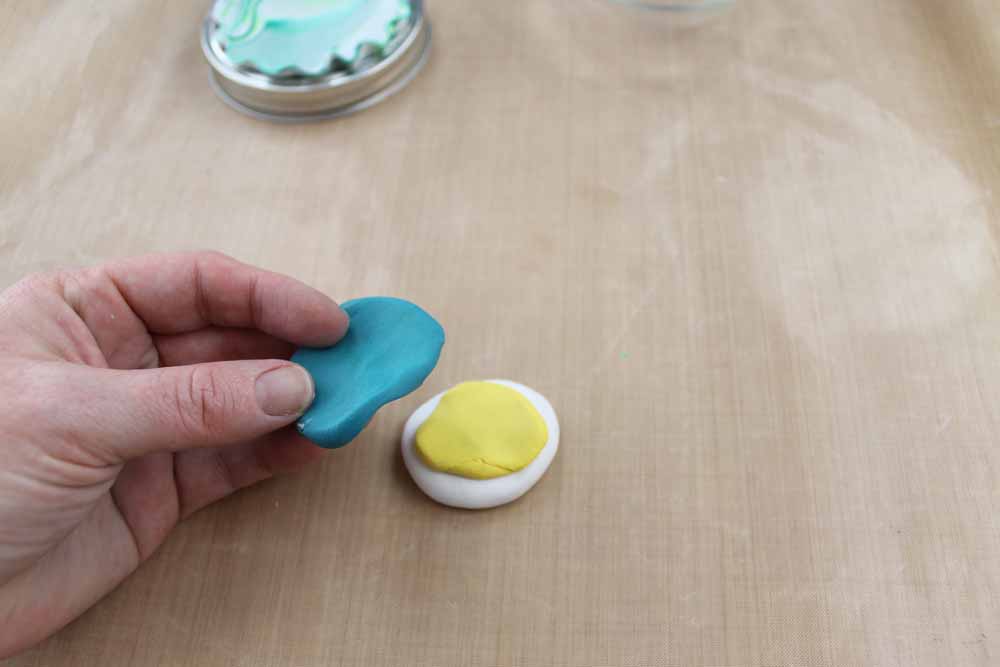
Step 1: Choose Three Colors Of Clay
If you loved play dough as a kid, you will love oven-bake clay! Start with three colors of clay. About 1/3 of a block for the first color, 1/4 of the block for the second color, and a small pinch for the third. These measurements are not exact, and you can play with the combination for your trinket dish.
Step 2: Flatten Each Clay Piece & Stack Them
Then flatten these pieces into a round circle and stack.
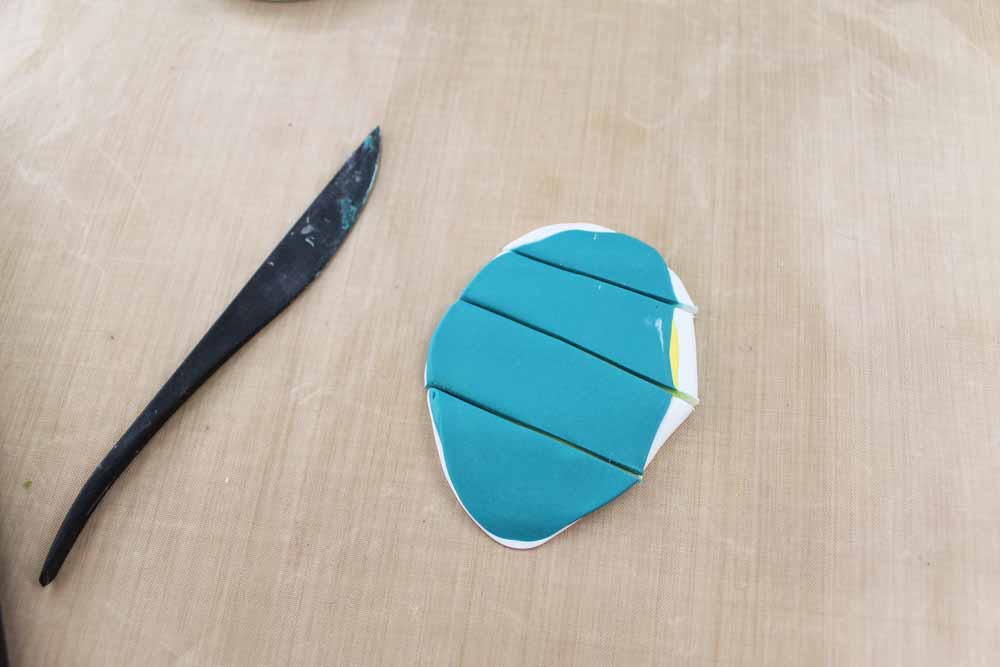
Step 3: Cut Into Four Strips
Flatten slightly, then cut into four strips with the plastic knife tool. Stack these strips.
Step 4: Roll Stack Strips Into A Ball
Then roll this piece into a ball.
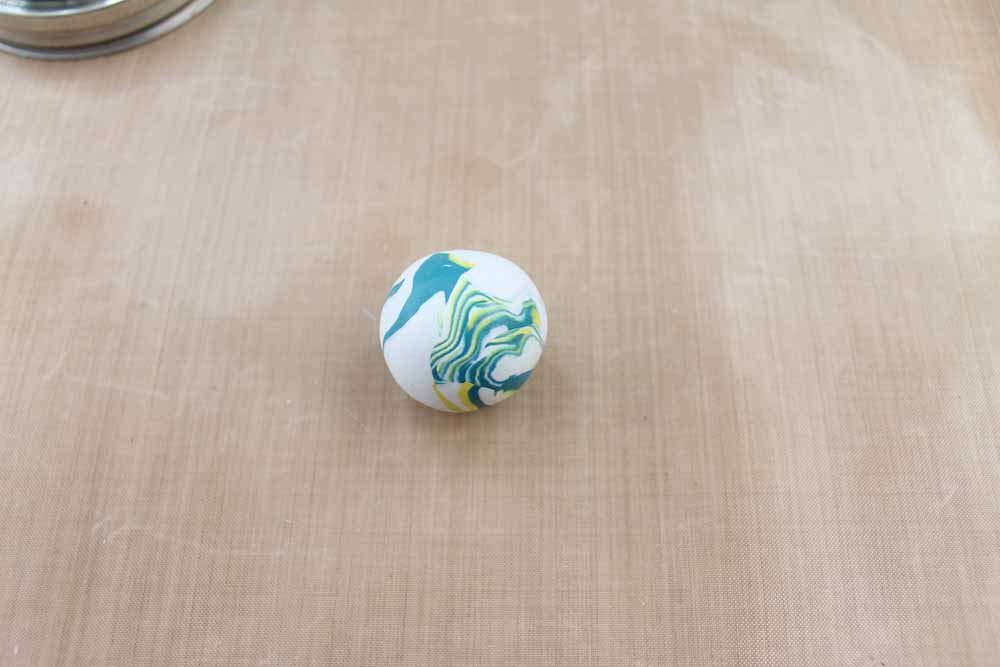
Step 5: Flatten, Cut Strips, Roll, And Repeat
This will give you some marbling, but you'll need to repeat the process to achieve maximum marbling. Flatten again and cut into four strips. Then stack the strips.
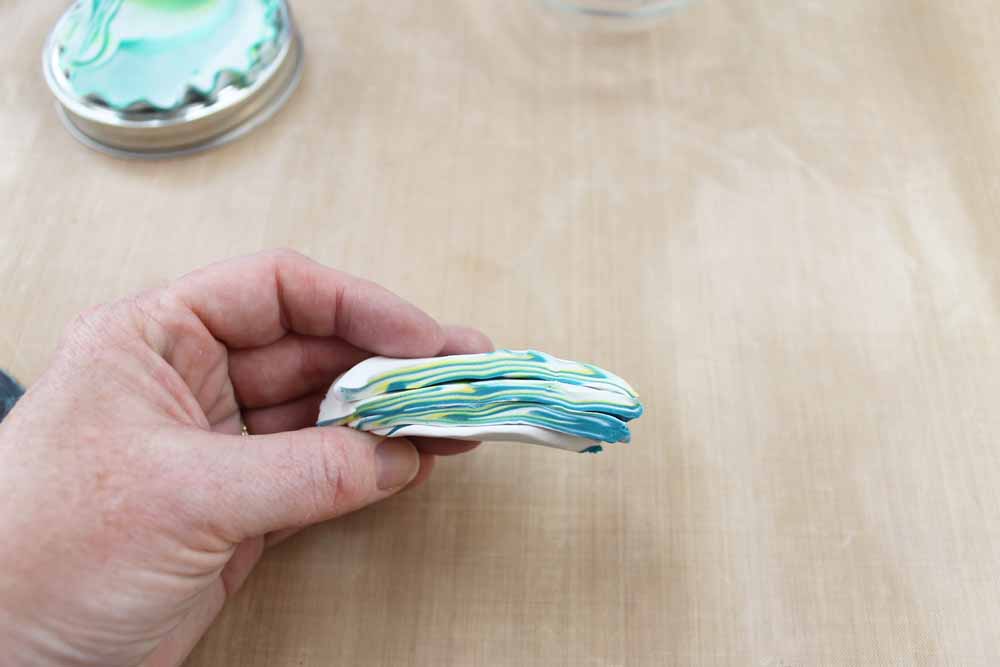
Roll once again into a ball, then flatten once more. This time, flatten enough to create your circle and form the bowl. You can repeat the process once more if you want more marbling.
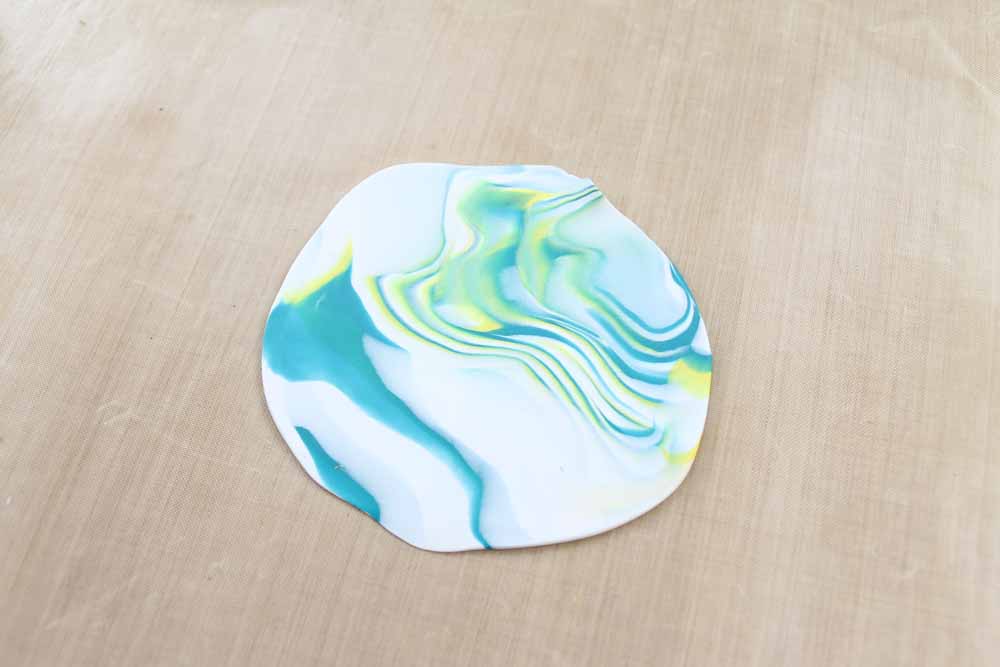
Step 6: Form Clay Circle Into Bowl & Bake
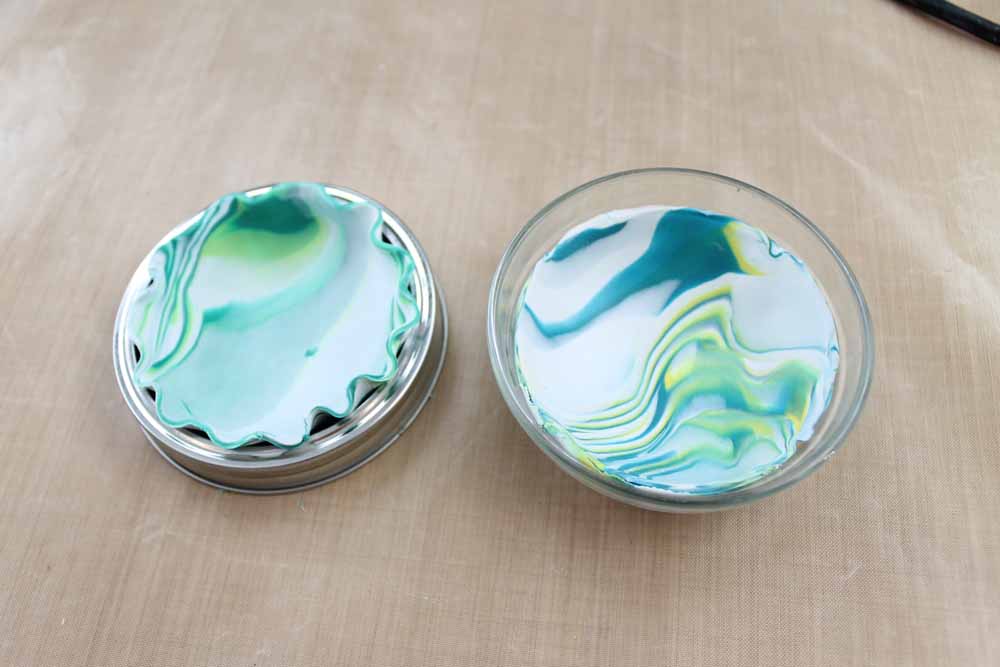
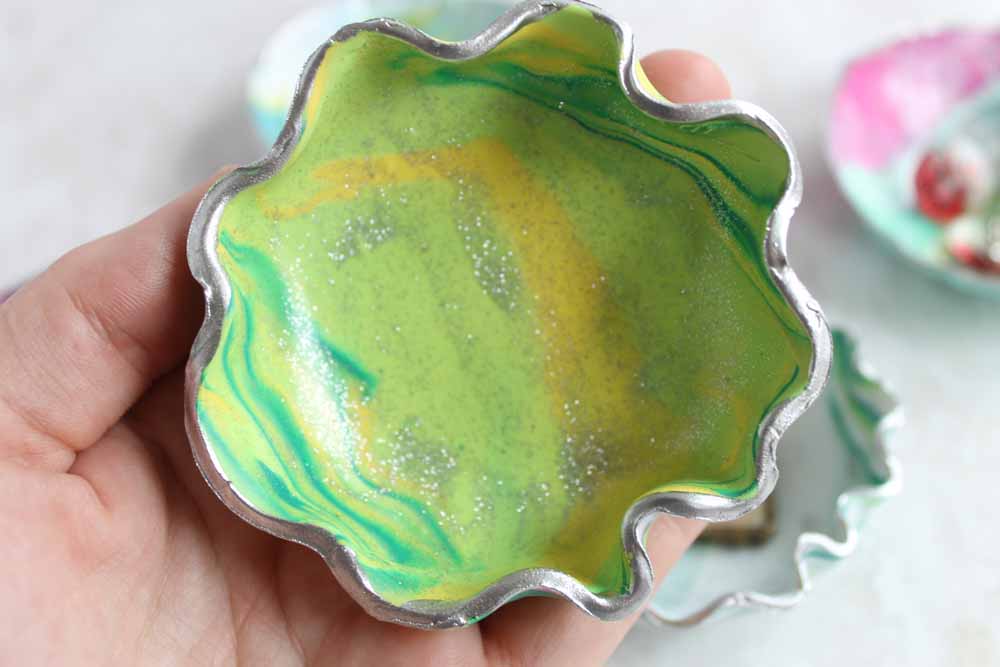
To make a bowl with a ruffled edge, use a wide-mouth mason jar ring. Use the outer edge to cut a circle. Take this circle and put it into the inner ring, making the ruffles as you go. Use the mason jar ring to hold the bowl in place as it bakes according to the package directions.
To make a simple bowl shape with no ruffles, use the outer edge of a small oven-safe bowl to cut a circle. Drape the circle over the back of the bowl and smooth it out. Bake according to the package directions.
NOTE: The picture below shows the clay bowl inside the bowl, but I found that draped over the back works best. Also, when baking your pieces, use an oven-safe mat.
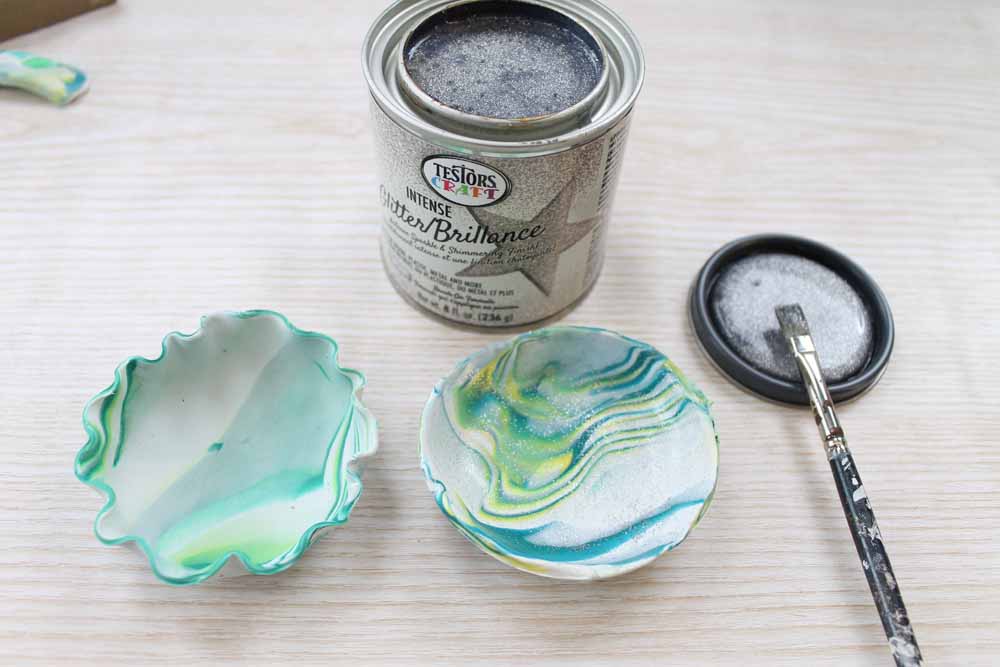
Step 7: Add Glitter Paint To Bowl
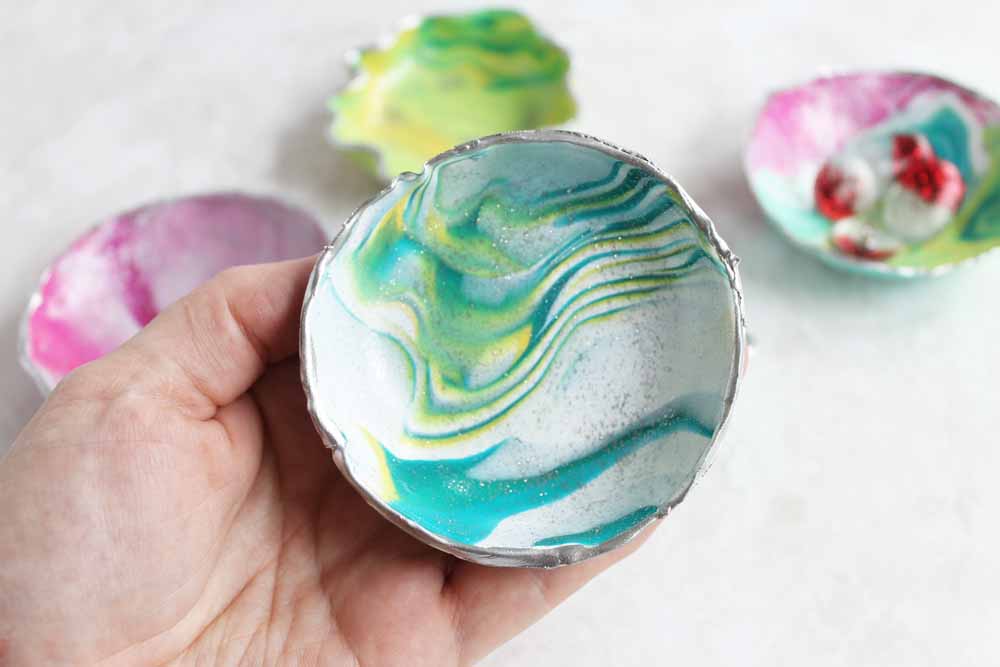
Once baked and cooled, finish the inside of your bowl with one coat of the glitter paint.
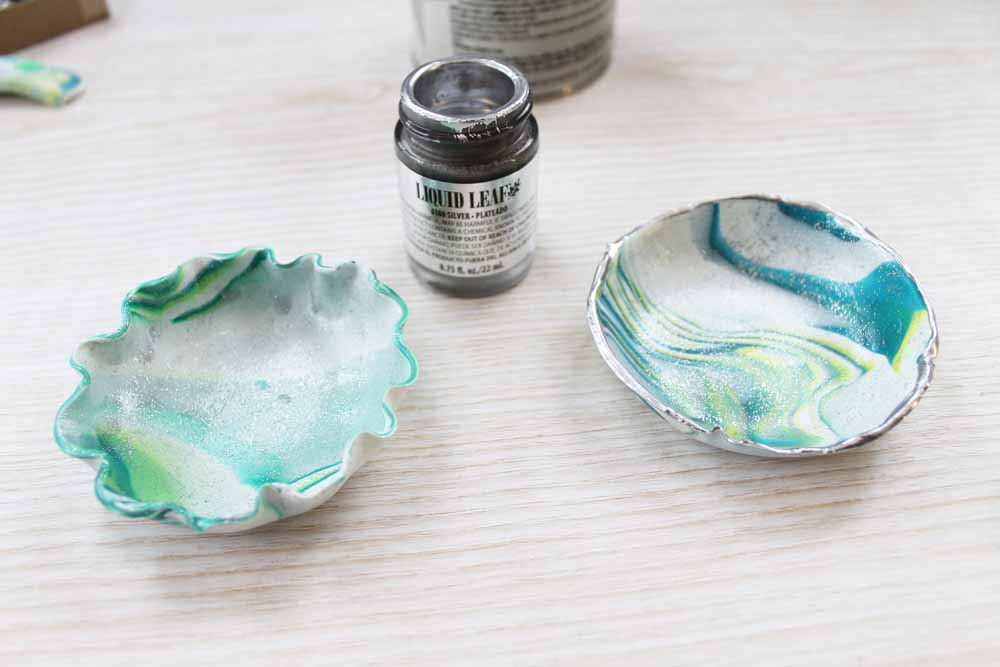
Step 8: Add Liquid Leaf Around The Rim Of The Bowl
Then finish the edge if desired with the liquid leaf. Allow everything to dry and give as a gift or keep for yourself!
Mix and match your favorite color combinations for a trinket dish anyone will love.
So, what do you think? Is the scalloped edge or the round edge better? I'm not sure which I like best!
As you can see, I couldn't get enough of making these simple ring dishes. Clay bowls for every room of the house!
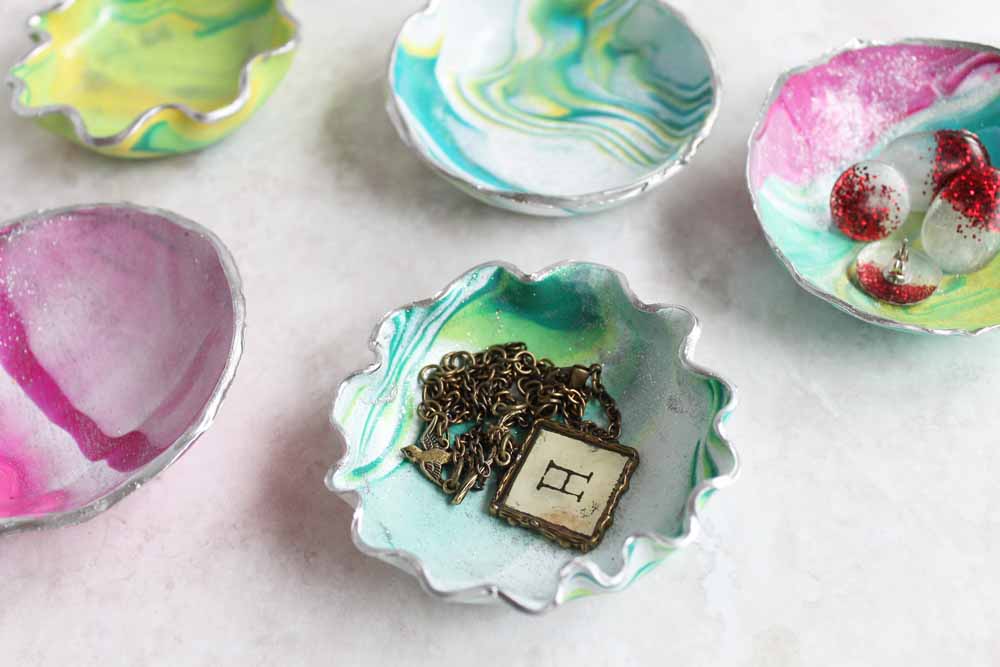
Add in jewelry or any other small trinkets to help keep them organized. Be sure to pick up some oven-bake clay and make an easy trinket dish today.
Tips and Tricks for Trinket Dish
Now that you’ve seen this fun trinket dish, are you ready to make your own? Here are a few tips and tricks to help!
- Soften Up Your Clay – To help soften up your clay, hold it in your hand for 30 seconds (your hands should be cupped around the clay), and the heat from your hands will help loosen the clay up so it's easier to work with.
- Don't Roll Your Clay Out Too Thin – When rolling out your clay, you want it to be about 1/4” thick. This is because you want your clay to be thick enough to make a sturdy bowl, but not too thick, so it won't crack while it's baking.
- Shop Smart When It Comes To Clay Tools – Clay tools are optional for this project, but they really do come in handy when making the bowls. If you don't want to spend a ton of money on clay tools, I recommend checking out your local Dollar Tree, since they sell basic clay tools in their Crafter's Square section.
- Skip The Glitter & Liquid Leaf – If you don't want to add glitter or the Liquid Leaf to your bowls, you can definitely skip them and use your bowls as is once they are fully baked and cooled.
5 More Clay Crafts
Did you love this trinket dish and want more clay crafts? Then check out the projects below!
- Succulent Planters from Clay
- DIY Mini Clay Cupcakes
- How to Make Clay Earrings Three Ways
- From Garden to Art: Craft Your Own Pressed Flower Clay Decor
- DIY Clay Cactus


Very cool project! Thanks for the idea. I love the touch of glitter.
This is great! Love the liquid leaf around the edge.
I honestly love these, Angie! They’re so pretty and useful.
Super cute and great project for (older) kids to try. Visiting from Pretty Pintastic Party.
These are beyond adorable. I would love to try these! Found you at the SITS Saturday Sharefest. Looking forward to exploring your blog!
They’re beautiful Angie. I think I prefer the scallop edge, it adds such a lovely touch to the trinket dish
I’d never have thought of using oven bake clay to make a trinket dish, and especially not with the marbled effect…. they look utterly amazing!
Hi Thanks for sharing at Inspire Me Monday. I wanted to let you know that you are one of my featured links this week. Come by and check it out at http://www.farmhouse40.com/inspire-me-monday-184
These are so lovely Angie!
Thanks for sharing with us at Inspire Me Monday at Create With Joy –
Congrats on being one of our Featured Bloggers this week!
Angie,
What a cool idea! I’m definitely going to give this a try. Thanks for sharing these easy how-to-steps. This is going to be an excellent DIY project that I will not only enjoy doing but gifting to family. Have a blessed week & feel free to come by to dance with me!
Curious as a Cathy
Angie, my granddaughter and I made a batch of the trinket bowls. The ‘ruffled’ ones turned out great while the ones that we draped over the bottom of the bowls cracked. Do you have an idea as to why they did that?
Hmmm…that is weird! Wondering if you stretched it a bit too much? That is the only thing I can think of.
We are going to try again tomorrow! I will let you know the results.