
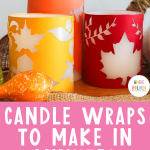
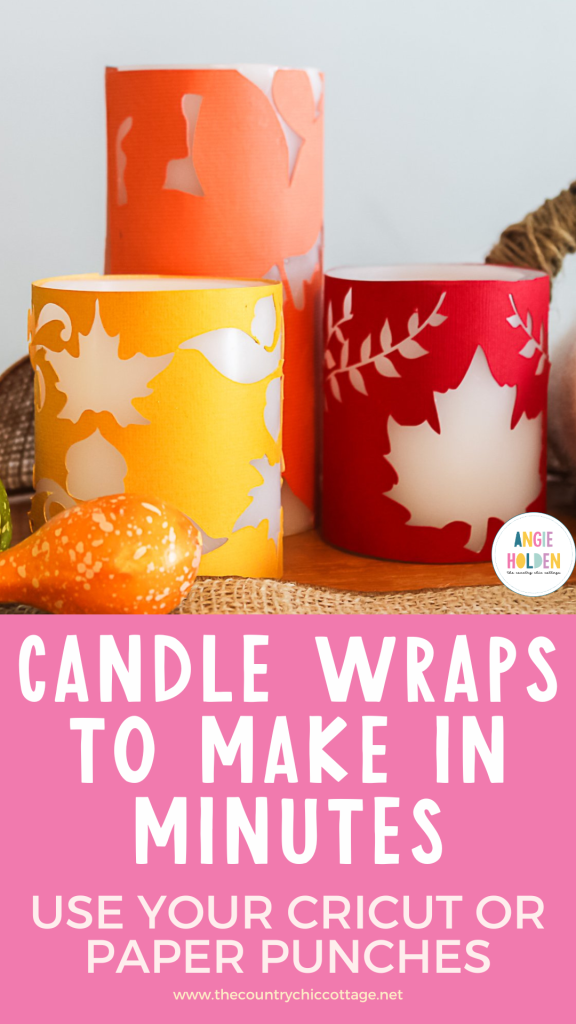
Are you looking for some Cricut candle ideas? Then you are in the right place! Over the past few months, I have been infatuated with paper candle wraps. I have created a few different versions, and I will combine them here in one post for you, in case you missed any of them. I am in love with this idea because it is both easy and has a significant impact on your home's decor. Don't you love those kinds of projects? Let's make some DIY paper candle wraps (in two ways) to add to your farmhouse Fall decor!
This was first published on October 25, 2012; however, I am reposting with more information.
Cricut Candle Ideas
I will provide you with two options for making these below. One uses a Cricut machine, and the other uses paper punches. Either way, you can make some gorgeous candle wraps for your decor any time of the year.
Supplies Needed To Make Candle Wraps
- Punches or Cricut machine (NOTE: Both punches I used were Martha Stewart, but any craft punch would work for this project. The all-over punches are perfect for these wraps, as you can punch anywhere on the page.)
- 6-inch and 3 1/2 inch battery-operated candles in this size.
- Cardstock in the color of your choice
- Double-stick tape or spray adhesive
Please note that real candles are NOT recommended for this project!
How To Make Wraps For Candles With Punches
First, let's make the version with paper punches. Continue scrolling if you'd like to use a Cricut machine to create candle wraps.
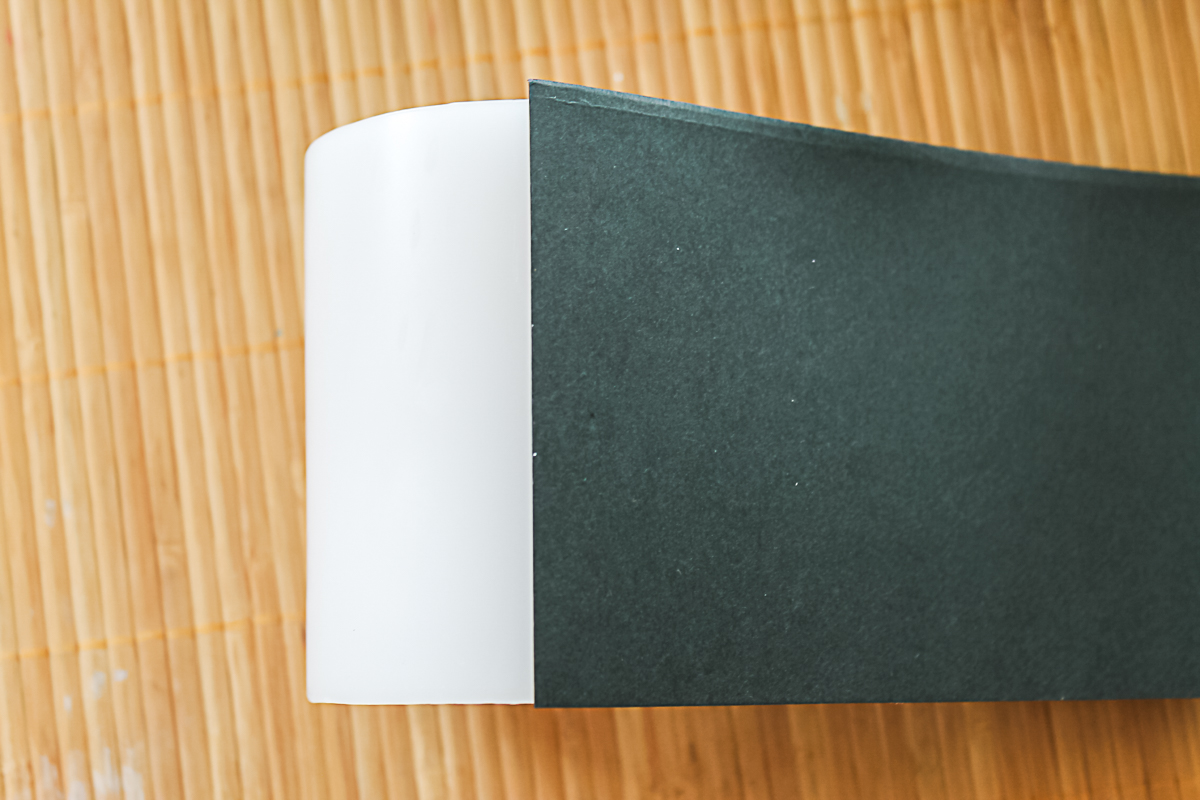
Step 1: Cut Cardstock
Cut your cardstock to the height of your candle. Then cut it to the desired length with just a slight overlap where it will meet in the back.
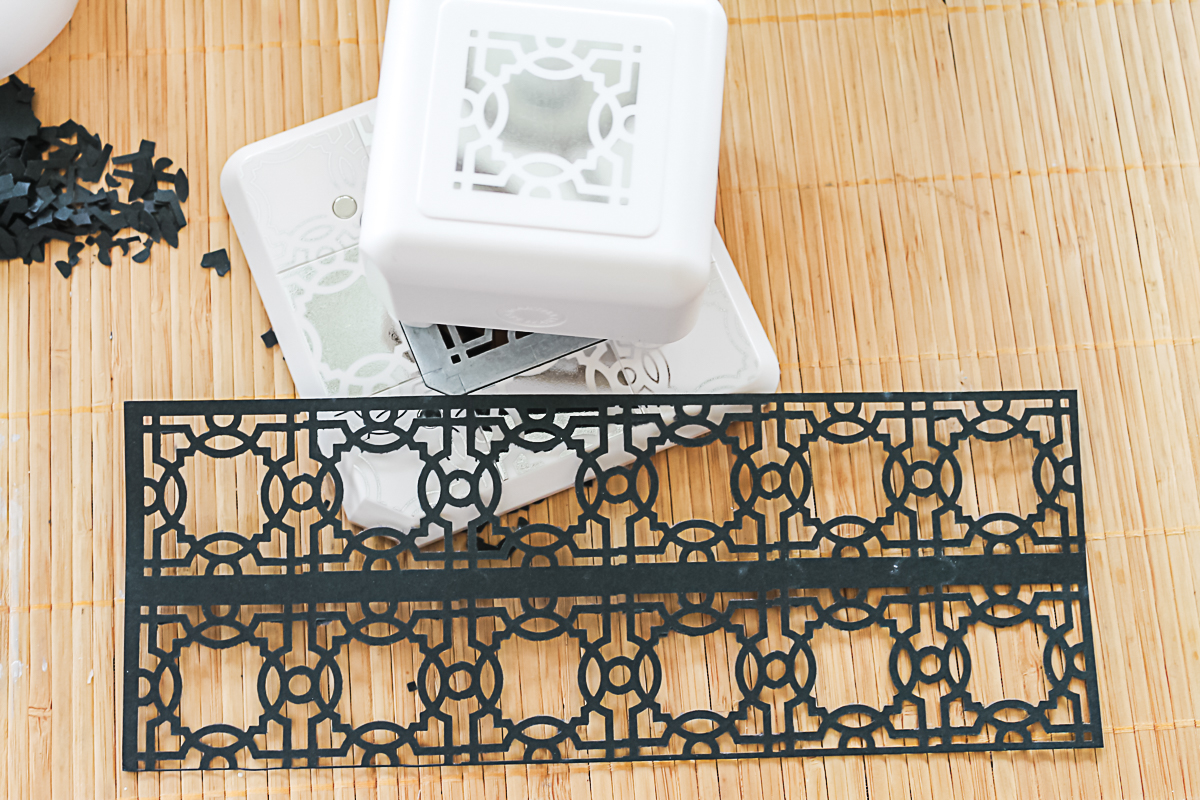
Step 2: Punch Paper
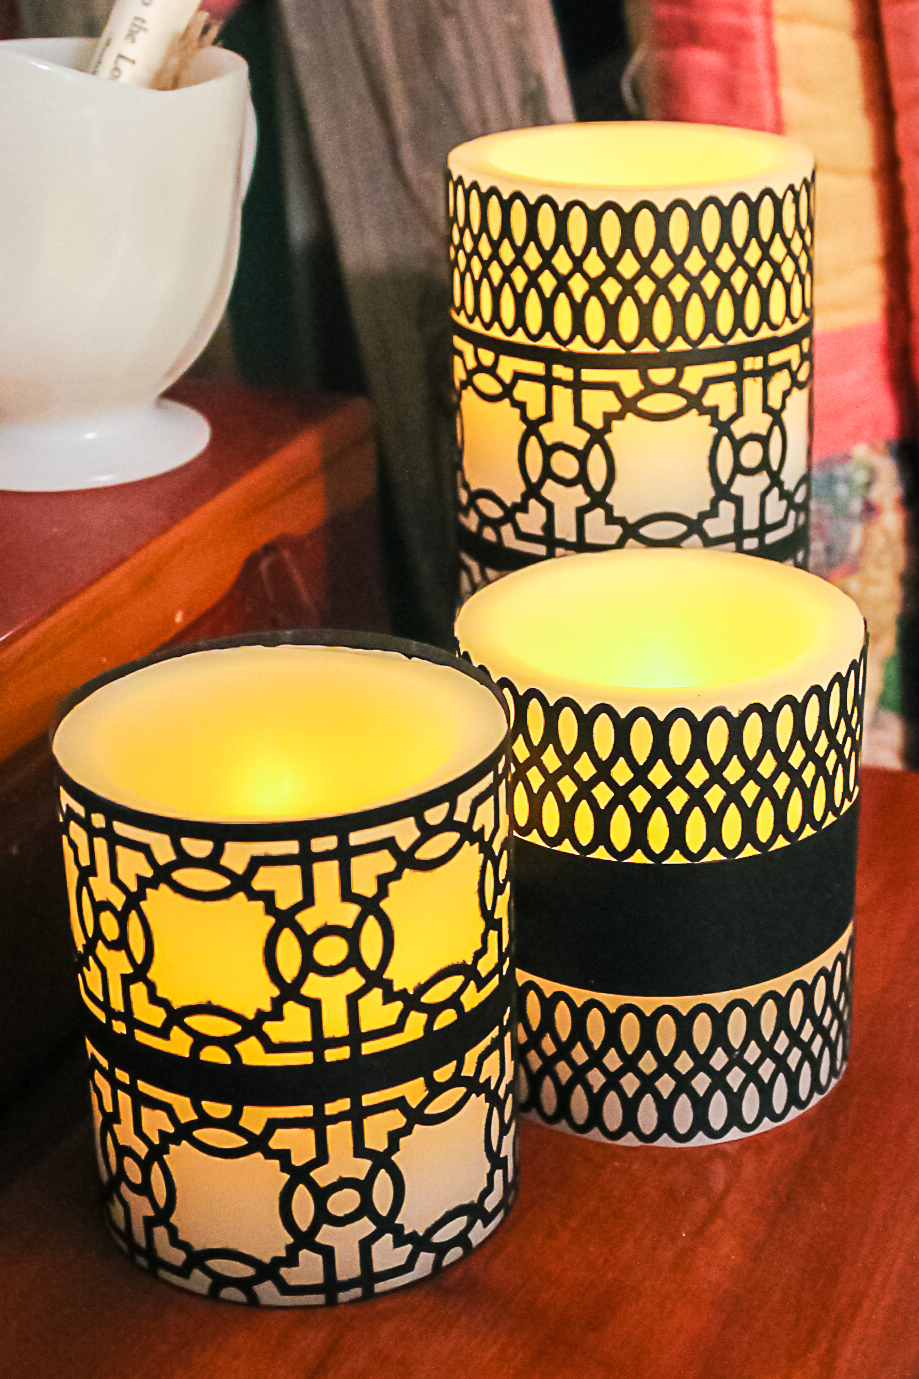
In the first version, I used an edge punch to punch down both edges of one wrap. Please note I left a small area on each end to use for the double-stick tape, so the punched piece would not detach.

The second version below uses the all-over punch, which is perfect for this project.
I also created a third version that combined the two punches, which is shown in the next step.
Step 3: Wrap Paper Around Candle
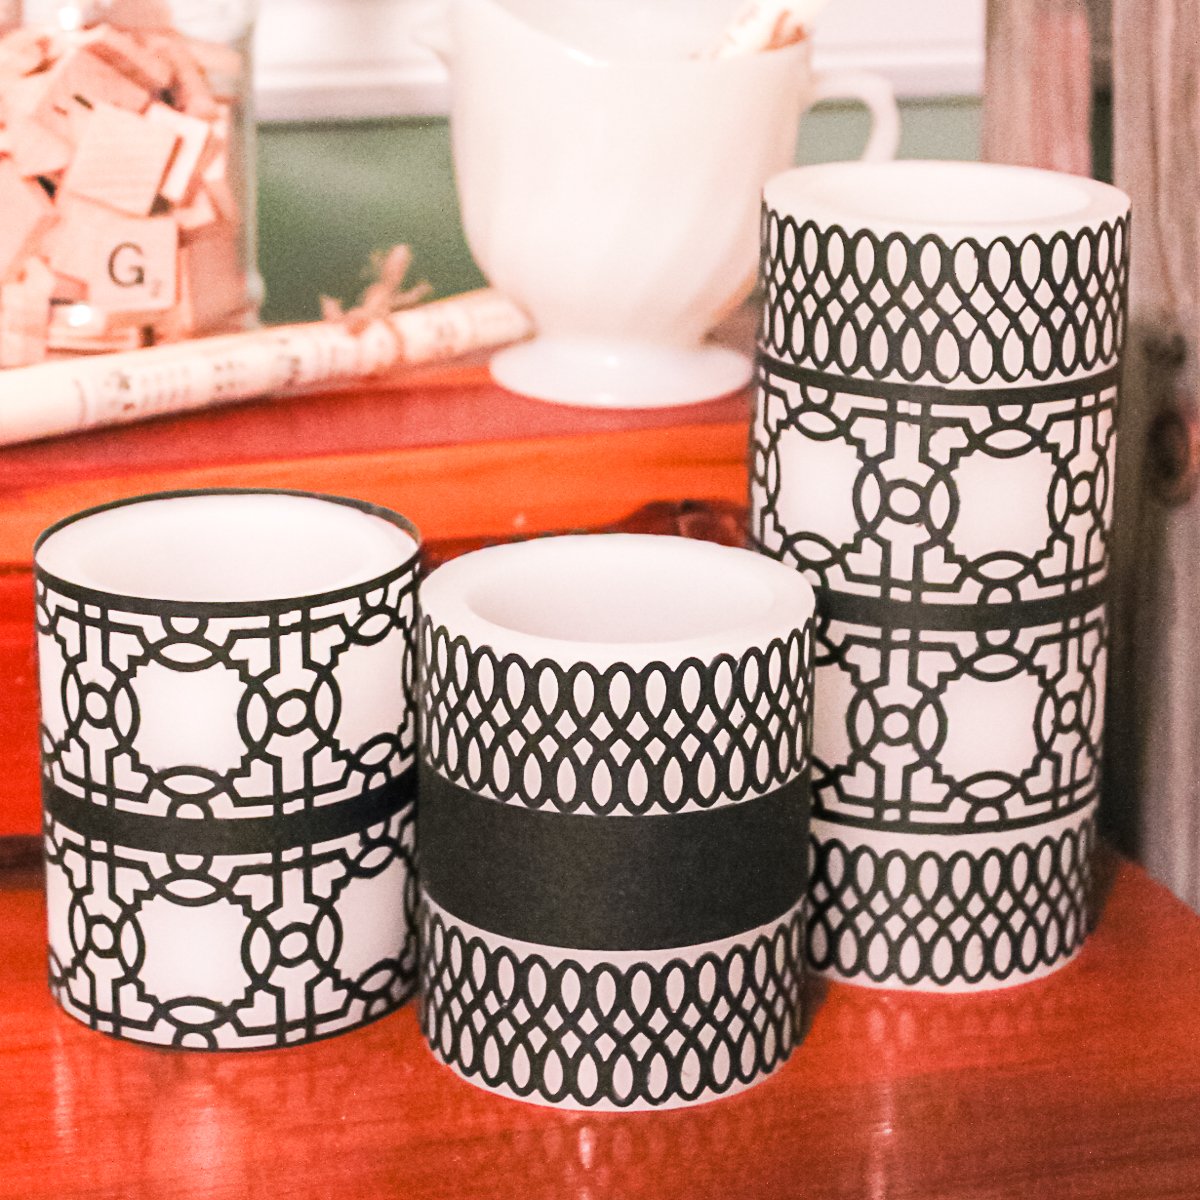
These designs worked fine being held on the back with double-sided tape. Here they are with the candles turned off.
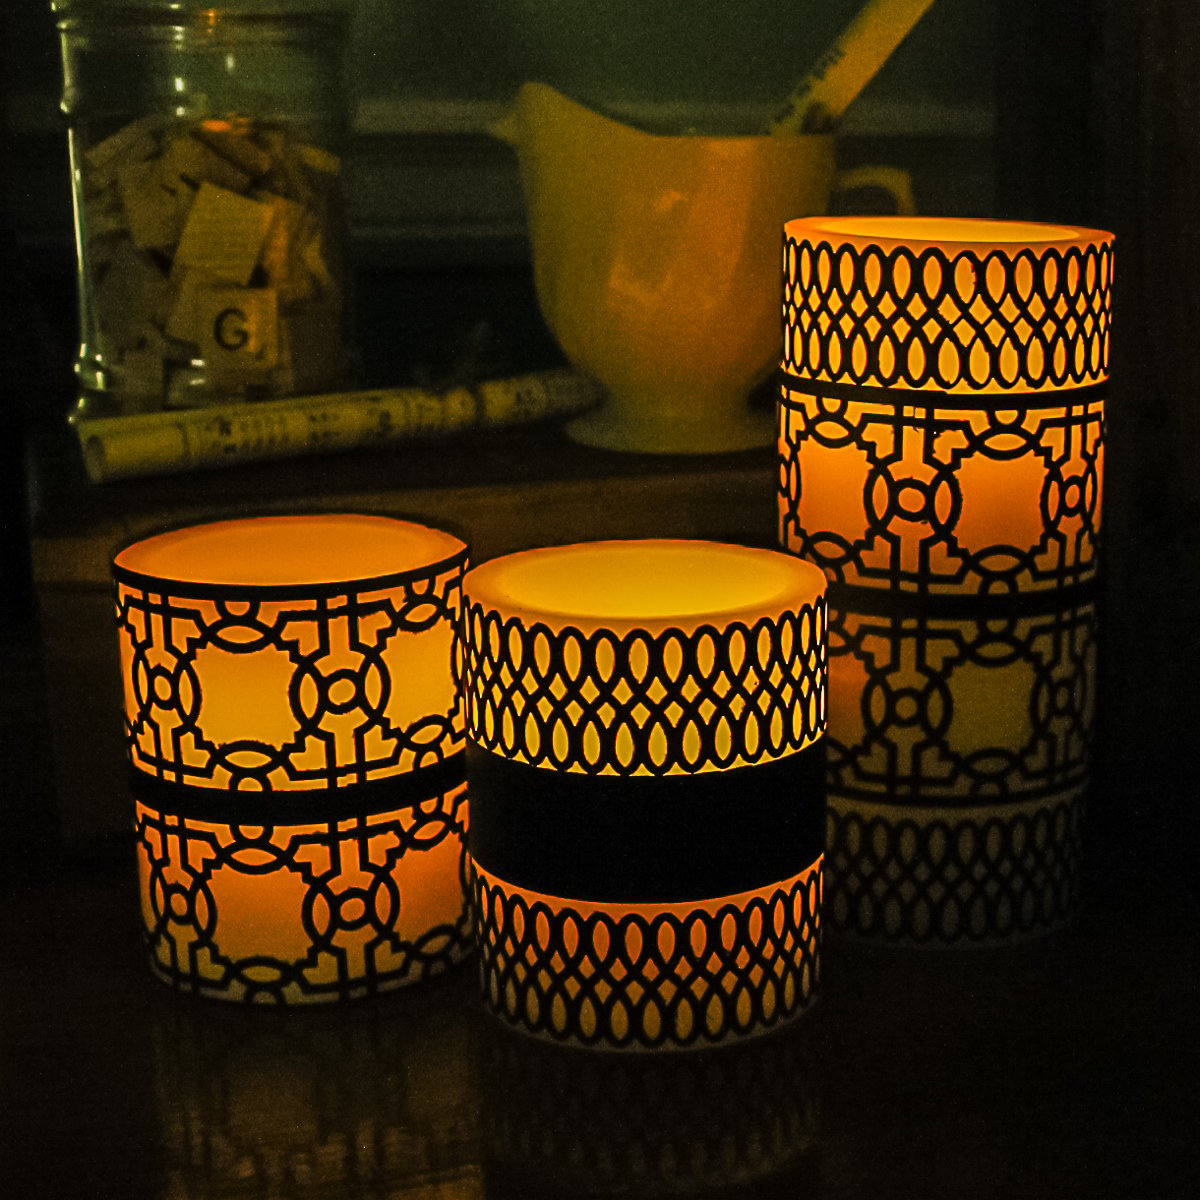
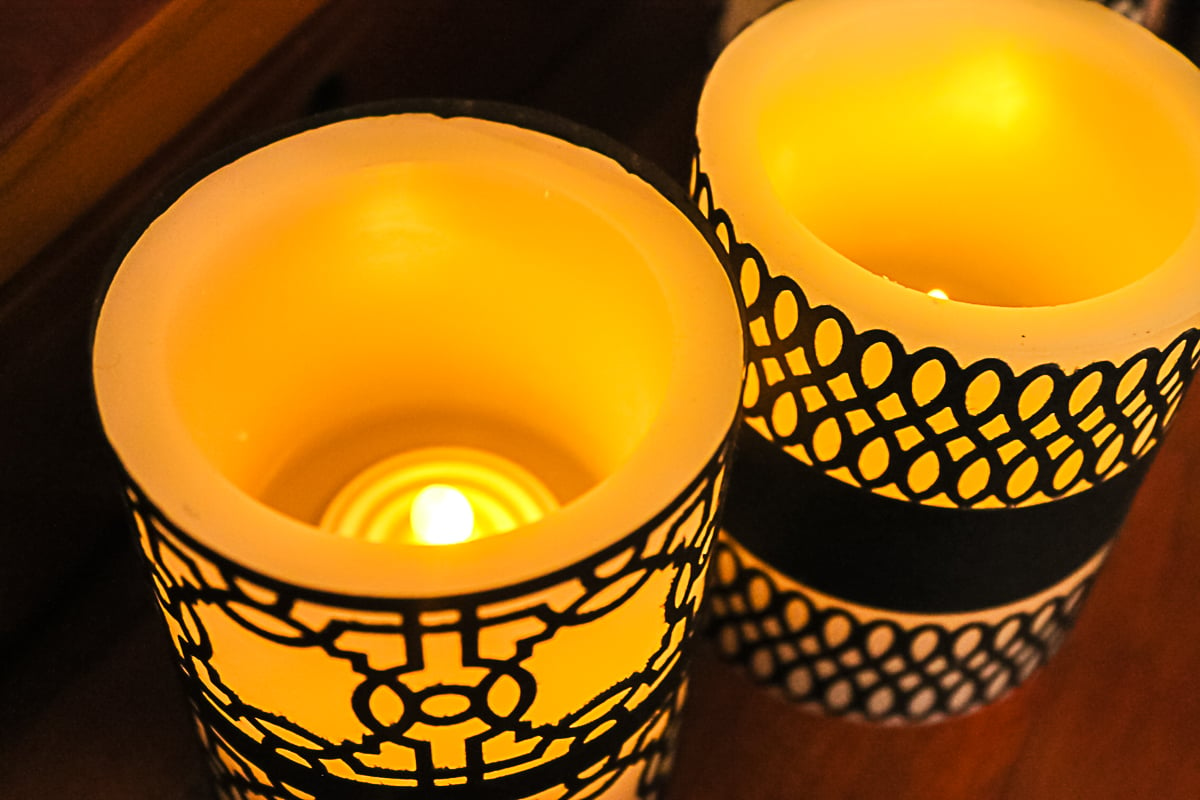
And with the candles on. I adore how the light comes through these wraps.
I know you will love how these look in your home!
How To Make Cricut Candle Wraps
Don't have any paper punches? If you have a Cricut, this project is just as easy!
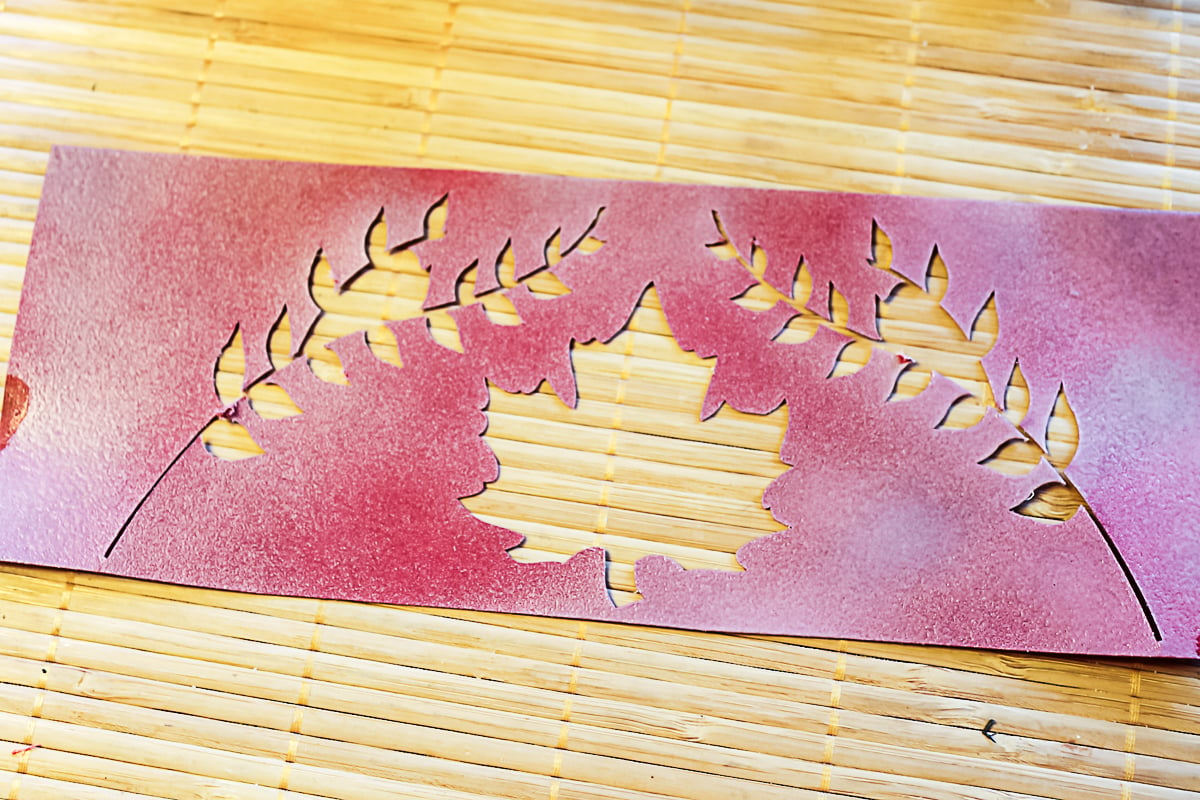
Step 1: Cut Candle Wrap Using Cricut Machine
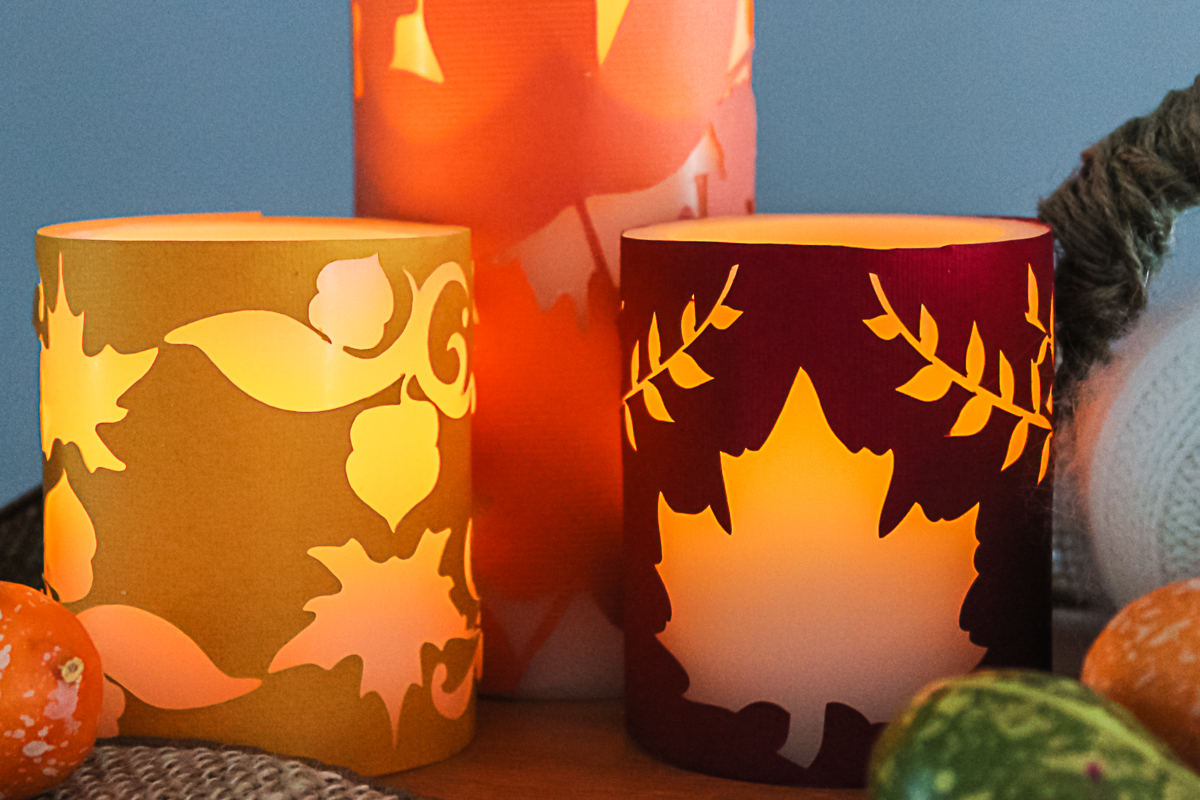
I designed some Fall wraps in Cricut Design Space and cut them out of cardstock. Just add random leaves to a rectangle shape the size you need for your candles, then use the attach function to cut them from the rectangle. I found that, due to the way I laid out the designs, the wraps did not look as good when using just the double-sided tape. So, for these, I used spray adhesive.
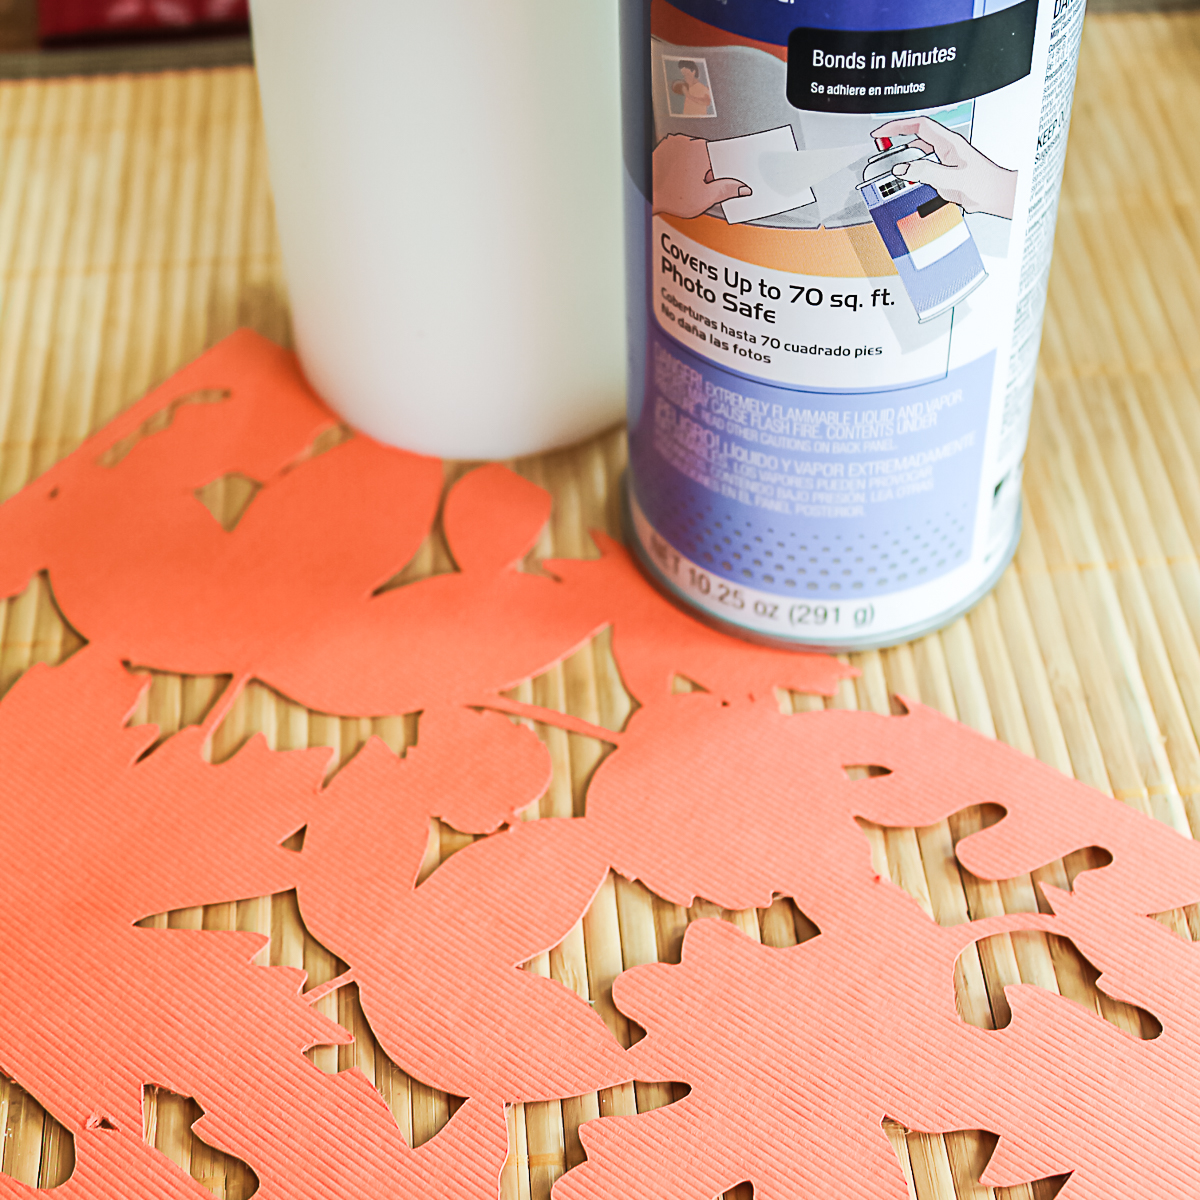
Step 2: Spray Candle Wrap
Spray on a generous amount (please spray your paper outside, as this can make a mess).
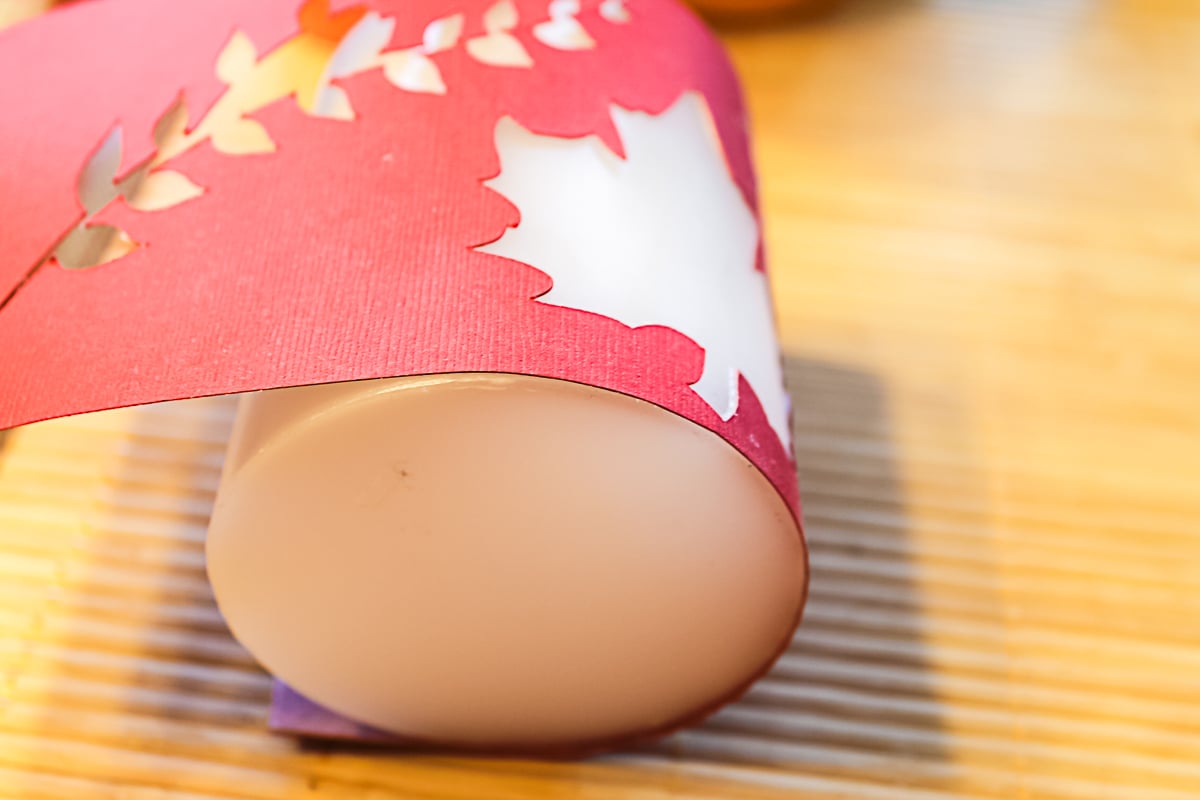
Step 3: Add Candle Wrap To Candle
Lay your candle on the wrap.
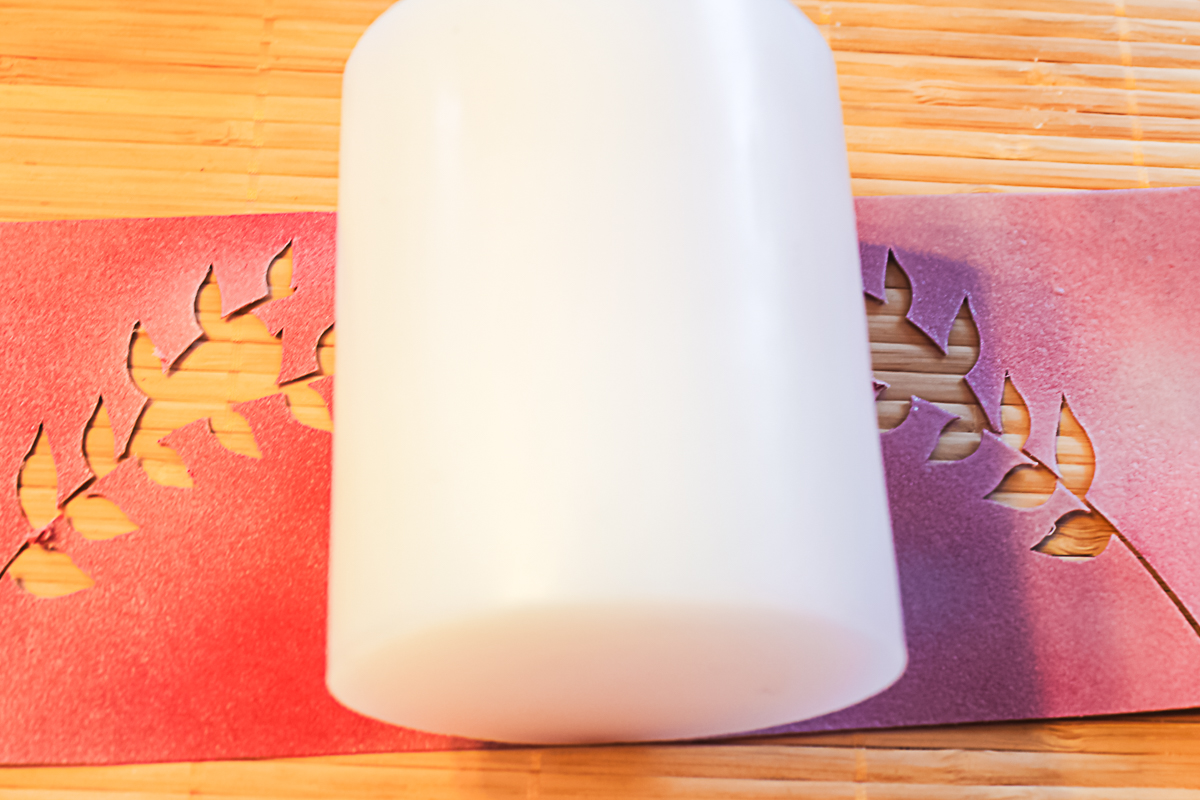
Then roll to adhere.
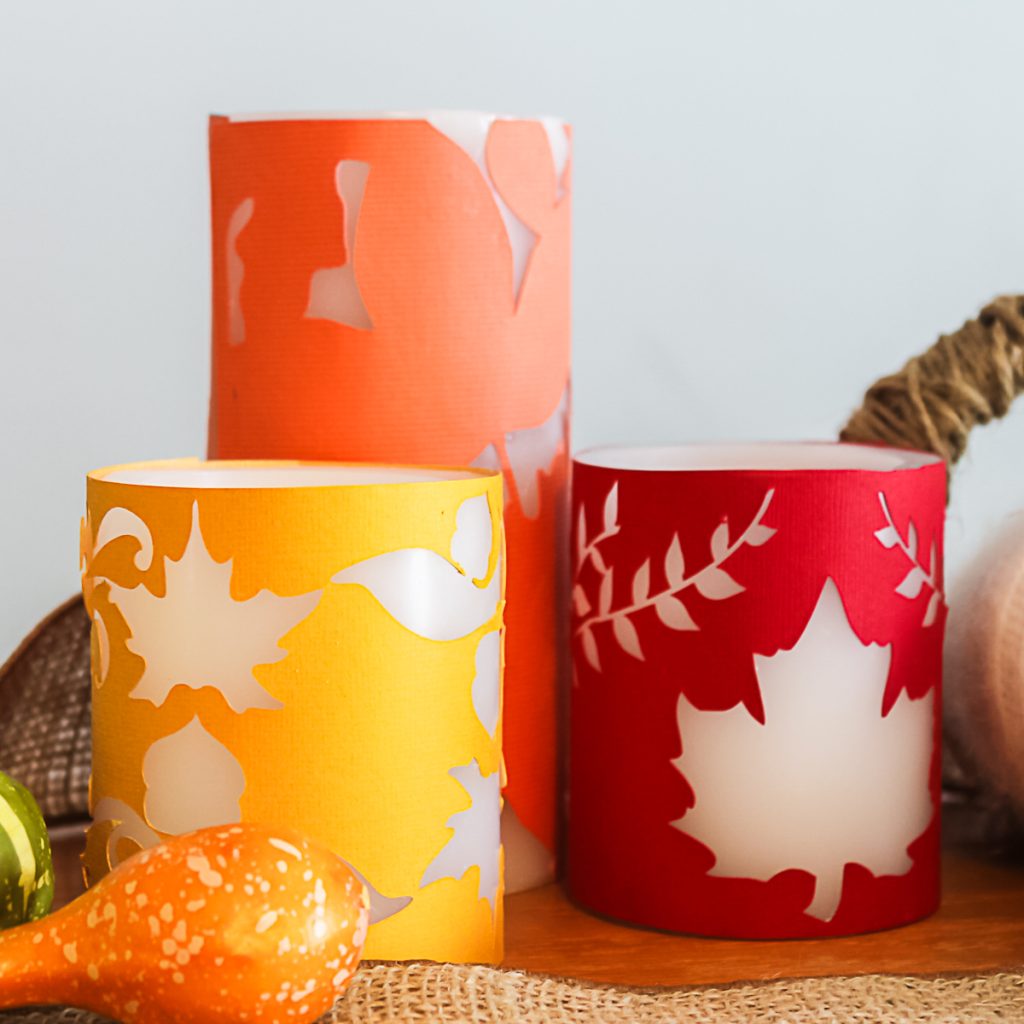
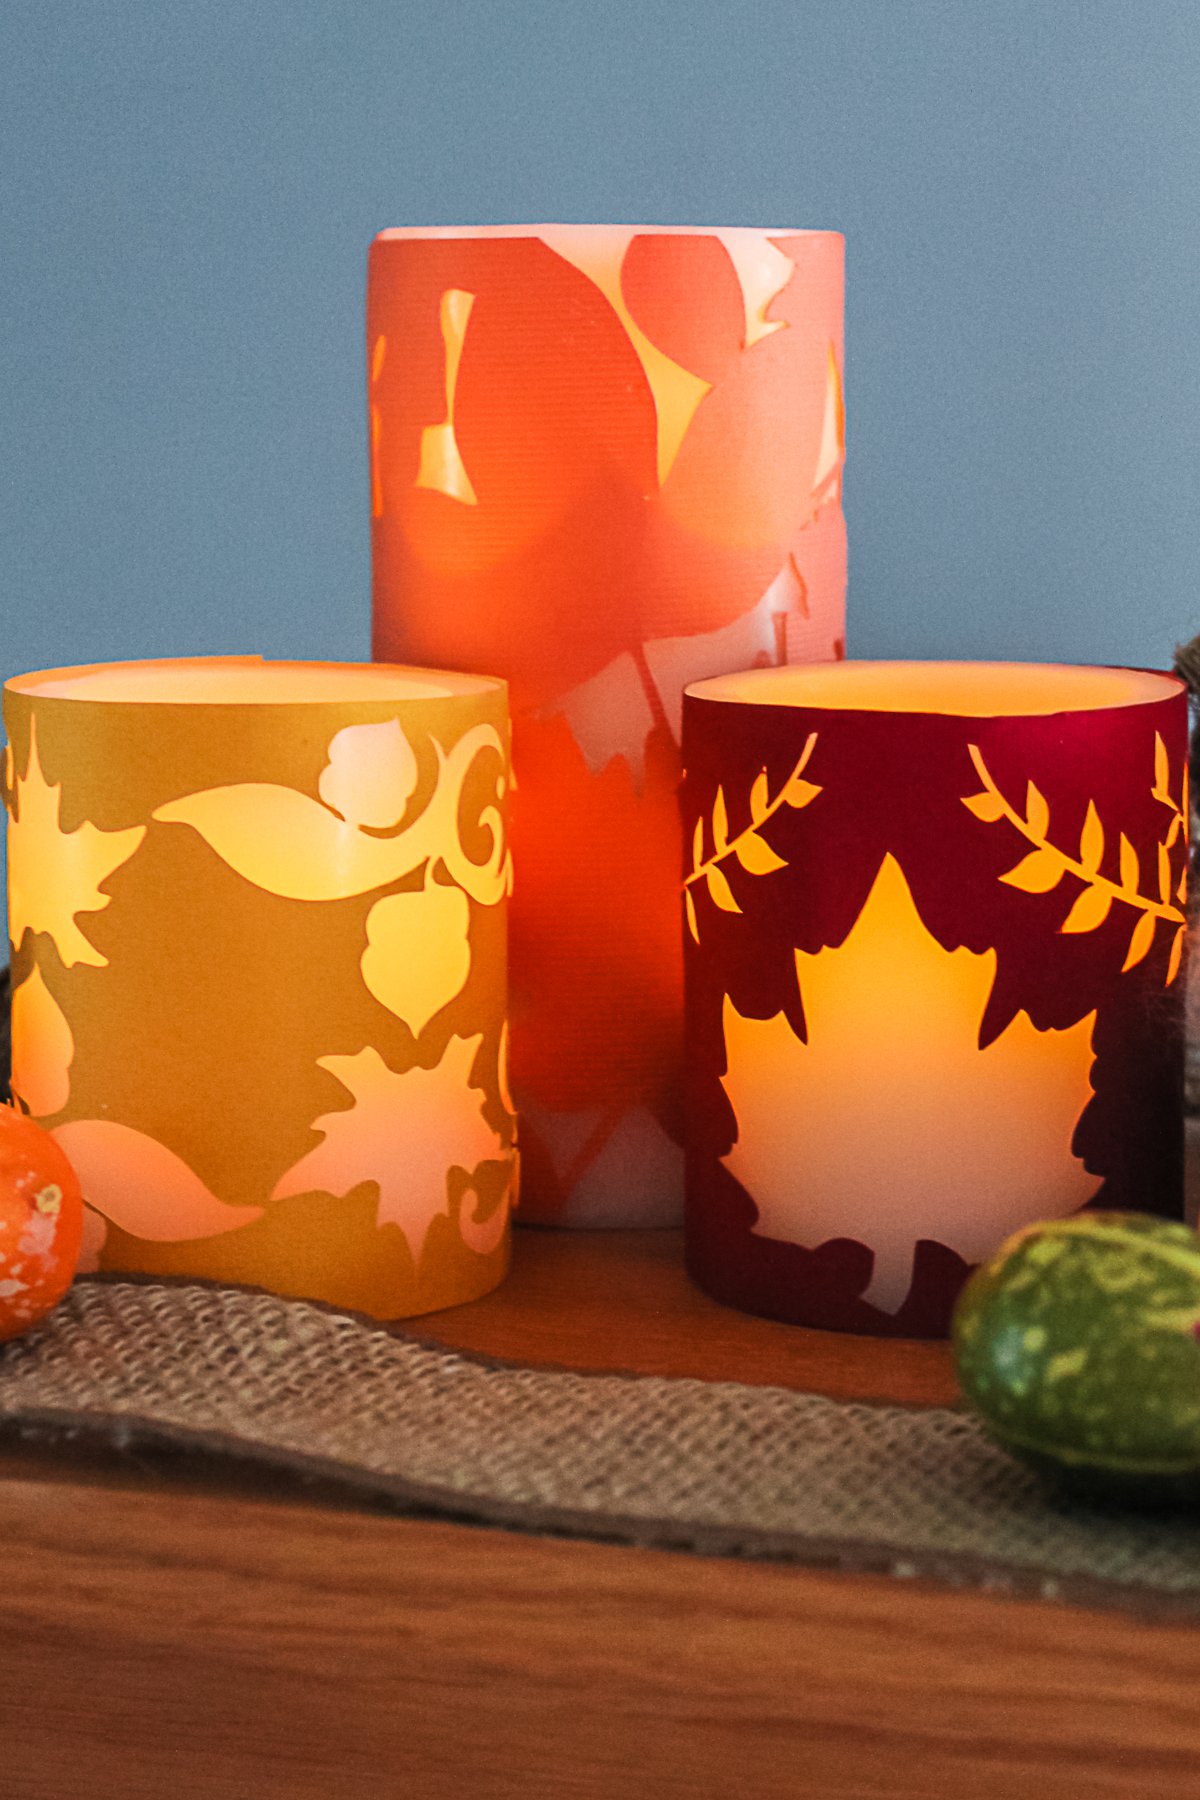
I made three candle wraps with different designs. Here are the wraps with the candles off.
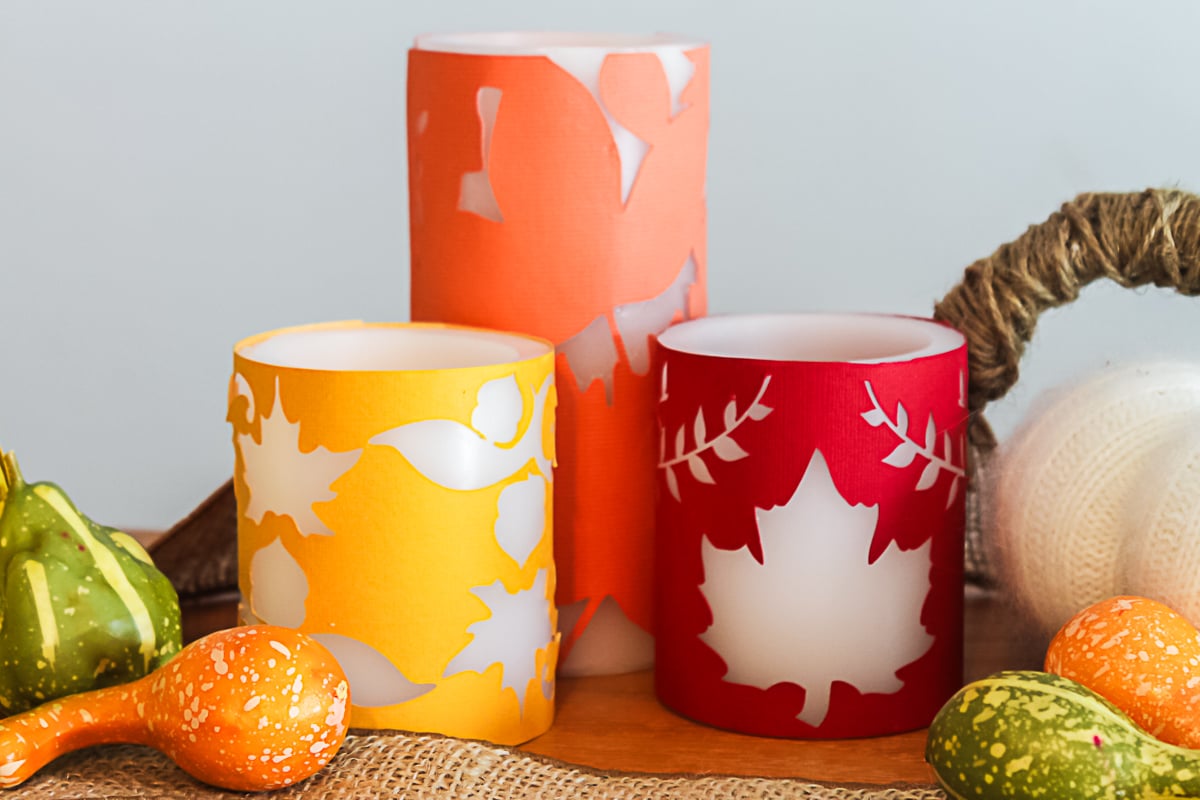
And then again with the candles on. Gorgeous how the light shines through, don't you think?
Y'all enjoy both of these paper candle wraps. I think this might be the start of a ‘seasonal paper candle wrap series' around here. The possibilities are endless! I love the way both of these look. The black version can be left out all year long.
The leaves version is perfect for your Fall decor or even as a centerpiece for Thanksgiving. Create several of these and place them on a tray in the center of your table.
So, pick your favorite design and start making paper candle wraps for your home. You can even create your own design on the Cricut machine for a different season or occasion. It's truly an idea that you can reuse over and over for your home's decor.
FAQs About Cricut Candle Ideas
Here are answers to some of the most frequently asked questions I receive about creating these Cricut candle wraps. If your question isn’t listed, feel free to drop it in the comments and I’ll be happy to help!
What Punches Did You Use For This Project?
The punches that I used for the candle wraps were from Martha Stewart but any craft punch would work for this project. The all-over punches are perfect for these wraps as you can punch anywhere on the page.
Can I Use Smaller Punches For This Project?
Yes, you can! The only thing to keep in mind is that you might need to create your own design or be mindful of how much paper you are punching.
What Cricut Machine Can I Use For This Project?
All of them! The Cricut Maker, Cricut Explore series, Cricut Joy, Cricut Joy Xtra, and Cricut Venture, can all cut cardstock!
The only thing to keep in mind is that each Cricut machine differs in terms of project size capabilities and the materials it can cut. So, depending on what project you have in mind, you might need to resize your design or cut it out in a different material.
Can I Use Real Candles For This Project?
NO! Real candles are NOT recommended for this project! However, you can purchase battery-operated candles for this project.
5 More Fall Crafts
Did you love these Cricut candle ideas, and are looking for even more Fall crafts? Then check out the ideas below!
- Pumpkin Planter for Fall with Your Cricut
- Sugared Fruit Wreath For Fall
- Welcome Fall With This Porch Decor
- Happy Fall Y'all Doormat
- Fall Candles: Make These for Fall Scents


WHERE CAN CANDLE SLEEVES BE PURCHASED? THANKS
Sorry I do not sell them. I only provide the instructions for making them yourself.
This is really creative!!!