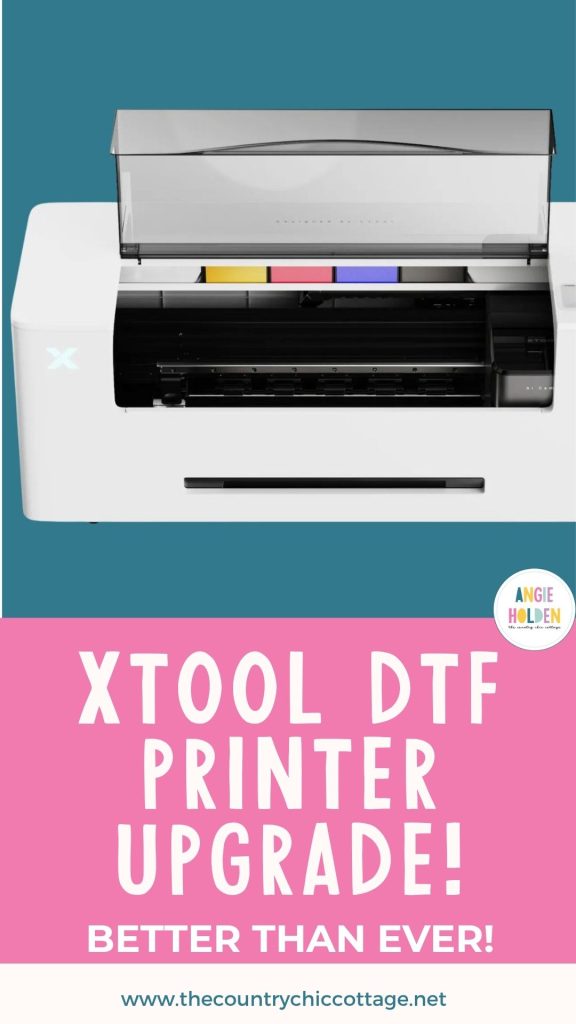
If you've been considering the xTool Apparel Printer, you're going to be very happy to learn about the xTool Apparel Printer Plus.
This is a brand new update to the original printer and there are some improvements I'm really excited about.
If you already own the xTool Apparel Printer, keep reading. I'm going to share how you can get an upgrade kit for free that will help your printer perform similarly to the new AP Plus.
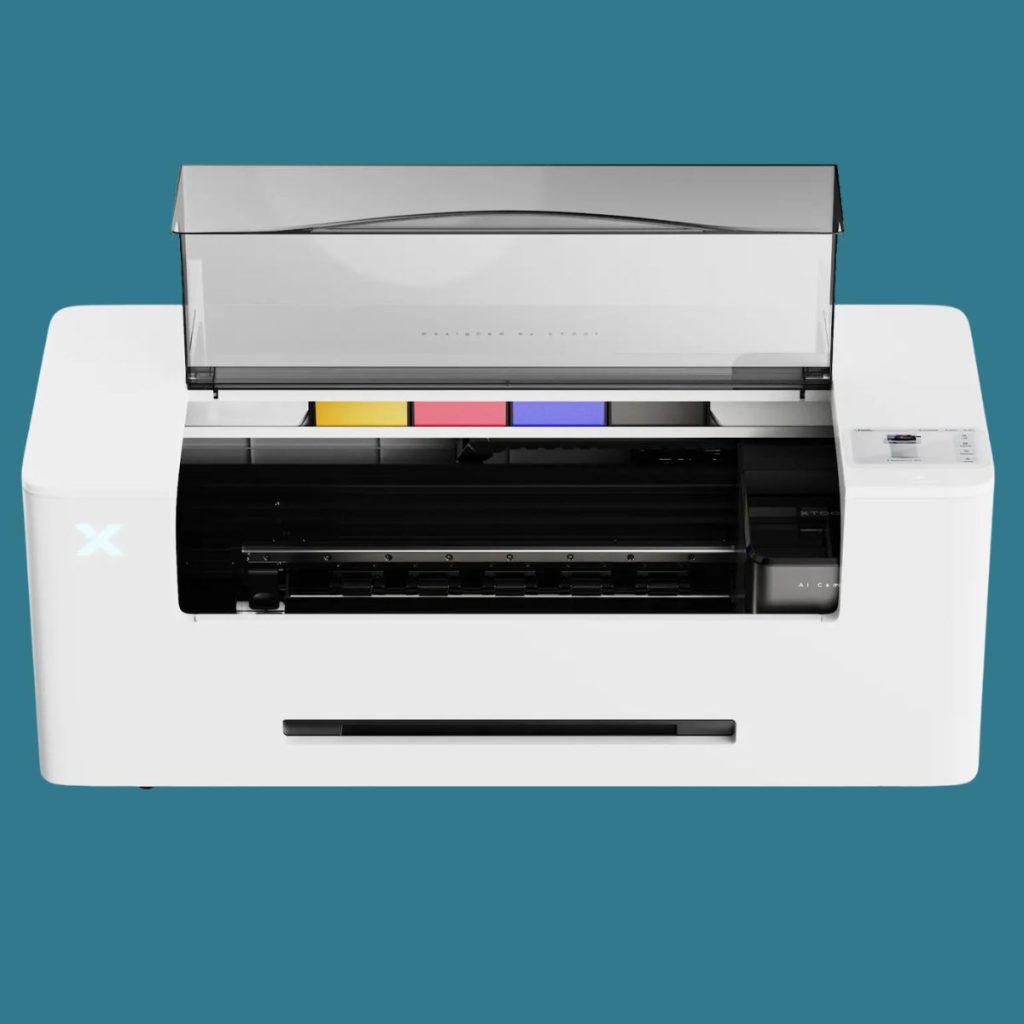
Because I have already done a full review of the xTool Apparel Printer, this review will not include a full setup or close look at the printer. The printers are very similar. If you just received your printer, head to my full review for help with the setup process and first projects.
What is the xTool Apparel Printer Plus?
The xTool Apparel Printer Plus is a DTF printer. DTF stands for Direct to Film. DTF uses a specific type of ink that is printed directly on a film. While the ink is wet, a powdered adhesive is applied and then cured in an oven.
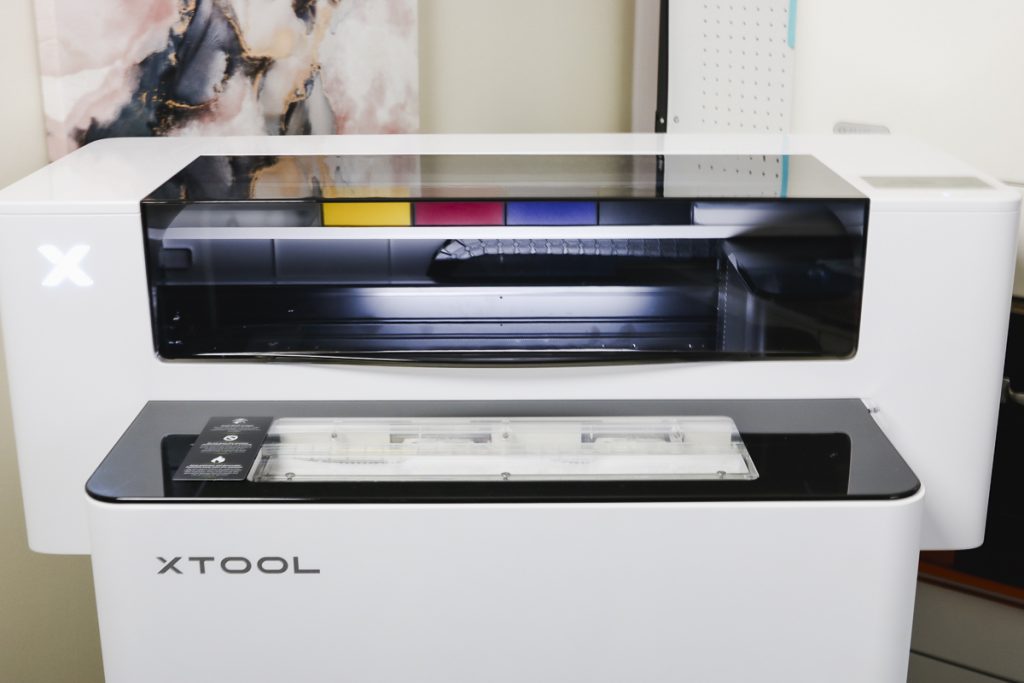
I have the Apparel Printer Plus with the shaker oven. This is the only way I'm willing to have a DTF printer in my home. I don't want to powder the ink or cure the powder manually for safety reasons.
With my setup, the printer prints directly on the film and then automatically feeds the print into the shaker to apply the powder adhesive. After the adhesive is applied, it moves to the oven to cure. I don't have to touch anything, and all the powder and fumes are kept inside the machine.
When the print comes out of the oven, it is ready to be pressed.
The xTool Apparel Printer wasn't the first DTF printer; there are many on the market, but it was the first setup made specifically with home-based businesses in mind.
DTF prints can be added to any color of fabric and any type of fabric. As long as the fabric can withstand the heat, you can apply a DTF print to it.
How is the xTool Apparel Printer Plus Different from the Original?
I want to begin answering this question by saying how happy I am that xTool listened to their customers and really addressed some of the pain points that we were having with the original apparel printer.
I've been a long-time fan of xTool lasers and the innovation they come up with to make them user-friendly. It's clear to me that they're putting that same commitment into their printers.
I also really appreciate that they're not only making these improvements for new printers, but they're also offering upgrade kits for current owners of the current apparel printer. While they can't change everything with an upgrade kit, the kit really does help.
Additional Humidity Sensors
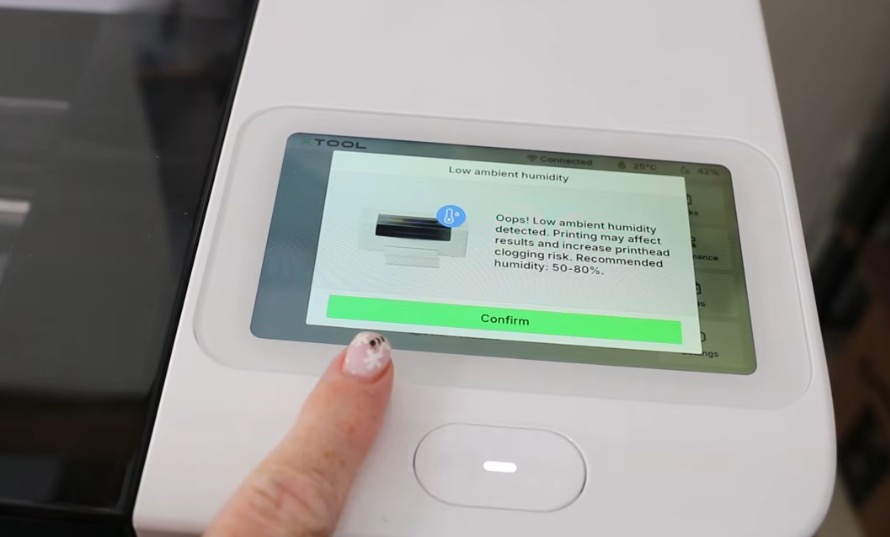
Humidity and DTF printing are not friends. Humidity, especially in the US, was a big pain point.
The original xTool Apparel printer had one humidity sensor. The Apparel Printer Plus has two humidity sensors and some built-in humidity controls.
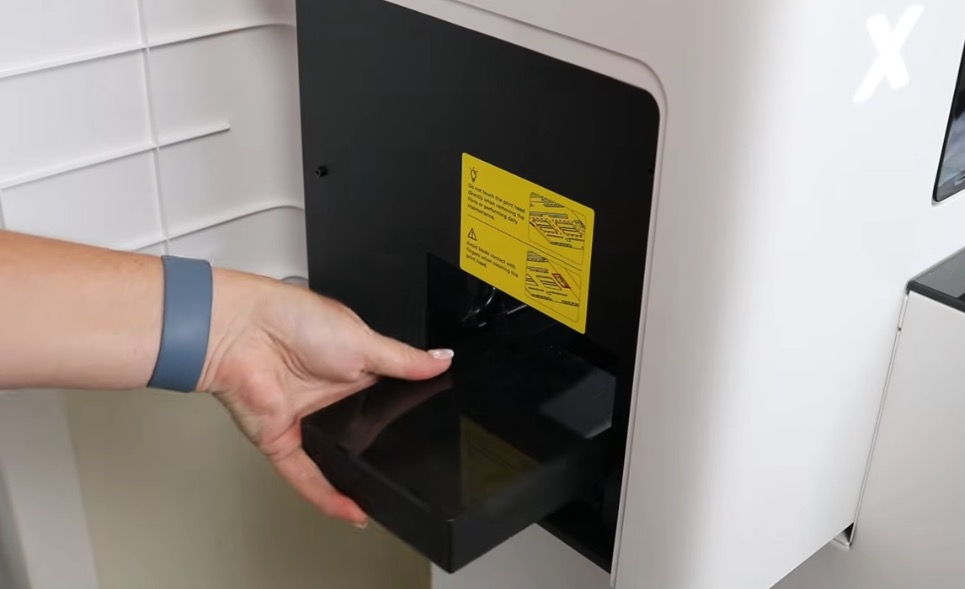
There is a built-in humidifier that you keep filled with water, and it will keep the humidity in the optimal range between 45 and 65%.
This will reduce the chances of your print head drying out, and it will reduce ink flow interruptions, which will help ensure better prints consistently.
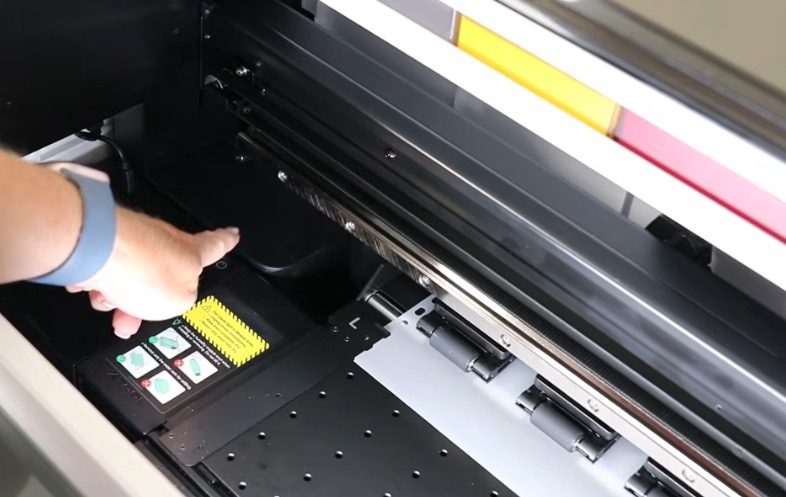
Humidity Upgrade for xTool Apparel Printer
If you own the original xTool Apparel Printer, you will continue to have one humidity sensor, but the upgrade kit comes with a box you can add to your printer that you'll fill with water that will help control the humidity. You do need to manually turn it on and off, but if you've had issues with humidity, I would definitely recommend adding it.
Upgraded Ink Dampers
When I opened the Plus, I immediately noticed that the ink dampers were different, along with the capping station. Many other internal pieces looked different compared to the original.
The new ink dampers and the advanced wet capping allow you to keep the print head moist for 30-plus days. This is a significant improvement from the original printer that required an entire maintenance procedure to leave the printer for a week.
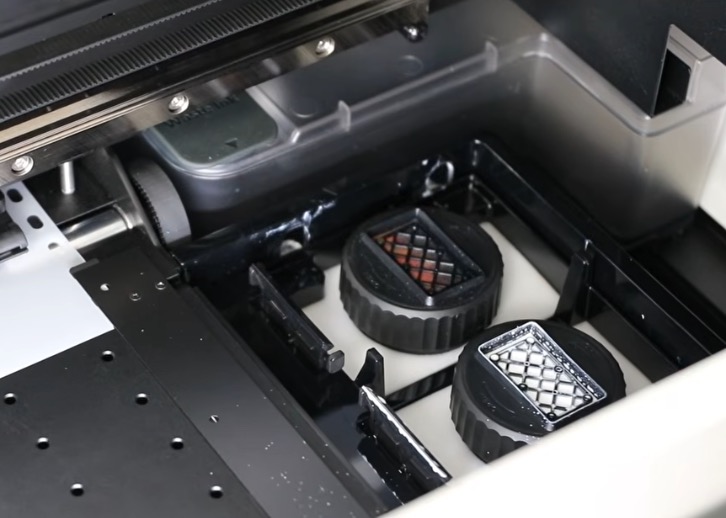
With these new features you can leave the printer idle for longer periods of time reducing your moisturizing fluid consumption up to 75%.
It will also lower the ink consumption by approximately 80%. So not only does it keep everything moist longer, but it also uses less material.
This is a great feature for small businesses that have a slow season where they're printing less, or people who travel and don't want to waste material preparing their printer for time away.
Ink Damper Upgrade for xTool Apparel Printer
If you own the original apparel printer, the upgrade kit includes upgraded ink dampers that you can install, and a software update.
Between those two things, you'll get the core benefits of the Apparel Plus, you just have to install them yourself.
xTool Studio App Printing
This last upgrade is for all xTool Apparel Printer users. You can now print from the xTool Studio app on your phone directly to the printer.
You can also do status checks and get real-time updates all within the app.
I tested the app by printing a design and pressing it onto a shirt, so I can confirm that using the app to print works perfectly.
Upgrade Overview
Let's look at the Apparel Printer and AP Plus differences and the upgrade kit.
I want to tell you now that both the Apparel Printer and Apparel Printer Plus have the same print quality, speed, and workflow. I have been very happy with the print quality and speed, and the workflow has been easy for me to use.
The upgrade in the AP Plus and the upgrade kit are more about stability and maintenance, which is great for me because those were my pain points.
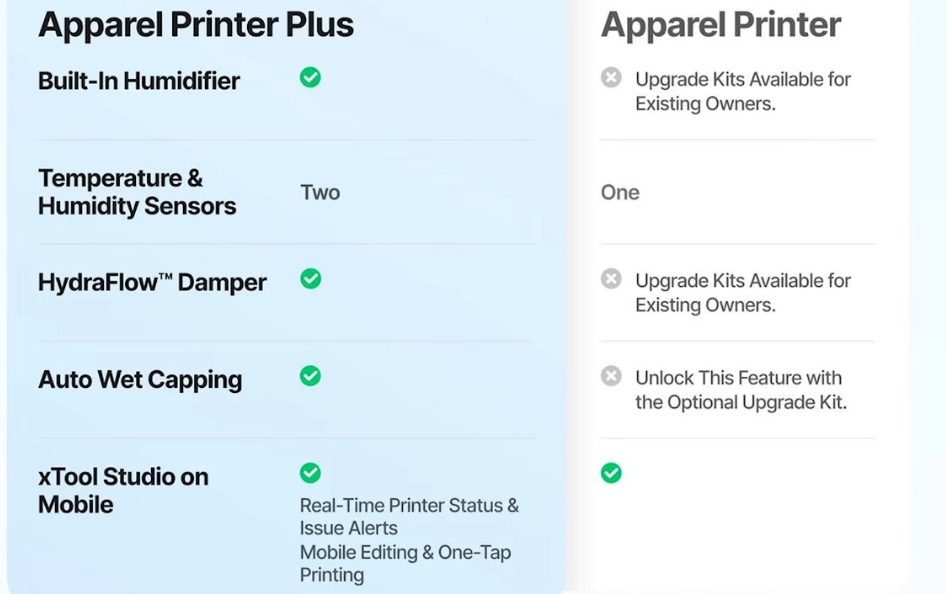
xTool Apparel Printer Plus Upgrades:
- Built-in humidifier
- Two humidity sensors
- Hydroflow Damper
- Auto Wet Capping
Upgrade Kit:
- Humidifier
- Hydroflow Damper
- Wet Capping Feature with Upgrade Kit
With both, you can now use the xTool Studio app to use your printer on mobile devices.
Upgrade kits are available for existing owners, and you should get an email if you are an original apparel printer owner that offers the kit. If you purchased your printer from someone else, the email likely went to them.
Printing with the xTool Studio App
To print to the xTool Apparel Printer Plus using the xTool Studio app, make sure the app is up to date. If you're not seeing the features, you're likely using an older version.
Connect to the printer via Bluetooth. Import the image you want to use. You can even take a photo with your phone and send it to the printer.
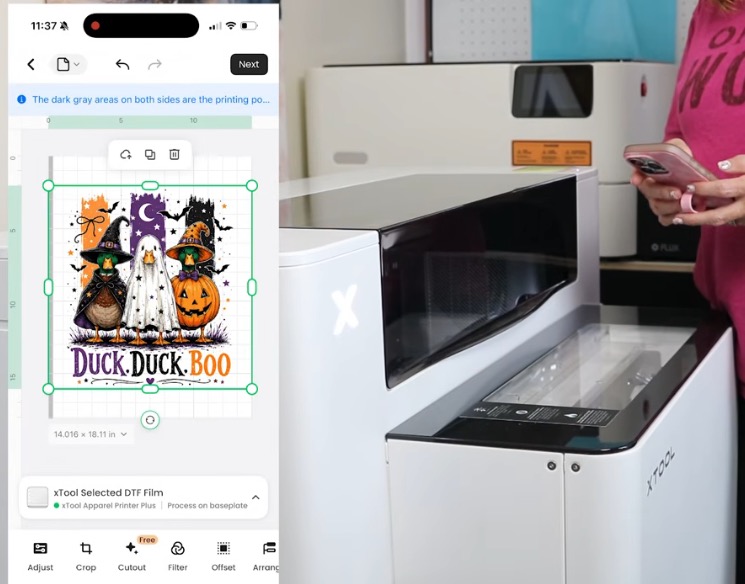
Within the app, you can resize the design, add text, rotate the image, etc. When the design looks just how you want, send it directly to the printer. No computer needed.
Note: You do not need to mirror your design in the app. That will be done automatically before it's sent to the printer.
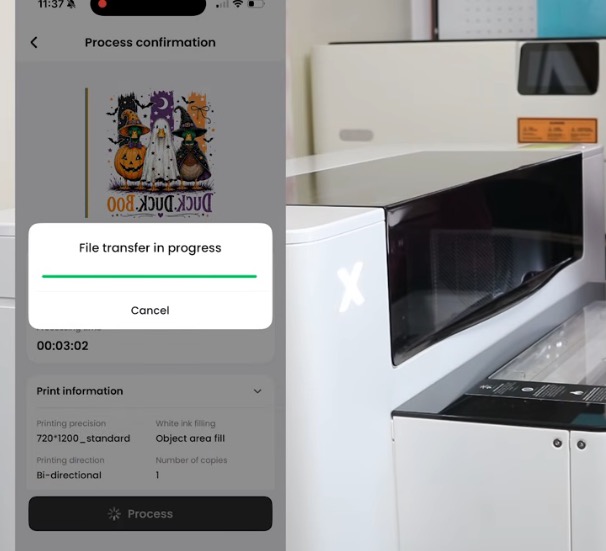
Along with mirroring the image, the printer will automatically lay ink down in the correct order, including laying the white ink down on the back of the image.
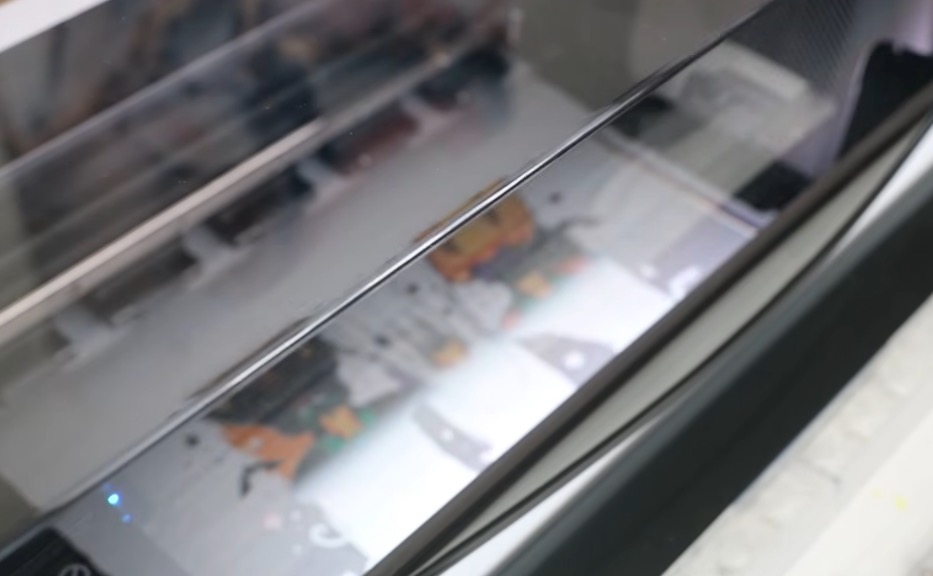
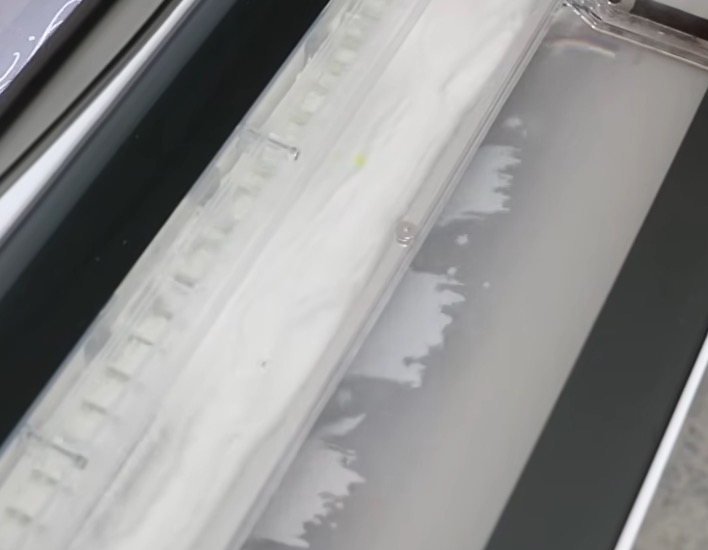
When it's done printing, it will move directly to the shaker, where the powder adhesive is applied and the excess is shaken off. Then it will move to the oven to cure the ink and powder. When it comes out of the printer, it's fully cured and ready to press (or store for a later date).
How to Press a DTF Print to a Shirt
Now, we're ready to press the DTF print onto a shirt. I am using the xTool WonderPress today.
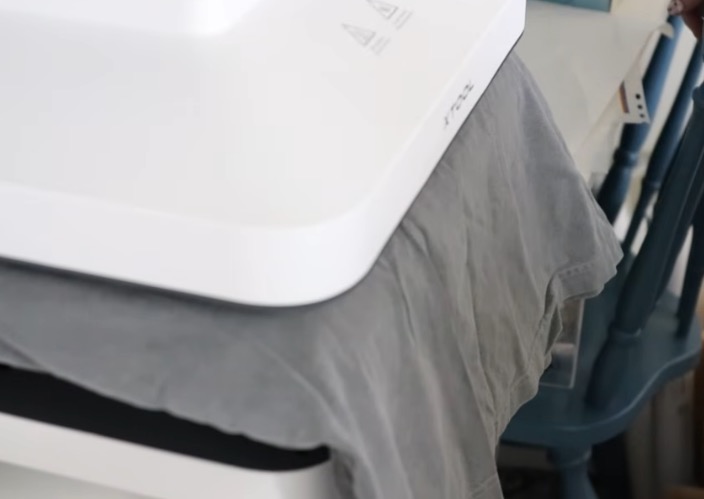
- Preheat the press to 320° and set the timer to 10 seconds.
- Preheat the shirt to remove moisture and wrinkles.
- Locate the design.
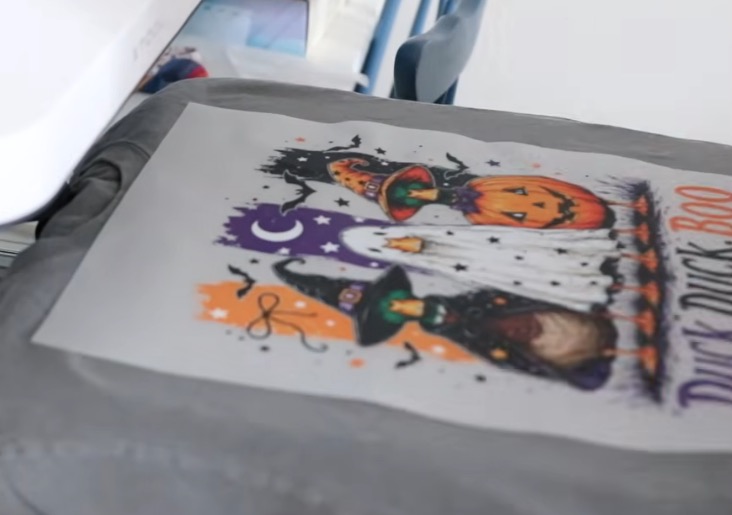
- Cover print with protective paper.
- Press for 10 seconds.
- Remove from the WonderPress and cool with a cooling block.
- Peel back the carrier sheet.
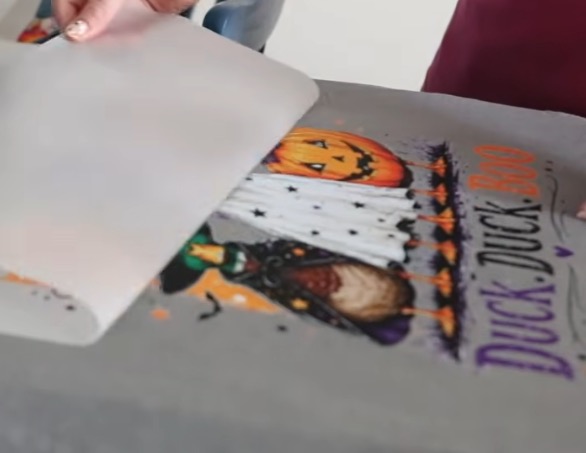
- Cover with protective paper and press again for 10 seconds.
- Remove from the WonderPress and you're done.
If you don't know already, I love making projects with DTF prints. No matter what color your blank is, the image pops off; even the ghost duck is vibrant on a grey shirt.
I love this shirt, and I made it in minutes. I didn't need a specific type or color of shirt. Any shirt I have on my shelf can be used with DTF.
Are You Ready for an Upgrade?
Now that you've seen the differences, what do you need to do next?
If you already have the xTool Apparel Printer, you can get the upgrade kit for free. This is a great option, and I'm so glad that xTool is offering it because I think the upgrade kit addresses pain points I had.
Click here to see the upgrade kit!
If humidity is a big issue for you, you may want to purchase the AP Plus to get the extra humidity sensor. I saw that they're offering a coupon code for existing owners, so make sure to look for that. Otherwise, I think you'll be happy with the upgrade kit.
You should receive an email from xTool offering the upgrade kit, it will include a coupon code to get the upgrade kit for free.
Do You Need the xTool Apparel Plus DTF Printer?
If you're ready to invest in a DTF printer and have enough orders to print at home rather than order prints, the xTool Apparel Printer Plus may be the right fit. I highly recommend the xTool Apparel Printer Plus connected to the shaker and oven. Connected to an air filter, I've found it's the safest option for running a DTF printer in your home.
Click here to buy the xTool Apparel Printer Plus!
I want to reiterate again that the xTool Apparel Printer and xTool Apparel Printer Plus were the same as far as workflow and printing process go. I also found that the setup was basically identical to setting up the original printer.
The only difference was that I installed the humidity module during the setup process, and the printer came with instructions for installing it, and it was very easy. You do want to make sure you keep water in it. Tap water is all that is needed; you don't need to purchase any special filter or distilled water.
I am very excited about the changes to this printer, with the humidity sensors, humidity module, and easier maintenance, I expect to have better reliability from my printer going forward.
I hope I've answered any questions you have about the xTool Apparel Printer Plus. If you have any additional questions, leave them in the comments, and I'll be happy to answer them for you.