
If you are looking for rustic farmhouse bathroom ideas, I have the solution for you. I found some great rustic farmhouse finds at my local store and was thrilled to add them to my bathroom. I love it when I can add touches that make a space all mine! These pieces also work well with my bathroom organization ideas that also have a rustic feel to them. Which means this space is coming together nicely!
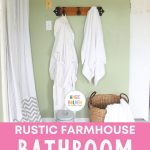
Rustic Farmhouse Bathroom Ideas
Don’t you just love the farmhouse style? I sure do, which is why I’ve come up with great ways to start adding rustic touches to your own space on a budget. Use our ideas to shop your local store or make a list to keep your eyes peeled for second-hand finds.
Farmhouse Bathroom Organization
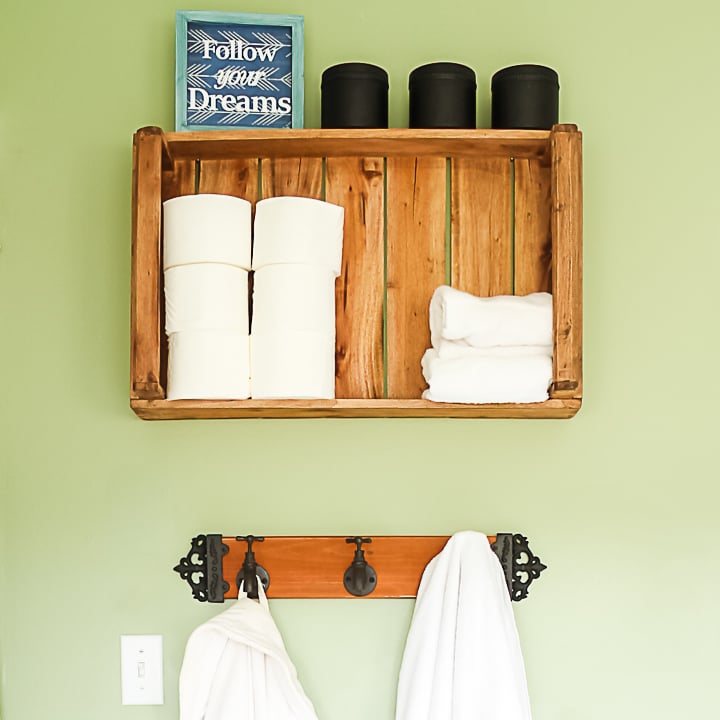
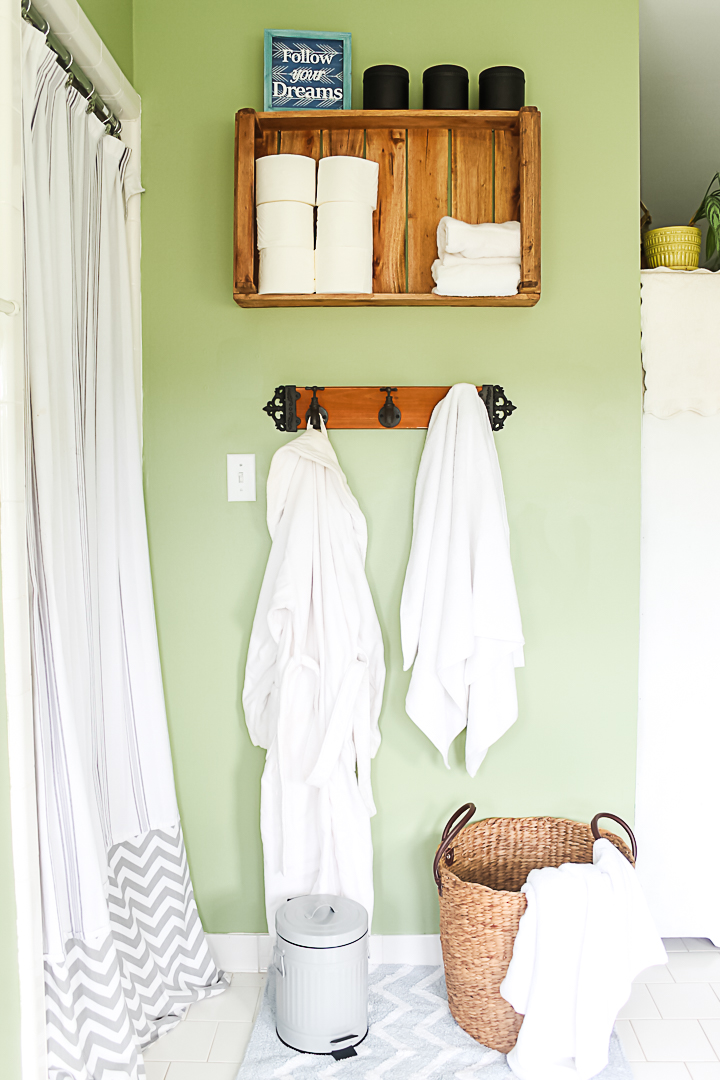
We started by adding some additional storage to this space. You can go with traditional shelving but you can also think outside of the box. Adding a wooden tray to the wall gave this space additional storage that also has that authentically rustic feel. You can find trays and baskets that are new or go vintage. They work great for storage in your farmhouse style bathroom.
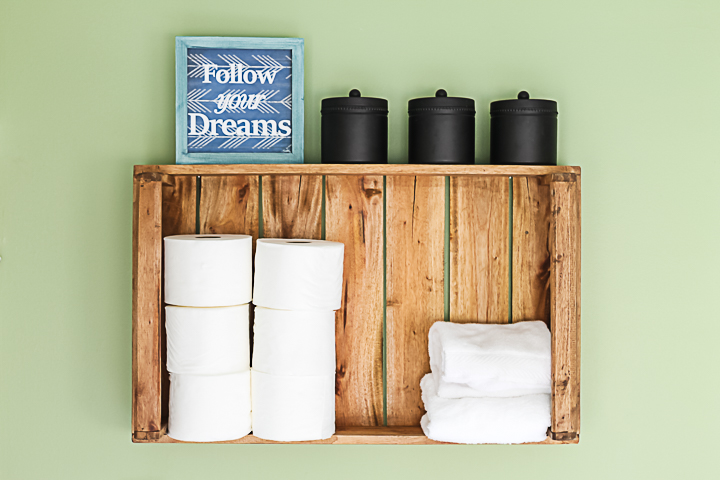
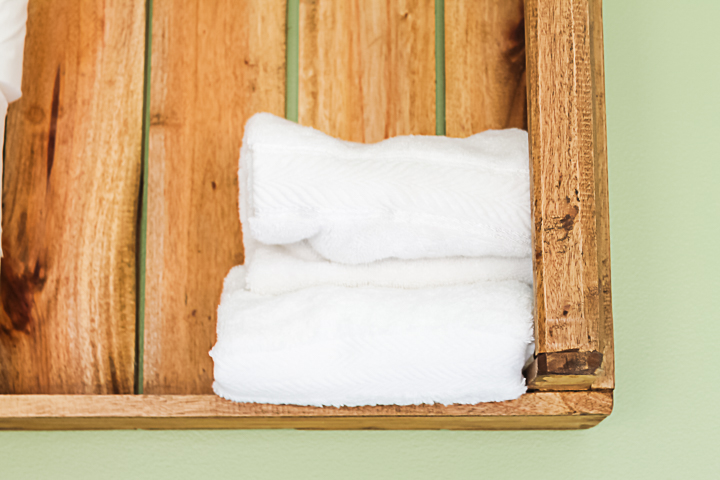
You can store towels or toilet paper in your rustic tray. The top also serves as a shelf for additional decor or storage containers. Plus, who can resist that rustic wood? It really makes this piece something special and adds so much to this cottage bathroom.
Farmhouse Chic Bathroom
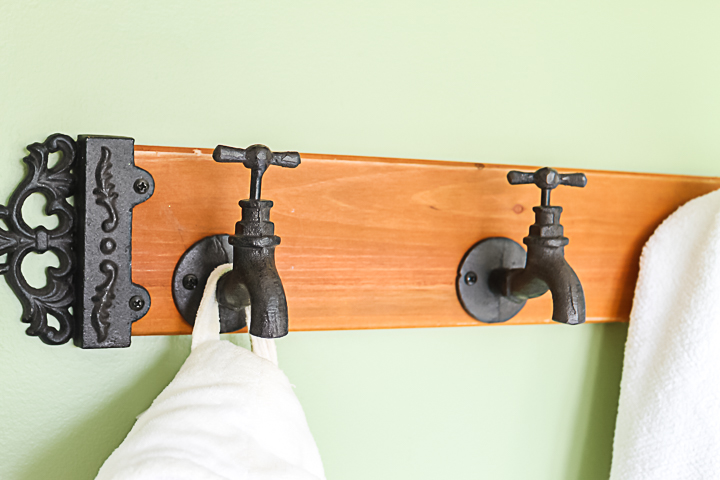
No bathroom would be complete without a place to hang towels. We just love those rustic hooks and the details they added to this space. I definitely think these hooks qualify as farmhouse chic. They are one of my favorite pieces in my entire home.
When sprucing up your bathroom, don’t forget your floors. We chose a muted grey and white bath mat for this space. The trash can was also an adorable find that works perfectly in this space.
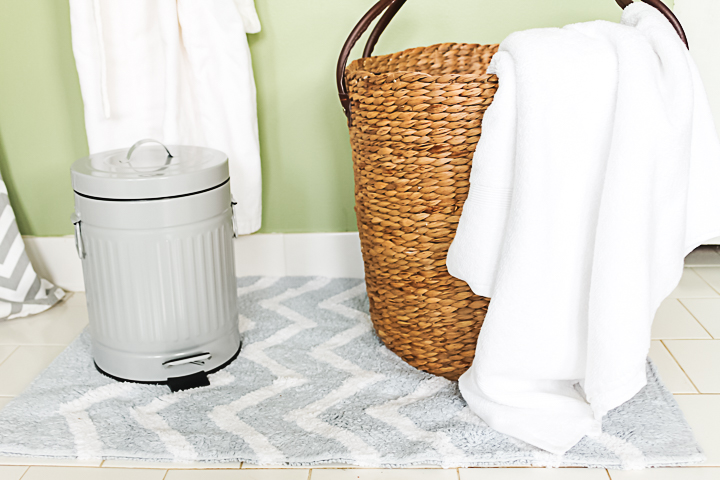
A large basket works for dirty clothes or additional bathroom storage. Baskets also add texture to a space that adds to that farmhouse chic feeling. Baskets can be inexpensive if you shop sales and really make a room. I also would love to turn an old dresser into a vanity in this space, but that is a project for another day.
Adding these rustic farmhouse bathroom ideas to your home is simple. Just grab a few finds from your local store or even stalk your thrift store for the perfect vintage pieces. Either way, you are sure to create a space you love in your home.
Looking for even more organization ideas for your home?
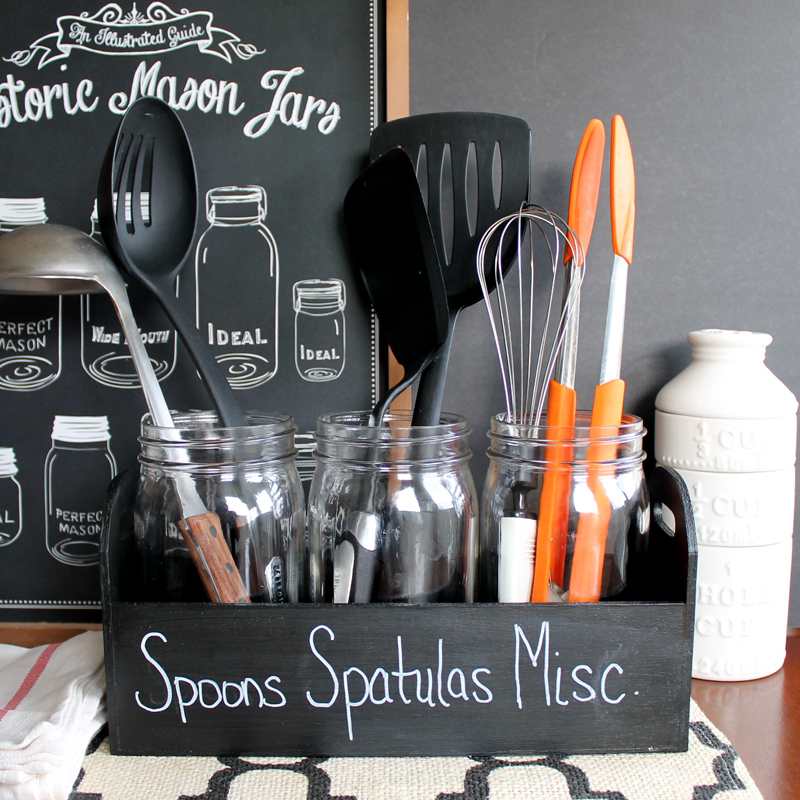
We have those for you as well! Click here to see how to make this mason jar kitchen utensil holder.
It is also not too late to sign up for our declutter in 31 days challenge. You can start anytime and get your home clutter-free in just 31 days. You will love the results and getting your home more organized. Click here to see more and sign up today. The challenges will be delivered to your email inbox daily and you can work at your own pace.

If you have challenged yourself to get more organized in the new year, you will definitely want to add some of these rustic farmhouse bathroom ideas to your home. They will add style and function at the same time. Good luck with your organization efforts!
Declutter Your Home in 31 Days!

Clear the clutter and organize your home with our daily emails! Every day for a month we will send you a prompt to declutter! Sign up for our email list below to get started.


How wide(or deep I guess) is the base of the tray you used for bathroom towel storage?
I would guess 5 – 6 inches. But those are hand towels in there and not full sized towels.
Thank you!