
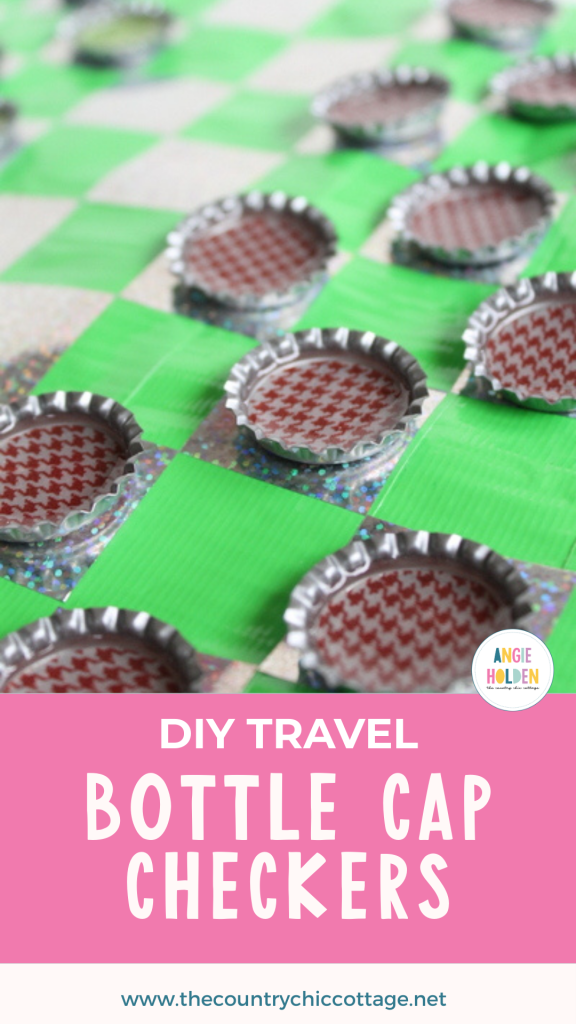
Make this easy bottle cap checkers board so the kids can entertain themselves when they travel! This easy board game is made with duct tape, washi tape, bottle caps, and resin. This tutorial is completed with a checkers board and storage bag.

This is an excellent craft for those boring moments with kids in the car. I learned my lesson early on and always have little games and small toys at the ready with the boredom kicks in!
If travel plans are in your future, be sure to download this road trip planner to plan out your itinerary and checklists! Looking for more travel-friendly entertainment crafts? Make this DIY lego travel case so you never lose those spare pieces for the kid' lego activities. Road trip printables and busy book pages are also great activities to keep the kiddos entertained.
This craft is a little more time consuming than other crafts, but it is so much fun when you are done! Use this for traveling or keeping in your purse for times when the kiddos need to stay quiet and occupied.
How to DIY travel bottle cap checkers game
Supplies needed for a bottle cap checker board:
- Washi Tape (2 colors)
- Bottle Caps (28 total)
- Cast Resin or Mod Podge Dimensional Magic
- Duck Tape (2 colors)
- Gallon size Ziploc bag

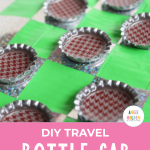
To make the bottle cap playing pieces, start by putting washi tape in the bottom of all of your bottle caps. You will need 14 of each color. I used a craft knife to trim the washi tape after putting two strips in each bottle cap.

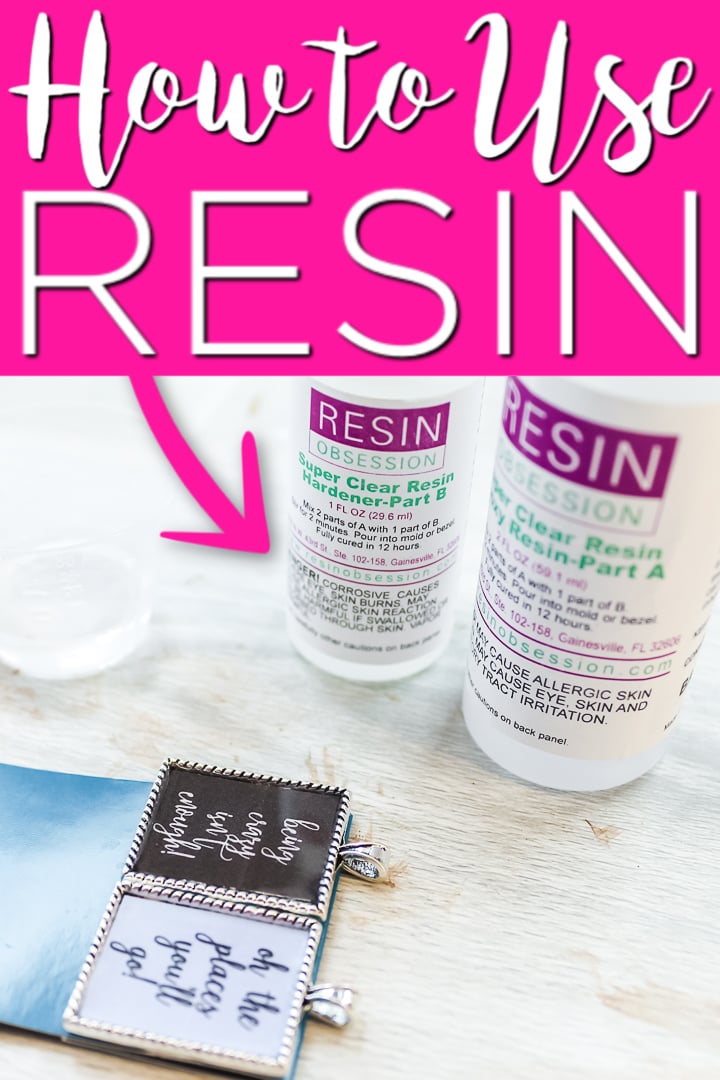
Resin can sound so intimidating, but really, it is easy to use and perfect for a project like this. I used the resin on all of my checkers to give them a hard finish on the inside.
Resin is the best option for this type of project, but you could also try Mod Podge Dimensional Magic. Either option will need quite a bit of drying time.

To make the checker board, place strips of duck tape right on your gallon size Ziploc bag. Stop when you get to the top. We still want the zipper to work when we are done.

I used a roll of green tape and a sheet of silver for my project. Two rolls will work but you might have to adhere one of the rolls to wax paper to cut it. Yes a green sheet is shown in my picture. I did not even use it.

Once the front is complete, flip it over and put strips all the way up the back. Use scissors to trim any excess on the sides. Then, use the same color tape around all three edges to finish off your bag. Again no tape on the zippered top.

Now, if you are using Duck Tape sheets, this next step is super easy. If you cannot find the sheets in your craft section, adhere your tape to wax paper or something removable before cutting so you can get these measurements right. Cut your tape into 1 1/4 inch by 1 1/4 inch squares.

Now use a couple of rulers and lay your squares out evenly just like a checkerboard. There should be 8 squares by 8 squares in alternating colors. In the picture below, you can see my wrapped tape edges and how the zipper portion is left open.

All that is left is to set up your bottle caps and play a game.

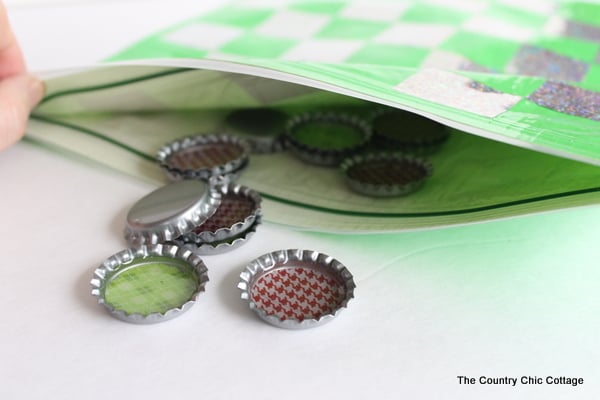
The bottle caps even stack for kings! These instructions will yield enough to play the game and two extra of each color.

When you are not playing, you can store all your checkers inside the bag. So convenient and perfect for a trip. I hope y'all enjoy a checkers tournament with your kids soon!

Struggling with resin and need help?
I know that a ton of you are intimidated by resin. Don't be! You just need to know the basics and gain some experience with the medium. I have a course that will help you master epoxy resin and give you the confidence you need to tackle this project and so much more.
With unique insights drawn from more than a decade of creating and selling resin jewelry worldwide, this course is from an Amazon best-selling author on the topic. This class goes beyond making a few projects. You get thirty video lessons to give you clear directions on how to make resin jewelry you can confidently share and sell. Want to see more?
Supplies
- Supplies needed for a bottle cap checker board:
- Washi Tape 2 colors
- Bottle Caps 28 total
- Cast Resin or Mod Podge Dimensional Magic
- Duck Tape 2 colors
- Gallon size Ziploc bag
Instructions
- To make the bottle cap playing pieces, place washi tape in the bottom of all of your bottle caps. You will need 14 of each color.
- To make the checker board, add strips of duck tape on the gallon size Ziploc bag, leaving the zipper and top of the bag untaped. Then, flip the bag over and put strips all the way up the back. Use scissors to trim any excess on the sides.
- Then, use the same color tape around all three edges to finish off your bag. Again no tape on the zippered top.
- To make the squares, cut 16 pieces of washi tape into 1 1/4 inch by 1 1/4 inch squares. You will need 8 squares of each washi tape color.
- Now, you are ready to play. When you are not playing, you can store all your checkers inside the bag.


great post! I’m your new Follower. I hope you visit my blog sometimes.. thanks! 🙂 Kisses from VV!!
INTERNATIONAL CHRISTMAS GIVEAWAY!!! here voguelyvan.com/2012/12/international-christmas-giveaway.html