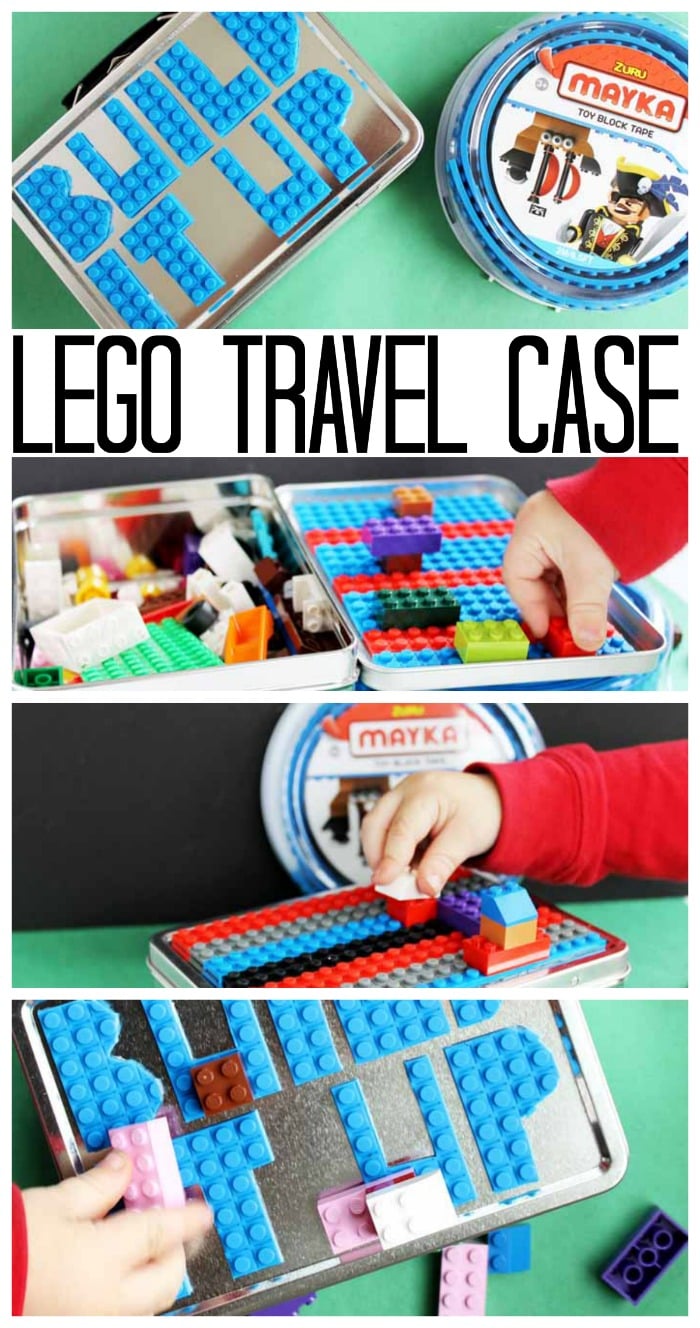
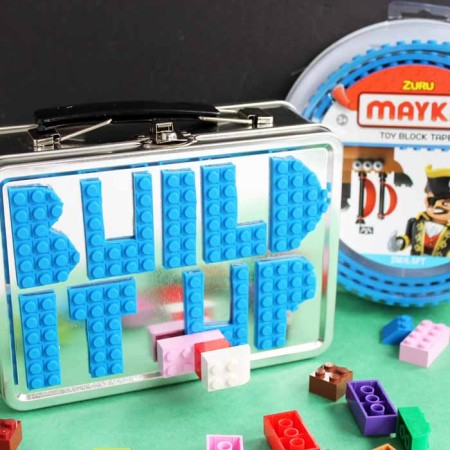
This DIY lego case is the perfect storage solution for legos! With three different surfaces combined with Mayka tape for building, you can have an easy and custom lego travel case ready in no time.
Have an array of legos and more Mayka tape that you would like to use? Check out this fun lego bracelet that is so easy to customize!
Make Your Own Lego Case
We all know how easy it is for legos to get lost in the whirlwind of our day-to-day lives, especially while traveling. I decided to create this super handy lego case to store our legos on-the-go. The best part about this lego storage case is that the Mayka tape on the box allows for an easy way to build that is fun, convenient, and versatile.
Supplies Needed
Some links below may be affiliate links which means you don’t pay anymore.
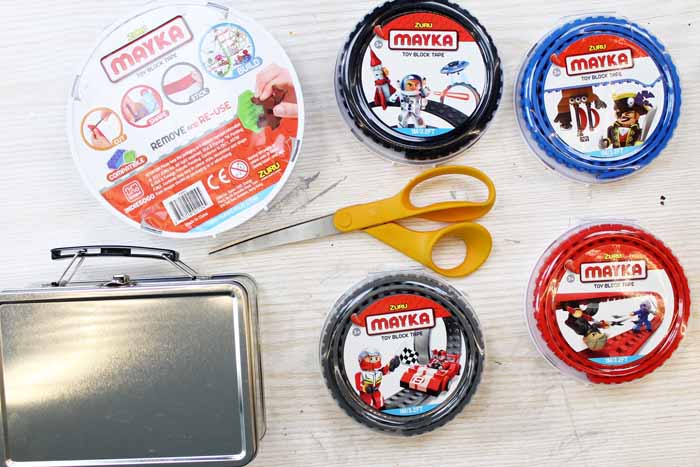
- Brick Tape
- Plain steel lunch box: You can find this online or at any children’s store.
- Scissors: Scissors can be found either online or at your local craft store.
- Lego Pieces: Feel free to order the lego online or buy from your local toy store.
Note: You can use any color you would like for the Mayka tape and legos. The options are infinite so have fun with this DIY lego travel kit!
I thought it would be fun to show just how easy this product is to use in a quick video. You can watch me make this Lego travel case in the video below.
Can’t watch the video or missed some of the steps? Try the instructions below.
How to Make Your DIY Lego Case
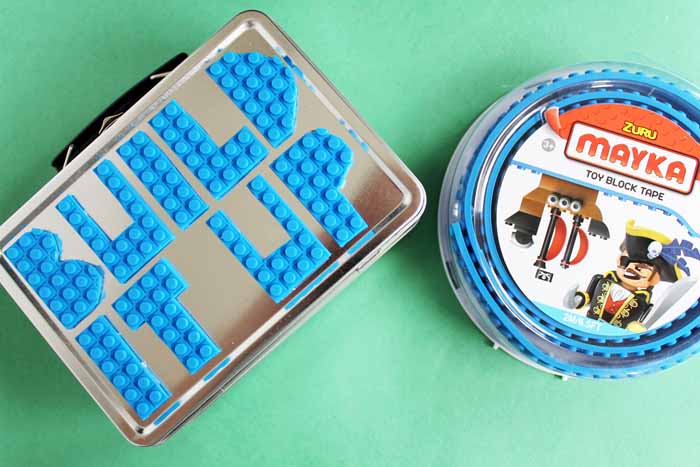
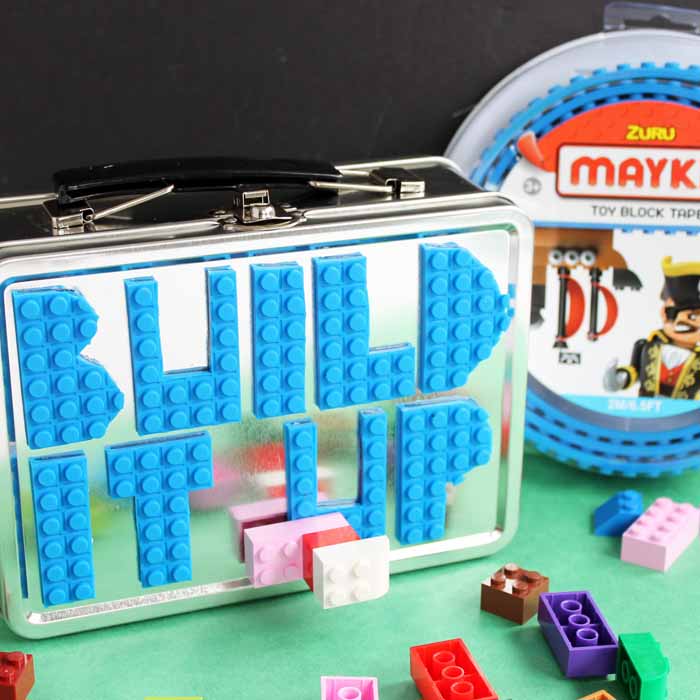
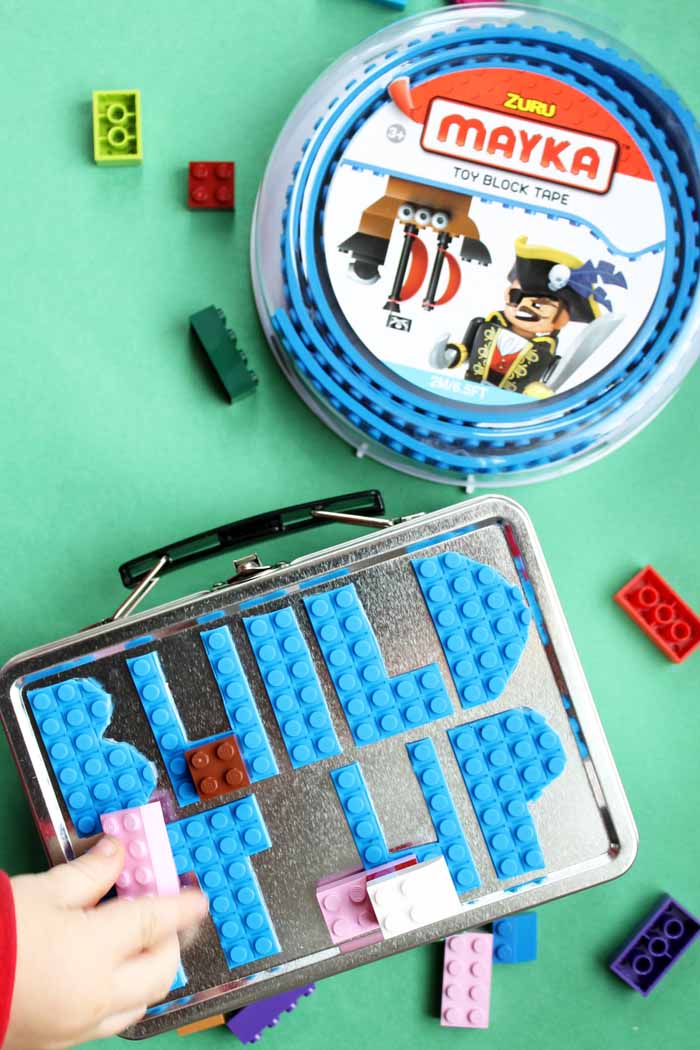
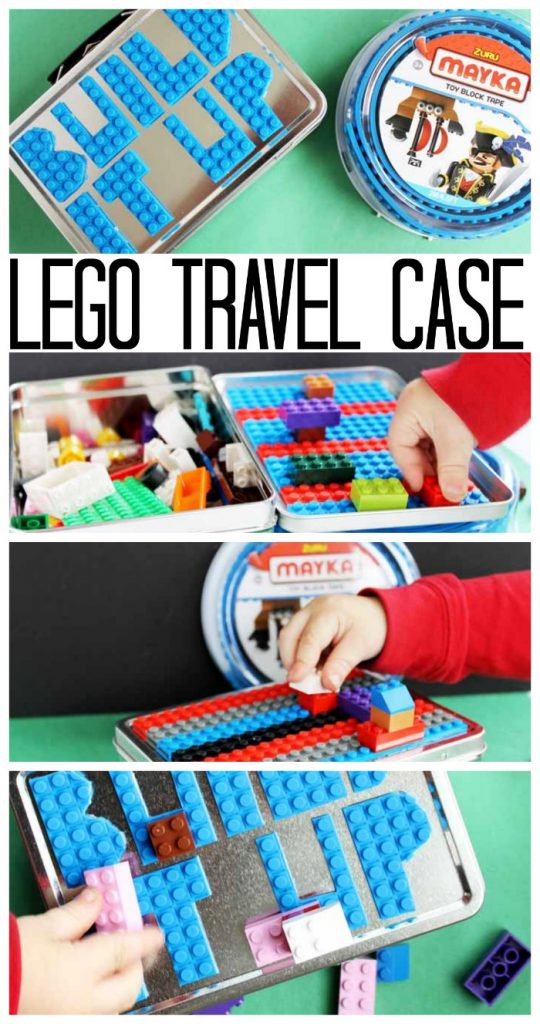
You’re going to love making this fun portable lego kit. The Mayka tape is self-adhesive which makes this a super simple project. On the front of the lunch box, I spelled out, “BUILD IT UP” with the Mayka tape so there can be some lego action there. I free-handed the letters with scissors and cut the Mayka tape to the right height– this stuff is seriously so easy to cut!
Step 1
First, lay out the design before you start to get an idea of how big the letters should be. You can easily customize the letters and trim them to make them look just right. I used the tape that has four studs across for this portion. All you do is just peel the backing from the letters and stick it to the lunchbox!
Step 2
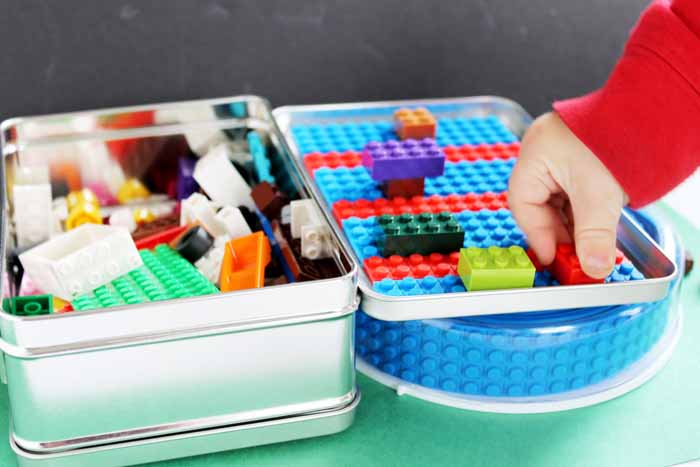
Next, I made a surface for building on the inside of the lid. For this surface, I used a combination of the four and two stud tape. I just cut it to the proper length, peeled the backing, and stuck it to the surface by pressing firmly.
NOTE: The backing is stuck really well to the adhesive! I love that because the adhesive is really strong which is just what I am looking for! Watch this video for another method for peeling the tape if you need some help with getting the tape off the backing.
Step 3
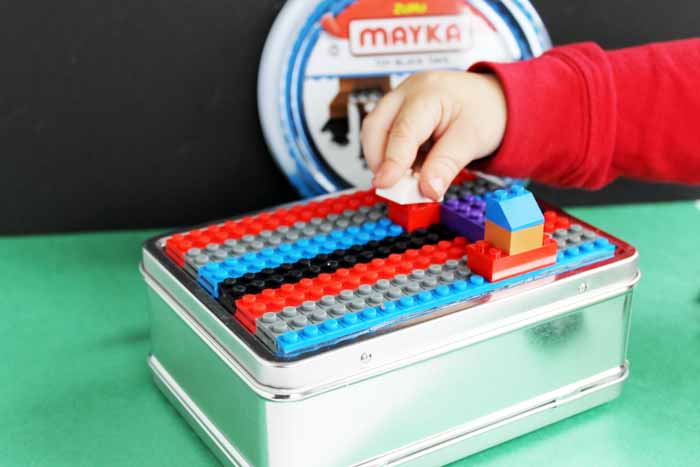
Then, I created a third play surface inside the lunchbox. Here I used all two stud tapes in different colors designed in stripes.
Note: If you get to the end and need a smaller piece of tape, you can easily cut the tape into half as well.
Step 4
Finally, you are ready to play after you have peeled the tape and stuck it to all the surfaces. The Lego brand of bricks stick to the Mayka tape and there are endless ways of playing on the surfaces with this lego travel case!
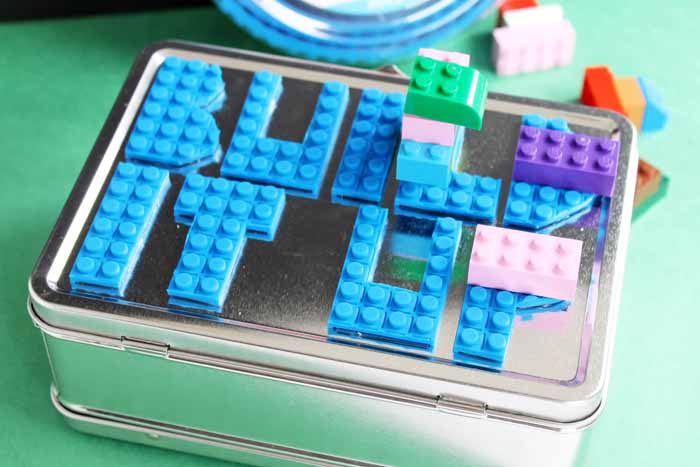
This portable lego kit was so much fun and so easy to create! You will love traveling with this DIY lego travel case.
How to Use
Use this lego case while you’re traveling, running errands, camping, having a playdate, etc. A lunchbox is the perfect size to keep a good amount of legos safe from getting lost.
Another great idea is to keep this lego case in the vehicle so the children can play with it on car rides. Keep lego lego travel kit in the car so it’s always there when the kids need something extra to do!
Love This Idea for a Lego Travel Case and Want More? Click the Links Below!
- Lego Activities
- Handmade Easter Ideas for Kids’ Baskets
- Plastic Canvas Storage Boxes
- Super Hero Jar Toy Storage
- Under the Bed Storage for Toys
Want to print the instructions for this lego case? You can use the card below!
Supplies
- Mayka Tape Your choice of colors and both the two studded and four studded types of tape.
- 1 steel lunchbox plain
- scissors
- Legos Your choice of Legos
Instructions
- First, lay out the design before you start to get an idea of how big the letters should be. You can easily customize the letters and trim them to make them look just right. I used the tape that has four studs across for this portion. All you do is just peel the backing from the letters and stick it to the lunchbox!
- Next, I made a surface for building on the inside of the lid. For this surface, I used a combination of the four and two stud tape. I just cut it to the proper length, peeled the backing, and stuck it to the surface by pressing firmly.
- Then, I created a third play surface inside the lunchbox. Here I used all two stud tapes in different colors designed in stripes.
- Finally, you are ready to play after you have peeled the tape and stuck it to all the surfaces. The Lego brand of bricks stick to the Mayka tape and there are endless ways of playing on the surfaces with this lego travel case!



This is such a cute idea Angie!
My kids would love this!! I like how you cut the letters out of the lego tape. Would love for you to stop by DIYHSH and link up to More the Merrier Monday.
Jamie
http://diyhsh.com/
That tape is awesome – and what a cute idea! I think my nephew would love this.
-Lauren
This is so cool. It looks so easy to make as well. I’m sure the kids will have a blast with this.
That is so cool! I wish my boys were little again I would be going crazy with this stuff. I will be sharing this on my Facebook page this Saturday. I like to promote cool things I find from other bloggers.
I love Lego, the kids love Lego, and making this yourself is like the greatest thing to do. It is much better than the pre made stuff you find in stores. Good post!
Such a cute idea to create a lego travel case. I’m going to have to show this tute to a few people who could definitely benefit from this one with their little ones at home 🙂