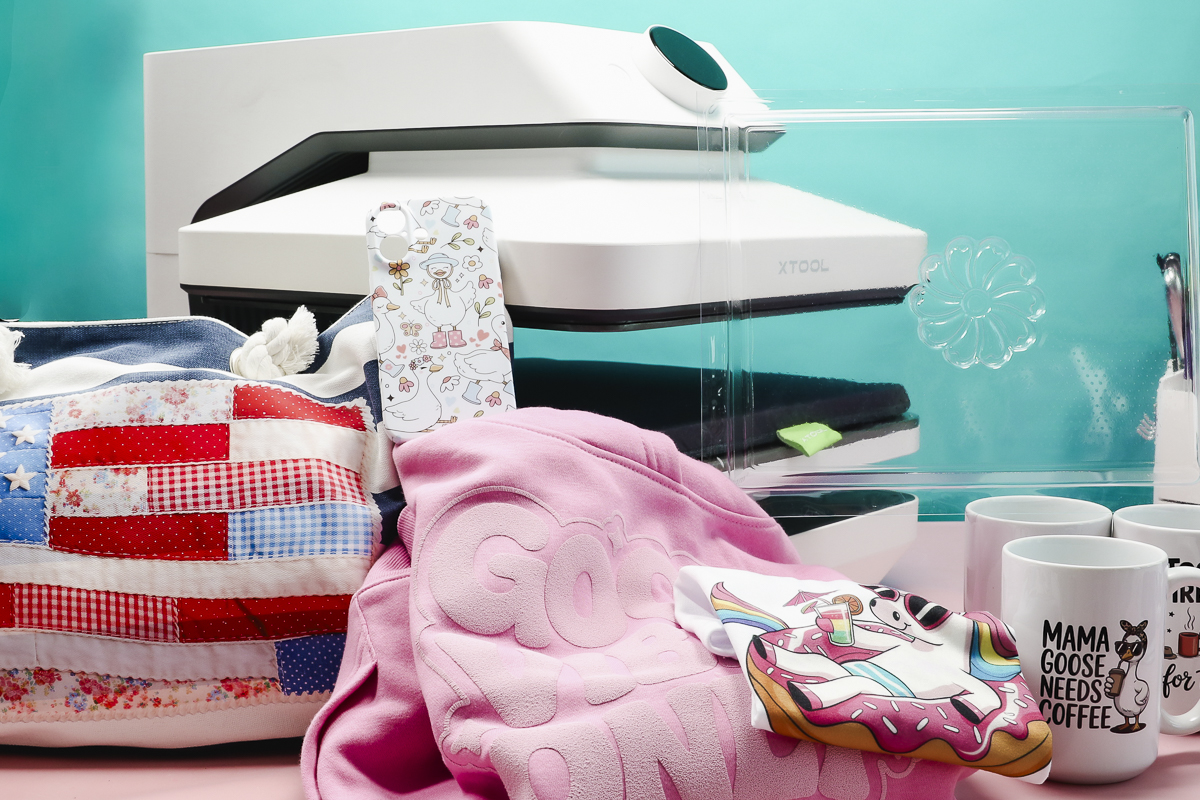
If you’ve been following me on social media, you’ve seen me talking about the xTool WonderPress. This 5-in-1 Creative Hub combines many tools you may already have in your craft room or want to add, but is it worth it?
I’m going to test out each of the different features and share my results and feelings to help you decide if the WonderPress is right for you.
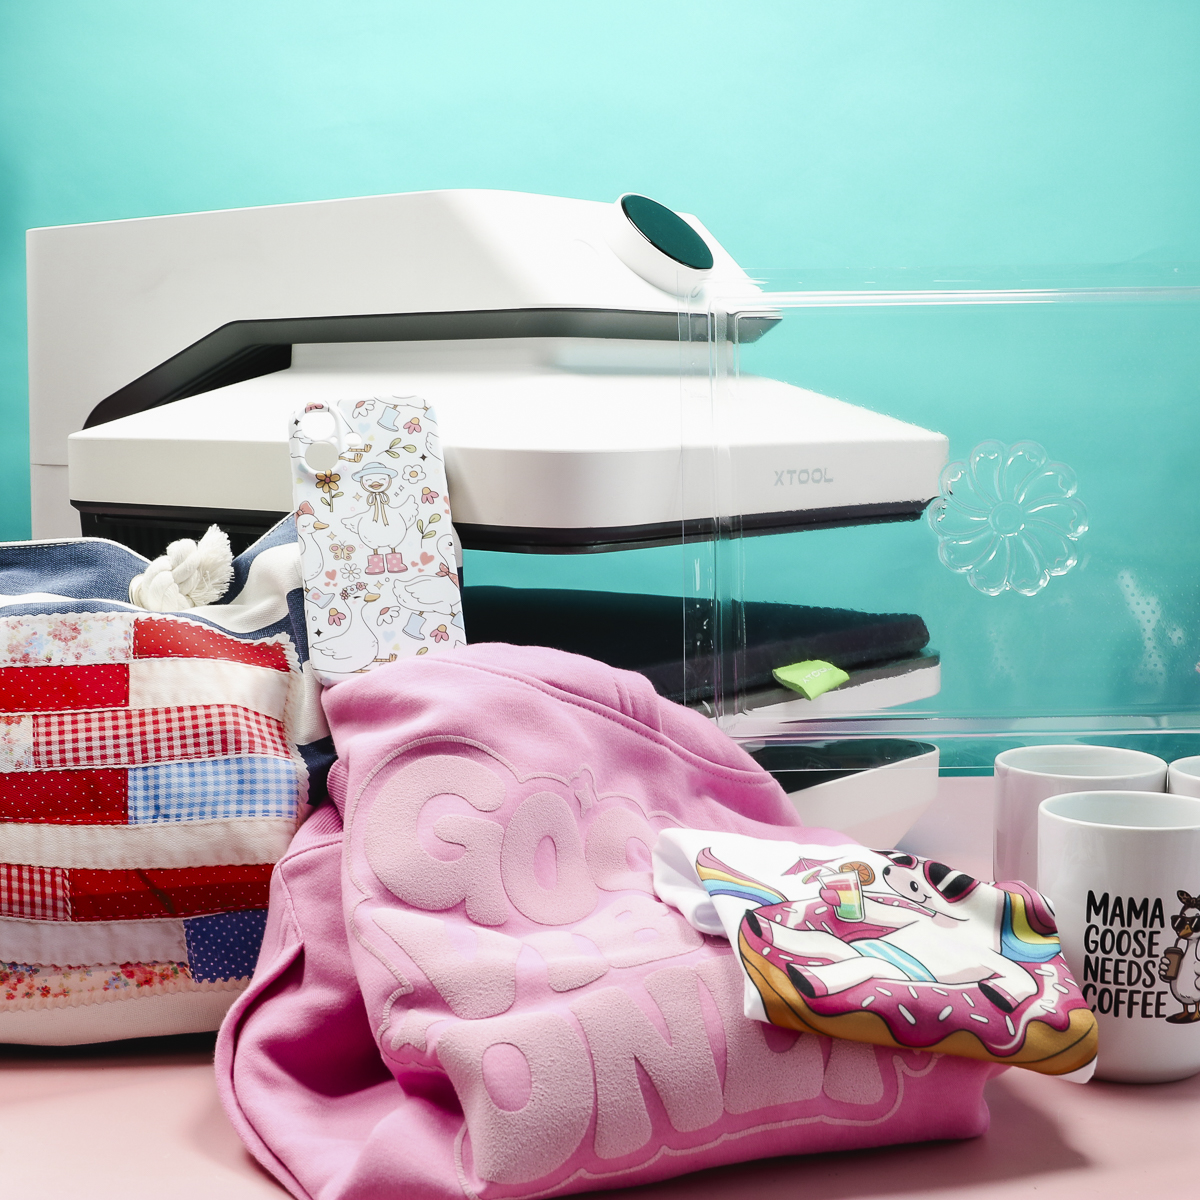
Not only is the xTool WonderPress an auto heat press that allows you to work with things like HTV, sublimation, DTF, etc., you can also swap out the modules to do even more.
With the different modules, it becomes a sublimation oven, a vacuum oven, and a DTF curing station.
What is the xTool WonderPress?
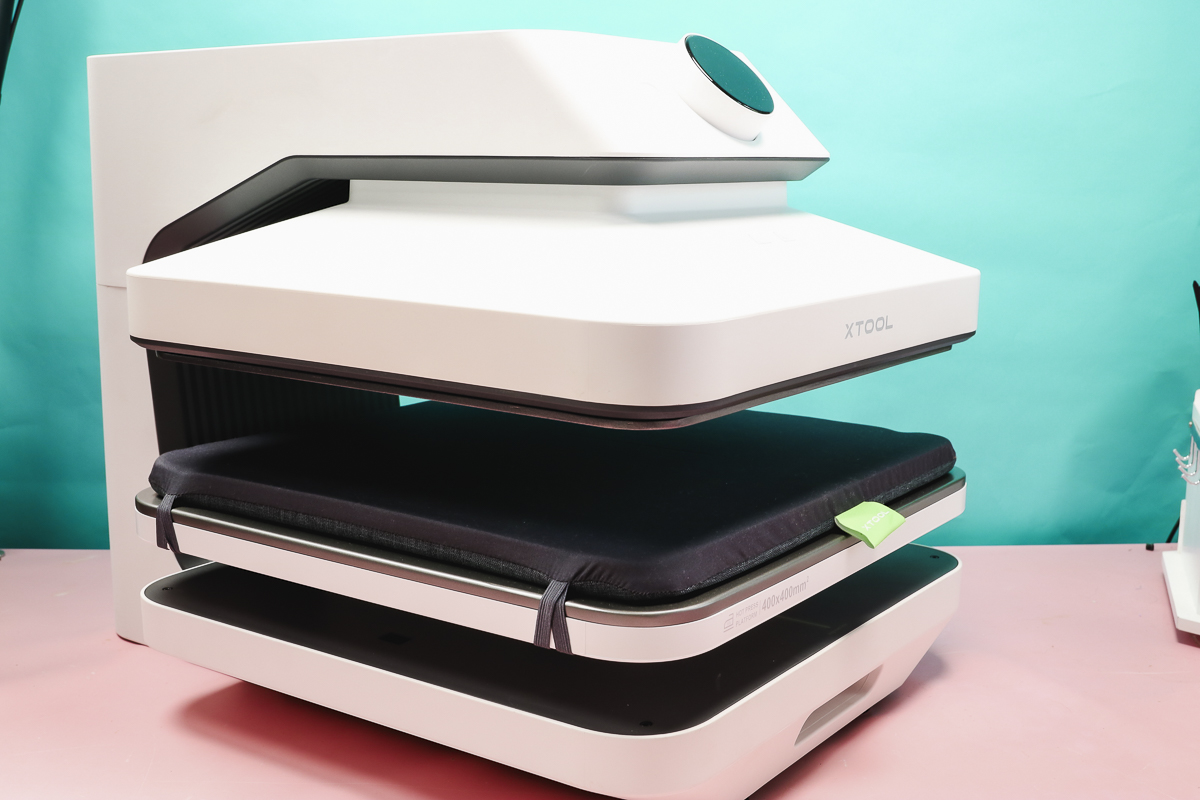
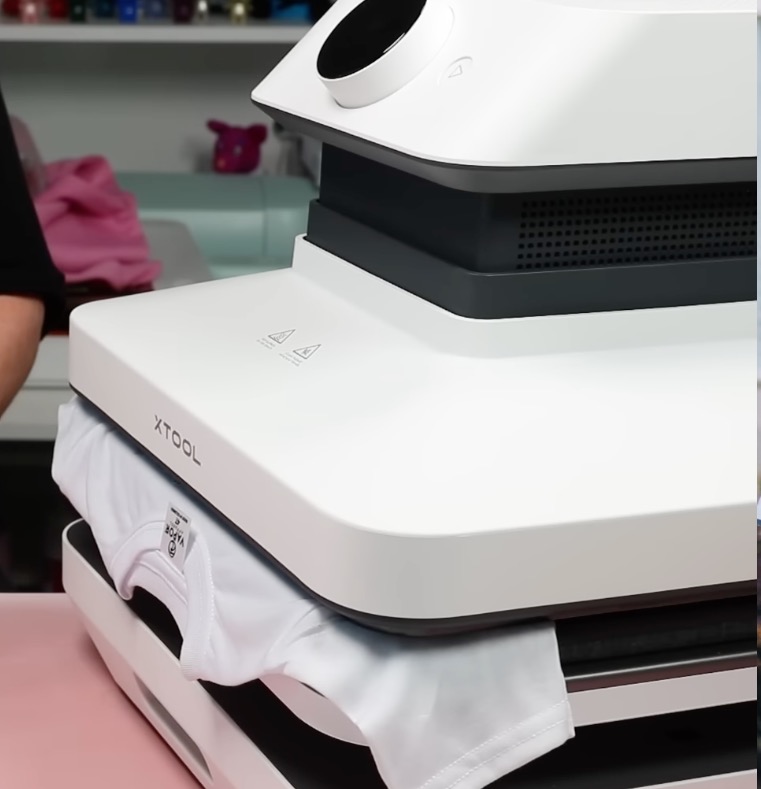
The WonderPress itself is an auto heat press that has a three-inch opening, 15×15 heat plate, and 100kg of pressure, allowing you to press a wide variety of blanks and materials.
With a denser heating layout than comparable machines on the market, you’ll get extremely even heating with the WonderPress.
We’re going to test the heat press element with materials that require heavy pressure and consistent even pressure to see how it performs.
You can swap the heat press module for the oven attachment that will allow you to sublimate on tumblers, mugs, pens, and other sublimation blanks that require shrink wrap.
The oven attachment also allows you to bake clay, shrink shrink plastic, and cure DTF prints because the oven attachment has a filter that will filter out the fumes. You know I am all about DTF safety, so if you’re curing your DTF prints a different way, definitely check out this feature.
The vacuum module allows you to create 3D sublimation projects like wrapping a design around the sides of a phone case or coaster. It can also do vacuum forming that will allow you to make molds.
With vacuum forming, you can make a mold of an object and use that mold to create chocolates, candles, resin projects, soaps, and more.
There are so many different things you can do with the xTool WonderPress. I can’t wait to try them all out.
What Comes in the Box?
What comes in the box will depend on what bundle you purchase. Regardless of what xTool WonderPress bundle you purchase, it will include the auto heat press.
The WonderPress itself includes a quick start guide, safety instructions, and a Teflon sheet.
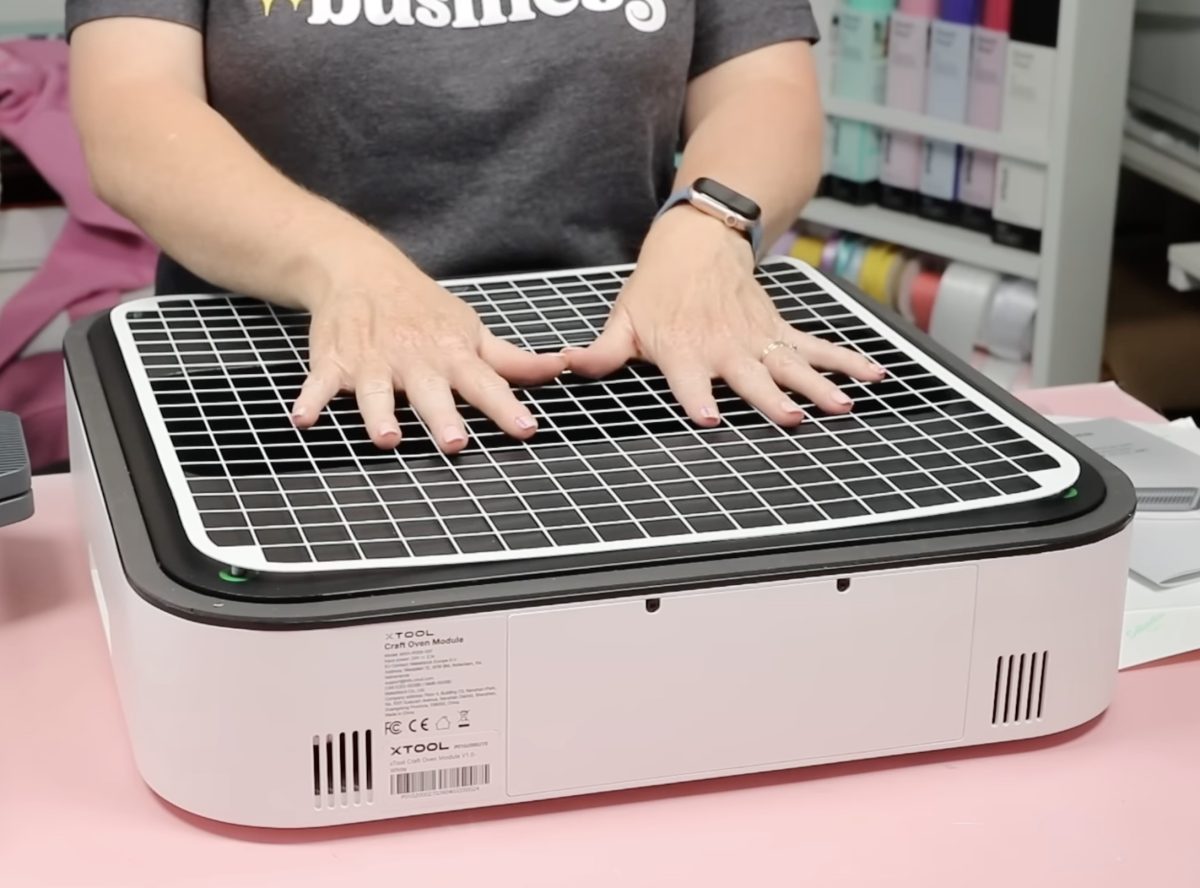
It will come with the auto press module installed, and the pressing mat is inside the press, held in place with elastic on all four sides.
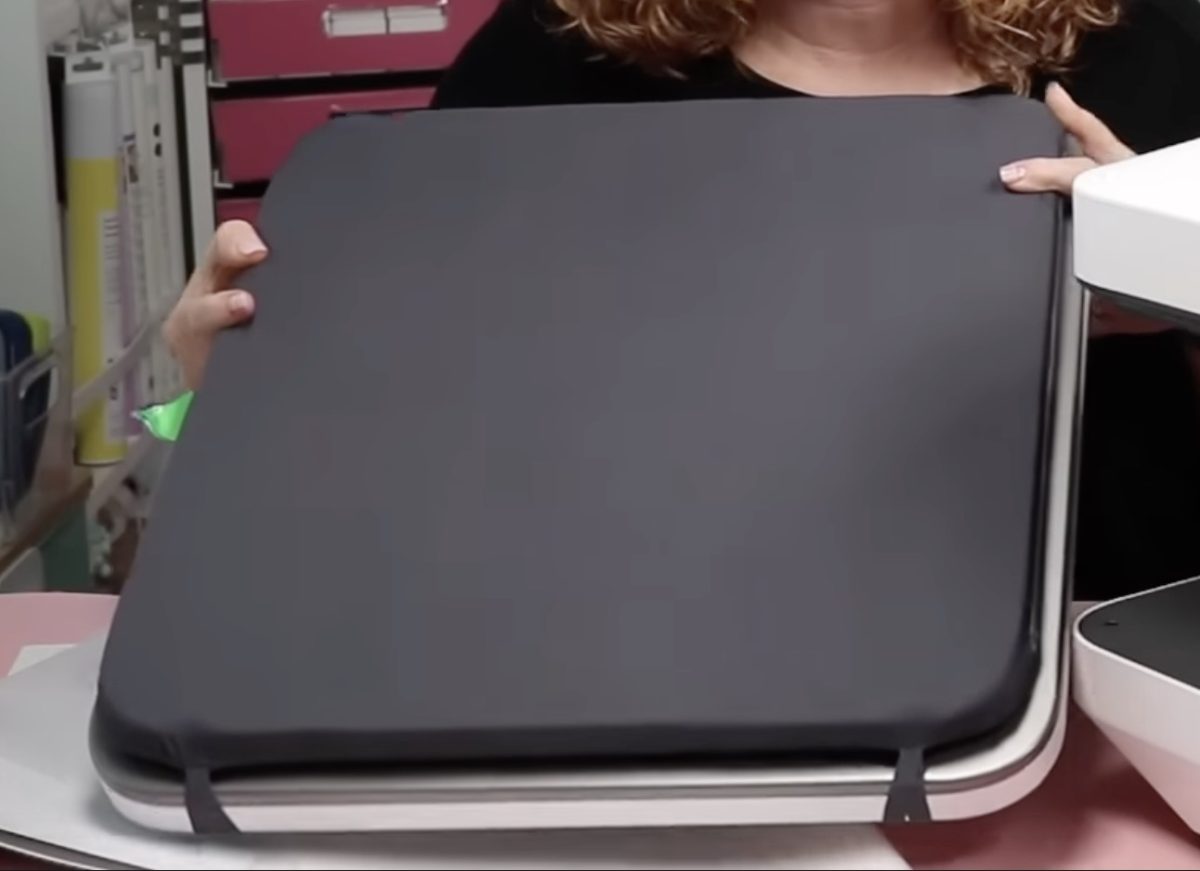
Remove the press from the box and plug it in. When you plug it in, the top platen will rise, and you can remove all of the packaging materials.
With the press plugged in, you’ll hear a fan start running automatically.
xTool WonderPress Dial
Looking at the operation panel, there is an on/off button on the left side of the knob. Press it to turn the press on.
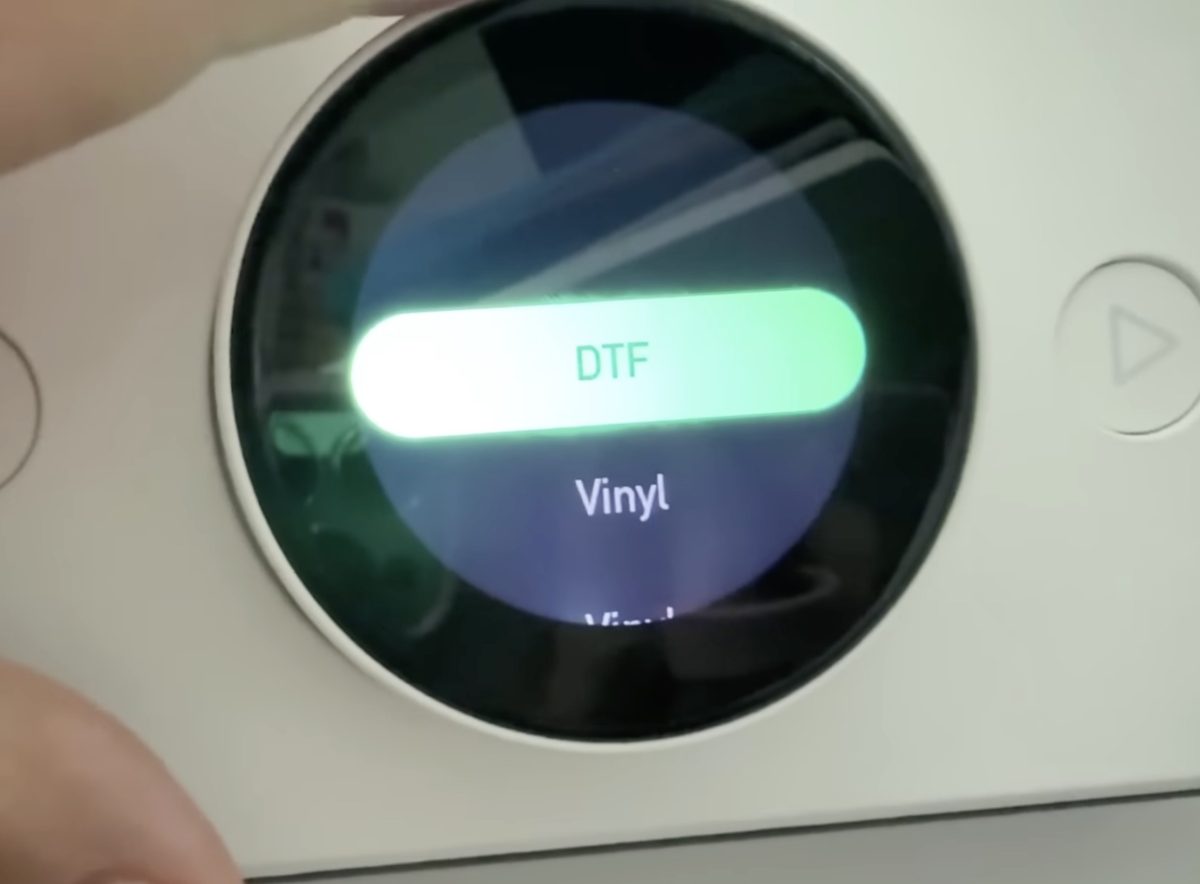
On the screen, it will tell you which module is installed, and from here you can turn the knob to adjust the settings.

As you turn the knob, you’ll see there is a setting for heat, temperature, pressure, and whether you want the auto feature on/off.
The first setting on the dial is for presets. There are a variety of different preset settings. In the manual, there are instructions for creating custom presets.
Turn the knob, and the next setting is temperature. Press the button and then turn the knob to adjust the heat temperature. Press the button again to accept the setting.
Repeat this process for the time, pressure, and the automatic features.
xTool WonderPress Auto Heat Press
First, we’re going to test the heat press module. I am going to make three different projects to really see what this press can do.
How to Make a Sublimation Shirt with the xTool WonderPress
To make a sublimation shirt, adjust the settings to 350° F for 50 seconds. I have the pressure set at 80kg
When the heat press is up to temperature, it will beep, and the temperature display turns green.
Pull out the tray and locate the shirt on the tray so you can do a pre-press to remove any moisture and wrinkles.
The tray pulls out far enough that your hands are never under the heat platen, which I really like.
Step 1: Pre-Press the Shirt
For the pre-press, I turned off the auto-press setting. Slide the tray in, with the auto-press setting turned off, and press the Play button to start the press. The timer will start counting down.
I don’t want to pre-press for the full time; it only needs about 10 seconds. So when the 10 seconds are up, press the Play button again, and the heat platen will raise.
If you ever accidentally start the pressing process, you can stop it at any time by pressing the Play button.
Note: Even in automatic mode, the tray is manual. You will have to pull the tray out yourself; it does not automatically come out.
Step 2: Locate the Sublimation Print
After the pre-press, lint roll the shirt to remove any dust, hair, or other debris.
I ripped the edges of my paper around the sublimation print to help prevent pressing marks.
Locate the print on the shirt and secure it in place with heat-resistant tape.
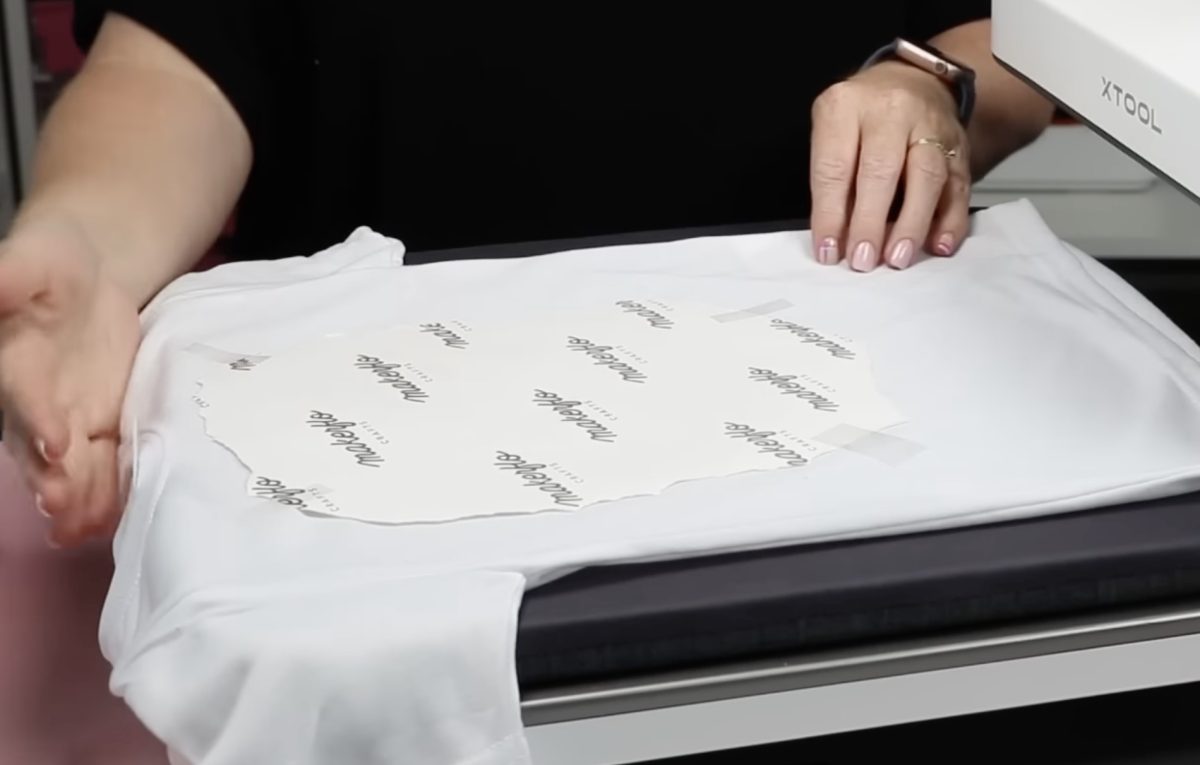
To help ensure even pressure on the entire sublimation print, try to remove bulky seams and collars from the pressing area.
I hung the collar of my shirt off the pressing mat so it wouldn’t get in the way.
Step 3: Press with the Auto-Press Setting Turned On
For the pressing portion, I turned the auto-press setting back on.
With the auto-press setting turned on, as soon as I close the tray, the top platen will begin to lower.
When the time is up, the heat platen will raise up automatically.
As it’s rising, you can pull the tray out. You do not have to wait for it to raise fully.
Note: Even in Manual Mode, the WonderPress opens automatically. The automatic feature is for closing and automatically starting the countdown timer.
Step 4: Remove Sublimation Paper
I removed the sublimation paper right away, and I am really impressed with how well this design transferred.
The sublimation is very bright and vibrant, and I don’t really see any pressing marks on the shirt.

I think these settings are great for the materials I used today.
How to Press DTF on a Tote Bag with the WonderPress
To add this DTF design on a tote bag, I changed the setting on the WonderPress to the DTF preset.
I used the DTF for Cotton preset, and it has a temperature of 321° for 10 seconds.
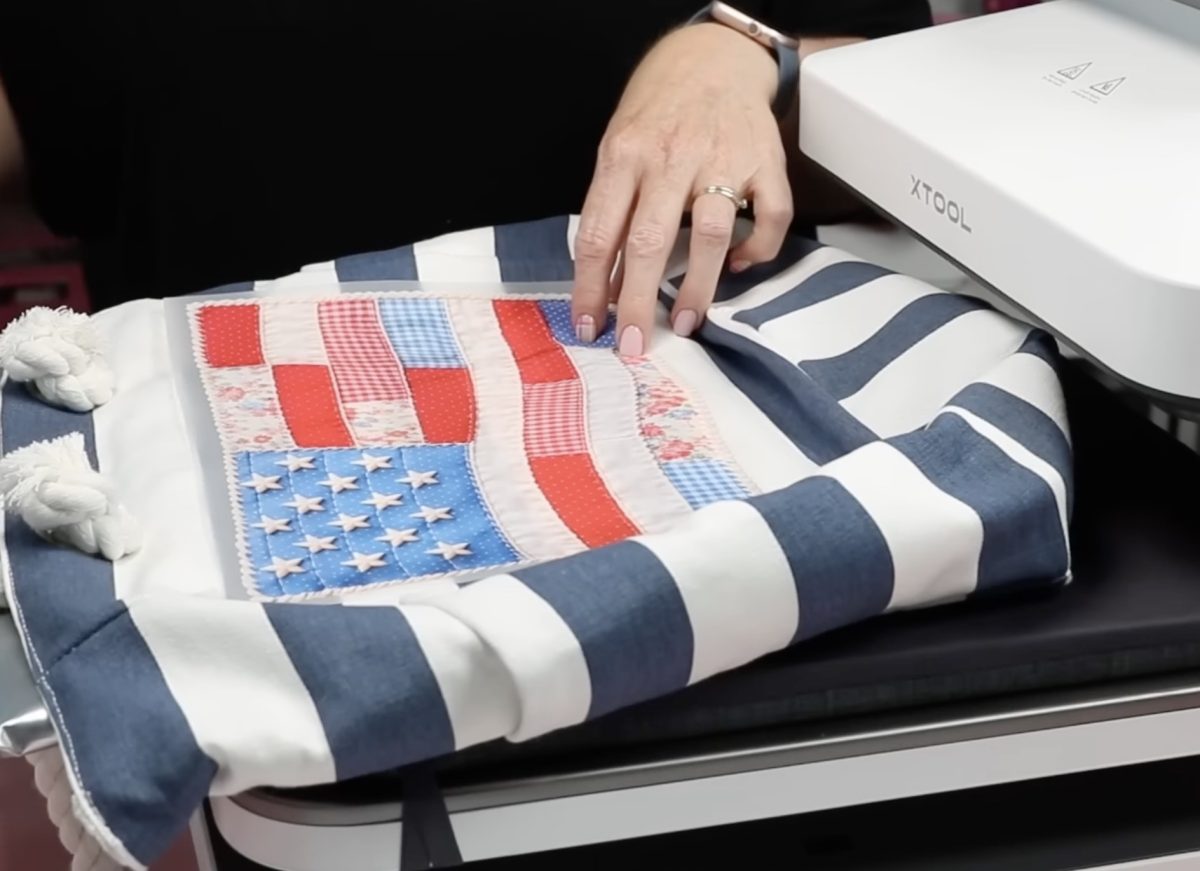
Step 1: Locate Tote Bag on Bottom Platen
This tote bag is pretty bulky, so I thought it was a great option for testing how well the WonderPress does with bulkier items.
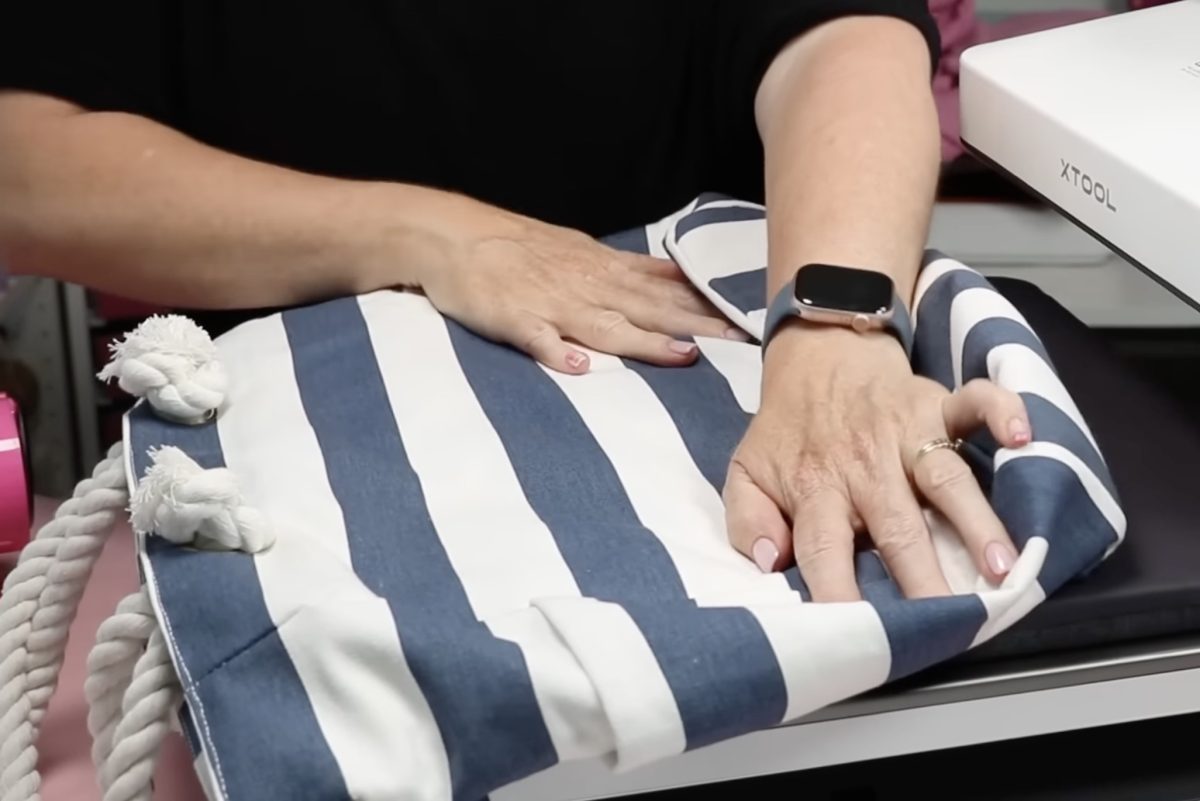
I definitely want the rope handles outside the pressing area.
Because of the bulk of the bag, I placed a pressing pillow inside the bag to help raise the pressing area above the seams and other bulk.
I like to use the preheat portion to check that everything is going to fit where I want it to inside the press.
For this step, while I’m checking things, I turned off the auto setting.
Close the tray, and press the Play button to start the preheat.
Everything fit in the machine really well. When the 10 seconds are up, the press will open automatically (even in manual mode).
Note: To get a successful final press with this tote bag, I added 2 pressing pillows inside the tote.
Step 2: Locate DTF Print on the Tote Bag
Locate the DTF print on the tote bag and secure it in place using heat-resistant tape.
Make sure both pressing pillows are under the DTF print, so that section is higher than the other portions of the bag.
Step 3: Press
Close the tray, and depending on what setting you’re using, the press will start automatically, or you’ll need to press Play to start the pressing process.
Press for the full 10 seconds.
When the time is up, the press will open automatically.
Step 4: Remove DTF Print from the Tote Bag
Pull out the tray, and before removing the DTF print, I like to go over the surface with a DTF cooling block. If you don’t have a DTF cooling block, you can use a piece of fabric to go over the surface, really rubbing the adhesive into the fabric fibers.
This step is important, especially with fabrics that have a rougher texture like this tote bag.
Follow the instructions for your DTF print. If it calls for a cold peel, make sure to allow it to cool completely before removing the transfer film.
When you feel like the print is stuck down well, start at one corner and slowly peel back the film and remove it from the print.
If you notice any lifting, stop peeling back the film and press again for a few more seconds.
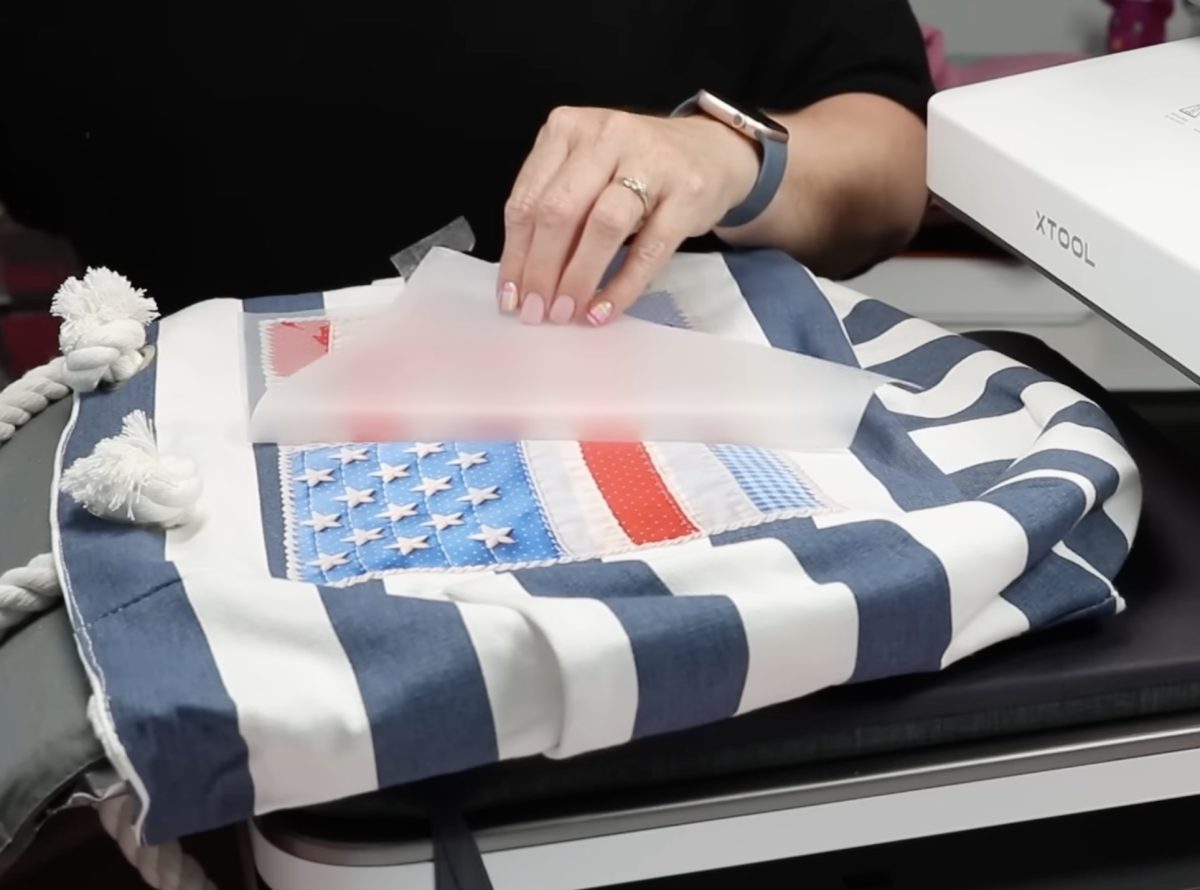
Step 5: Post-Press DTF Print on the Tote Bag
Do not remove the tote from the press, and leave the pressing pillows inside the tote bag.
DTF calls for post-press. Cover the DTF print with a protective paper and press again for 10 more seconds.
Step 6: Reveal Finished DTF Tote Bag
When the time is up, slide out the tray, remove the protective paper, and reveal the finished tote bag.
I’m really happy with how this tote bag turned out. The design is bright and vibrant, even on the dark blue stripes, and it’s adhered really well.

This bag itself was bulky, and then adding the two pressing pillows made it even bulkier.
I am really impressed with how well the WonderPress worked with DTF and this bulky tote bag.
Pressing Puff HTV with the xTool WonderPress
For my next project, I’m going to attempt to add Puff HTV to a bulky sweatshirt.
As you may know, puff HTV requires heavy pressure to get a really good, smooth puffed look.
Most auto-presses don’t have enough pressure to successfully press puff HTV. Since we can adjust the pressure on the WonderPress, I’m hopeful it will work.
Follow the instructions for the Puff HTV you’re using. Mine calls for a temperature of 265° for 10 seconds with medium pressure.
Because I am using an auto-press, I upped the pressure to 90kg to give me more of a medium/high pressure setting.
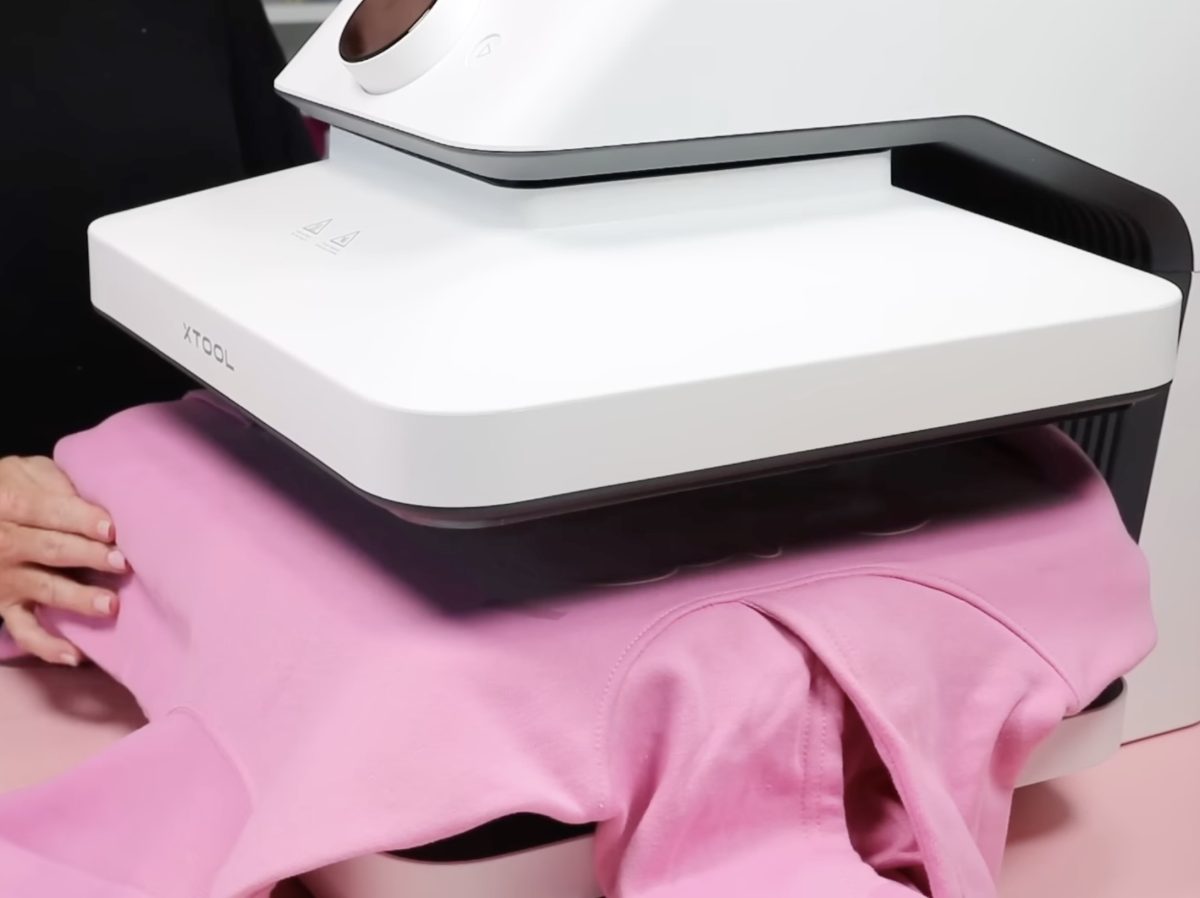
Step 1: Preheat the Hoodie
First, we’re going to preheat the hoodie. This step will allow us to check that everything will fit inside the WonderPress.
The hood on this hoodie is pretty bulky, so I am going to place it on the bottom platen with the hood hanging off one side.
Doing this means one sleeve will be inside the throat of the WonderPress. This has been a problem with some other auto-presses I have used, but it worked really well with the WonderPress.
This is great news if you’ve tried pressing a hoodie in other auto-presses.
Preheat for a few seconds to remove any moisture and then slide out the tray for the next step.
Step 2: Locate the Puff HTV on the Hoodie
Locate the puff HTV where you want it on the hoodie and use heat-resistant tape to secure it in place.
Step 3: Press the Design on the Hoodie
Close the tray on the press, and it will automatically start. It will press for 10 seconds, and then it will begin to rise.
The puff HTV I’m using calls for a hot peel; that means we want to remove the carrier sheet right away.
Don’t wait for the press to raise all the way up; as it begins to rise, pull out the tray and remove that carrier sheet.
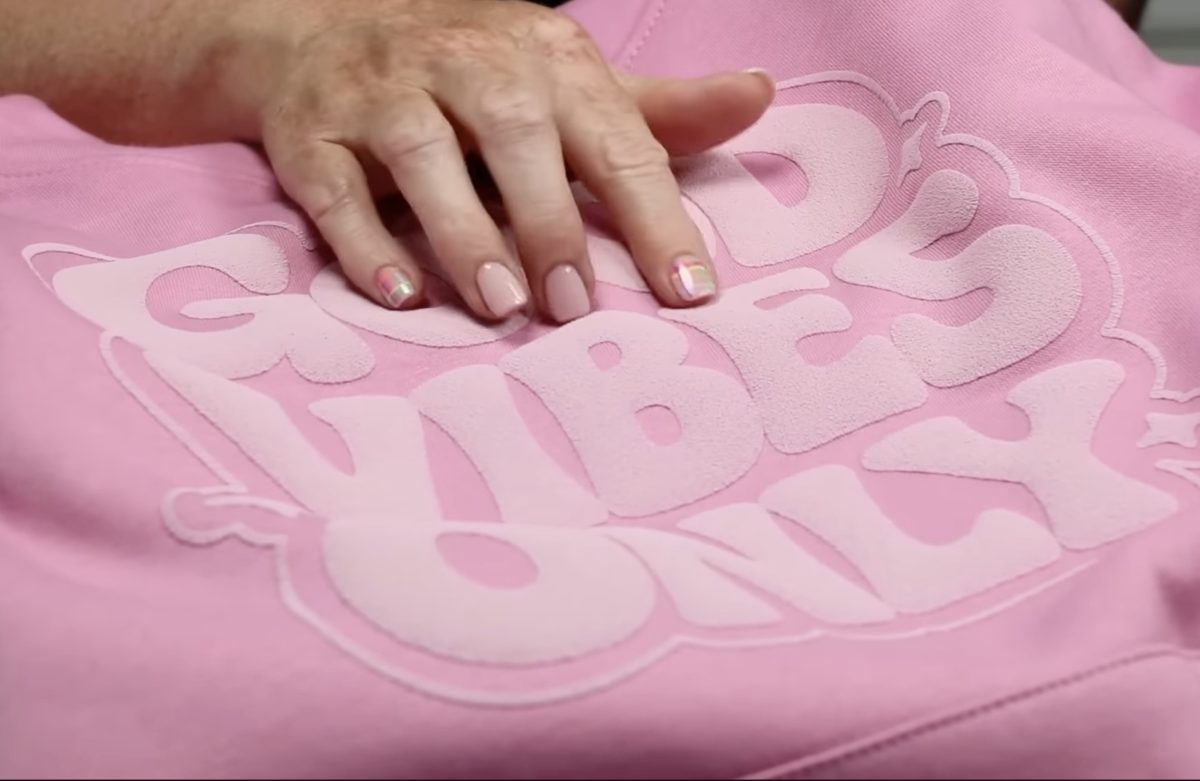
Step 4: Enjoy the Puff HTV on a Hoodie
I could see right away that the HTV did puff up. I didn’t get a smooth puff, though.
If you can, I recommend testing your puff HTV with an actual heat press or reading reviews so you can see what the company says the ideal final results are.
Some puff HTV brands don’t get completely smooth, so knowing that before you begin can be helpful.
Using the same hoodie, I tested a variety of settings to see if I could get a smooth puff. I did get it to look a little bit better, but that can depend on so many things. The puff HTV brand, how plush your blank is, and of course your settings.
When it comes to puff HTV, people are going to have different opinions on what looks good. I prefer mine to be more smooth, but this one is not bad.

The great thing about the WonderPress is that you can adjust all the settings, including the pressure, so you can really dial in what works best.
xTool WonderPress Auto Heat Press Review
Overall, I’m impressed with the auto heat press portion of the WonderPress.
I found the opening is wide enough for bulkier items like the tote bag with two pressing pillows, and even when working with hoodies that have thick hoods and sleeves, I didn’t have any issues sliding the tray in and out.
These are both issues I’ve had with some other auto heat presses.
While the puff HTV didn’t turn out as smooth as I would prefer, it did puff up, and with some more testing I may be able to get a nice smooth result.
The temperature gets hot enough to successfully transfer a sublimation print.
Unless the material or blank you’re pressing calls for a very heavy pressure, I think you’ll be really happy with the results you get from the WonderPress.
xTool WonderPress Oven Module
Now that we’ve tested the WonderPress itself, let’s go ahead and look at the oven module.
The oven module is an additional purchase. You can bundle it with the WonderPress or purchase it later.
If you’ve used a sublimation oven, this is going to be similar to that.
What Comes with the Oven Module?
Included with the oven module were a quick start guide, heat-resistant gloves, shrink plastic, and sublimation paper.
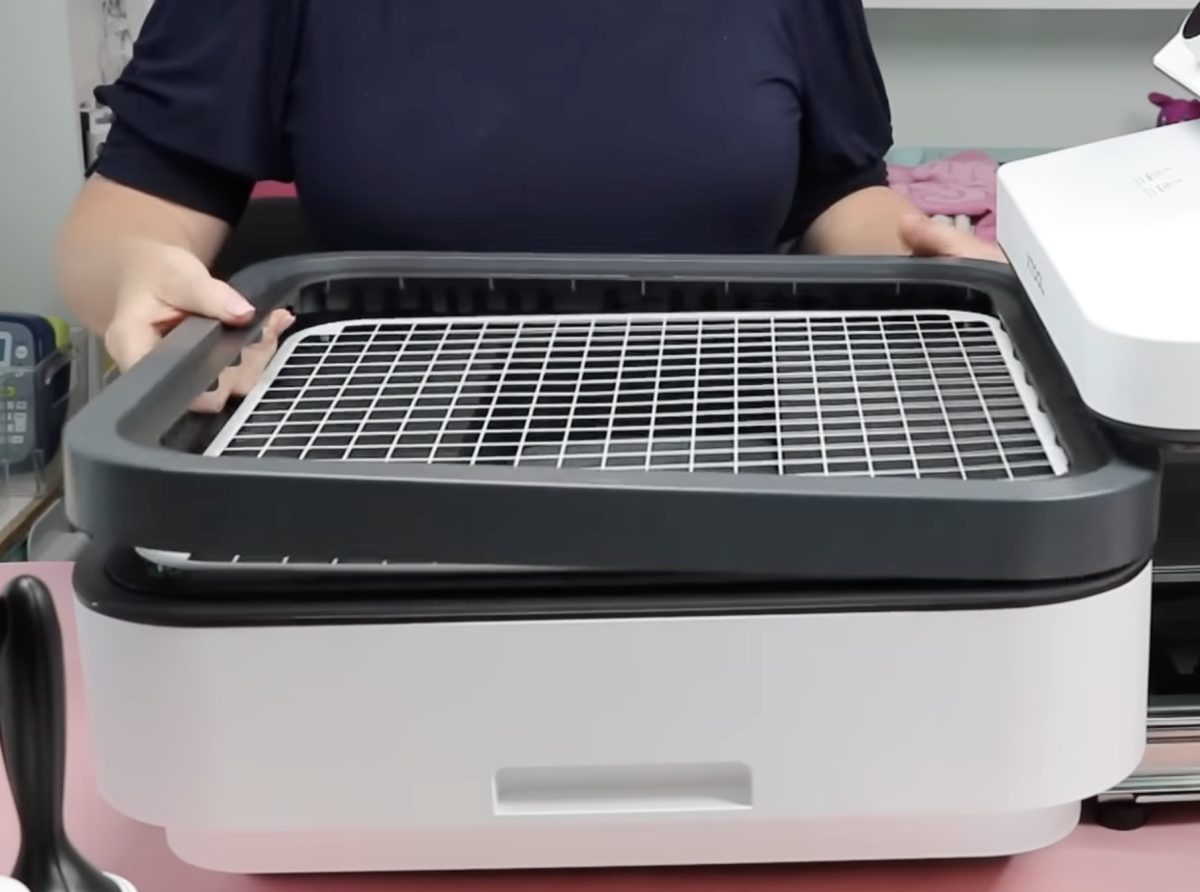
The rest of the craft oven comes assembled. There is an outer frame that can be removed and a resting tray where you would place things like DTF prints and shrink plastic.
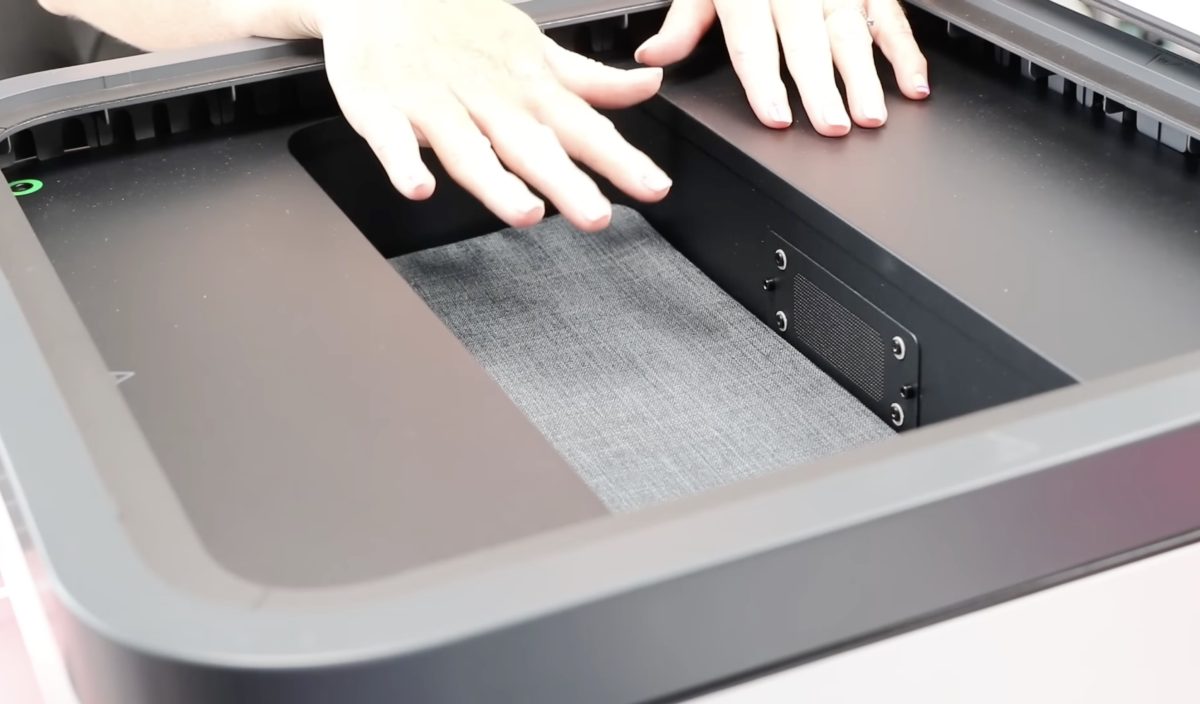
When you remove that tray, you’ll see an opening with a mat at the bottom. This is where you’d place something like a sublimation mug or tumbler that is wrapped in shrink wrap.
What Would You Use the Craft Oven Module For?
If you’re interested in sublimation projects that are not flat, an oven that you can sublimate tumblers, mugs, pens, pencils, and other 3D objects in is a necessity.
You can also use this craft oven module to bake clay, bake shrink plastic, and even cure the adhesive powder on DTF prints.
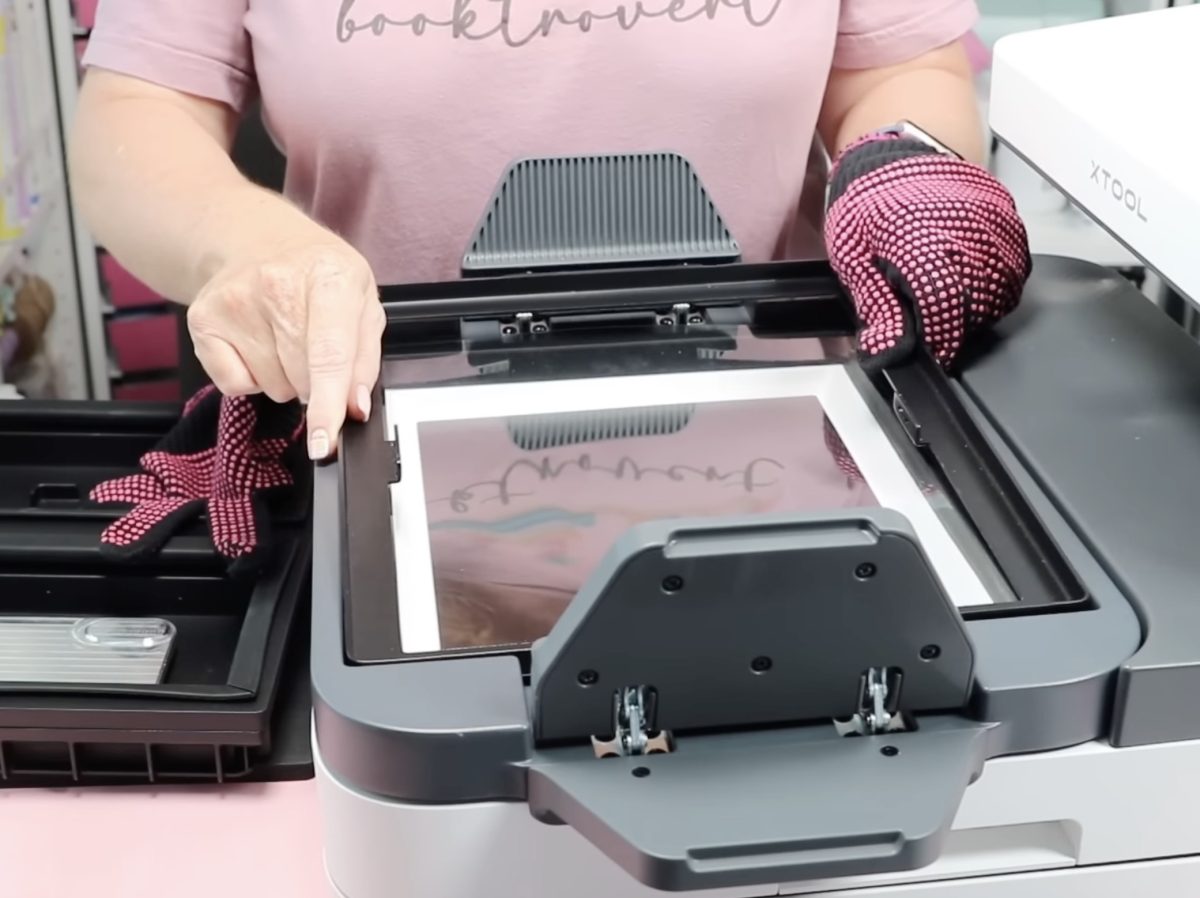
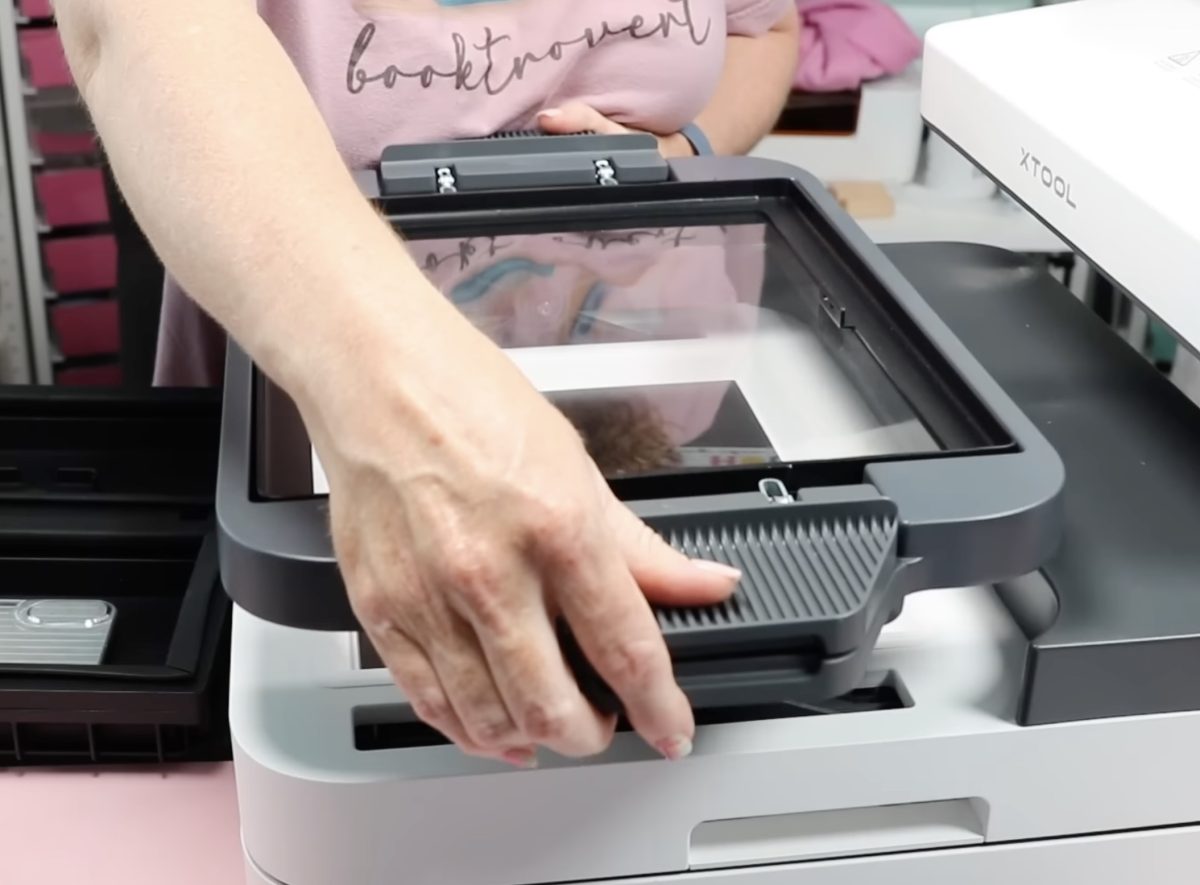
How to Attach the WonderPress Craft Oven Module
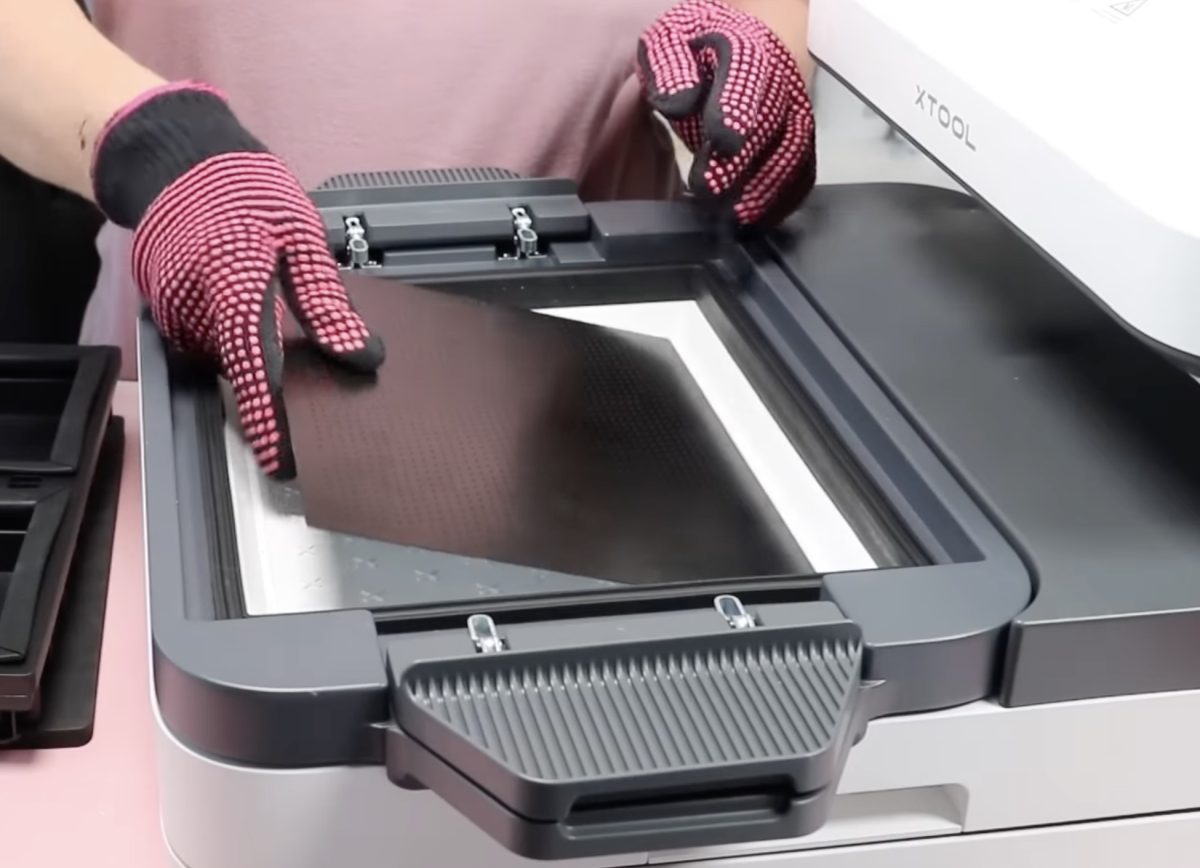
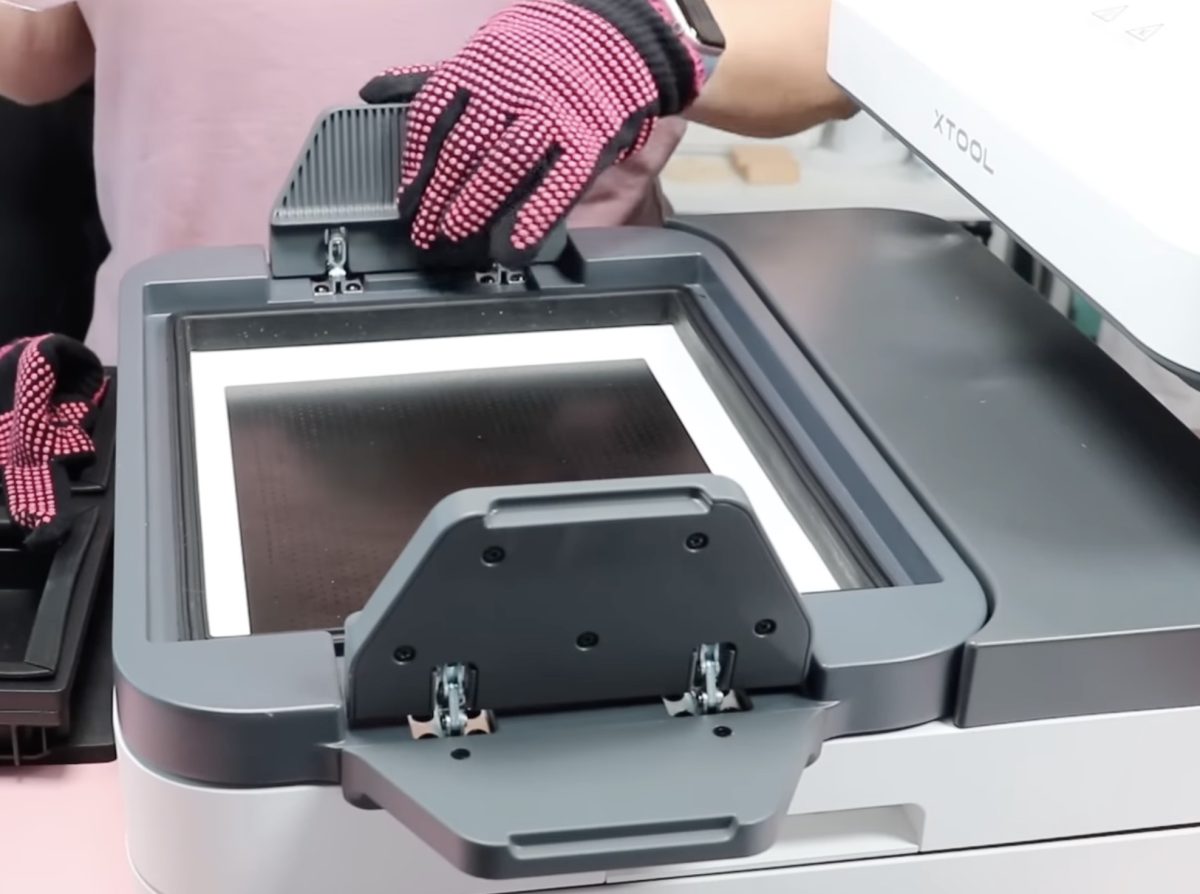
Swapping out the WonderPress modules is easier than I could have imagined. You don’t even have to turn your press off to swap them.
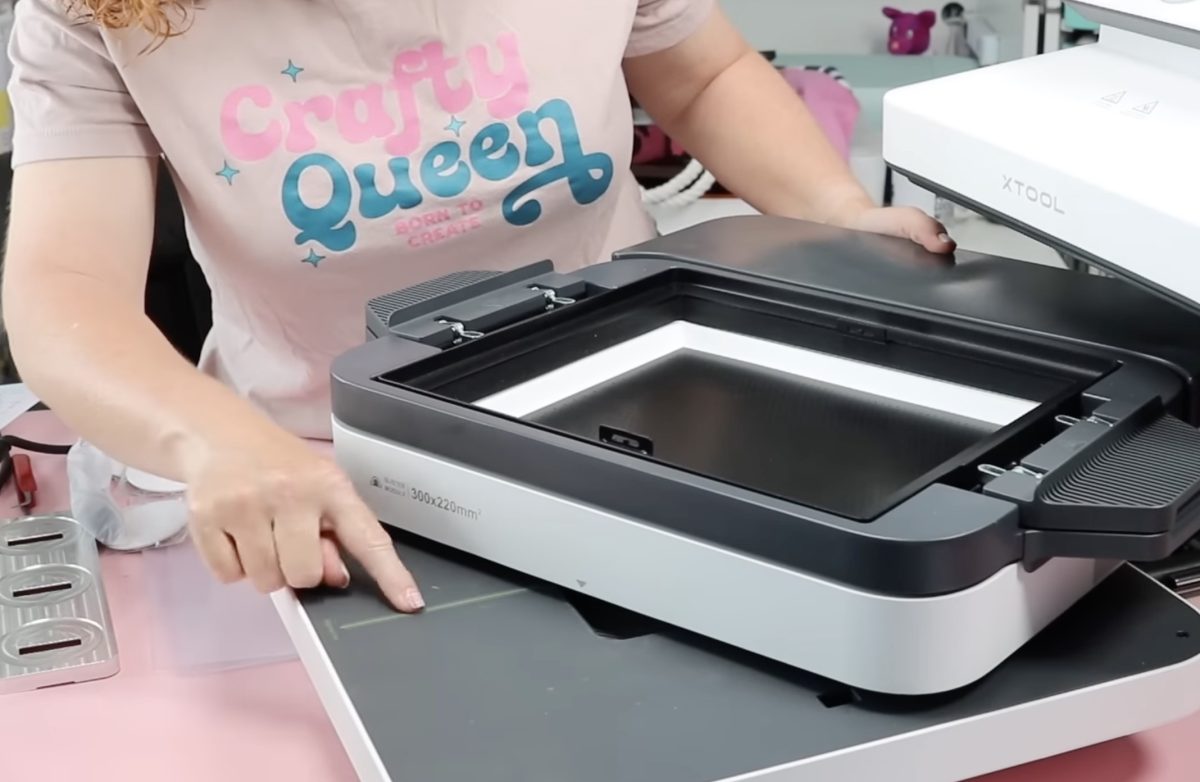
Simply pull out the tray and lift the auto-press bottom platen piece off the press.
Locate the arrow on the bottom of the side of the craft oven module and make sure the arrow is facing the front of the press.
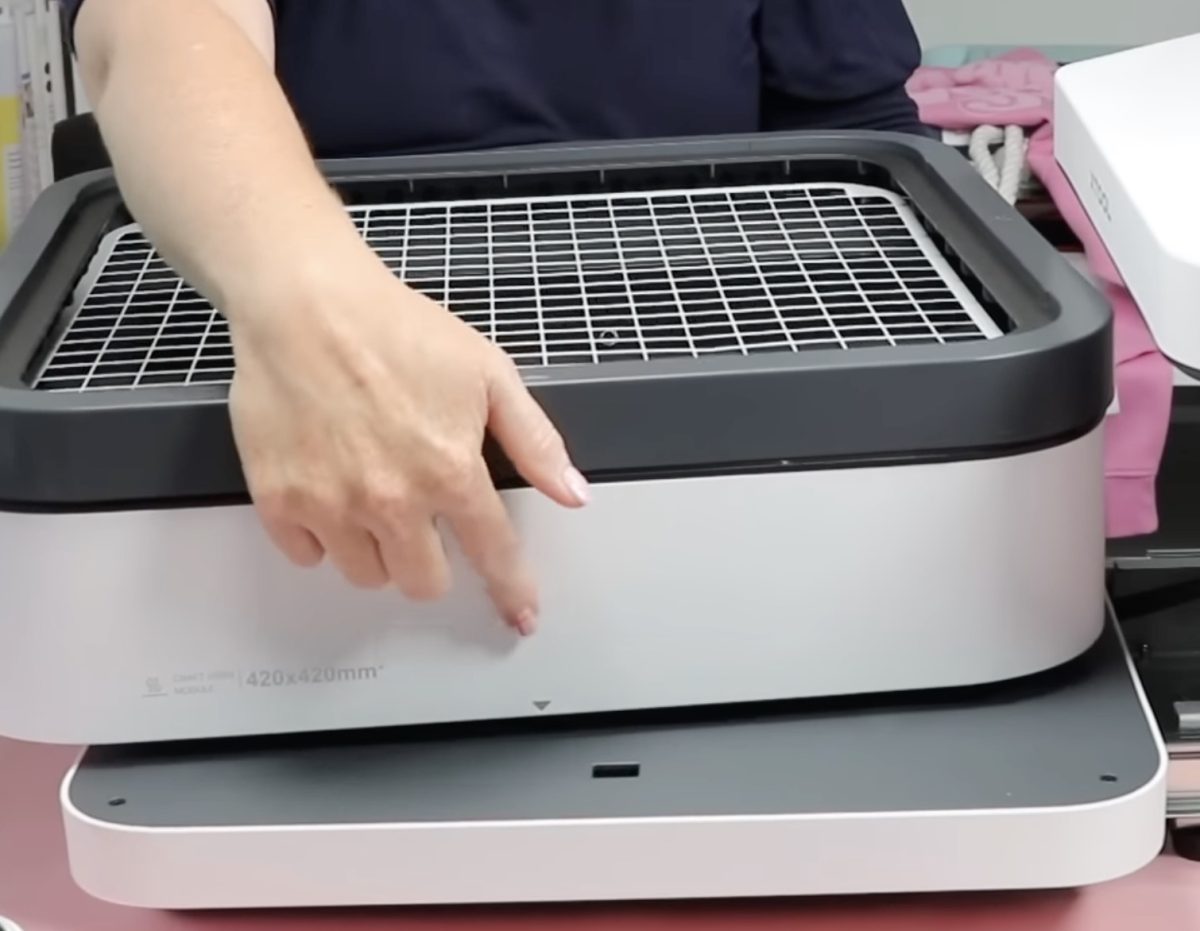
Line the arrow up with the green line on the base and slide the whole piece toward the front, and you’ll feel it lock into place. If your press is turned on, it will detect that you’ve changed the module, and on the display screen you’ll see it now says Craft Oven Module.
That is all you have to do to install the craft oven module.
Regardless of what blank you’re pressing, you need that top frame piece in place. That is what will give us a really good seal for our oven.
Note: The oven module comes with a filtration system. The air filter is located at the back of the module. If you’re using your oven to cure DTF prints, make sure to change that filter regularly.
How to Make Mugs in the xTool WonderPress Craft Oven
The first thing I want to do is preheat the oven.
With the module swapped, the settings have also changed. I chose the Baking Sublimation mode and then changed the temperature to 400° and set the timer to 900 seconds. When the timer goes off, I will rotate the mugs and bake again for 600 seconds.
With the craft oven in baking mode, the only options you can adjust are the time, temperature, and whether you want the auto feature turned on or off.
For this example, I have the auto feature turned off.
Step 1: Prepare the Sublimation Mugs
The process for preparing the sublimation mugs is exactly the same if you’ve ever made a sublimation mug in a sublimation oven before.
- Clean the mug with a lint roller or lint-free cloth and rubbing alcohol.
- Trim the sublimation print.
- Locate the print on the mug and secure it in place with heat-resistant tape.
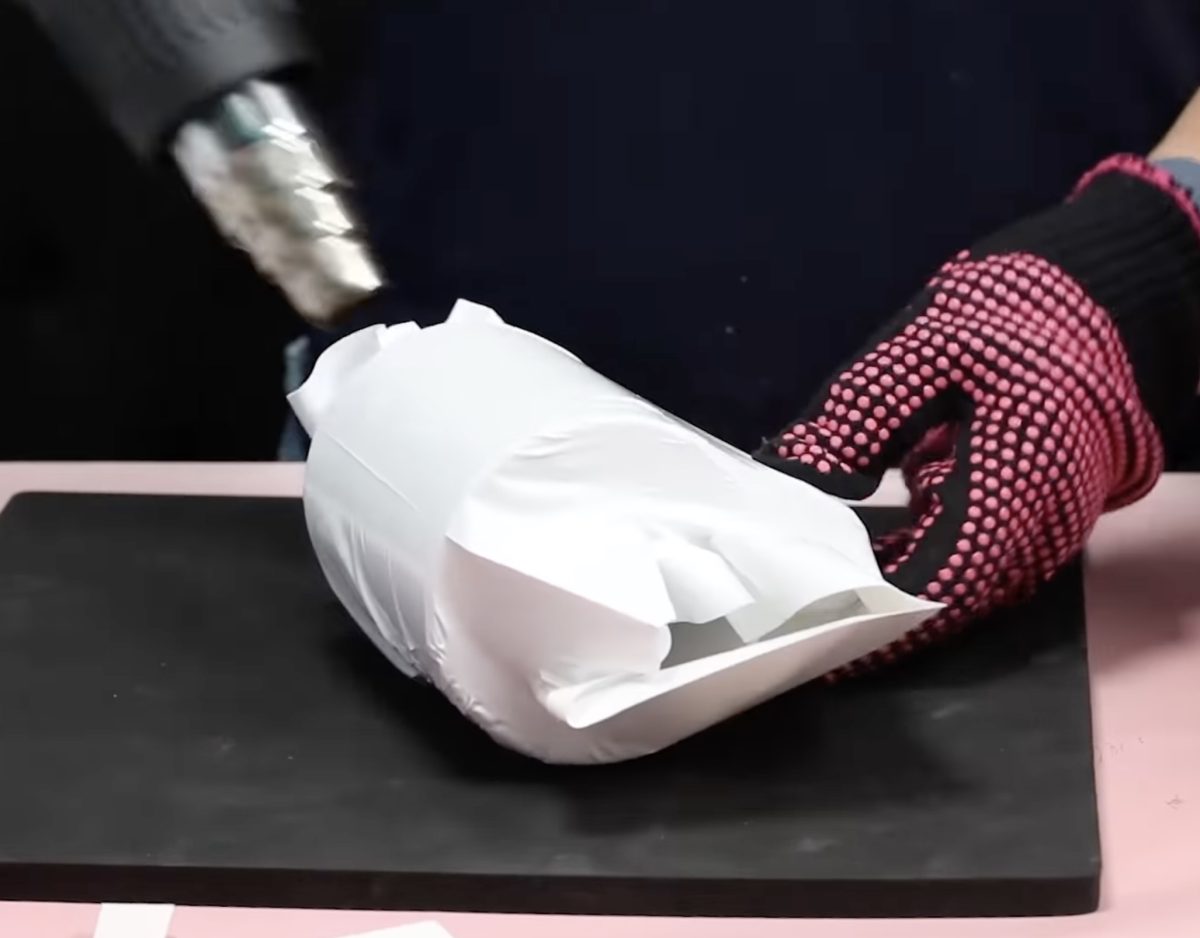
- Place the mug inside a shrink wrap sleeve and use a heat gun to shrink it so it’s tight around the mug.
Step 2: Bake the Sublimation Mugs in the Craft Oven
To bake sublimation items in the oven, they have to fit down in this area. The maximum size is 15.2 in x 6.2 in x 3.1 in tall.
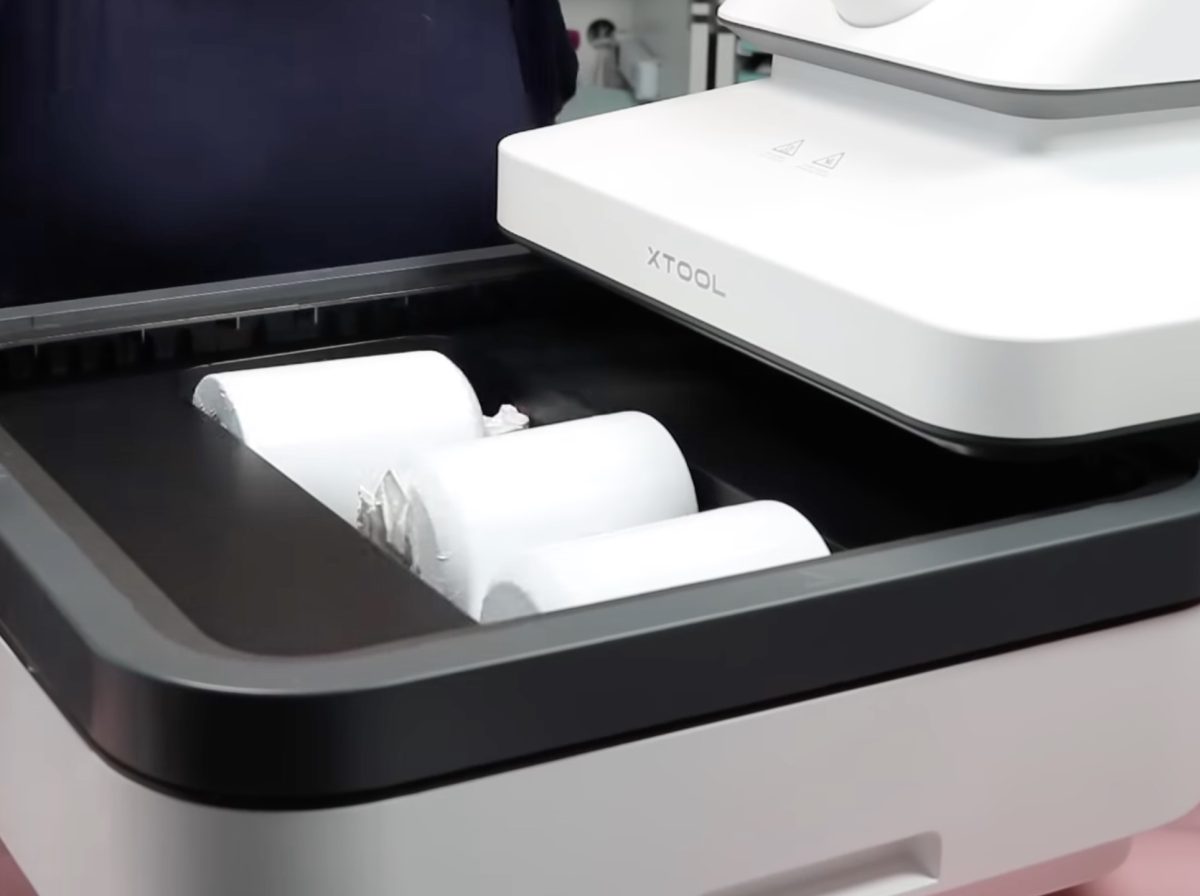
The diameter of my mugs is pretty much the maximum for the height, but I was able to bake three mugs at one time.
You can bake multiple items at one time; you just have to make sure they fit within that area.
Place all three shrink-wrapped mugs inside the press, make sure the top frame is in place, and close the tray.
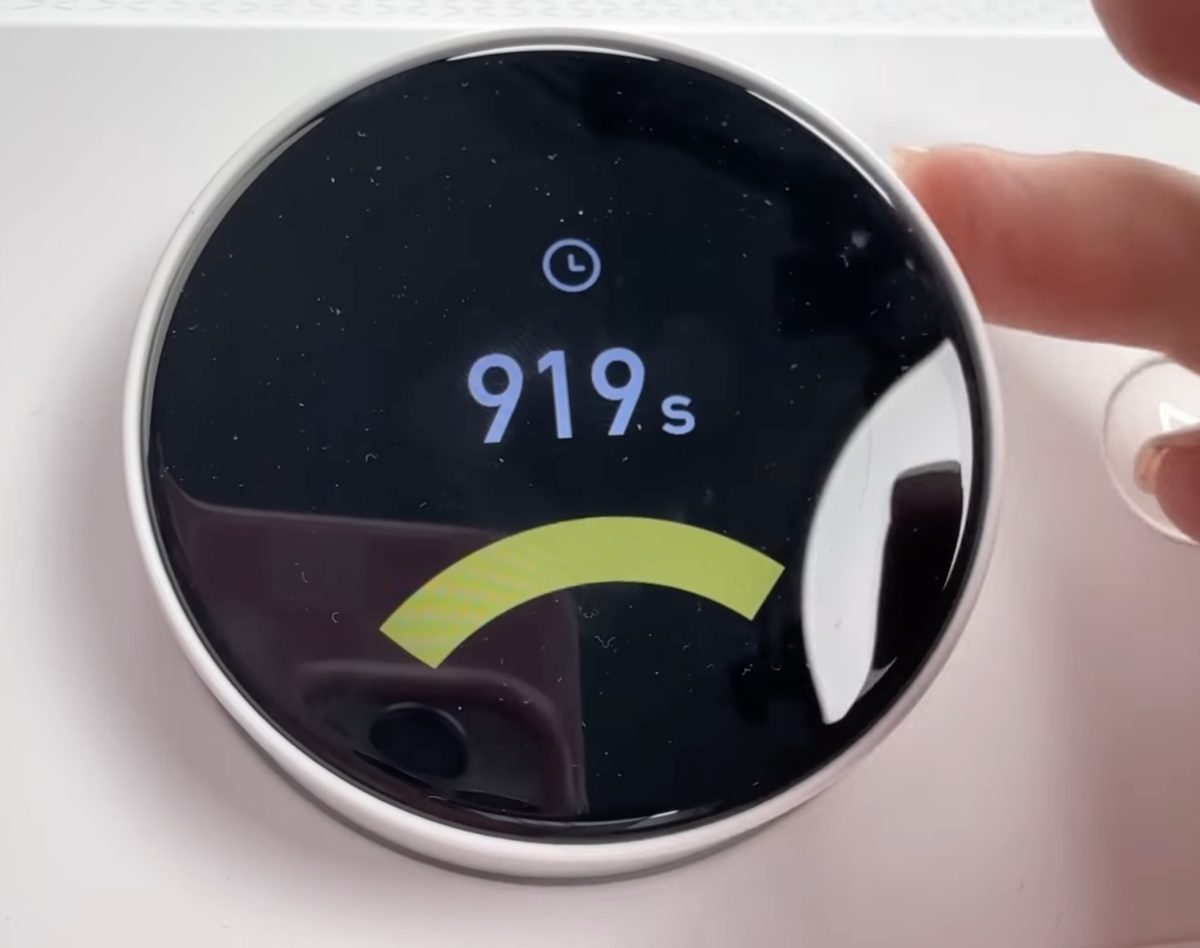
Press Play on the display (or, if you have your press in auto mode, it will start automatically) and allow it to bake for the full 900 seconds.
When the time is up, open the tray, flip the mugs over, and bake again for 600 seconds.
Step 3: Remove the Shrink Wrap and Sublimation Print
After the second baking period, open the tray and remove the mugs. They will be very hot, so make sure to use heat-resistant gloves and place them on a heat-resistant mat.
It’s easier to remove the shrink wrap while it’s hot. Remove the shrink wrap from each of the mugs and then remove the heat-resistant tape and the sublimation prints.
Step 4: Reveal Finished Sublimation Mugs Baked in the WonderPress Craft Oven
Each of these mugs sublimated really well and looks really good. I do want to remind you: when baking a sublimation mug in a sublimation oven, don’t get the design too close to the handle.

Unless you go through my steps to get a full wrap mug design, when using shrink wrap and a sublimation oven, the area close to the handle doesn’t sublimate well because it doesn’t get a lot of pressure.
xTool WonderPress Craft Oven Module Review
As of now, I have only used the oven module to make a sublimation mug. The results are similar to mugs I’ve made with other sublimation ovens, and they all turned out really good.
I do like that it includes the air filter built right in. This helps prevent fumes, even from sublimation, from getting into your crafting space.
I also think this is a great feature for those who have a DTF printer but can’t afford the curing oven right now.
The craft oven module with the built-in air filter is a much safer option than curing the adhesive in an open-air setting as some of the DTF hacks recommend.
The opening for sublimation baking is large enough to make a variety of projects, and the tray for baking things like shrink plastic and DTF prints is actually about 15 in x 15 in, making it plenty large enough for most projects you’ll want to make with this oven.
That being said, compared to other sublimation ovens, this oven is very small, and if you were wanting to make sublimation oven projects regularly, you may get frustrated with the limited size.
xTool WonderPress 3D Form Module
Like the craft oven accessory, the 3D form module is an additional purchase. You can bundle this purchase with the WonderPress, or purchase it at a later date.
If you’ve seen a vacuum sublimation oven, this module is similar, but it can do additional things.
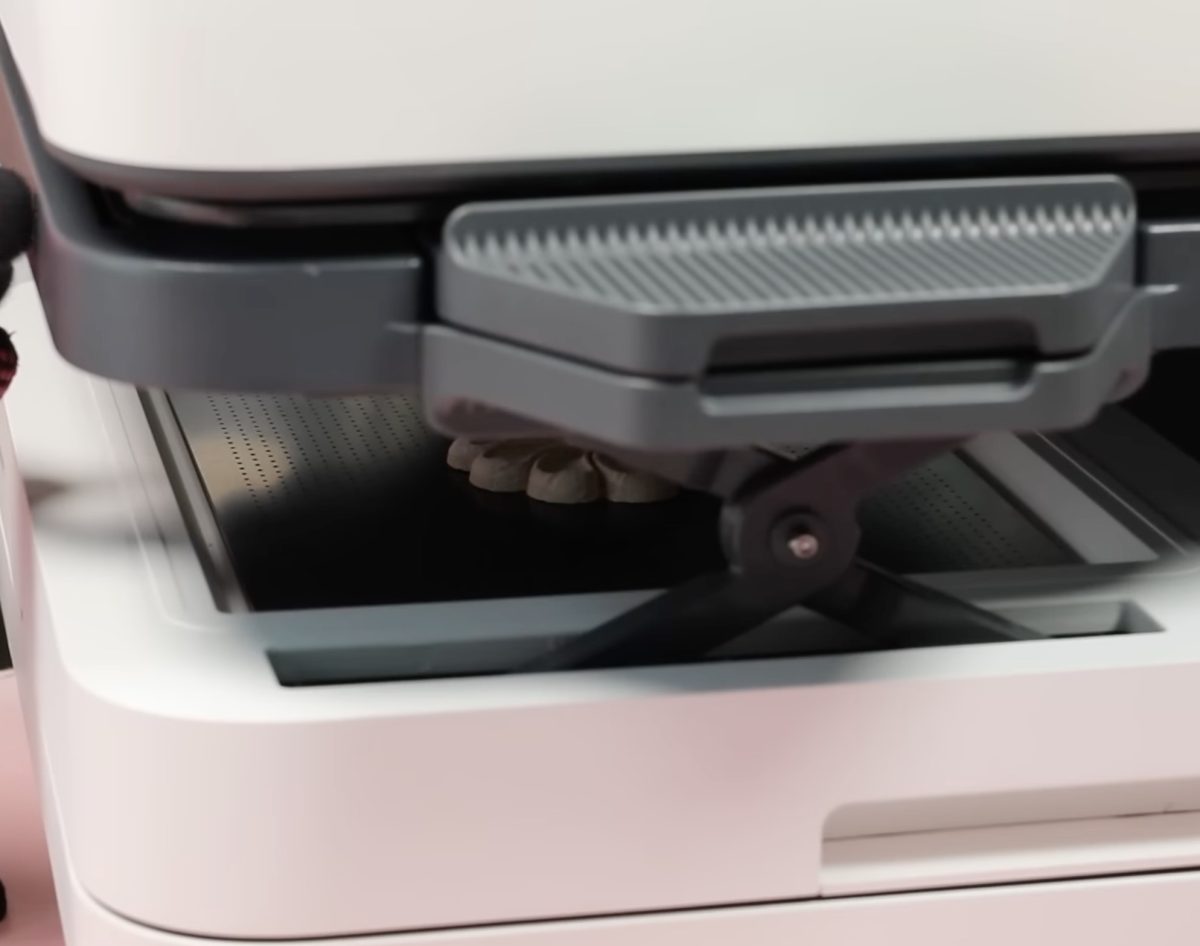
You’ll swap the 3D form module the same way we swapped the craft oven. When the 3D form module is installed correctly, you should not be able to lift it off. There are buttons on the side
If the oven is hot, you’ll want to allow it to cool down completely, or use heat-resistant gloves to lift it off and then place it on a heat-resistant mat to finish cooling.
What Comes with the 3D Form Module?
When you purchase the form module, it will come with a quick start guide, plastic for making molds, and a special film that you need for wrapping sublimation designs around the blank.
It also comes with a pair of heat-resistant gloves, a jig for buttons and button blanks, some tools, multiple frames that you’ll use for different projects, which I will show you below, and a black metal piece that you’ll place in the bottom of the 3D form module.
What Would You Use the 3D Form Module For?
The 3D form module is the accessory you’ll want if you want to make sublimation projects that wrap around a blank, but don’t work with traditional shrink wrap. Think of projects like plates, phone cases that have sublimatable sides, button pins, etc.
You can also use it to make molds for plaster and resin projects, soaps, and bath bombs; you can even use it to create custom packaging.
If you’re interested in 3D crafts, definitely keep reading to see if the xTool WonderPress with the 3D form module is right for you.
How to Make a 3D Sublimation Phone Case in the WonderPress
To make a phone case that wraps the sublimation print around the sides of the case, you’ll need to set up the 3D form module for that blank.
Step 1: Set Up the 3D Module
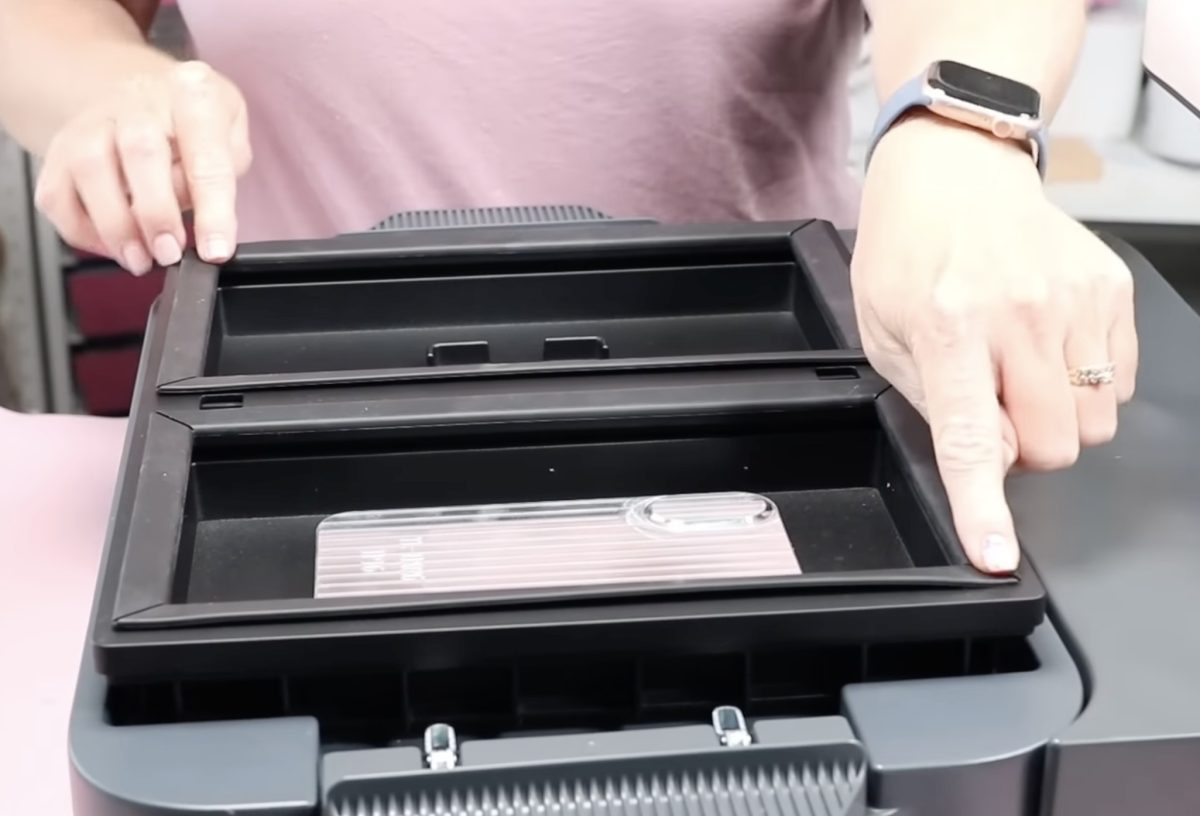
Remove the black piece from the bottom of the module; that will help reduce the noise a little when the vacuum starts.
Add the tray that has the two openings to the module. I am only making one phone case, so I have a plug in the hole on one side.
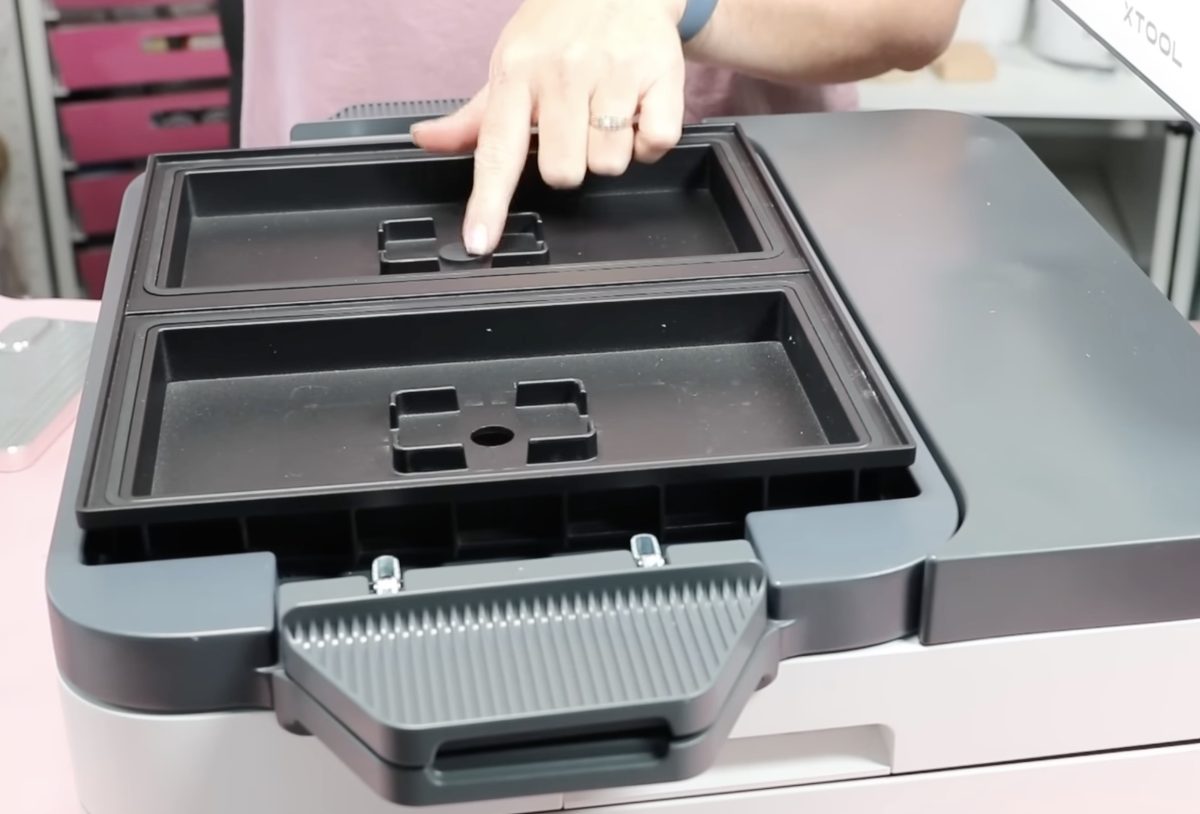
Add the cell phone case jig to the other side. The jig I am using today is a prototype; the jig that comes out later will be adjustable for different-sized phone cases.
Add the upper rack to the module, with the flat seal facing up, and press the corners to make sure it’s fully seated.
Turn the WonderPress on and adjust the settings for vacuum sublimation. Turn the dial to select the setting that is all the way to the right and choose Vacuum Sublimation. Mine was automatically set to Vacuum Forming.
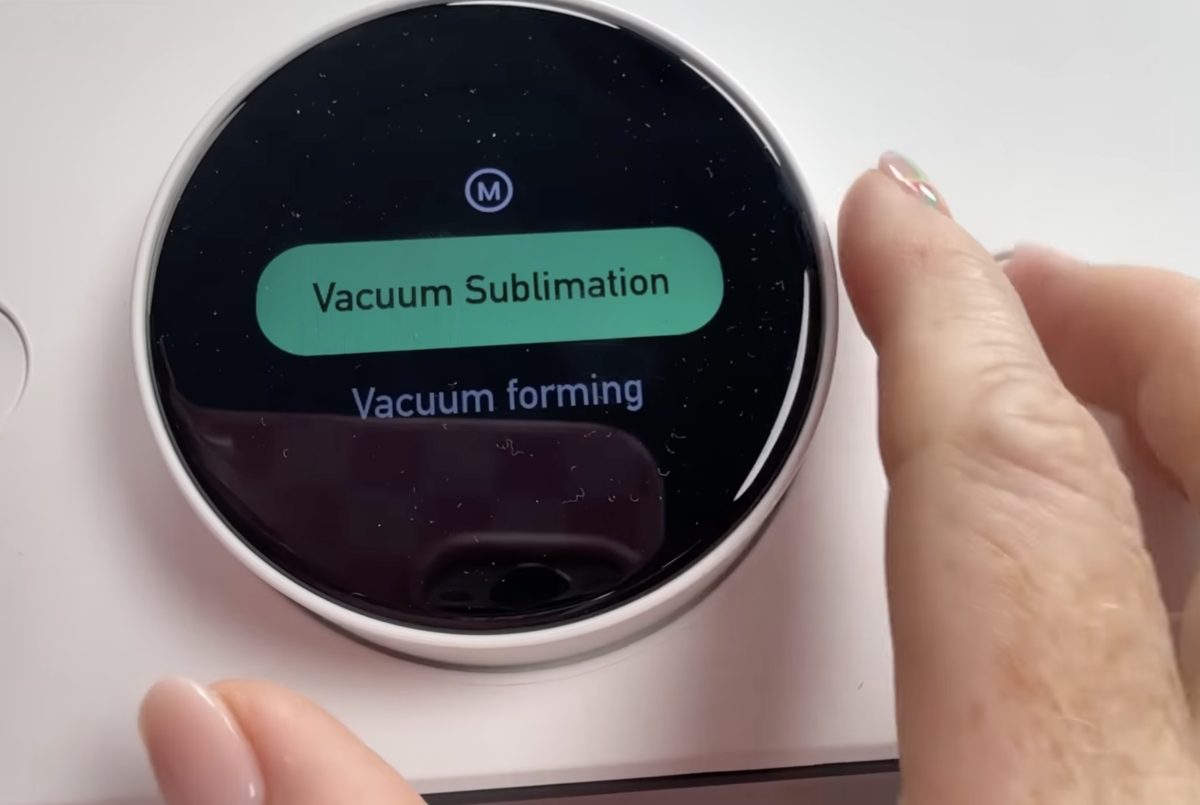
By changing it to Vacuum Sublimation, I have a lot more freedom with my settings.
For this phone case, I have the temperature set to 395° and the time set to 600 seconds.
The phone case has a recommended suction setting of medium, so I selected that setting.
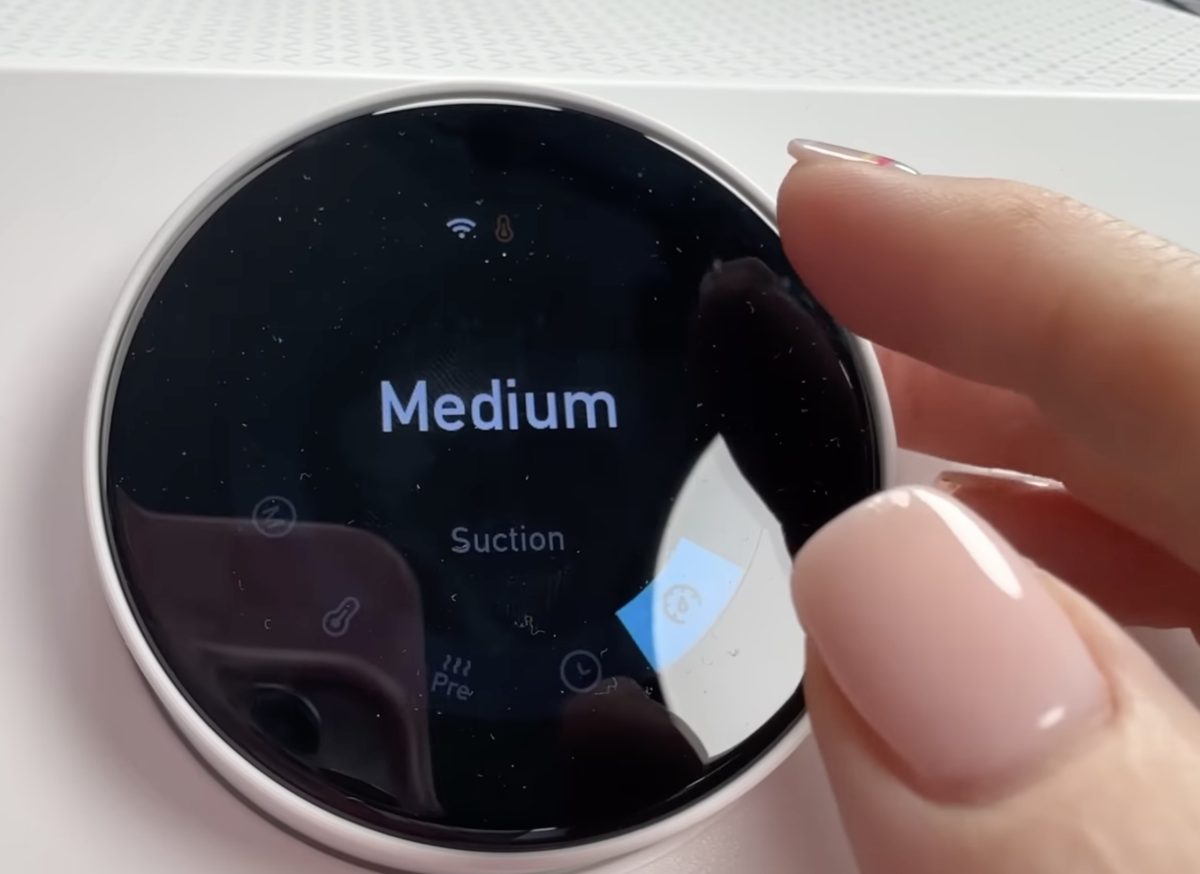
And again, you can turn the auto feature on or off. For the modules that are not the heat press, at least as a beginner, I feel more comfortable having that setting turned off. This allows me to check and make sure everything is located correctly before the vacuum starts.
Without the case installed, close the tray all the way and press the Play button. This will start the preheat process, and it will run for 600 seconds. That gives us enough time to prep everything else we need.
Step 2: Prepare the Phone Case and Sublimation Print
For vacuum sublimation, you have to print on a special film. The print still needs to be a sublimation print.
That means sublimation ink from a sublimation printer, printed on this special sublimation film.
The sublimation film has a shiny side and a matte side. You want to print directly on the matte side, making sure to mirror your image before printing.
The film that came with the 3D Form module is not a full 8.5 in x 11 in. I was able to set a new paper size in my printer to 5.75 in x 10 in, and was able to print directly on the film.
Clean the phone case with a lint roller or lint-free cloth and isopropyl alcohol to make sure it’s free of any hair, dust, or other debris.
Step 3: Add the Sublimation Phone Case and Print to the WonderPress
Make sure you have all your supplies ready so that as soon as the preheat is done, you can quickly assemble everything for pressing.
You’ll need the phone case, sublimation print, metal tool that came with the module, heat-resistant gloves, and a heat-resistant mat.
When the preheat is done, open the tray and use the tool to lift the top rack out and set it on the heat-resistant mat.

Wearing heat-resistant gloves, snap the phone case on the jig and make sure it’s pressed all the way down and fully in place.
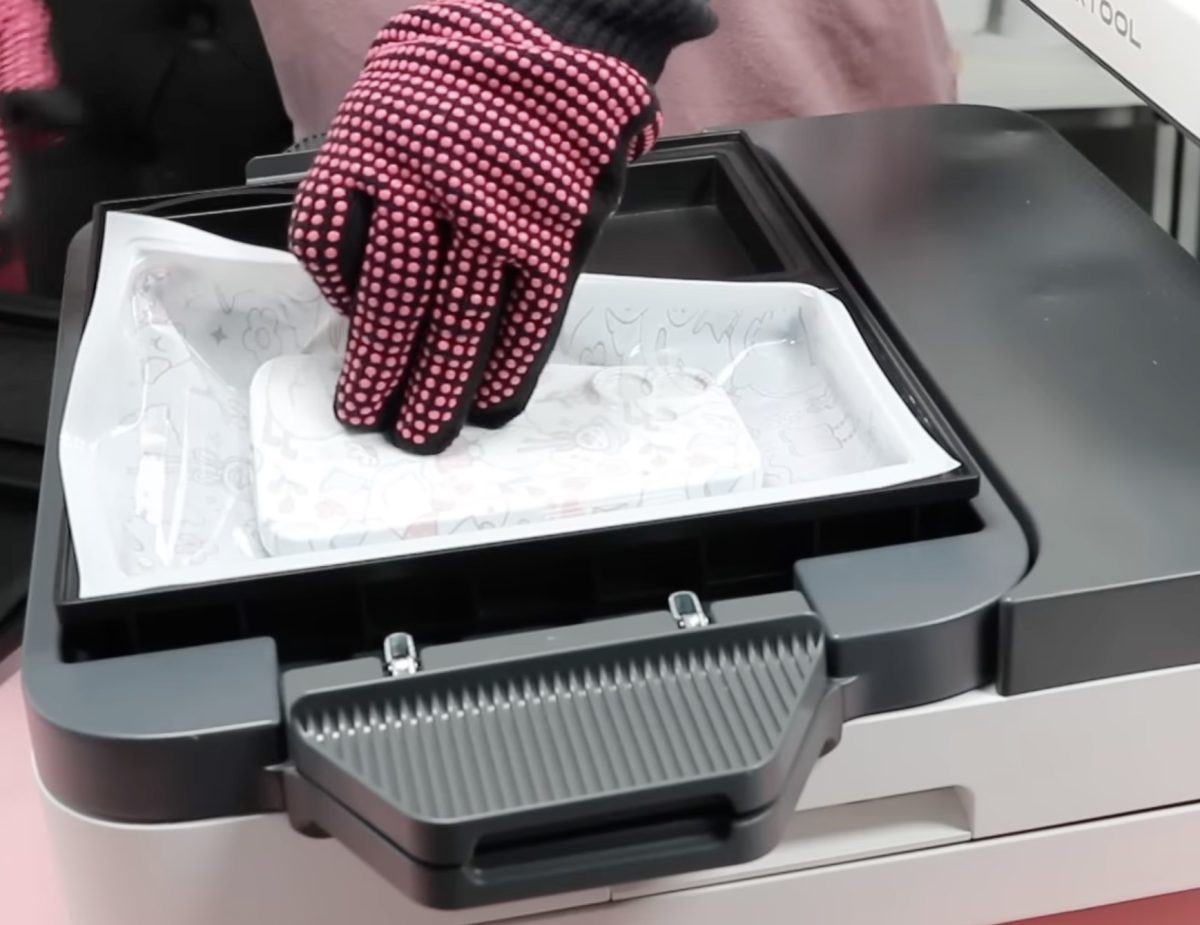
Place the film print side down, over the phone case, making sure it is in the right location. It should cover the seal on all four sides.

Using the tool, lift the top rack and place it back on the module. Press down all four corners to make sure it’s sitting correctly and close the press.
Step 4: Vacuum Sublimate the Phone Case
Because my press is not in auto mode, I need to press the Play button for it to start.
For the first couple of seconds, it is going to say preheating. When the preheating is done, you’re going to hear the vacuum start.
Note: The vacuum process is quite loud. xTool did tell me that they are working on the noise issue before the official release of the WonderPress.
When the time is up, pull out the tray and use the tool to remove the top rack. Immediately remove the film from the phone case and take the case out of the 3D form module.
Step 5: Enjoy Your Sublimation Phone Case
This finished phone case is the best one I made after some trial and error.
The back of the case looks gorgeous; the colors are all bright and vibrant, and I love how they look.
The design wraps around the sides, and it wraps well on all four sides. The colors on the sides of the case are not quite as vibrant as the back because the design stretches out as it forms around the sides and gets a little faded.
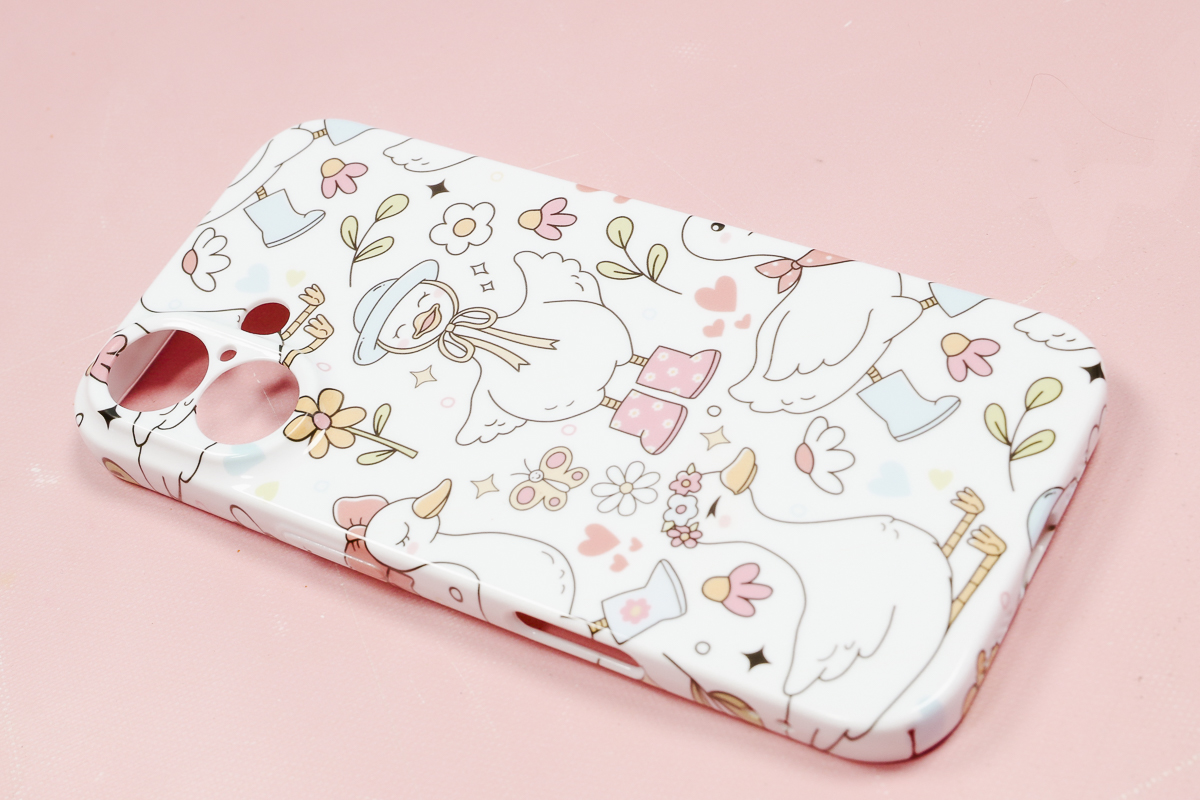
I also noticed it gets a little fuzzy right along the edge that is closest to the bottom of the module.
Even with those couple of negatives, I think this phone case turned out really well, and you’d have to look really close to see what I see.
How to Make a Vacuum Mold with the xTool WonderPress 3D Mold Module
Now we’re ready to create a mold with the WonderPress.
If you’ve used the WonderPress for another project right before making a mold, everything inside may be hot.
Use heat-resistant gloves to remove everything from inside the module and place it all on a heat-resistant mat.
Step 1: Set Up the Module for 3D Mold Making
Place the black piece inside the module on the bottom. It should drop down into place.
Remove the protective film from both sides of the mold-forming plastic.
Open the handles on both sides of the module and place the film inside the lip of the module. Make sure the film is covering the seal on all four sides.
Place the vacuum forming frame on top of the film with the screws facing up. When you lock the handles down in place, they will cover the screws.
Grab the handles on both sides and lift the top portion of the module up. It will lock into place when it’s raised as high as it’s supposed to be.
Here you can see that the film is trapped between the two frames on this upper portion.
Place the item you want to create a mold of on the bottom black rack. I centered mine, so it was approximately in the middle. This does not have to be perfectly centered.
I am using a wood piece for this example, but you can create a mold of a wide variety of items.
Step 2: Create the 3D Mold
With all of that set up, we can close the tray, and this time we want to press it in until we hear it click into place.
Turn the WonderPress on and turn the dial to Vacuum Forming.
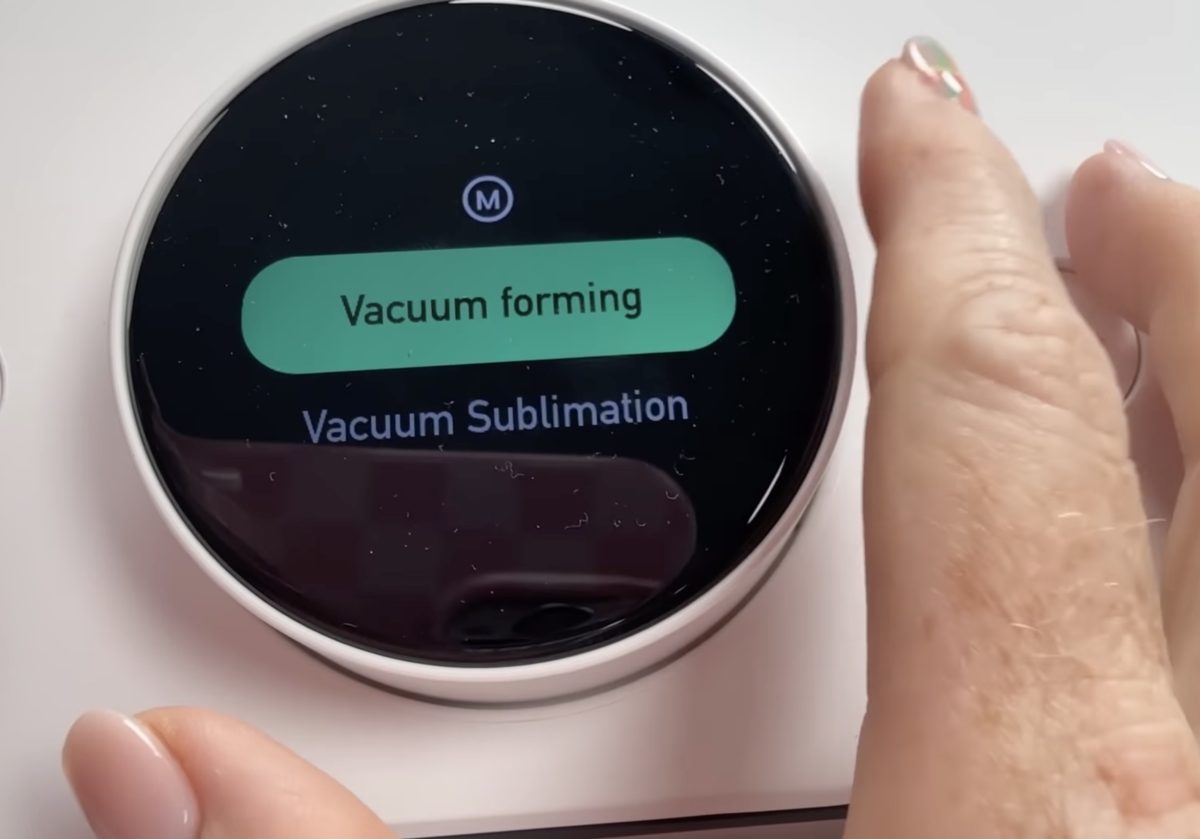
Choose the film material you’re using to create the mold, and the WonderPress will begin to heat up.
Note: While the WonderPress is getting to temperature, you may notice your film starting to sag. That is okay and will not impact your finished mold.
Put on your heat-resistant gloves, and when the WonderPress gets to temperature and beeps, press Play, and while the machine is suctioning down, press down on both handles.
You’ll want to hold the frame down on both sides for at least the first 10 seconds of the vacuum process.
The press will continue to vacuum for about a minute. You do not have to hold it down the entire time.
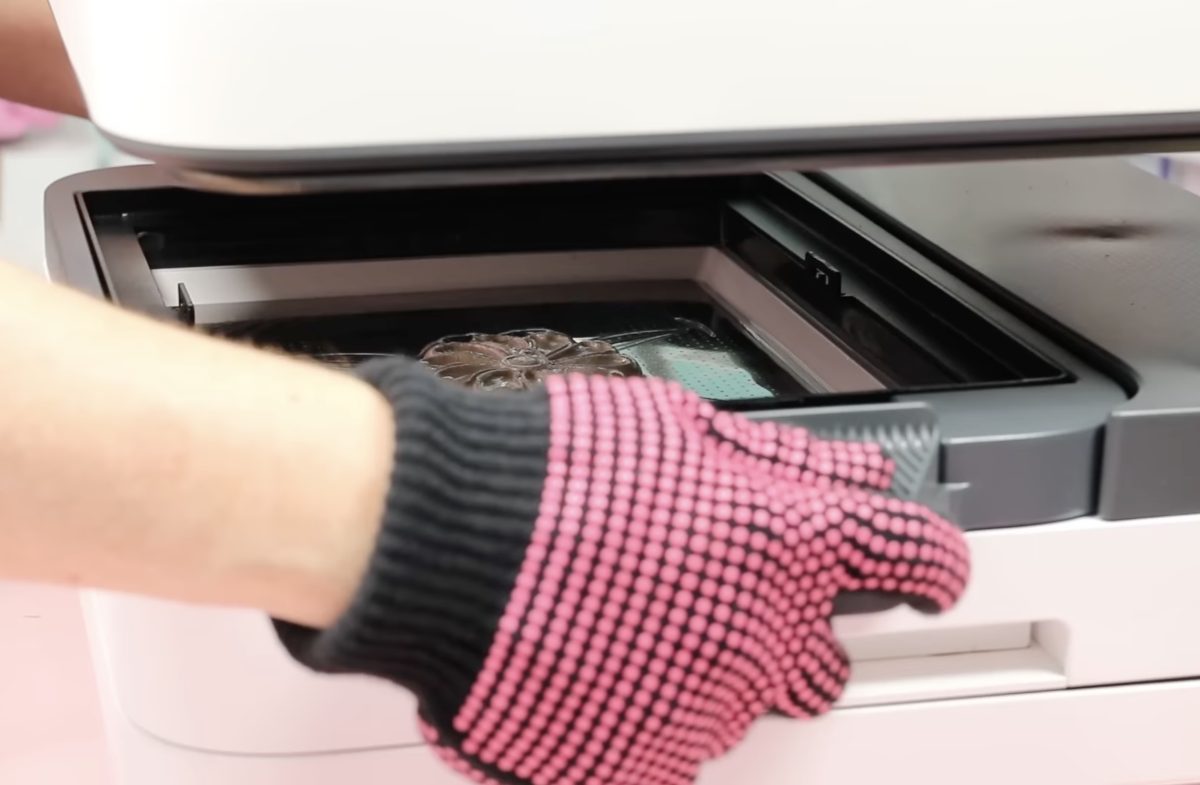
When the time is up, slide the tray out from under the heating element, and allow everything to cool for about 10 seconds.
When you’re ready to take it out, lift both handles, and that should break the vacuum seal.
Use your heat-resistant gloves or the tool to remove the top frame, and you can pop the mold out of the tray.
If your base material sticks in the mold, that’s okay. Simply pop it out, and you have a completed mold.
Step 3: Use Your Custom 3D Mold
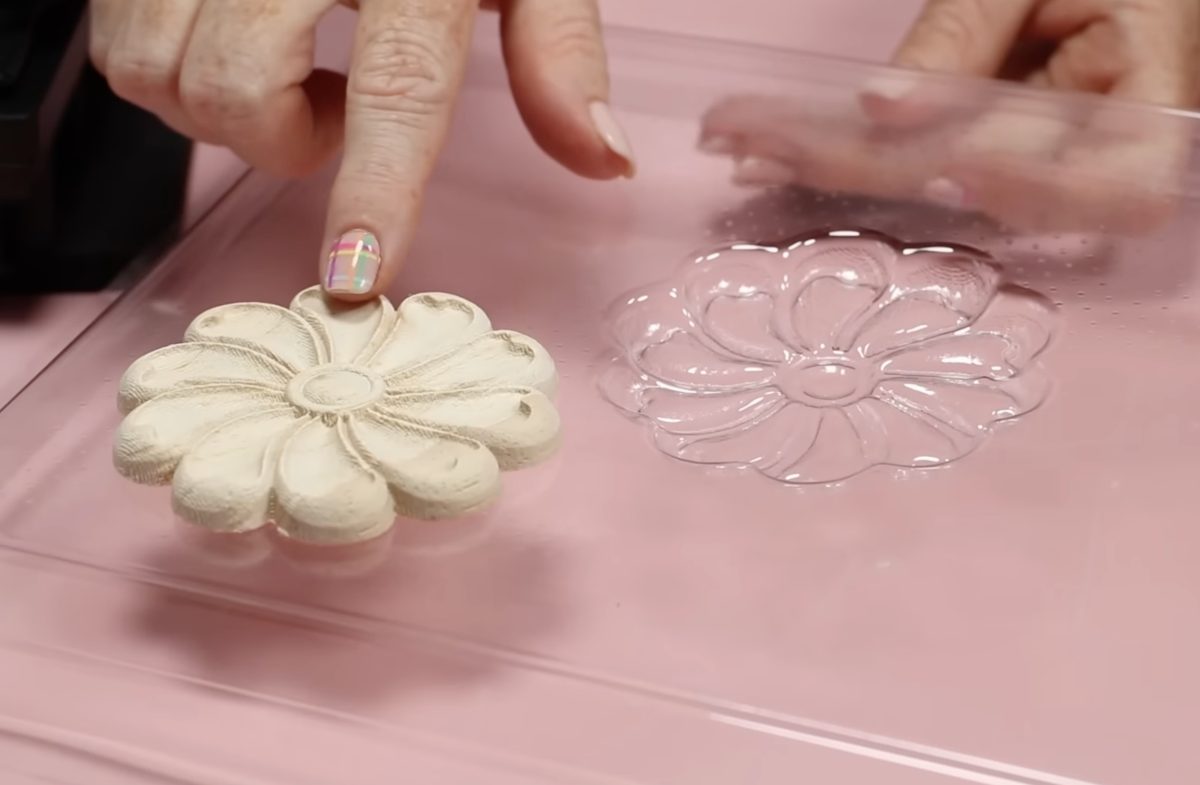
I am really impressed with this mold. It is an exact replica of the wood piece I used.

Depending on the type of film you use to make the mold, you can use these molds for chocolates and other candies, resin, candle making, and more.
You can even use them to create packaging that fits over the items you’re selling/gifting perfectly.
If you’re interested in creating molds, wrapped phone cases, buttons, coasters, and even keyboards. The 3D form module may be exactly what you’re looking for.
xTool WonderPress Pros and Cons
Now that we’ve tested out the WonderPress and the different modules, let’s talk about the pros and cons of this machine.
WonderPress Pros
The xTool WonderPress is a multi-functional machine as long as you purchase the additional modules. It can be a heat press, a craft oven, and a vacuum press.
There are a wide variety of projects you can make with this press, especially if you have all of the modules. If you’re someone who loves to craft all the different things, and you don’t need to mass produce the items you’re making, this could be a great option for you.
I really like that you can adjust the pressure on the heat press module. You can get high pressure with consistent heat, which isn’t a guarantee with other auto presses on the market.
I liked that the tray pulls all the way out from the heat platen, making it easier to locate your blanks and prints without fear of burning yourself. I was also really impressed with what I was able to fit in the press.
From bulky tote bags with two pressing pillows inside to hooded sweatshirts with long sleeves and thick hoods, I didn’t have any issues opening and closing the press and getting good results with all of the blanks I used in the heat press module.
I like that with the vacuum sublimation setup, I can sublimate two phone cases at one time. That is unique compared to other vacuum sublimation ovens I’ve used before.
I am also a big fan of the filtration system in the craft oven module. I’ve talked extensively about DTF safety in the past. If you are hand powdering and curing your DTF prints under an open heat press, please consider getting something with a filtration system included.
I am a fan of the module idea. I like that you can purchase just the items you think you’ll need. If you only need a heat press that can fit bulky tote bags and hoodies, that has adjustable pressure, you can purchase just the heat press module.
xTool WonderPress Cons
There is a learning curve with the WonderPress. I consider myself a pretty advanced crafter, and it still took me quite a bit of trial and error to get success with some of these projects.
I will say, by the time the WonderPress is available to everyone, there will be a lot more video tutorials out there for a lot of different projects that will make the process easier. Since I am working with mine at the very beginning, those aren’t all available to me. Your processes may go much smoother than mine did.
I do think, as you work through the trial and error process, when you find settings and processes that work, they will continue to work. This is not a situation where you’re recreating the wheel every time you use it because something has changed.
While this is a heat press with additional modules, I am not convinced it takes up much less space than having multiple machines.
Those modules are large and need to be stored somewhere.
This may bother no one but me, but I did not like that I had to download xTool Studio to connect the WonderPress to update the firmware. I can see all the settings and what module is installed right on the display on the machine. Having to download software to connect the WonderPress to update the firmware was a con for me.
While the 15 in by 15 in size is a pro for the heat press module and for being able to cure DTF prints, the actual oven size is very small.
The perk of having a sublimation oven is that you can sublimate many things at one time. Due to its small size, I don't see the craft oven module replacing my sublimation oven. If you’re only sublimating items that require a sublimation oven here and there and are more excited about the ability to use this oven for clay projects or curing DTF prints, it may be exactly what you’re looking for.
Cons of the 3D Form Module
Of all the modules, I found the vacuum module the most difficult to use and the loudest. If you’re new to vacuum sublimation, make sure you have plenty of blanks on hand while you’re learning what works and what doesn’t.
As I said, xTool did tell me they’re working on the noise issue. Hopefully, by the time the WonderPress makes it to your house, the noise isn’t nearly the issue I feel it is right now.
Many of the features of the WonderPress are niche. If you don’t want to make phone cases, buttons, wrapped coasters, and molds, you may not need the 3D form module.
If you’re not curing your own DTF prints, don’t work with clay or shrink plastic, and/or already have a sublimation oven, the craft oven module may not be one you need to purchase.
Who is the xTool WonderPress For?
First of all, I do not think the WonderPress is for anyone who is running a small business. My personal opinion is that the oven is too small, and the time the press takes to lower and raise will likely slow down your workflow.
If you’re a home crafter that wants the ability to do more things than just flat surfaces, this may be right for you. If your craft room has space up on a shelf to store modules that aren’t being used but you only have counter space for one machine, definitely check out the WonderPress.
The xTool WonderPress is for crafters who aren’t afraid of the trial-and-error process. If technology scares you, this may not be the right machine for you. Because it can do so much, you may find yourself overwhelmed and looking at it rather than using it.
If you like to learn new things and are okay with potentially wasting a few blanks and materials along the way, and you want to be able to do more, check out the WonderPress.
Final Thoughts on the xTool WonderPress
Let’s quickly go module by module for my final thoughts.
Heat Press Module
I think the heat press itself is an adequate heat press. While it’s similar to other auto presses on the market, the improvements xTool has made are the right ones. The tray pulling out all the way, having more space between the top and bottom platens, and more space for hoods and sleeves inside the press are all really good things.
I found the press easy to use, and the ability to adjust the pressure is a big win.
Craft Oven Module
Personally, I would not add the oven module. I already own a DTF printer from xTool that adds the adhesive powder and cures it right in the machine, so I don’t need that feature.
I also think the actual sublimation oven portion is too small for what I would want a sublimation oven for.
That being said, if I was curing my own DTF prints and wanted the ability to do that with an air filter, I would consider adding the module if I was already purchasing the WonderPress.
As a sublimation itself, I would choose something larger.
Vacuum Forming Module
My opinion on the vacuum forming module is probably skewed by the fact that I am learning everything from scratch. I can’t look for tutorials to help me, because it’s not available to the public yet.
I found the learning curve steep, even for an experienced crafter. This could be really frustrating for someone who’s brand new.
After a bit of trial and error, I was able to get a phone case I was really happy with and a 3D mold that looked pretty perfect to me.
If I were someone who needed to create molds for my crafting, I would find this module very appealing.
Personally, I do not use a lot of molds, and that combined with how loud this module is, I would not be rushing out to buy the vacuum module.
I have used other vacuum sublimation machines, so I knew there would be noise, but even knowing that, how loud this was really surprised me.
If you decide the vacuum sublimation module is something you need in your craft room, you may also want to order some noise-cancelling headphones.
I am sure you have a lot of questions about the xTool WonderPress. I hope I’ve answered some of them today. Please drop any other questions you have in the comments, and I’ll be happy to answer them for you if I can.
I’d also love to hear what else you’d like to see me attempt to make in the WonderPress. If you’re trying to see if it’s right for you and there is something you want to see, leave that in the comments too.