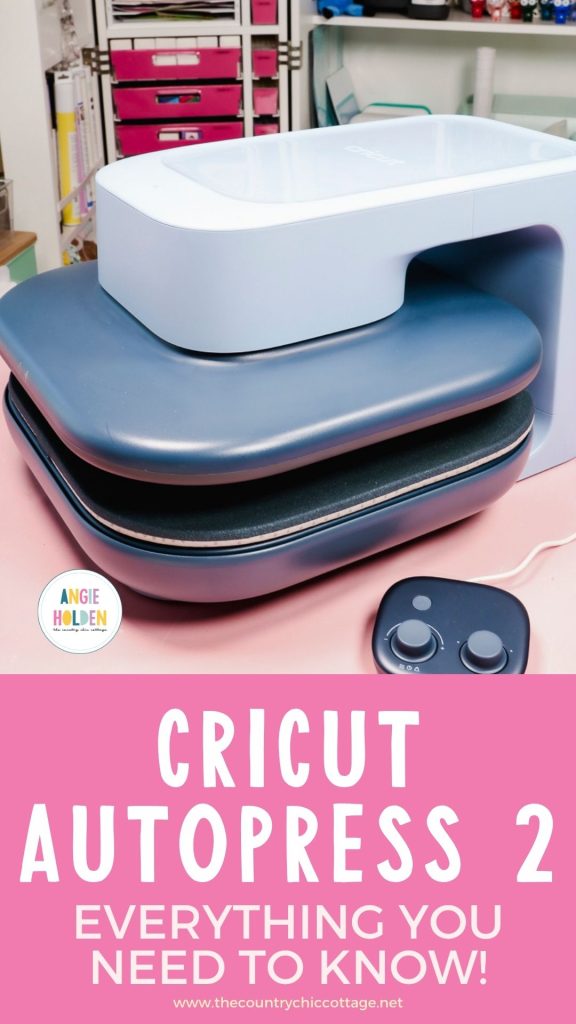
I’m excited to introduce the new Cricut AutoPress 2. If you ever wished the original AutoPress had a larger heat platen and adjustable pressure, you’re going to love the changes in the AutoPress 2.
I’m going to test a variety of materials and blanks to see how it works with each of them. Does the adjustable pressure go high enough to work with heavy-pressure materials? We're going to find out.
I always liked how easy it was to use the Cricut Autopress. I think it's great for people who struggle with hand strength.
The new AutoPress 2 has the same features; it's easy for people with mobility issues and actually takes up a little less space.
Cricut Autopress 2
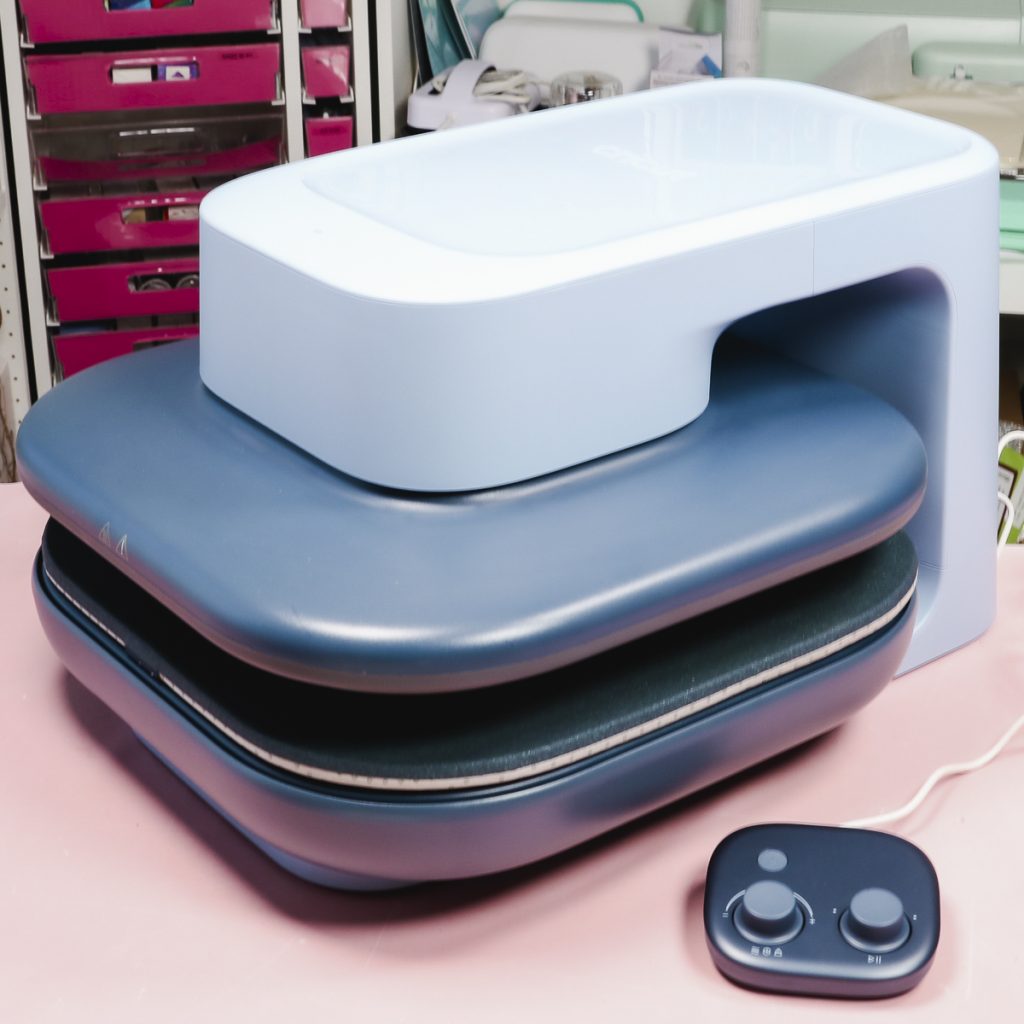
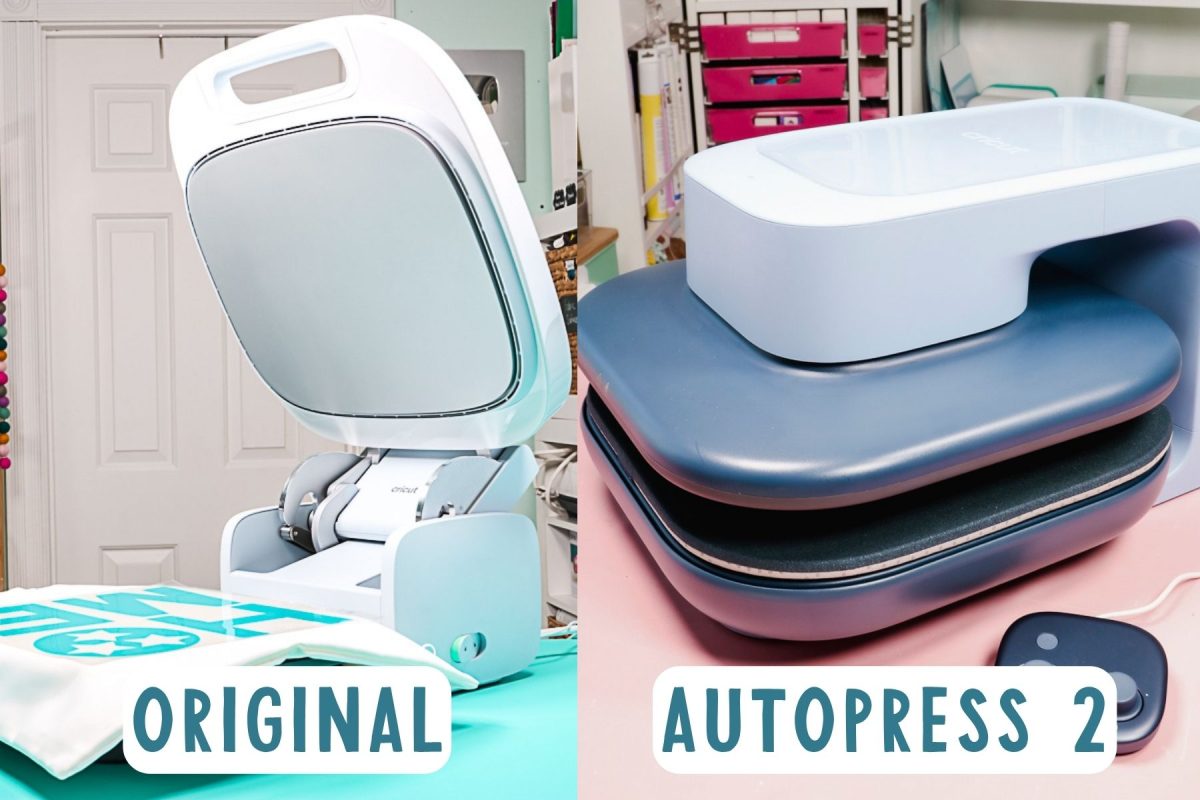
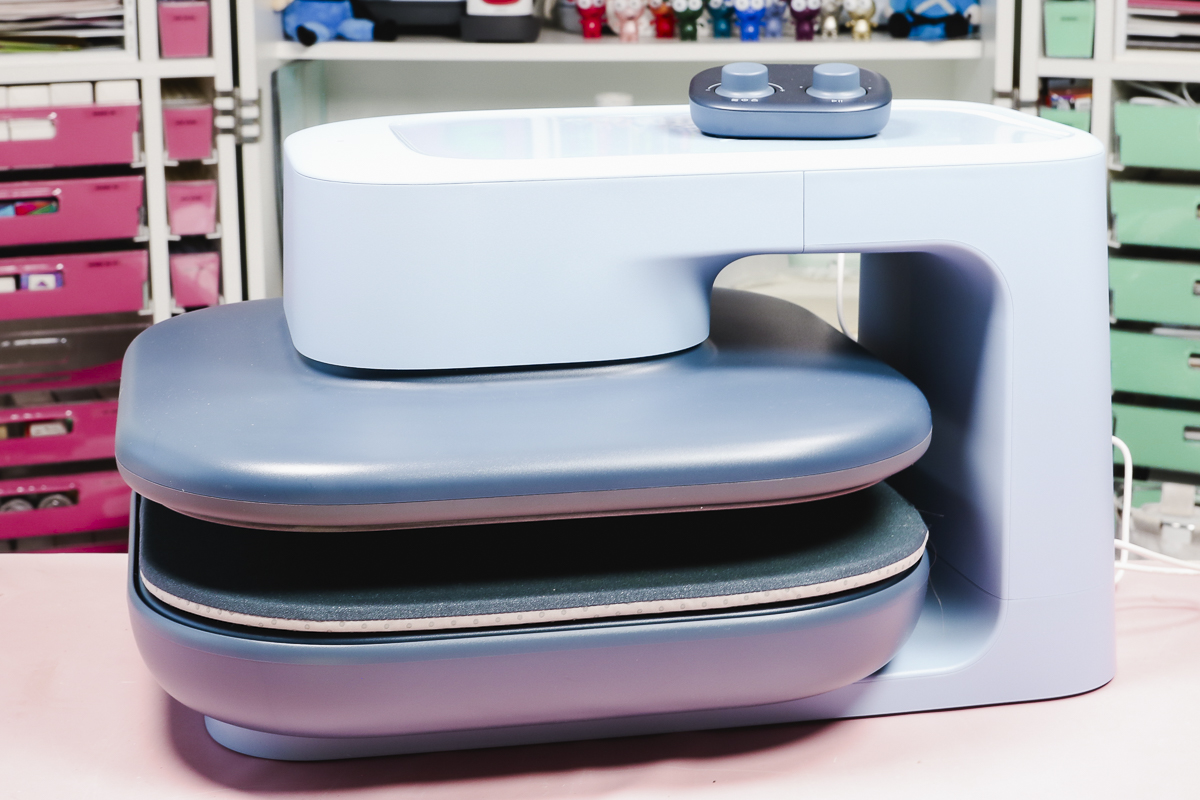
If you’ve seen the original Cricut Autopress, you have probably noticed that this one looks very different.
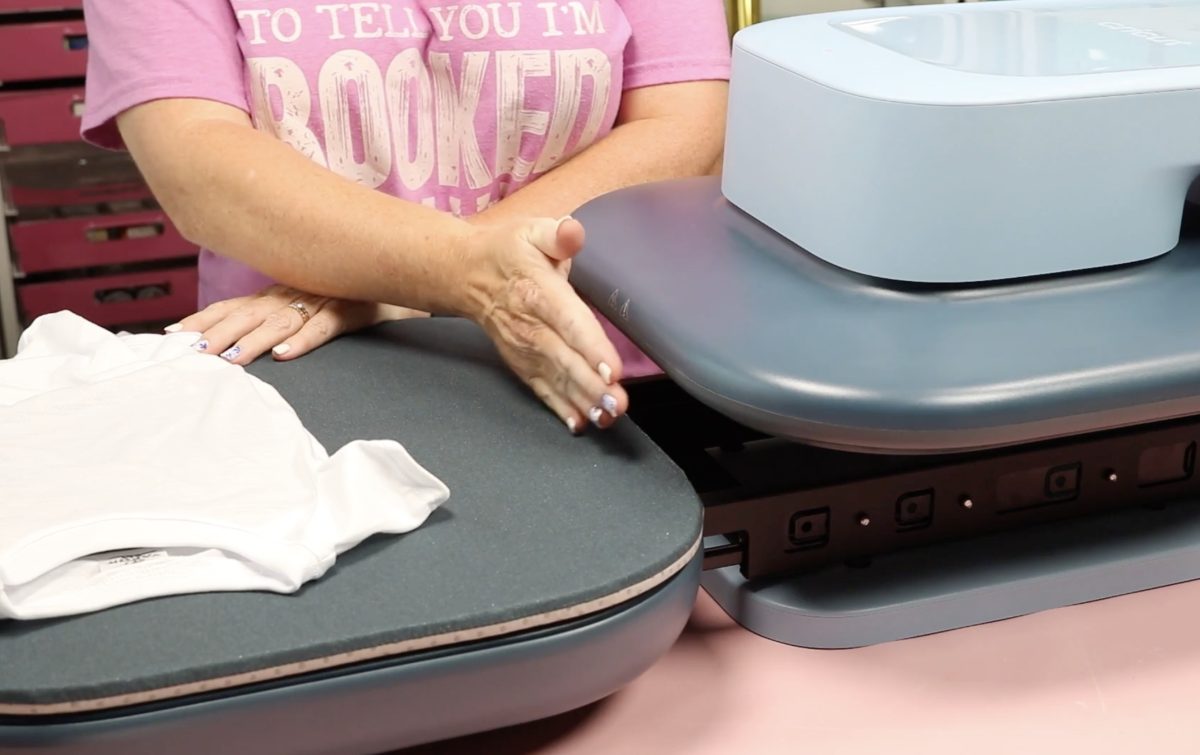
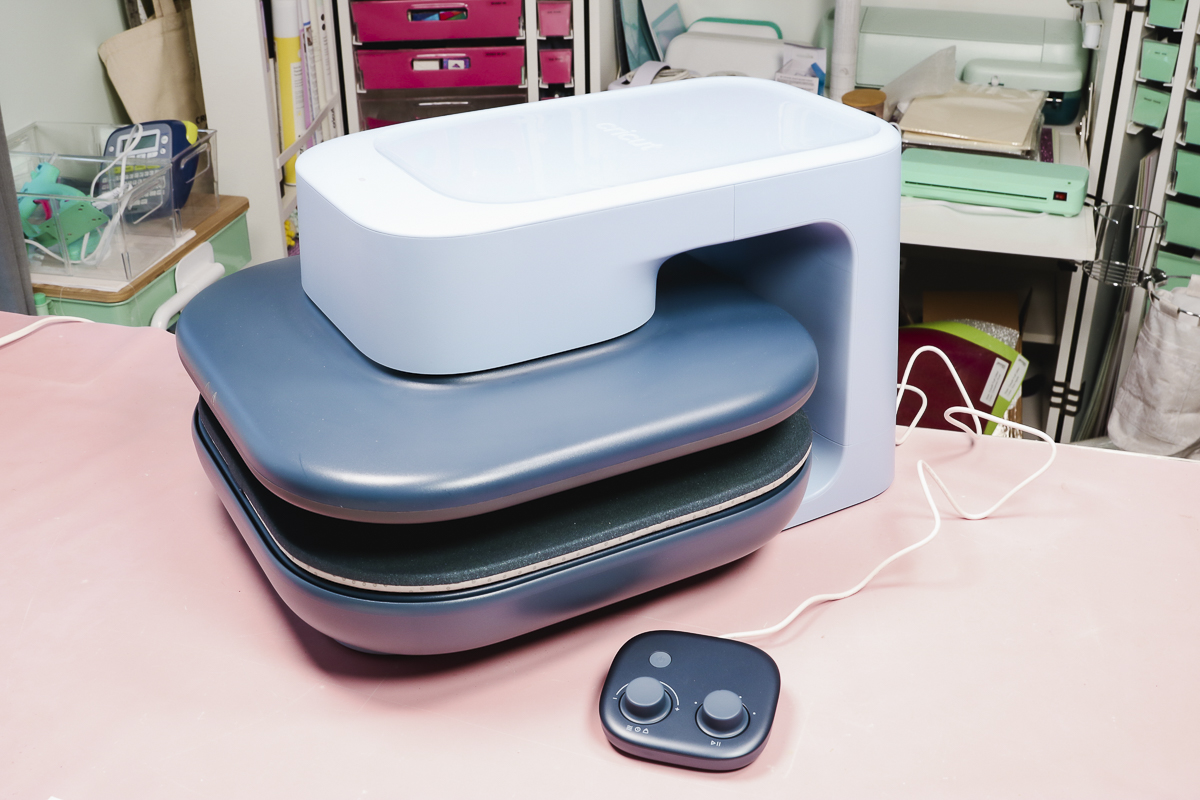
Instead of a clamshell-style press, the top of this press is fixed and the bottom tray slides in and out.
It also has a larger platen size. The AutoPress 2 has a 15-inch by 15-inch heat plate compared to the 12-inch by 15-inch heat plate in the original.
Both presses have a control module and an included pressing mat.
How to Set Up the Cricut Autopress 2
The setup for the Cricut Autopress 2 could not be easier. The only thing you need to do to set it up is remove it from the box and plug the control module into the press. The power cord is already attached.
There is a pressing mat on the sliding tray. The mat has a non-slip bottom and just sits on the tray. You do not have to secure it in place with elastic or Velcro.
Control Module
The control module is really easy to use. There are two knobs and a power button. Press the power button to turn the machine on, and the press will open automatically.
With the machine on, you'll see three different displays. The top display is the temperature, the middle display is the time, and the bottom display is the pressure.
That's right, the Cricut Autopress 2 has adjustable pressure. I'm very excited about this feature.
To change the settings, press the knob on the left, and you'll see the numbers start to flash. Turn the dial to increase or decrease the number and press it again to set it. The second press will allow you to change the time setting. Change that setting the same way. Press the knob again, and here you can adjust the pressure. With the pressure set, press the knob again, and everything is set.
The knob on the right is for preset settings. Press the knob, and you can scroll through the different preset options.
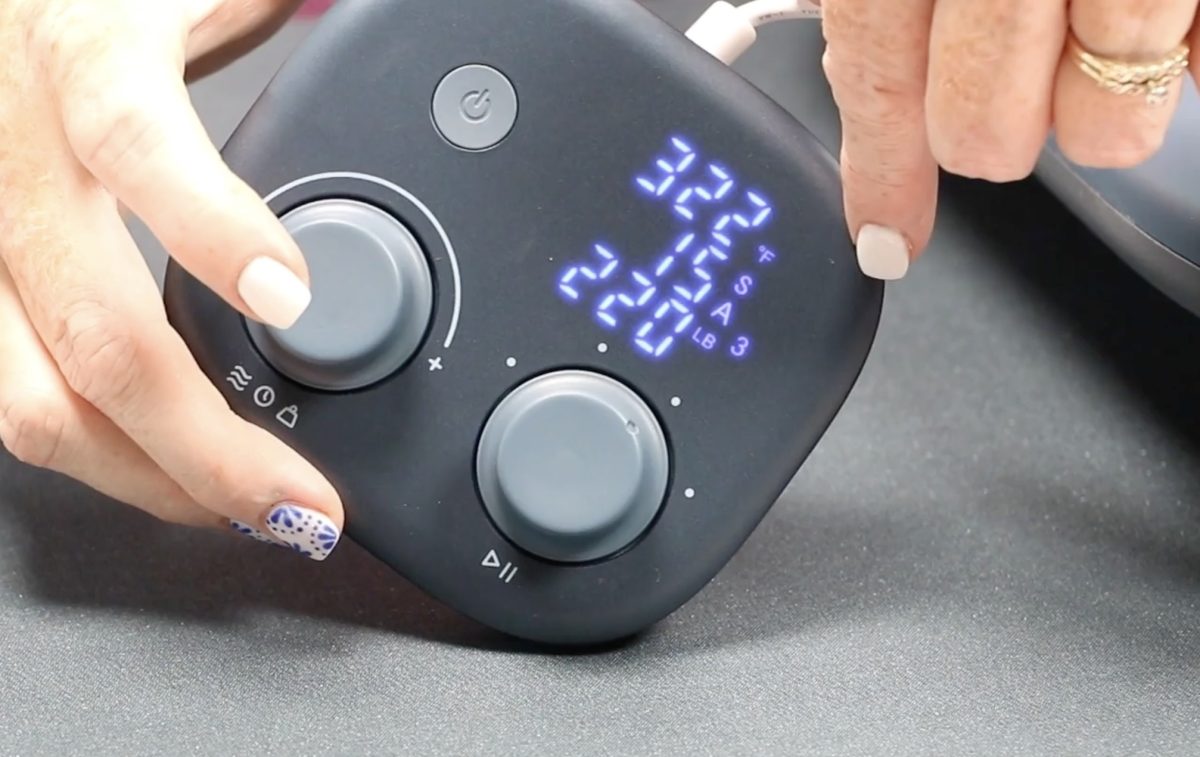
The control module also controls the Auto Press features. To turn the auto features on and off, press the right knob for five seconds, and you'll see an A on the right of the time setting. This means the auto feature is turned on.
Specifications
The heat plate on the Autopress 2 is 15×15. I love the size of this press; this is large enough for most projects you'll want to make.
The Cricut Autopress 2 has a maximum pressure of 220 pounds. Being able to adjust the pressure is going to open the door for a lot of projects we couldn't make consistently with the original Autopress.
I'm going to be honest here: the Autopress having a maximum time setting of 360 seconds is unfortunate. Some sublimation blanks call for a much longer pressing time, and I wish this one went up to like 999 seconds.
The maximum temperature is 410 degrees. This temperature is high enough for all your sublimation projects.
I really like the slide-out tray on the Autopress 2. It slides all the way out so none of the surface is under the heating element.
Ready to buy the Cricut AutoPress 2? Click here to shop now!
Sublimation Onesie
For my first project, I'm going to make a sublimation onesie. The preparation is the same as if you were using any other heat press.
- Set the time to 55 seconds and the temperature to 385 degrees.
- Set the pressure to 125 pounds.
- Make sure you're using a sublimation blank. My onesie is a white, 100% polyester onesie.
- Add pressing foam to the inside to raise the pressing area above the seams.
- Preheat to remove moisture.
- Lint roll to remove dust, hair, and other debris.
- Print sublimation design. This is sublimation ink printed on sublimation paper from a sublimation printer, and the image is mirrored.
- Prepare the sublimation print by tearing the edges to prevent pressing marks.
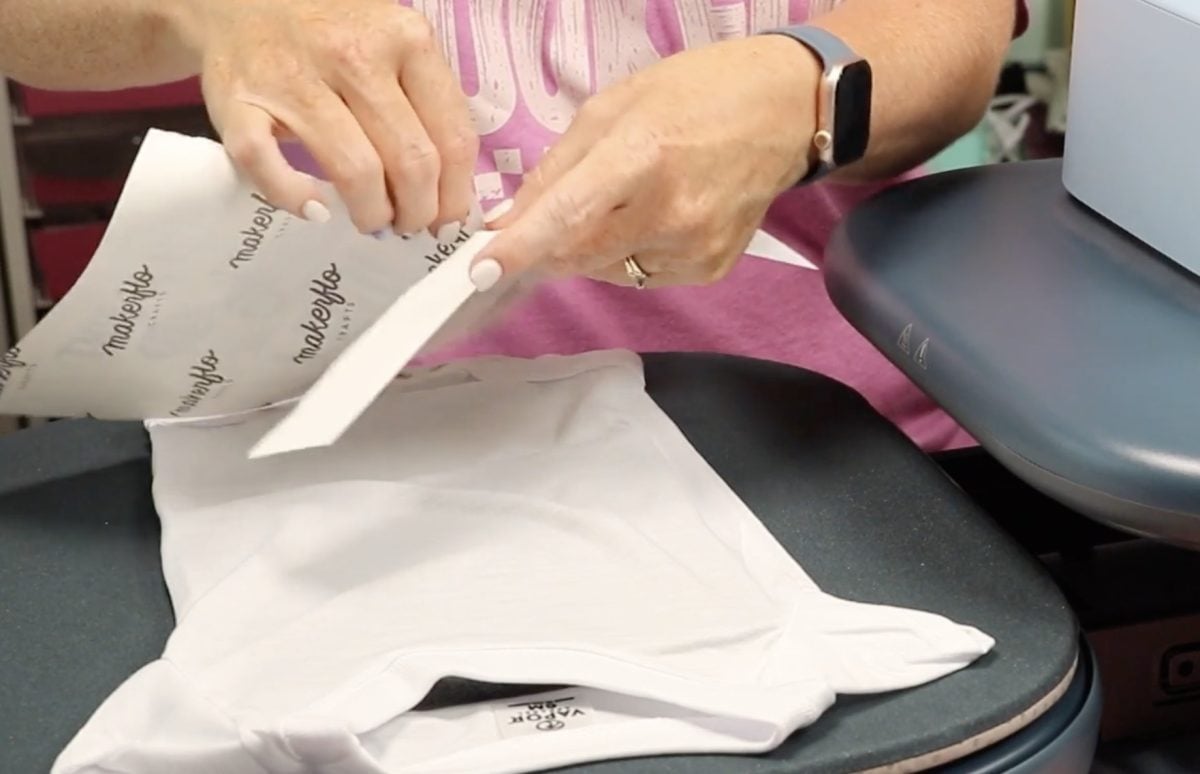
- Locate the print on the onesie and secure with heat-resistant tape.
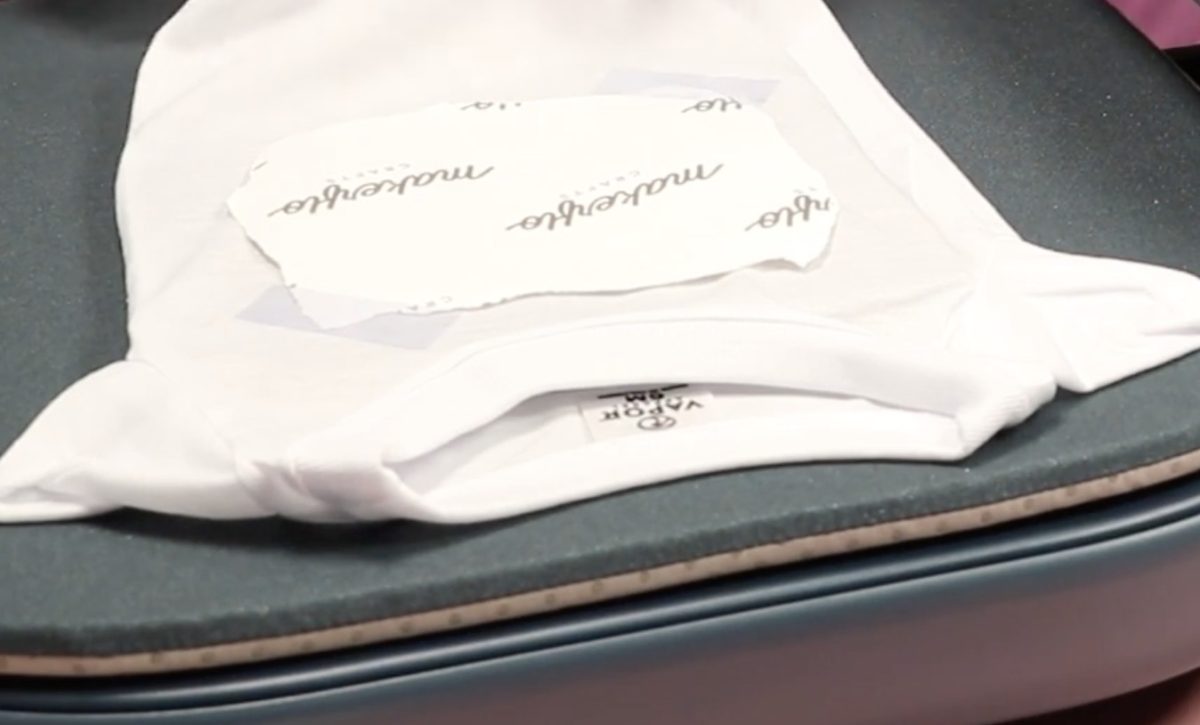
- Place protective paper inside the onesie between the foam and the fabric.
- Cover the sublimation print with protective paper.
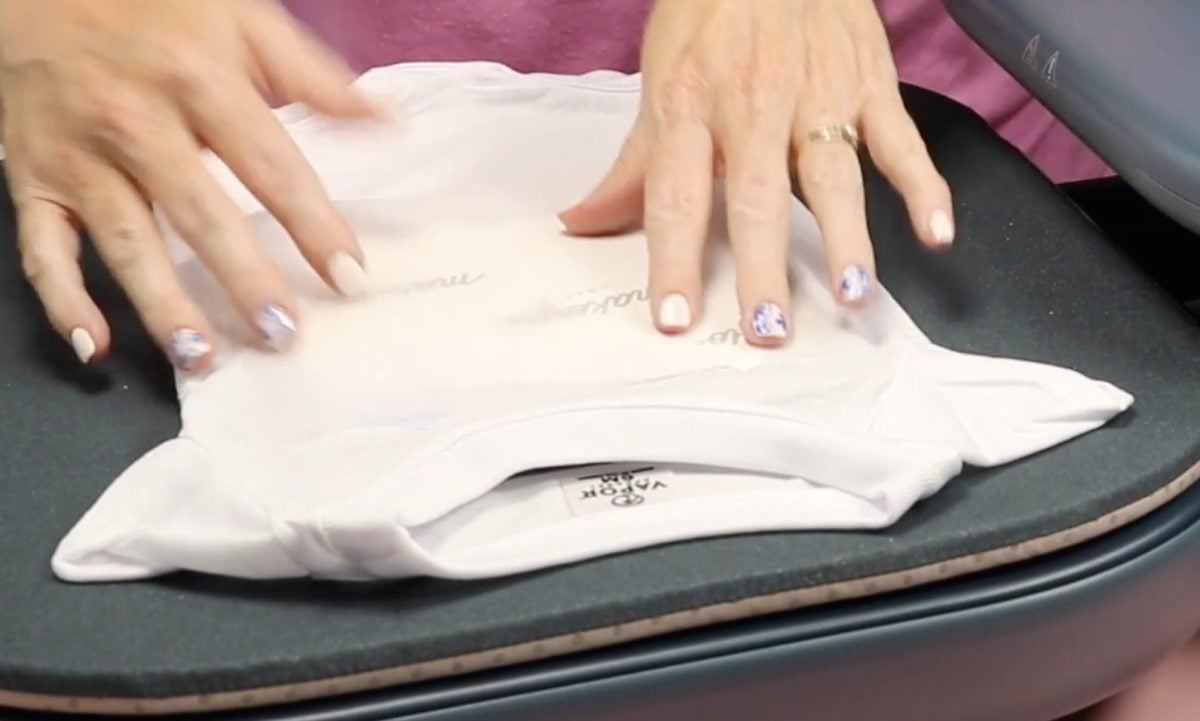
I used the auto mode with the sublimation onesie, and as soon as the tray was slid all the way to the back, the top platen lowered down with the set pressure.
The press will apply pressure for the full time. When the timer is up, the heat platen will rise automatically. You do have to manually slide the drawer in and out.
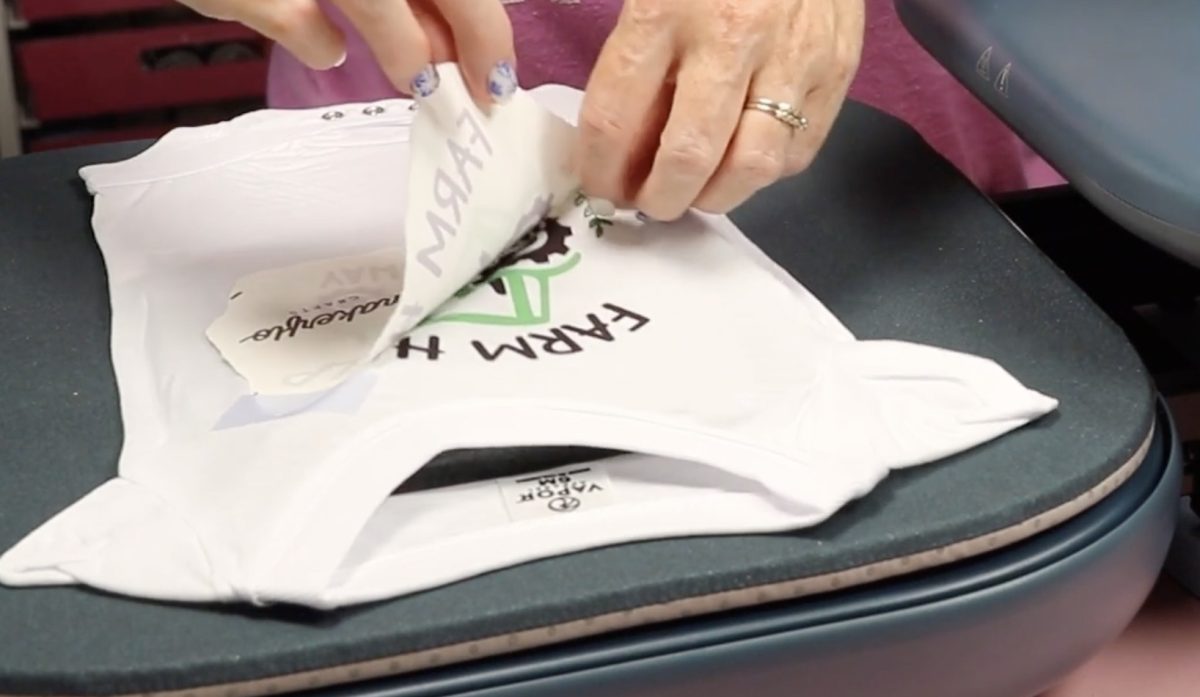
Carefully remove the sublimation print and heat-resistant tape, and you have an adorable finished onesie.
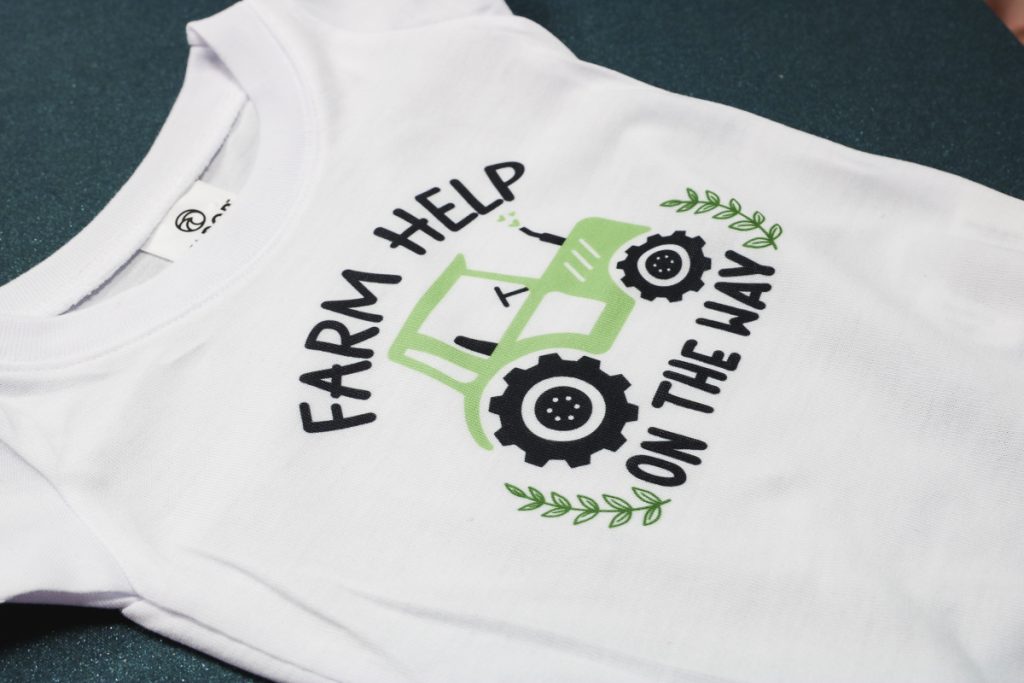
I'm really impressed with how the onesie turned out. The colors are vibrant, and there are no pressing marks. I actually loved it so much I had to make another one.
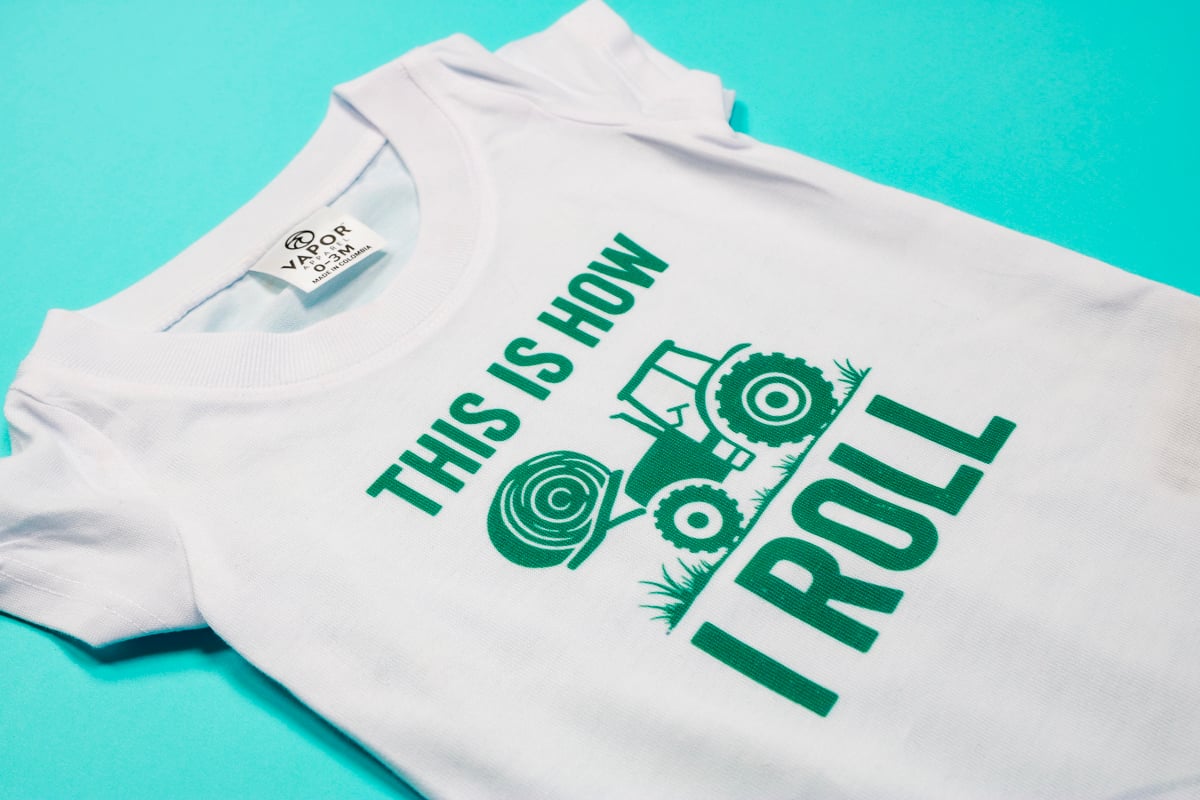
Again, the design transferred perfectly. These onesies make the most perfect new baby gifts.
DTF on Canvas Tote
For my next project, I'm going to test adding a large DTF print to a canvas tote bag.
Canvas tote bags like the one I am using today are more structured, which can make it a little harder for heat-activated adhesives to stick to.
Pressing a large design will also help me see if we get even heat and pressure across the entire heat surface or if there are areas that receive less heat or pressure.
First, preheat the tote bag to remove any moisture and wrinkles. After the pre-press, I decided to add a pressing foam to the inside to lift the pressing area above the strap seams and side seams.
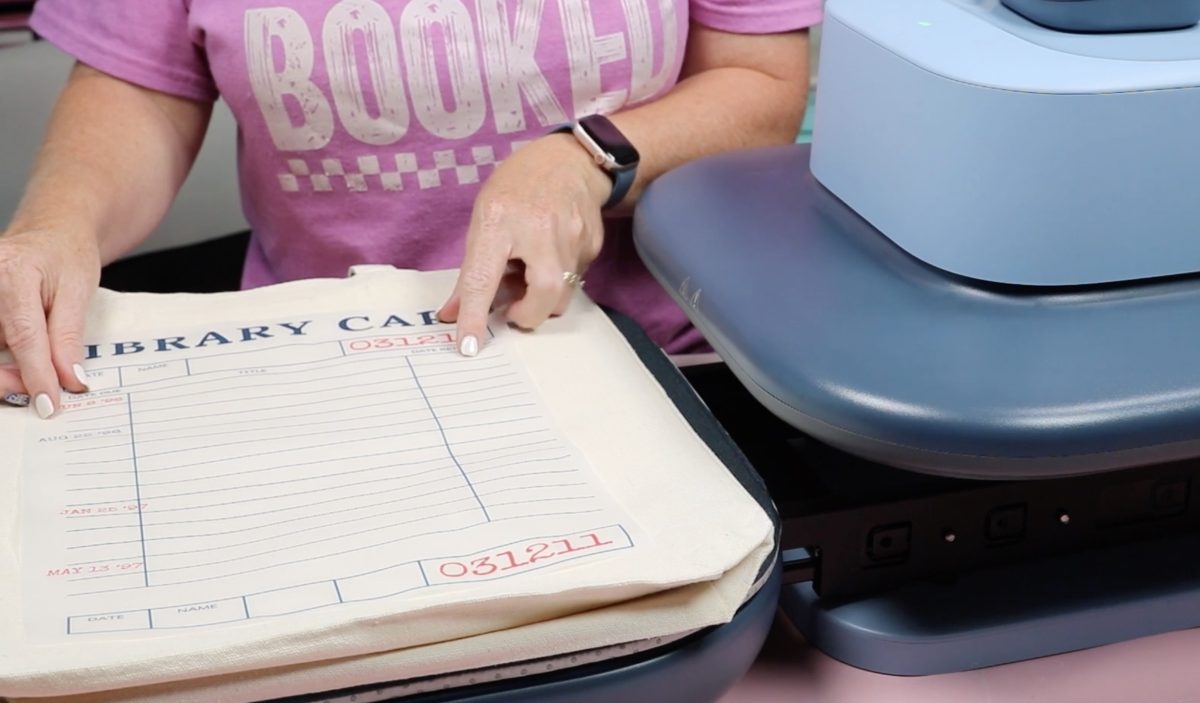
Next, locate the DTF print. You can secure it with heat-resistant tape if you're worried about it moving.
Cover with protective paper and press for 15 seconds at 310 degrees, with 200 pounds of pressure. This pressure setting isn't heavy pressure, but it is more of a medium/heavy pressure.
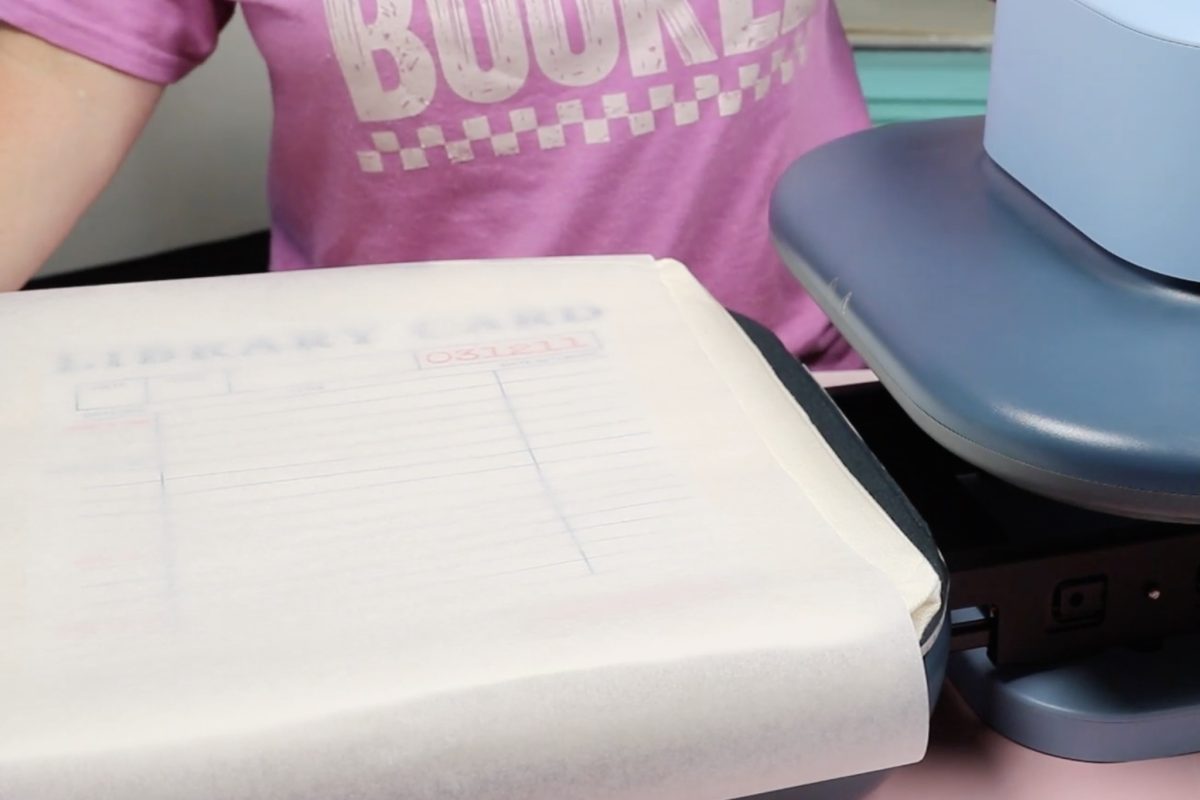
When the time is up, slide the tray out and allow the DTF to cool before removing the carrier sheet.
I like to use a DTF cooling block to help speed up the cooling process.
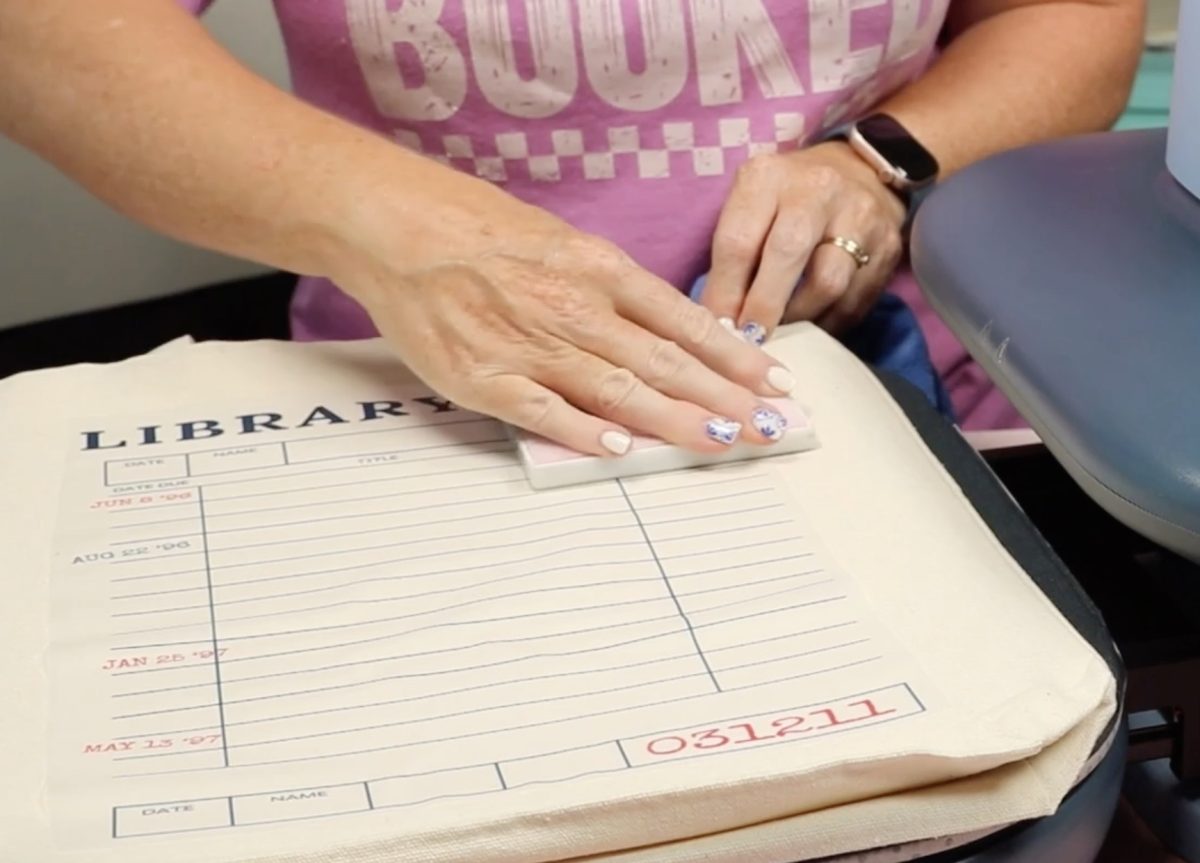
I have also found that, with materials that aren't completely smooth, like this canvas tote bag, going over the surface with a microfiber cloth and really pressing the adhesive into the fabric can help a lot.
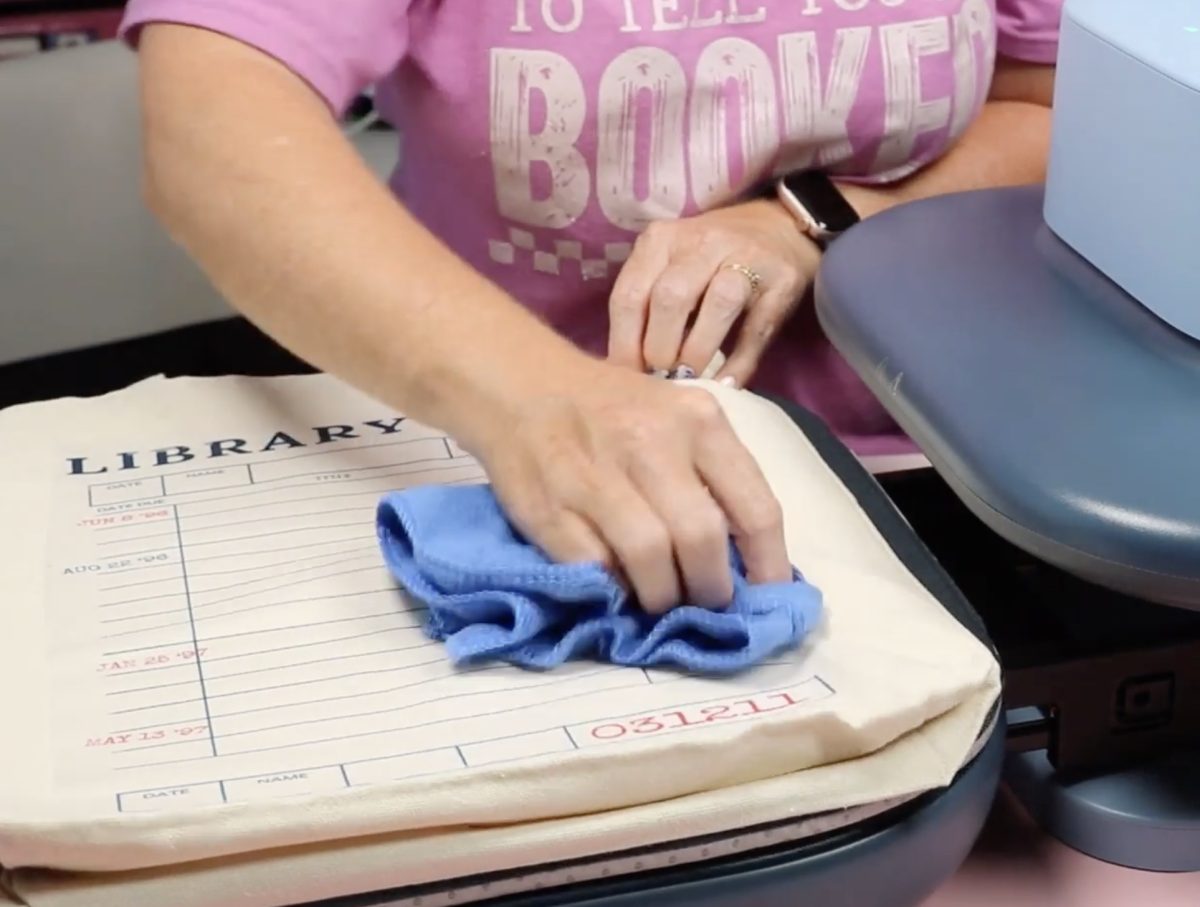
With the carrier sheet removed, cover the DTF print with protective paper, and press again for 15 seconds.
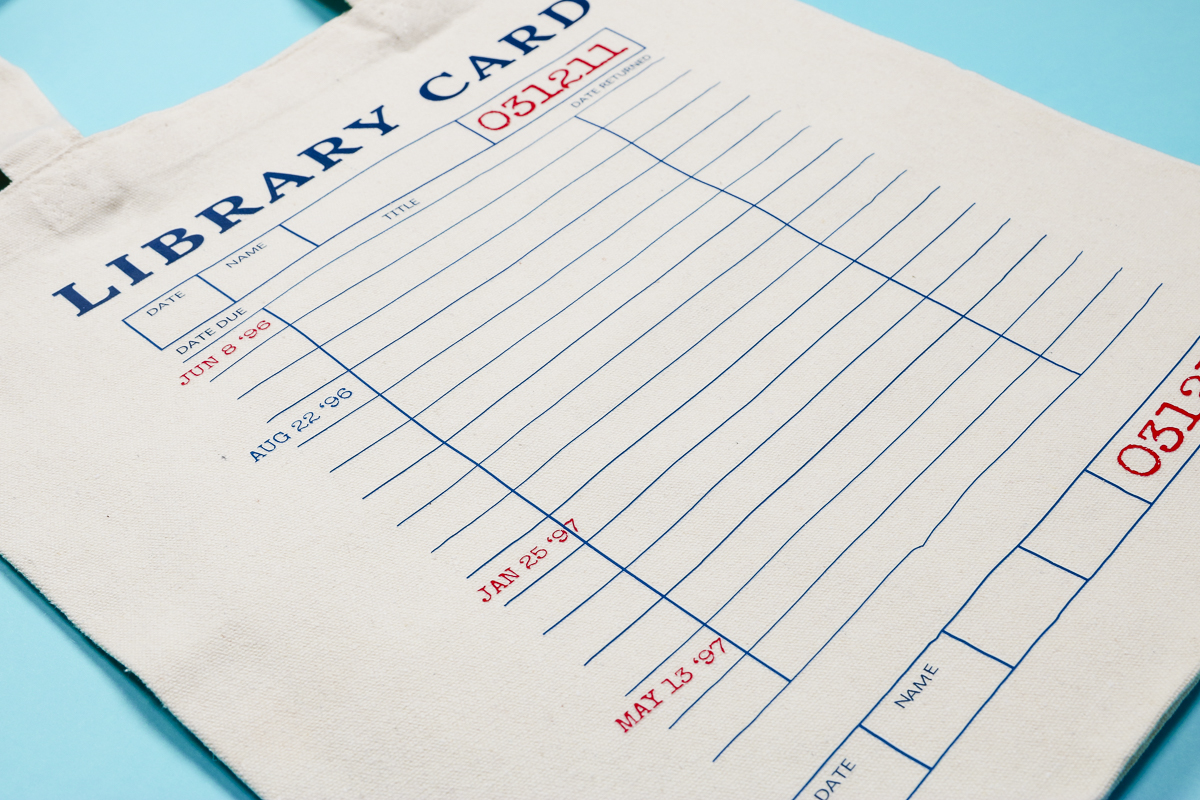
This DTF tote bag turned out perfect. Even though the print is large and the canvas is not perfectly smooth, the print transferred beautifully.
Ready to buy the Cricut AutoPress 2? Click here to shop now!
Puff HTV on Bulky Sweatshirt
For my next project, I'm going to test adding puff HTV to a bulky sweatshirt. This project is going to answer two questions for us.
- Does the Cricut Autopress 2 have enough pressure to make puff HTV puff up?
- Is there enough room inside the Autopress 2 for bulky items like oversized sweatshirts and hoodies?
In other autopresses that I've tried, one or both of these caused issues. Either the pressure wasn't adjustable, so it wasn't heavy enough to puff up the puff HTV, or there wasn't room for a sweatshirt to fit inside the press.
First, preheat the sweatshirt. This will help us figure out the best way to orient the sweatshirt so it will fit inside the Autopress 2, and it will remove any moisture in the fabric.
I was actually really impressed. Even with this size large, oversized sweatshirt, there was plenty of room inside the throat of the press for it to fit, and it closed without issue.
Next, we're ready to locate the puff HTV. My design is quite large, and I want it centered on the front of the sweatshirt. You do want to make sure when locating your large designs that the entire design is on the bottom platen.
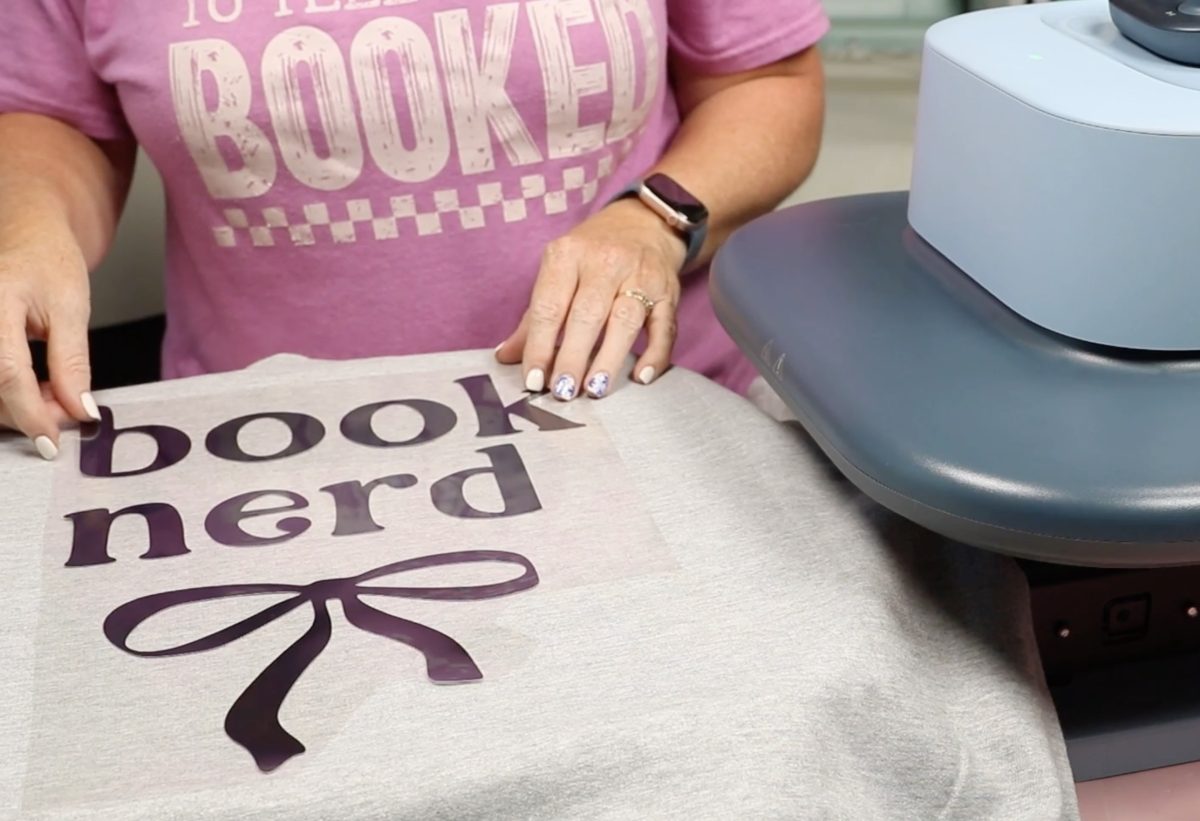
This metallic puff HTV I'm using today is a 2-step press. First, we're going to cover it with protective paper and press it at 310 degrees for about 7 seconds with 200 pounds of pressure.
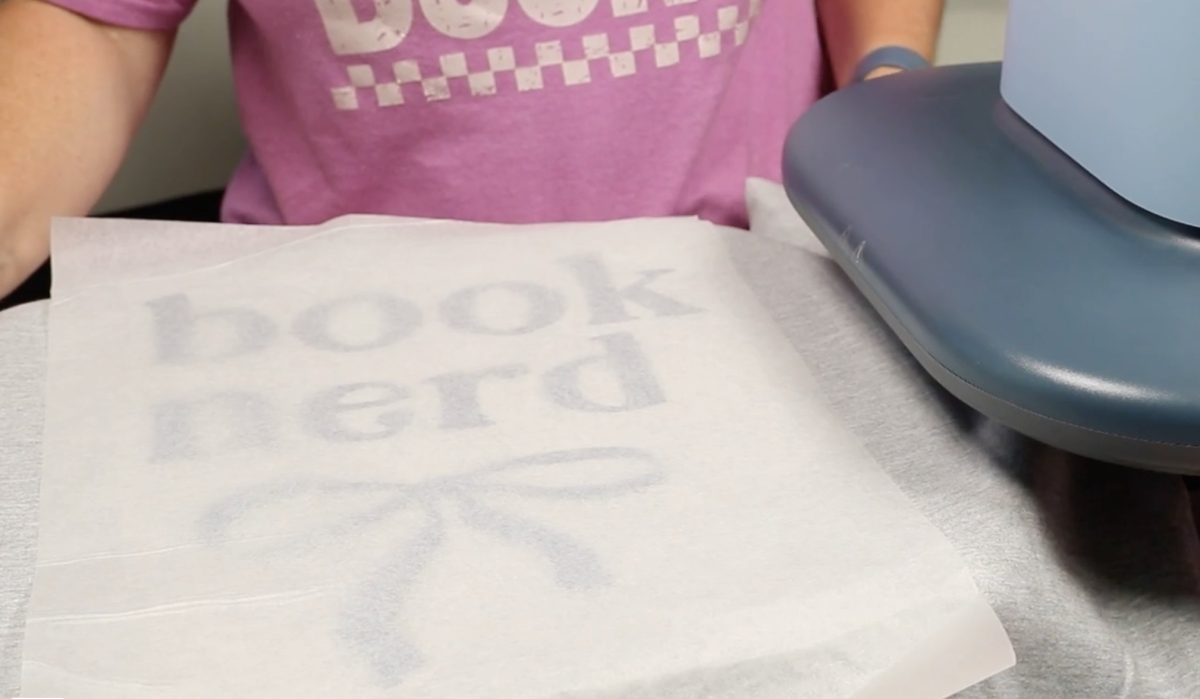
After about 7 seconds, press the Play/Pause button on the control module to stop the press.
For the first press, we want to press just long enough for the adhesive to stick to the fabric. We don't want to activate the puff yet.
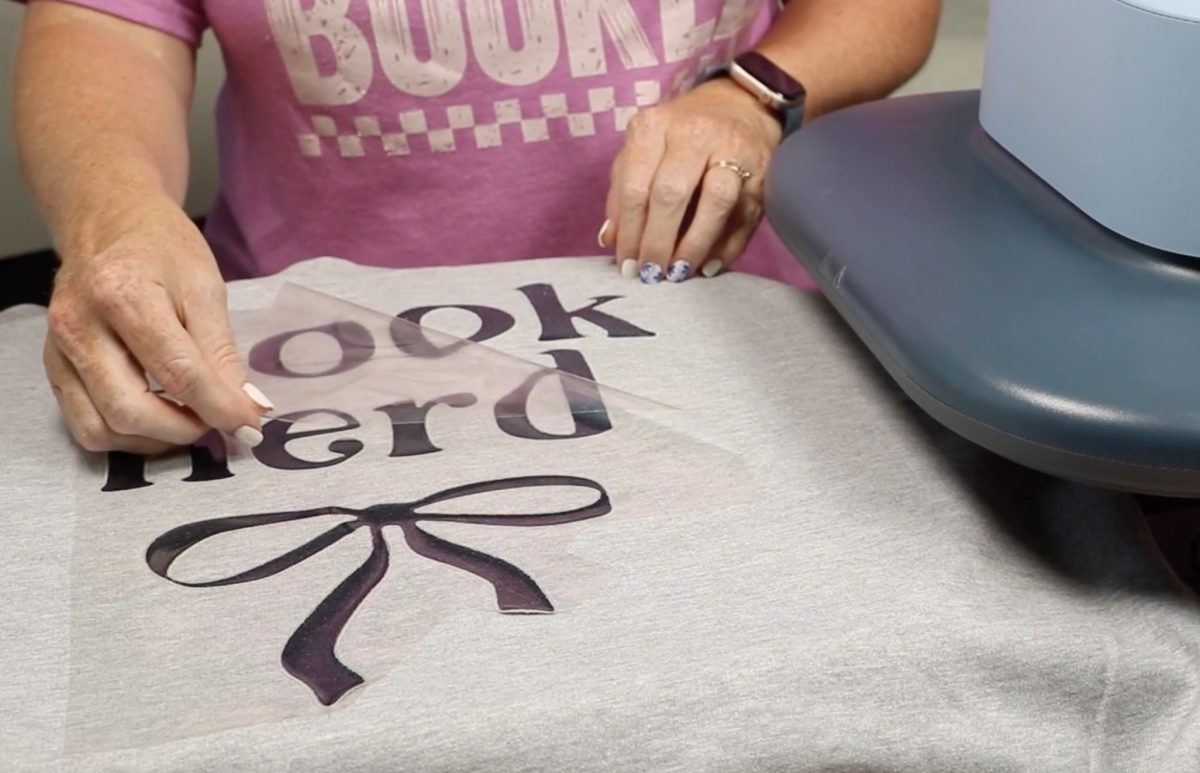
7 seconds with the medium/heavy pressure was long enough that my puff stuck really well. Take your time removing the carrier sheet so you can ensure everything is stuck down.
Next, we're going to cover with protective paper again and press at 310 degrees, with 200 pounds of pressure, and press for the full 10 seconds.
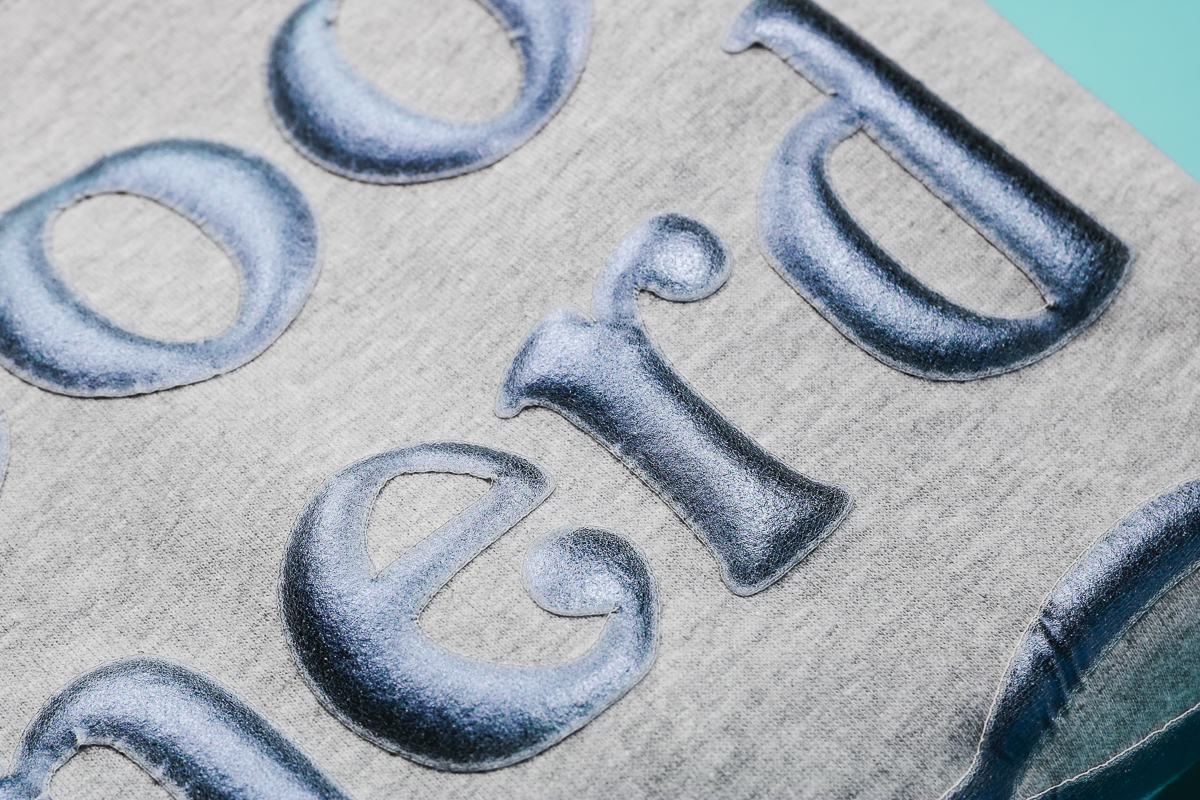
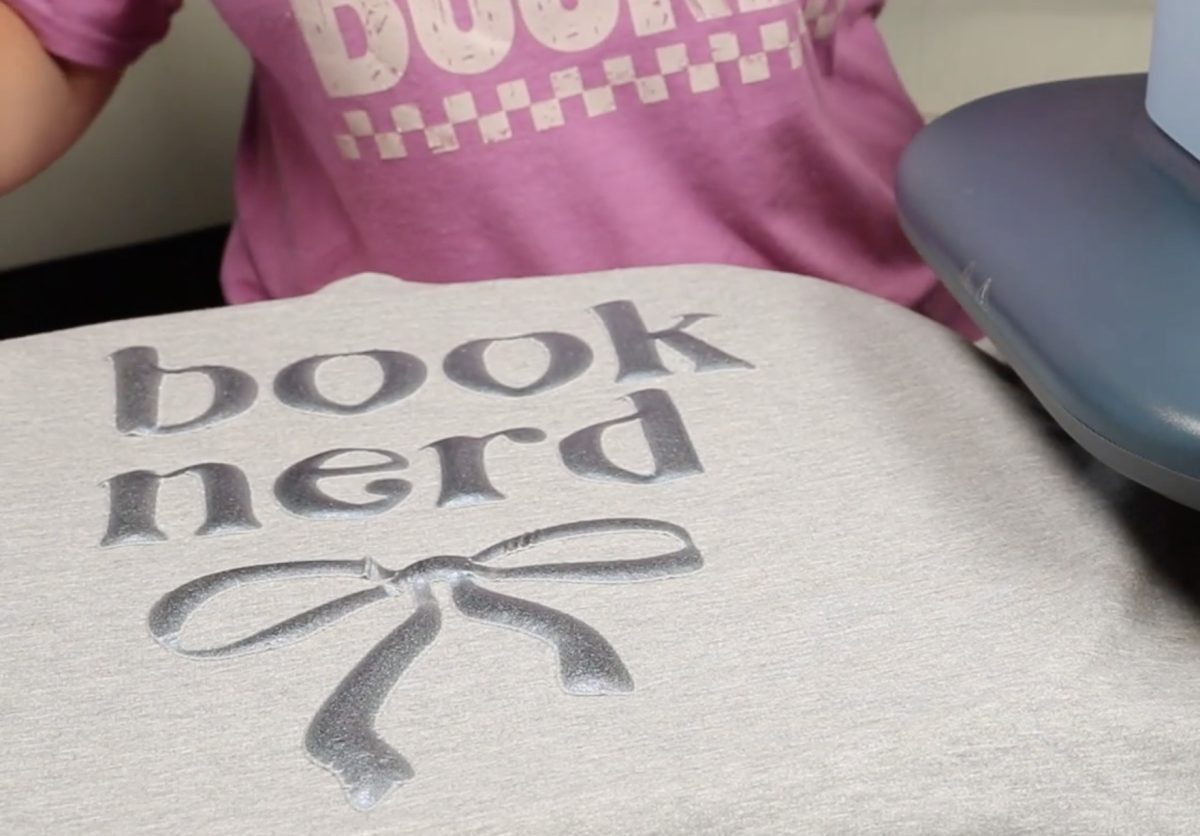
Look at how puffed up the metallic puff HTV is. I'm really impressed at how well this worked with the Cricut Autopress 2.
DTF on Wood
Now that we've seen how well the Cricut Autopress 2 does on soft surfaces, let's test it on more rigid surfaces.
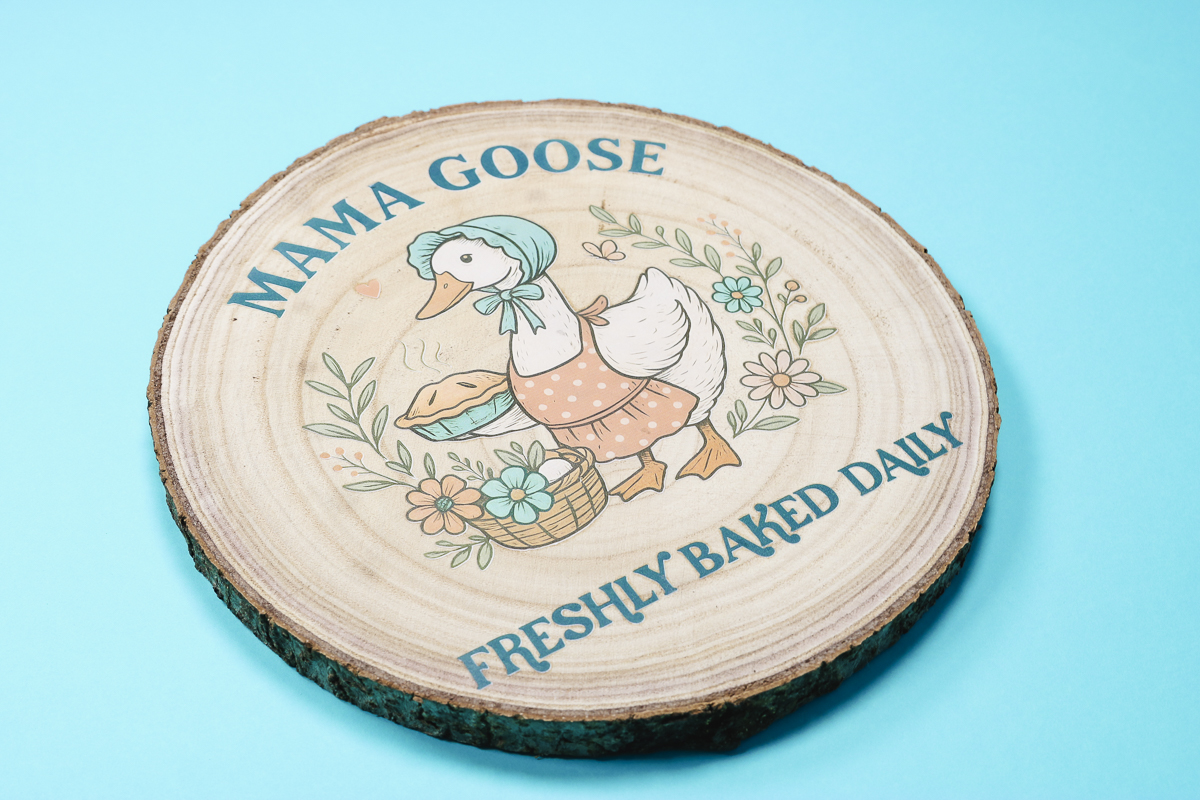
For my next project, we're going to add a DTF print to a wood round. I love the way DTF looks on wood; it really gives it a painted look, so I'm hopeful it will work with the Autopress 2.
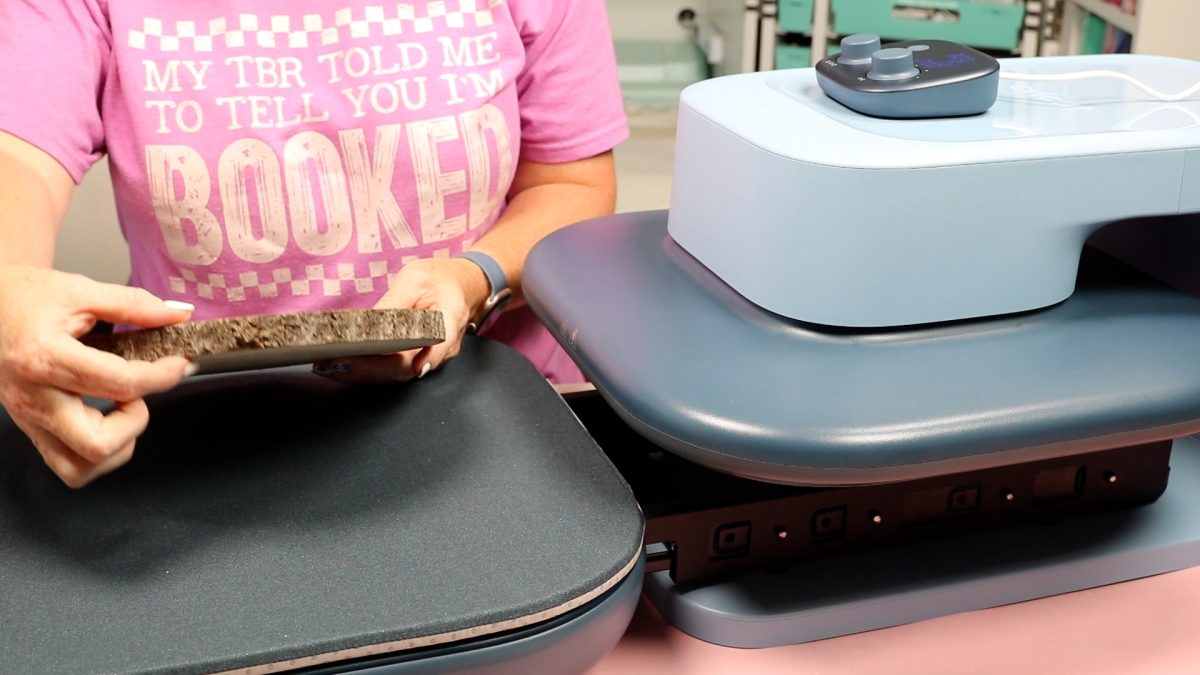
You can see that the wood round is not only rigid, but it's also pretty thick. I was pleasantly surprised that the Autopress had no issues with this thick of material.
Locate the DTF print on the wood round and cover with protective paper.
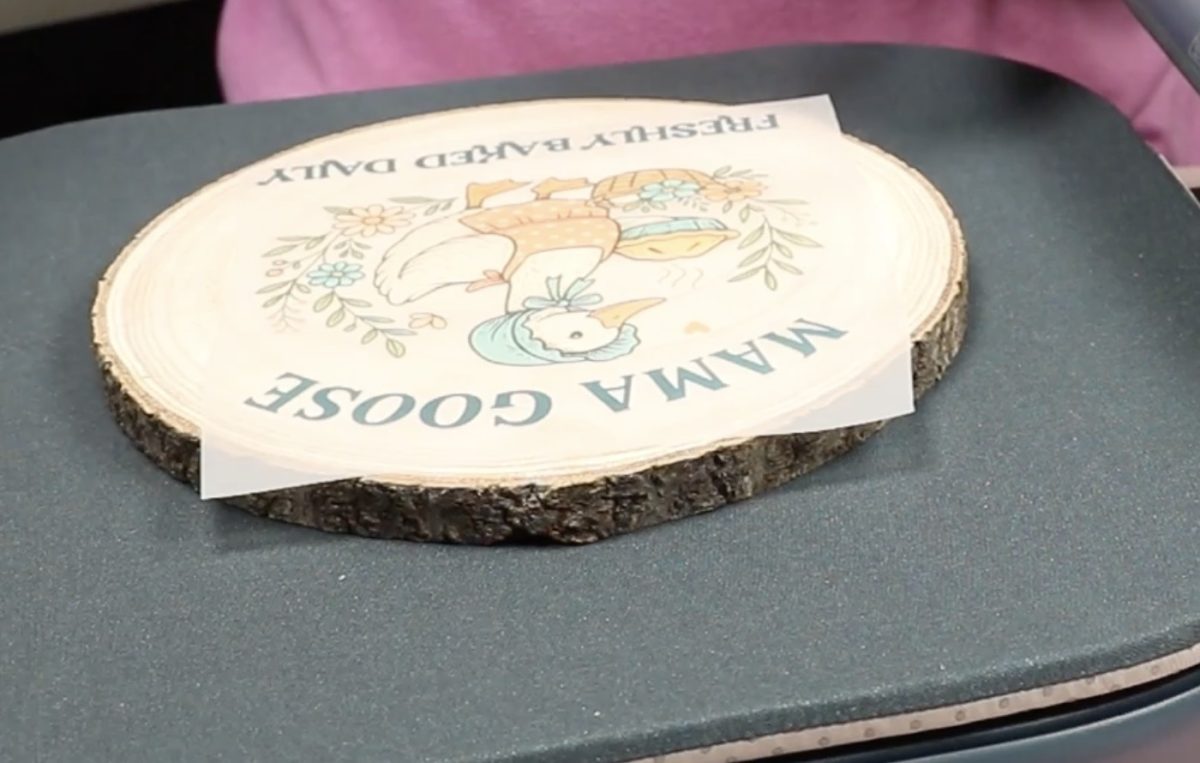
I have my Autopress 2 set to 310 degrees, 15 seconds, with 200 pounds of pressure.
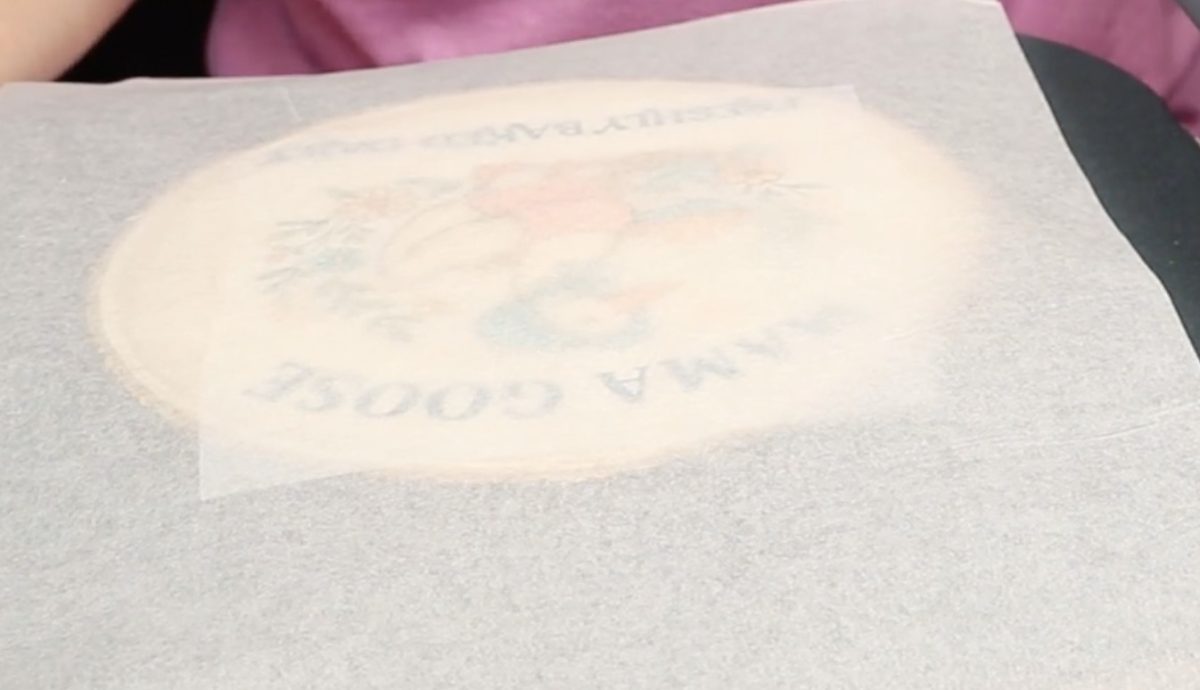
Press for the full time and then use a microfiber cloth to really press the adhesive into the wood.
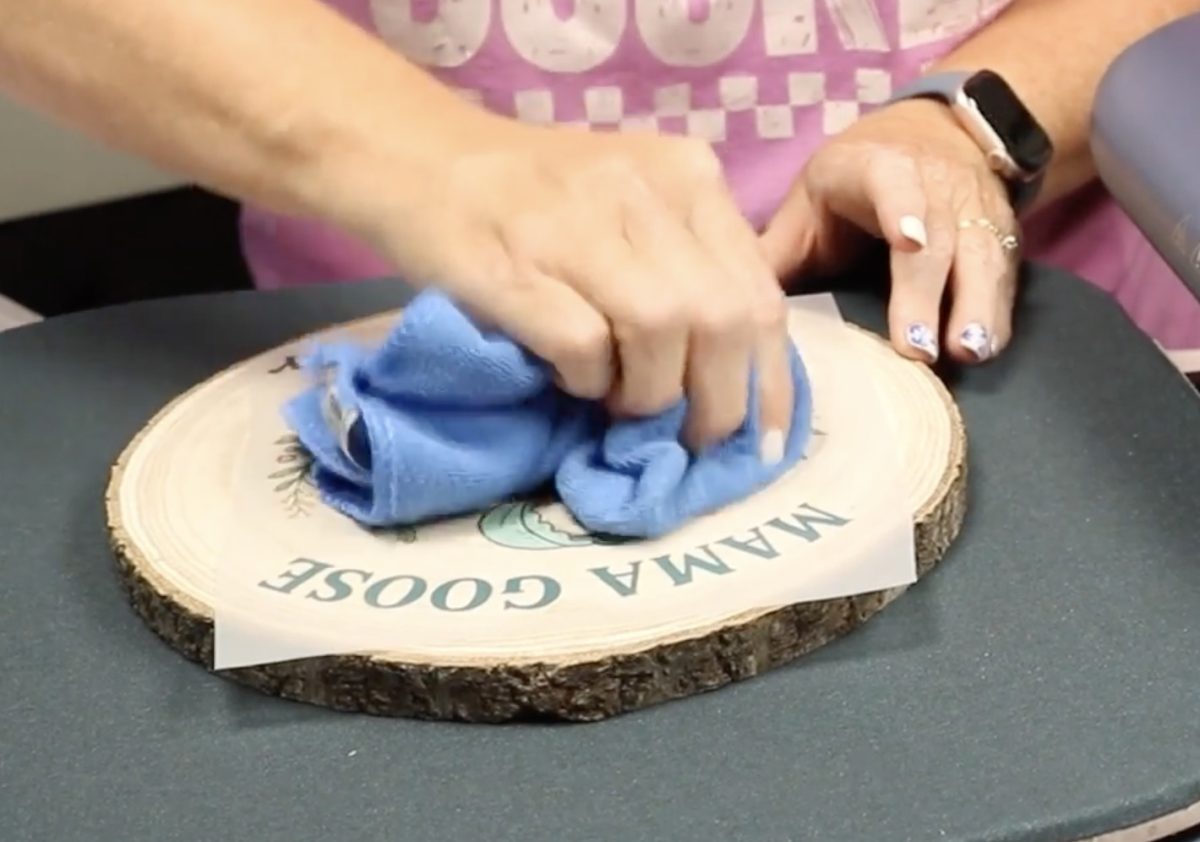
With blanks like this, it's not uncommon to have high and low spots. Going over the print while it's still warm really helps that adhesive stick to the wood.
Peel back the carrier sheet carefully. Cover with protective paper and press again for about 10 seconds.
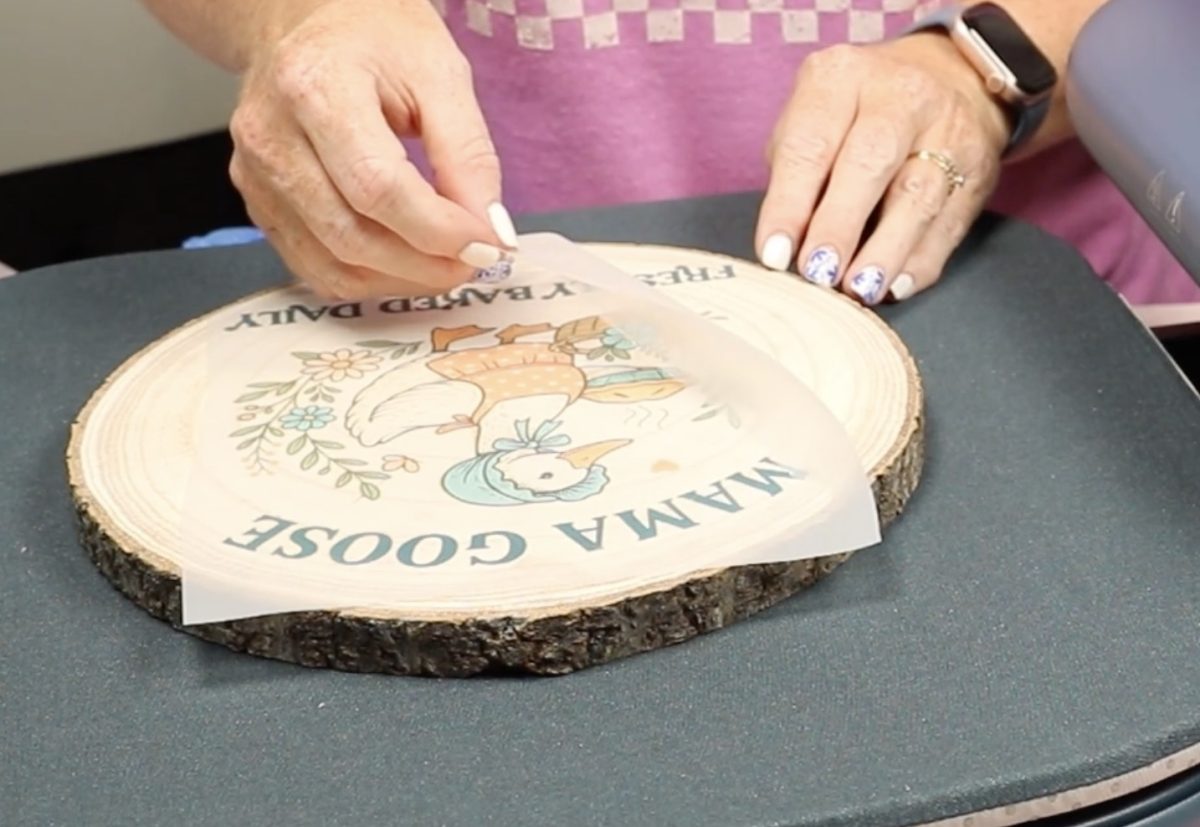
I am obsessed with this project. It turned out beautiful.
HTV on Wood
Now that we know the Cricut Autopress 2 can handle thicker rigid materials, let's see how it does adding HTV to a wood sign.
I have an HTV design that I've cut and weeded. This design is perfect for a craft room.
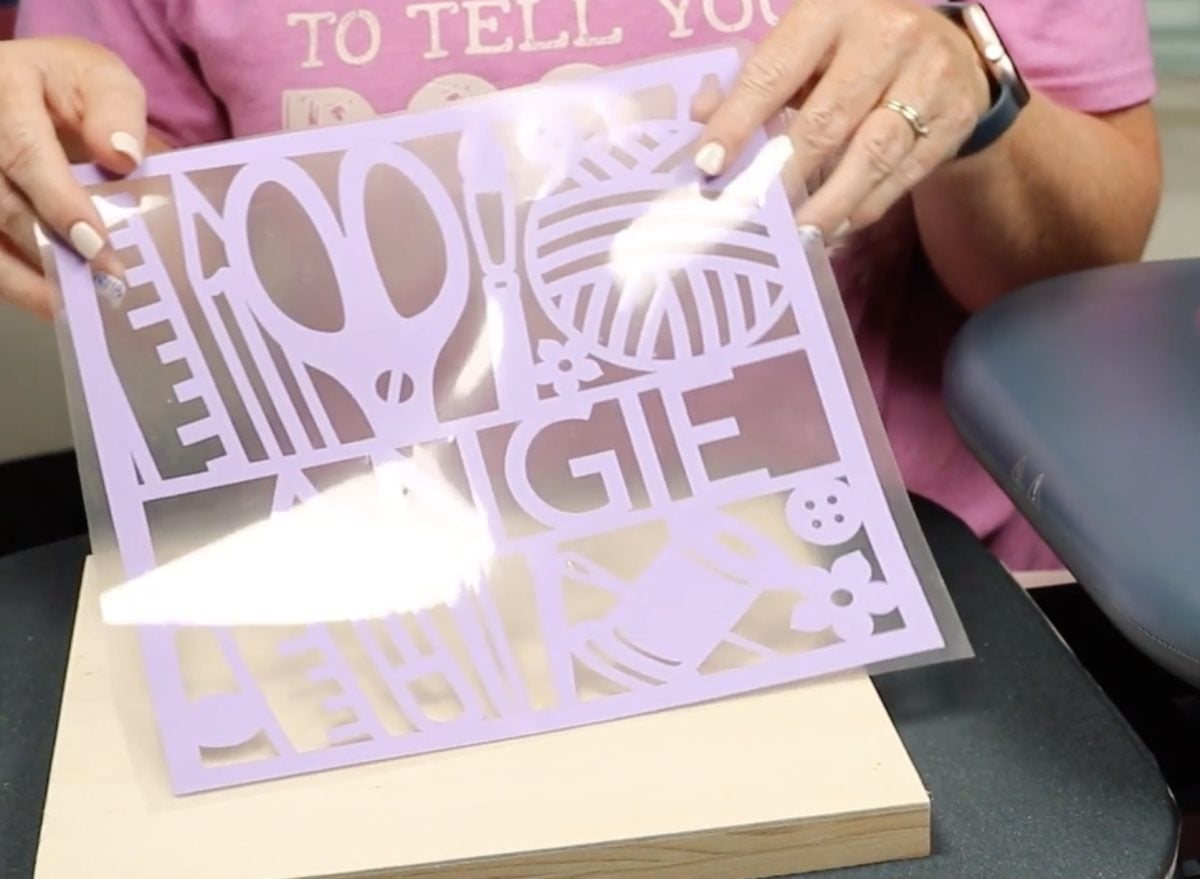
Locate the HTV on the wood sign and cover with protective paper before pressing.
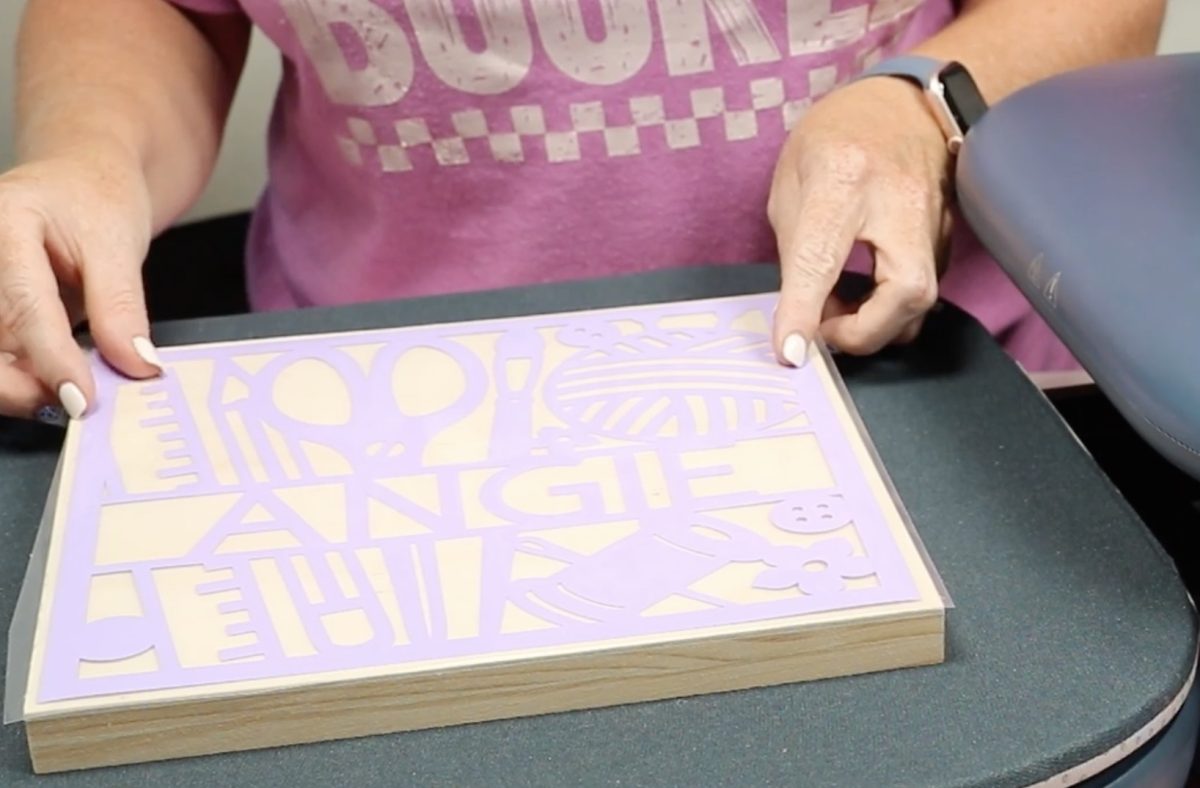
I have my Autopress 2 set at 320 degrees, 15 seconds, and 160 pounds of pressure. I do think I will probably have to press this more than one time, but I am going to start with these settings.
I'm really happy with how the Autopress 2 handled thick, rigid blanks.
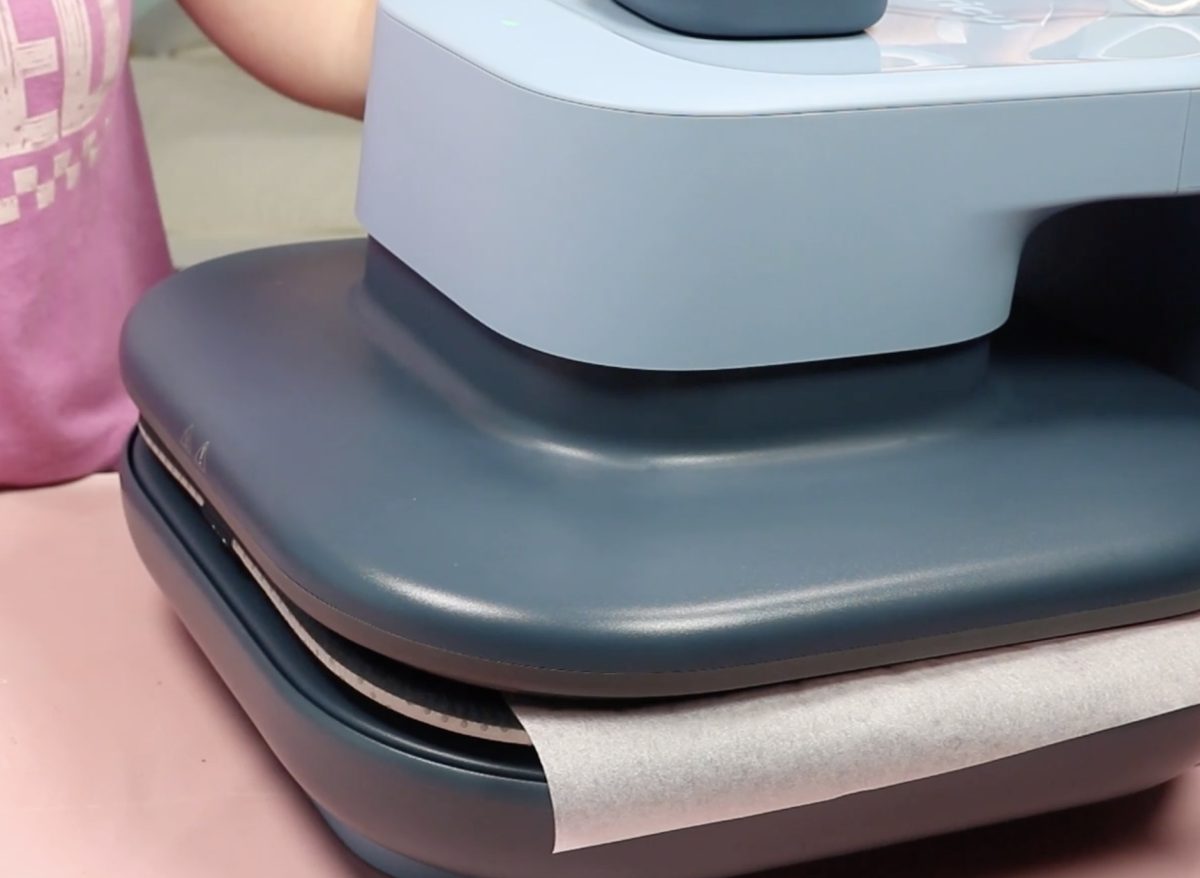
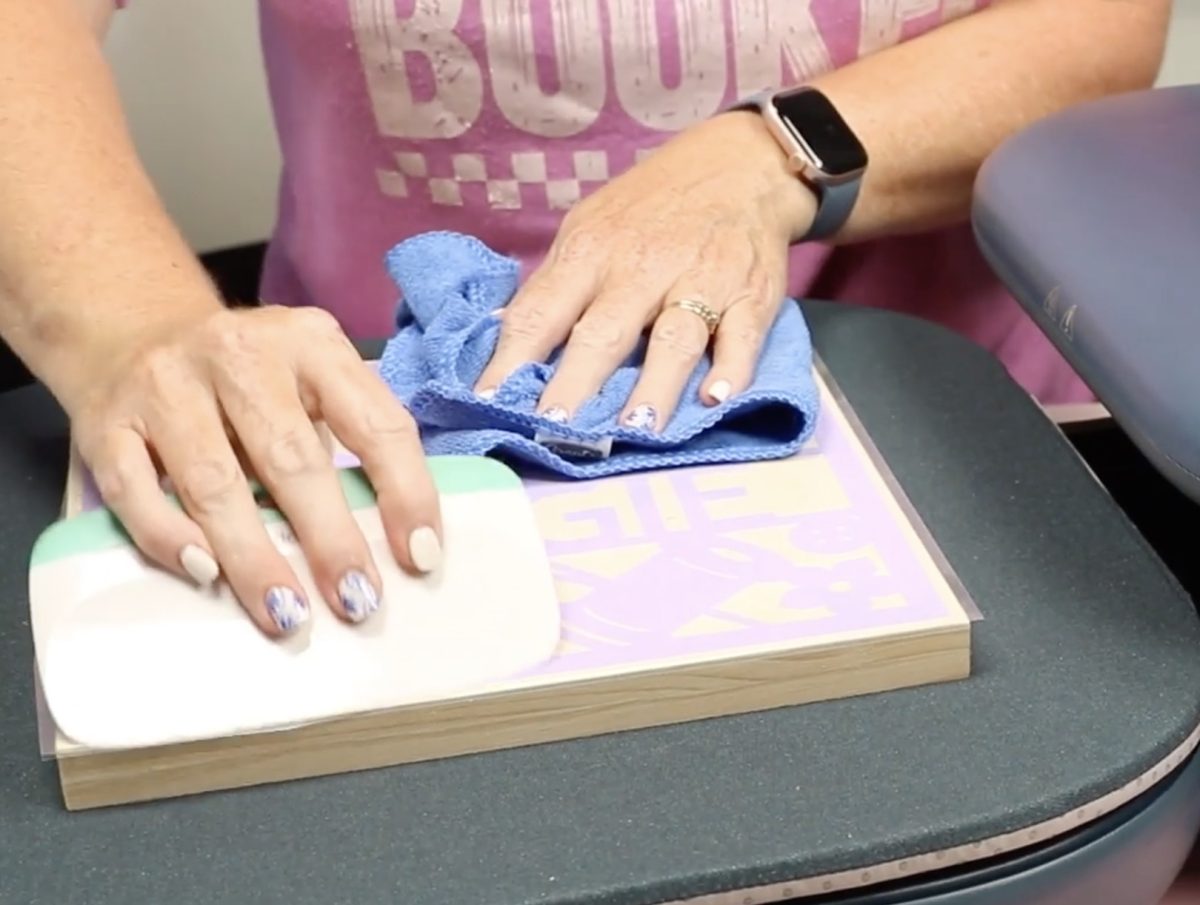
When the time is up, use a scraper tool or microfiber cloth to press the adhesive into the wood.
After the first press, when I tried to peel back the carrier sheet, the HTV was not stuck down very well. I pressed it again for the full time.
After the second press, I allowed the wood to cool completely before trying to remove the carrier sheet.
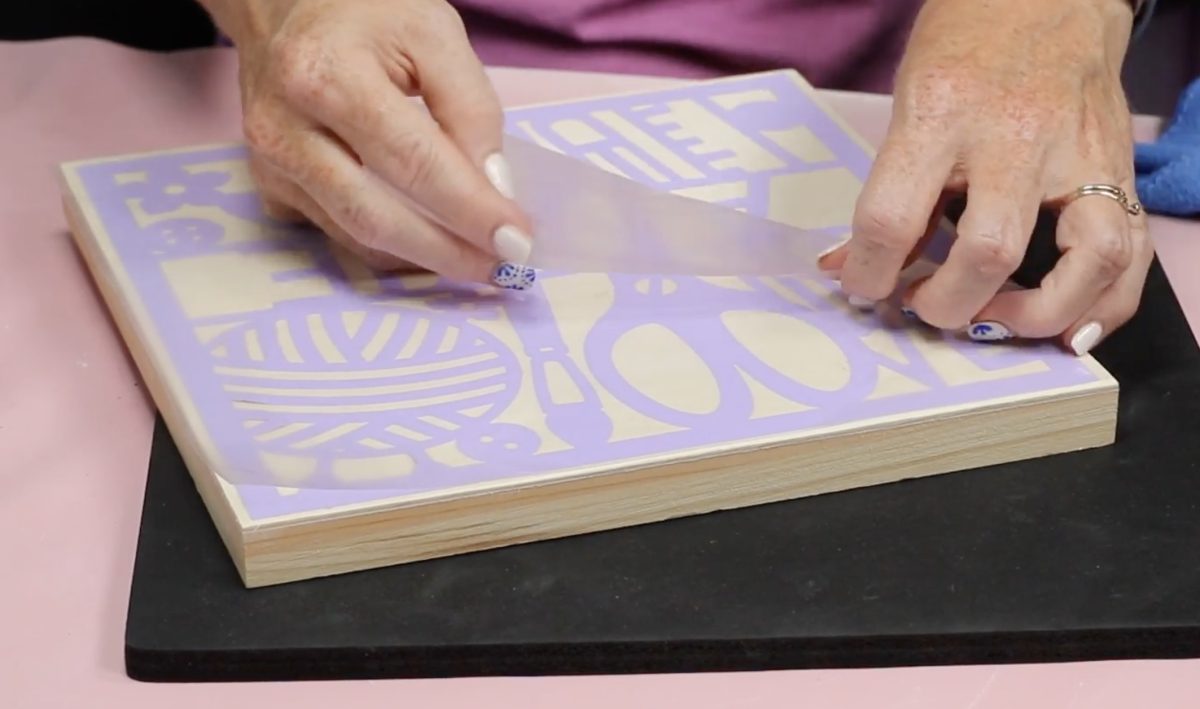
After the second press, I was able to remove the carrier sheet. The HTV was not stuck down everywhere, so I covered it with protective paper and pressed it again.
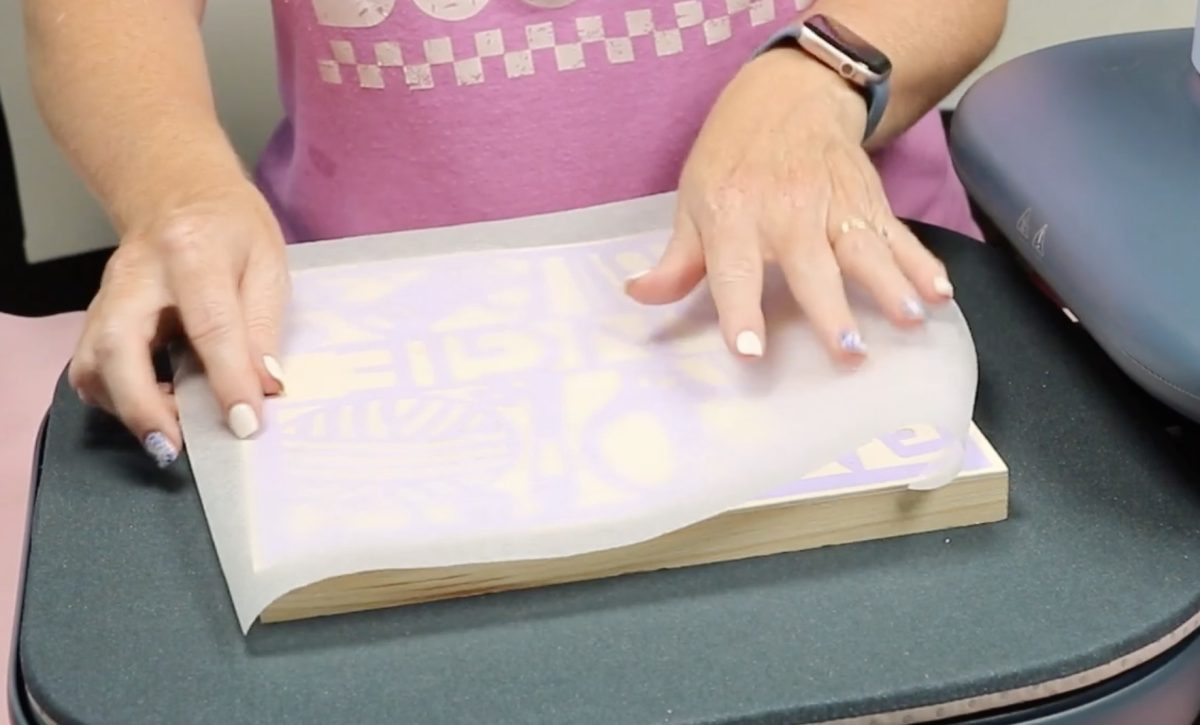
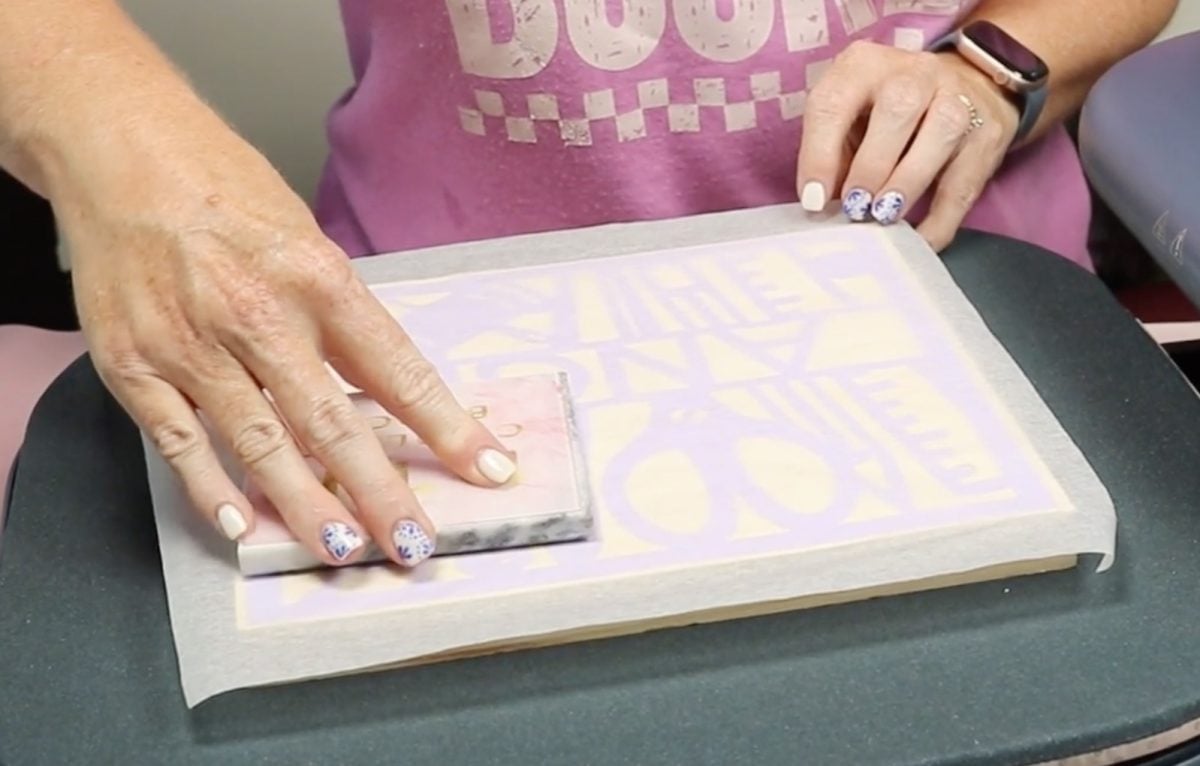
After the post-press, I used the DTF cooling block to add pressure to the areas that weren't stuck down initially.
After the post-press, the HTV stuck to the wood really well.
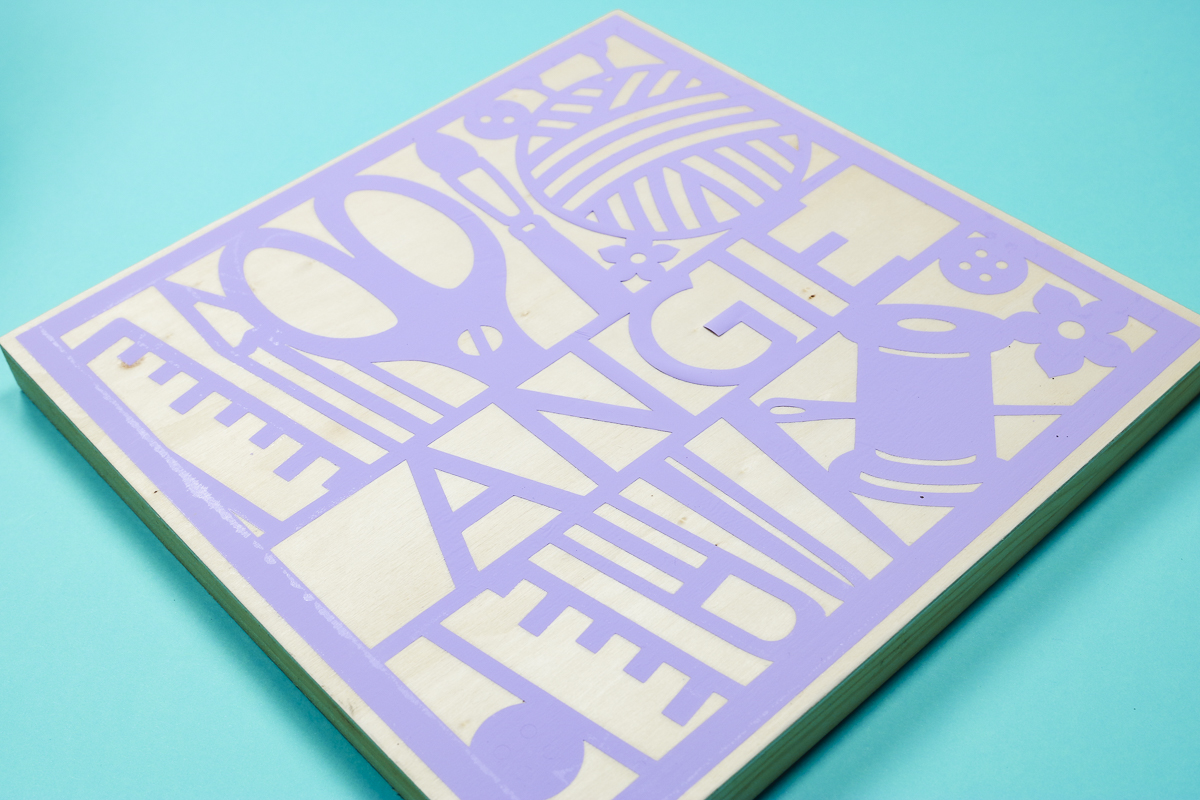
This is such a fun project and easy to do with supplies you may already have on hand.
Ready to buy the Cricut AutoPress 2? Click here to shop now!
Sublimation on Slate
A true test of pressure for the Cricut Autopress 2 is going to be this sublimation on slate project.
I am going to add a sublimation photo to a sublimation slate.
For the sublimation on slate, I have the Autopress 2 set to 400 degrees, 360 seconds, and 200 pounds of pressure. The Autopress 2 has a max time of 360 seconds. I will press again for another 120 seconds.
Secure the print in place wth heat-resistant tape.
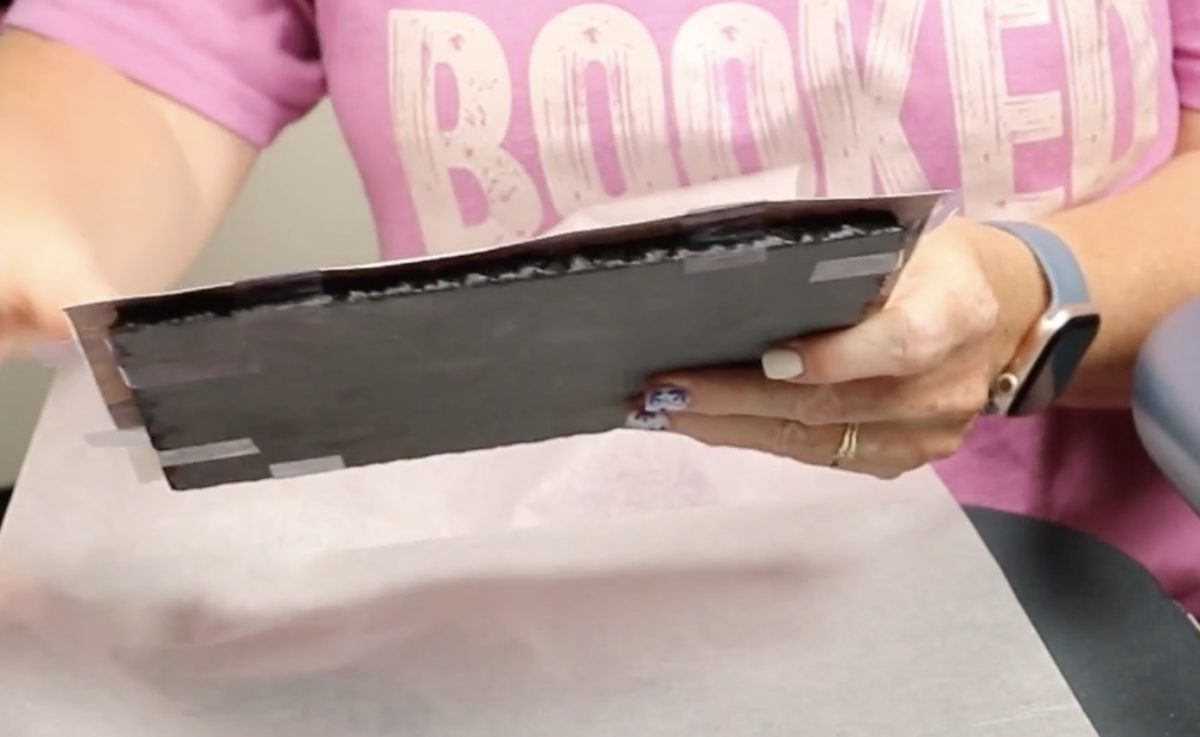
Add protective paper to the bottom and top of the sublimation slate.
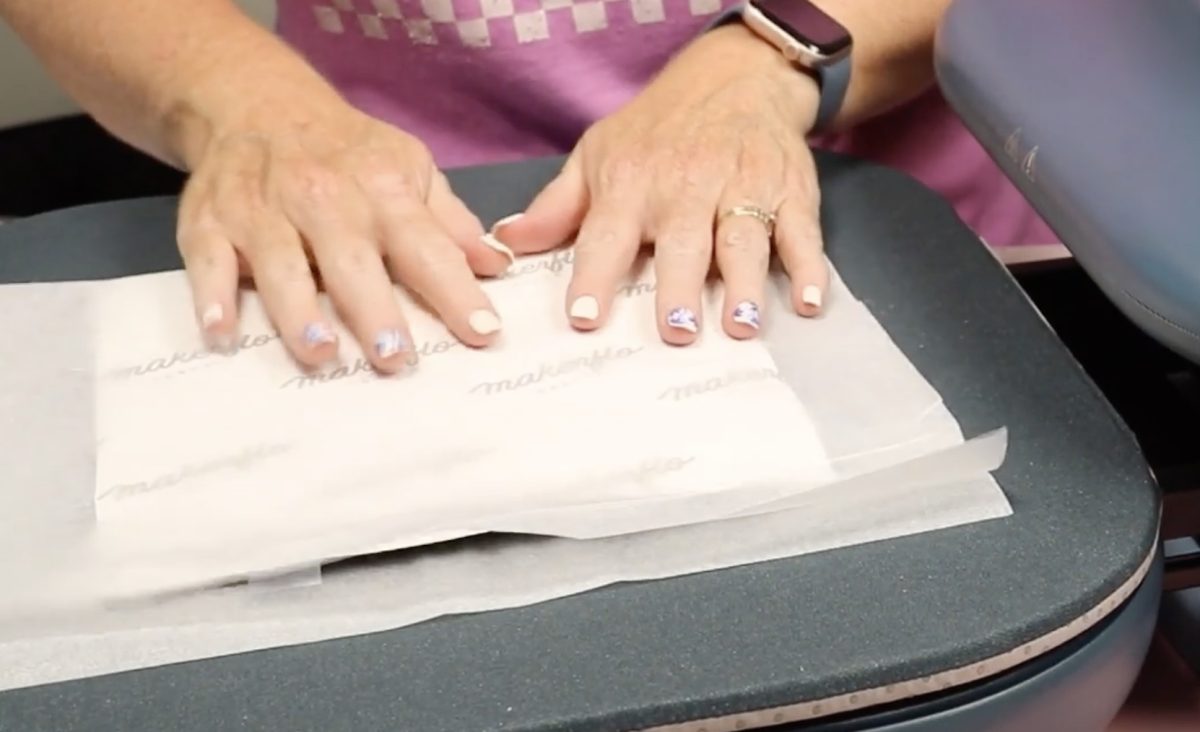
For sublimation on slate, you need to use a heat-conducting pad. This pad is placed over the top to help distribute the heat across the slate.
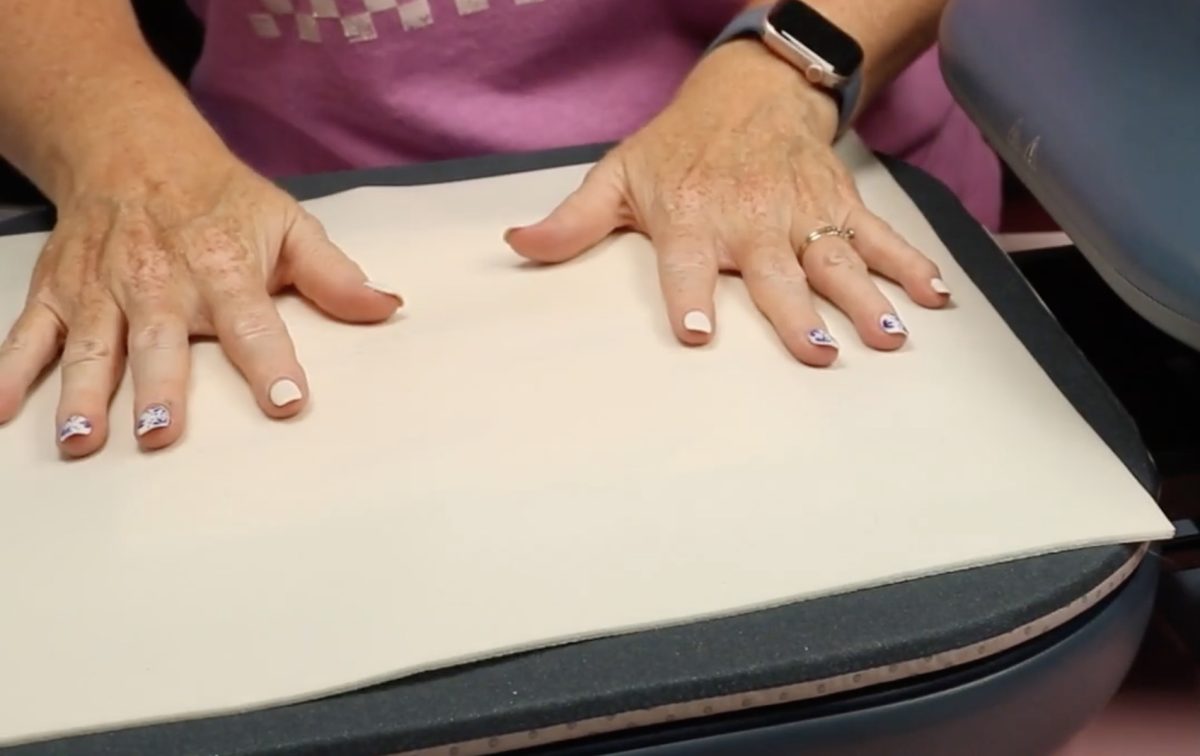
When the time is up, remove the heat-conducting pad and do a quick peek check at the corner.
The design transferred beautifully, so I removed the whole print.
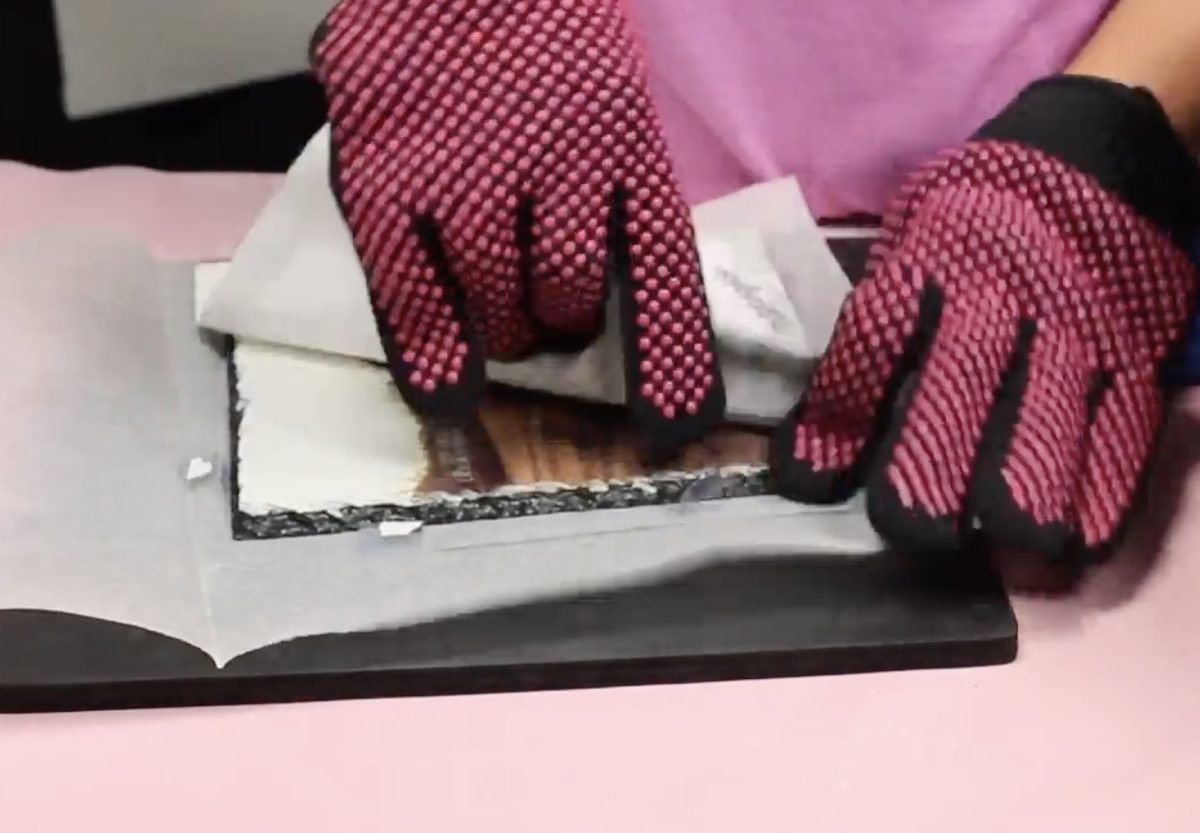
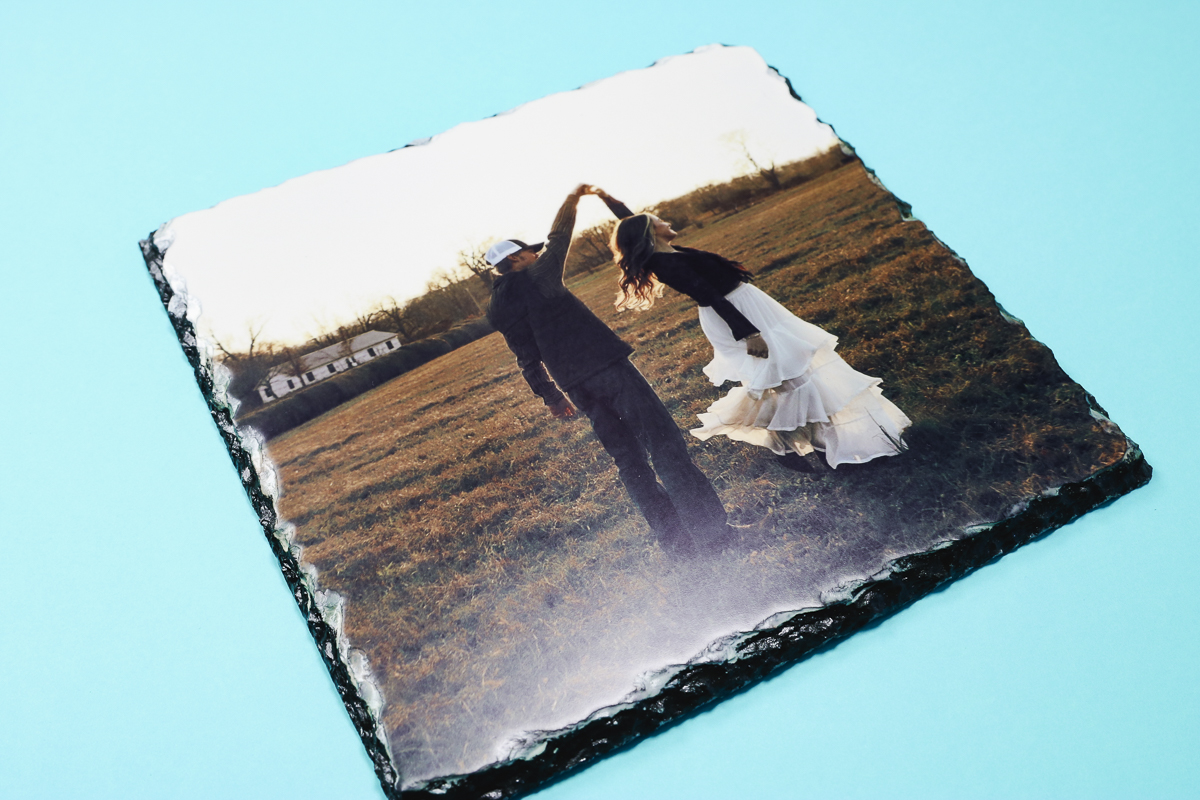
Simply peel back the sublimation print to reveal the finished project. I love how this turned out. The photo is bright and vibrant and transferred perfectly from side to side and top to bottom.
Ready to buy the Cricut AutoPress 2? Click here to shop now!
Cricut Autopress 2 Pros and Cons
Now that we've made a wide variety of projects using the Cricut Autopress 2, let's talk about the pros and cons.
Cricut Autopress 2 Pros
- I really like the 15×15 heat plate. I'm a fan of a large heat plate, and this is a great size. I also really like that the sliding tray pulls all the way out so you never have to put your hands under the heat plate.
- There is plenty of room in the throat of the press for bulky items like hoodies and sweatshirts. I also found the opening to be adequate for even thicker blanks.
- The heating and pressure appeared to be consistent across the top platen.
- I'm also a big fan of the control module. I like that you can move it to wherever is convenient for you and your craft space. I like to have it right on top of the heat press, and since that doesn't get hot, I can set it there.
- Initially, I thought the pad not being attached would be a con, but in all the projects I made today, it did not move at all. The fact that it stays in place without having to mess with elastics or Velcro is another pro for me.
- Of course, being able to adjust the pressure is a huge pro. Being able to do projects like sublimation on slate and puff HTV is a game changer from the original Autopress to the Cricut Autopress 2.
Cricut Autopress 2 Cons
- For me, personally, I prefer a clamshell-style press. This is a personal preference, and you may prefer the version that was released today.
- I do think the time only going up to 360 seconds is a con. Some sublimation blanks call for a much longer pressing time, which means, with this 360-second max, you're going to have to press those blanks more than once.
Is the Autopress 2 Right for You?
At the launch of the Autopress 2, it will be exclusive to Amazon. Over time, you will be able to purchase it at other retailers.
Ready to buy the Cricut AutoPress 2? Click here to shop now!
Why would you choose the Cricut Autopress 2 over other auto presses already on the market?
First, I think the price point is really good for this auto press. I think it's competitive with other presses on the market.
Compared to the original Autopress, I like the larger heat plate and the fact that I can turn the auto mode on and off. If you're using a new material and want to make sure everything is lined up correctly before starting the pressing process, this is a great benefit.
It also takes up less room than the original Cricut Autopress. With the original, since it was a clamshell style, you needed the area above the press clear so that the large heat plate could open fully. You don't have that with this press.
As I mentioned before, just like the original Cricut Autopress, the Autopress 2 is great for people with hand strength issues. As soon as you close the tray all the way, the press takes care of the closing and applying pressure.
Another reason to choose the Cricut Autopress 2 over other presses on the market is that Cricut is a name you can trust. If you like this style of heat press, definitely make sure to check out the Cricut AutoPress 2 as you're comparing the different presses on the market.
I hope I've answered any questions you have about the Cricut Autopress 2. If you have any additional questions, leave them in the comments, and I'll be happy to answer them for you.