

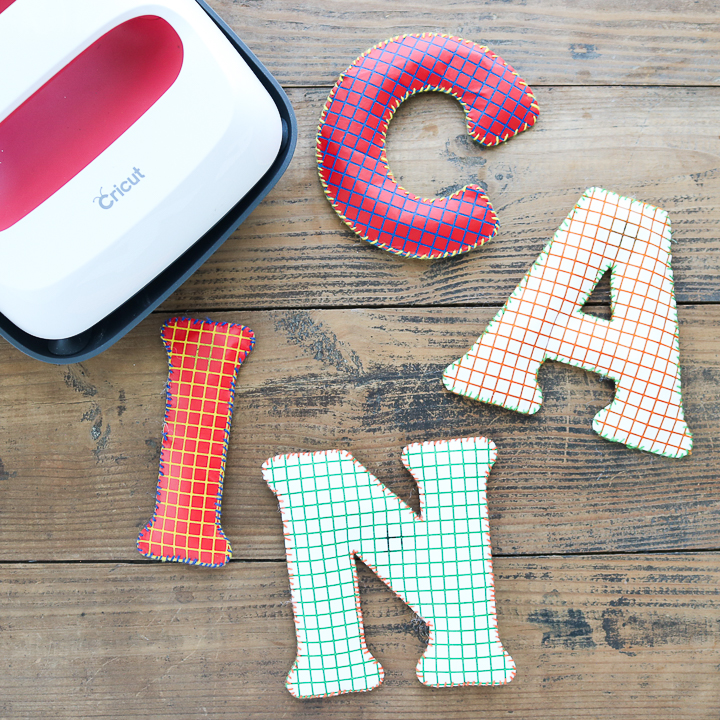
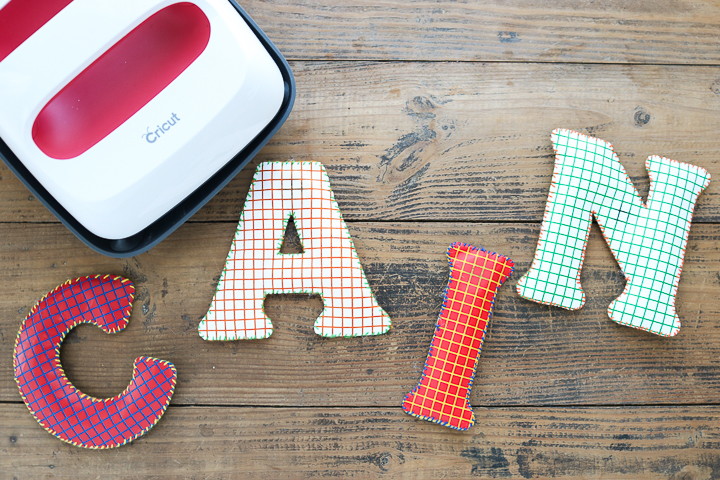
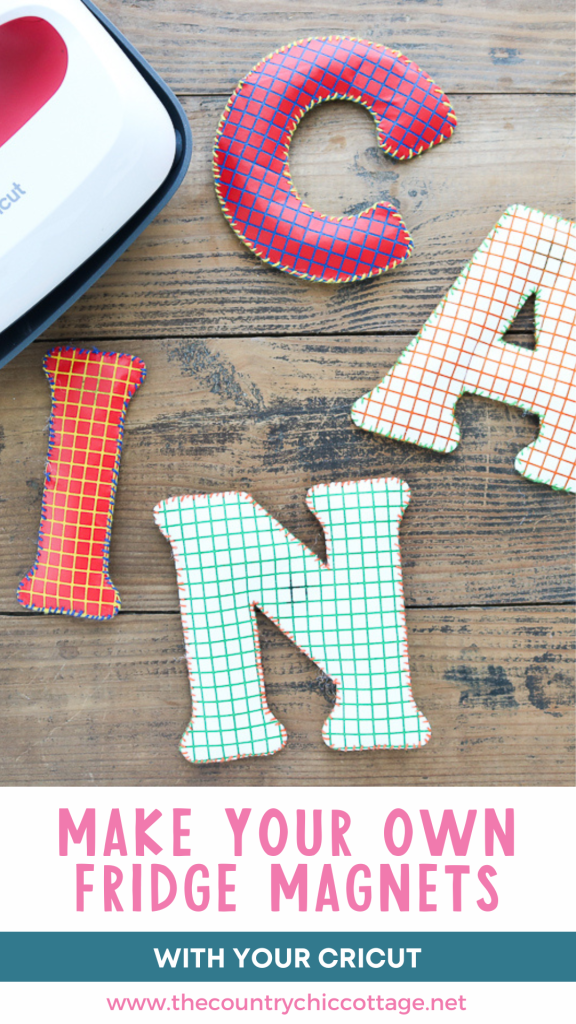
Did you know that you can make your own fridge magnets with a Cricut? It’s a fun project, and these personalized gifts are perfect for toddlers and preschoolers on your gift-giving list. You can make magnets with their names spelled out in colorful felt letters, giving them a wonderful activity they can play with at the refrigerator all day! Add these letters to our DIY bean bag toss game for a holiday gift they will never forget. Want to see how to use your Cricut for this project? Keep reading for the step-by-step instructions!
This project is sponsored by Cricut; however, all opinions are my own.
Make Your Own Fridge Magnets Video Tutorial
Sometimes, watching a video can be helpful when working on a DIY project like this one. You can learn how to make your own fridge magnets using the Cricut in the video below.
Can't watch the video or missed some of the steps? No problem! We also have instructions below that you can use.
How To Make Your Own Fridge Magnets
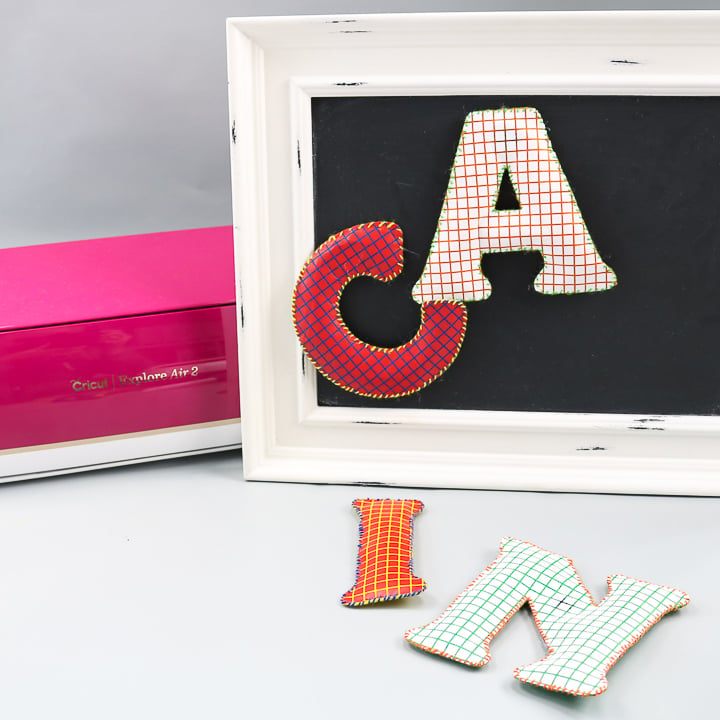
Who knew you could cut magnets with a Cricut?! This is one of the coolest (and most kid-friendly) crafts I've discovered to date. These are way better than the vintage alphabet letters from way back when!
These magnets are made from felt, making them soft to the touch and easy for little hands to practice spelling with. The process is sort of similar to the magnetic fishing game, but with slightly less sewing.
If you're looking for other magnet projects, make these succulent fridge magnets, painted bottle cap magnets, or even this Halloween magnet game!
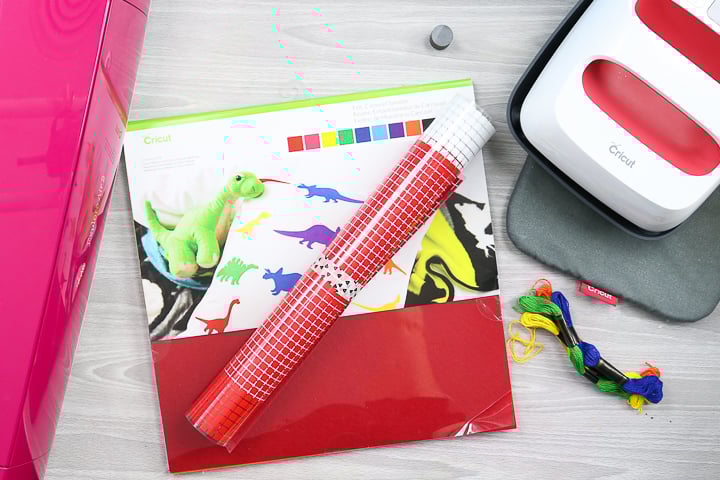
Supplies Needed To Make Your Own Fridge Magnets
- Cricut Explore Air 2
- Cricut Felt
- Magnets
- Cricut Mosaic Iron-on
- Cricut EasyPress
- EasyPress Mat
- Embroidery Floss
- Needle
- Hot Glue Sticks and a Glue Gun
- Polyester Fiber Fill Stuffing
- Cricut Cut File (instructions below)
Personalize Cut File
Step 1: Customize Cut File Your Name
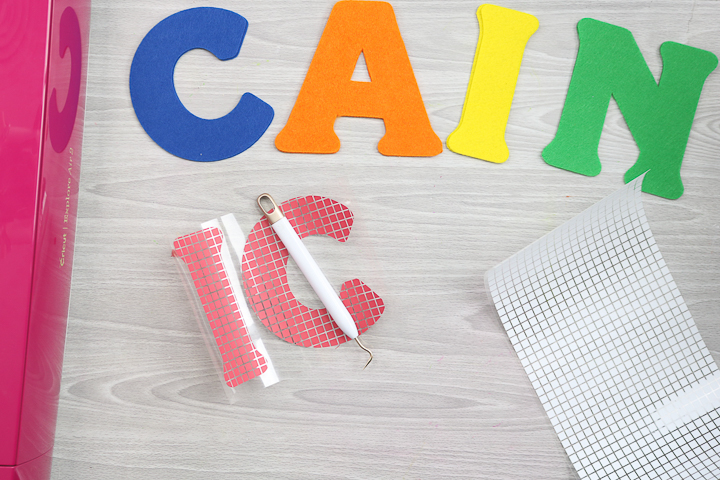
Begin by personalizing your cut file with your name. You can find the project in my Cricut Design Space Profile, just scroll to “Name Magnets” to access the cut files. Use that file and change the letters to any that you like. Duplicate the letters if you need more for your name. Remember that for each letter, you will need two felt pieces and an iron-on piece. Once you're ready, cut the pieces using your Cricut machine.
Cutting the Felt Pieces
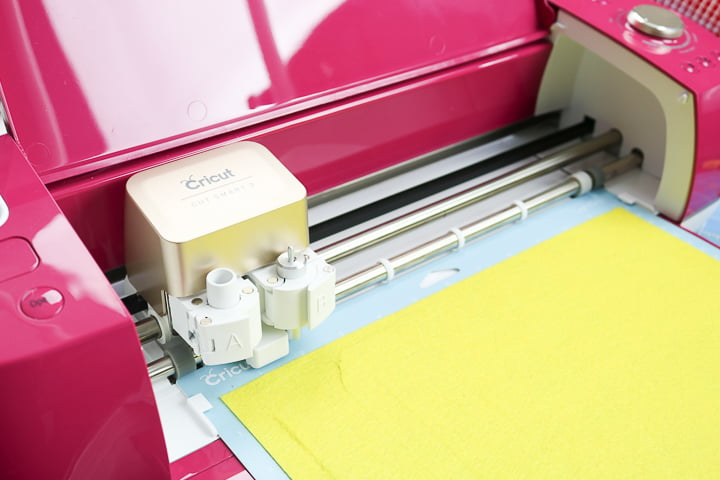
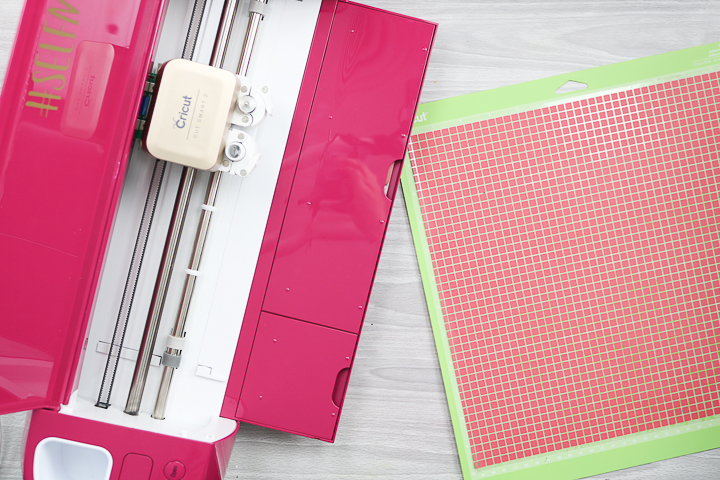
Step 1: Add Felt To Cricut Mat
You can see more about cutting felt here. To ensure better cutting, use a brayer to press the felt firmly onto the mat.

Step 2: Cut Letters From Felt
Then cut two of each letter (both a front and a back).
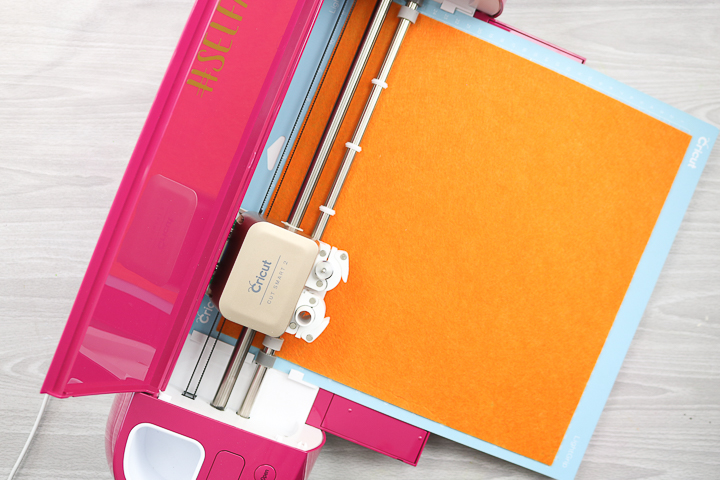
The Cricut Explore & Maker series cuts felt great! If you haven't used your machine for this, you should definitely do so. Also, felt makes projects like these so easy because you don't have to worry about the raw edges.
Cutting Mosaic Iron-On
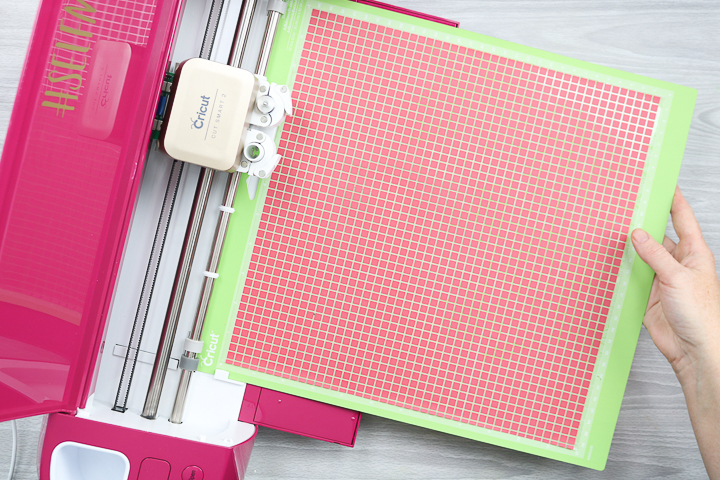
Step 1: Add Mosaic Iron-On To Cricut Mat
You will also need to cut the mosaic iron-on. This iron-on material is different from any other that you may have used before. You still need to put the material face down on the mat and mirror the image before cutting. In this case, the “back” refers to the side where you can feel the squares and should be positioned up when cutting.
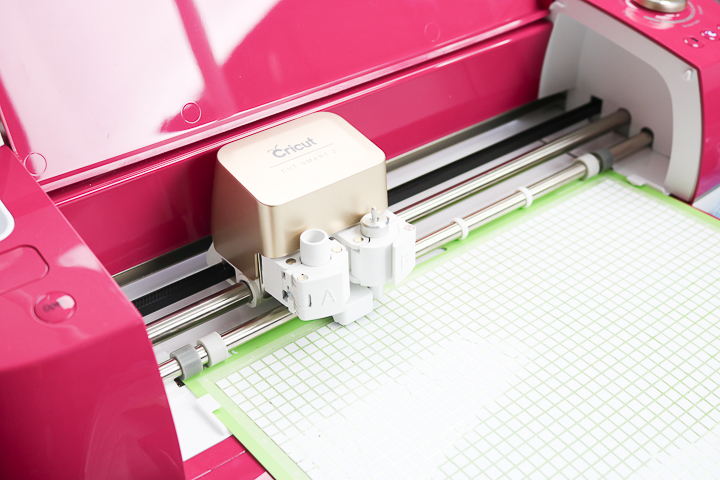
Step 2: Mirror Design & Cut Letters From Mosaic Iron-On
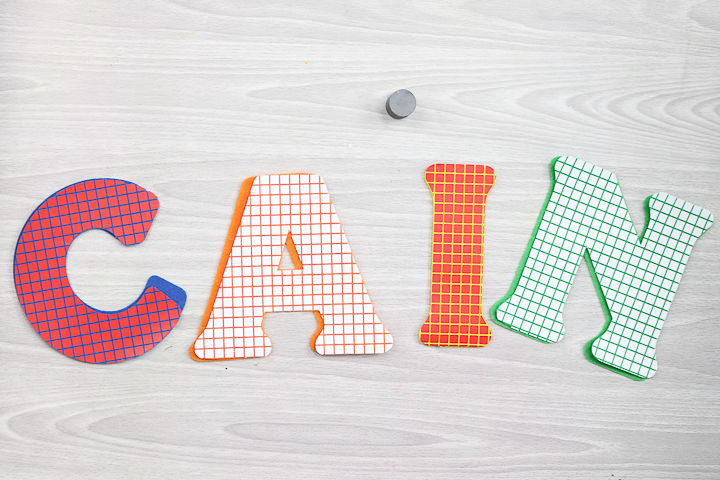
Then mirror your design and cut one of each of the letters to make your own fridge magnets.
I varied the colors of my version, but you can choose whatever colors you like for both the felt and the iron-on. Be sure to turn your dial to ‘Custom' and select ‘Mosaic Iron-On' from the list, as this option differs from the others when using the Explore Air 2 model.
Weeding Mosaic Iron-On
Step 1: Weed Mosaic Iron-On
Remove the excess material around your iron-on pieces. This material features a double liner to facilitate easier weeding.

Instead of peeling away each of those squares, simply separate the two liners. Then, use the first liner to pull away the excess around the entire object.
Putting Mosaic Iron-on On Felt
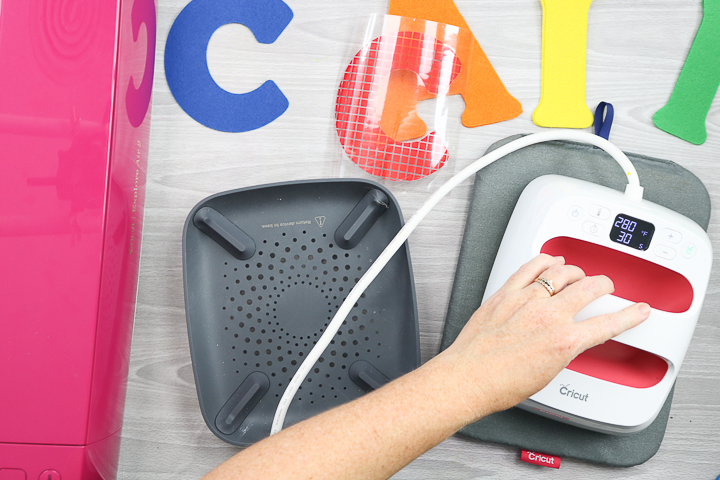
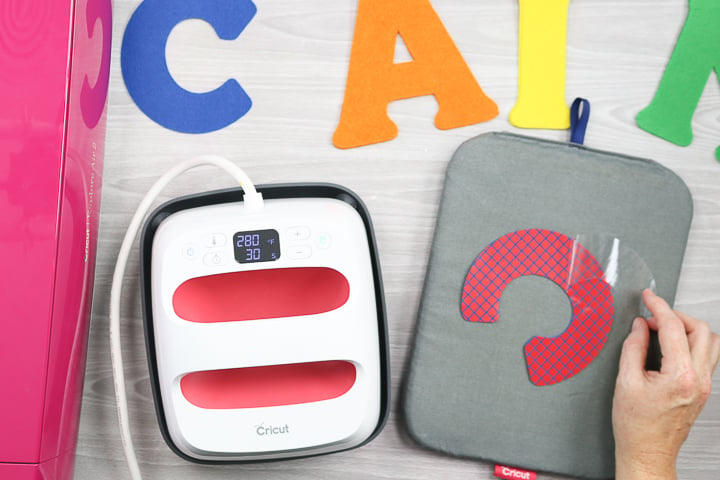
Step 1: Preheat Felt Letter
Your top felt letter should have the iron-on added to the front. For each letter, preheat the felt for a few seconds before starting. You will want to preheat your EasyPress to the time and temperature recommended on the heat guide. Then, add the iron-on to the letter, aligning with the sides.
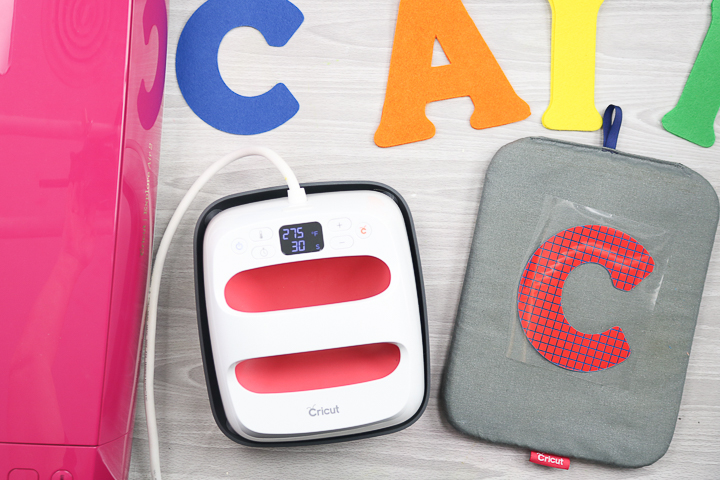
Step 2: Add Mosaic Iron-On To Felt Letter
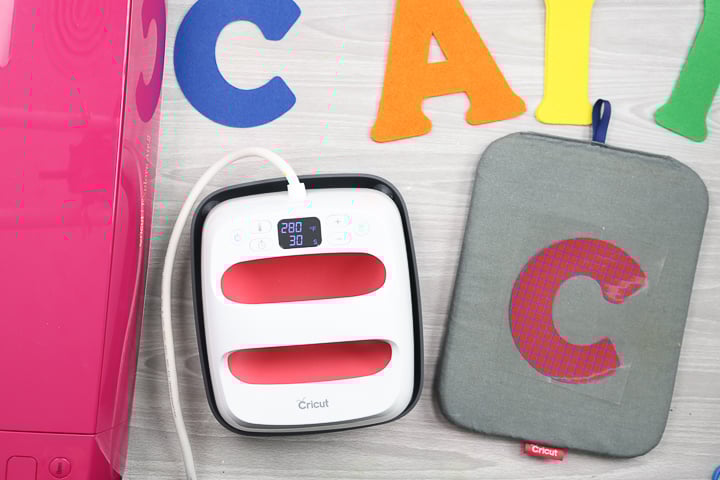
Press for the recommended time and temperature.
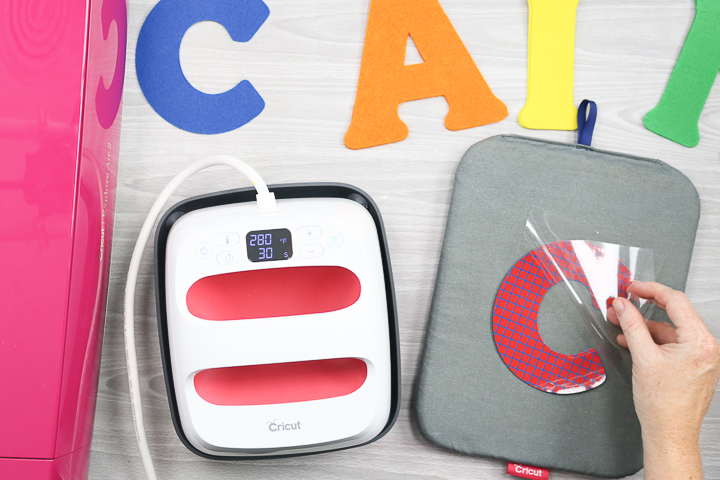
Step 3: Peel Off The First Liner
The mosaic iron-on is a warm peel, but you may want to let it cool slightly before handling.
Start by pulling up the first liner. The second may stick to this one, and that is okay! Either peel just the first or both of them at the same time.
Step 4: Peel Off The Second Liner
Then peel away the second liner if needed.
Step 5: Repeat Steps 1-4 For Other Letters
Repeat for all of the letters. Remember, you only need one of each with the iron-on applied.
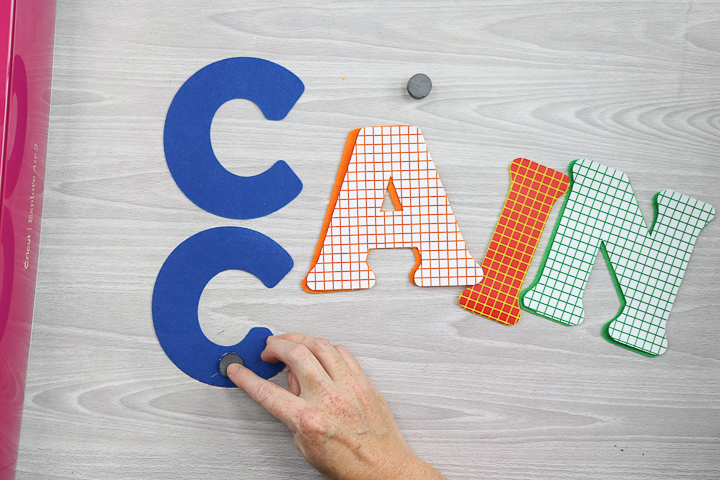
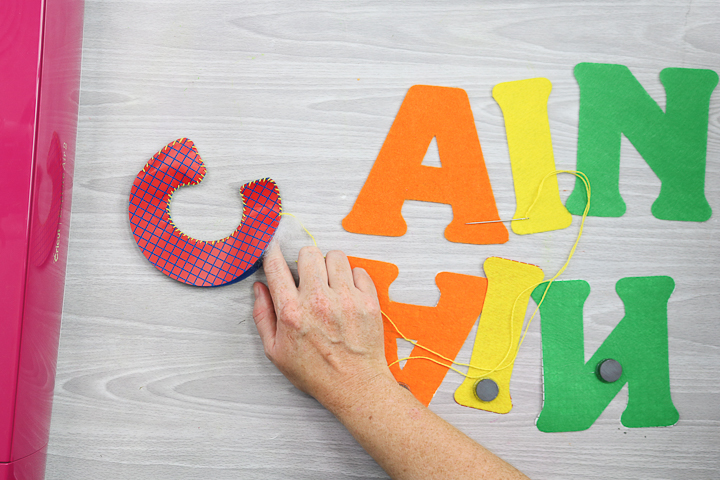
Step 6: Glue Magnet To The Back Of The Front Letter
Add the magnets to the back of the front letter using a small amount of hot glue. Allow it to cool before continuing.
Sewing The Felt Letters
Step 1: Start Sewing Letter
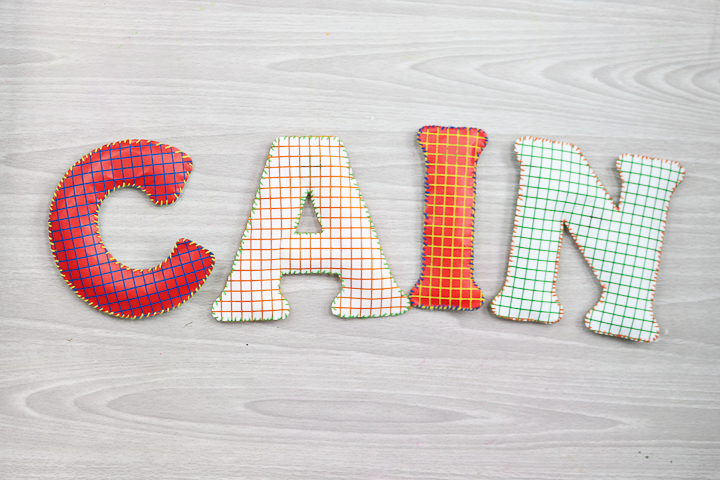
Now it is time to sew each letter. If the letter has an inside portion, such as the “A”, then sew around the inside first. Otherwise, start sewing around the outer edge by hand. I am using a contrasting embroidery thread for each letter.
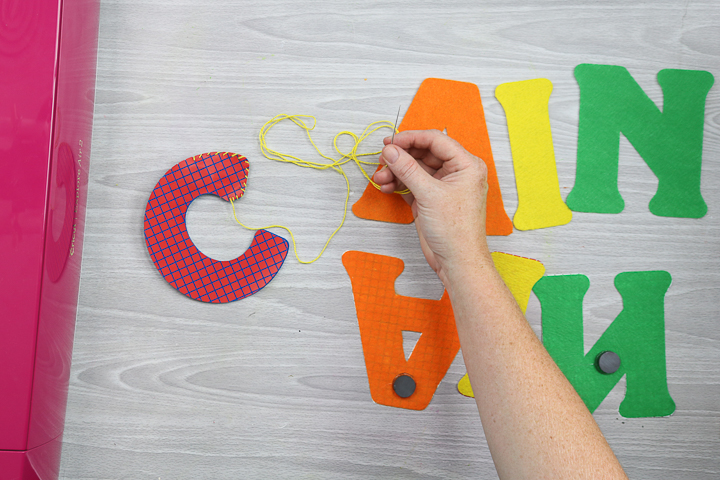
Step 2: Stuff Letter & Continuing Sewing
Sew a few inches, then add stuffing. Continue sewing a few more inches and then add more stuffing. Make sure to include just a little bit of stuffing to create a slightly puffy effect. Adding stuffing gradually as you sew makes the process much easier.
Step 3: Repeat Steps 1-2 For Other Letters
Repeat for all of your letters.
Final Thoughts On How To Make Your Own Fridge Magnets
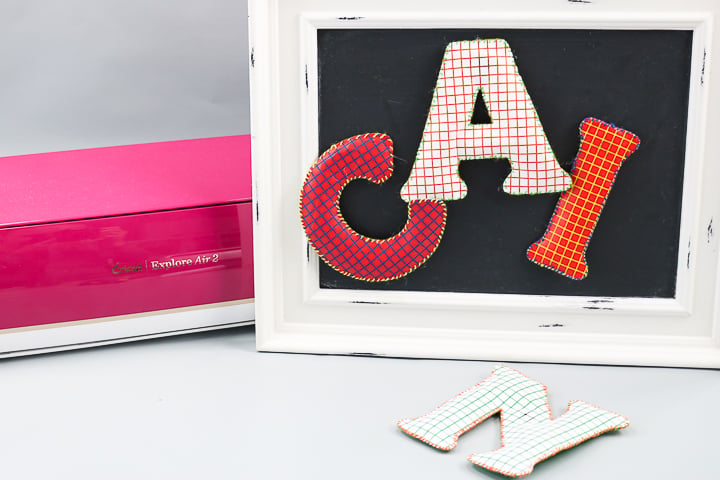
Now that you know how to create your own fridge magnets, you can make a special gift for every child on your gift list this year. You could also get creative and use this same technique to make letters representing your favorite college team and much more!
I actually try to make a personalized gift for my grandkids on their birthday and Christmas each year. It is a special tradition that I hope to continue year after year.
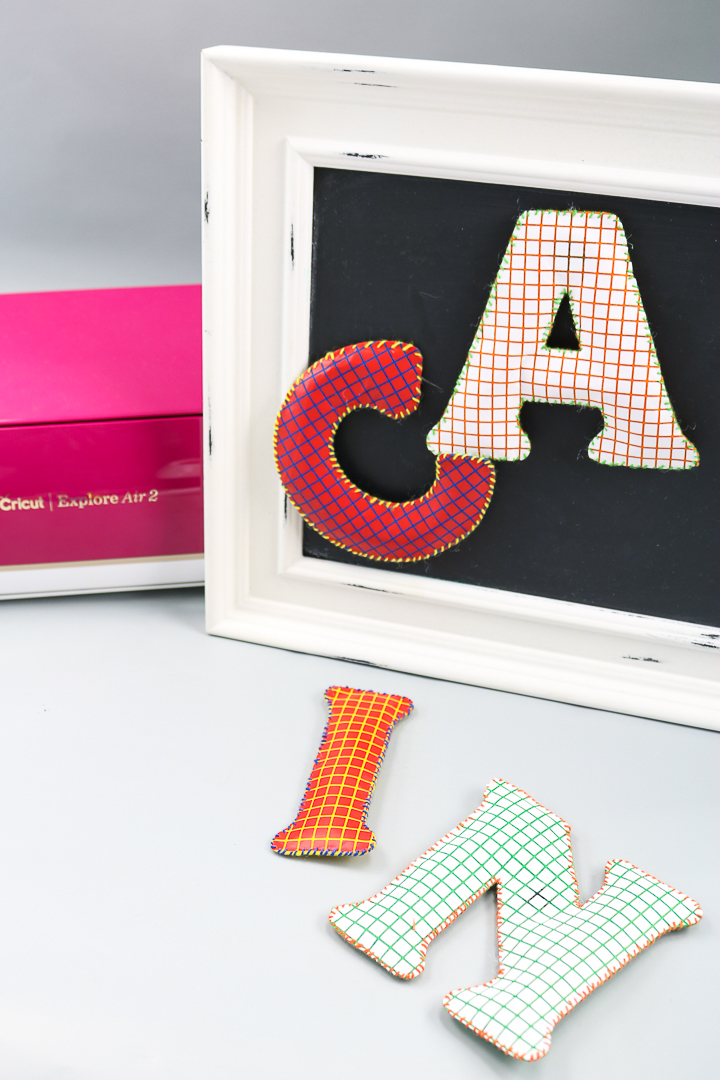
With my Cricut, I can actually whip up a gift like this even quicker! My grandson will love seeing his name in magnetic letters on the refrigerator, and I will love knowing this handmade gift came from the heart.
So, if you've ever wanted to create letter magnets from felt, try this tutorial and whip up a name or an entire alphabet. The kids will love playing with them year after year.
Homemade gifts that last for years? Now that's a gift they'll love! So, make your own fridge magnets and put a smile on someone's face this holiday season!
FAQs About How To Make Your Own Fridge Magnets
Here are a few common questions that I often see readers asking about making your own fridge magnets. If you have a question, please check if I’ve already addressed it below. If you don’t see your question listed, please leave it in the comments
Can I Use Another Cricut Machine For This Project?
Yes, you can use a Cricut Maker or Cricut Explore series machine for this project.
Can I Skip The Cricut Mosaic Iron-on?
Yes, if you prefer to skip the Cricut Mosaic Iron-on and create the letters from felt instead, you can.
Why Did You Glue The Magnet To The Inside of The Letters?
For safety reasons. I glued the magnet to the inside of the letters to keep it ”contained” so that little ones could not pull it off and possibly ingest it.
What Type Of Stitch Did You Use When Sewing?
I used a whipped stitch.
Can I Use My Sewing Machine To Sew The Letters Together?
No, I wouldn't recommend it. This is because, if you use a sewing machine, 1) it will change the look of the letters, and 2) trying to stuff them while sewing will be more difficult.
5 More Cricut Kids Crafts
Did you love learning how to make your own fridge magnets, and want more Cricut kids' crafts? Then check out the projects below!
- Quiet Activity for Toddlers with Your Cricut
- DIY Kaleidoscope with Upcycled Cricut Materials
- How to Make a Puppet with a Cricut Machine
- Cricut Foam Sheet Kids Craft
- DIY Fishing Game Made With Cricut


This is such a cute idea! Perfect for holiday gifts!
Thank you for sharing your ideas. I’m just curious, does the felt get your cutting mat dirty? How do you clean the fibers off?
It does. I use strong grip transfer tape to remove the fibers once I am done cutting. I usually just keep a “felt” mat.
Awesome! But I have a question, do we need the mosaic felt? Can it be done with just the two pieces of felt sewed together?
I used Cricut felt and Mosaic Iron-on 🙂