
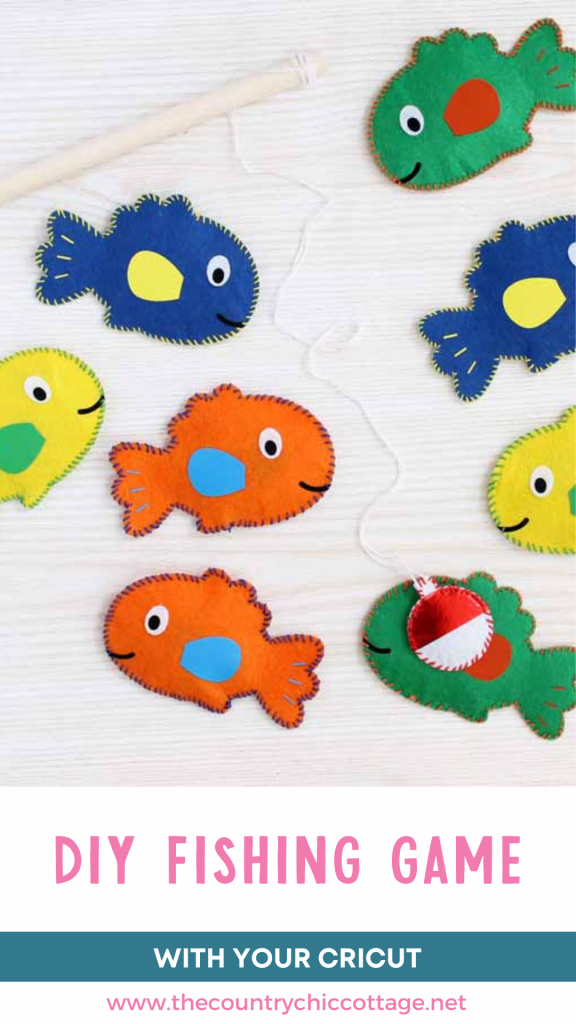
A magnetic fishing game is a timeless favorite that kids of all ages love to play! Why not make it even more special by creating your very own unique DIY fishing game using your Cricut machine? It’s a fun and creative project that your kids will enjoy again and again!
I used to play the magnetic fishing game as a kid, my kids played it, and now my grandkids are starting to play it! It's a classic for a reason: it's so much fun!
Well, I'm the type of person who likes to make my own items whenever I can (have you seen all the DIY projects here?!). So, when one of the littles asked to play a magnetic fishing game, that was enough to encourage me to make our own set!
DIY Fishing Game Video Tutorial
You can actually watch me create this project in the video below, as well as learn more about the Cricut EasyPress 2 while it's in action.
Can’t watch the video or missed some of the steps? Just keep reading for instructions on how to make this DIY fishing game!
How To Make A DIY Fishing Game
A magnetic fish game is really simple to make yourself, especially if you have a Cricut machine. I am going to show you how to use your machine along with the Cricut EasyPress 2 to make this fun activity idea.
SAFETY NOTE: This project does contain magnets. Therefore, I recommend only allowing children 3 years of age and older to play with it. Also, I recommend that you supervise them when playing this game.
If you want to make more games that young children will enjoy, check out our Toddler Matching Game or DIY Farm Play Mat!
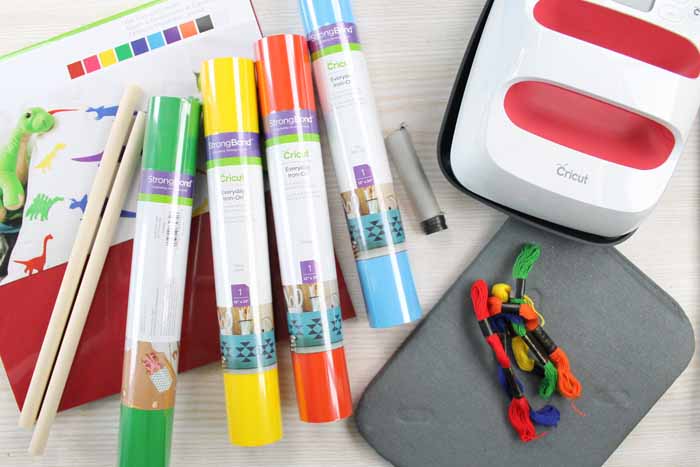
Supplies Needed To Make DIY Fishing Game
- Cricut Felt (in a variety of colors)
- Cricut Iron-on (in a variety of colors)
- Dowel Rod
- Cricut Machine (I personally love the Cricut Maker for cutting felt)
- Cricut EasyPress 2 (I am using the 6×7 size here) (read more about the options below)
- EasyPress mat (optional)
- Magnets
- Embroidery Floss
- Stuffing
- Weeding Tools (optional)
- Fabric or Tacky Glue
- Needle
- Scissors
- Hot Glue and Glue Gun
- Cricut Cut File
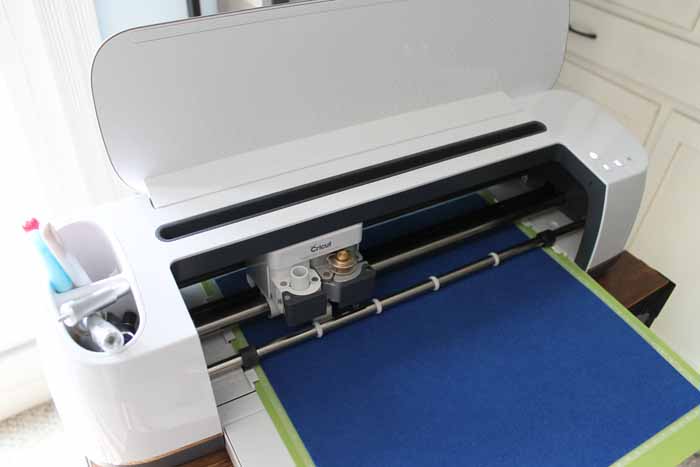
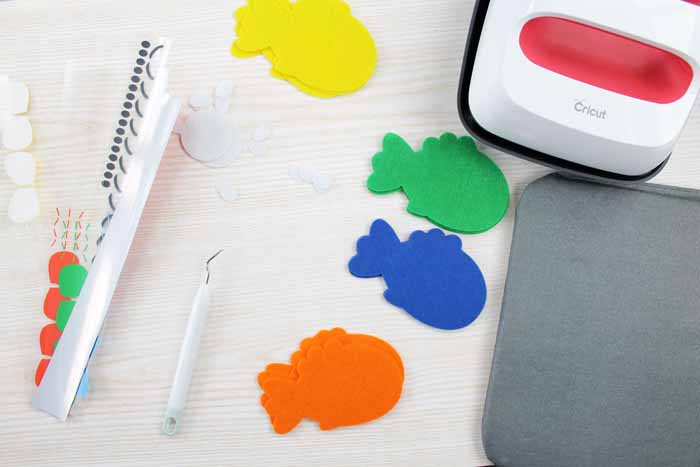
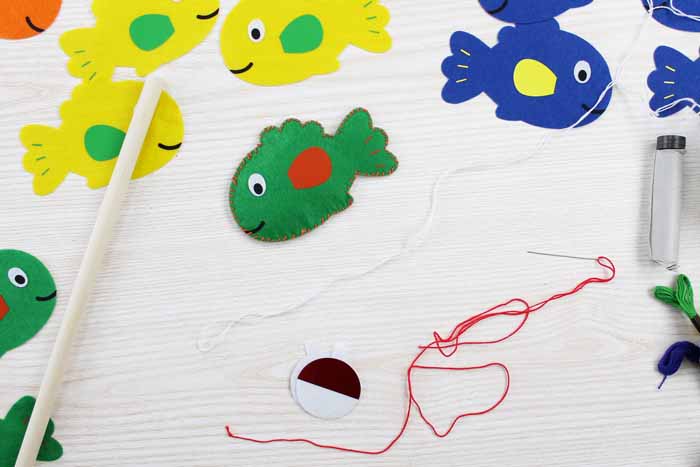
Step 1: Cut Game Pieces With Cricut for DIY Fishing Game
Download the cut file and use your Cricut machine to cut all the pieces.
You can use whatever colors of felt you would like, and cut as many or as few fish as you would like.
NOTE: Be sure to mirror the image when cutting from Iron-on and cut it shiny side down.
Step 2: Weed Iron-On Pieces
Gather your cut pieces and weed out any excess from your Iron-on pieces.
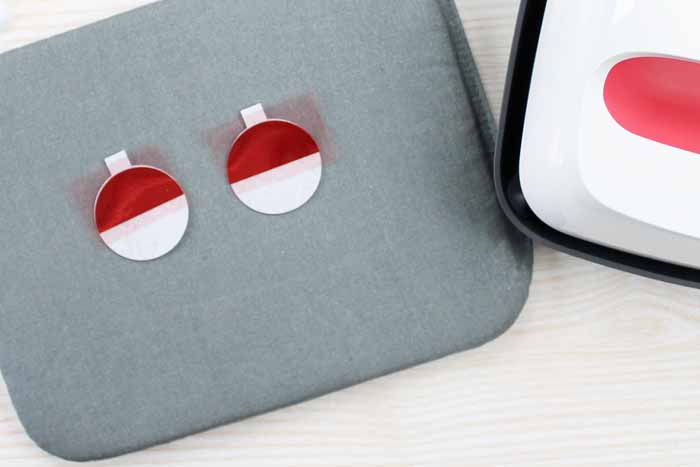
Step 3: Add Iron-On To Felt
Then, you can start to add the Iron-on to your felt.
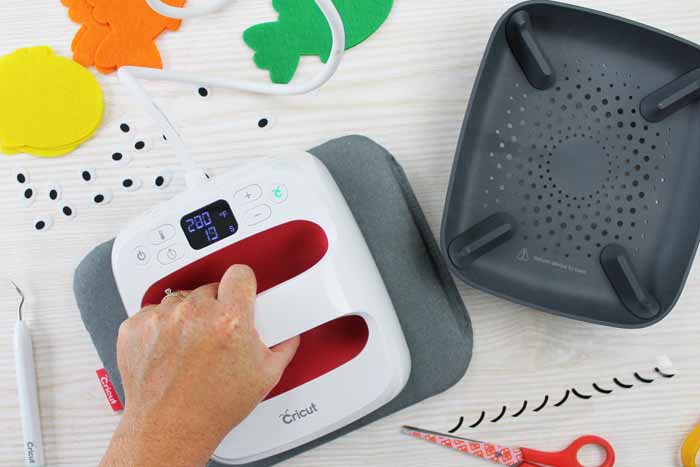
For the bobber below, I went with a red foil Iron-on product. Be sure to preheat your felt, place your Iron-on, then press for the recommended amount of time and at the right temperature.
You will then want to flip your pieces over and press on the back for the recommended amount of time as well.
Step 4: Remove Carrier Sheets
Then either wait for the project to cool before removing the carrier or peel right away.
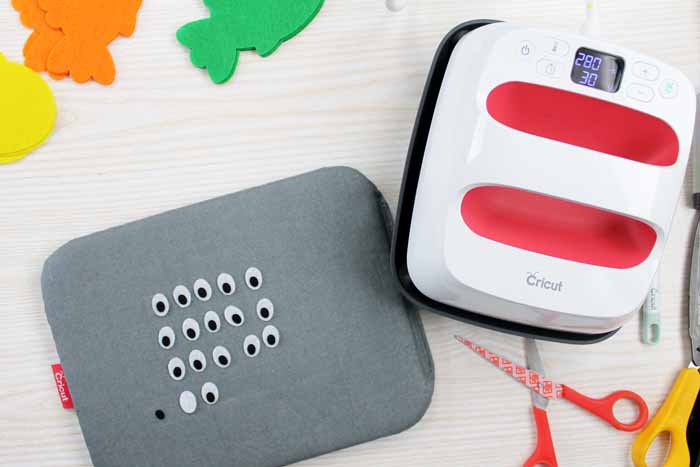
The “warm” or “cool” peel will be indicated on the EasyPress chart. I am actually using the smallest size of EasyPress. This version has three sizes – 6×7, 9×9, and 12×10.
The smaller size is great for little projects like this one, and it didn't prevent me from working on more than one piece at a time. In fact, I did all of these eyes with one press. You'll notice that they are black Iron-on applied to a felt eye.
Step 5: Add Details To Fishes
Begin pressing the fish. You can press two of these fish at the same time.
Add the fin, tail embellishments, and smile all at the same time, as they are the same type of Iron-on in this case.
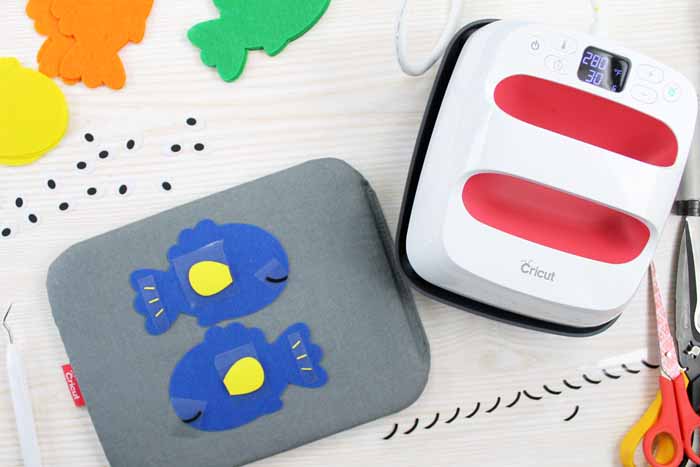
If you want to use different types here, press the type with the highest temperature (or time) first and work your way to the least.
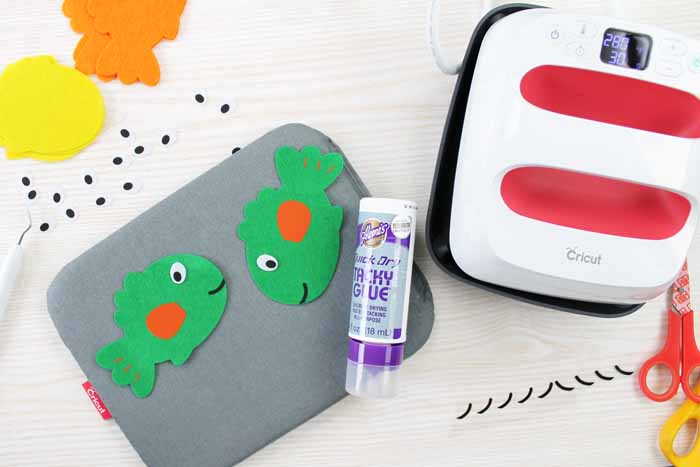
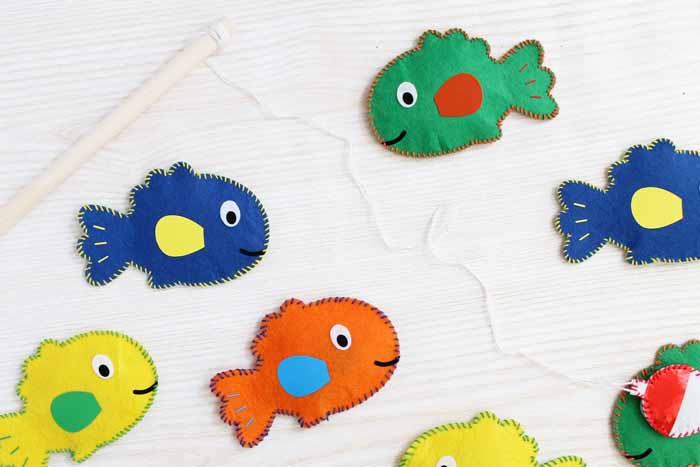
Step 6: Assemble Fishes
It's time to start assembling your fish. Begin by adding the eye into place with either fabric or Tacky Glue. Set those aside to dry completely before continuing.
Step 7: Add Stuffing & Magnet To Fish
Once dry, add a small amount of stuffing and a magnet to the inside of each fish.
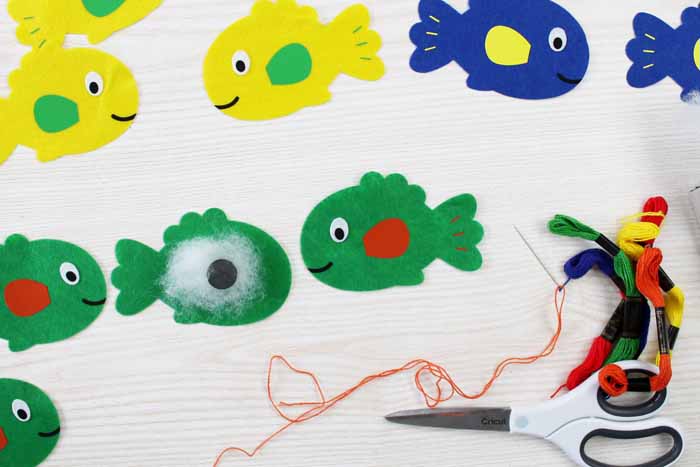
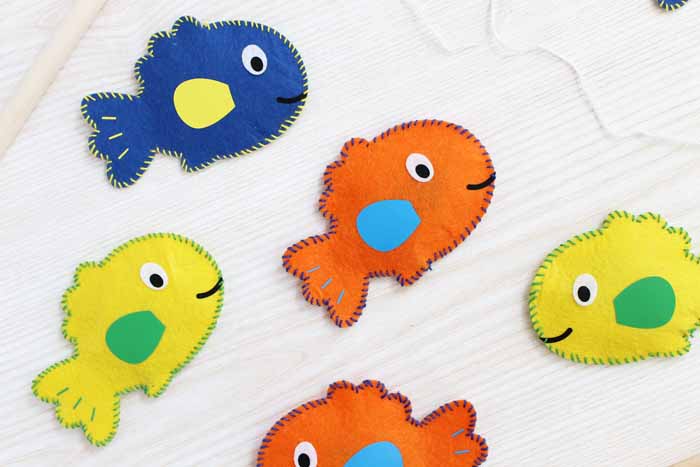
Step 8: Hand Stitch Fishes
Then hand stitch around the outer edge of each fish trapping the magnet inside. I am using a contrasting thread, but you can choose whatever color you like.
NOTE: Be sure to check that the magnets cannot come loose from the fish, as they are hazardous for young children.
Step 9: Create Bobber
Next, repeat the same process for the bobber. In this case, you will also add a looped piece of thread to the top of the bobber as you are sewing. This will be used to add to your dowel rod in the next step.
Step 10: Add Bobber To Dowel Rod
Once you have sewn around your bobber, add it to the fishing pole (aka your dowel rod) with a bit of white thread.
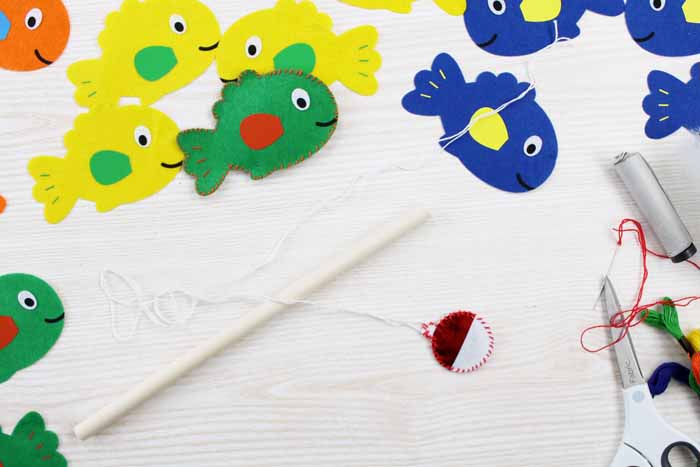
NOTE: I used a combination of tying it on the dowel rod and securing it with hot glue.
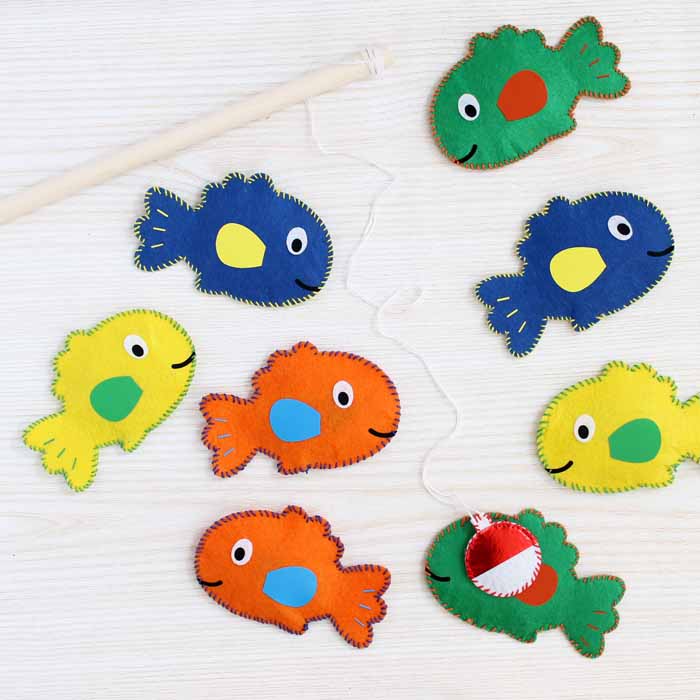
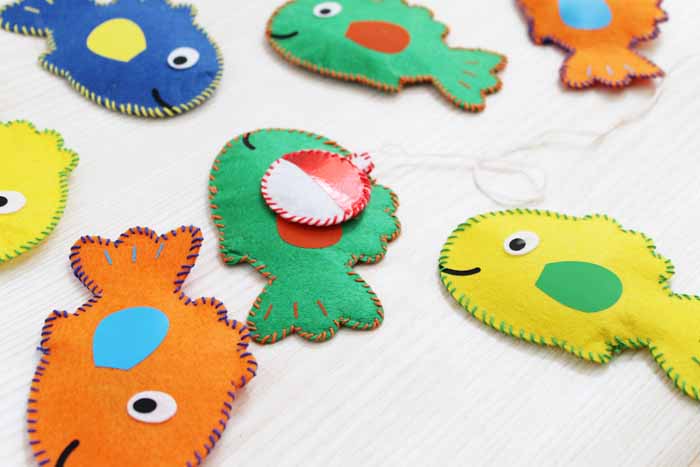
Step 11: Test DIY Fishing Game
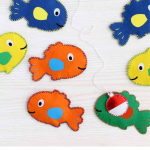
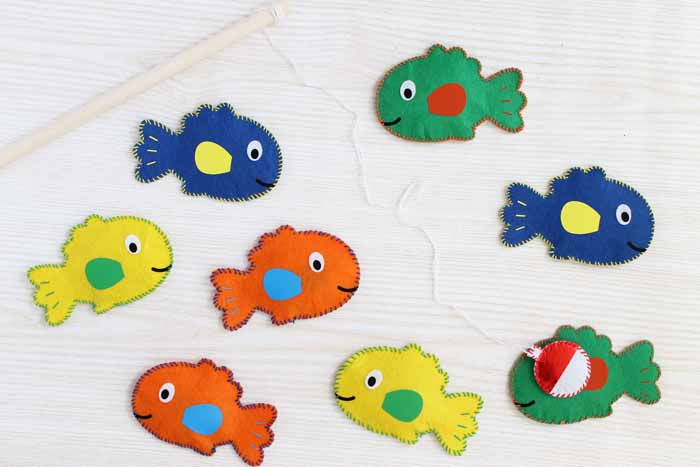
All that's left is to give your DIY fishing game a little test. The bobber should stick to the fish and lift them up easily!
Isn't it cute?
Any child would love getting this fun game as a gift! And you will love how easy it is to make with your Cricut machine and your Cricut EasyPress 2.
In fact, it's so easy to make that you could make a set for all the kids you know!
Can't you just envision the hours of fun the little kids in your life will have with this game?
Now that my DIY fishing game is complete, I am off to think of some more creations that are the perfect size for my new small EasyPress!
FAQs About DIY Fishing Game
Here are answers to some of the most frequently asked questions I receive about creating a DIY Fishing Game. If your question isn’t listed, feel free to drop it in the comments, and I’ll be happy to help!
What Cricut Machine Can I Use For This Project?
Technically, all of them. However, the type of felt you are using will dictate which Cricut machine you should use. Below is some helpful information that you can use to determine which type of felt/machine you want to use for this project.
- Cricut Explore Air and Cricut Venture machines: You can cut the Cricut felt with no backing or regular felt from the craft store with heat and bond added to the back. Thicker felts will not work well with this machine.
- Cricut Maker machines: You can cut all the felt! I have cut everything from Cricut felt to regular felt to super-thick wool felt, all with no backing and no issues.
- Cricut Joy and Cricut Joy Xtra: You can cut the Cricut felt or thin felt with heat and bond. Thicker felt will not work well with these machines.
Do You Have Any Resources About Cutting Felt With A Cricut Machine?
Yes, I do! To learn how to cut felt with your Cricut machine, check out my “Cutting Felt With A Cricut: A How-To Guide” blog post.
Can I Use An Iron If I Don't Have An EasyPress?
Yes, you can. Since this project works with felt, you need to be careful about the heat setting for your iron and avoid pressing for too long.
Also, I've worked extensively with both products over time and have found that irons often stop heating evenly after some use.
The EasyPress combines the convenience of an iron with the speed of a heat press. All you have to do is set your time and temperature and allow the machine to do the countdown while you apply light pressure. It delivers professional results every time!
If you're considering buying one, it's 100% worth it. Here's a little more information:
About The Cricut EasyPress
- The EasyPress is the easiest way I know to get professional iron-on results in 60 seconds or less.
- The main benefit is the ceramic-coated heat plate, which offers up dry, even heat for flawless transfers. It is so much better than an iron, y'all! Irons are inconsistent, and the results can be super frustrating.
- The EasyPress 2 actually offers up a faster heat-up time as well as precise temperature control up to 400°F, which is an improvement over the first version.
- With the EasyPress 2, you also get the insulated, streamlined Safety Base. This keeps EasyPress 2 in a protected resting position while also protecting your surface.
- The easy-to-read digital display shows you both time and temperature. And, of course, it still beeps once the time is done for super easy pressing!
- On the back, you will also find a USB port for firmware updates.
- And the only way to get that fabulous raspberry color is to get an EasyPress 2.
I don't want to leave the post, however, without a mention of the EasyPress mat. It also comes in three sizes to match your EasyPress. You can use a folded towel under your EasyPress, but I find the mat is so much better! Just a little note that once you get the mat, you will never go back.
Cricut also offers the EasyPress 3, which has Bluetooth capability. That Bluetooth capability links to an app called Cricut Heat. Cricut Heat can communicate with the EasyPress 3, send temperatures, send times, and walk you through the process of different projects.
What Can I Use My EasyPress For?
The EasyPress is a whiz at transferring Iron-on vinyl or infusible ink to fabric and other surfaces. It's designed to give convenient, professional results. Plus, to make it even more user-friendly, it comes in multiple sizes so that you can use the right tool for the job.
5 More Kids Crafts
Did you love this DIY fishing game, and are looking for more kids' crafts to make? Then check out the ideas below!
- Toddler Busy Bag
- Crochet Headbands: Woodland Animal Ears
- Make Your Own Felt Food
- Kids Crafts with the Cricut
- Wood Blocks Puzzle


What a cute and creative game! I used to LOVE that game with the magnetic fish when I was a kid, I bet my kids would love something like this. I haven’t ever heard of that Easy Press, will check it out! Thanks for sharing at Wow Me Wednesday! 🙂
I absolutely love this DIY! Such a fun idea and kids will love it!
Thanks Pam!
Super cute idea, and a great video! Love the game too! Thank you for sharing at Celebrate It!
I’m excited for the new EasyPress 2. My kids would love this game. Thanks for sharing at Merry Monday. Hope to see you next week!
Angie, where can I get the cut file?
If you click on the “Cricut Cut File” link in the post it will open the file right in Design Space 🙂