

Have you ever wanted to learn how to transfer a photo onto canvas? If so, you’re in the right place! You can create beautiful canvas art right at home in just a few minutes — and for only a few dollars. This simple tutorial will show you how to make your own framed canvas piece in just a few steps. After all, quick, easy, and budget-friendly projects are my favorite! Ready to get started? Let’s dive in!
Want to iron-on a design instead? Try our tutorial for making a reverse canvas here.
How To Transfer An Image To Canvas Video Tutorial
Want to see a quick video of this project? Just click play on the video below to watch the entire process from start to finish.
Can’t watch the video or miss some of the steps? You can also follow along below.
How To Transfer An Image To Canvas
Are you ready to make some super inexpensive art for your home? Tired of paying high prices for custom canvases of your pictures?
Well, I have a solution for you. You can easily add your pictures to a canvas with either t-shirt transfers or printable heat transfer vinyl. Then just make a reverse canvas to create framed art that everyone will love!
Yes, it really is that easy!
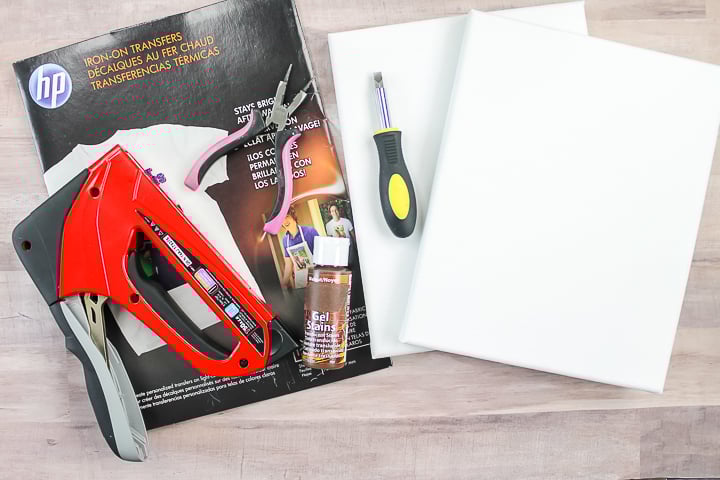
Supplies Needed For How To Transfer An Image To Canvas
- Canvases (remember that if you only have a standard printer, your picture itself cannot be any larger than 8 1/2 x 11)
- T-shirt transfers or printable heat transfer vinyl
- Staple gun and staples
- Screwdriver
- Pliers
- Craft knife
- Wood stain
- Rag
- Paintbrush
- Printer and ink
Step 1: Remove Canvas From Frame
Start by removing the canvas from the frame. Flip it over and remove the staples with a screwdriver and pliers. Then separate the canvas from the frame.

Step 2: Stain Frame
Stain the frame with the color of your choice. Paint on the stain, allow it to sit for a few minutes, then wipe off any excess with a rag. Allow this to dry completely.

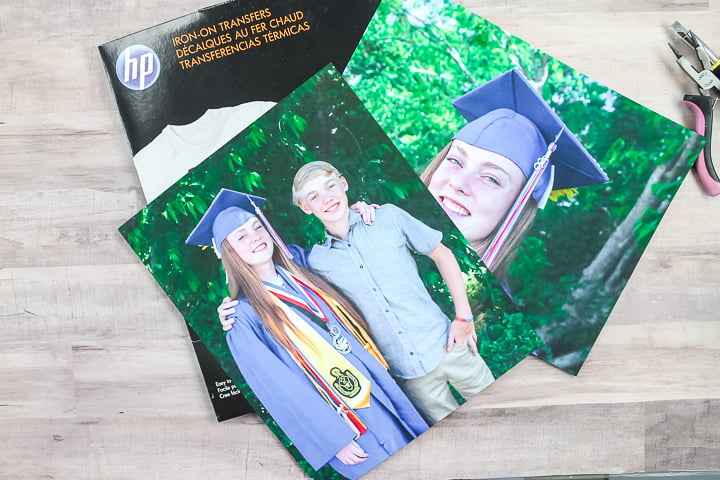
Step 3: Print Photos
While it dries, you can transfer your picture onto the canvas. Print your photo onto your transfer paper using a printer. Be sure to mirror your design and print with the best quality for your printer.
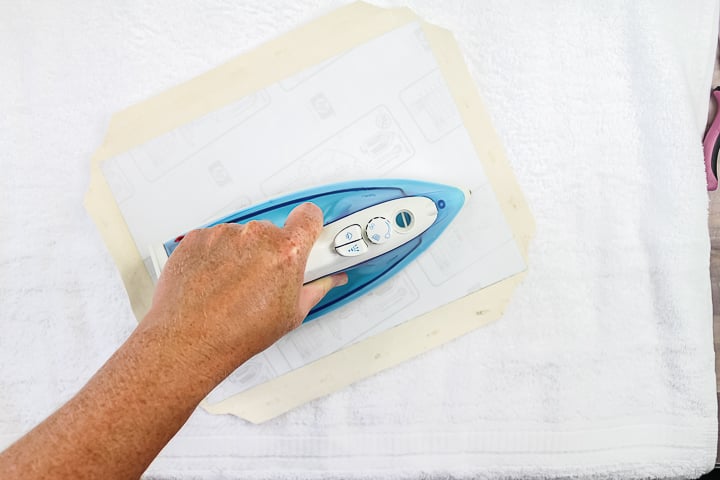
Step 4: Iron Photo Onto Canvas
Then, put the t-shirt transfer face down onto the canvas. I am transferring this to the creamy off-white side, but this same method will work with either side. Please note that you can see directions for printable heat transfer vinyl here.
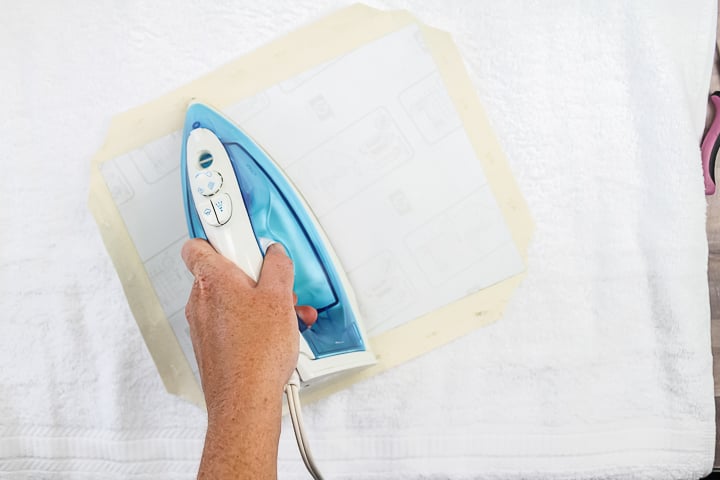
Then follow the instructions on your transfer package to complete the process. (I had to iron in both directions for a certain amount of time.)
Step 5: Peel Off Carrier Sheet
After you have ironed your transfer, start slowly peeling back your carrier sheet to reveal the design on your canvas.
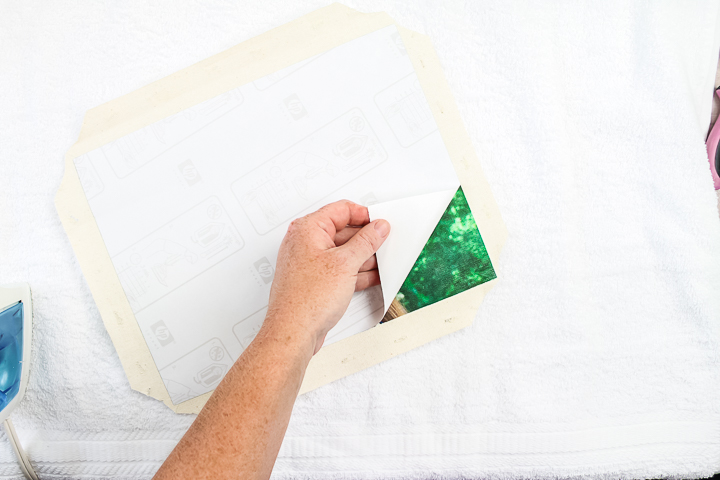
Once the backing is removed, it is time to add the frame to finish this one off!
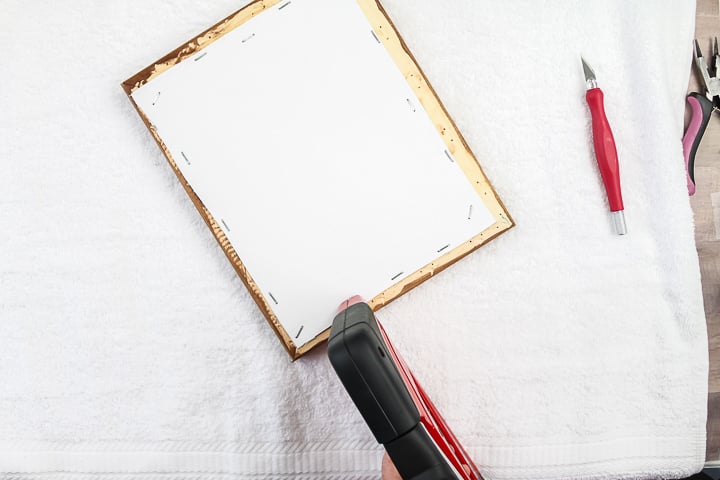
Step 6: Staple Canvas To Frame
Add the frame where you want it on your picture. Then secure with staples in the back. I like to secure with one staple in the center of each side, plus one in each corner.
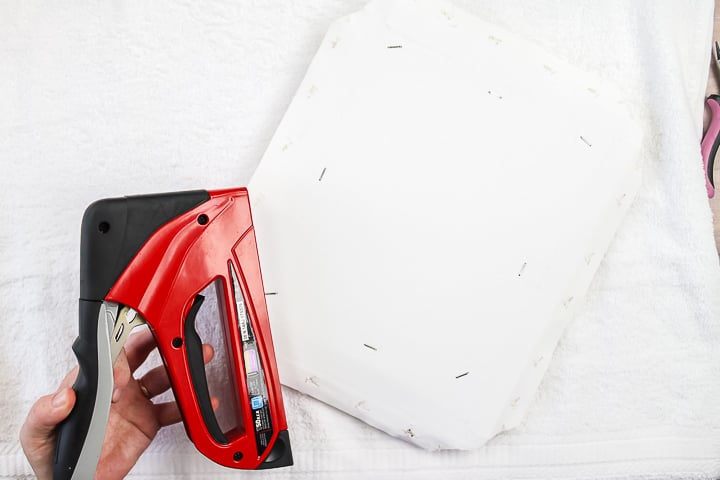
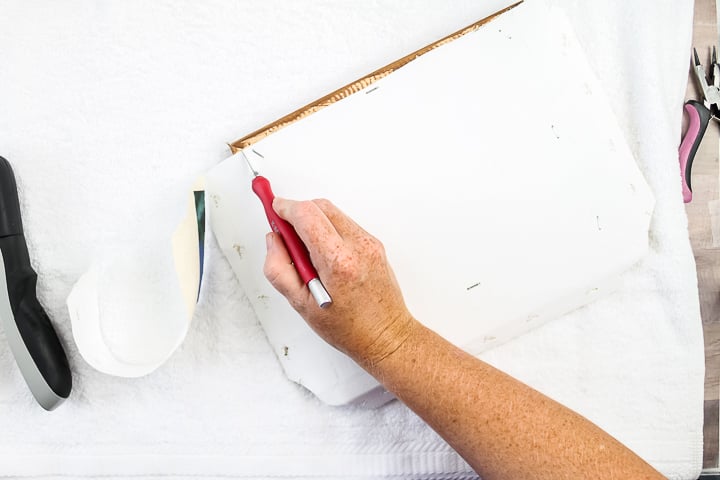
Step 7: Cut Away Excess Canvas
Then cut away all of the excess canvas with a craft knife.
Step 8: Add More Staples
Once this is removed, add additional staples to secure the canvas completely.
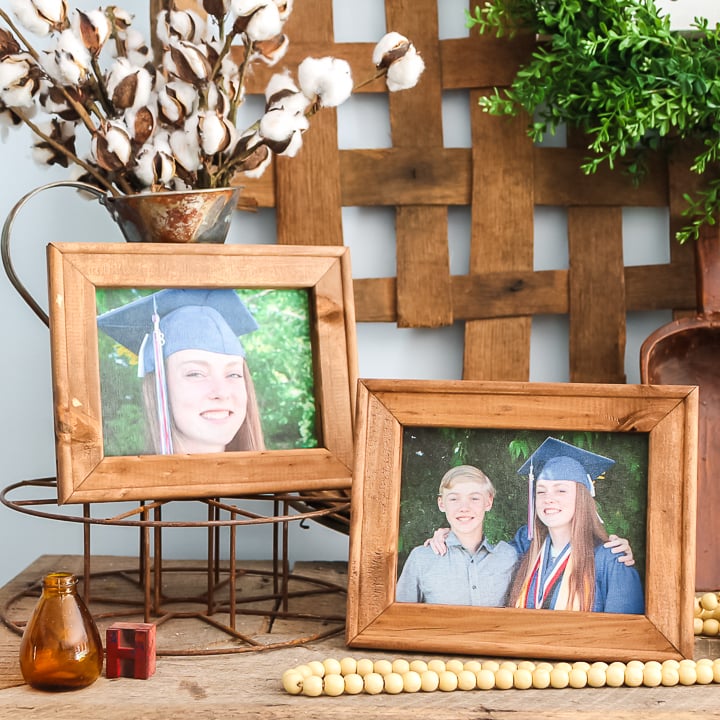
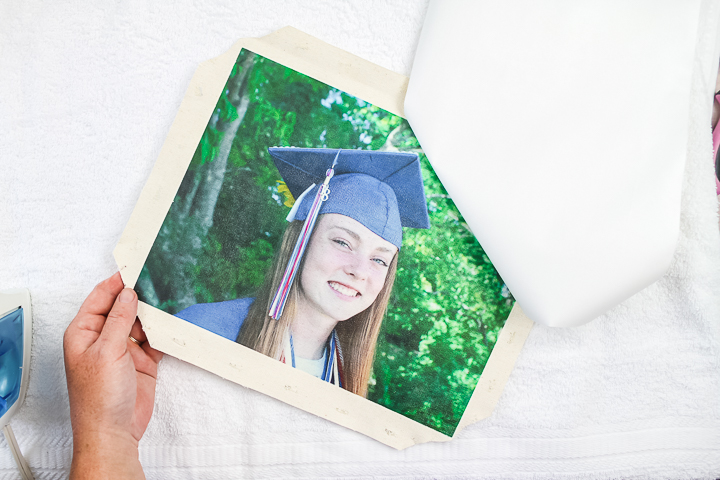
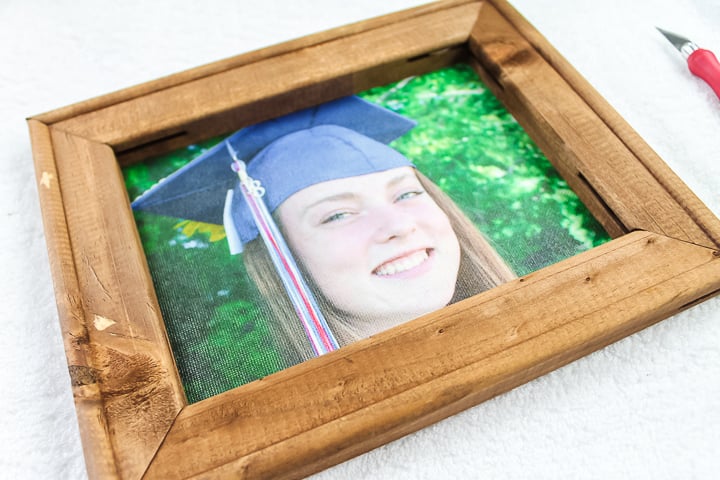
Step 9: Display Canvas
Then your project is ready to hang or display!
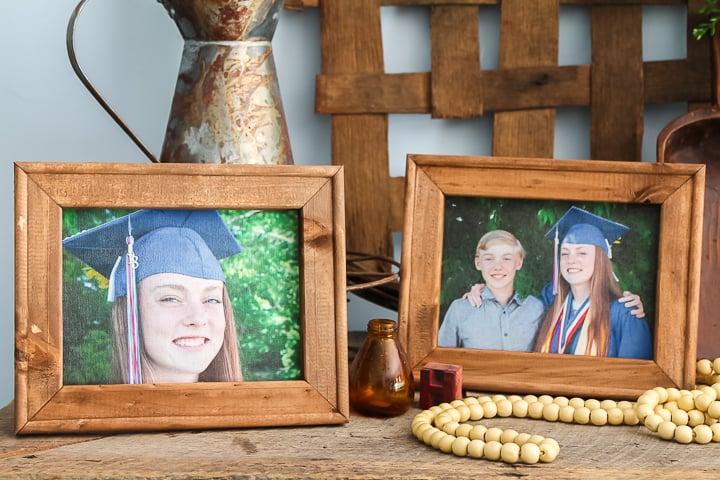
You are going to love this project and how easy it is to make. This is one of my favorite gift ideas! Find an image, print it, transfer it, and you have a gift that your family and friends will never forget. Plus, you can find the canvases so cheap that this will be a super inexpensive gift, too!
Be sure to make a few of these now and get the method down. Then stock up on canvases for the holidays. You will have a stack of inexpensive gifts in no time.
Pick up some t-shirt transfers and try this one for yourself. You will be so glad that you did!
FAQs About How To Transfer An Image To Canvas
Here are answers to some of the most frequently asked questions I receive about transferring an image to a canvas. If your question isn’t listed, feel free to drop it in the comments, and I’ll be happy to help!
Where Is The Best Place To Buy The Blank Canvas?
Anywhere! I grab mine from the craft store, but Dollar Tree sometimes has them.
What Kind Of Printer/Ink Do You Need For This ”How To Transfer An Image To Canvas” Project?
A regular inkjet printer is perfect for this project!
Would An EasyPress Work For This Or Do You Think An Iron Is The Best Bet?
An EasyPress would definitely work! It would probably make it easier!
What Settings Would You Recommend For A Heat Press?
There should be settings on whatever heat transfer paper you buy.
If I Print A Picture At Walmart, Can I Transfer It Like You Did?
No. It needs to be printed on the t-shirt transfer material in order to work.
Is There Any Reason Why You Could Not Reapply The Canvas Back To The Frame (Just As It Was Before After The Photo Is Transferred To It)?
I think that would work! I have also pressed it without removing it from the frame. Just add a book or something hard to the inside to press against. The only thing is that the frame on some of these isn't flat so that you might get imperfections.
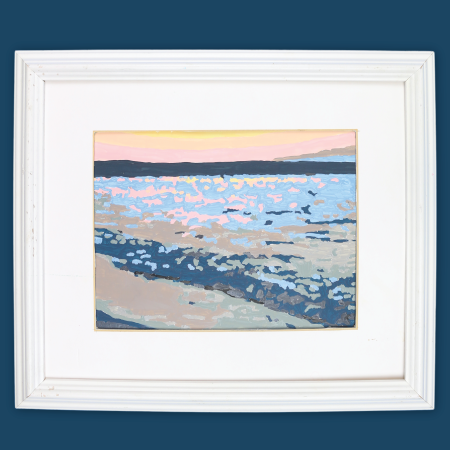
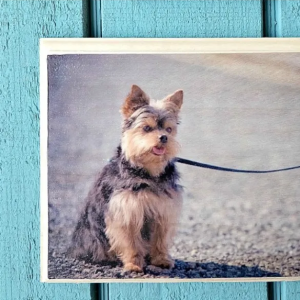
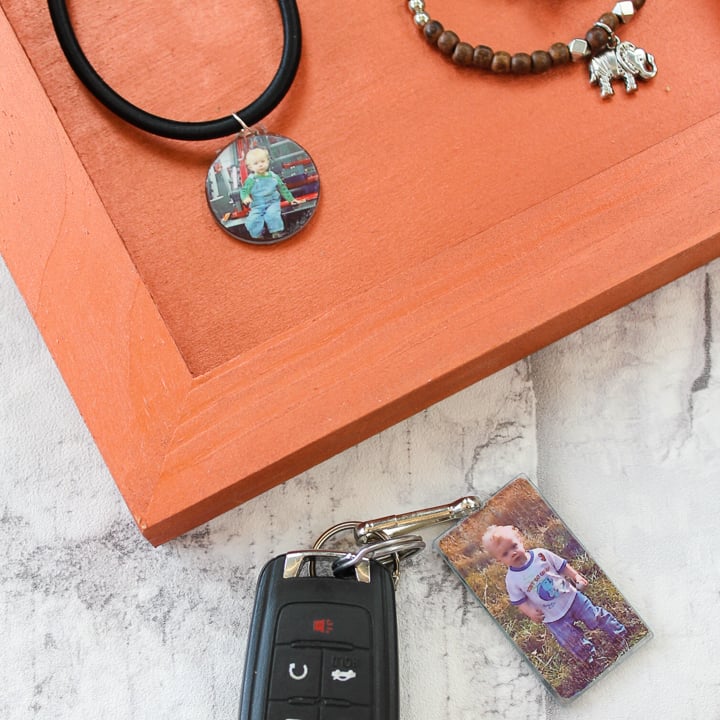
5 More Photo Crafts
Did you love learning how to transfer an image to canvas, and want more photo crafts? Then check out the projects below!


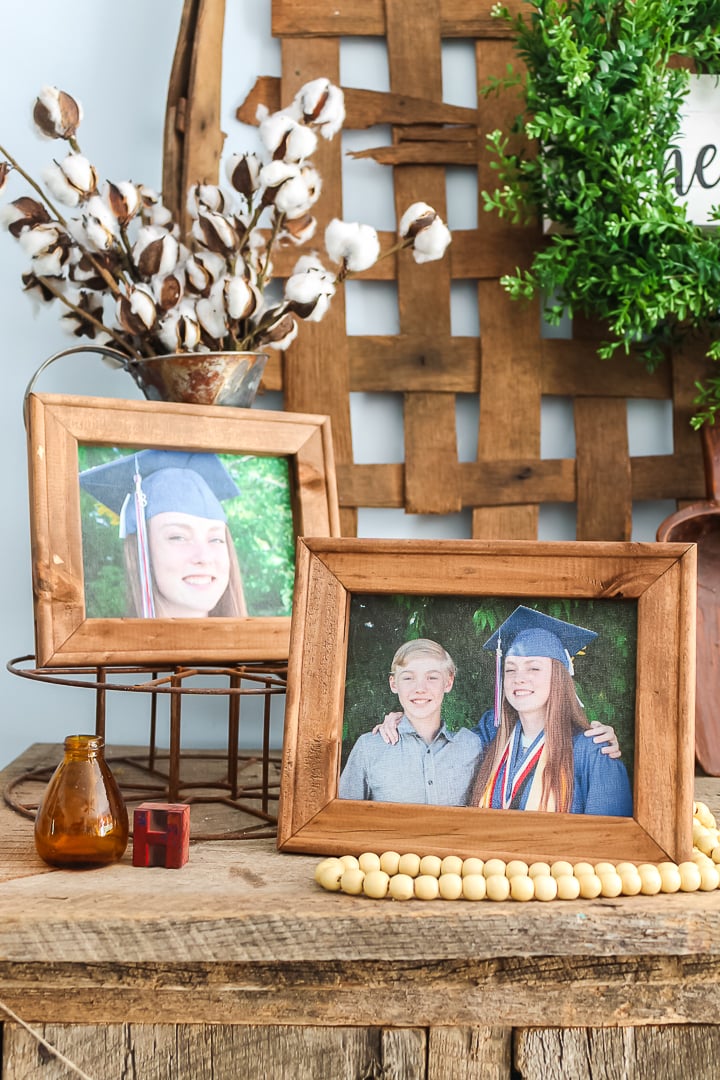
As a visual artist I can tell you that canvases do not come with a display-worthy frame as shown in your finished product. The frames on which canvases are stretched are rough unfinished wood, definitely not sanded and machined like these ones are. To achieve this look you would have to invest in new frames. Other than that, this is a wonderful project to make for gift-giving.
These are the frames from the canvases I used. I did stain them but other than that the project was made using the canvas and the frame that it was wrapped around.
Hi, maybe share where you bought the canvas? My canvas frames are like Mary’s as well.
Yours look great!
Unfortunately this project is years old and I’m not sure where I got these frames. I know I’ve purchased some from Hobby Lobby in the past that I was able to stain the frame without doing anything else to it. I would definitely purchase just one to begin with or see if maybe reviews on Amazon would give you more info on the inner frame 🙂
Hi, i love this project!! in your written instructions, the part where it mentions the printer is blocked by an ad and I cant remove it. So I can’t see if you use an inkjet printer or a regular printer. Can you help. Thanks
Yes, just a regular printer like an HP Envy or Epson EcoTank with regular ink 🙂
Can you use a laser printer if you want black and white? Will that work too?
It would depend the transfer material you’re using. If it can be used in a laser printer then yes that would be fine 🙂
I used to do iron-ons to my daughter’s sweat suits when she was young. I also use to go to a photography studio that would print on canvas for a price. Never thought of putting the two together! I like the idea of transferring photos to canvas. But in my opinion, you’re sacrificing so much of the photo by using the frame under the canvas. I would’ve reattached/wrapped/stapled the entire photo back around its base frame. Then found a frame to fit around the size of the full photo and canvas that would set off that memory you captured with your camera! Standard size frames can be found cheap at thrift stores. I agree with Mary, great gift idea. And like every idea, it can be adjusted to one’s liking. Thanks.
i ironed the picture on the anvas and when i weny
tto pull it off it left patchy spots, what did i do wrong?
Some of the transfer materials can do that if not applied correctly. I would also make sure you have even pressure.