
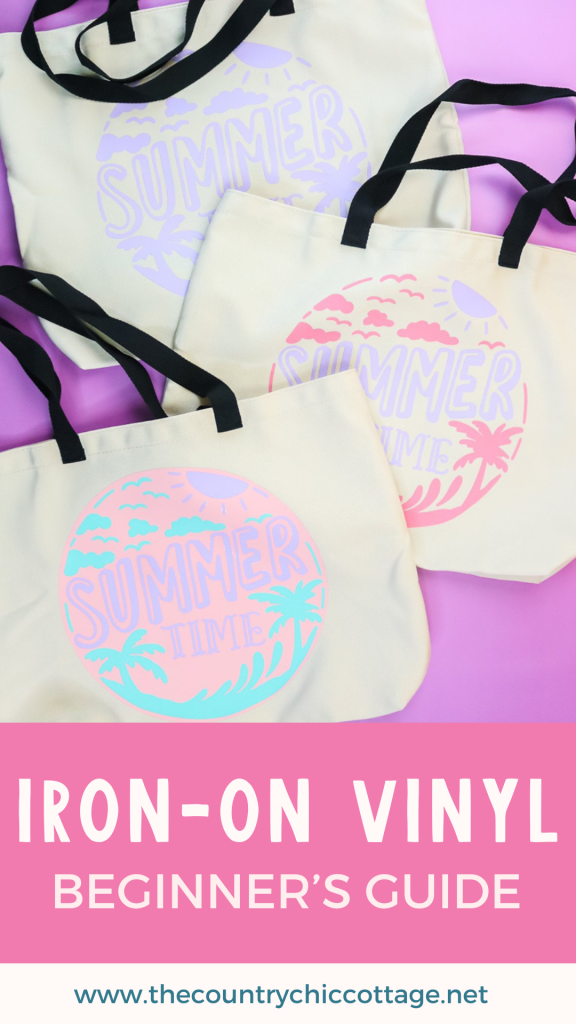
Today, we’re talking all about how to layer iron-on vinyl and the basics of application. Whether you’re working with one color, two colors, or building up to three (or more!) layers, layering heat transfer vinyl is much easier than you might think. We’ll start with a simple one-color design to cover the basics, then work our way up to a three-color layered project using a Cricut machine.
Need a refresher on the fundamentals of HTV? Be sure to check out this post!

Layering Iron-On Vinyl
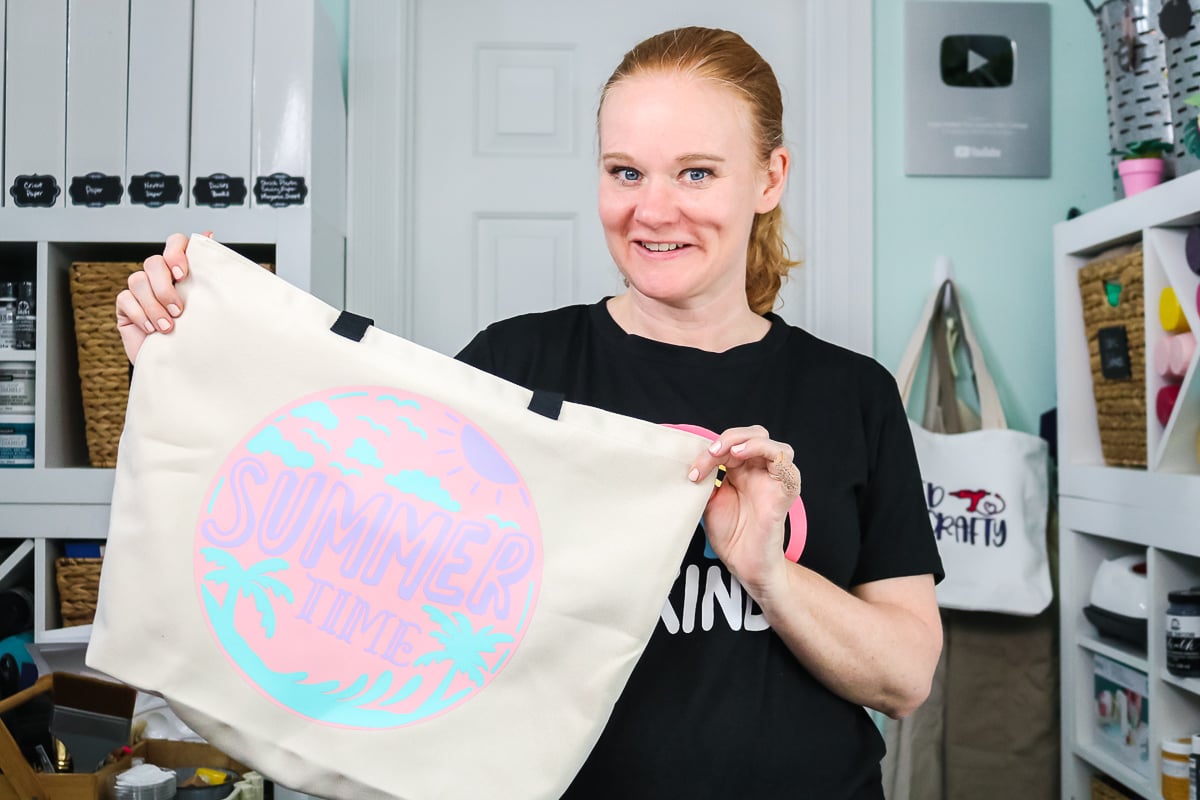
Want to see all of the steps in an easy-to-follow video? Just click play below and see how I made three tote bags using iron-on vinyl.
Can't watch the video or missed some of the steps? Just follow along below for all of the details
Iron-on Vs. HTV
Cricut iron-on and heat transfer vinyl are two names for the exact same thing. Cricut calls their brand of heat transfer vinyl iron-on, but you might pick up heat transfer vinyl from other places and it goes by the name HTV. This tutorial applies to both types as it is the same thing.
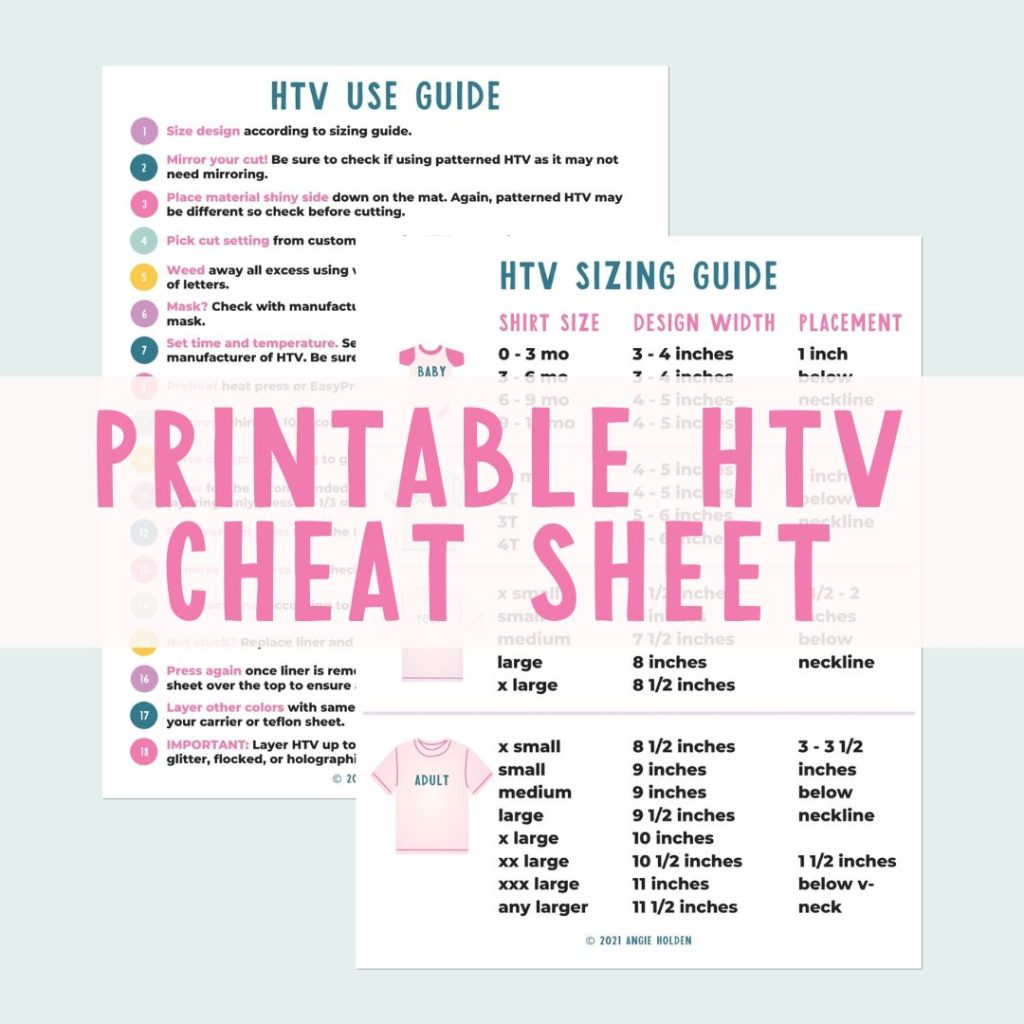
Free HTV Cheat Sheet
Get your FREE Printable HTV Cheat Sheet now! This guide has sizing and position recommendations for infant through adult shirts as well as a handy HTV use guide. Print this double sided guide and put it by any heat press you own!
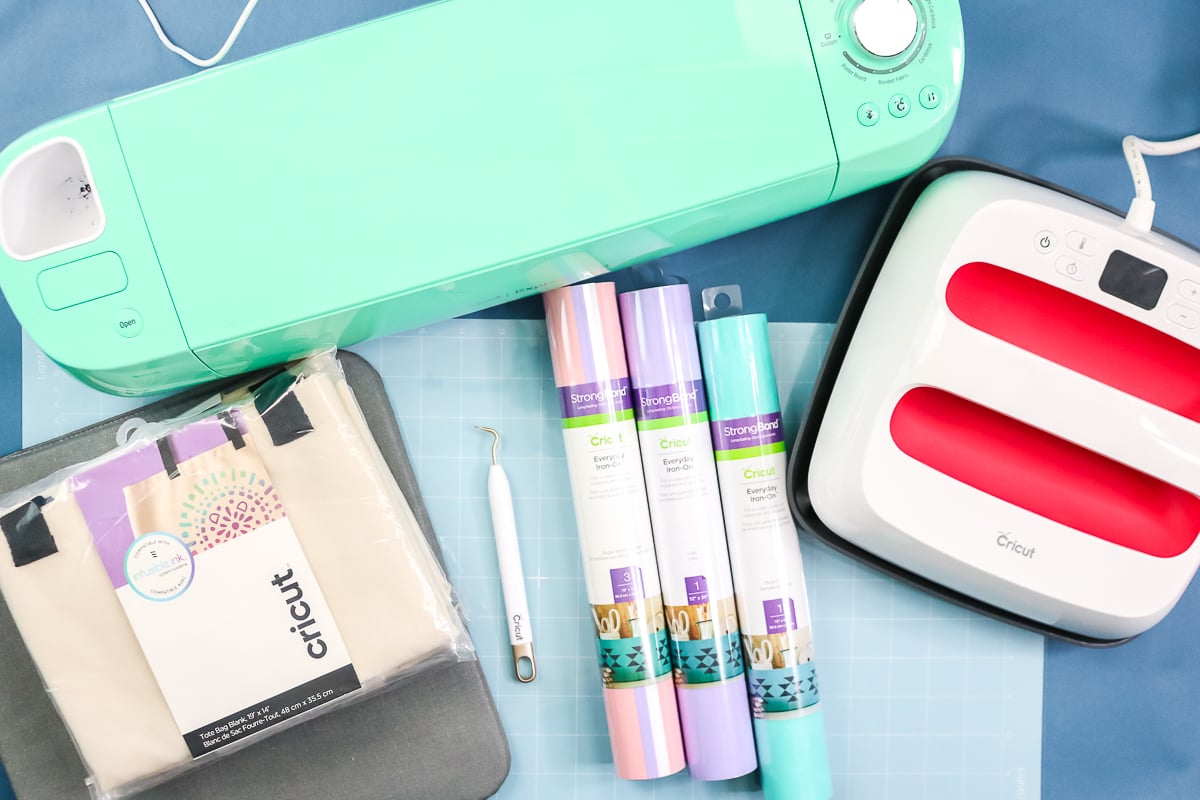
Supplies used
- Cricut machine
- Iron-on vinyl
- Cricut EasyPress
- EasyPress mats
- Cricut tote bag (NOTE: This same method would apply to a shirt or another surface. I just had tote bags to make the tutorial.)
- Weeding tools
- Protective sheet or parchment paper
- Cricut mat
Single Layer Iron-on Application
For the first bag, we're just going to do one layer of HTV just to get down the basics. Let's look at designing and applying a single layer of iron-on to a surface.
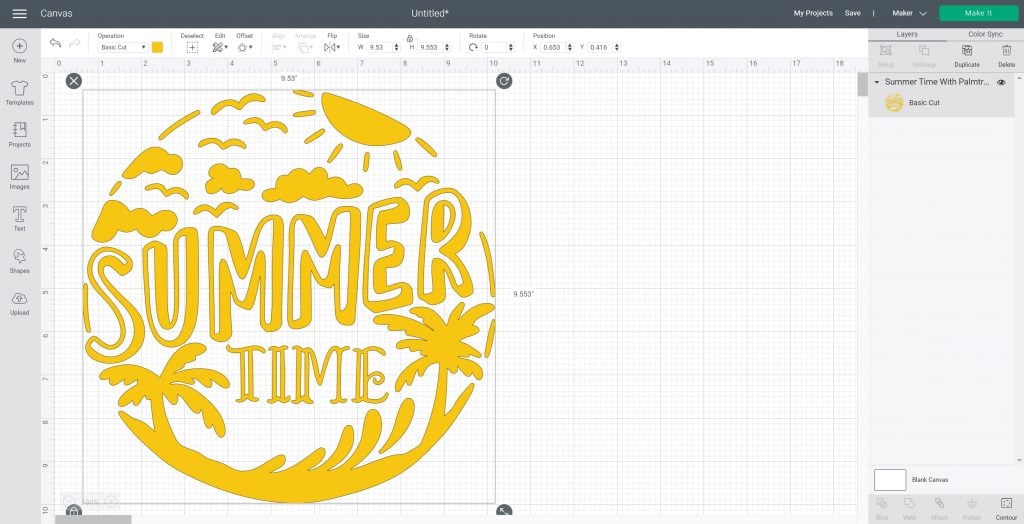
Step 1 – Making Your Design
NOTE: I am going to make my designs larger than the EasyPress I am using so I can cover what to do in that case.
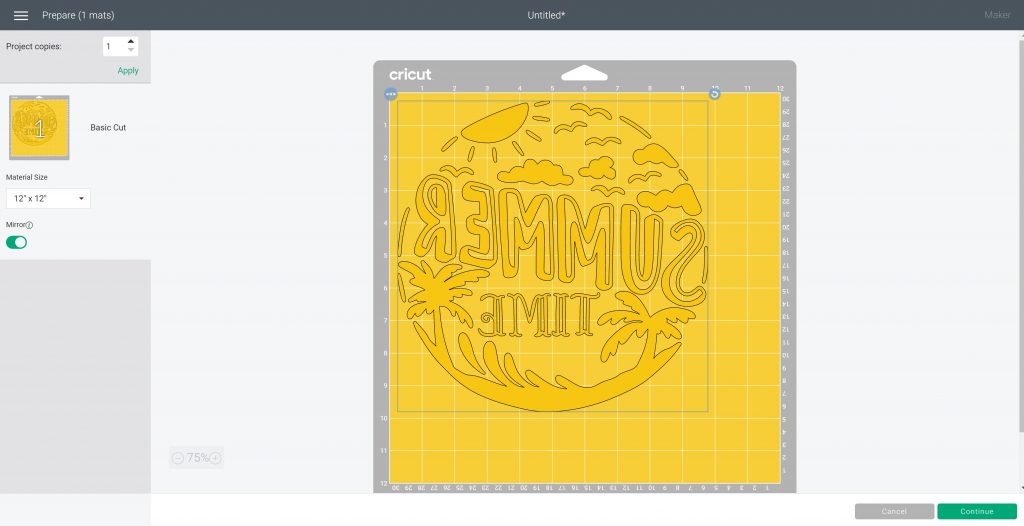
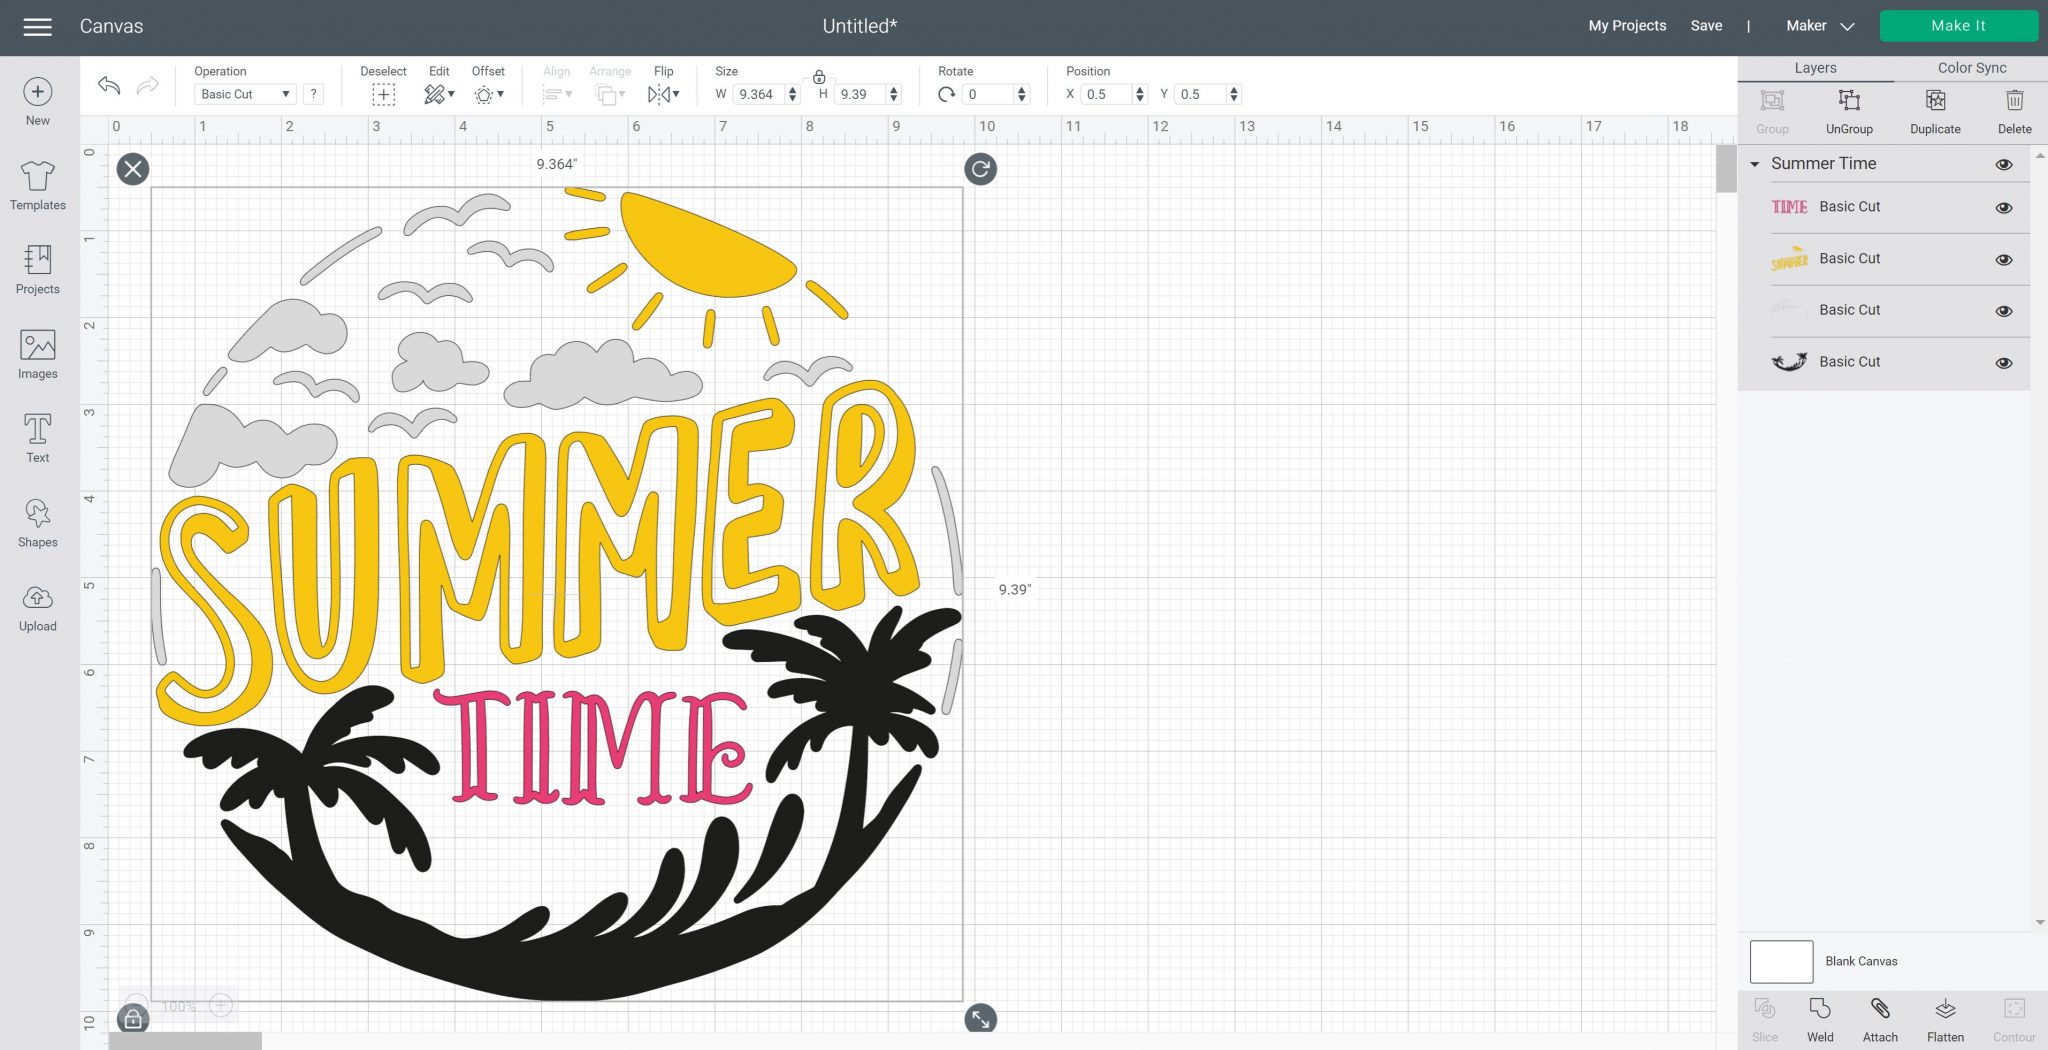
I typed in “summer time” under images and found this image to use. You can pick any image you like for your project. I found a summer time image in this case that only uses one color so I went with that. If your image uses multiple colors, change all the layers to one color to make a single color design. You will need to resize your image to work on your surface. Pull the arrow or type a specific size into the box.
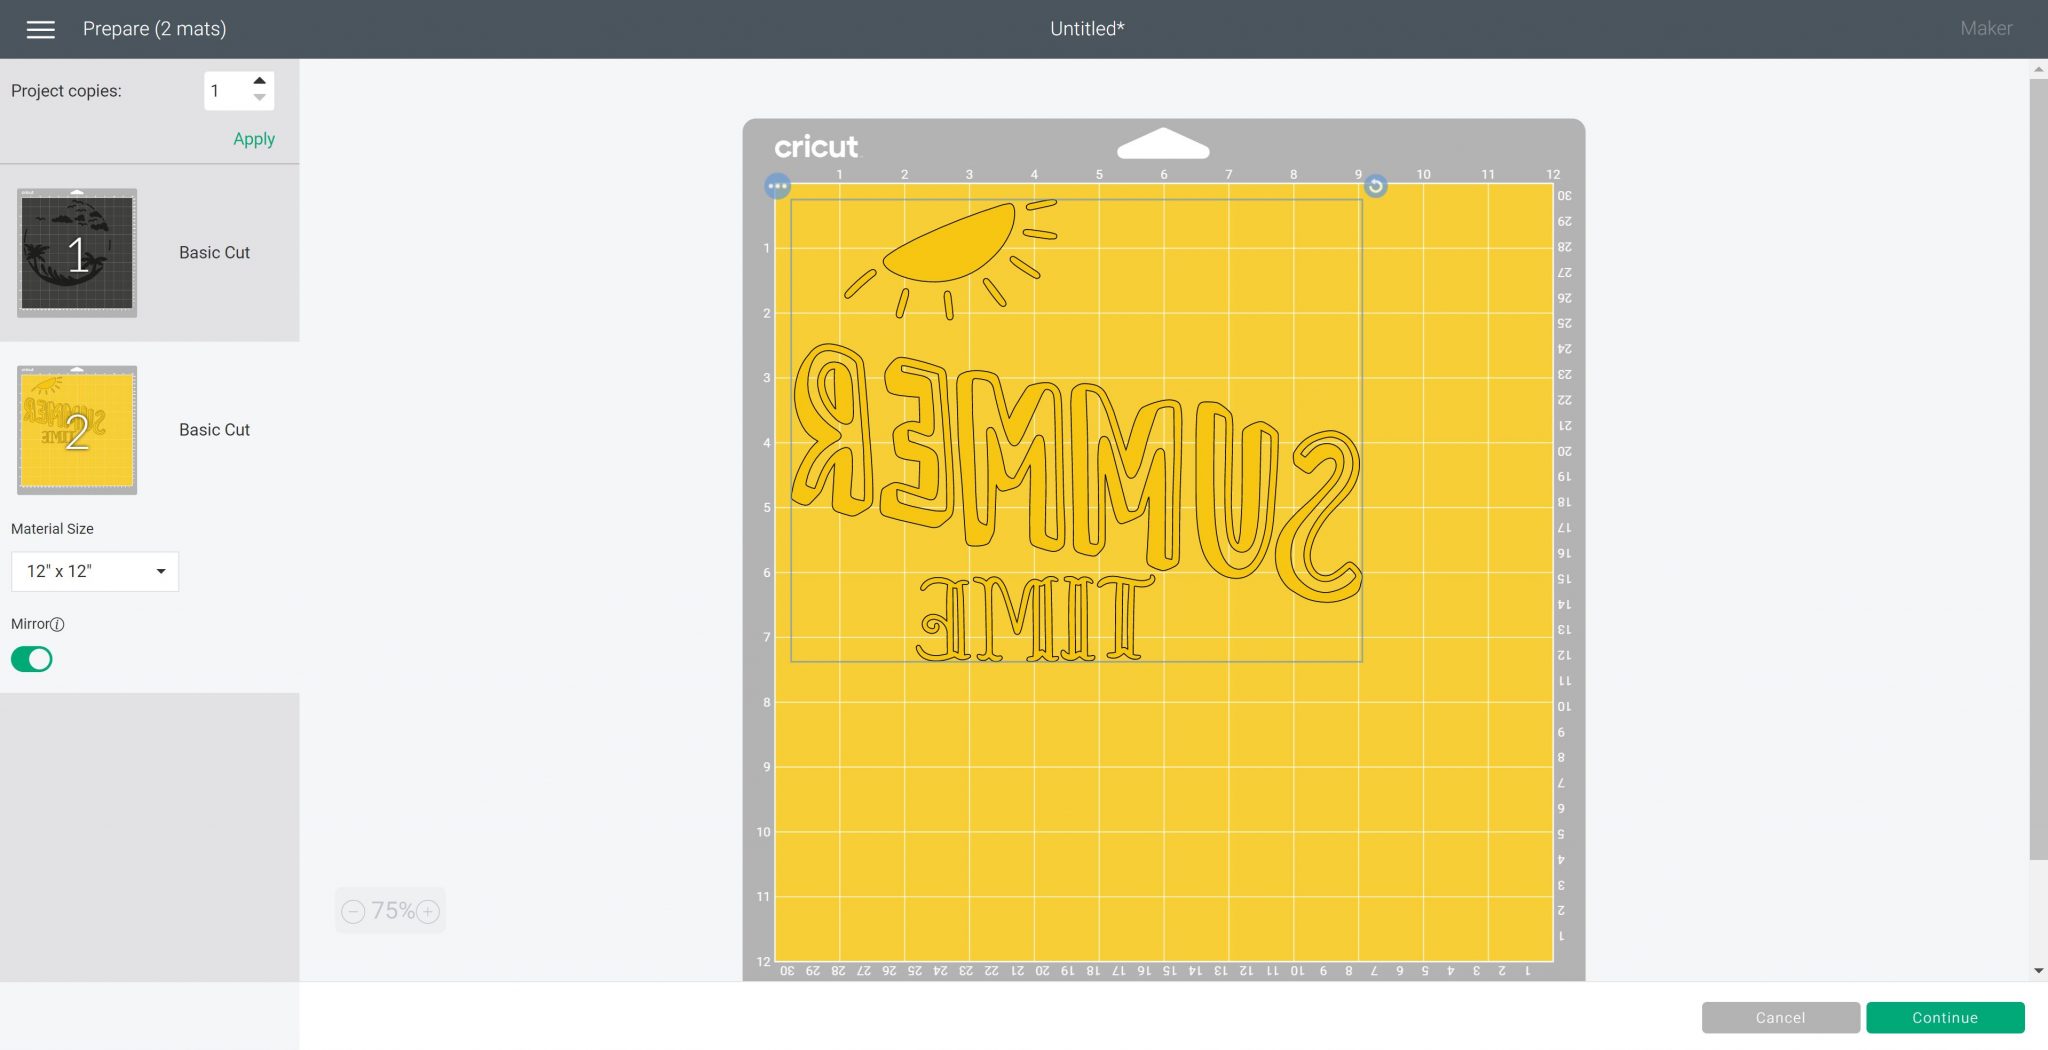
Click Make and be sure to mirror your cut. Then click Continue and select your material (which should be Iron-on unless you are using a special variety). We can then continue to cut our image.
Step 2 – Cutting Your Design
Let's start with how to apply your iron-on to the mat. How do you know which side to apply to the mat? Iron-on is always shiny-side down on the mat, which is why you mirror your design. Place the material on the mat and smooth it out thoroughly. You can use a brayer to make sure your vinyl adheres to the mat.
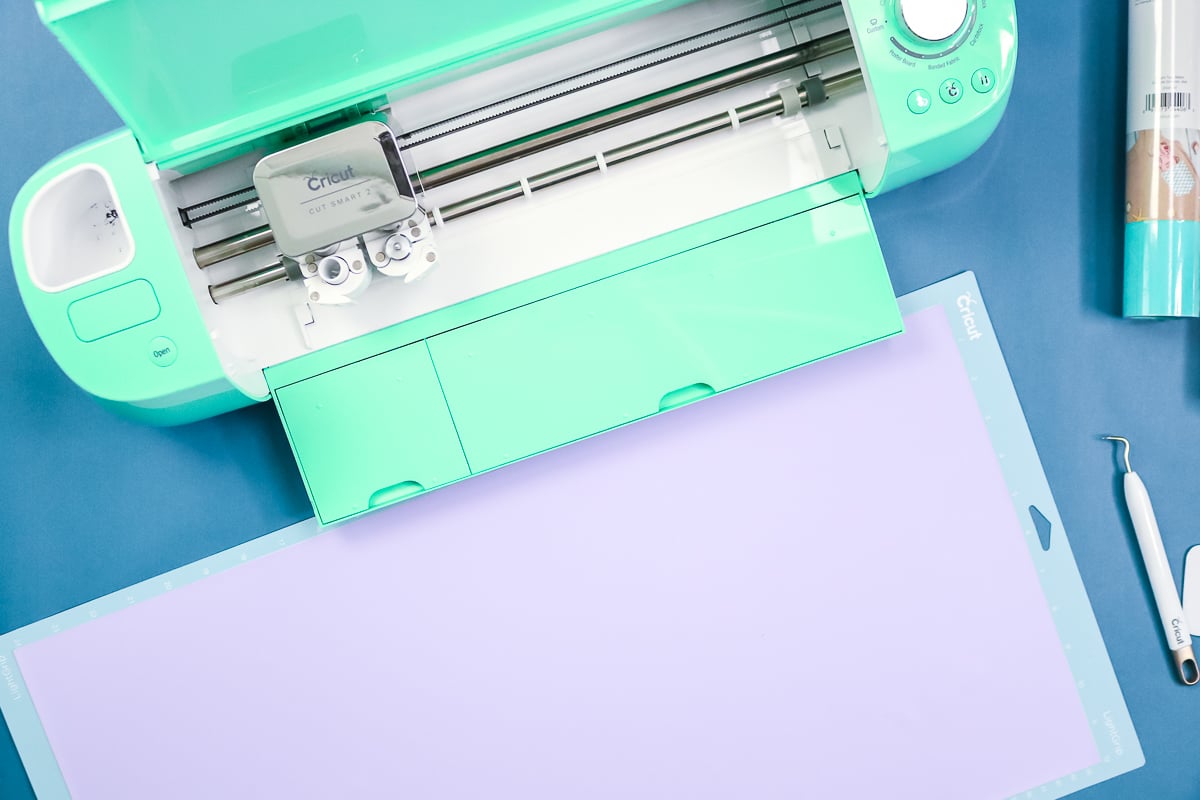
Iron-on uses the fine-point blade, which comes with every Cricut machine. Once your design is set in Design Space, insert your mat by pressing gently until it's up against the rollers. While you're pushing, press the arrow button to load your mat. Then press the Go button to start cutting.
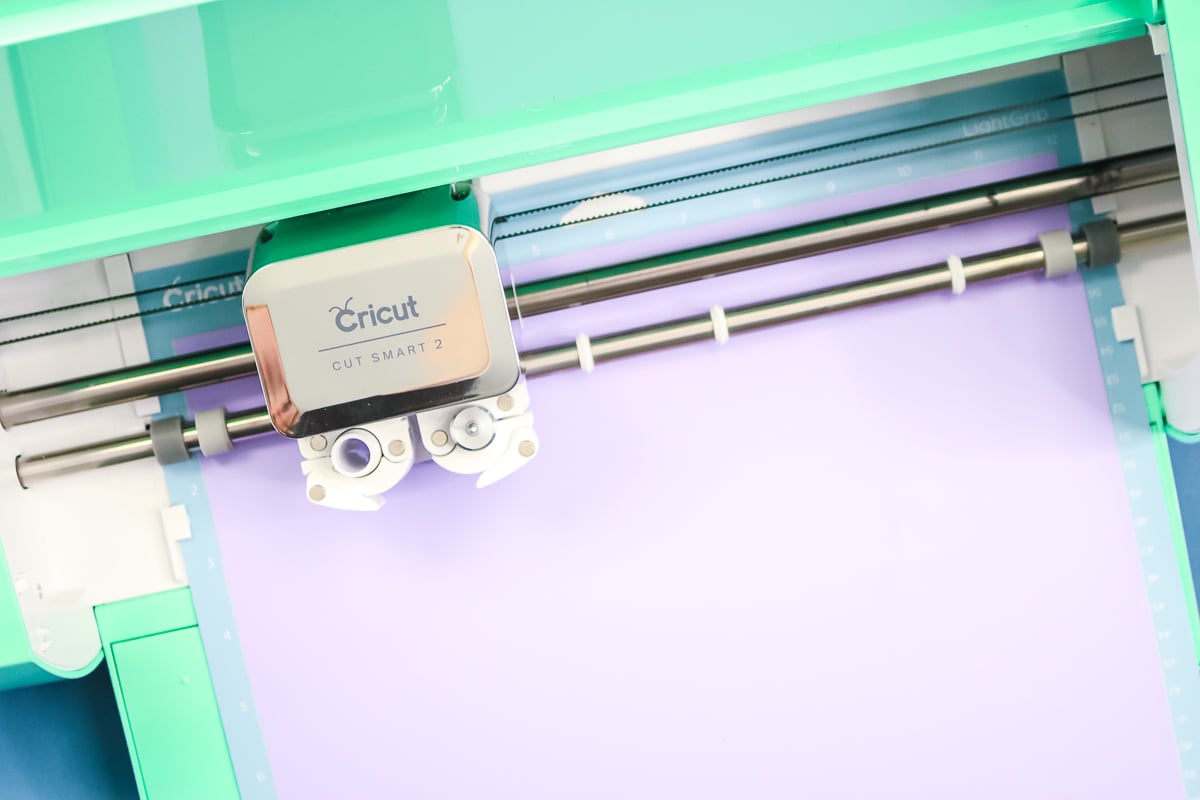
Once your machine is done cutting, the arrow will start flashing again. You just press it to unload your mat.
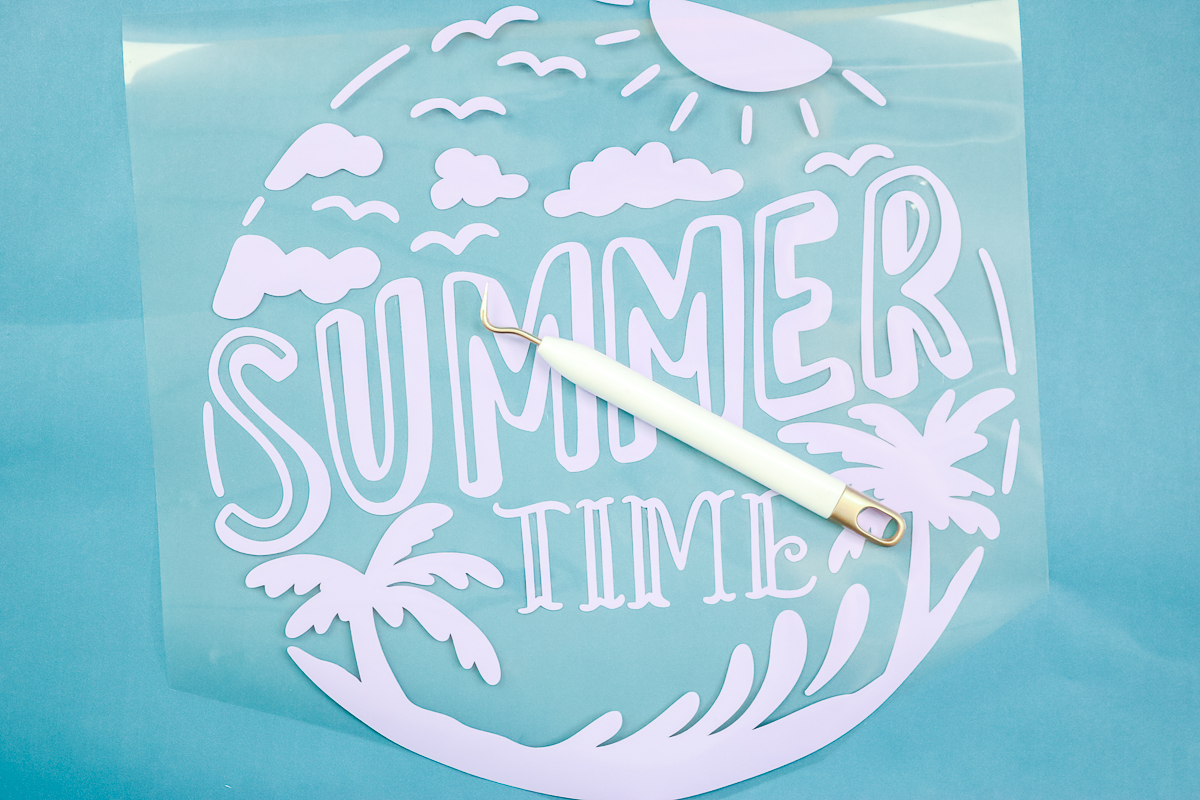
Step 3 – Weeding Iron-on Vinyl
With your cut design shiny-side down, start picking it up at the corner with a weeding tool, then pull away the excess around the outside. Continue using your weeding tools to pick up any remaining areas, such as the centers of letters. You want to remove anything you don't want to put on your tote bag.
Step 4 – Applying HTV
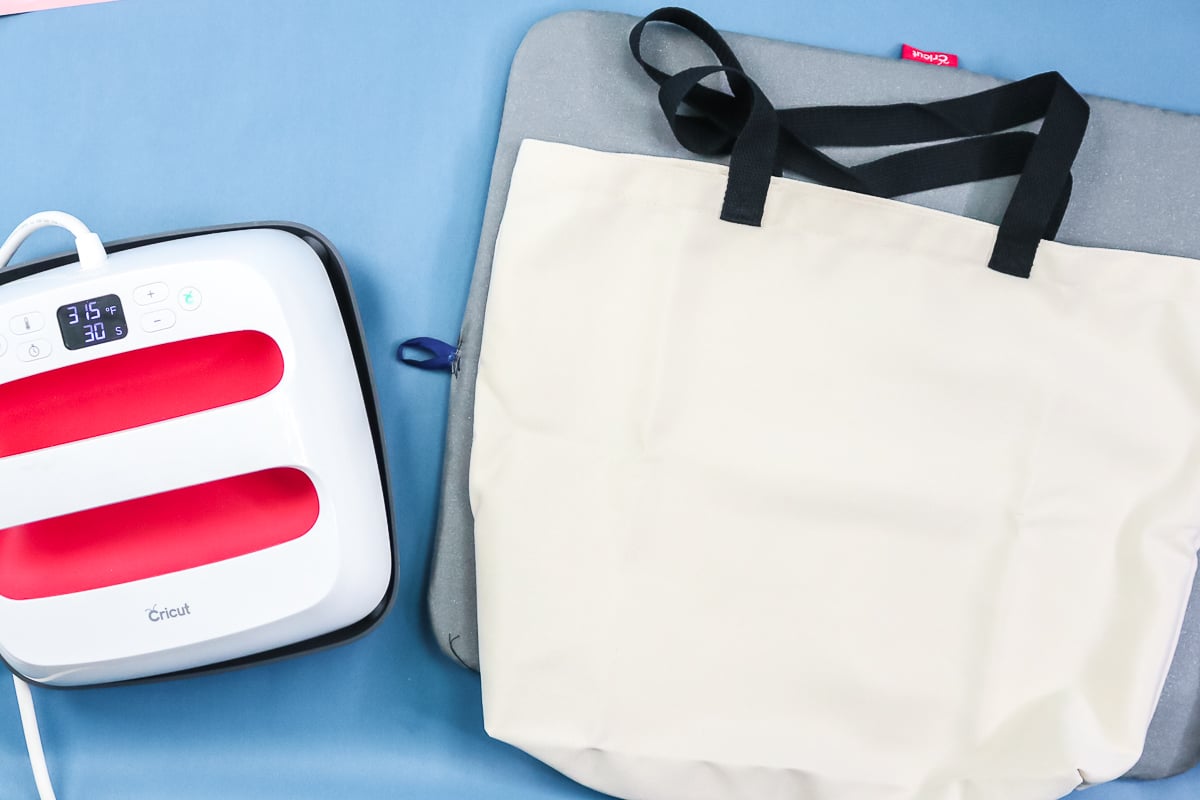
What I like to do with a tote is put the Easy Press mat inside. I do have another larger Easy Press mat under my tote bag to protect my work surface. For the bottom one, you could definitely just use a folded-up towel. Heat your Easy Press to the time and temperature in the Cricut Heat Guide. If you are using a different HTV brand, be sure to check the recommended time and temperature.
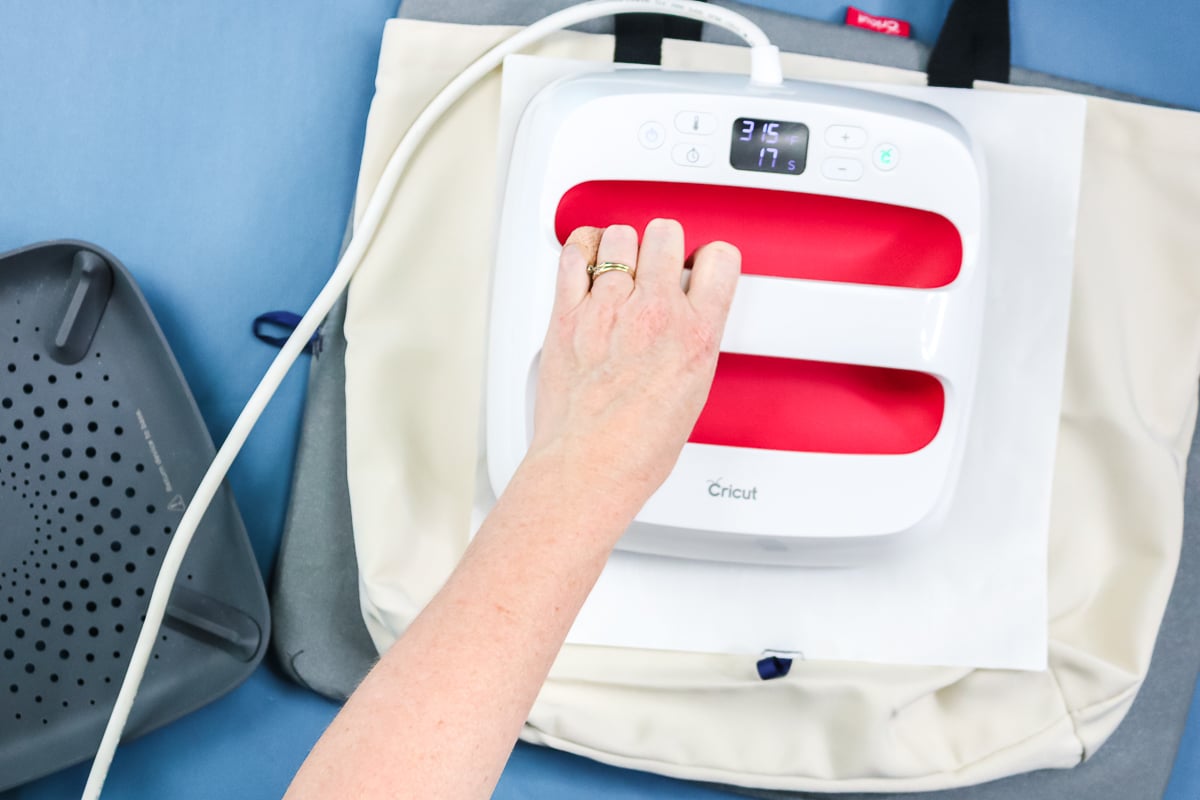
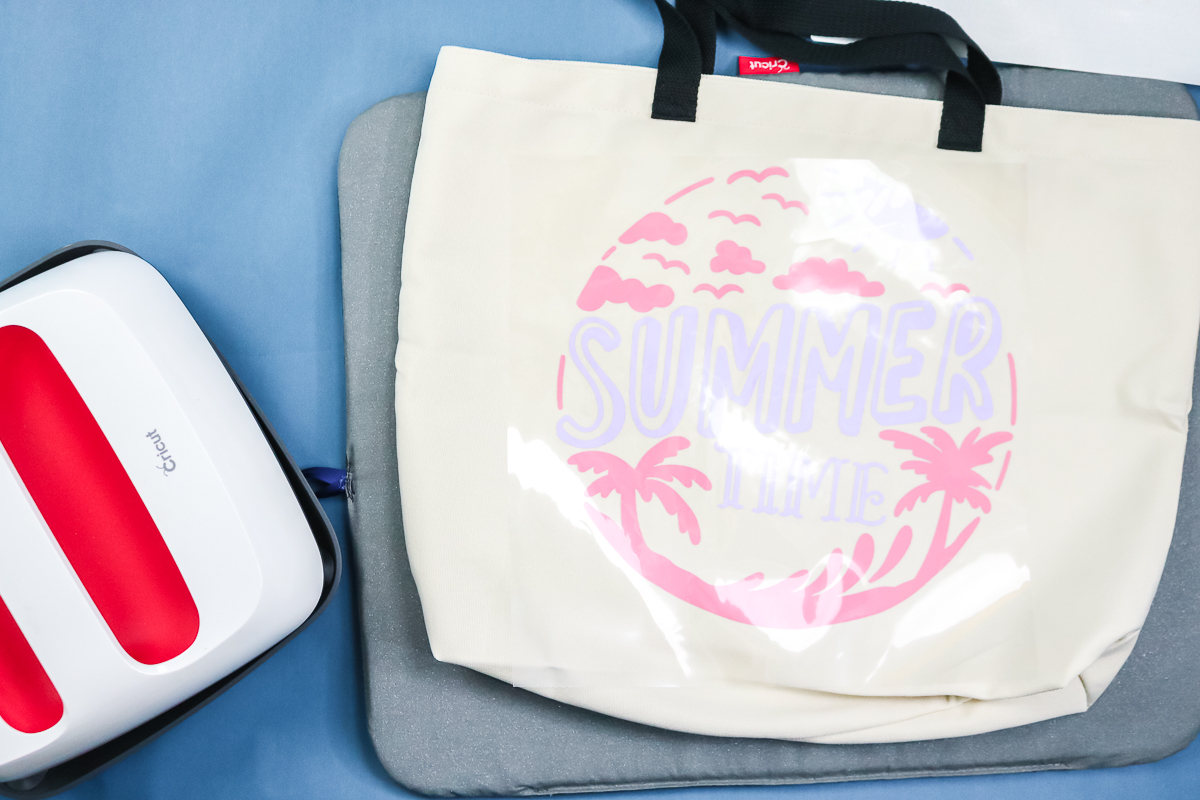
First, prepress your surface to remove wrinkles and moisture. You only need to do this for a few seconds. Then place your design on the tote and ensure the mat is fully beneath it. Because this is polyester, you might want to protect the fabric. You can lay a piece of parchment paper on top, or I have a Teflon sheet I'm going to use. Press for the time recommended in the heat guide. If your design is larger than your EasyPress, press and move the EasyPress, then repeat for the full time. Continue until you have covered the entire design.
The Cricut brand of iron-on recommends flipping it over and pressing from the back. Once you complete the front, remove the mat from the inside, flip it, and press from the back. Cricut iron-on is cool peel. You want to let your project cool completely before removing the protective sheet.
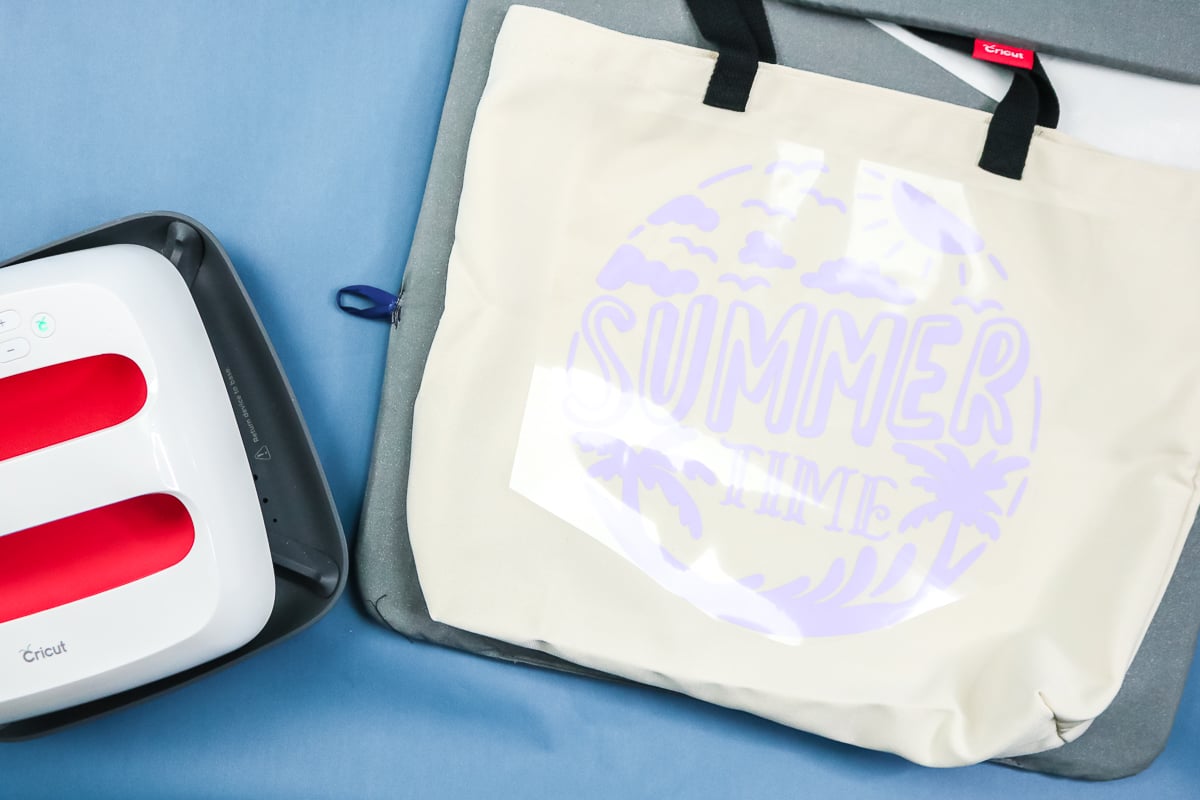
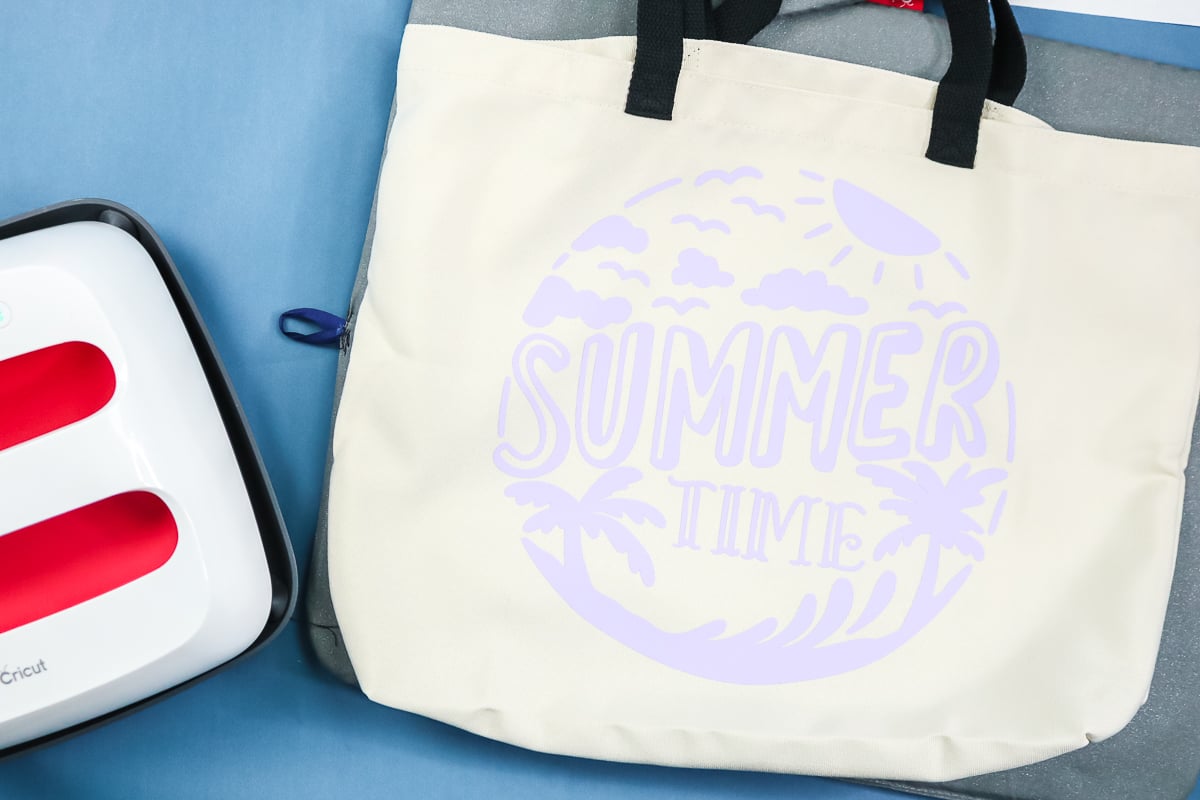
Once it is cool, peel it back at an angle. Watch to ensure the iron-on stays on your tote bag. If it's not, you can replace the liner and repeat the pressing process. Once your carrier sheet has been removed, your tote bag is complete!
Two-Color HTV on a Tote Bag
Now that we've tackled one color, let's learn how to layer iron-on vinyl. So the next bag we're going to make has two colors applied. I am going to show you a technique for doing this that lets you press both colors at once. Layering iron-on vinyl can be done in a single press with this technique.
Step 1 – Making Your Design
The process is similar to the above, but this time you will want to choose a design with two colors. I used the same basic summertime image, but in a version with several colors.
But how do you make it two colors instead of four? Select each element you want to change and choose an alternative color. Make sure to select all elements of a single color, then click Attach so they stay in place when you click Make. NOTE: You may have to ungroup the items before attaching them.
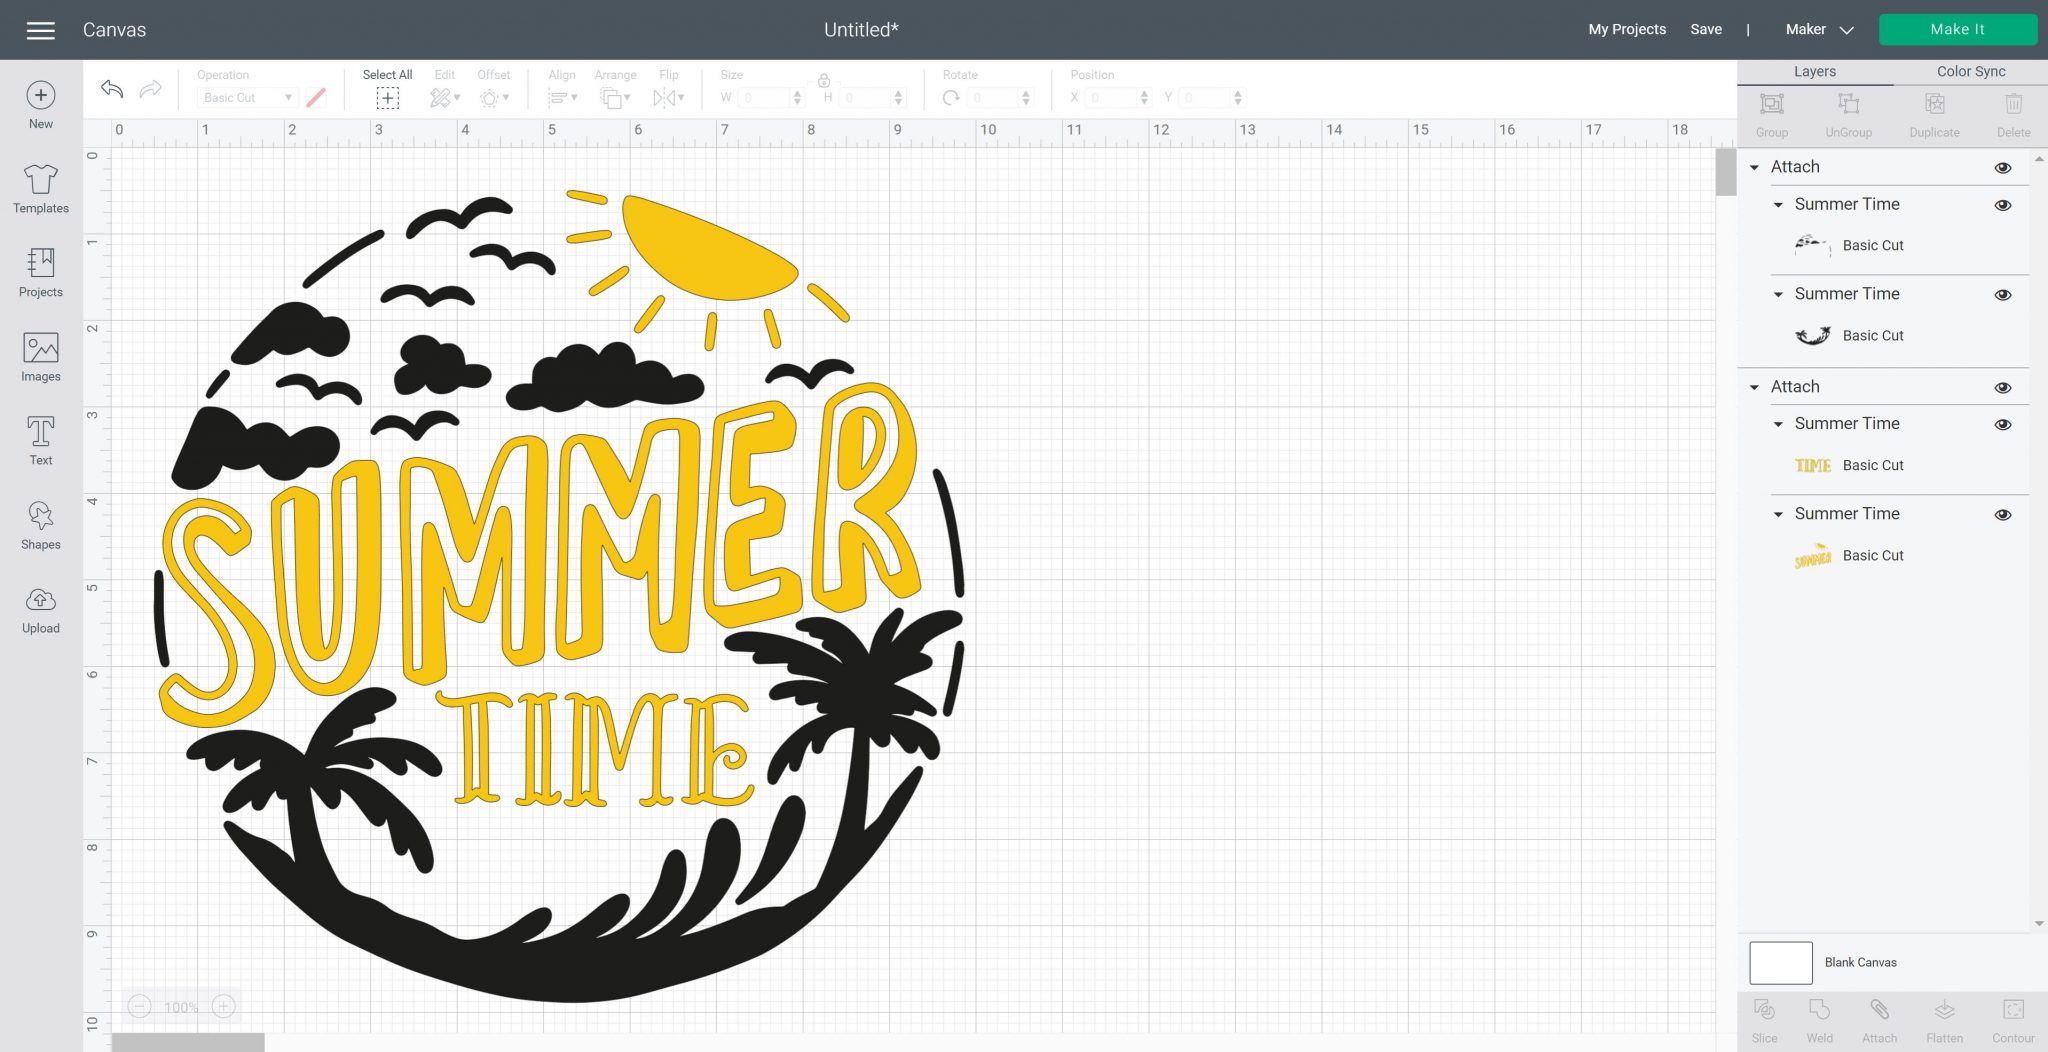
Click Make and be sure to mirror your cut on both mats. Then click Continue and pick your material (which should be iron-on unless you are using a special variety). We can then continue to cut our image.
Step 2 – Cutting and Weeding Your Design
Use the same method as above for your cuts, but this time you will cut two different colors of HTV to complete your design. You will also want to weed both pieces in the same manner before continuing.
Step 3 – Applying Two Colors of HTV
The trick with this method is to use the same iron-on brand and type for both colors. Then you can apply them simultaneously, provided the design doesn't overlap anywhere. If you have two different brands or types, look them both up and set your Easy Press to the one that is hotter or has a longer time setting.
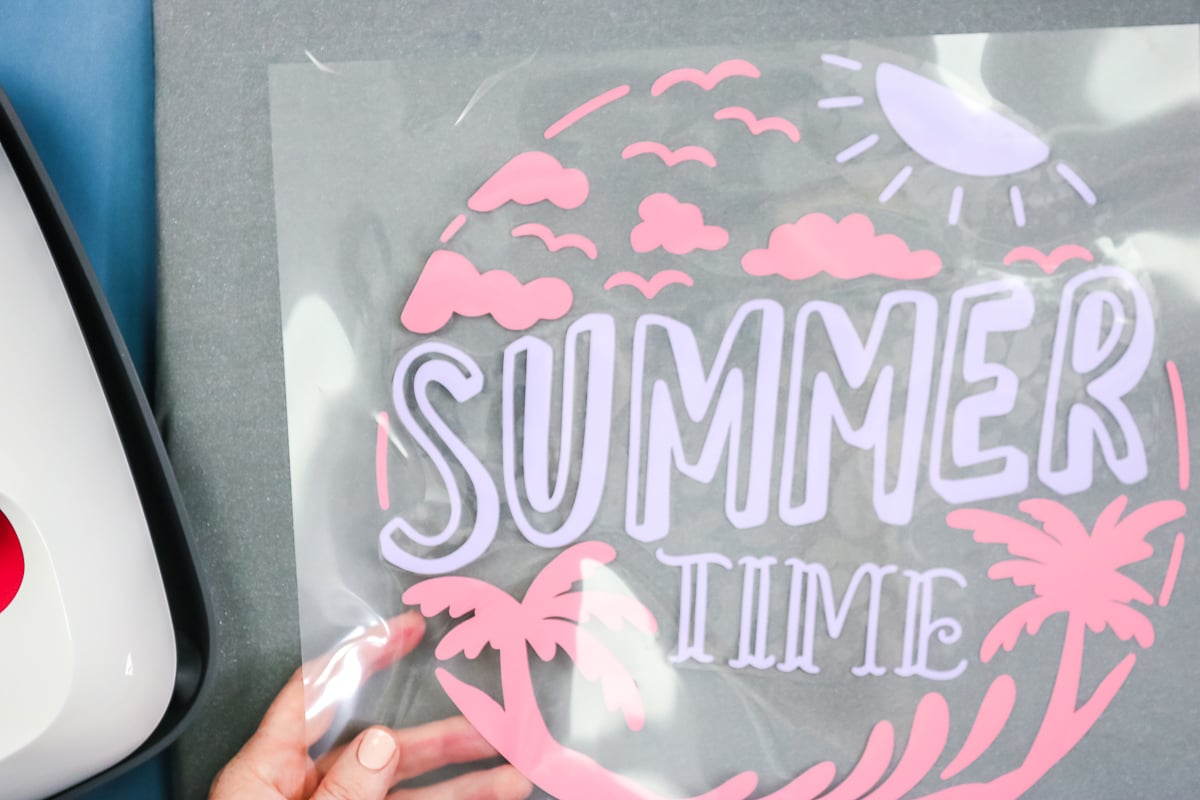
Make sure the carrier sheet for the lower color doesn't touch the HTV on the carrier sheet of your top color at any point. To do that, trim the carrier sheet of the first color close in all areas to the cut design.
This may take some trial and error. I like to trim it, then apply the other color, and make sure I have trimmed enough. You can continue this until the two do not overlap. I would be careful to keep them as a single unit so everything stays where it is supposed to be. On this one, for example, I had to cut a hole where one of the birds is to keep the carrier sheet connected to all the pieces.
Once you have trimmed the carrier sheets, follow the same pressing procedure for the tote bag. Once again, I have my Easy Press mat in my tote bag, with another Easy Press mat underneath. Pre-press the bag, then locate the design. Cover with the teflon sheet and press.
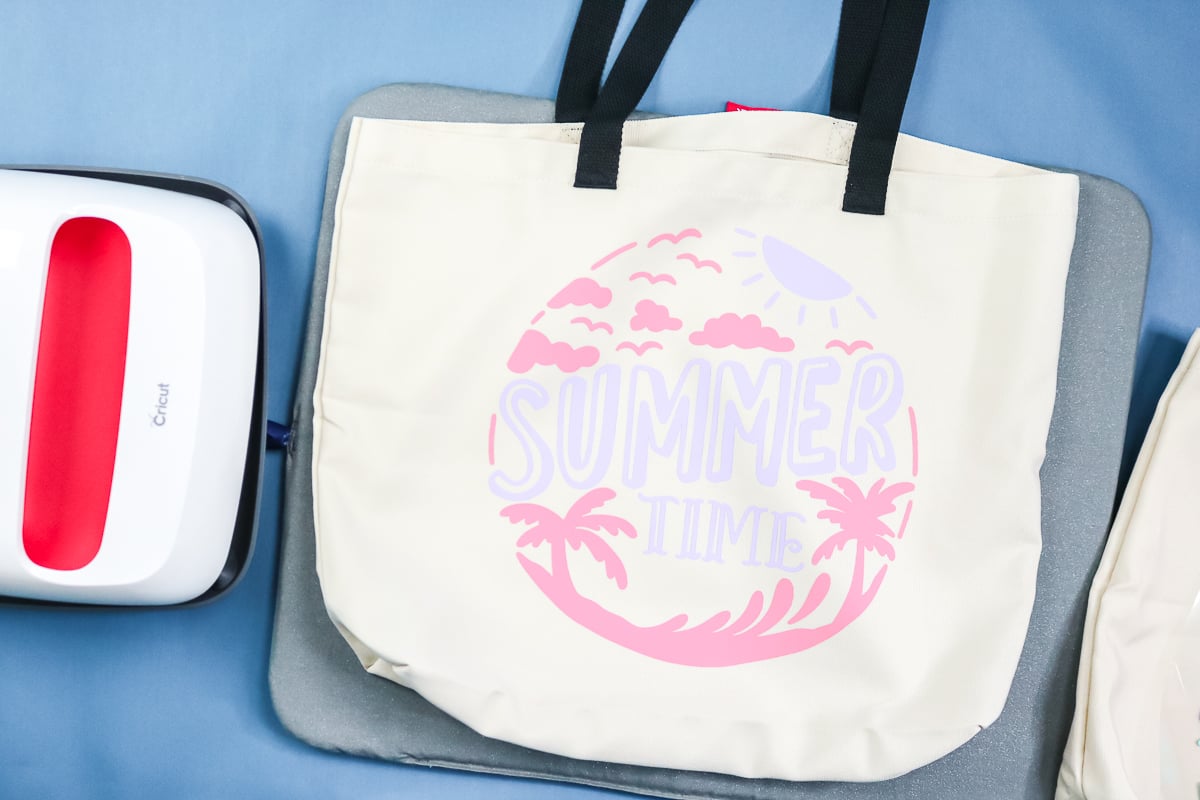
Use the right time and temperature, and press from the back if needed. Then, for this HTV, I allowed everything to cool completely before removing the carrier sheet. Now there are two carrier sheets. They may peel back together, or you may need to remove one, then the other. Once removed, this tote bag is done!
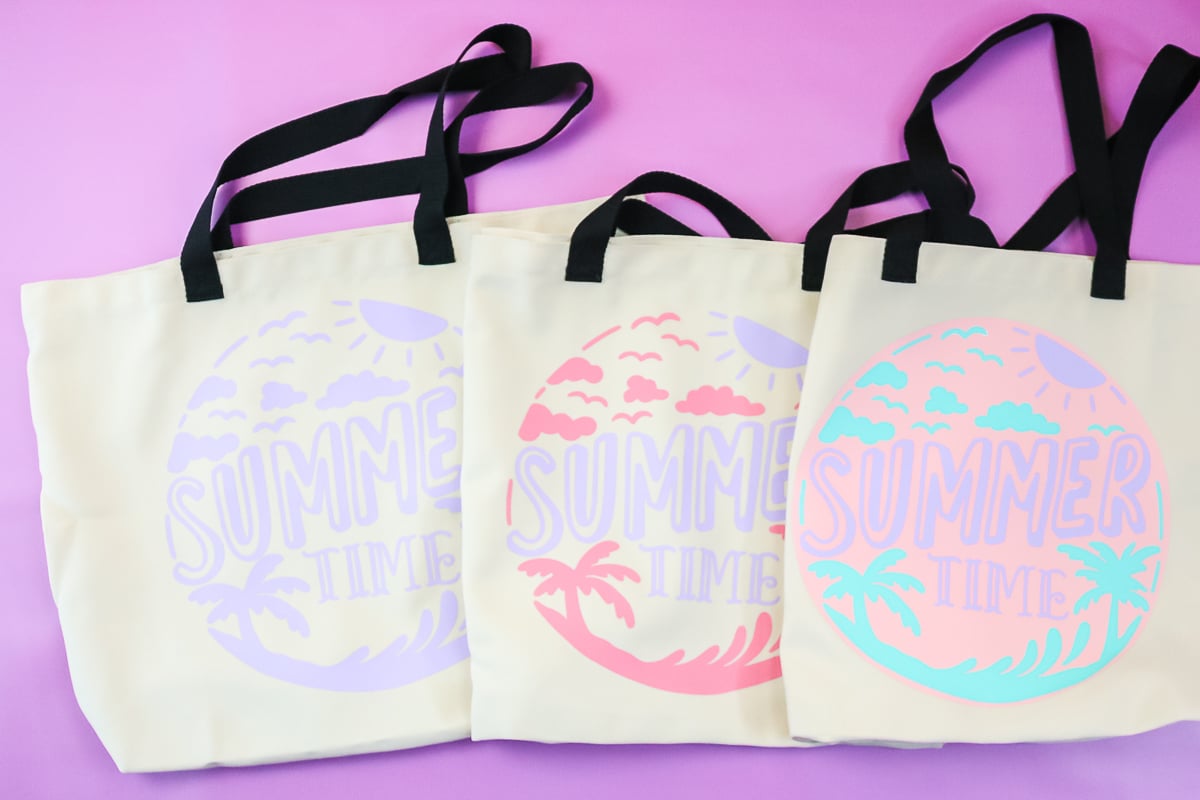
How to Layer Iron On Vinyl in Three Colors
Finally, you might be wondering how to layer Cricut iron-on. Can you do layers? Can you put one layer on top of another? Let's dive in and make a bag with iron-on that's been layered one layer on top of another.
Step 1 – Making Your Design
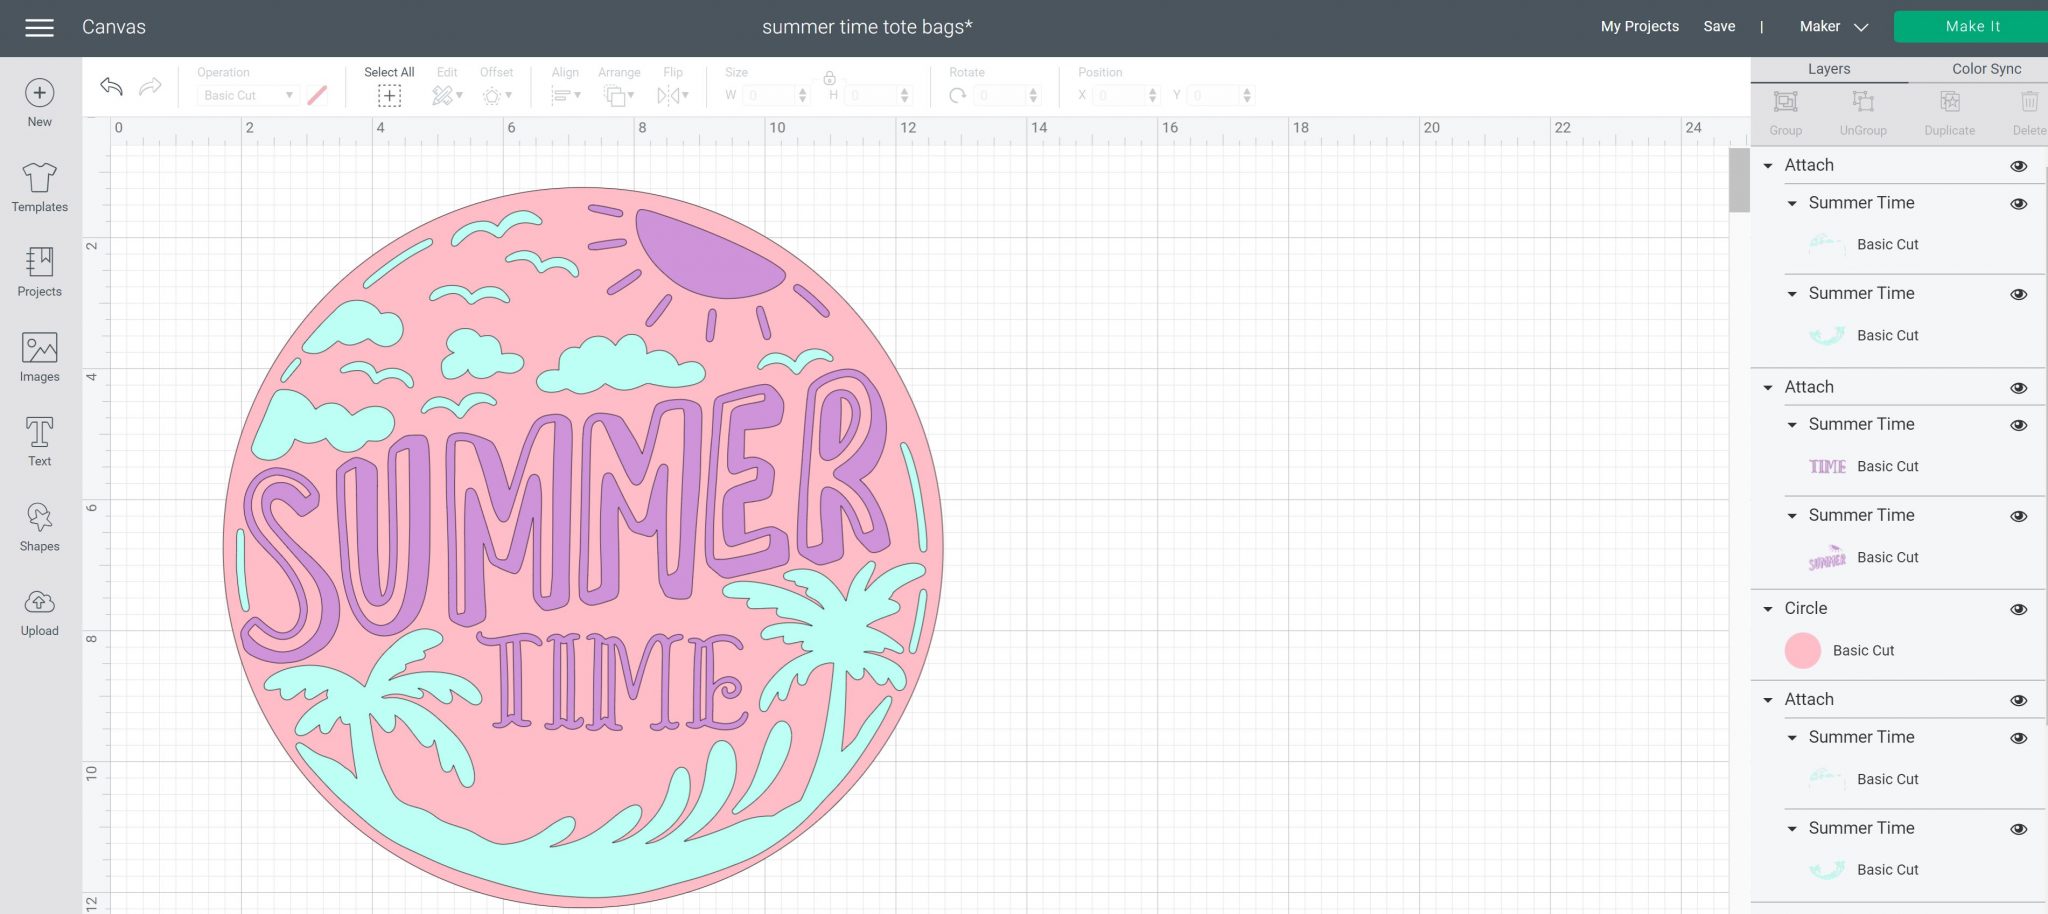
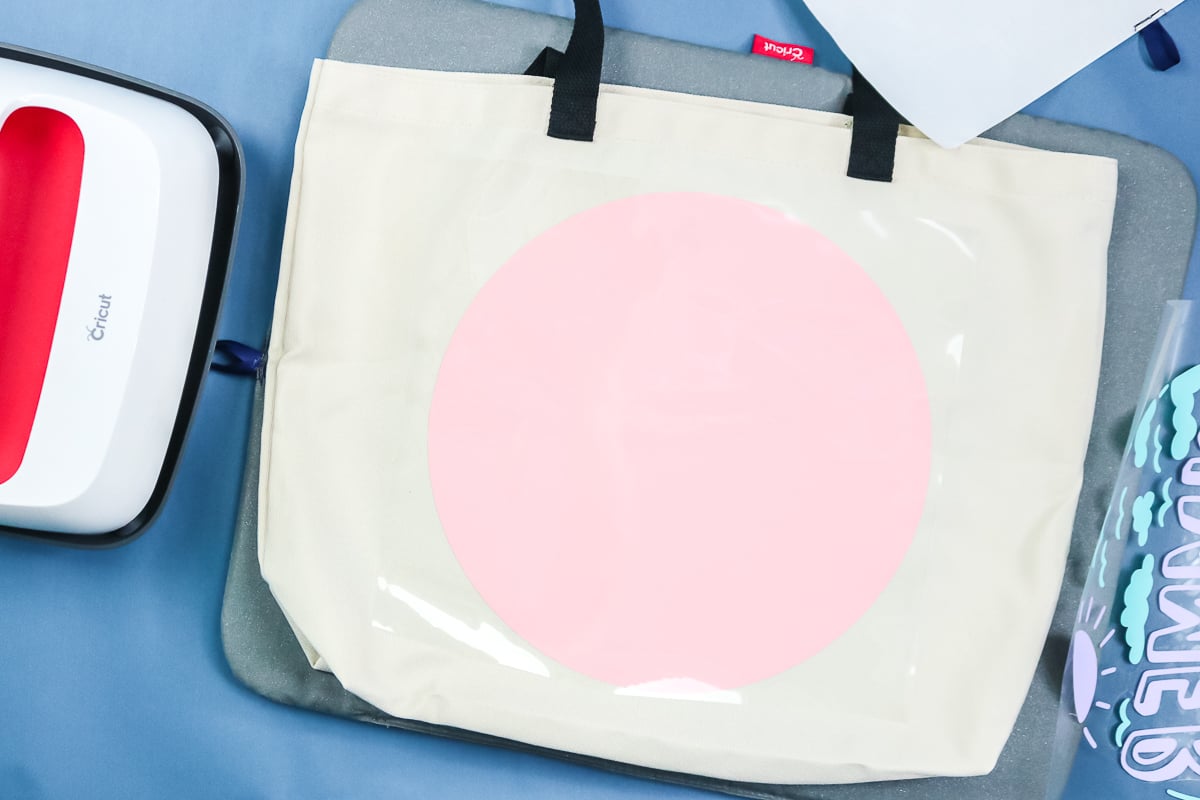
We will use the two-color design above and add one more color. Add a circle to Design Space and set its color. Click Arrange, and Send to Back. Then size to fit behind the first design. You can arrange these however you like and set the circle size as large or small as you want.
Step 2 – Cutting and Weeding Your Heat Transfer Vinyl
Once your design is ready, click Make and cut your iron-on as before. As always, don't forget to mirror! This time you will cut three colors. Then remove all excess from all three designs for your next tote bag.
Step 3 – Applying Three Layers of HTV
For the top two layers, I trimmed the carrier sheets again so I could press them together at once. However, we will need to get the circle onto our bag first, then layer those on top. You will want to preheat the surface. I'm using everyday iron-on for all three layers. You can use other types and layer them on top of one another. Your bottom layer doesn't need to be glitter, foil, or any other specialty HTV. Things like glitter should be your top layer for proper adhesion.
Since the circle is the bottom layer, it will get pressed twice. For the first press, you will want to do a short press. Pressing for about half the time will usually get it stuck down enough to remove the carrier sheet. You want to do this because the iron-on and your surface can actually shrink when heated. You want to minimize that when layering iron-on vinyl. For the first layer, place it at the location and press it for about 15 seconds.
That also means you will not press from the back. Allow it to cool as normal, then remove the carrier sheet. This layer needs to be adhered enough to stick, but remember it will get pressed again.
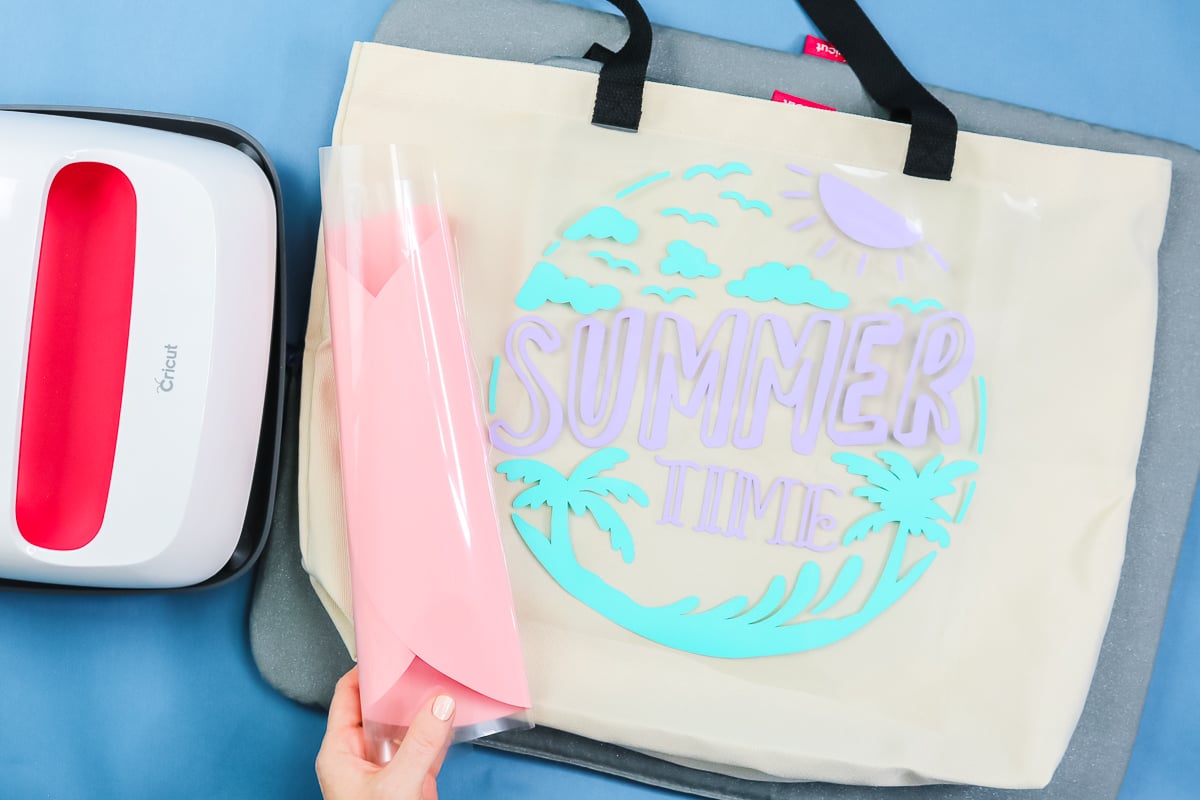
Then place the next design right on top of the first. I have the top two layers together, just like I did on the previous tote, so the carrier sheets don't overlap and I can press them at once. Add your protective sheet to the top, then press for the full time. If you don't have a protective sheet, make sure all HTV on the first layer is covered by the carrier sheet before pressing the layers on top. This time, you will want to press from the back as well.
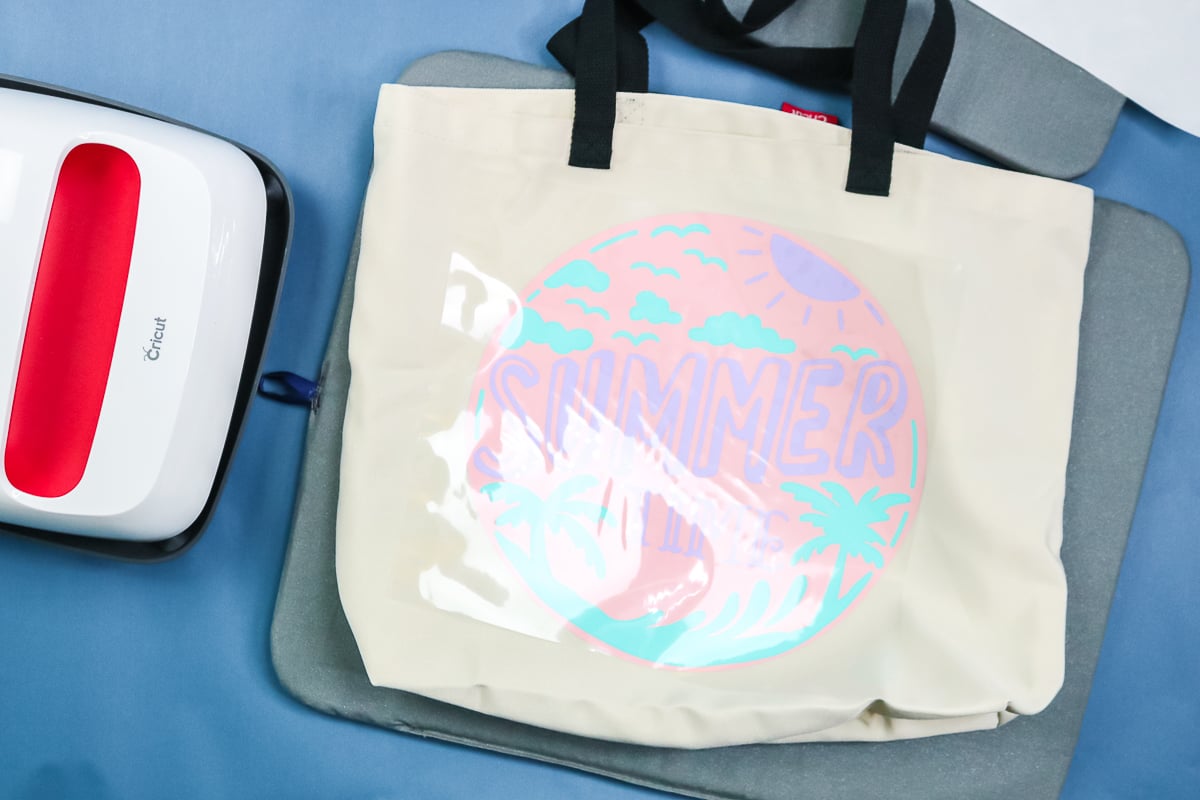
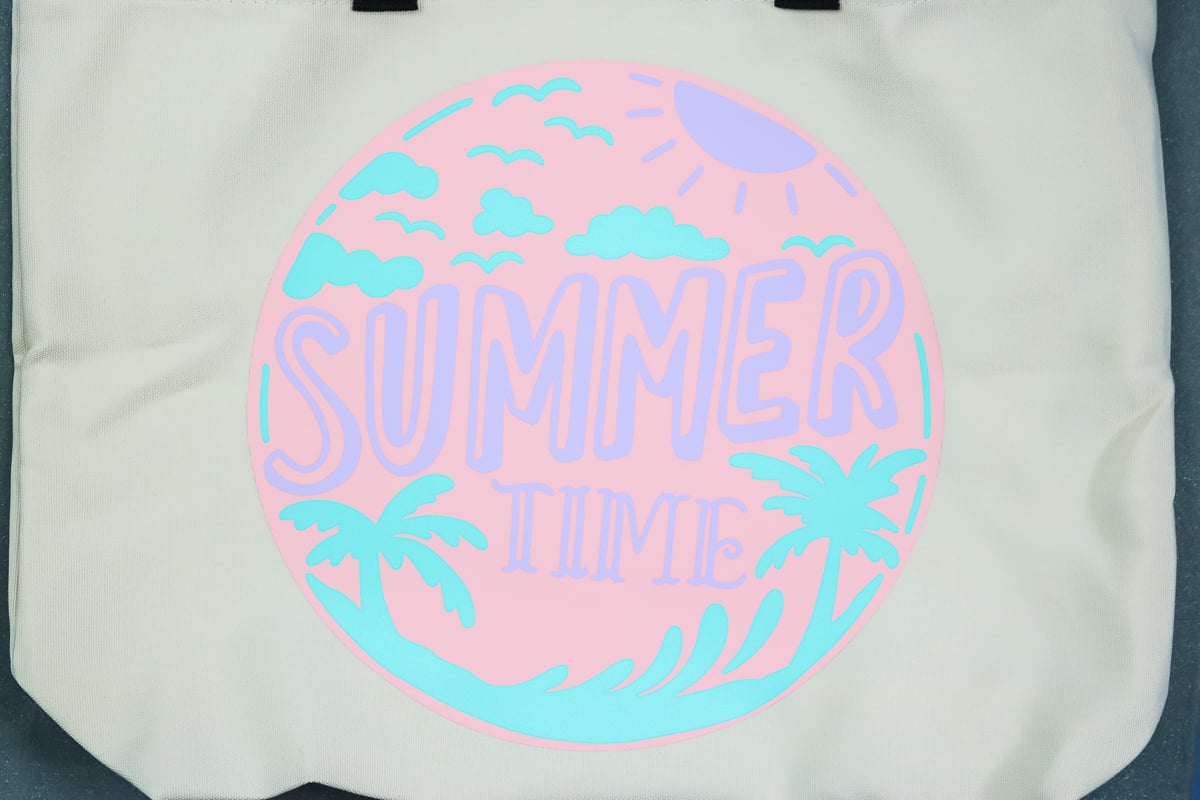
Once everything's cool, you can start peeling back the carrier sheet. Once again, they may both appear at once, or you can peel them separately.
Layering HTV Tips and Tricks
I thought I would leave you with a few additional tips and tricks for layering iron-on vinyl. These are things you may encounter when layering HTV.
- The carrier sheet from a top layer may leave a mark on a bottom layer. If it does, place your Teflon sheet or parchment paper on top after removing all carrier sheets. Then press for about 10 seconds in each area; it should lift the small press marks.
- When pressing a tote bag with handles or a onesie with seams, don't use your Easy Press on the seams, as it can raise them. That means you'll have less heat in those areas. Be sure your heat press or EasyPress is fully pressed down onto your surface with each press.
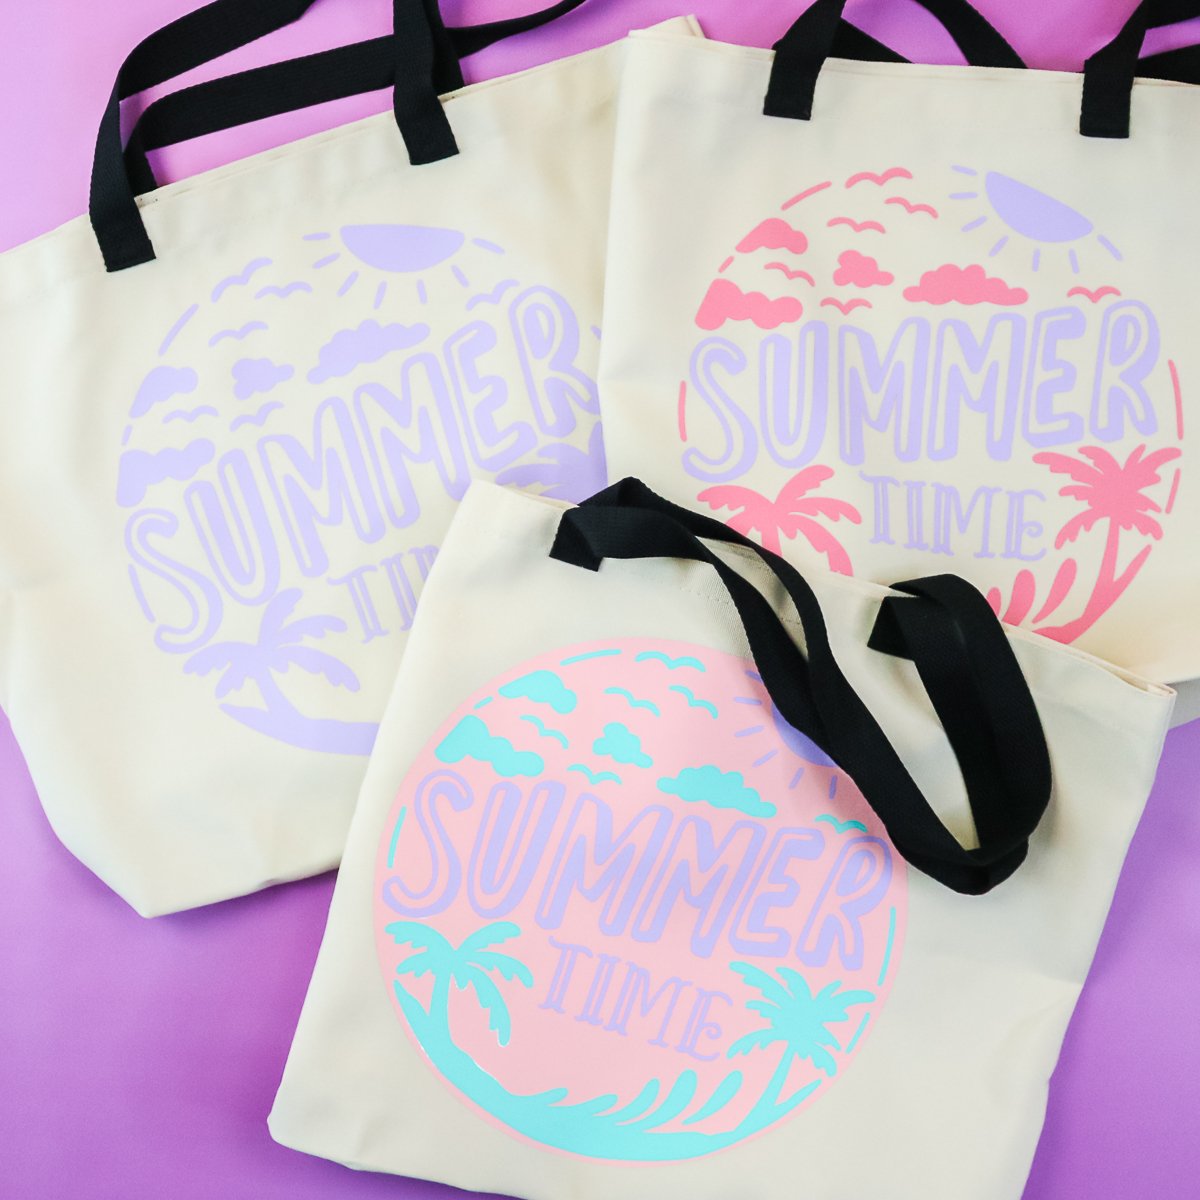
So there you have layering HTV on a tote bag. Now you have three ways to use Cricut iron-on to make a tote bag or any other project you would like.
Whether you want to start simple with one layer or you have a design and think, “Boy, that would look great with two or more colors,” I hope this helps you understand how to build that project for the first time and succeed.
Layering iron-on vinyl is probably easier than you think, and you can make some amazing projects with the techniques in this post!


This is awesome thank you. Learned so much.
I’m so glad to hear that! Thanks for stopping by.