
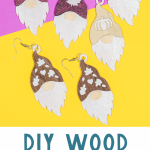
Making wooden earrings is easier than you might think! In just a few minutes, you can create beautiful, fun pieces that are perfect for fall or any occasion. All you need is your Cricut machine and some fun Rust-Oleum Imagine paints.
I'll show you how to use wood veneer, which is compatible with the Explore or Maker series models and your deep point blade to create unique, adorable earrings. Once you've cut your shapes, let your creativity shine as you personalize them with vibrant Rust-Oleum Imagine paints and make the perfect fall craft!
This post is sponsored by Rust-Oleum; however, all projects and opinions are my own.
How To Make Wood Earrings Video Tutorial
Watch me make these wood veneer earrings in the video below. Simply click play on the video to see the process in action, as well as ideas for additional earrings you can create using the same technique.
Can't watch the video or miss some of the steps? You can also follow along below!
How To Make Wood Earrings
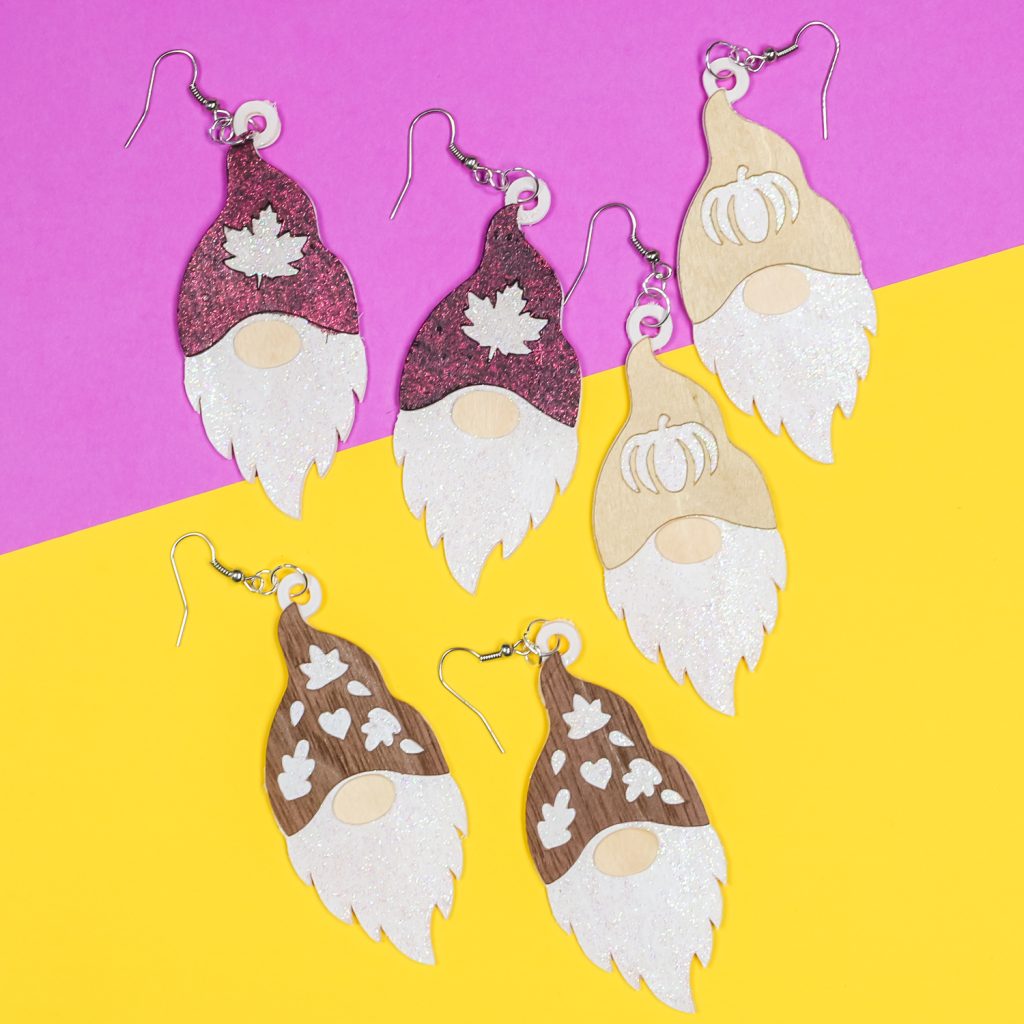
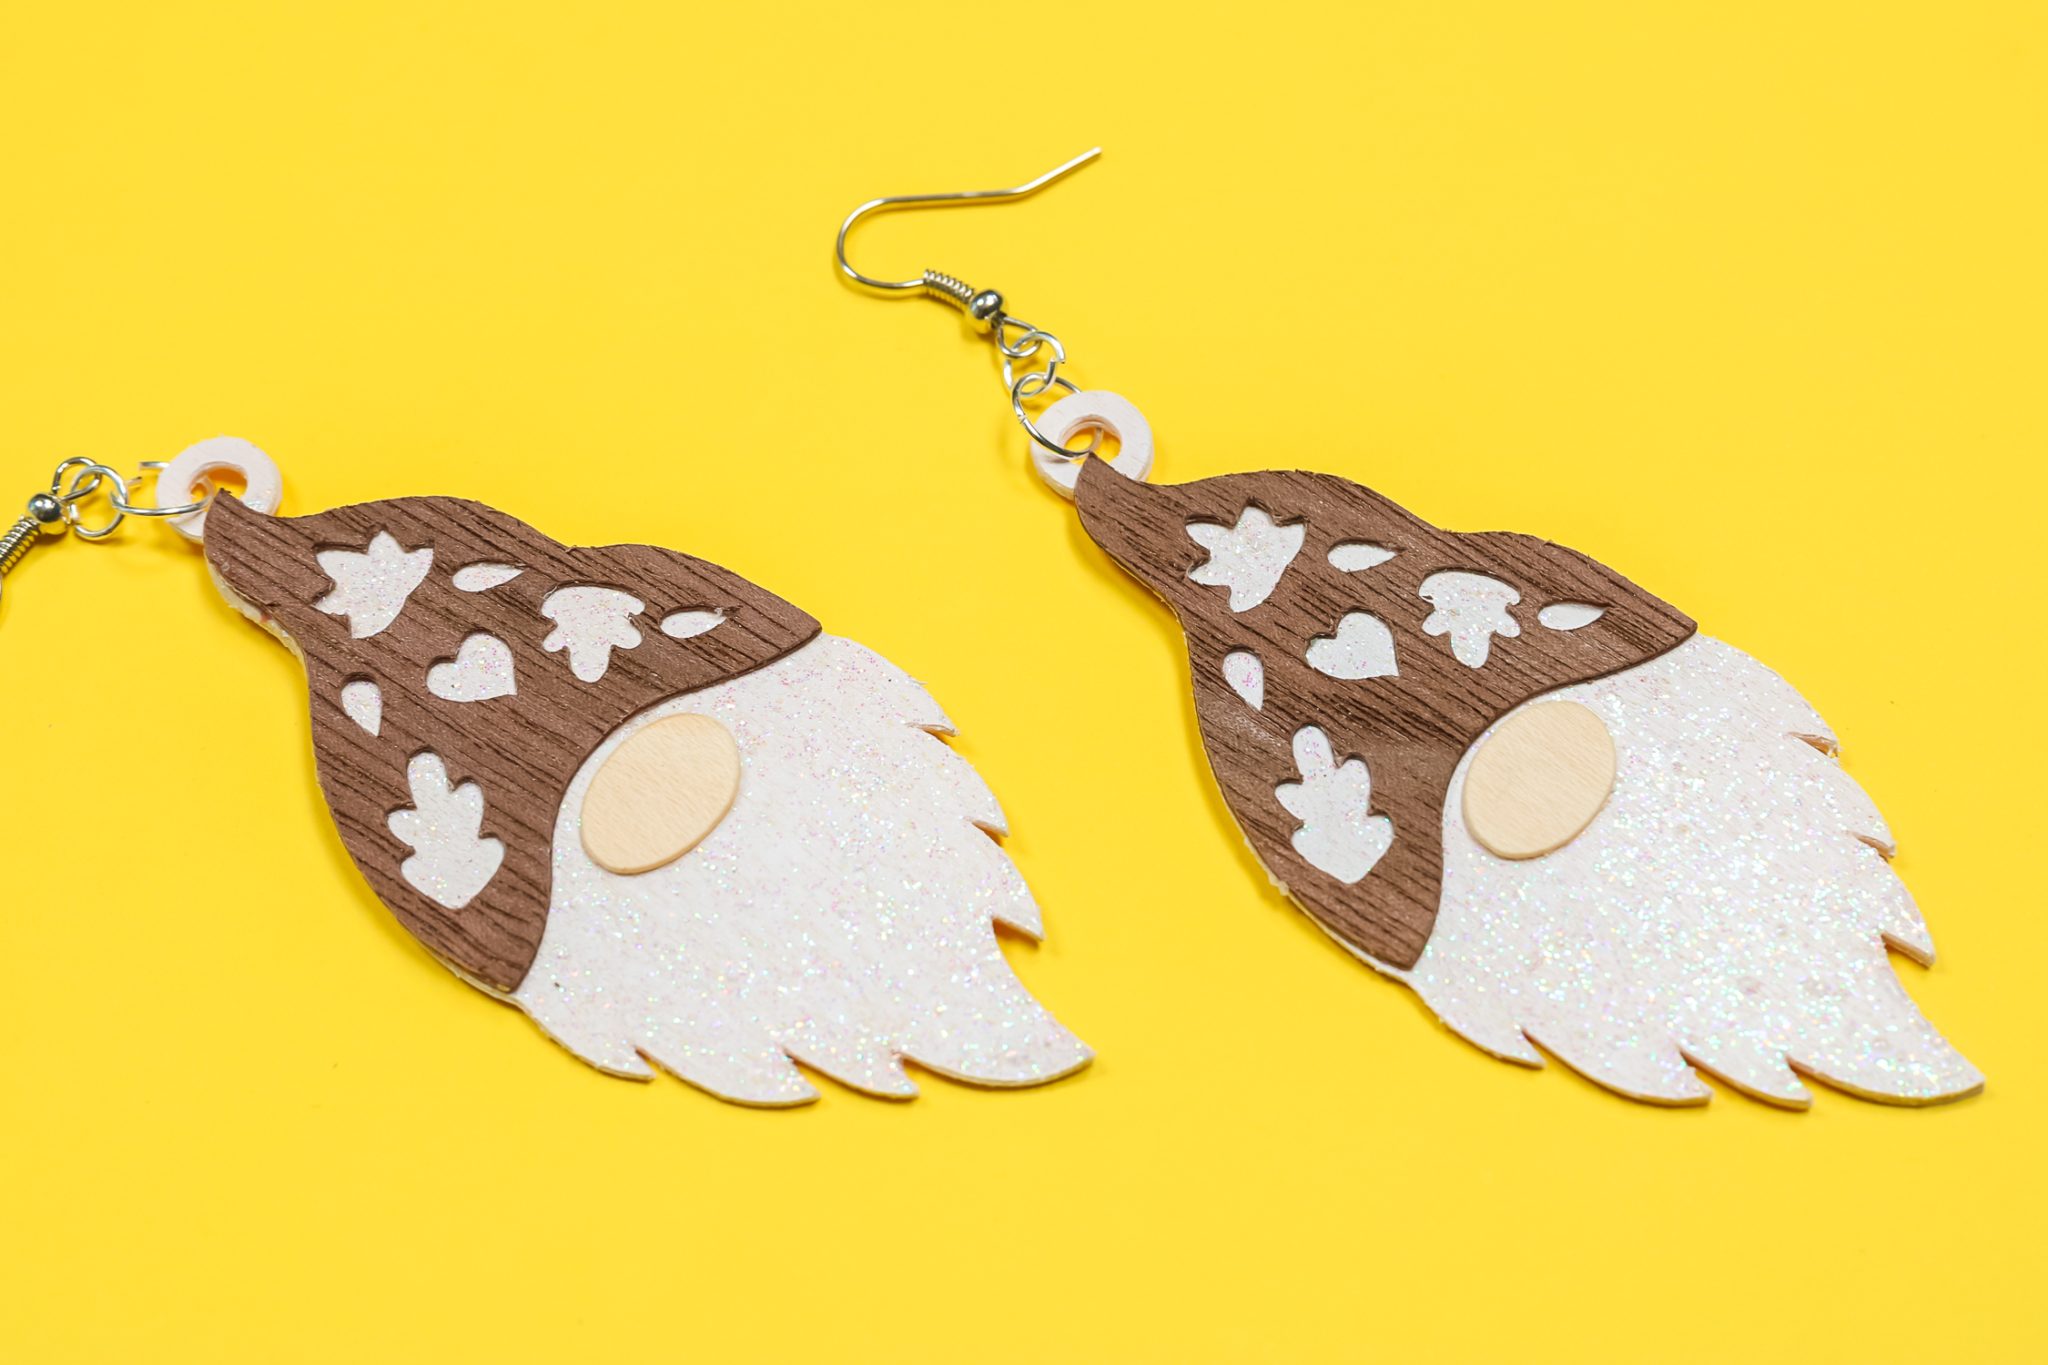
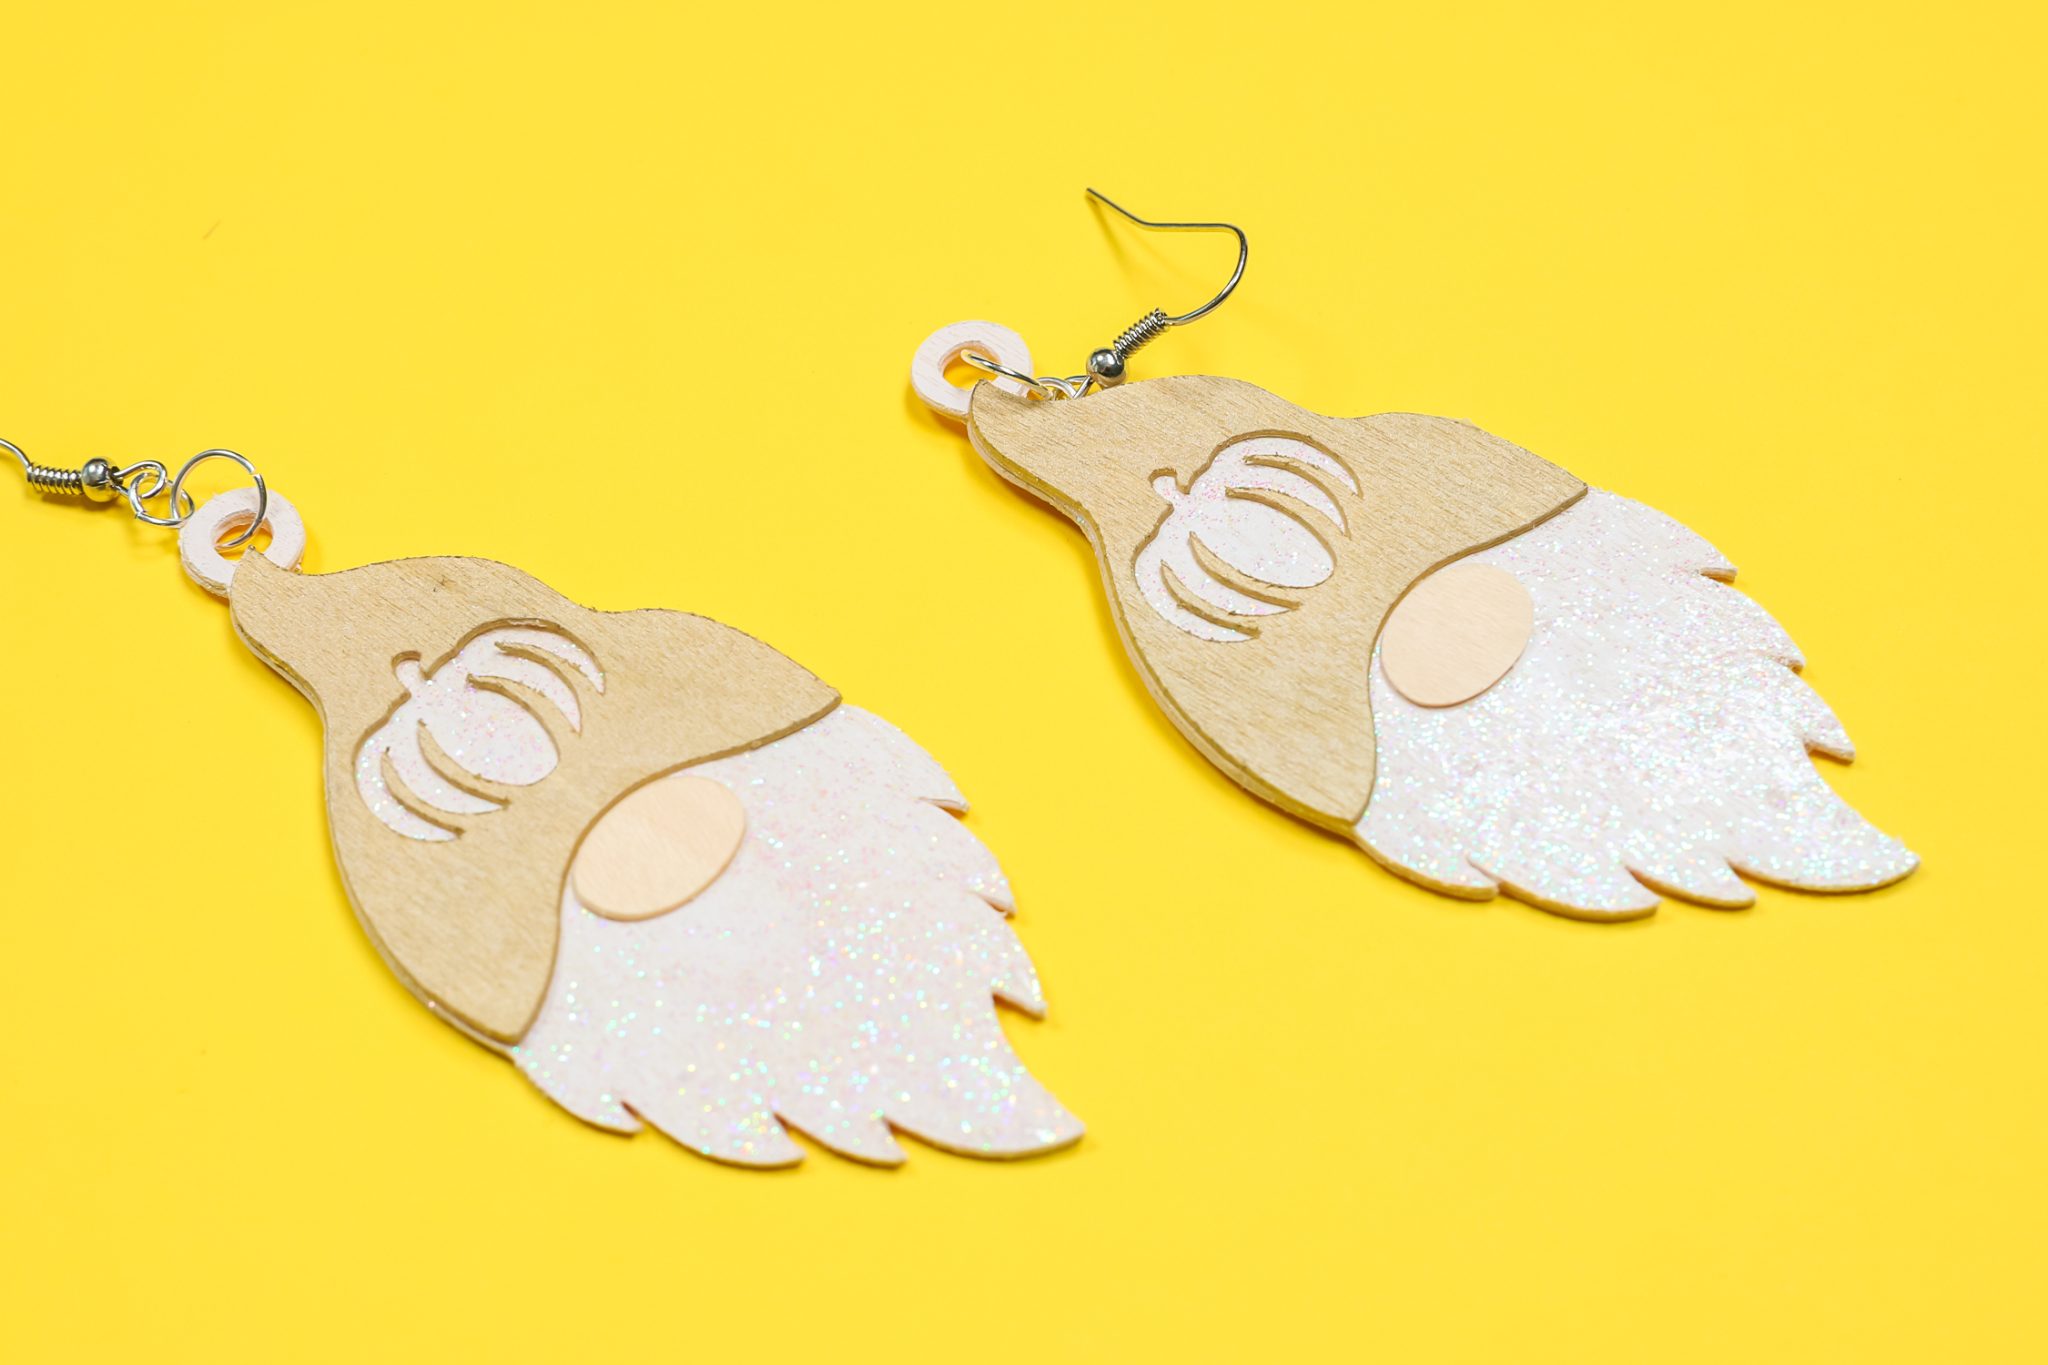
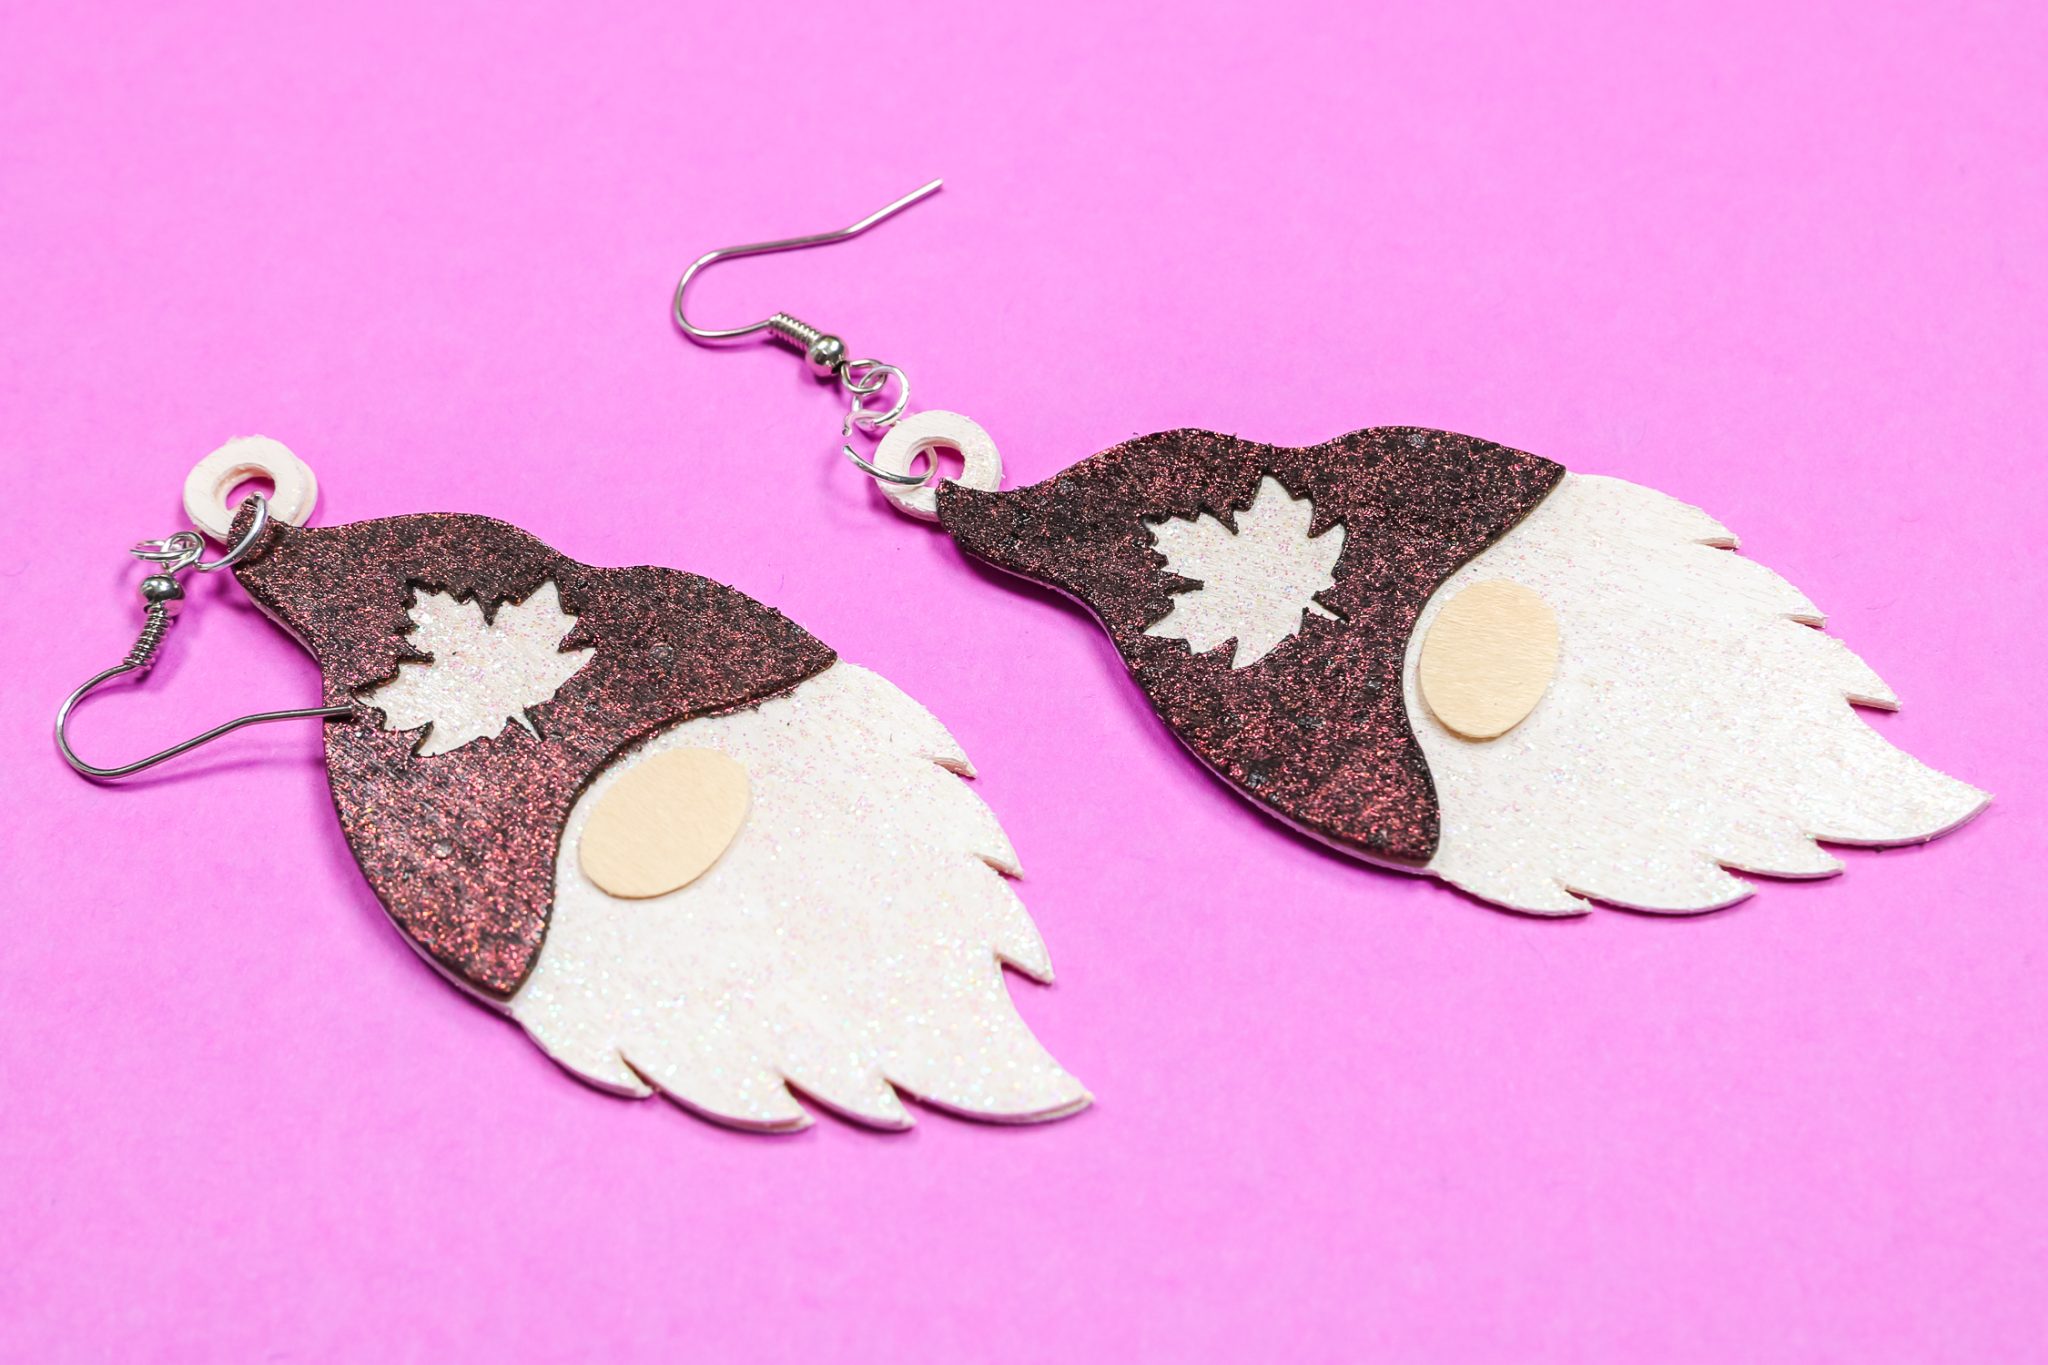
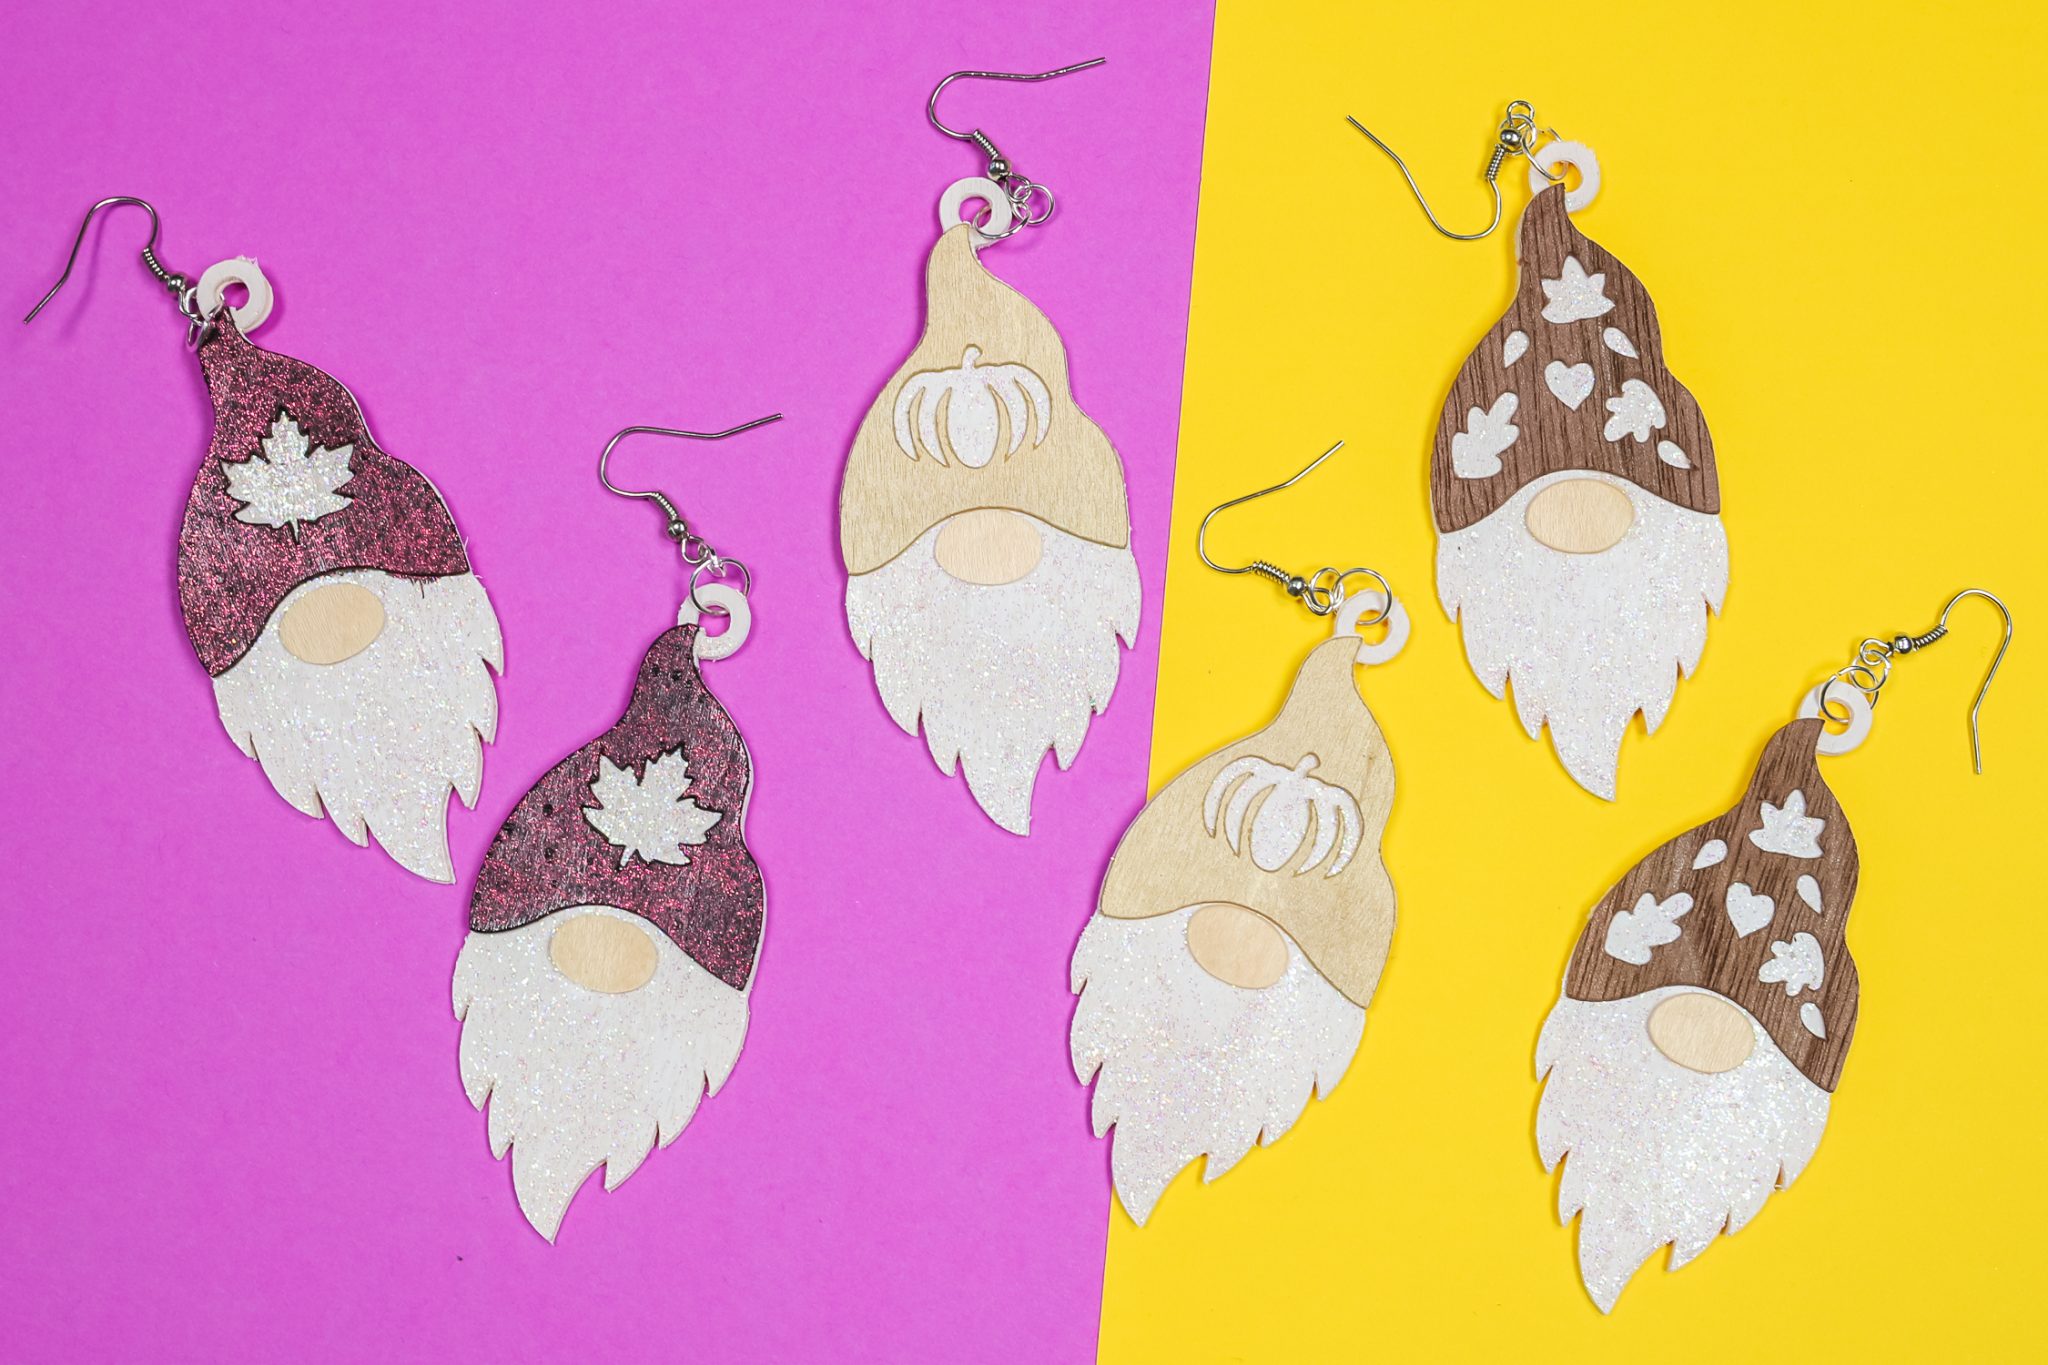
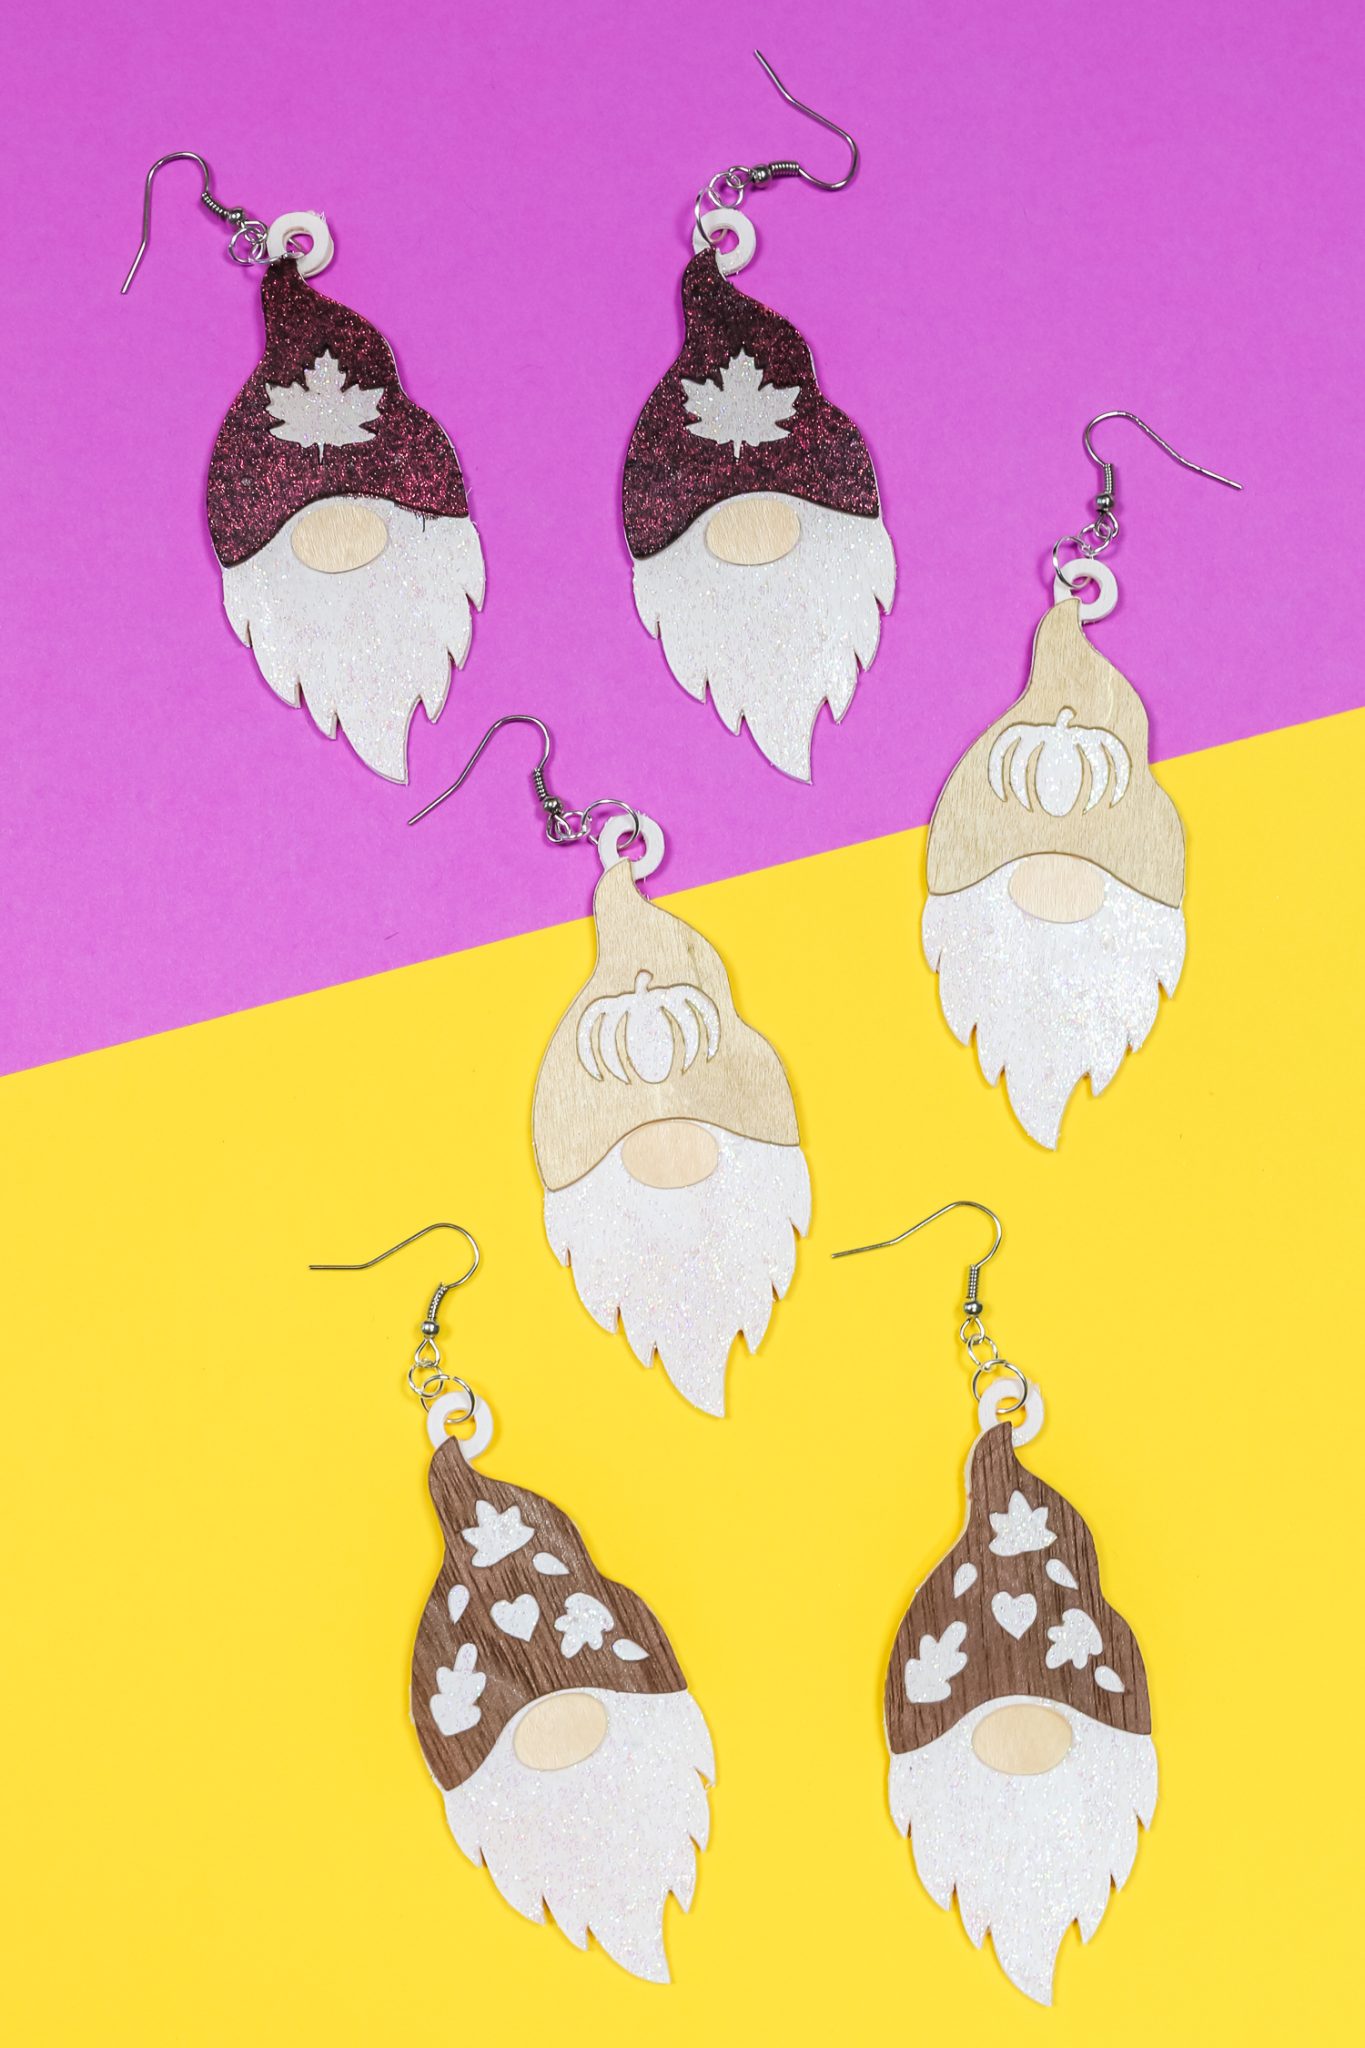
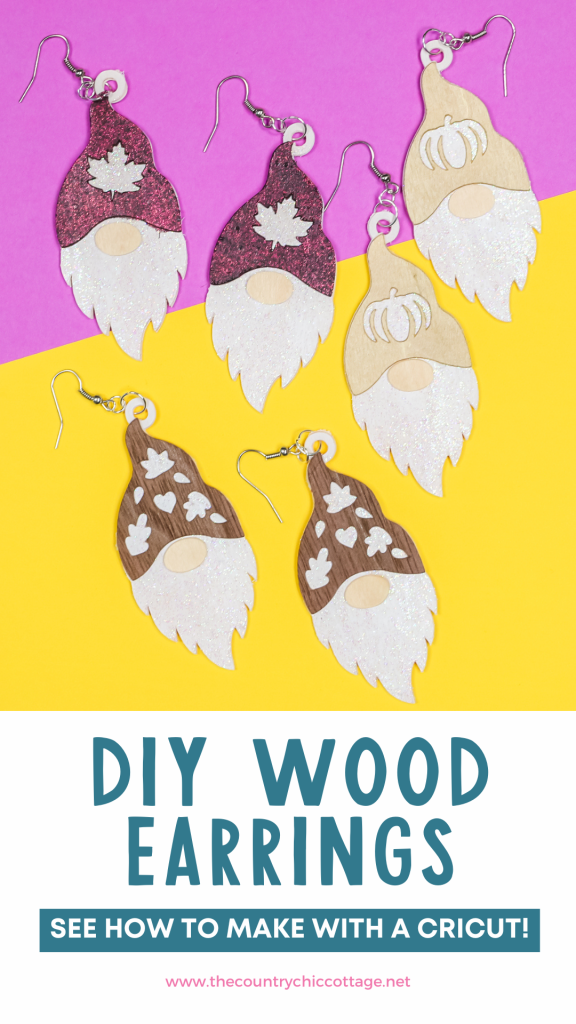
Today, I will be showing you how to make three separate earring designs using the same Gnome SVG file! I chose to use fall colors, but you can make these earrings in any colors that you like.
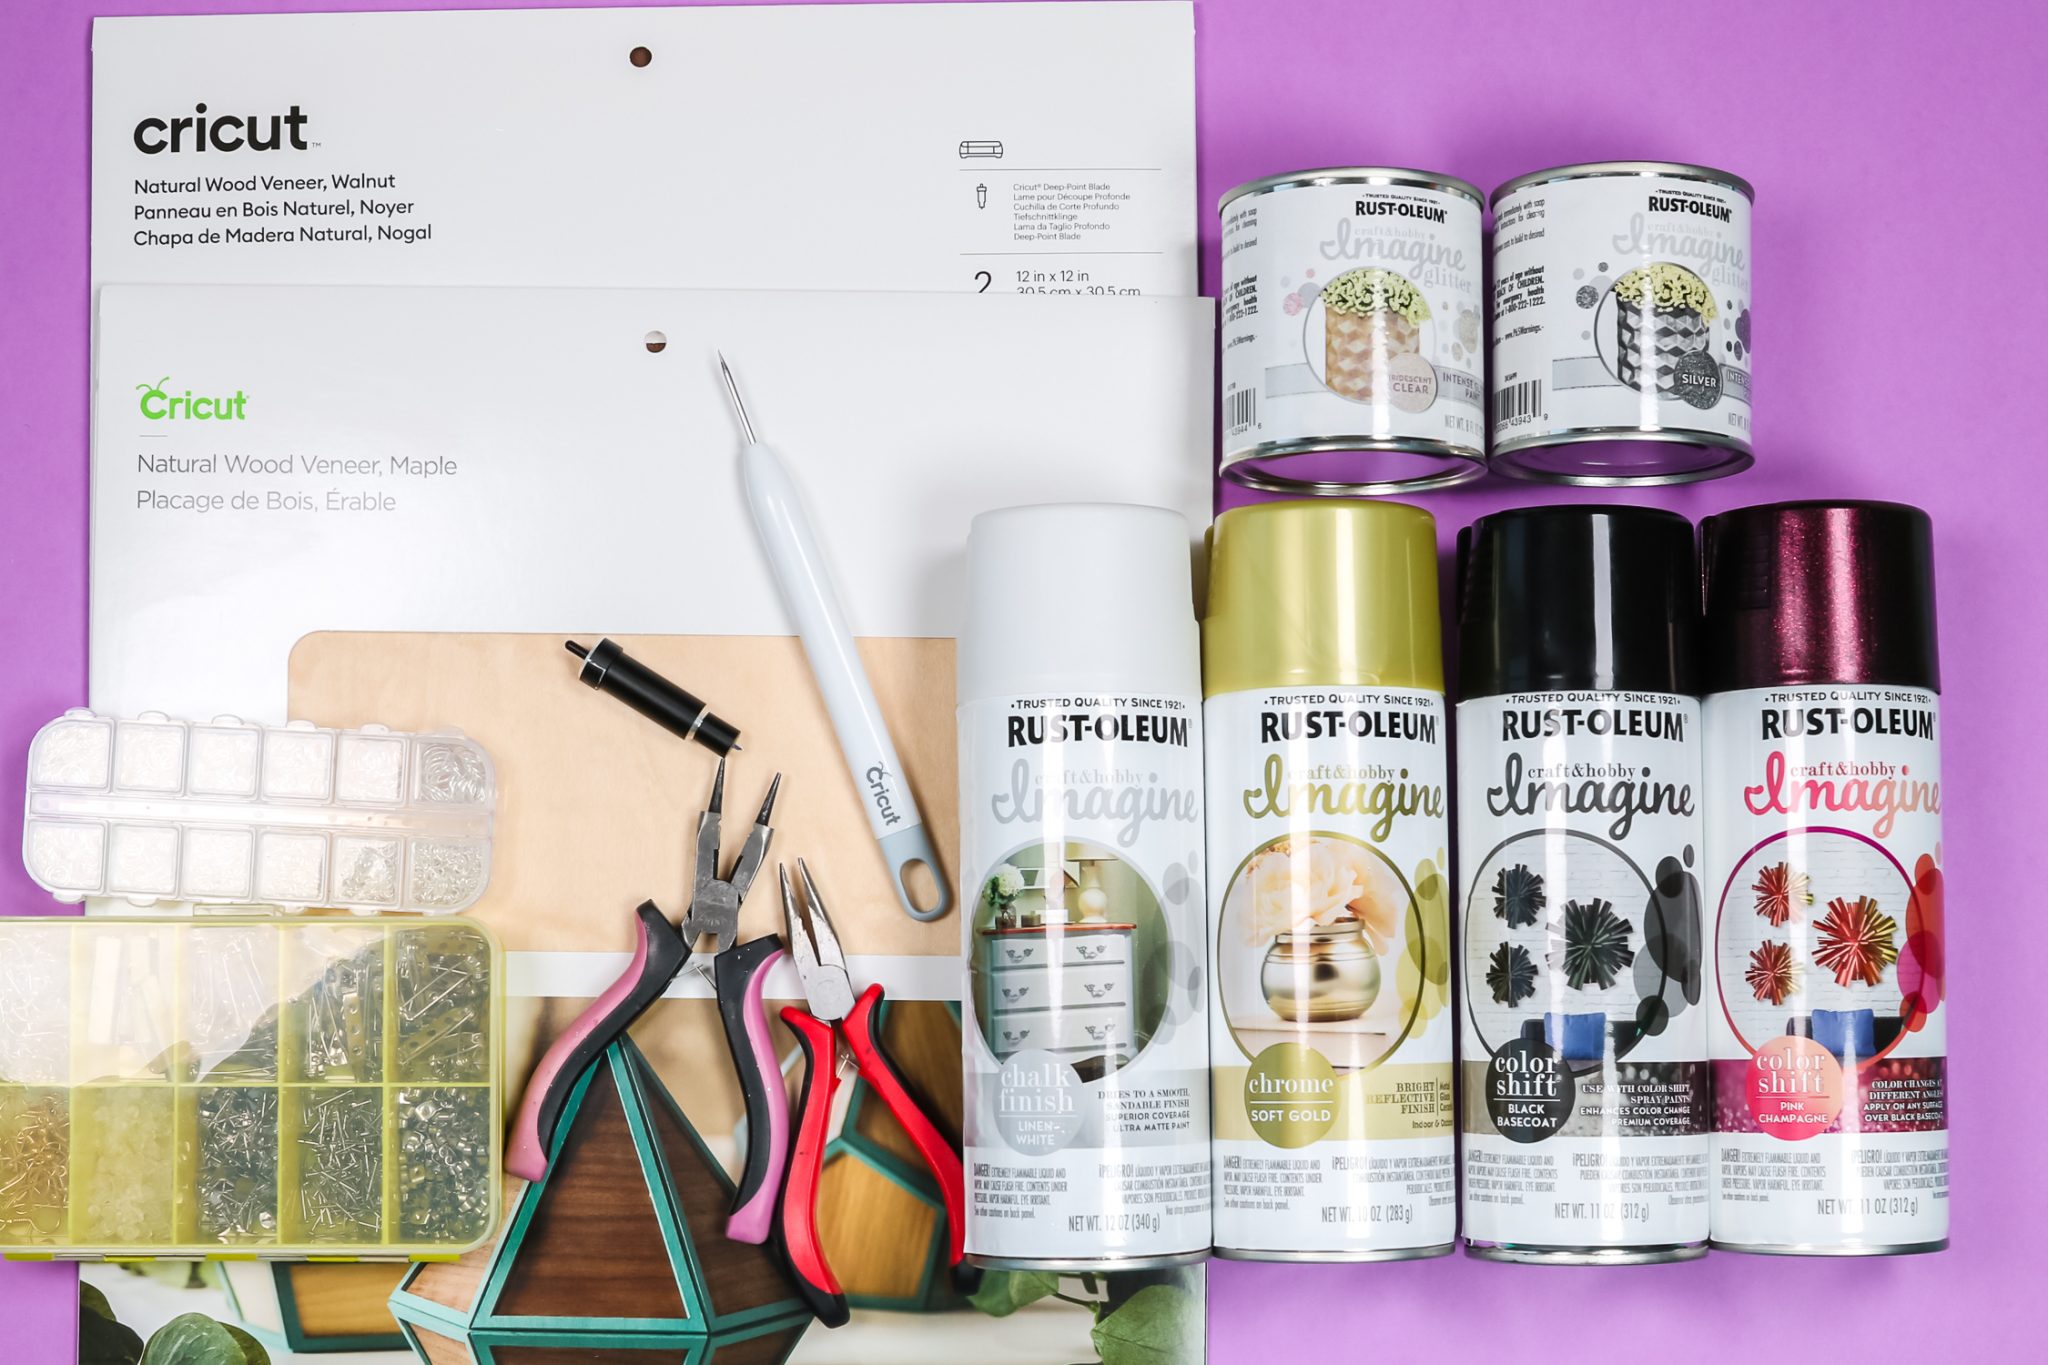
Supplies Needed To Make Wood Earrings:
- Variety of paints from Rust-Oleum Imagine, including:
- Cricut machine
- Strong grip mat
- Painter's tape
- Wood veneer
- Jewelry findings
- Jewelry pliers
- Wood glue
- Brayer
- Deep point blade
- Paintbrush
- Gnome SVG file
- Design Space Canvas
How To Cut Wood Veneer
First, you will need to cut the wood veneer with your Cricut machine. Upload your designs to Cricut Design Space. Then add the wood veneer sheets to a strong grip mat. Use a brayer to make sure it adheres well to the mat, and add painter's tape to all four edges. Trim away any excess tape and make sure it is not hanging over the edge of the mat.
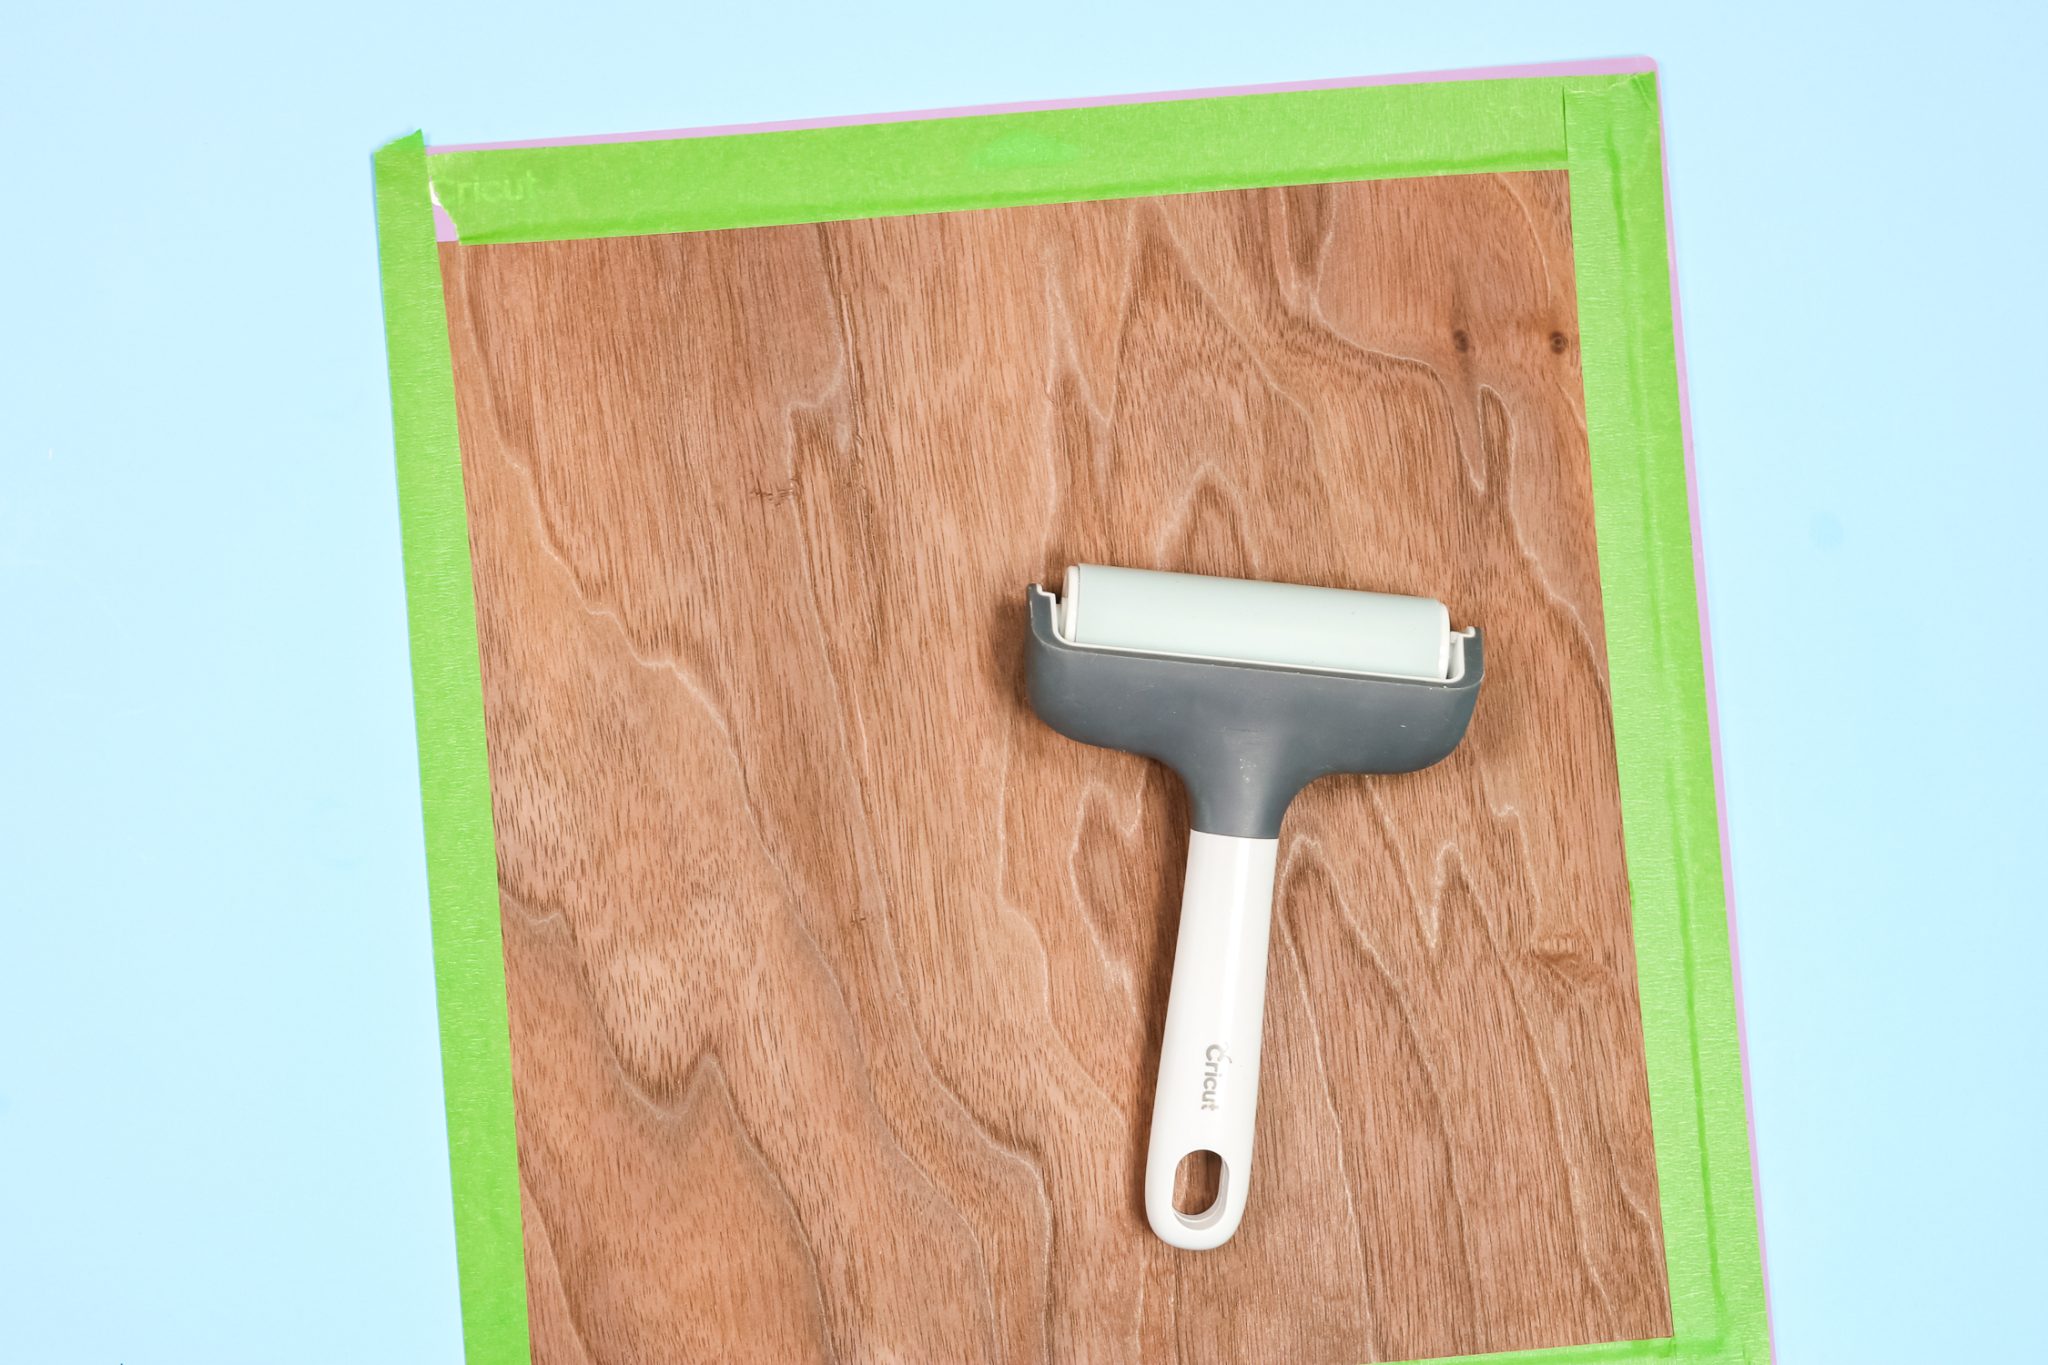
Then use the deep point blade in an Explore or Maker series machine to cut your wood veneer. I used the wood veneer setting for my pieces.
NOTE: I was unable to find the wood veneer setting when using a mobile device, so you may need to use a computer for this project or select an alternative material setting.
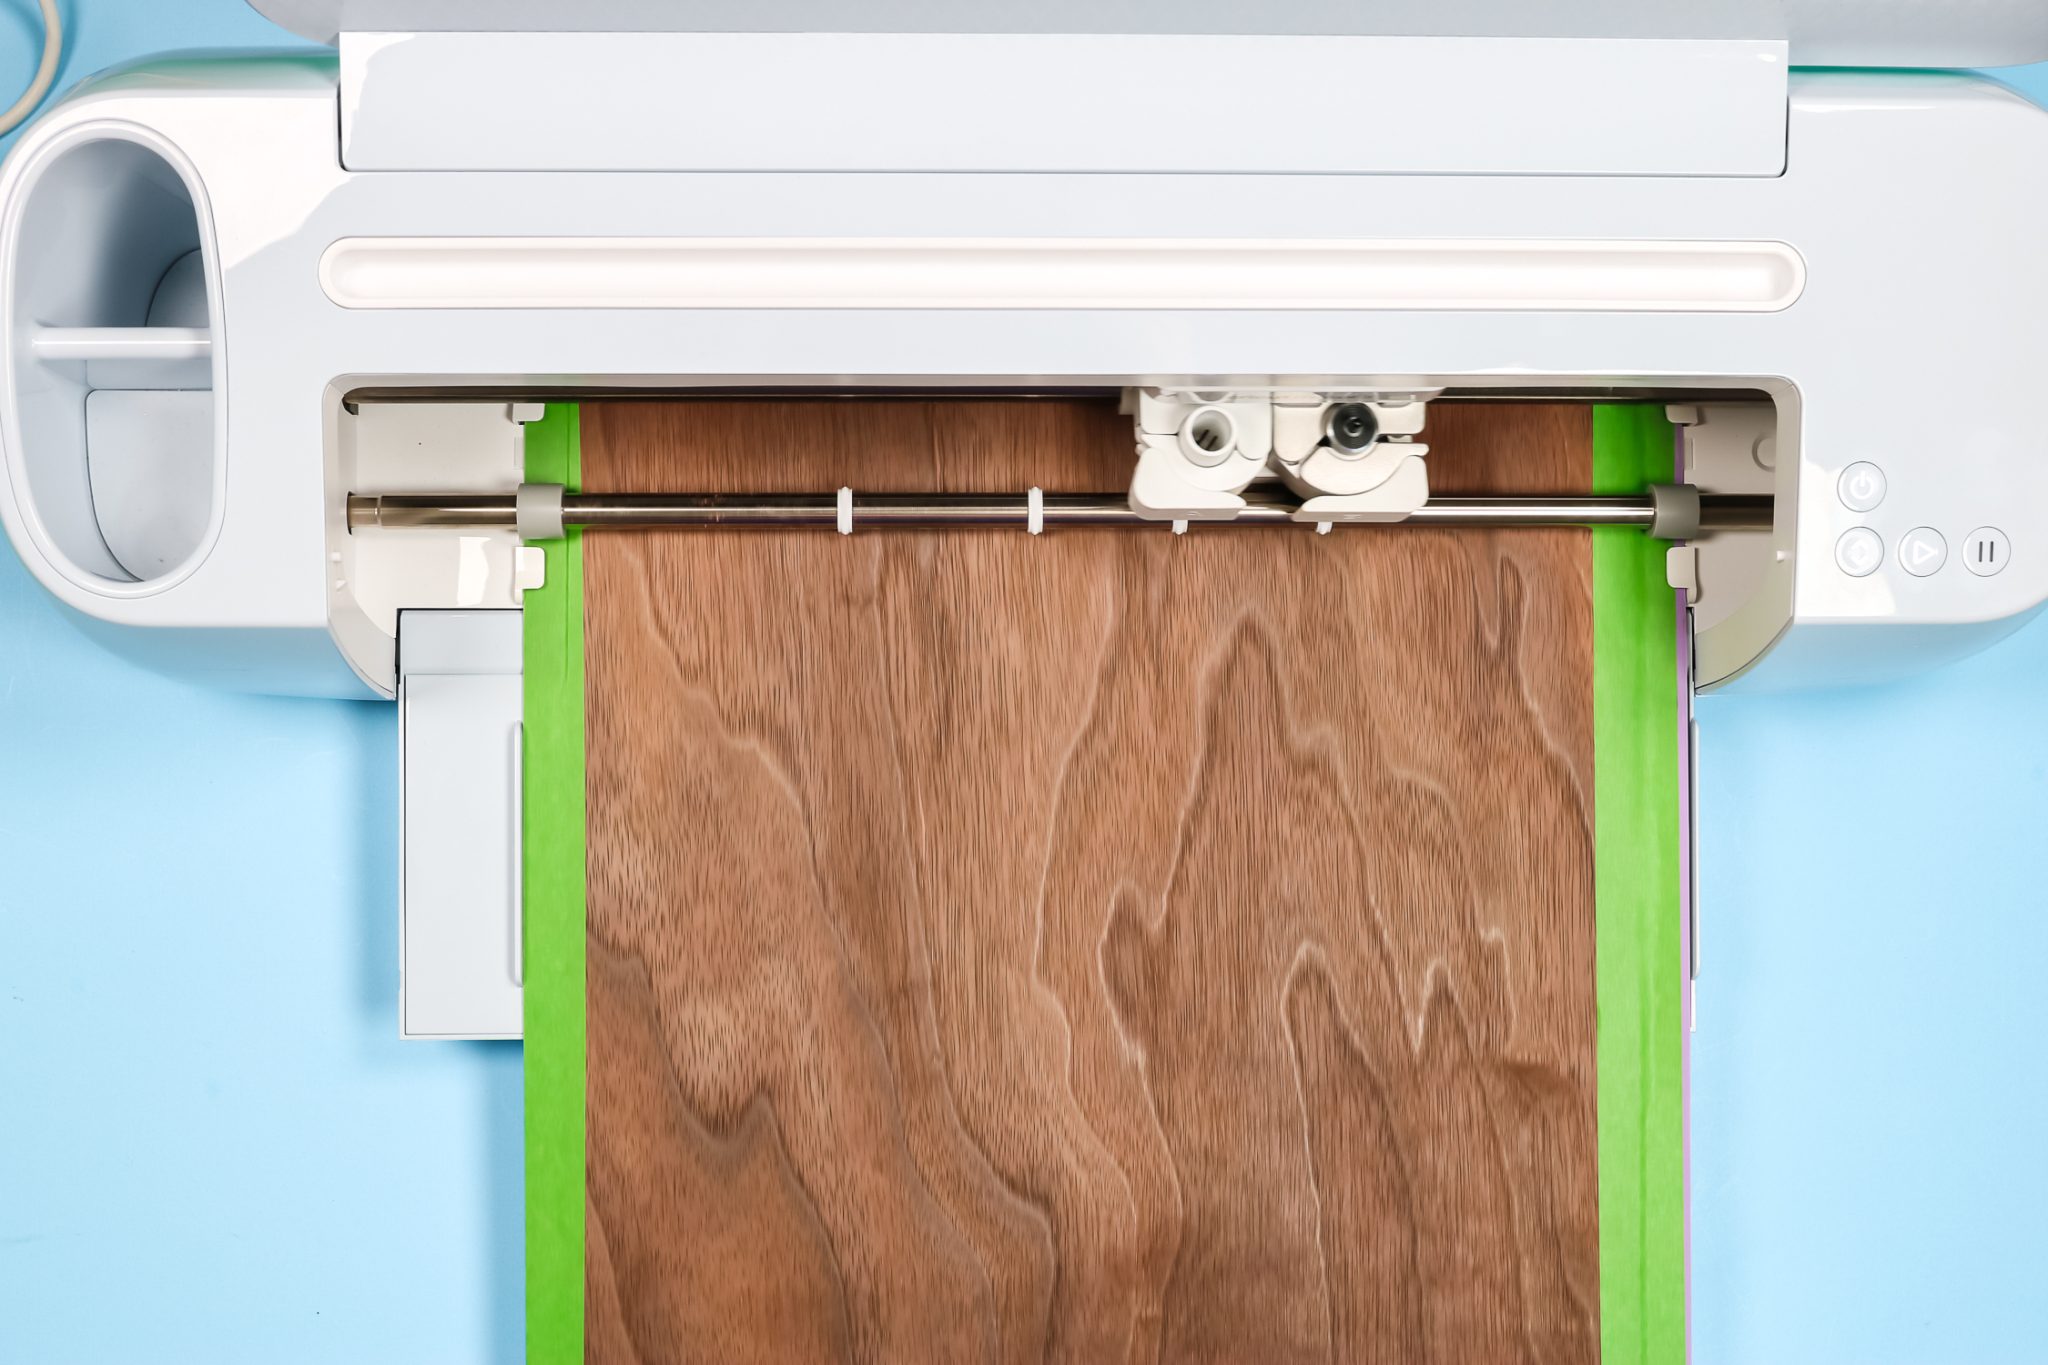
Once your pieces are cut, remove them from the mat. Use caution as the wood veneer is very thin and delicate.

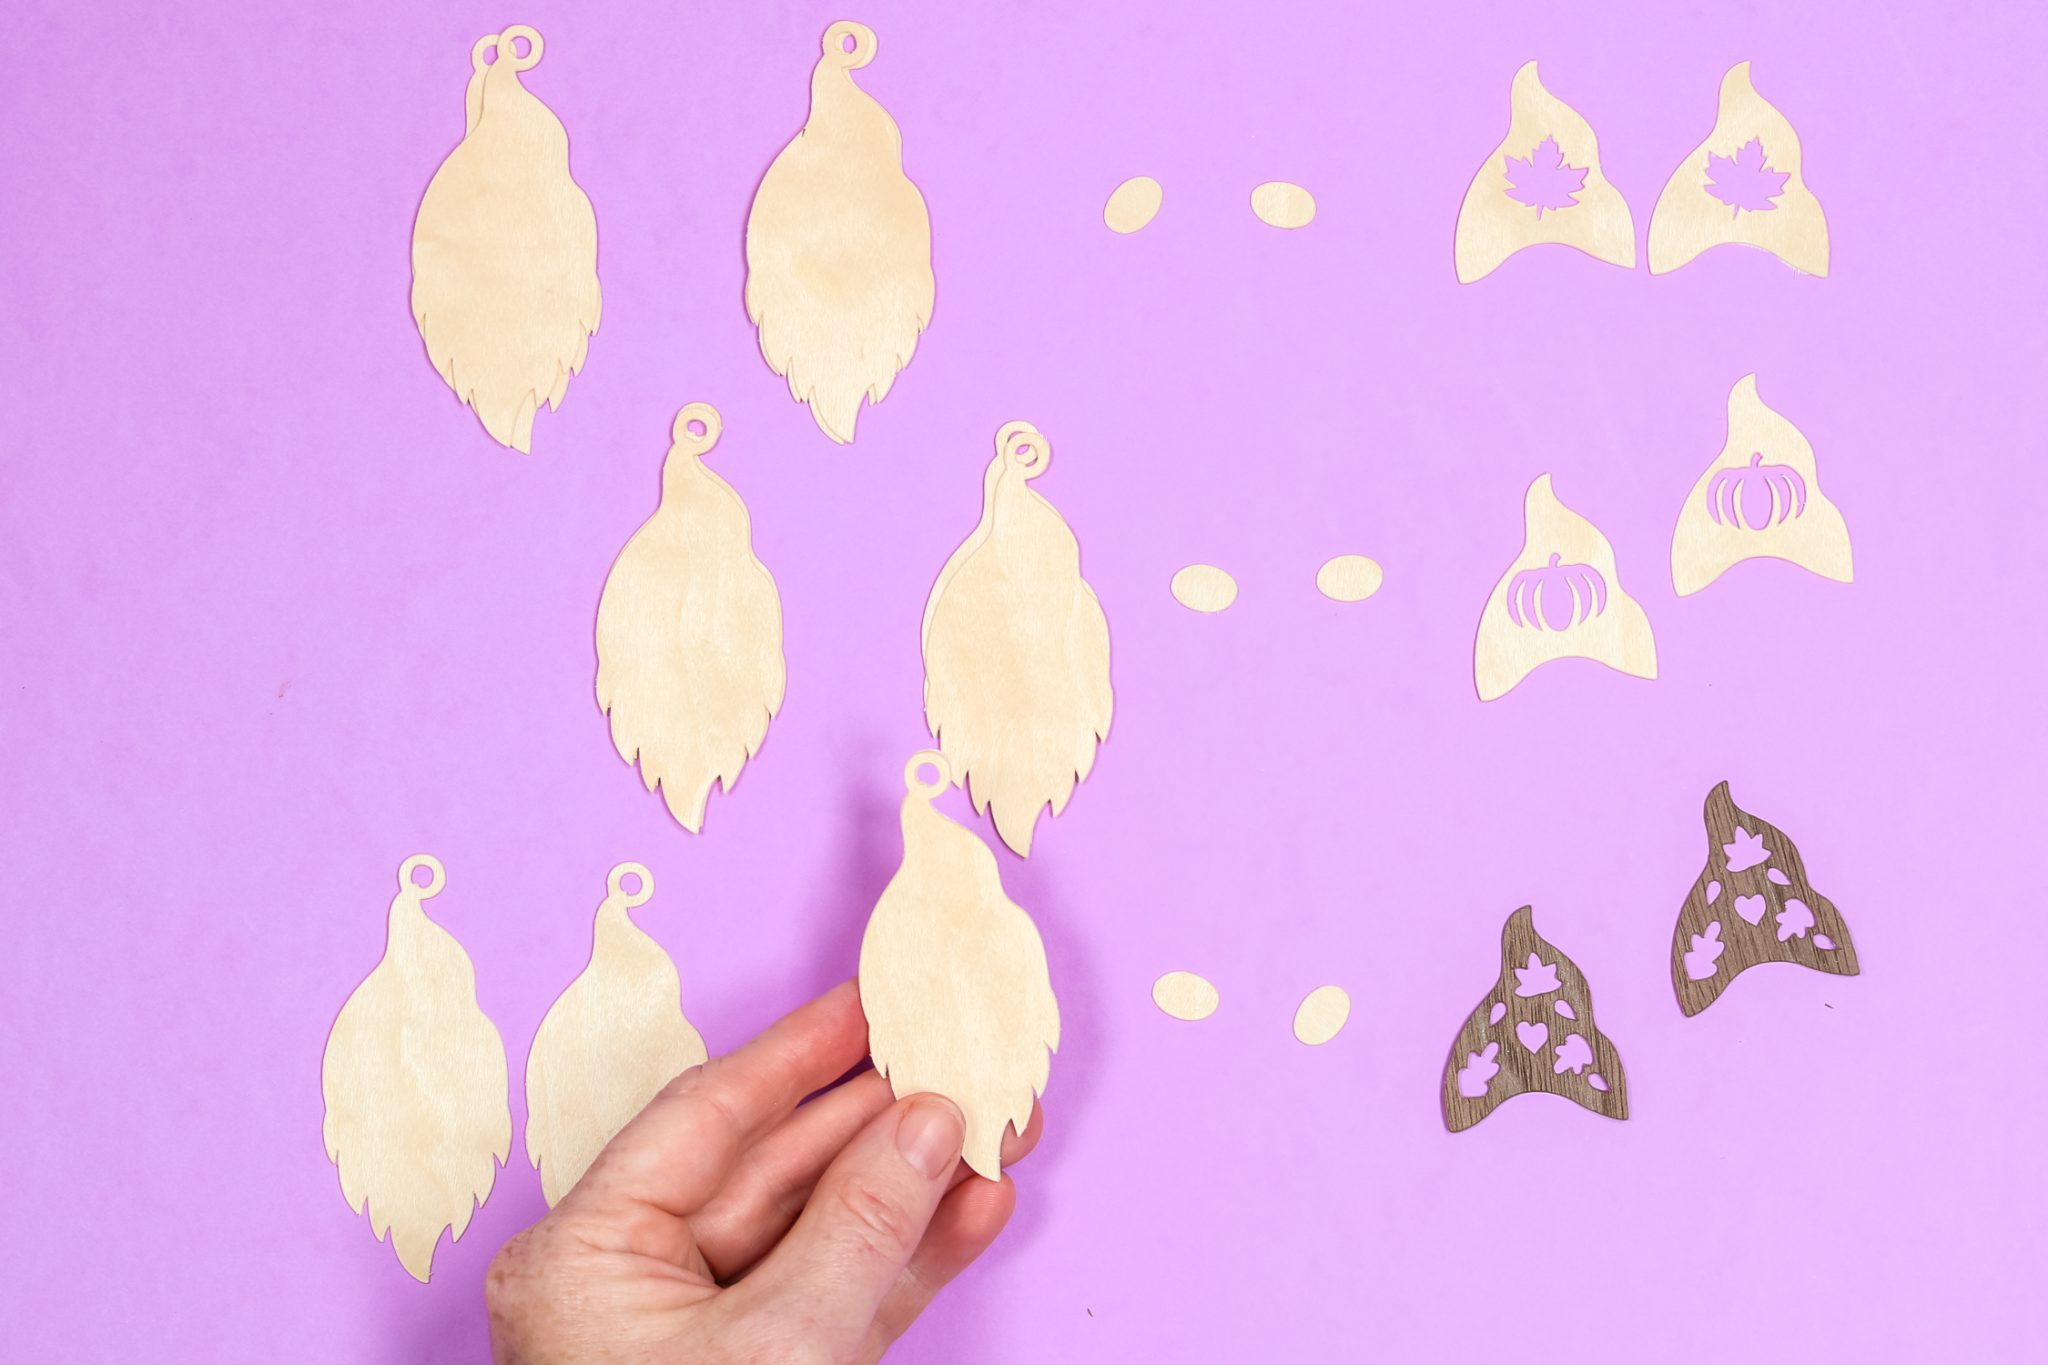
Layering The Wood Veneer
Wood veneer is pretty thin, and you can actually bend it just using your hands when it's in a single layer! To make your wood veneer earrings sturdier, I suggest layering the pieces. It’s a great way to add some strength while still keeping that beautiful wood look!
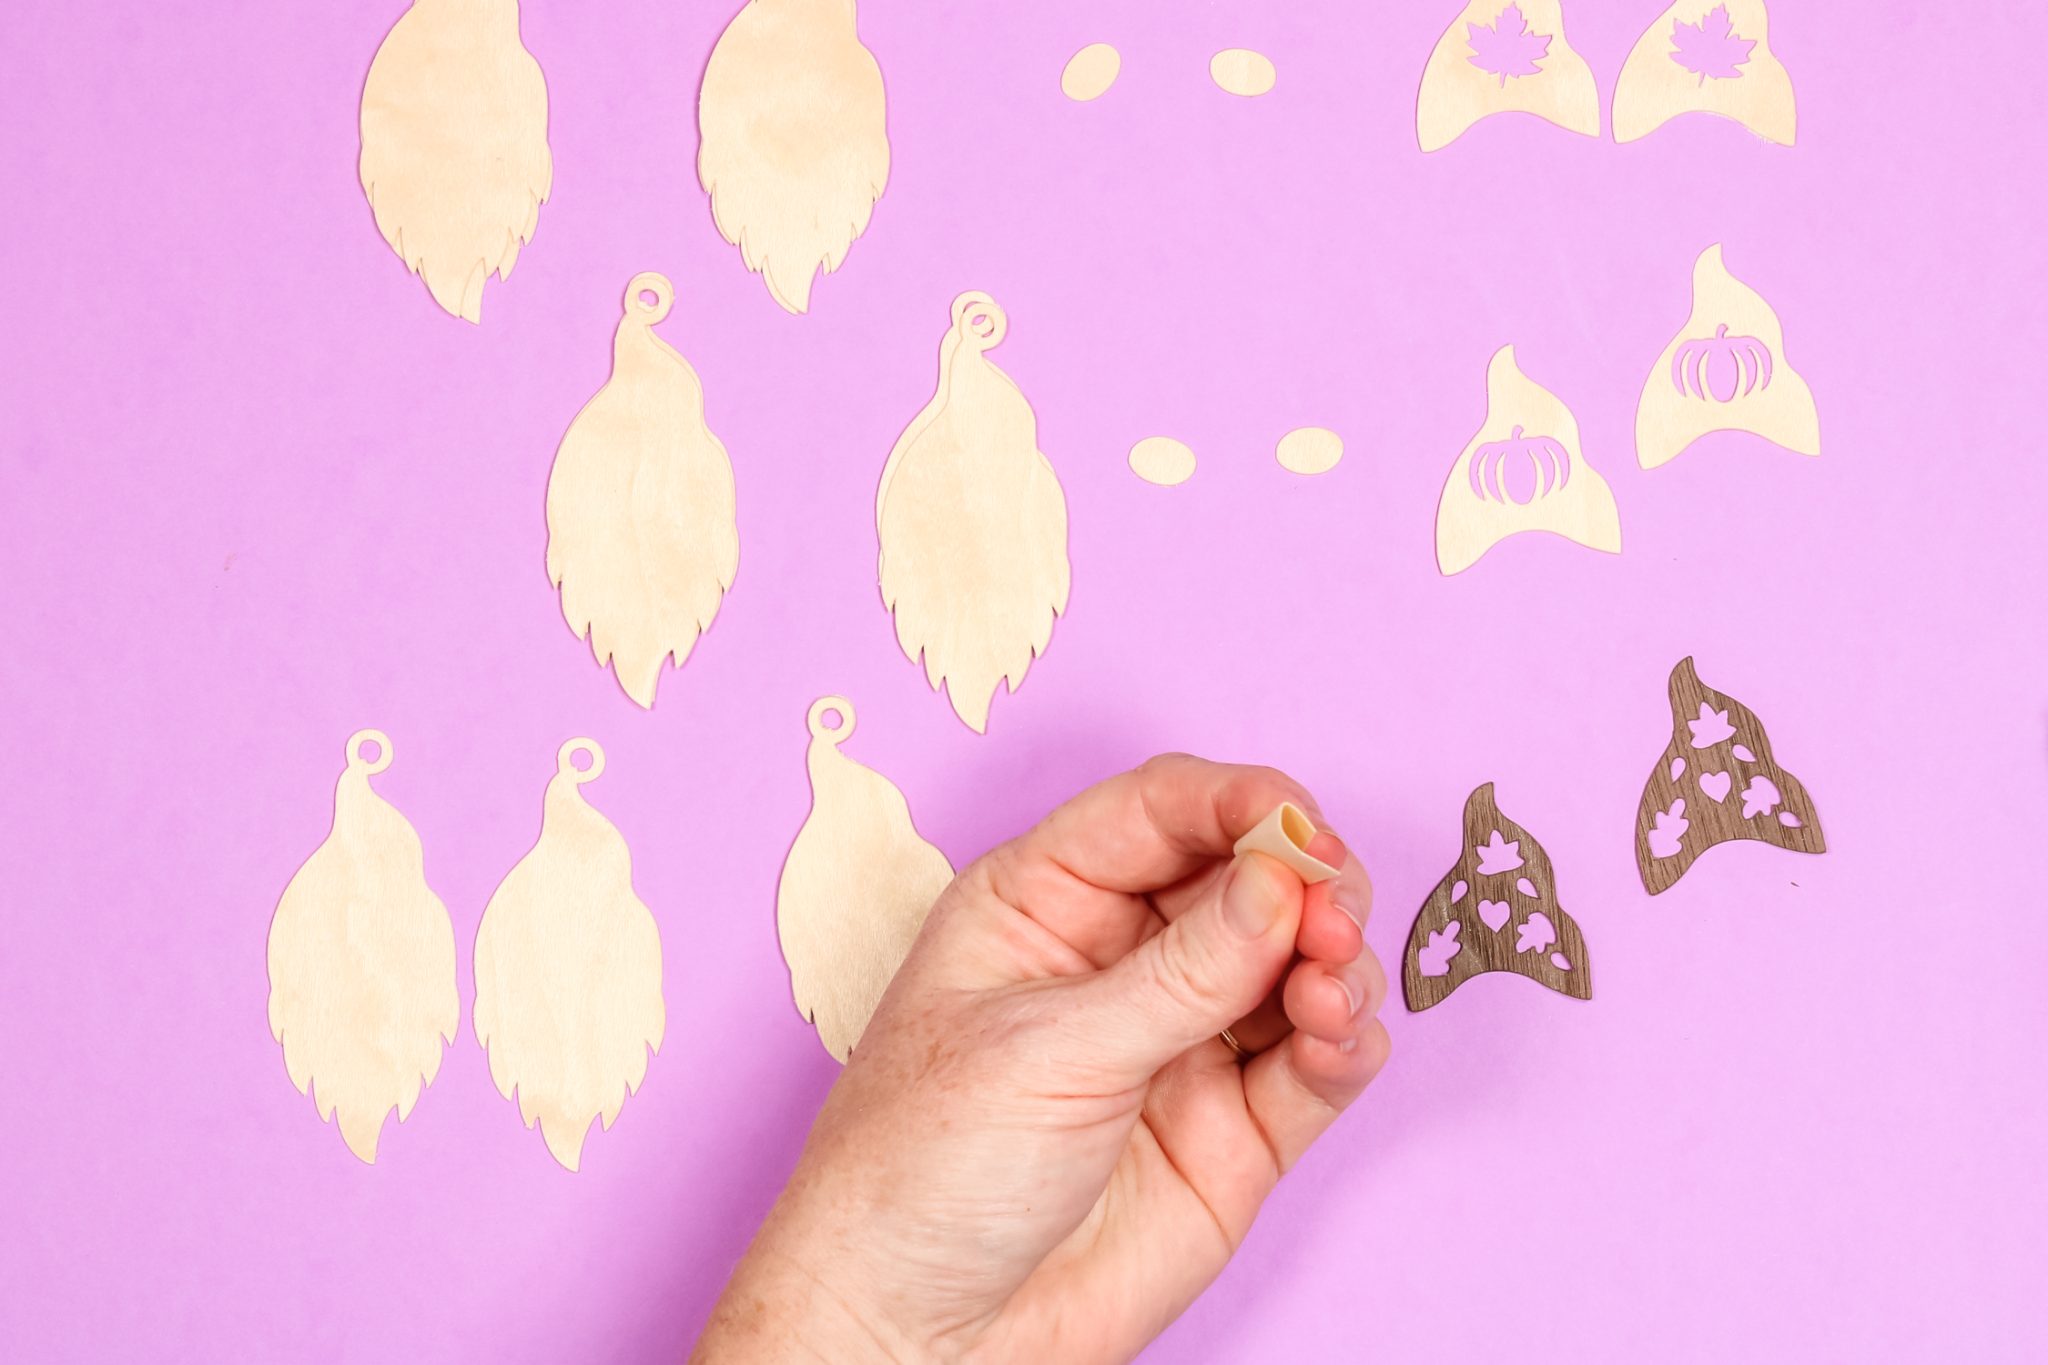
I ended up cutting two back pieces and layered them together with some glue before painting them. Just a tip: it’s best not to layer too many pieces, as you want to keep your Cricut earrings nice and light.
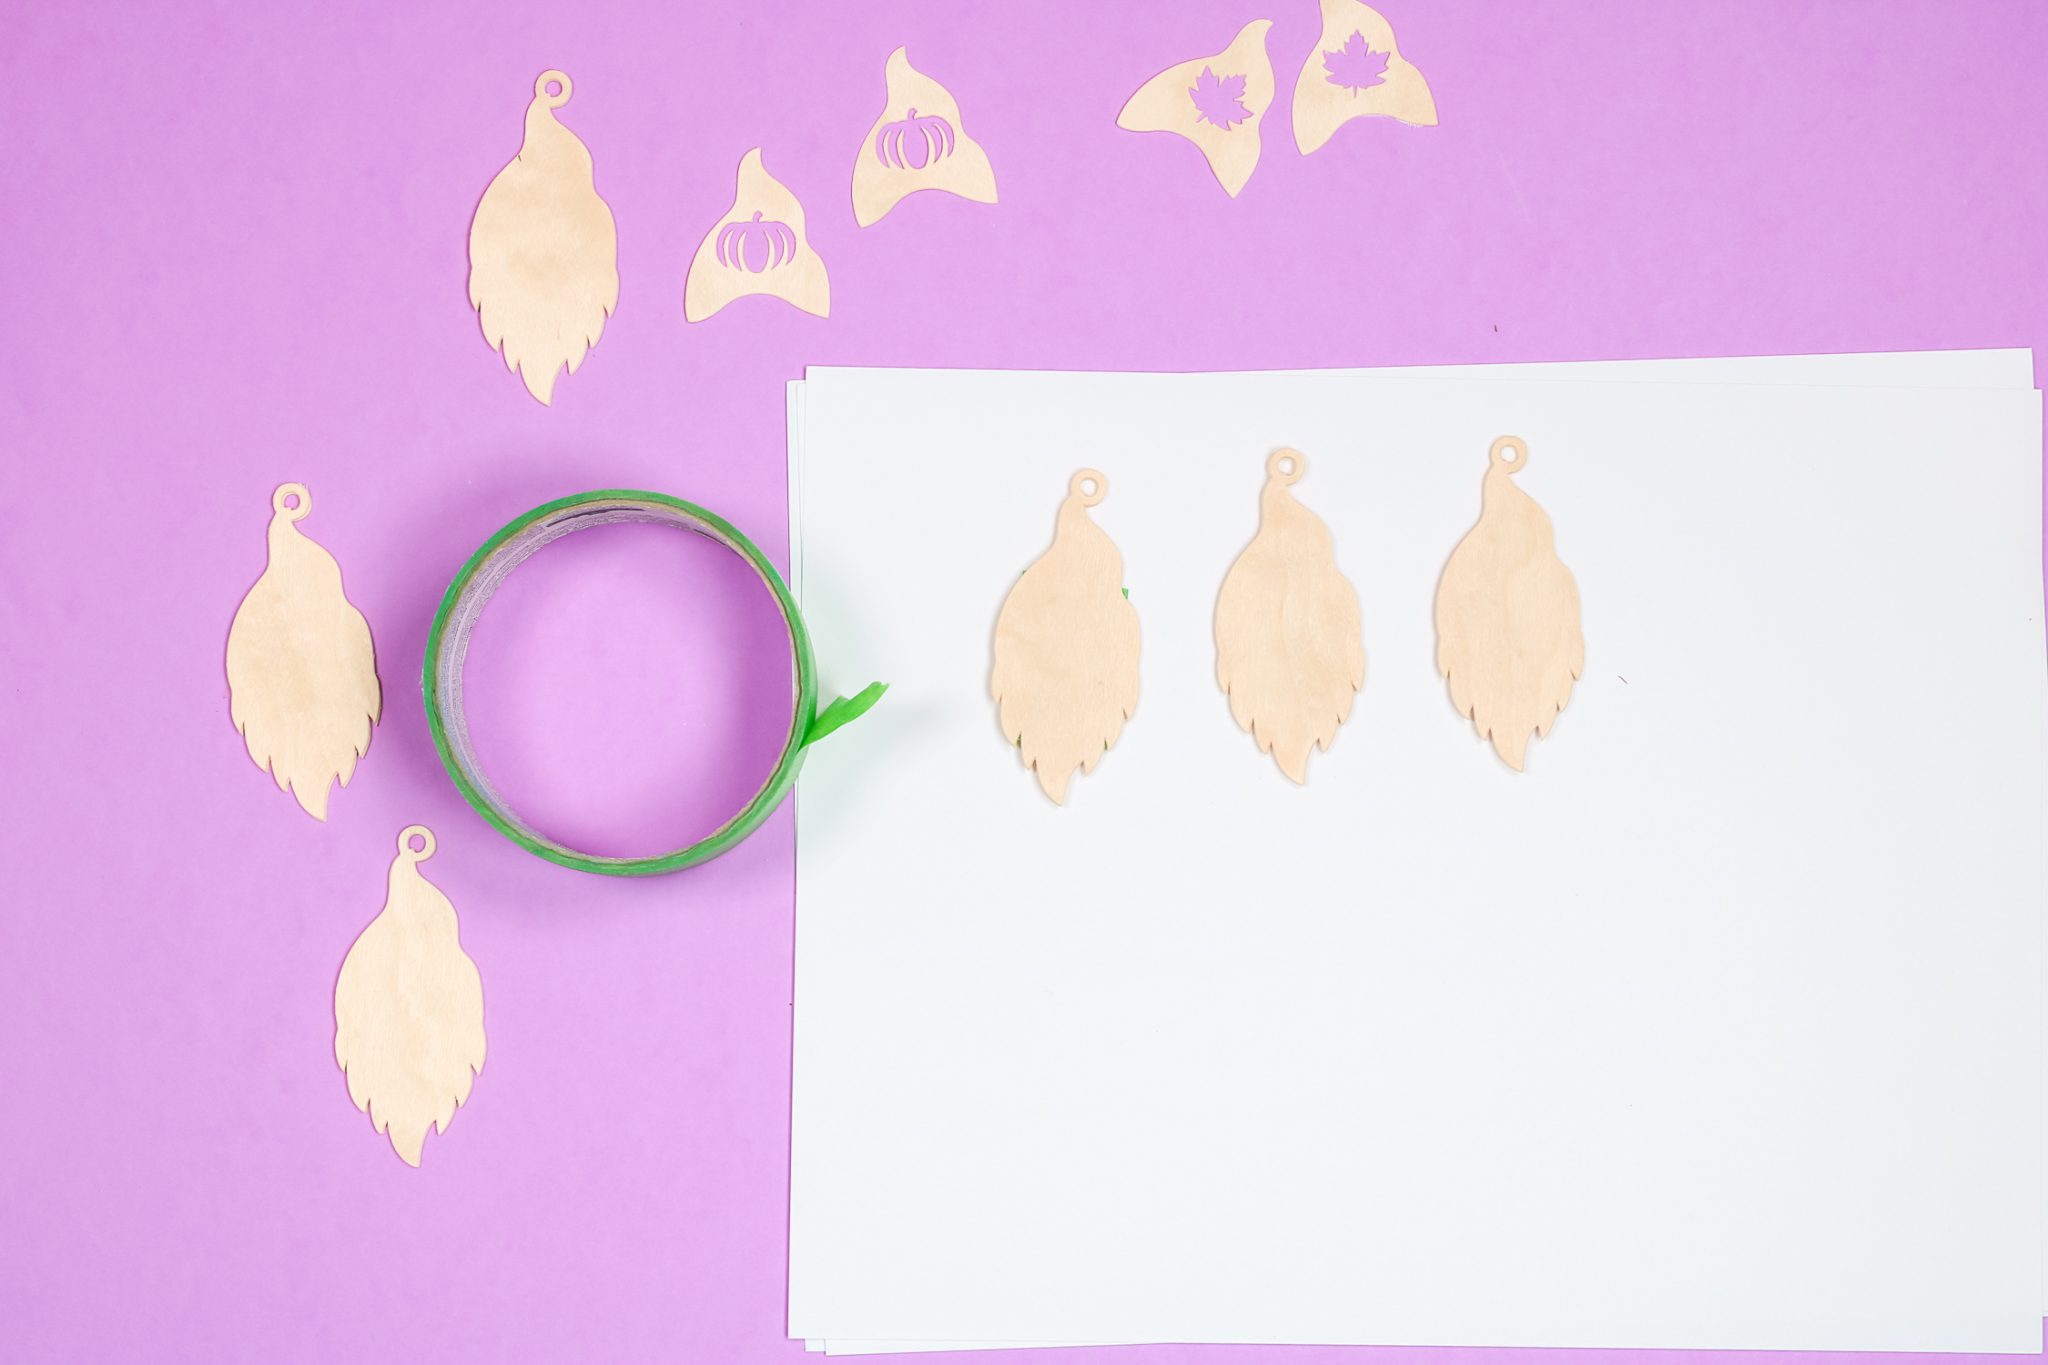
Preparing Pieces For Spray Painting
Now the pieces are ready for spray paint. Since the wood is nice and thin, they'll be super lightweight. To get the best results, it's a good idea to hold them down while you paint. If there are areas you want to keep free of paint, just use some tape to secure the pieces on heavyweight cardstock. If you're looking to paint the whole thing, double-sided tape or a loop of painter's tape will do the trick to keep everything in place on the cardstock.
Spray Painting Wood Veneer
Then you want to head outside or to another well-ventilated area for spray painting. With any spray paint project be sure to:
- Follow all directions on the can.
- Shake the can well (for at least 1 minute).
- Spray paint in light coats, approximately 12-16 inches from the surface, in a back-and-forth motion.
- Overlap your strokes as you move back and forth.
- Spray paint should be recoated within 1 hour, or you should wait for 24 hours between coats. I tend to allow the paint to dry slightly, then add additional coats quickly.
- For the color shift paint, spray the black basecoat first, then apply the color shift paint. The more coats of color shift that you add, the more intense the effect will be.
- Once your spray painting is done, allow the pieces to dry completely before assembling.

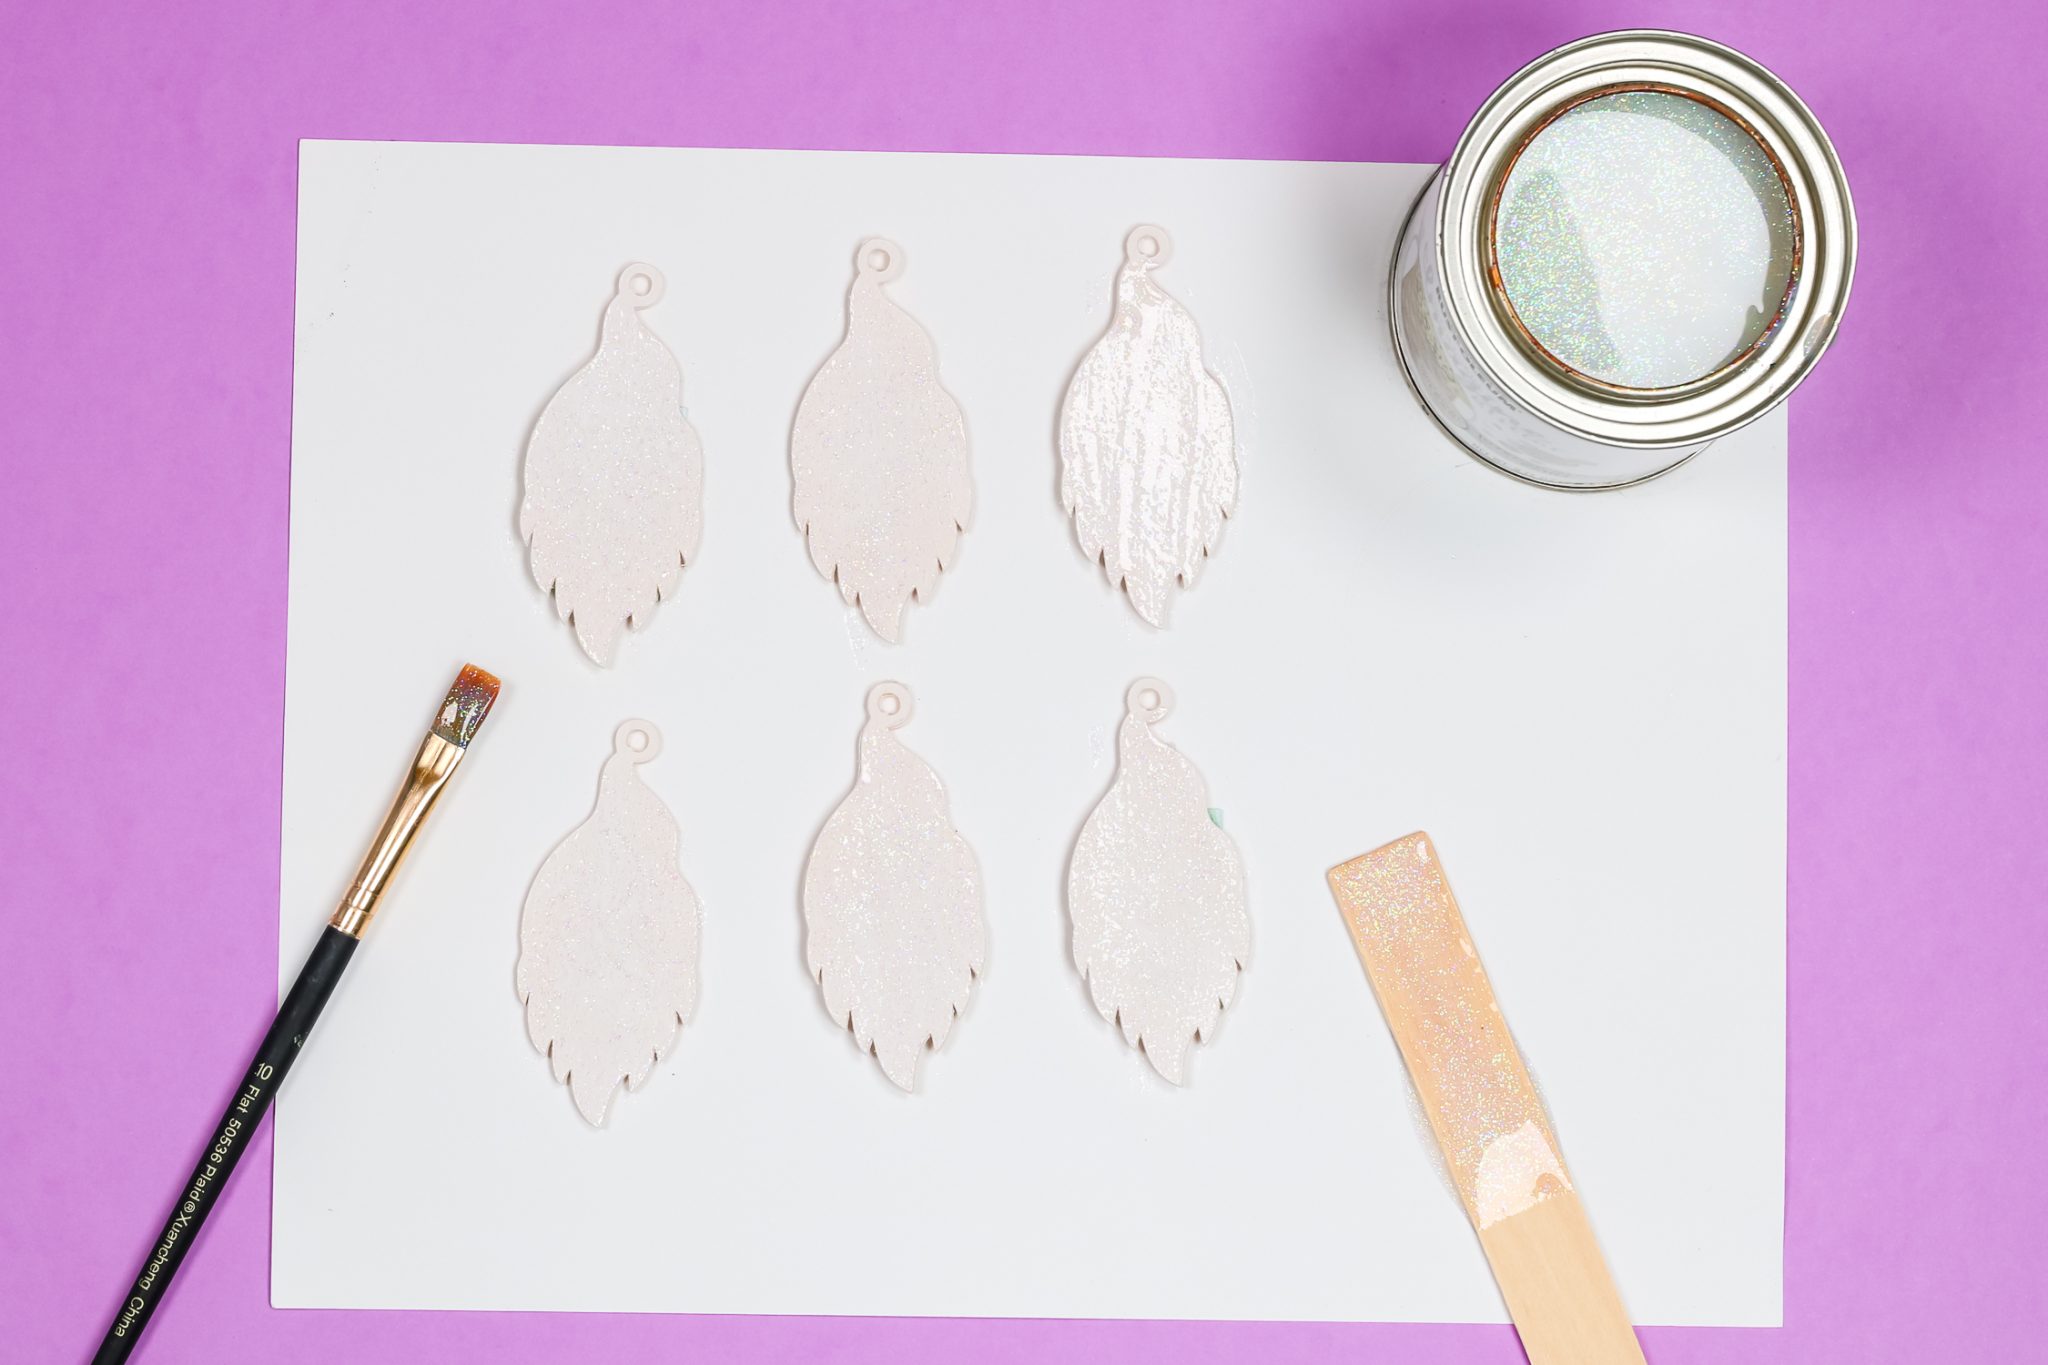
Adding Glitter Paint
If you want to add even more fun to your earrings, you can apply the intense glitter paint right on top of the spray paint. I did this to all of my gnome bodies. I painted each one white, then added one to two coats of glitter on top. The more coats of glitter that you add, the more intense the effect will be. Allow these to dry before continuing.
Assembling The DIY Wood Earrings
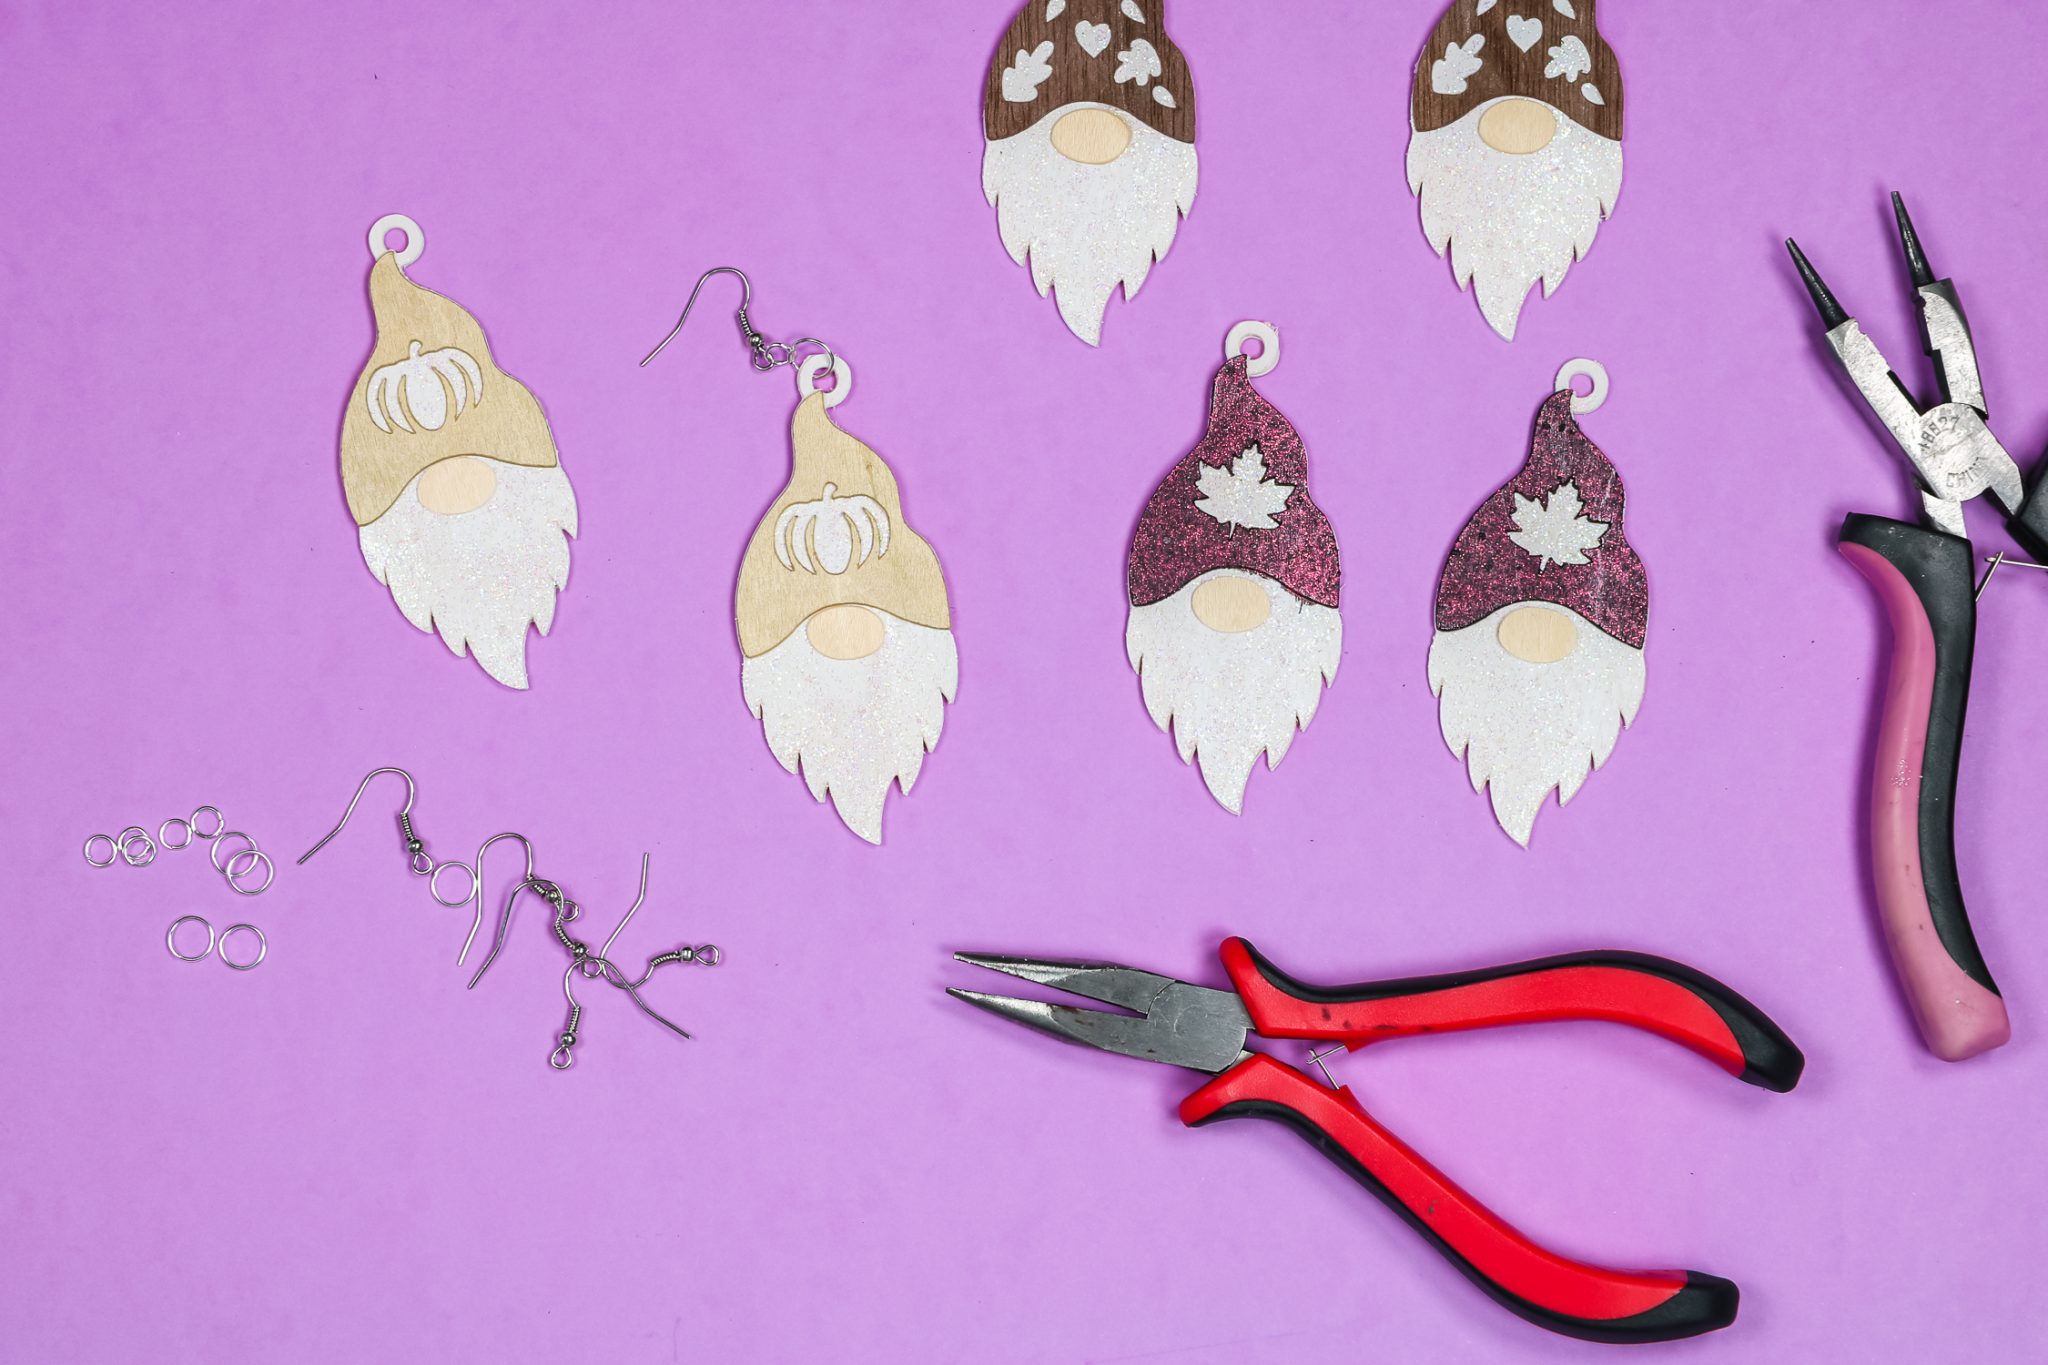
Once your pieces are dry, it is time to assemble your DIY wood earrings. First, glue the pieces together by adding the hats and noses to the faces with glue, and then allow them to dry.
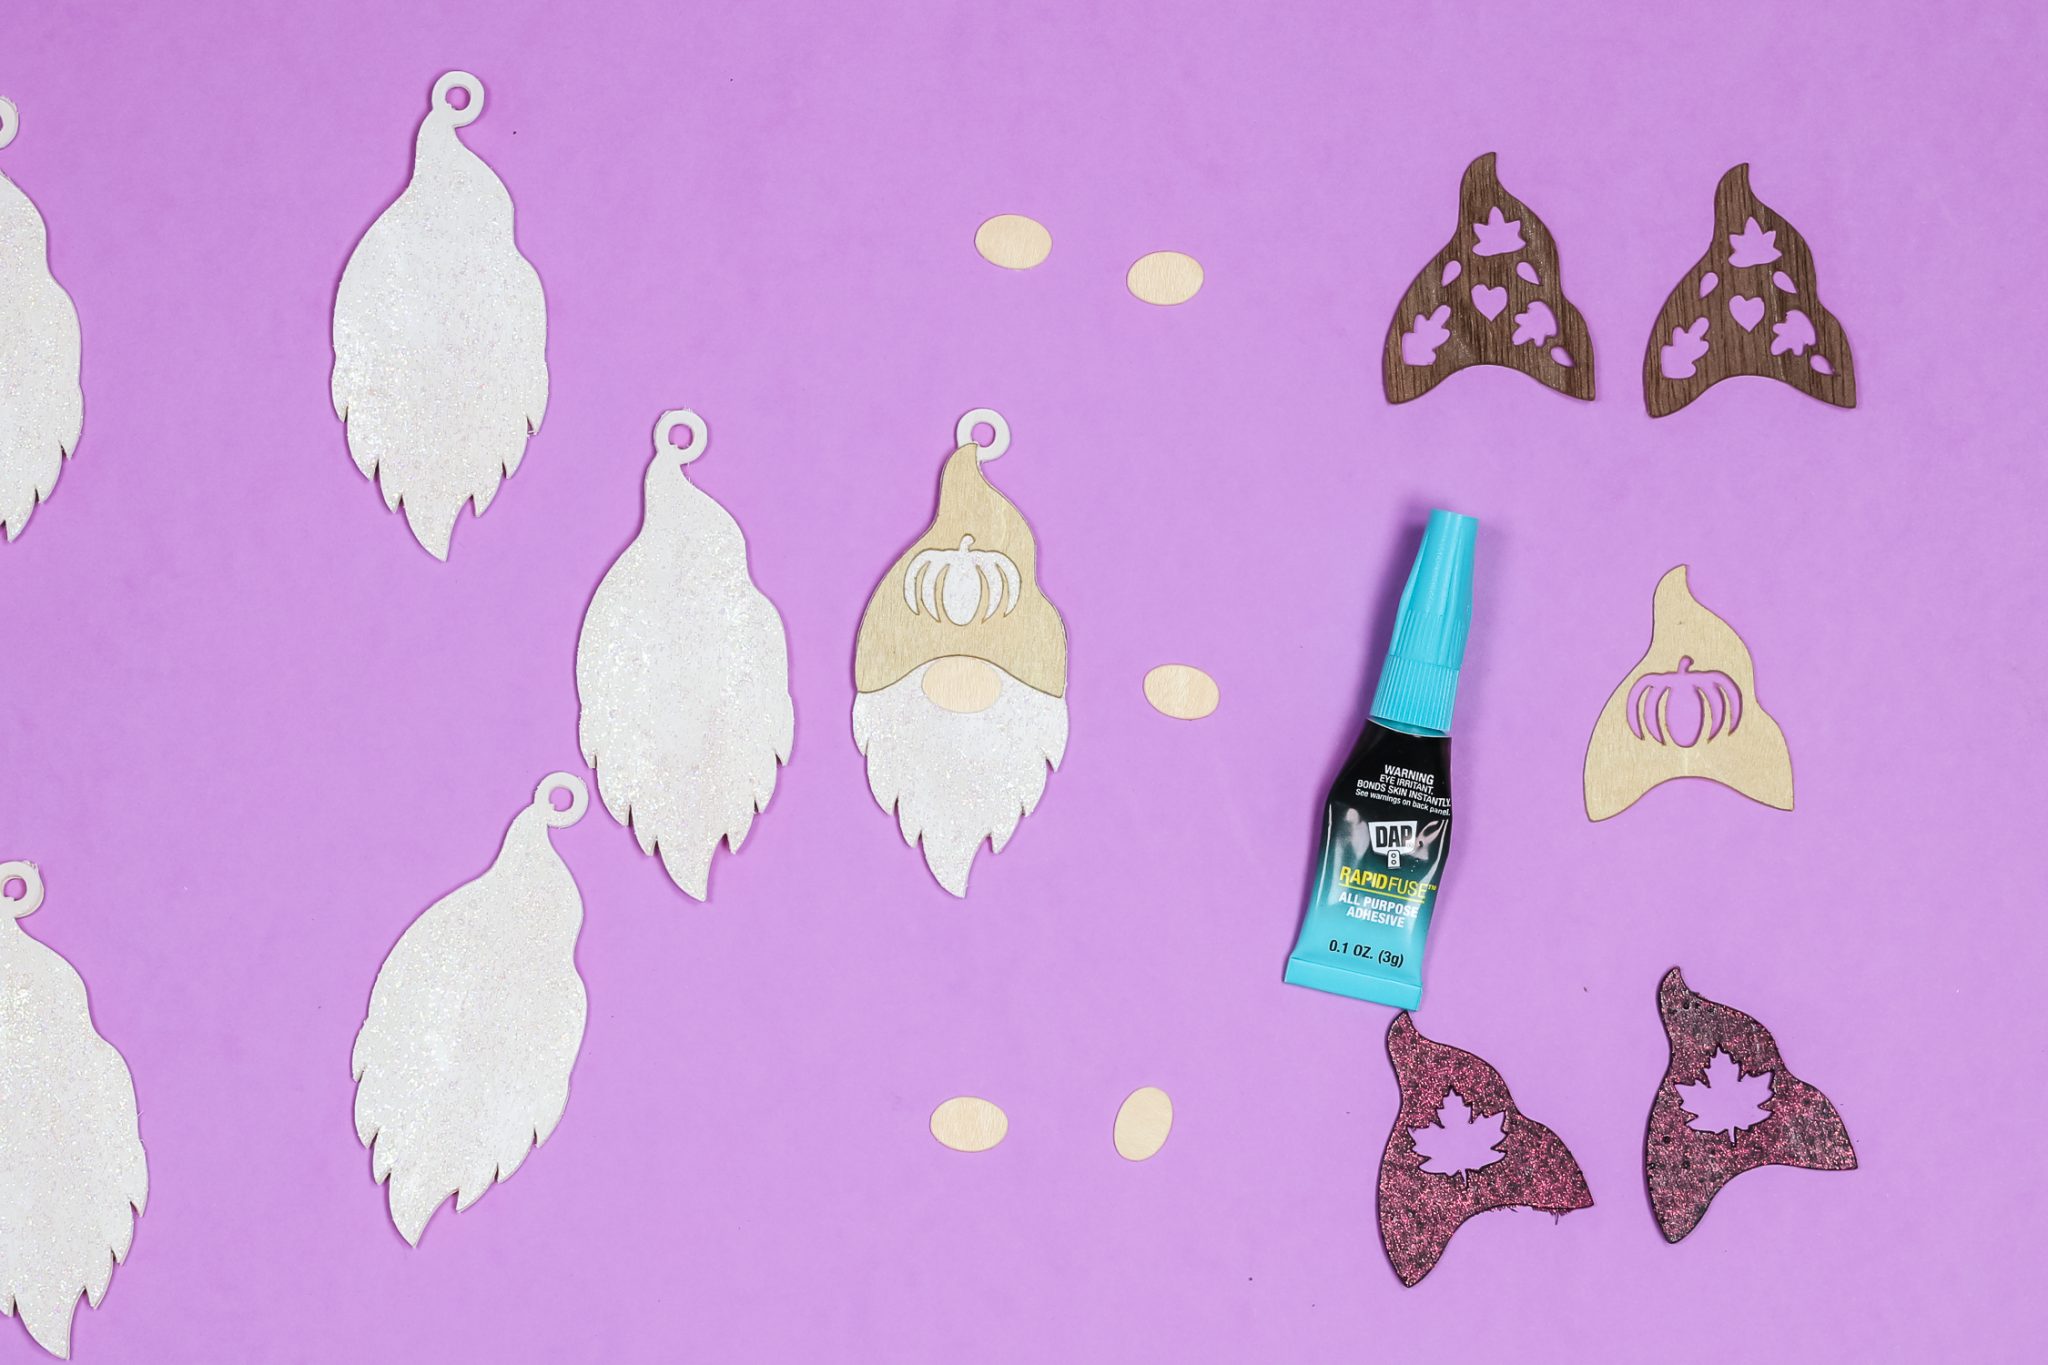
Then you will need to add jewelry findings to the earrings. I used a large and a small jump ring, along with an earring hook, and assembled them using jewelry pliers.
More DIY Wood Earring Ideas
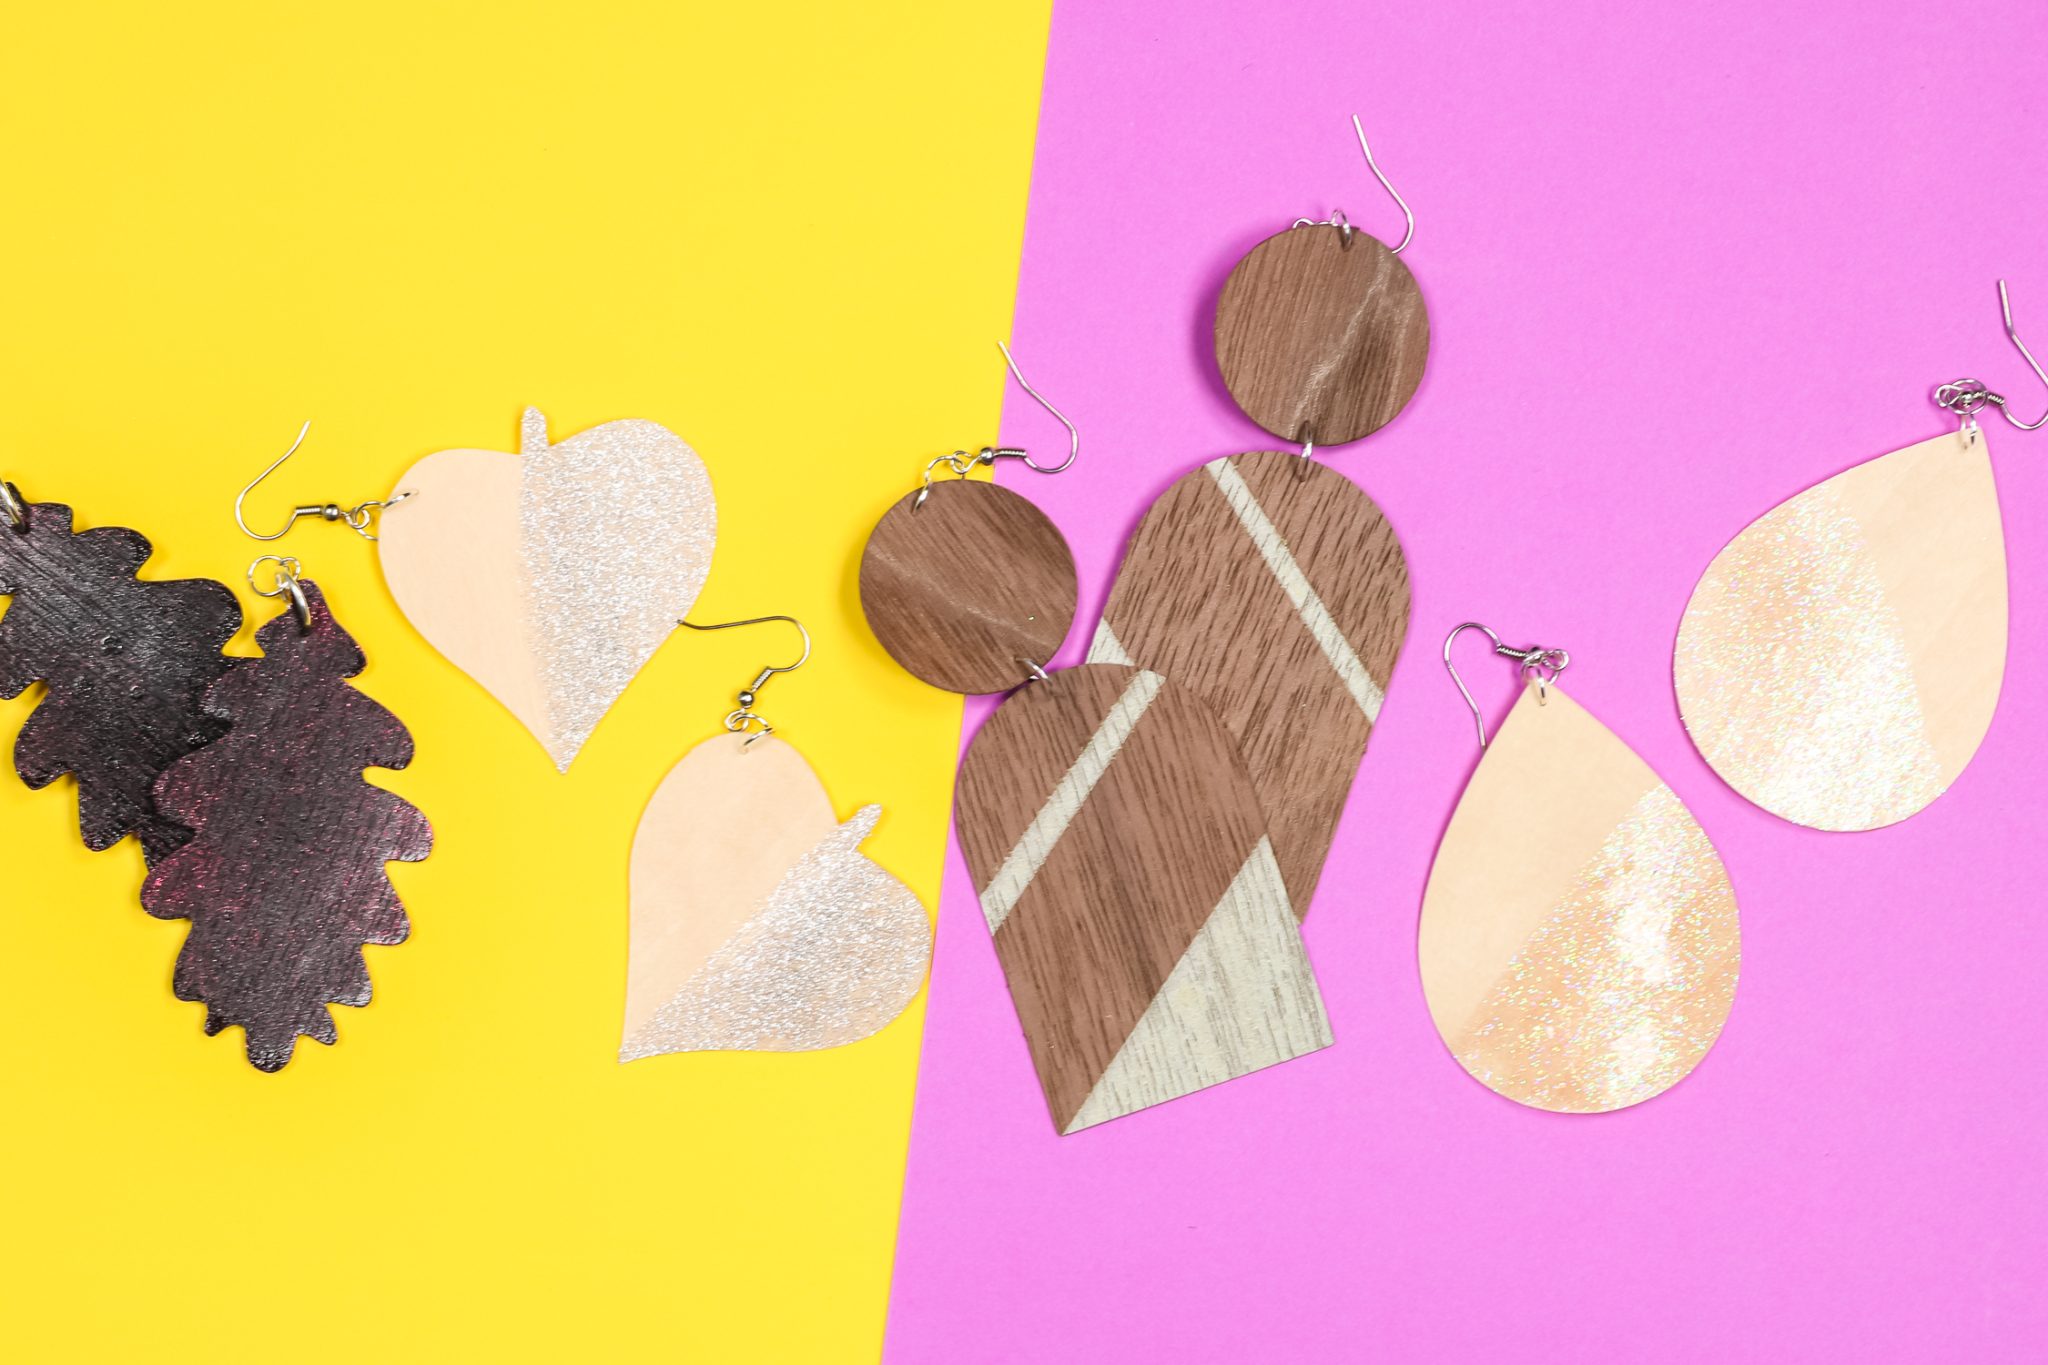
What if you don't like gnomes or want to make Cricut earrings for other occasions? Break out your wood veneer and Rust-Oleum Imagine paints for these other gorgeous earring ideas as well. Check out more project ideas below. From left to right, you can make the following:
- Leaves coated in color shift paint
- Leaves half-painted with 3 coats of intense glitter paint
- Walnut wood veneer earrings with gold accents
- Teardrop earrings with intense glitter paint on the bottom
My Favorite Wood Veneer Earrings
What are my favorite DIY wood earrings? Personally, I love the gnomes! I think I like the version with the unfinished walnut veneer hat the best.
However, a close second would definitely be the hat with the gold paint.
You can't go wrong with the addition of the color shift paint, however. It is definitely a bolder look, but it will really turn some heads!
So, which of these DIY wood earrings will you make this year? I don't think you can go wrong with any of these project ideas. Grab your Cricut and some Rust-Oleum Imagine paint to create something amazing this fall. I know you will love the results!
I'm sure I will be searching for even more gnome earring SVG files. Frankly, I can see making a version of these for every holiday season. They are so adorable!
FAQs About How To Make Wood Earrings
Here are answers to some of the most frequently asked questions I receive about making wood earrings. If your question isn’t listed, feel free to drop it in the comments, and I’ll be happy to help!
Can You Use A Cricut Joy Xtra To Cut The Veneer?
I generally recommend a deep-point blade for wood veneer, which would not work with the Cricut Joy Xtra.
Will The Cricut Air 2 With The Deep Cut Blade Do The Same?
Yes, it will!
Can You Use The Deep Cutter Tool On Two-Ply Wood With A Mat?
Thicker wood would require a knife blade.
Can You Use Wood Veneer Other Than The Cricut’s Brand? Any Thoughts Or Experiments With Anything Other Than Cricut?
I have used other brands! The issue really is finding large sheets. However, with earrings, it wouldn’t matter as much!
How Long Did It Take To Cut The Earrings?
This is wood veneer, and it cuts really fast. The basswood/balsa wood cuts MUCH slower.
How Did You Decide The Size For Earrings, Or Was It Preset In Format?
I just picked a size I thought would work best for me. They are about 3 inches long.
5 More Wood Resources
If you loved learning how to make wood earrings and are looking for more wood resources, check out the posts below!
- How to Cut Wood with the Cricut Maker
- Tips for Cutting Basswood with the Cricut Knife Blade
- Cutting Wood Veneer with a Cricut Machine
- How to Iron-On Wood with your Cricut
- How to Engrave Wood with a Cricut Maker


I love these! and, I love that shirt!
Thank you so much!
Love these earrings but is there any templates for kids size earrings? Something for say 8 yr old to 13yr old?
You could just resize these earrings to make them smaller. Almost any earring template you could just size smaller if you wanted.
my machine is broke – my hubby purchased a scan & cut machine for me ( thought that is what I had lol)- wish you would do these for the scan & cut machine
Sorry about your broken machine. I actually don’t own a scan & cut – best of luck to you!