
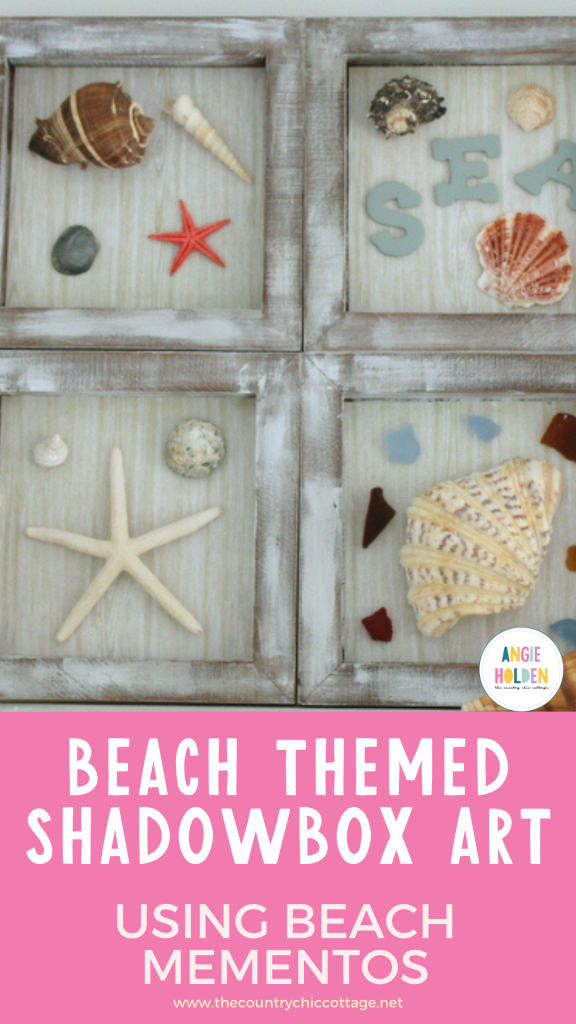
Make this beach-themed shadowbox with your treasured beach mementos! Paint, Mod Podge, and a few beach-themed items are all you need for this craft. What a great way to cherish family memories!
I have a treat for all of you seashell and nautical lovers today! I am sharing my beach themed shadowbox art plus I am participating in a blog hop with tons more beach themed ideas for y'all. Read through my instructions on how to make this craft first then scroll to the bottom to get more ideas for your home.
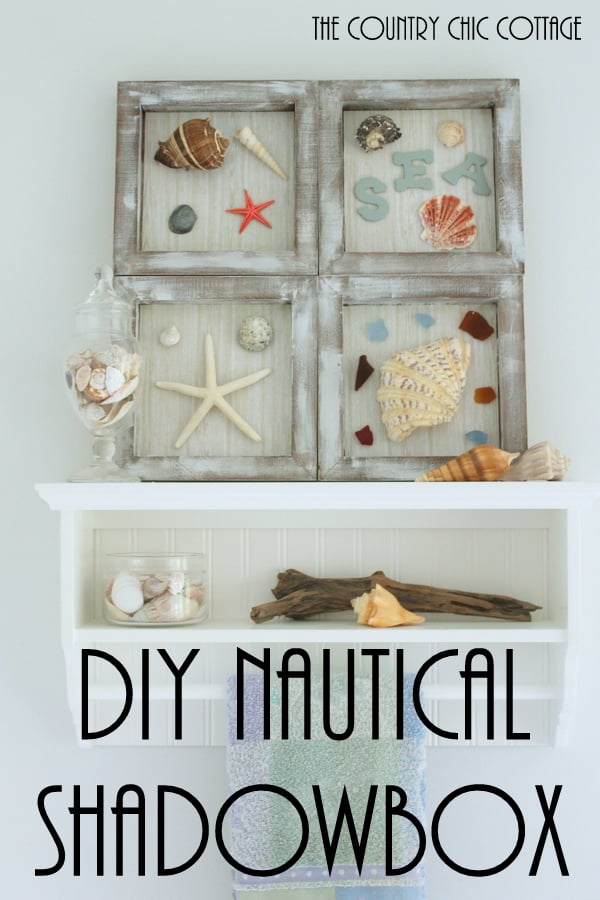
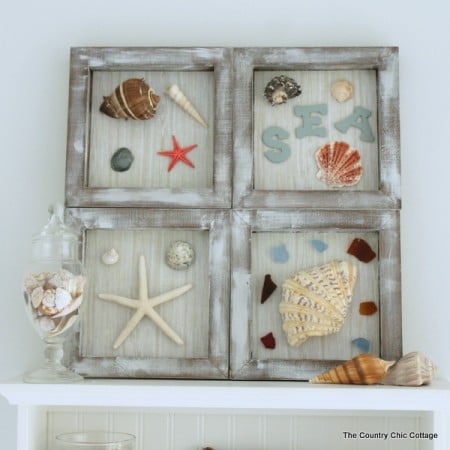
I love shadow boxes! You can use them to treasure wedding keepsakes, special memories, and so much more! They are always so fun and easy to make, too. This beach-themed shadowbox is perfect for all of those shells you collected. Customize this to your own style so you can treasure your memories forever!
How to Make a Shadow Box
Items needed to make your own beach themed shadowbox art:
- Wood panels (I used four 6 x6 inch panels other sizes are available if you want to make your finished project another size.)
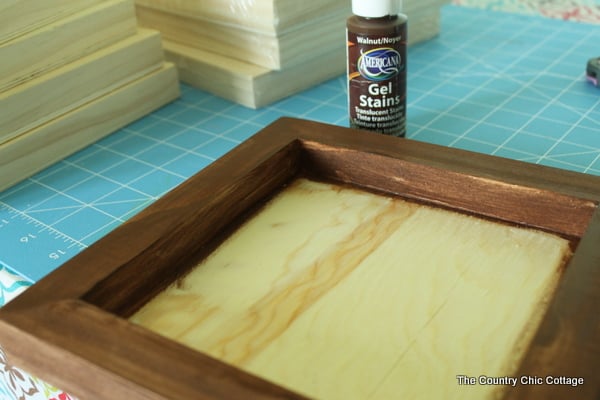
- Gel stain in Walnut
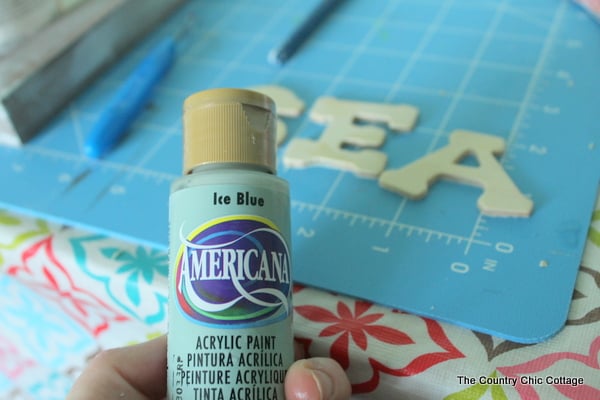
- Americana acrylic paint (Driftwood, Warm White, and Ice Blue)
- Paint brush
- Wood glue
- Wood strip
- Sawtooth hangers
- Nails
- Wood letters
- Faux wood grain paper
- Mod Podge
- Seashells, starfish, sea glass, and other mementos
- Hot glue gun
To start, turn the wood panels over so the back is facing you. These wood panels are a lot like a framed canvas. Because of the edge around them, they make great shadow boxes!
Apply the gel stain in an even coat on the sides of the frame.
I did not stain the bottom of my tray or shadowbox because I am going to be covering it with paper. Wipe away any excess stain with a rag.
I wanted a more rustic driftwood like appearance for the edges. The combination of the two paints pictured below can give you this look.
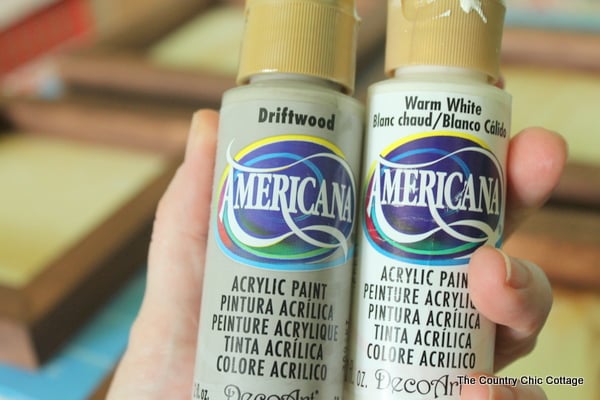
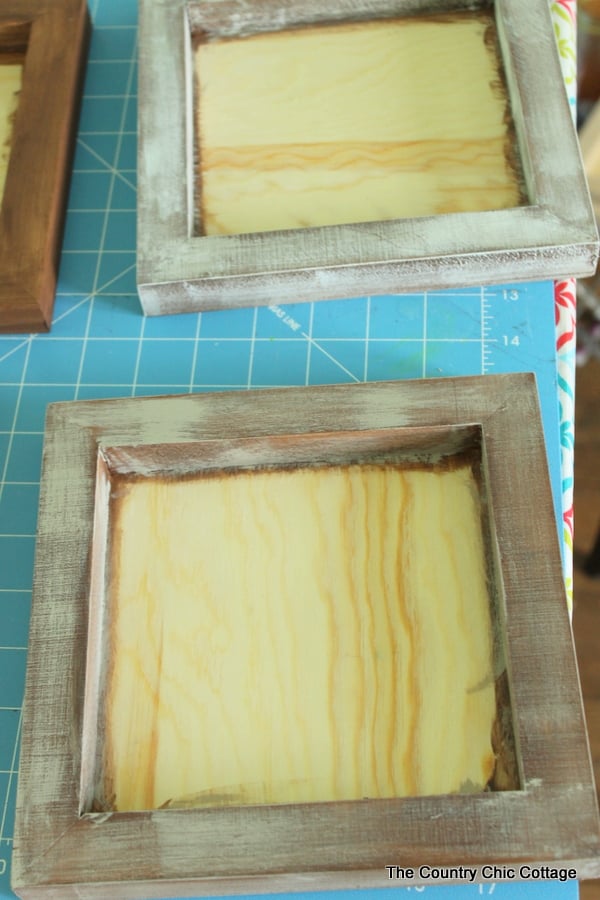
Start with a VERY dry brush and VERY little paint. Dry brush quickly over the surface first with Driftwood. You will be leaving parts of the stained wood showing as you can see below.
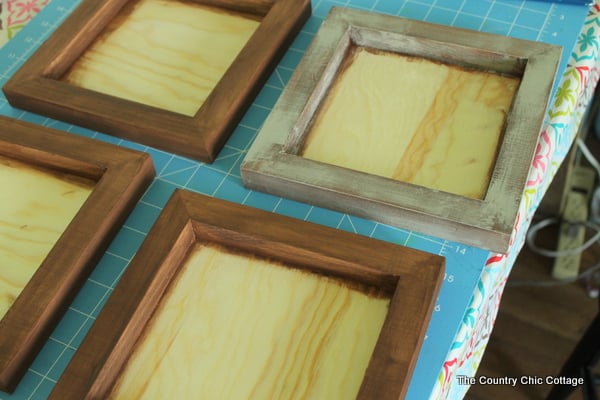
Go over the frame again with the same technique and the warm white paint. The picture below shows the box at the top that has had the white applied and the box at the bottom that only has the driftwood color. I love the addition of the white!
These will dry really fast because you are only putting a very light coat of paint on each time. However do make sure everything is dry before continuing onto the next step.
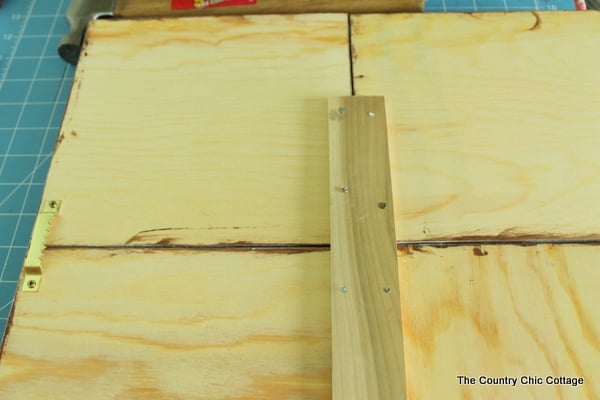
Break out your wood glue and glue the four frames together face down as shown below. Add a wood strip across the back and secure with nails. This will hold everything together while the glue sets. You can add a couple of sawtooth hangers to the back while you have it upside down. Allow this to dry completely before continuing.
While the rest of the shadowbox is drying, if you have any elements that you are going to add to the inside that require paint, paint those now. I used a few wood letters to spell out “SEA” and painted them with this ice blue paint.
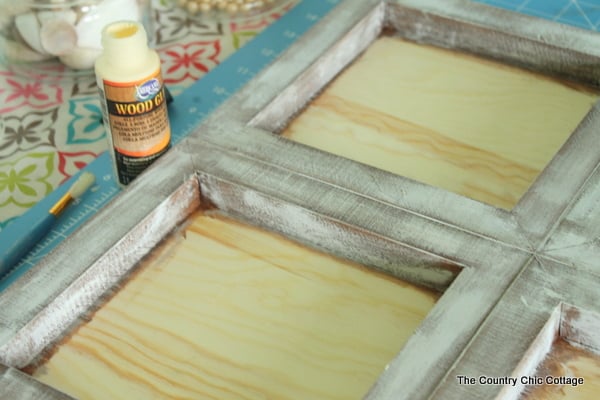
Once everything is dry, grab your wood grain paper and Mod Podge.

Cut the paper to the size of the shadowbox openings and decoupage into place by applying to the back of each sheet of paper. Allow these to dry completely before continuing. Weight down your paper if needed to keep it nice and flat while drying.

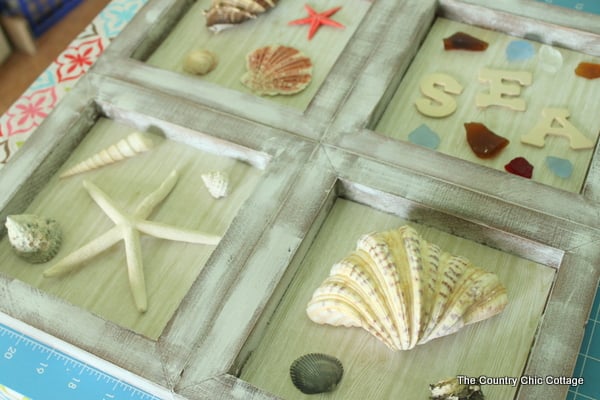
Grab mementos from all of your beach vacations and play around with them inside of the boxes. Once you are happy with the placement just use hot glue to secure into place.
This is one fun seashell project that you will want to make for your home. You can see where this art ended up by clicking here for my nautical themed bathroom reveal.

In addition to my beach themed shadowbox art, some of my blog friends have some amazing seashell crafts for you today as well.
Monday
Tuesday
Confessions Of A Serial D0-it-Yourselfer
Wednesday
Supplies
- Wood panels I used four 6 x6 inch panels other sizes are available if you want to make your finished project another size.
- Gel stain in Walnut
- Americana acrylic paint Driftwood, Warm White, and Ice Blue
- Paint brush
- Wood glue
- Wood strip
- Sawtooth hangers
- Nails
- Wood letters
- Faux wood grain paper
- Mod Podge
- Hot glue gun
- Seashells, starfish, sea glass, and other mementos
Instructions
- To start, turn the wood panels over so the back is facing you. Apply the gel stain in an even coat on the sides of the frame. Wipe away any excess stain with a rag. (I did not stain the bottom of my tray or shadowbox because I am going to be covering it with paper.)
- To add the rustic appearance, dry brush quickly over the surface first with Driftwood. Use a VERY dry brush and VERY little paint. Leave parts of the stained wood showing.
- Go over the frame again with the same technique and the warm white paint. (These will dry really fast because you are only putting a very light coat of paint on each time. However do make sure everything is dry before continuing onto the next step.)
- Glue the four frames together with the wood glue. Add a wood strip across the back and secure with nails. This will hold everything together while the glue sets. Allow this to dry completely before continuing.
- Add a couple of sawtooth hangers to the back while you have it upside down, if desired.
- While the rest of the shadowbox is drying, paint any elements that require paint. I used a few wood letters to spell out “SEA” and painted them with the ice blue paint.
- Once everything is dry, grab your wood grain paper and Mod Podge.
- Cut the paper to the size of the shadowbox openings and decoupage into place by applying Mod Podge to the back of each sheet of paper. Allow these to dry completely before continuing. Weight down your paper if needed to keep it nice and flat while drying.
- Grab mementos from all of your beach vacations and play around with them inside of the boxes. Once you are happy with the placement just use hot glue to secure into place.
- After everything has dried, your shadowbox is ready to display!


What a great way to preserve those special pieces collected over the years! These look fantastic in your coastal inspired bathroom! XO
Great idea to make a living room summery, Angie! So lovely!
That’s awesome Angie. I love the boxes you made to showcase all your pretties!!
Nancy
This is really cute Angie. The paint combination worked great on the wood. I’m ready for the beach. How about you?
Great tutorial and so pretty!
I’m in awe of how ‘beachy’ those frames turned out, and along with the fabulous contents, the whole project is darling!
Love how they turned out… especially love how you painted them and of course the pretty shells!
Angie, I love technique for weathering wood. I have some old frames, and I think I’ll try something like this now that I’ve seen yours! Pinning your super cute project!
This is so cute! How creative using the back side of the wood panels! Love!!
This is fabulous wall art and on the inexpensive with a high-end look! I love the finish on the frames. Fun touring with you!
Awesome beach project,love it so much. Think will see if can’t get hubs to make 4 alike frames in case I can’t find 4 at thrift store.Think I have everything else, sure hope so.I have obviously missed some of your posts,a beach post would remember. This is spectacular.
Been thinking could use some new beach decorations,been using same ones for few years.
sure glad I clicked on this post.
Enjoy rest of your week