Burlap Pumpkin Wreath Video Tutorial
If you're a visual person, you can just watch me make this burlap fall wreath in the video below!
Can’t watch the video or missed some of the steps? See the instructions below!
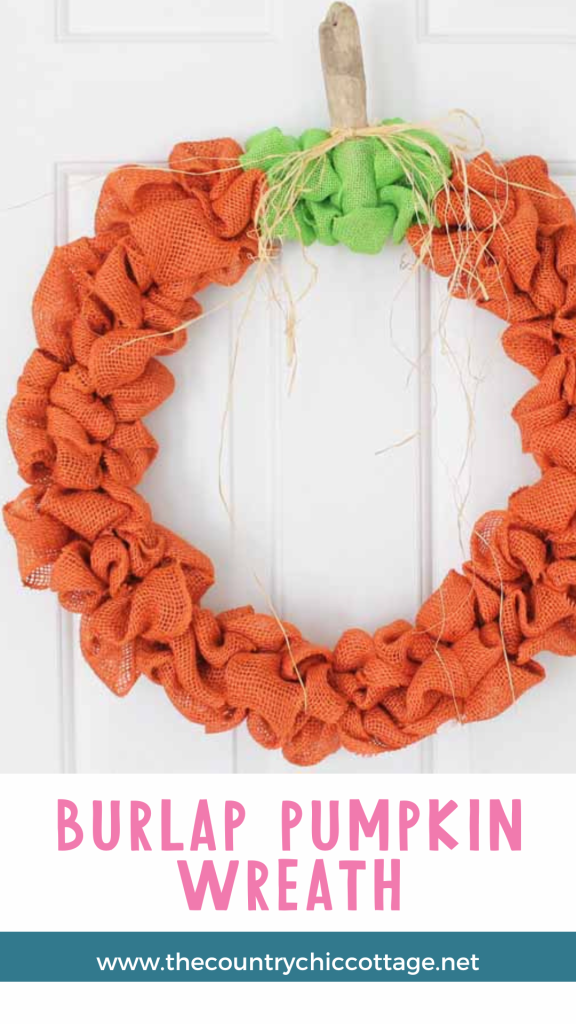
How To Make A Burlap Pumpkin Wreath
You can make your own cute burlap pumpkin wreath in minutes, so grab your supplies and follow our step-by-step instructions!
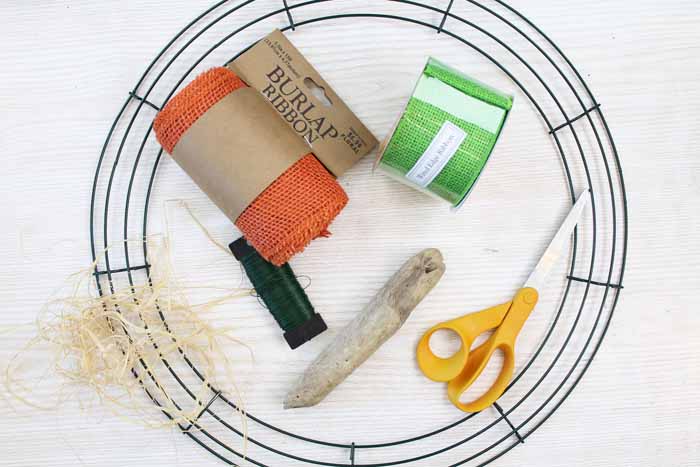
Supplies Needed To Make Burlap Pumpkin Wreath
- Orange burlap ribbon
- Green burlap ribbon
- Wire wreath form
- Floral wire
- Raffia
- Driftwood piece
- Scissors
- Hot glue and glue gun
Step 1: Cut Floral Wire
Start with your orange burlap and your wire wreath form. Cut a segment of floral wire.
Step 2: Add Floral Wire To Orange Burlap
Then, put it through the end of the orange burlap ribbon. Secure the end anywhere on the inside edge of the wreath form by twisting the floral wire.
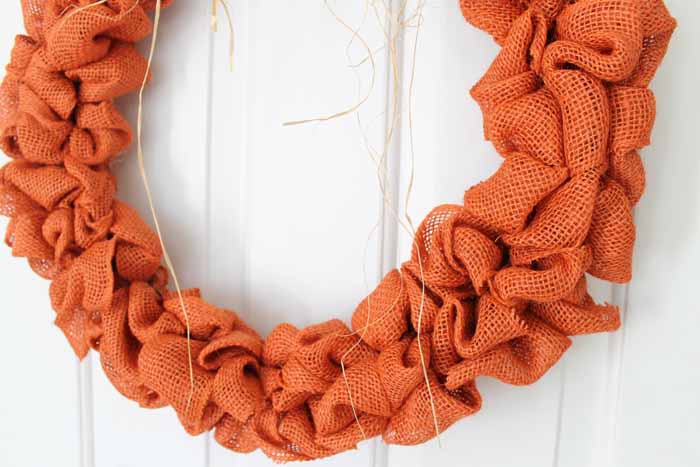
Step 3: Start Adding Burlap To The Wreath Form
Start from the back of the wreath and put the orange burlap ribbon up through the first segment of the wreath form.
Step 4: Make Bubble With Burlap
Make a “bubble” with this piece of burlap ribbon; however, do not pull it all the way through.
Step 5: Make Another Bubble With Burlap
Go to the next segment and make another bubble. Repeat for the third and final segment.
Step 6: Twist Burlap Ribbon
Then twist your burlap ribbon twice and go back through the first segment, making another bubble right next to your first one.
Step 7: Repeat Steps 4-6 For Entire Wreath
Continue like this around your wreath form. Leave a small area at the top for some green burlap ribbon.
Step 8: Add A Second Roll Of Ribbon
To start the second roll of ribbon, when your roll ends, overlap the two ends. Then, add floral wire through both pieces. Secure them to the wreath form by twisting the wire. When you are done, the floral wire should also be used to secure the ends of the burlap ribbon.
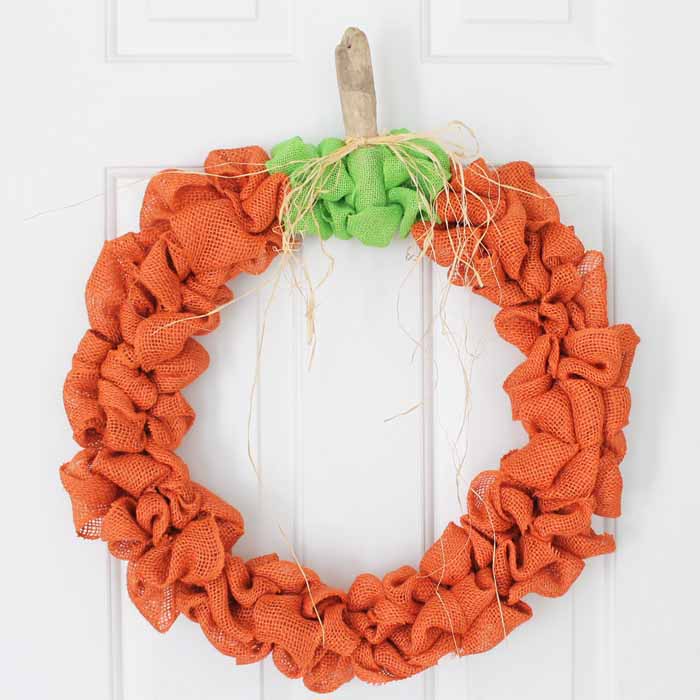
Step 9: Add Driftwood Stem
Once you have added all of your orange ribbon and a little green, you're ready to add a stem. Secure a piece of driftwood in your wreath with hot glue.
Step 10: Tie On Raffie
Tie on some raffia pieces to complete your burlap pumpkin wreath.
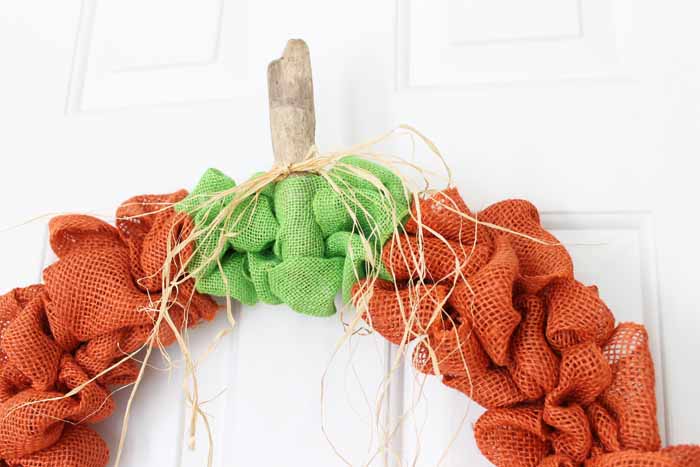
This burlap bubble wreath is perfect for your home this Fall. Imagine this one on your front door or above your mantel.
Be sure to add the supplies for this burlap Fall wreath to your shopping list. You are sure to love the results!
FAQs About Burlap Pumpkin Wreath
If you have any questions about this burlap pumpkin wreath, feel free to ask in the comments if your question hasn't been answered already below!
Can I Change The Size Of The Wreath?
Absolutely! You can make this wreath any size you like. The only thing to keep in mind is that you may need more or less burlap depending on the size of the wreath form you are using.
I Don't Have Burlap Ribbon, Can I Use Regular Burlap Instead?
Yes, you can. If you use regular burlap (instead of ribbon), I would cut it into long strips (about 5.5” wide) and attach it to your wreath form in the same manner as I showed above.
Where Do You Get Driftwood Pieces?
You can find driftwood pieces online, at your local craft store, or even on Facebook marketplace.
Do I Have To Use Driftwood For This Project?
No, you can use a regular stick from your backyard or ”wood stems” from your local craft store!
5 More Burlap Wreath Crafts
Did you love this burlap pumpkin wreath and want more burlap wreath crafts? Then check out the projects below!
- DIY Flower Wreath Made From Burlap
- Fall Burlap Wreath from the Dollar Store
- Heart Wreath Made with Burlap Ribbon
- How to Make a Burlap Wreath
- Fall Burlap Wreath: Make This For Your Home