

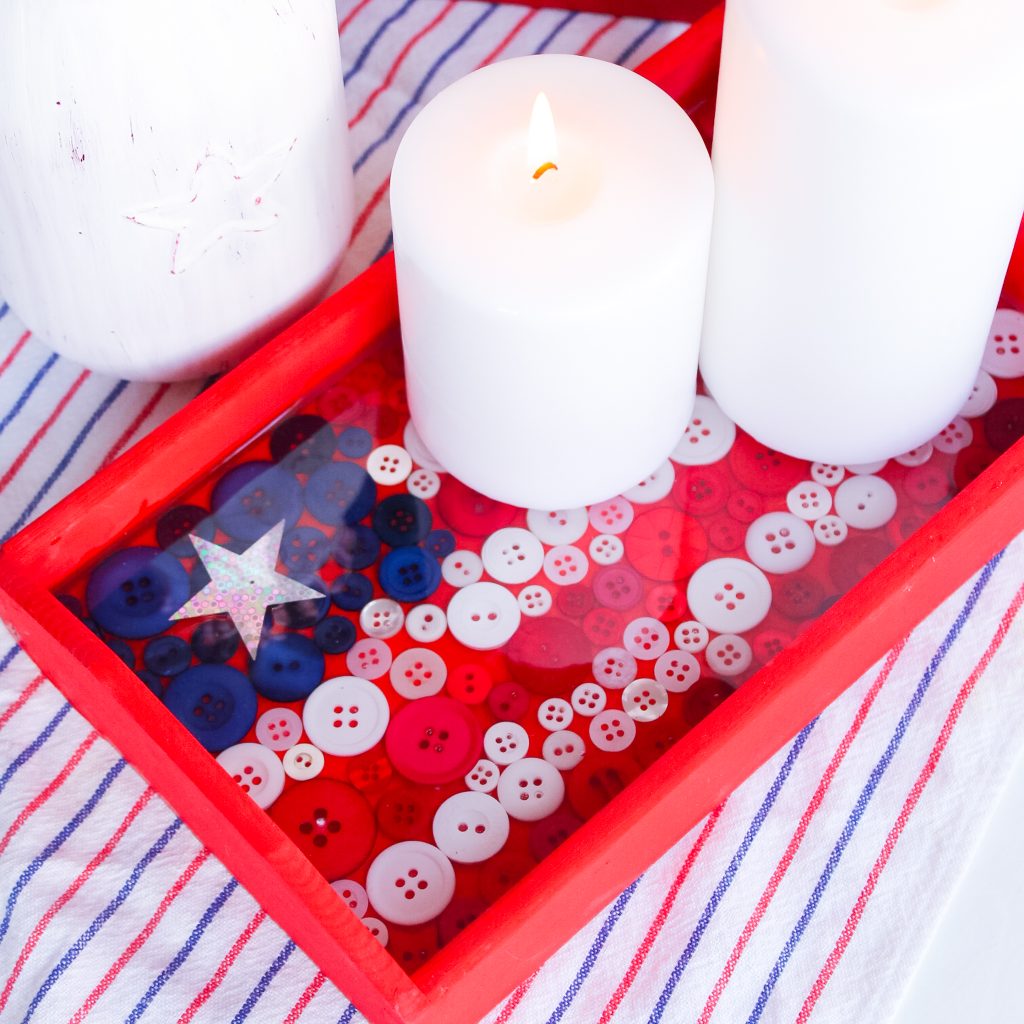
This 4th of July tray is the perfect patriotic to try this summer. It features red, white, and blue buttons, along with an epoxy finish for durability. Don’t let the epoxy intimidate you—I’ve included step-by-step instructions to guide you through the process!
How To Make A Button 4th Of July Tray
It is that time of year when I love adding patriotic decor to my home. I am still in love with this one today. Grab your supplies and get started on your version soon! This patriotic tray will be perfect for any 4th of July or summer party you are planning.
Use your button flag tray to serve up drinks or snacks at your party. Or just display it with your other patriotic decor. You will love this one for years, just like I do!
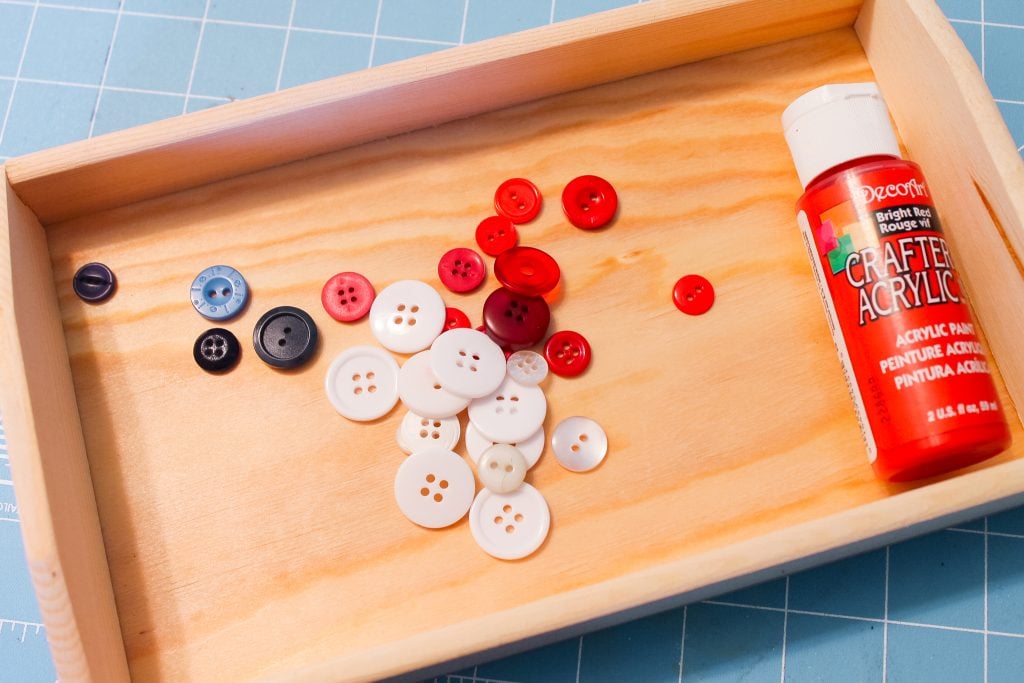
Supplies Needed To Make 4th of July Tray
- Unfinished wood tray
- Bright red paint (I used the one pictured below from DecoArt)
- Assorted red, white & blue buttons
- Hot glue gun & hot glue sticks
- Silver sticker
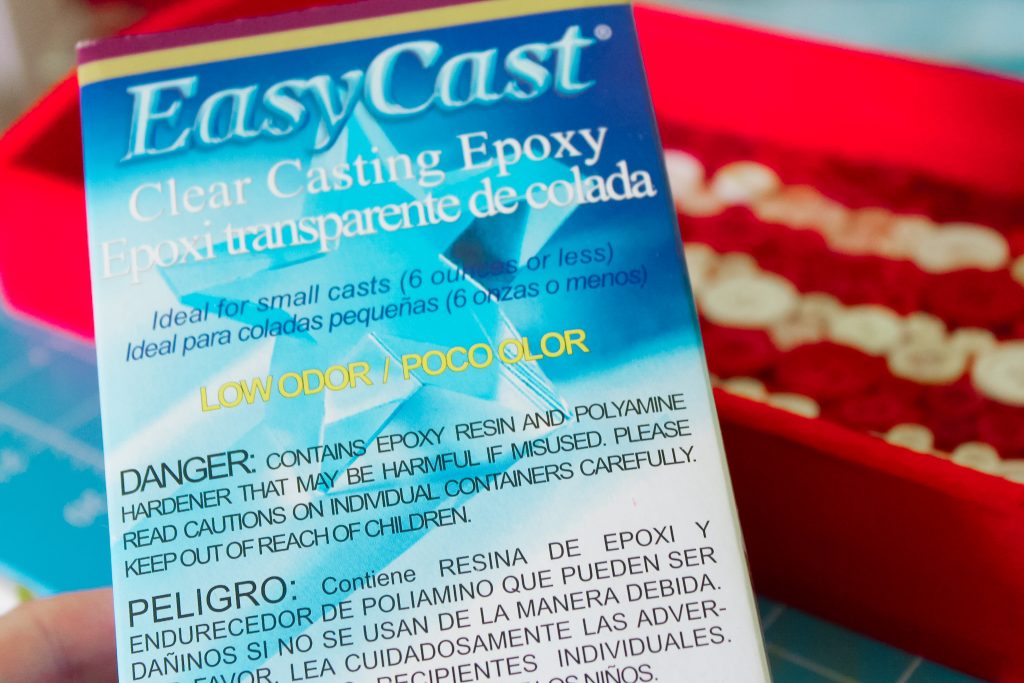
- EasyCast clear epoxy
- Lighter
- Wax paper
- Disposable plastic mixing cups (at least two – ones with measurements on the side work best)
- Stir sticks (large wooden craft sticks work great)
- Craft knife
NOTE: Making this button tray takes a bit of patience (thanks, epoxy), but the results are so worth it! And don’t worry, I’ll help you every step of the way.
Step 1: Paint Tray Red
First up, paint your wood tray red with a few coats of paint and allow it to dry.
Step 2: Glue Buttons To Tray
Then, start laying out your buttons in a flag-like pattern. Get your pattern set before you start adding any glue.
Gluing your buttons will take a while. Lift each one and add a small drop of hot glue. Glue it into place and move to the next one.
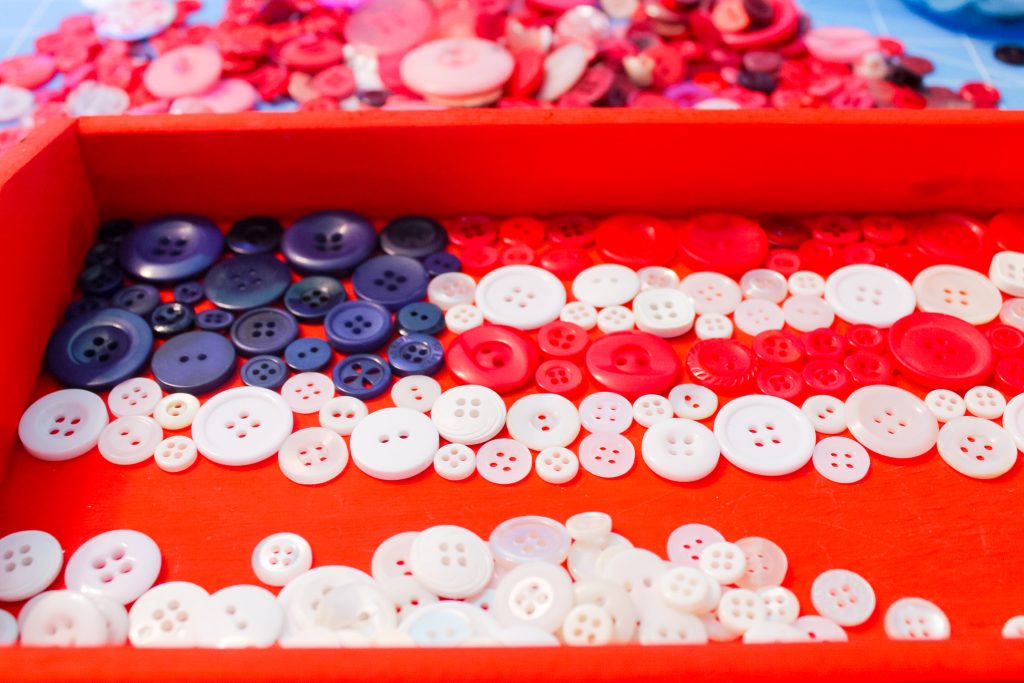
Repeat until you have a button flag at the bottom of your tray.
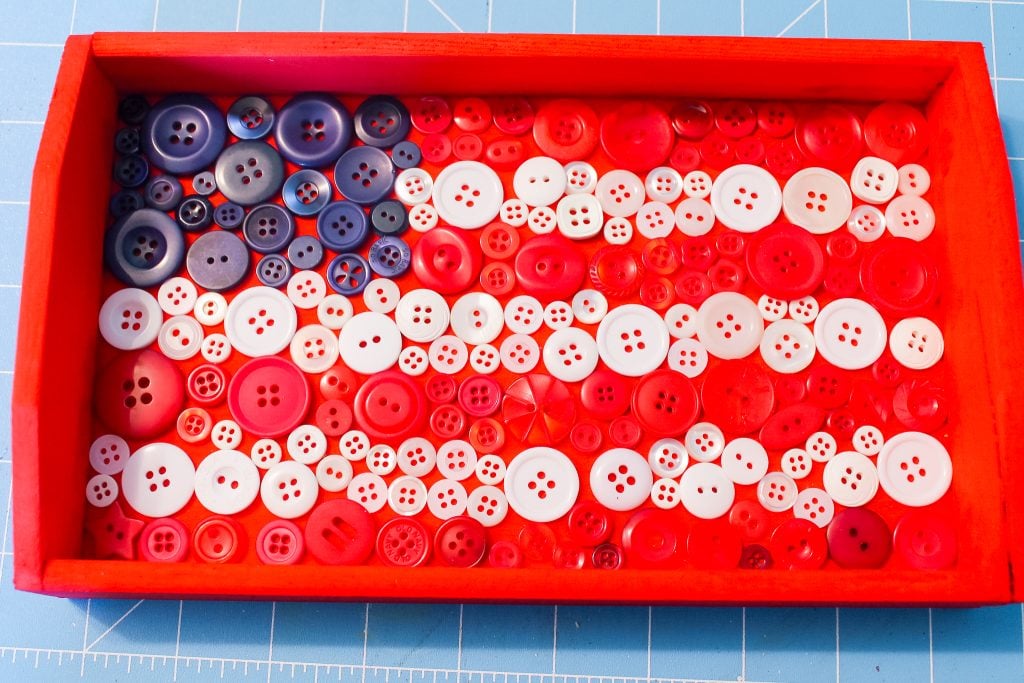
Step 3: Add Finishing Touches
Glue the silver star right on top of the center of the blue button section of your button tray.
You might also find you have a ton of hot glue strings on your project. Just use a hair dryer to remove those before continuing.
Step 4: Set With Epoxy
Place wax paper under your 4th of July tray.
Now, it is time for epoxy. Don’t be scared. This is simple, and I'll show you how. The most critical part is following the directions in the package. Here are a few tips and tricks:
- You need an exact 1 to 1 ratio, so measure each part first in your disposable measuring cups.
- Protect your work surface with wax paper, and wear gloves to protect your hands. Have plenty of rags on hand as well.
- Pour the two parts together and mix with craft sticks. Again, these are disposable.
- Follow the mixing instructions exactly. So if it says mix for 2 full minutes, do so.
- When pouring, spread out as much as possible, and be sure to get all areas, even the corners.
Step 5: Clean Up The Epoxy
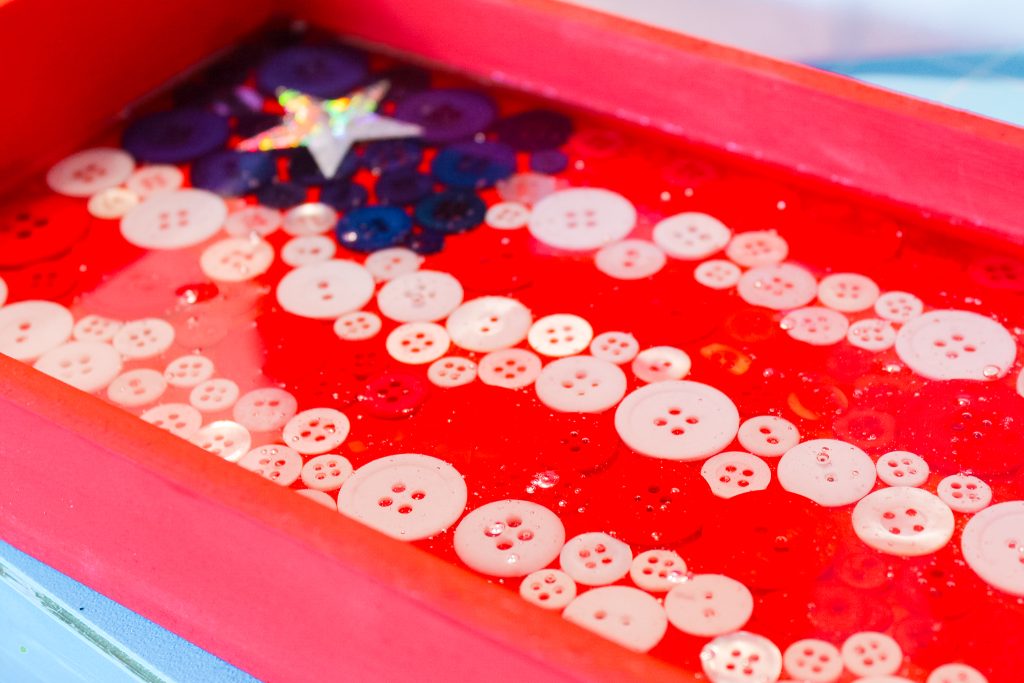
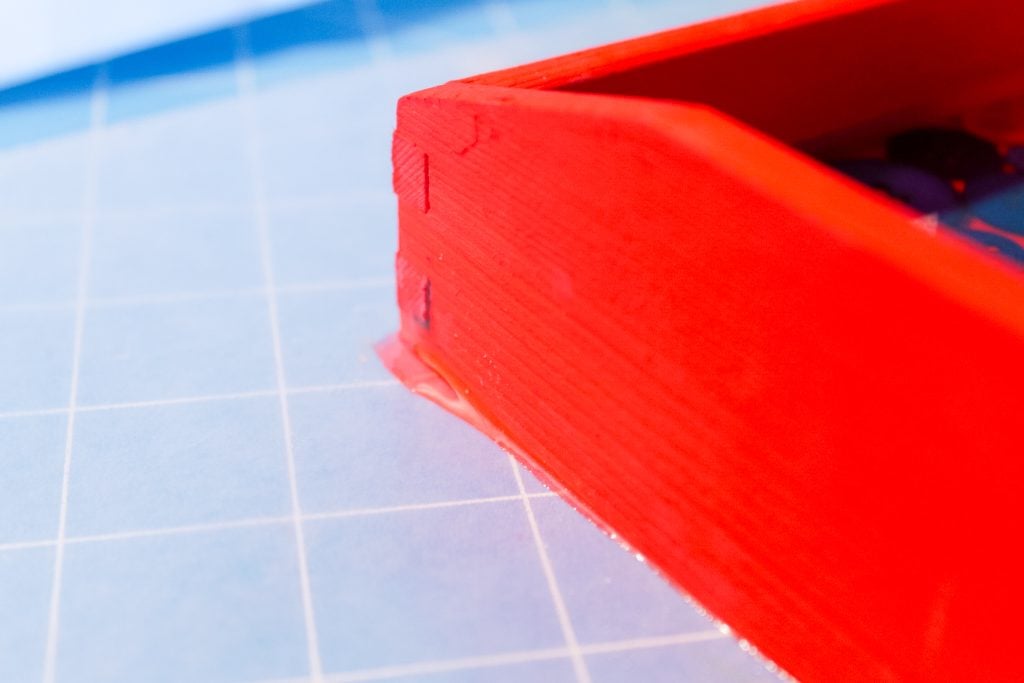
After you pour your epoxy, your 4th of July decor tray will look a little like the image below. Boy, all of those bubbles sure do mess things up, right? The epoxy is formulated so that those bubbles will rise up to the top.
Now, it is time to pop them.
Wave a lighter over the surface, being cautious not to actually touch the epoxy. As the bubble heats, it will pop, and you will be left with a smooth surface.
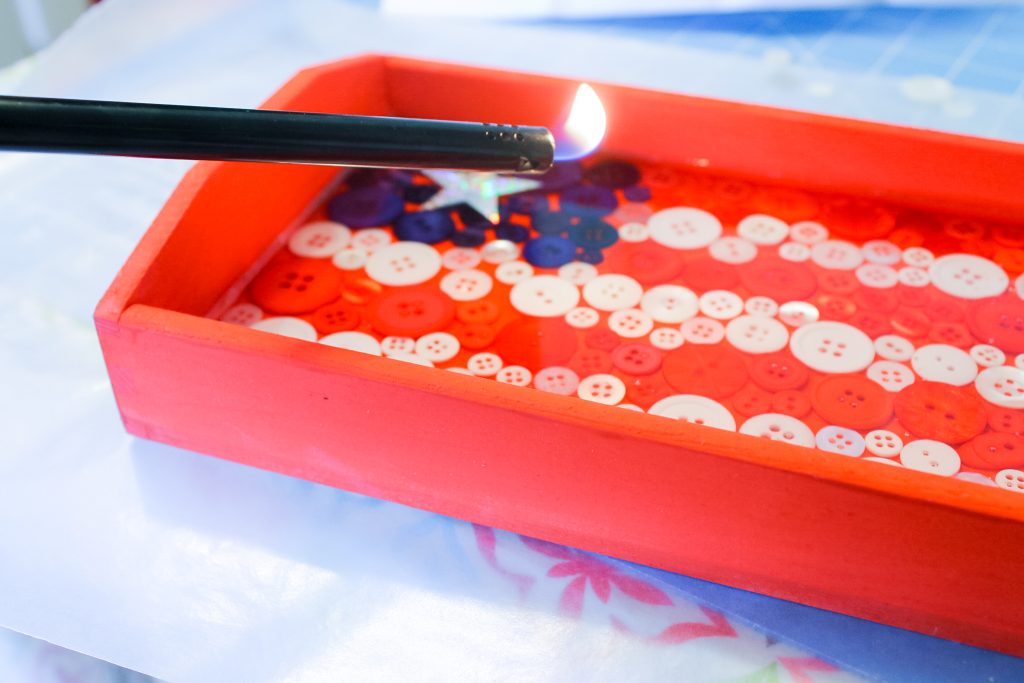
Use a craft stick to pop any bubbles around the edges. You will have to repeat this process several times during the first 30 minutes or so of drying time.
Now, not every craft project is perfect, y’all, and I learned a little something during this one. Always protect your work surface, as sometimes you look down and realize that your tray has small holes in the corners, apparently.
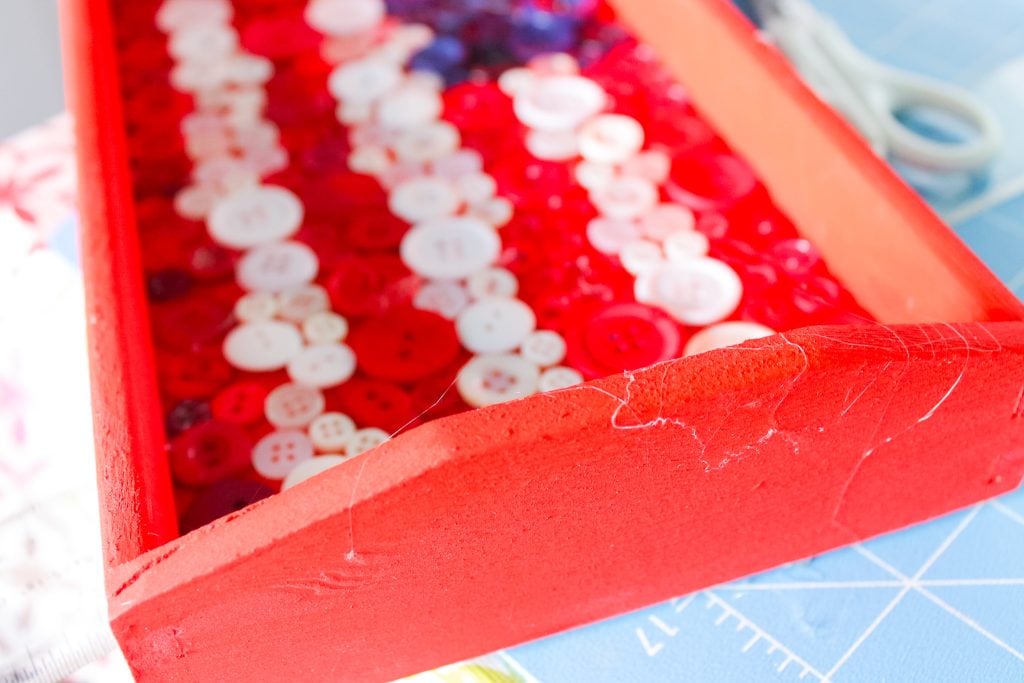
I used a rag to clean up several times and changed my wax paper once. Eventually, the epoxy stopped coming out, and all was fine. The next morning, I had two corners that looked a little like the one below.
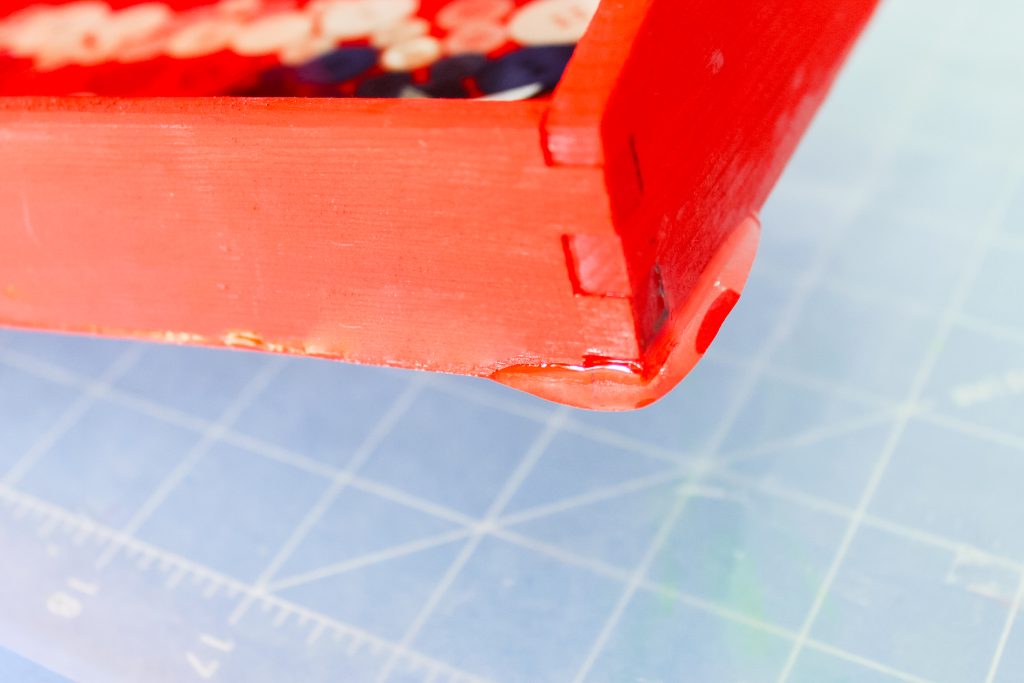
Just use a craft knife to cut away that excess, and your project is done. Be sure to allow the epoxy to cure for a full 24 hours before using it.
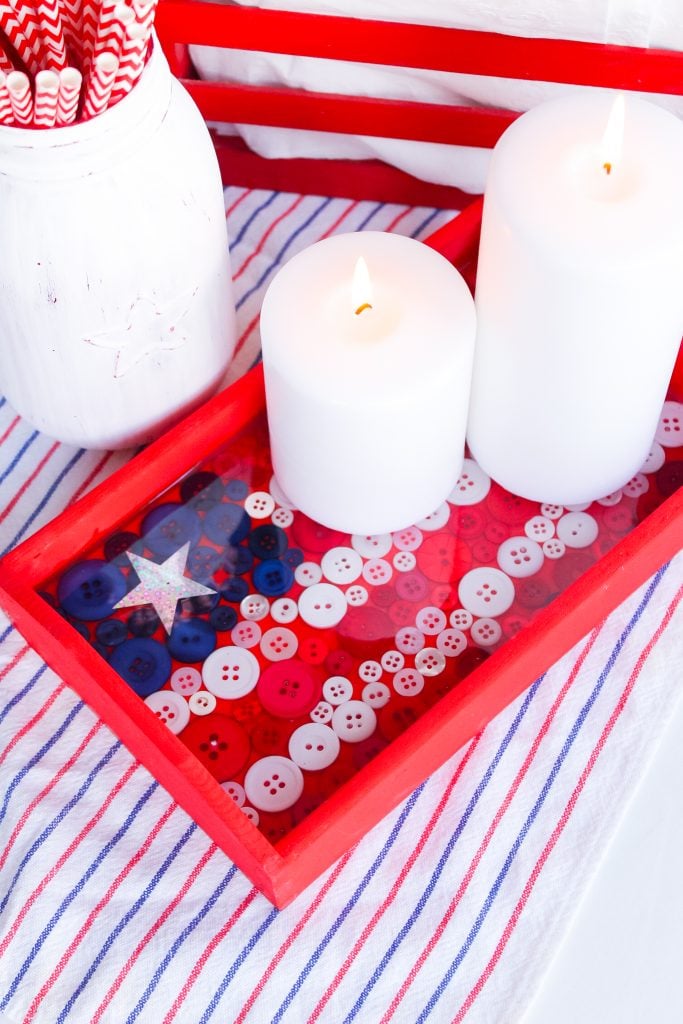
Once your button tray is complete, you are ready to display it all summer long!
FAQs About 4th Of July Tray
Need help with your 4th of July tray? I'm at your service! If you have any more questions, please leave them for me in the comments below.
Can I Adjust The Size Of This Tray?
Yes, you can! You can make this tray as big or as small as you would like. The only thing to remember is that you may need more or fewer buttons depending on the size of the tray that you use.
Is This Button Tray Food-Safe?
This button tray can be food-safe, depending on the epoxy coating you choose to use; the one I linked in the materials is safe to use!
Always check the packaging for food-safe certification before using it to serve food.
How Should I Use This Tray?
This button 4th of July tray is perfect for serving up snacks like chips and dip or a delicious charcuterie spread!
You can also use this tray decoratively on a coffee table, ottoman, or side table. Dress it up with other festive touches like our patriotic mason jar centerpiece.
How Can I Use This Tray Year-Round?
While this tray could definitely be used all year, some of us prefer to decorate seasonally. Lucky you – this project is customizable based on the colors and motifs of your choice.
Simply swap out your paint color and buttons for your favorite color or a classic neutral that can be dressed up throughout the year.
5 More 4th Of July Crafts
Did you love this 4th of July tray and want even more 4th of July crafts? Then check out the ideas below!
- How To Make A DIY Patriotic Banner in Minutes
- Framed Patriotic Wreath
- 4th of July Party Favors: Rolo Firecrackers
- 5 Minute Patriotic Centerpiece
- Patriotic Door Decor Anyone Can Make in Minutes


Love this idea! I am going to have to add this to my list of things to do…thanks so much!
Oh, that is so great. I need to get some buttons out now 🙂