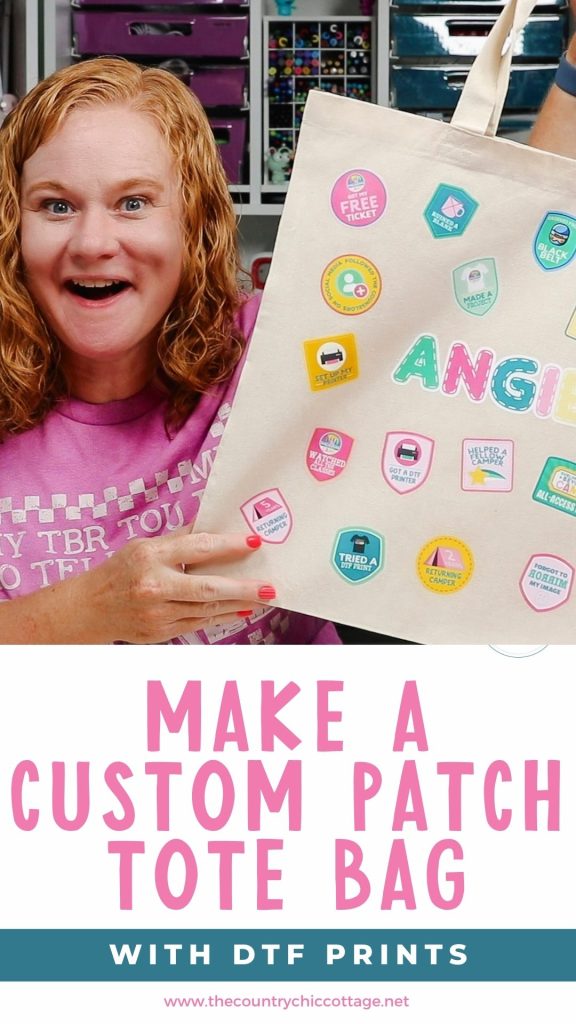
I'm very excited to share today's project with you. I've had the idea to make a custom patch tote using DTF designs instead of actual patches, and I love how this project turned out.
Patches are everywhere right now. It's never been easier to get custom patches that you can add to backpacks, jackets, pouches, and more. From embroidered patches to chenille patches, they're everywhere, but oftentimes, for custom patches, you have to place a minimum order.
Using DTF prints, we can get a similar look, and we don't have to order 10 of the same patch.
Want to learn more about DTF (Direct to Film) printing? My Beginner's Guide is a great place to start.
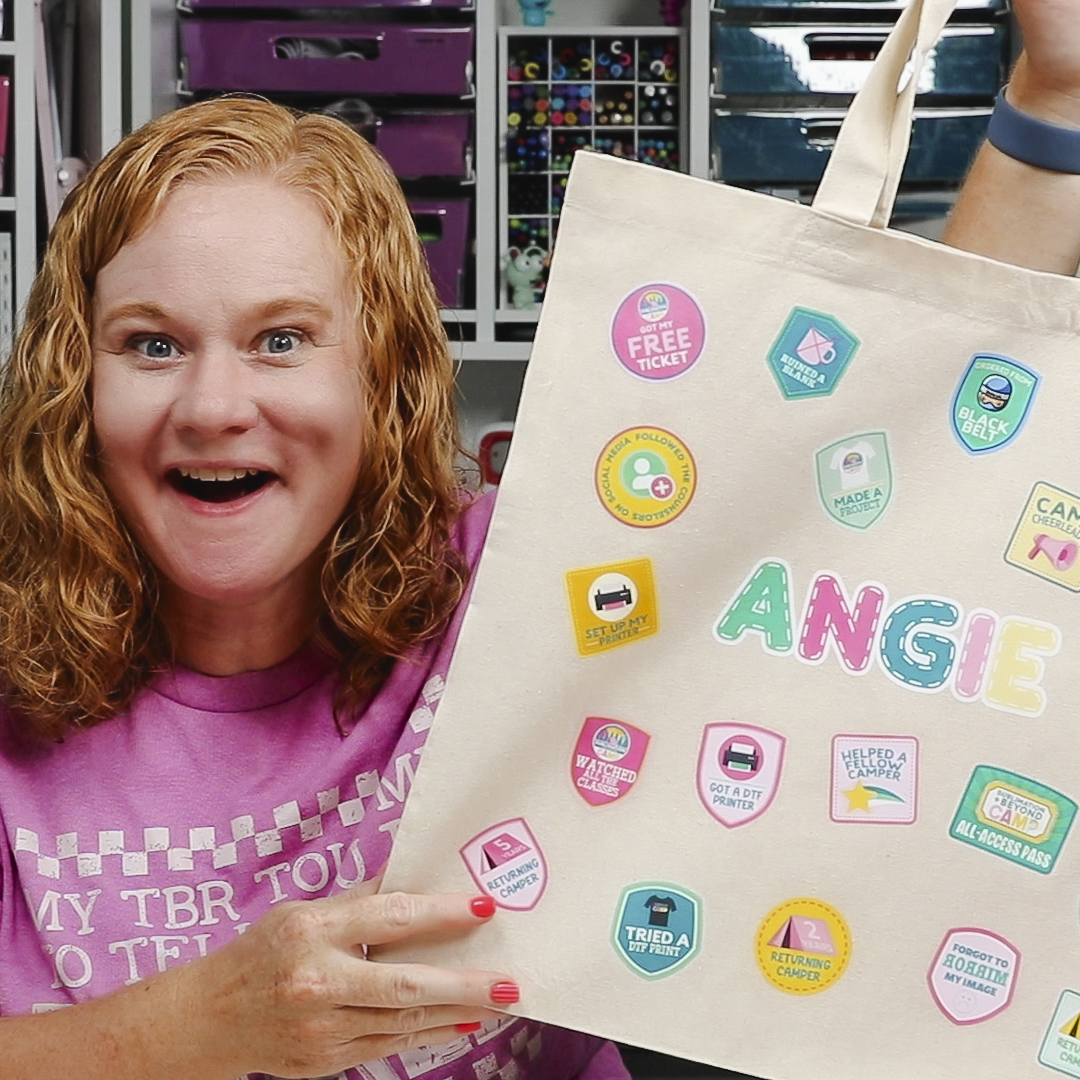
An added bonus of using DTF transfers for your patches is that you don't have to worry about the edges of the patch lifting, as can happen with some of the thicker patches that are often sewn on.
The patches I'm using are a collection of badges from Sublimation Camp, and I love the colors and layered look.
How to Make a Patch Tote with DTF
If you've ever worked with DTF before, this process is going to be similar to any other project you've made.
I really think you're going to love how quickly this project comes together. The hardest part is going to be deciding what patches you want to add to your tote.
Supplies Needed
- Canvas Tote Bag
- DTF Prints
- Font Used
- Heat Press
- Heat-Resistant Mat
- Protective Paper
- Paper Dispenser
- DTF Cooling Block/Microfiber Cloth
- Scissors
- Heat-Resistant Tape
Step 1: Choose Patch Designs and Create Gang Sheet
I think the best way to make the most of your DTF order is to create a gang sheet. You can do this right on the Ninja Transfers website, or you can create it yourself in a program like Canva.
First, you need to decide the designs you want to use. The designs I'm using are from Sublimation + Beyond Camp, but you could use anything. The theme options are endless: Gym, travel, dance, back to school, lake days, favorite band, etc.
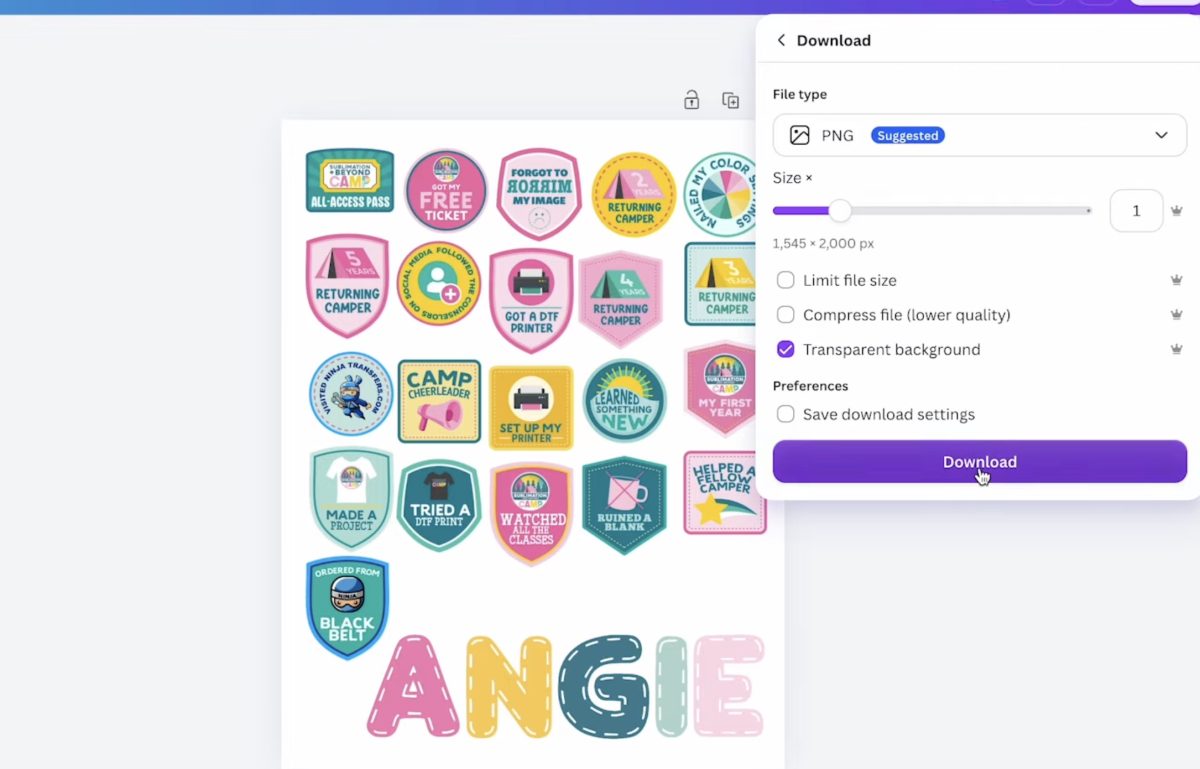
If you want to create the gang sheet in Canva, open a new canvas and make it the same size you want your gang sheet to be. Depending on how many designs you need to order, you can order really long gang sheets, or you can create the gang sheet in Canva and then order it by size.
I am going to order by size today, so I'm making my canvas letter-sized.
Upload the designs to Canva and add them to the canvas. From here, you can resize them to the size you want.
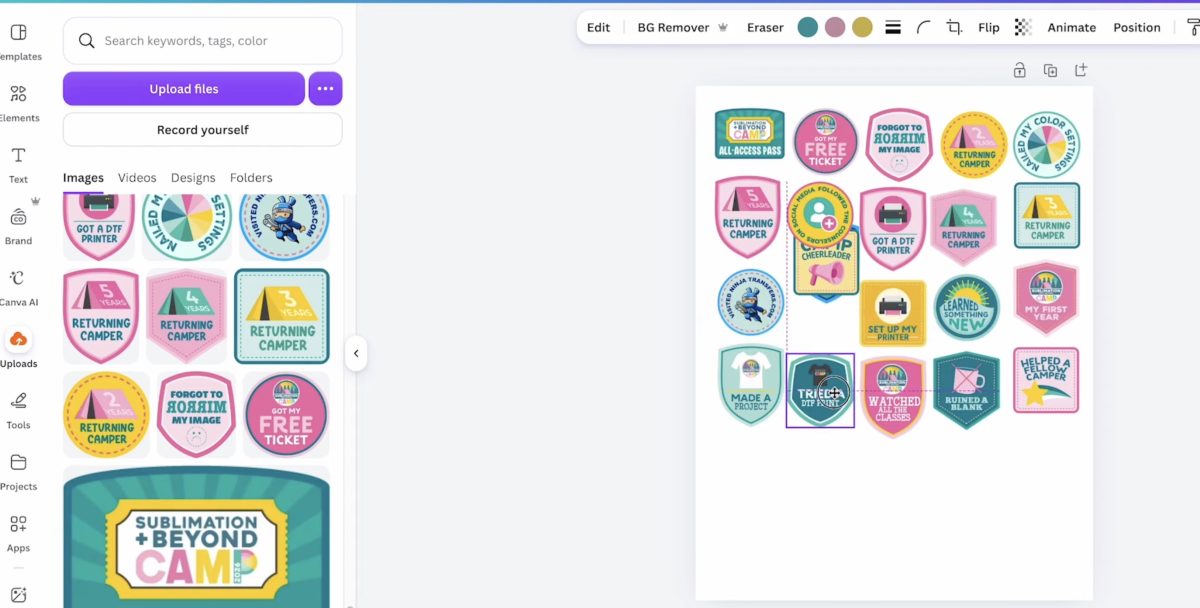
I added my name using this really cute font. I think it matched the patches from camp really well.
When you have everything how you want it, click Share and Download, and save it as a PNG file with a transparent background.
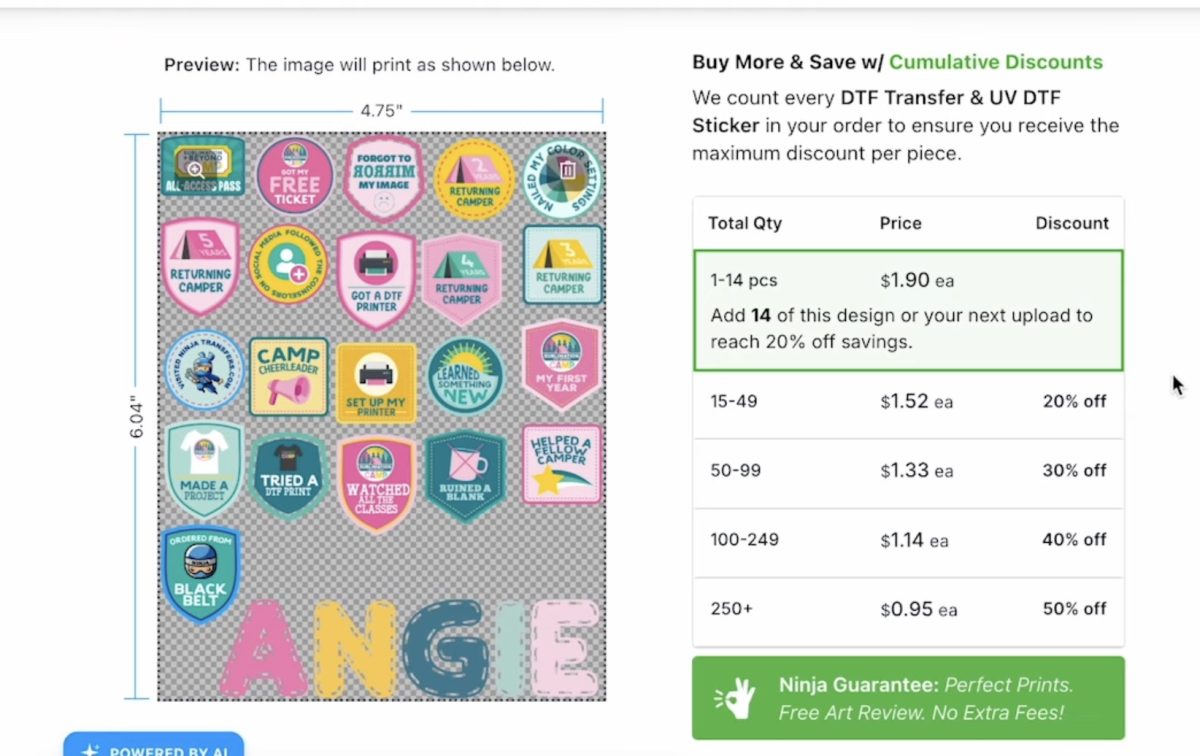
Upload the gang sheet to Ninja Transfers, or the DTF printer you're using, and place the order. If you don't already have tote bags, add those to your order too.
Step 2: Prepare the Tote
Now that we have our order, we're ready to make our patch tote.
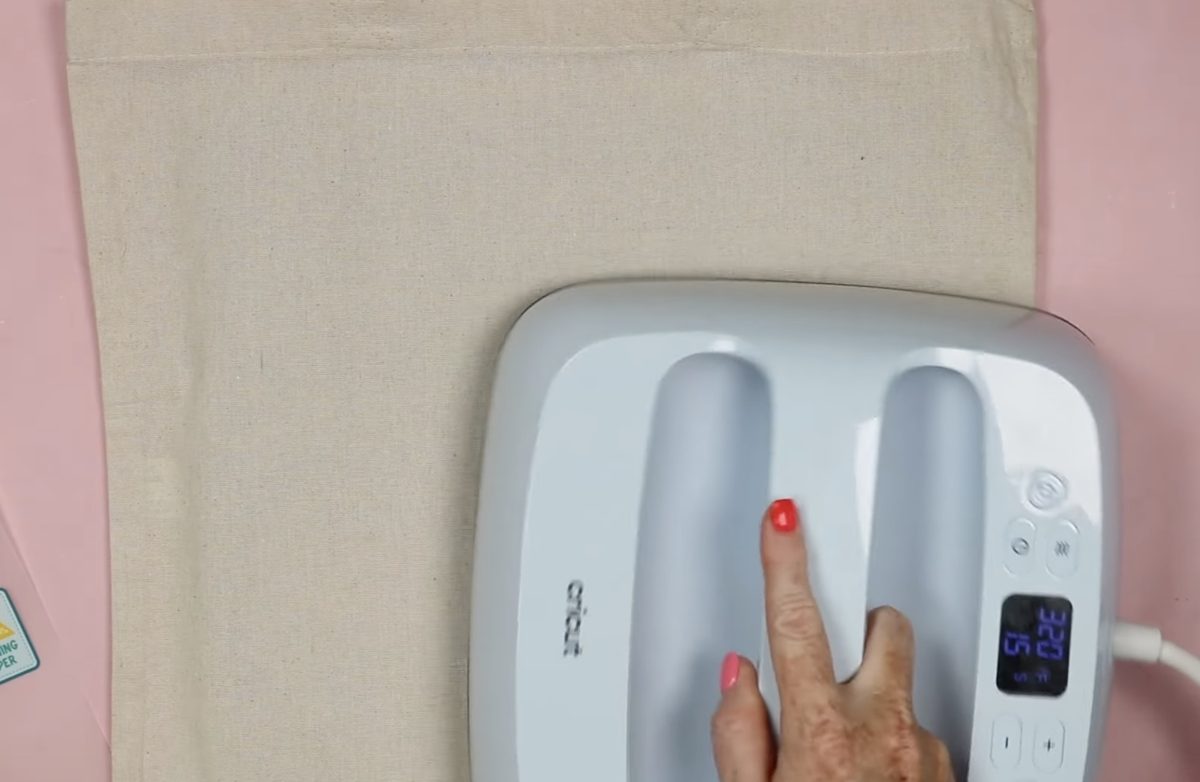
The first thing we need to do is prepare the tote. Place the tote on a heat-resistant mat and do a pre-press to remove any moisture and wrinkles.
One of the things I love about Ninja Transfers is that they have a lot of pressing options. Whether you have a heat press, EasyPress, or home iron, they have instructions for you.
I am using an EasyPress today. I have it set at 320° for 15 seconds.
Step 3. Prepare the DTF Patches
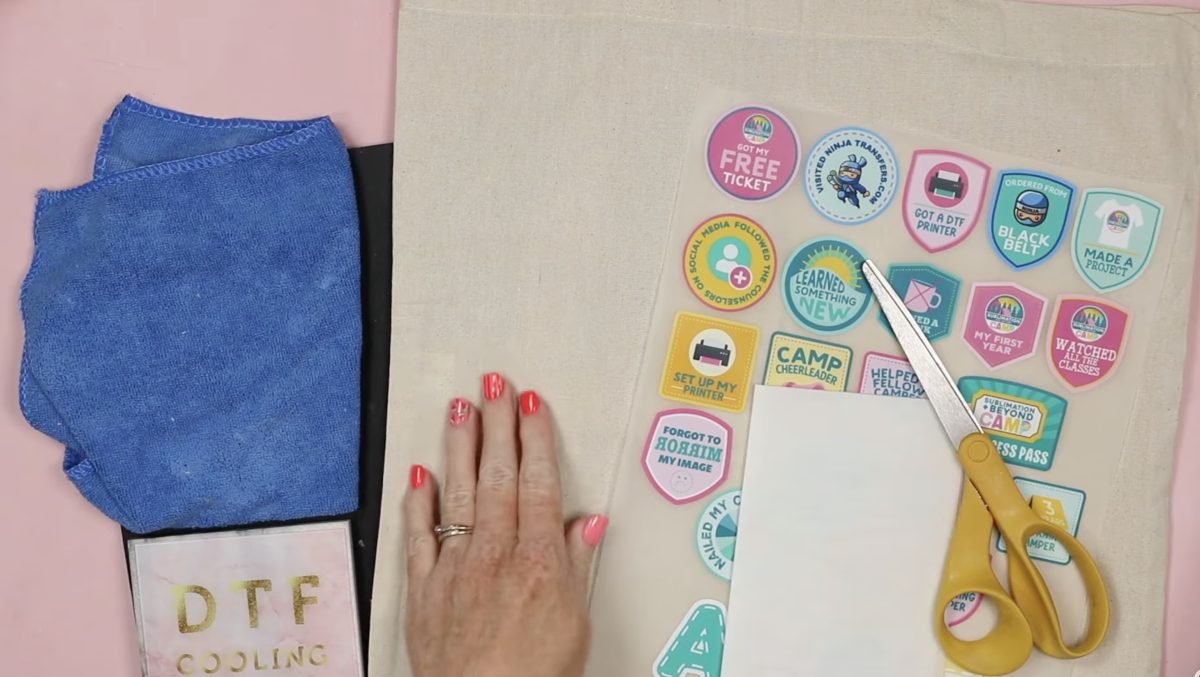
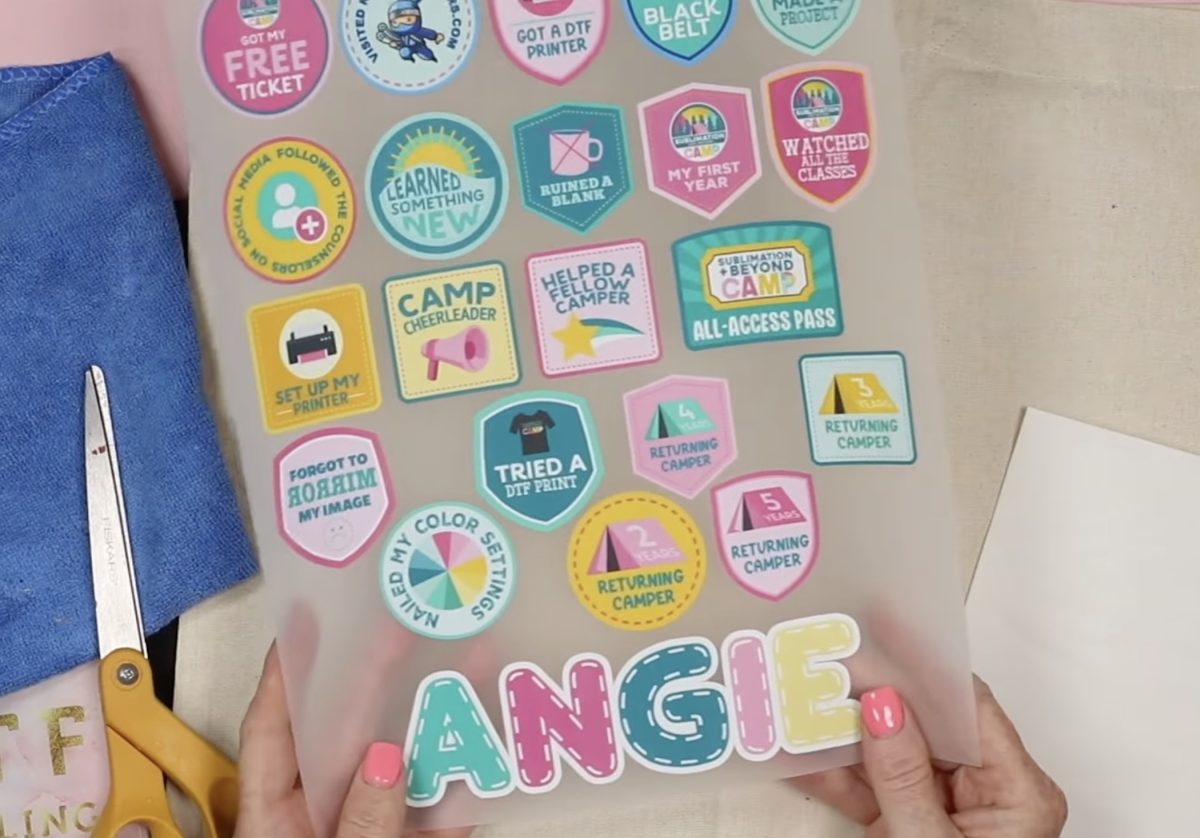
Preparing the DTF patches couldn't be any easier. Simply grab a pair of scissors and cut them apart.
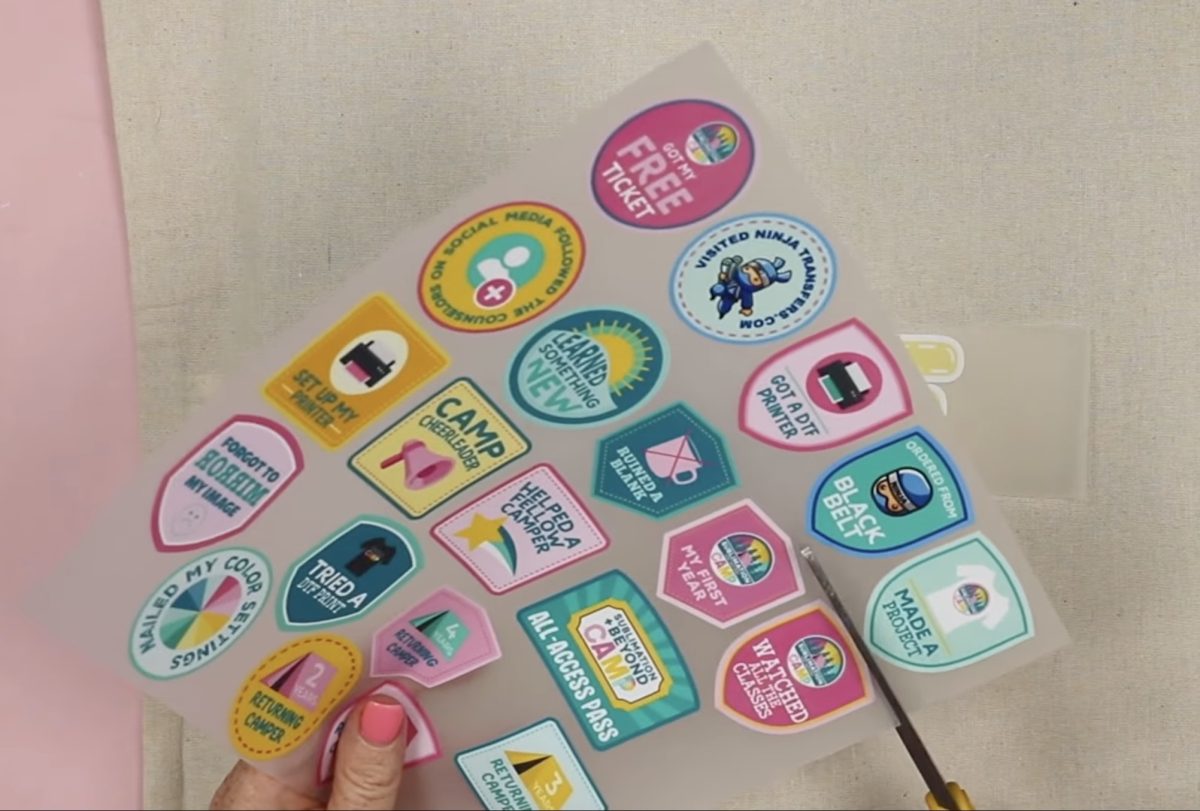
Since I don't know exactly where I want all the patches, I am going to trim them close to the print so I don't have to worry about the carrier sheets and prints overlapping.
Step 4. Locate DTF Patches on the Tote Bag
There is no right way to arrange the patches. You can place them all on one side, all in one corner, or spread them out across the entire bag.
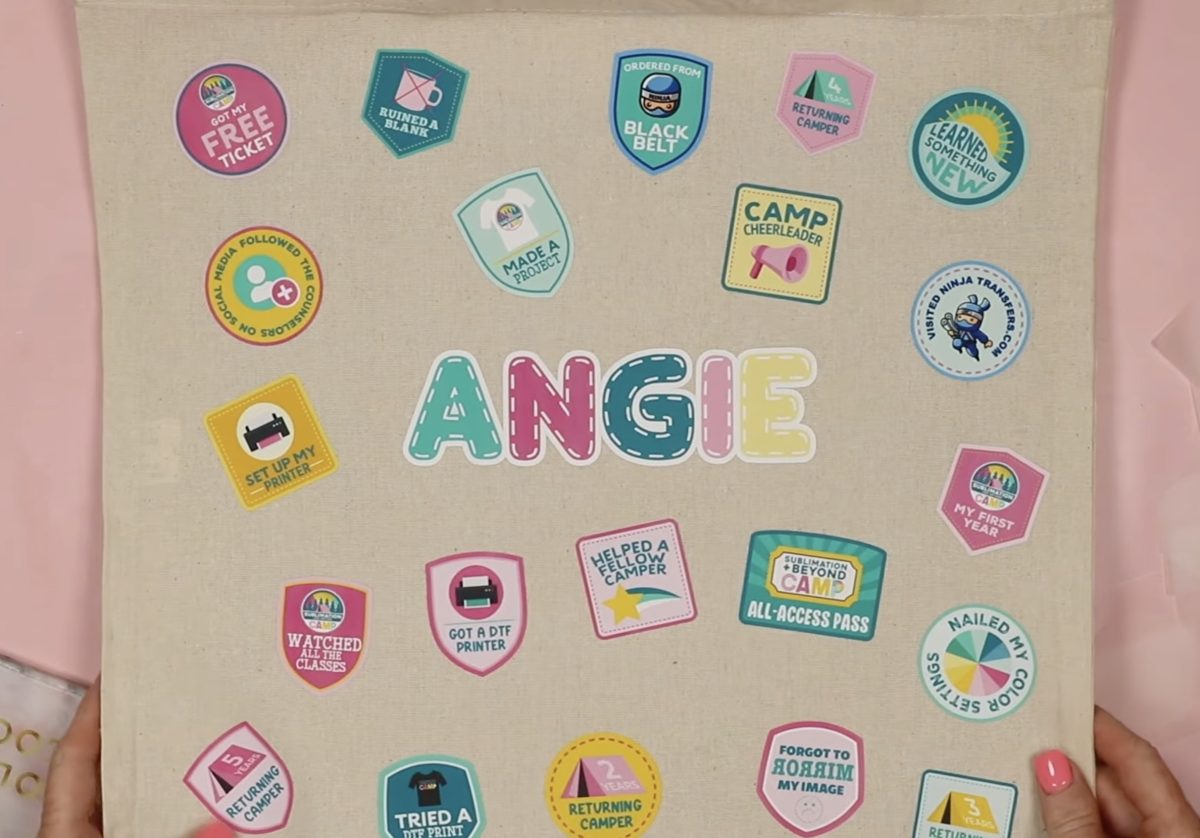
I decided to locate my name print first and then placed all the patches scattered around it.
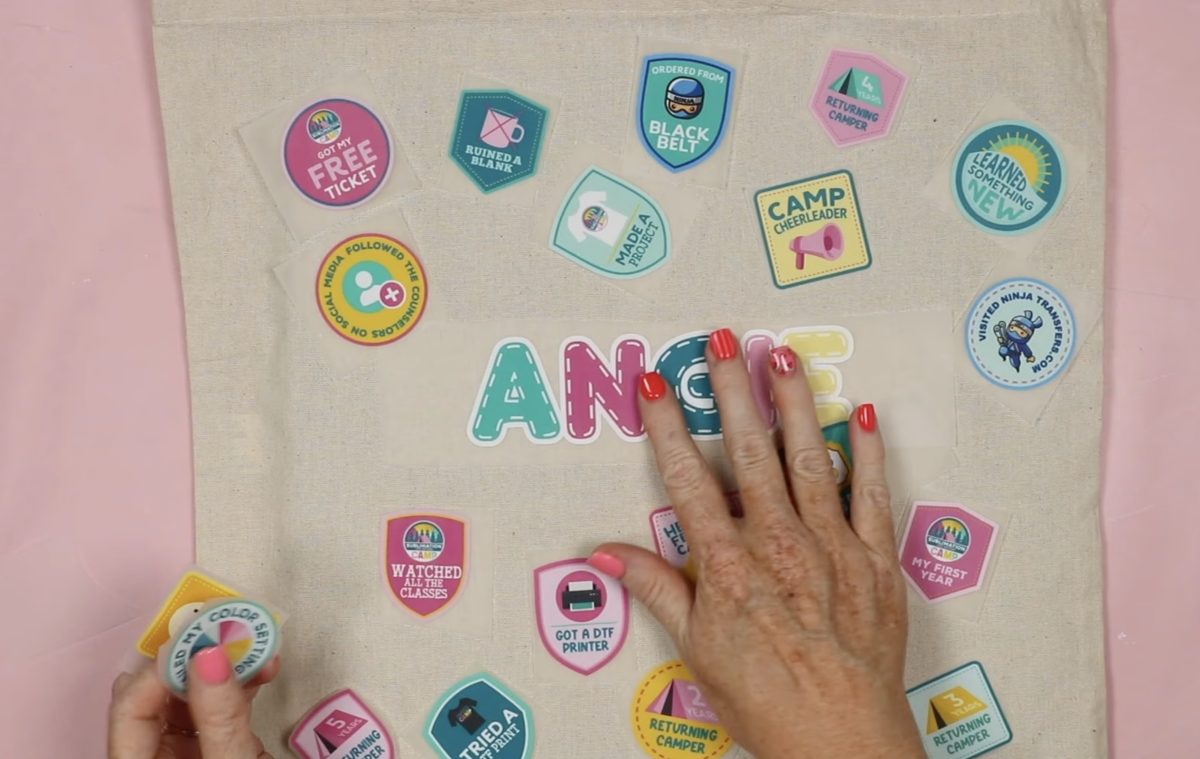
I'm pressing my tote right here. If you need to move the bag over to the press, use a little heat-resistant tape to secure them in place. The DTF carrier sheet is not sticky.
Step 5: Press the DTF Patches on the Tote
With all the patches located where I want them, I'm ready to press.
Because the carrier sheet is still on the DTF patches, I can press right on the print.
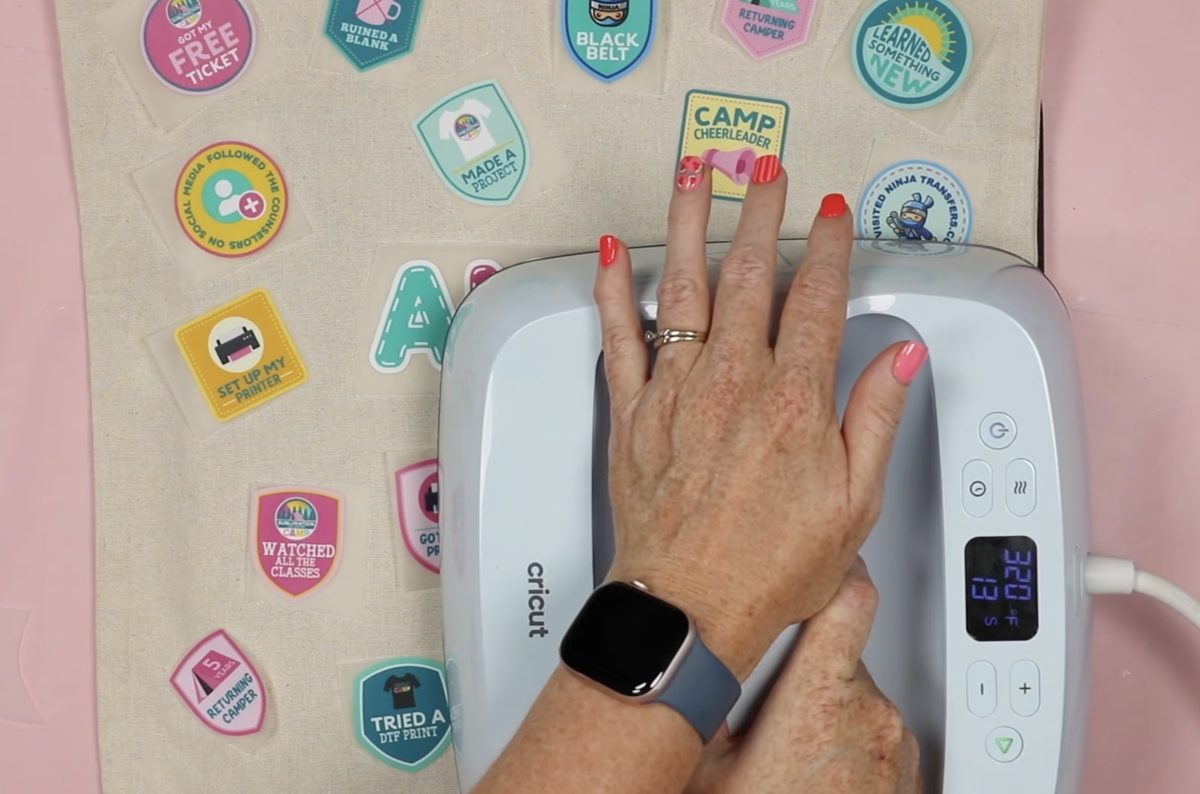
If your heat plate is smaller than your tote, like mine is, make sure you press each section for the full 15 seconds, applying medium pressure.
Don't worry if you overlap the pressing; at this time and temperature, it won't hurt the transfers.
When you're done pressing, allow the DTF to cool a little bit before removing the carrier sheet. You can speed up this process using a DTF cooling block.
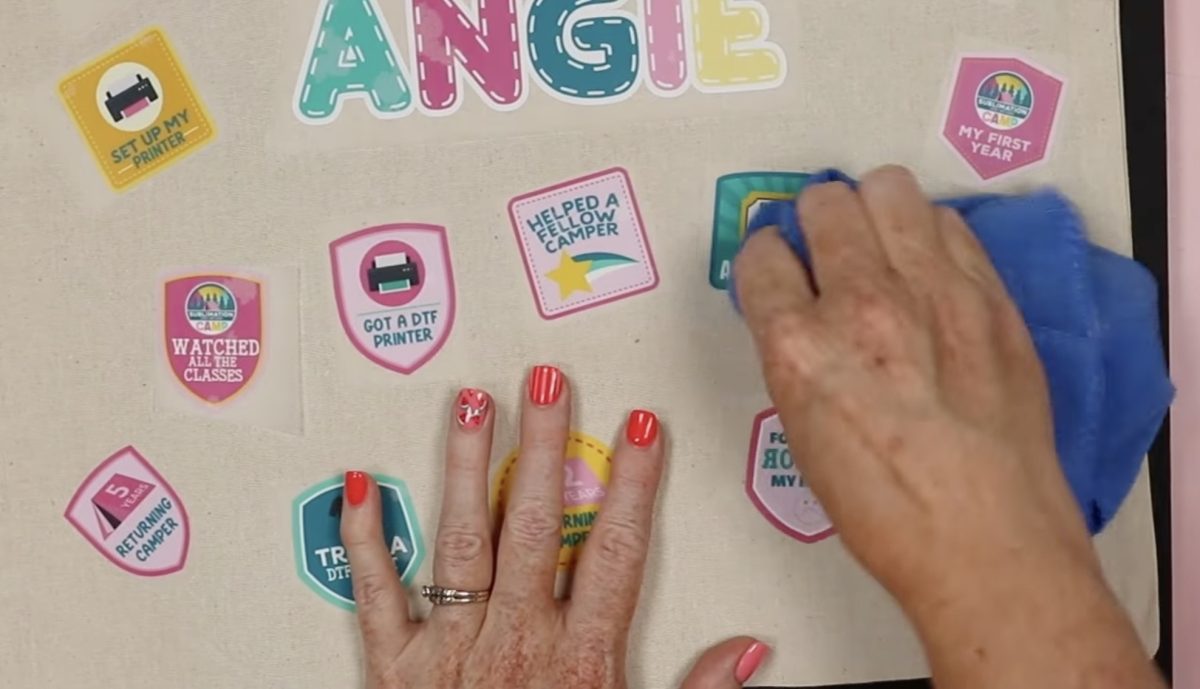
Note: Sometimes canvas bags can be stubborn with heat-activated adhesives. I did not have a problem with the tote bag I used today, but I have had the issue in the past. Using a microfiber cloth to rub the designs into the fabric while it's cooling can really help them stick.
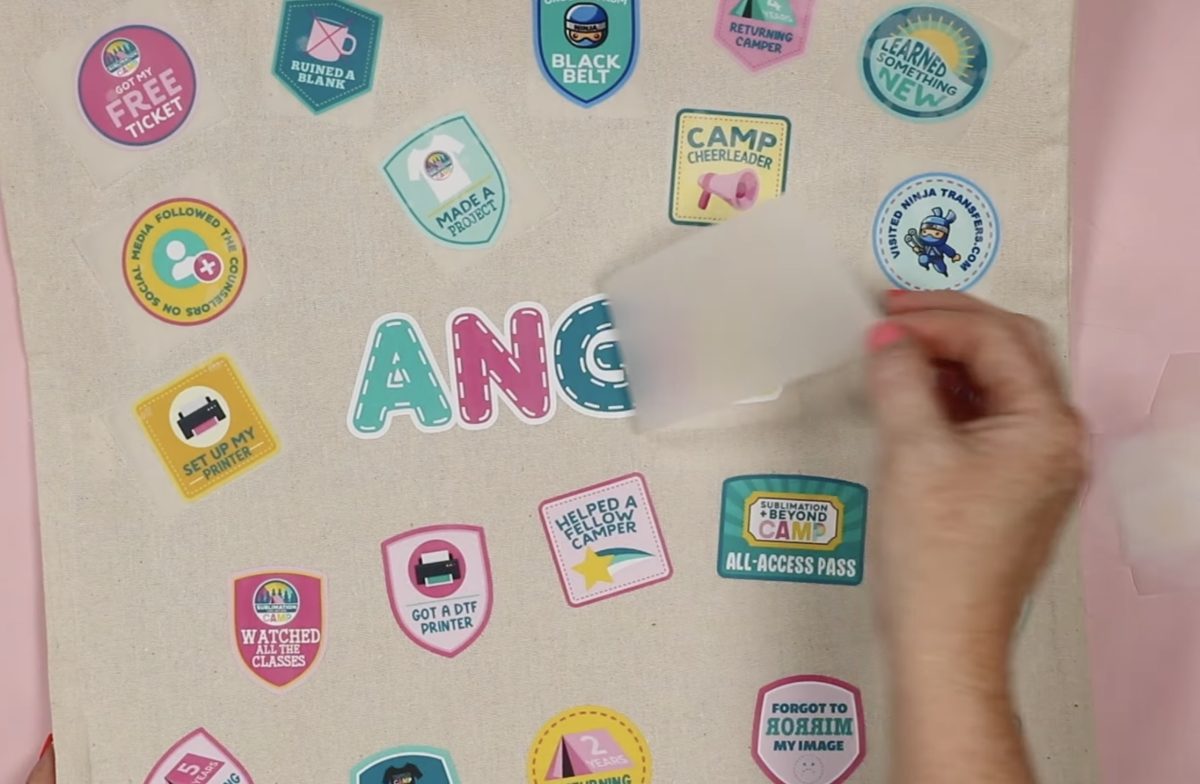
When they're ready, peel back the carrier sheet.
Step 6: DTF Post Press
When working with DTF, I never skip the post-press. This step ensures the adhesive is really pressed into the fibers of the fabric, which will increase the durability and washability.
I also think it makes the whole thing look more professional. It helps the design look more like it's part of the shirt vs sitting on top of it.
Cover the whole tote with protective paper and press everything again at the same time and temperature.
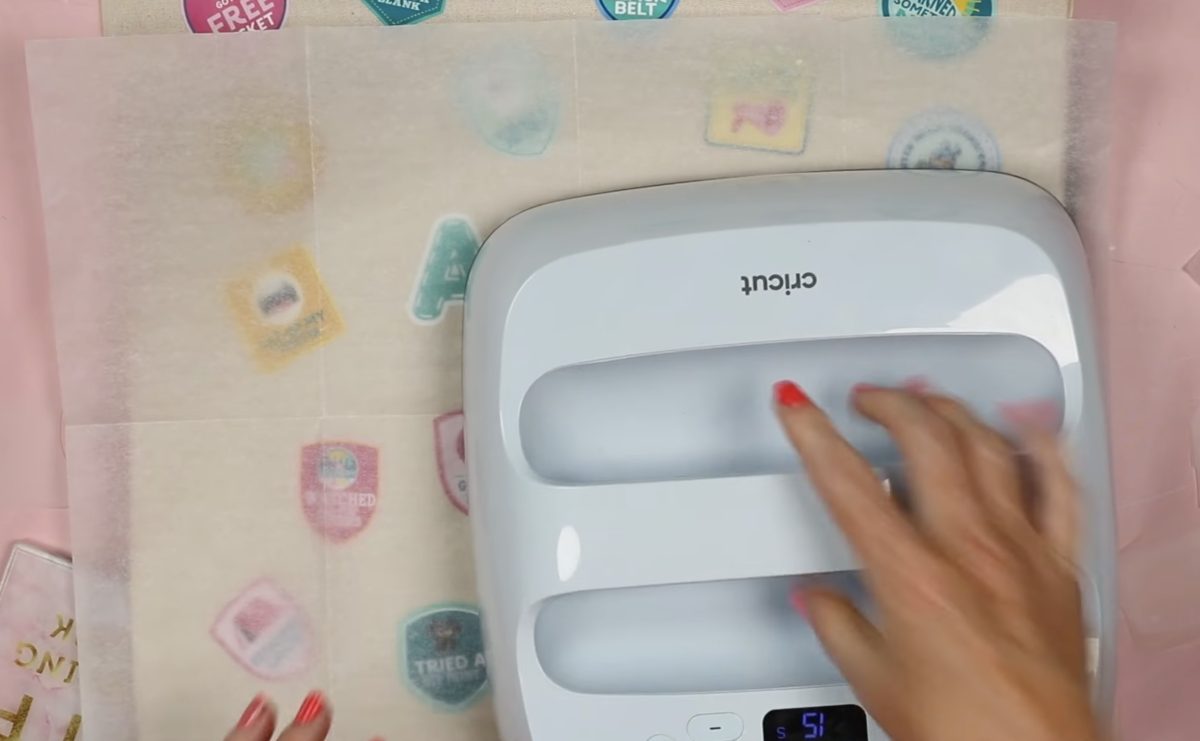
After pressing, allow it to cool for a few seconds, then remove the protective paper, and your patch tote is complete.
Are You Ready to Make a Custom Patch Tote with DTF?
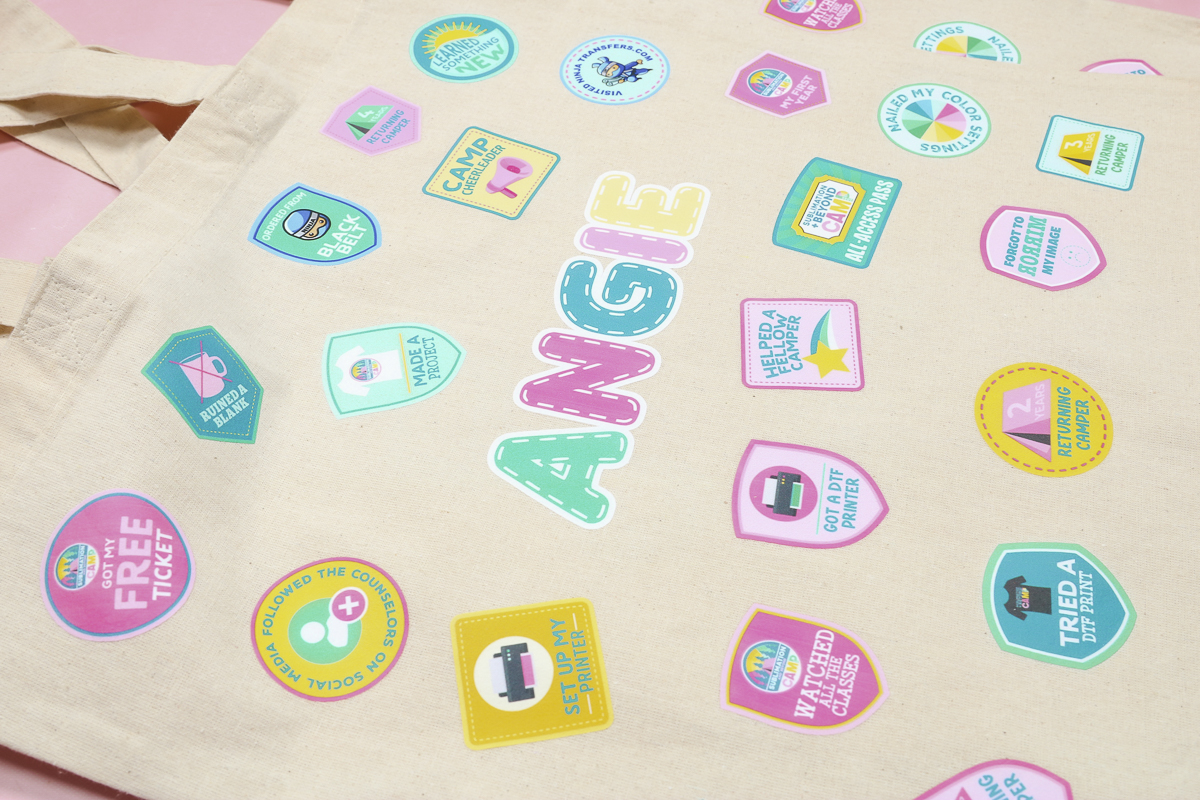
I really love how my patch tote turned out. I think the designs and font are so cute. Remember, the sky's the limit. Now that you know how to create patches using DTF transfers, you can add them to anything.
I feel like every store I go to has cosmetic bags or pouches with patches on them. Sometimes they're designs, and sometimes they're just cute fonts.
Another thing I'm seeing everywhere is patches on denim jackets. I actually can't wait to try that myself.
I hope I've answered any questions you have about making a custom tote patch using DTF. If you have any additional questions, leave them in the comments, and I'll be happy to answer them for you.