

Photo gifts make wonderful, personalized gift ideas. With this technique, you can skip spending a lot of money to buy a photo gift from a company and create your own DIY photo cube! Make a personalized DIY photo cube for your desk or to give as a gift? It's true! All you need are five items to get started.
This was first published on January 16, 2013; however, I am republishing with more information.
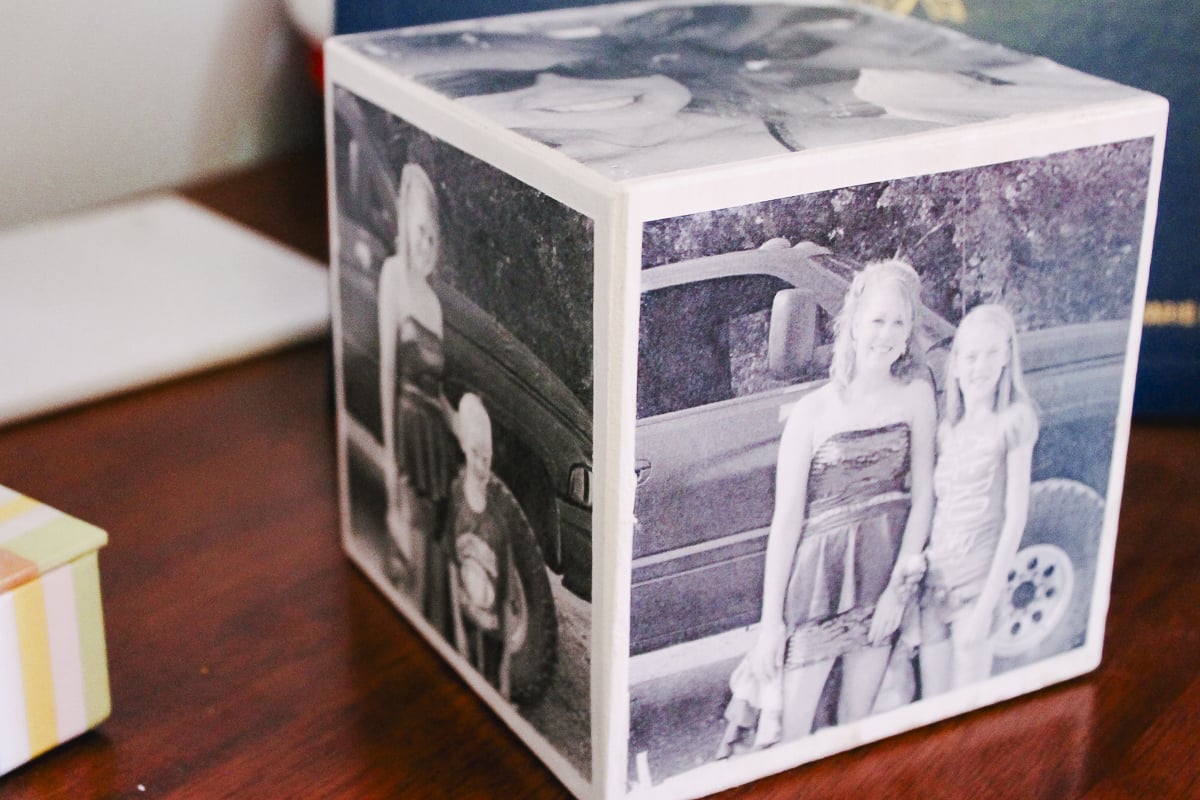
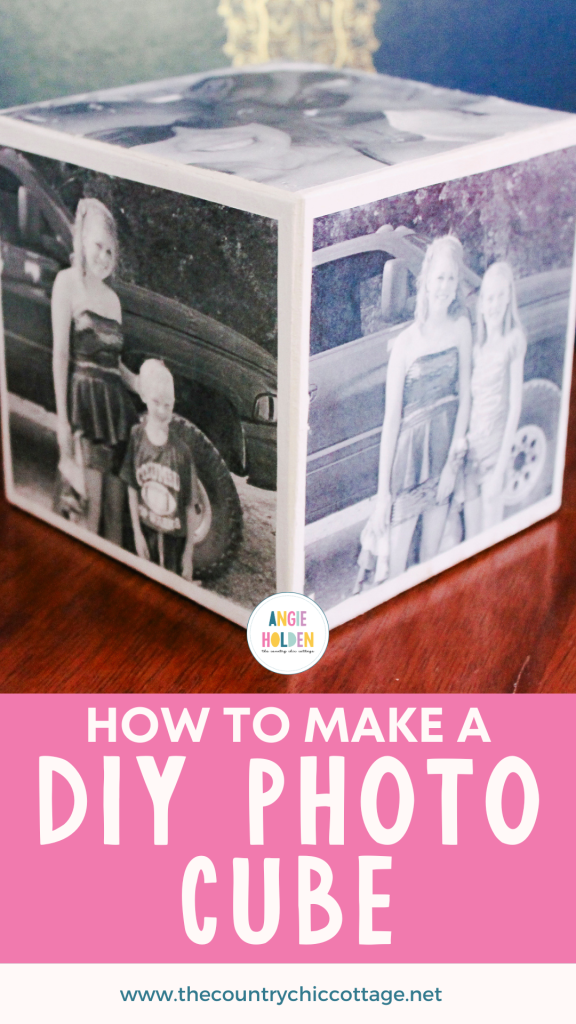
How To Make DIY Photo Cube
This was my first time working with an image transfer technique, and I must say I love it. The process was even easier than I thought it would be.
NOTE: This is an EASY picture cube DIY project…but it is a bit time-consuming. So do this one when you have a little time (I go into more detail about how much time it takes at the end of the post).
Ok, grab those photocopies of your pictures, and let's make something cute for your desk!
Supplies Needed To Make DIY Photo Cube
- Wood cube (you can order it online or possibly find it at your local craft store)
- Black and white photocopies of the photos you want to include (NOTE: This must be toner-based copies! You CANNOT print on an inkjet printer with this method!)
- White paint
- Mod Podge photo transfer medium
- Sponge
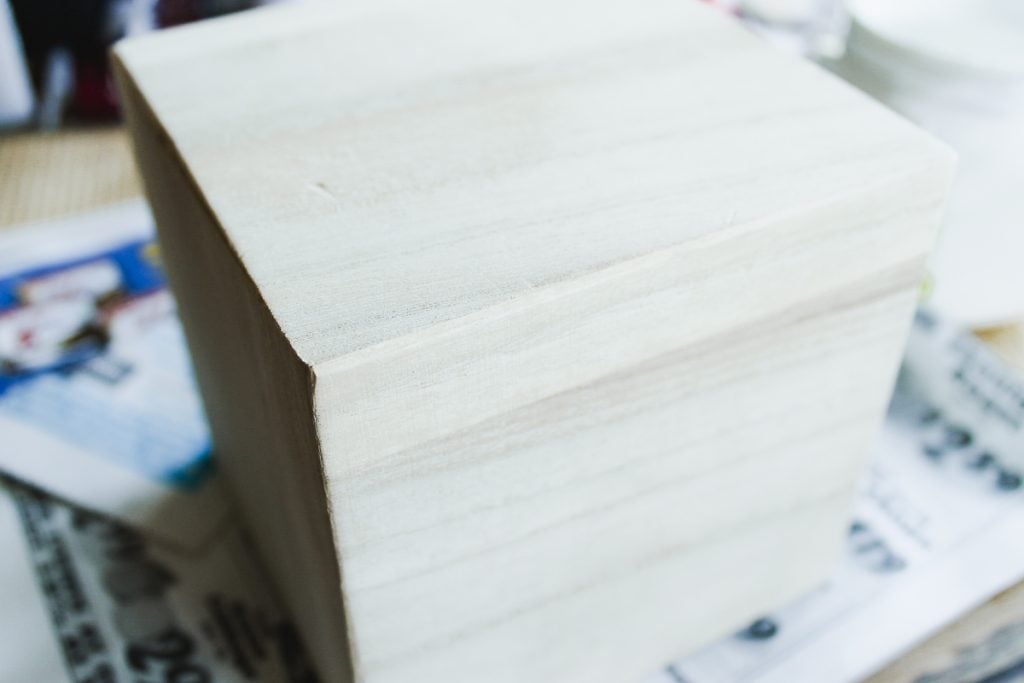
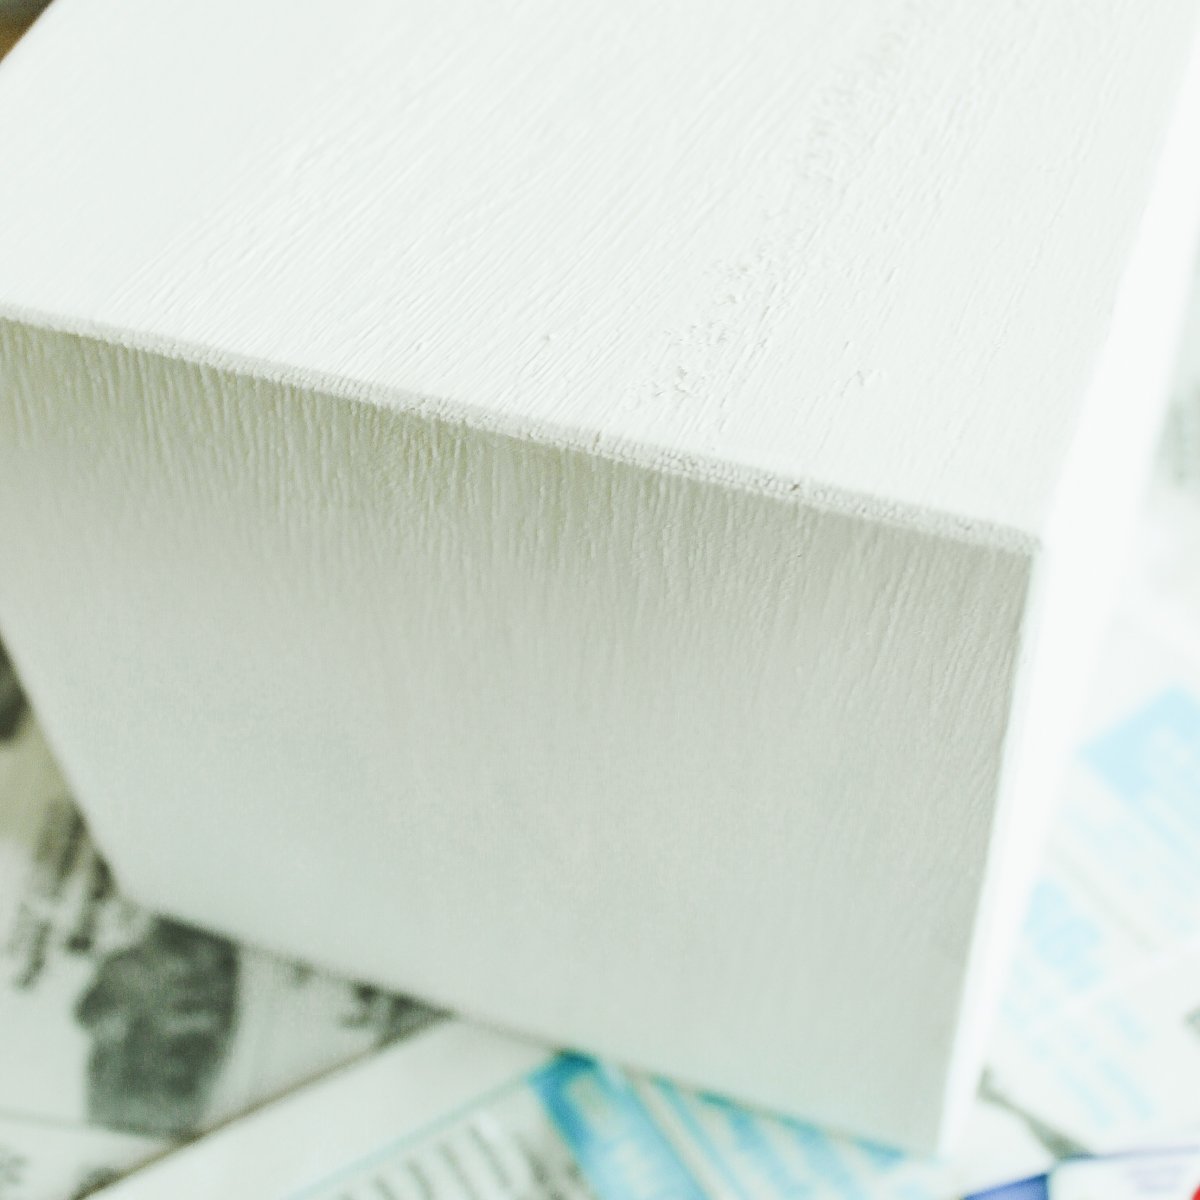
Step 1: Paint Wooden Cube
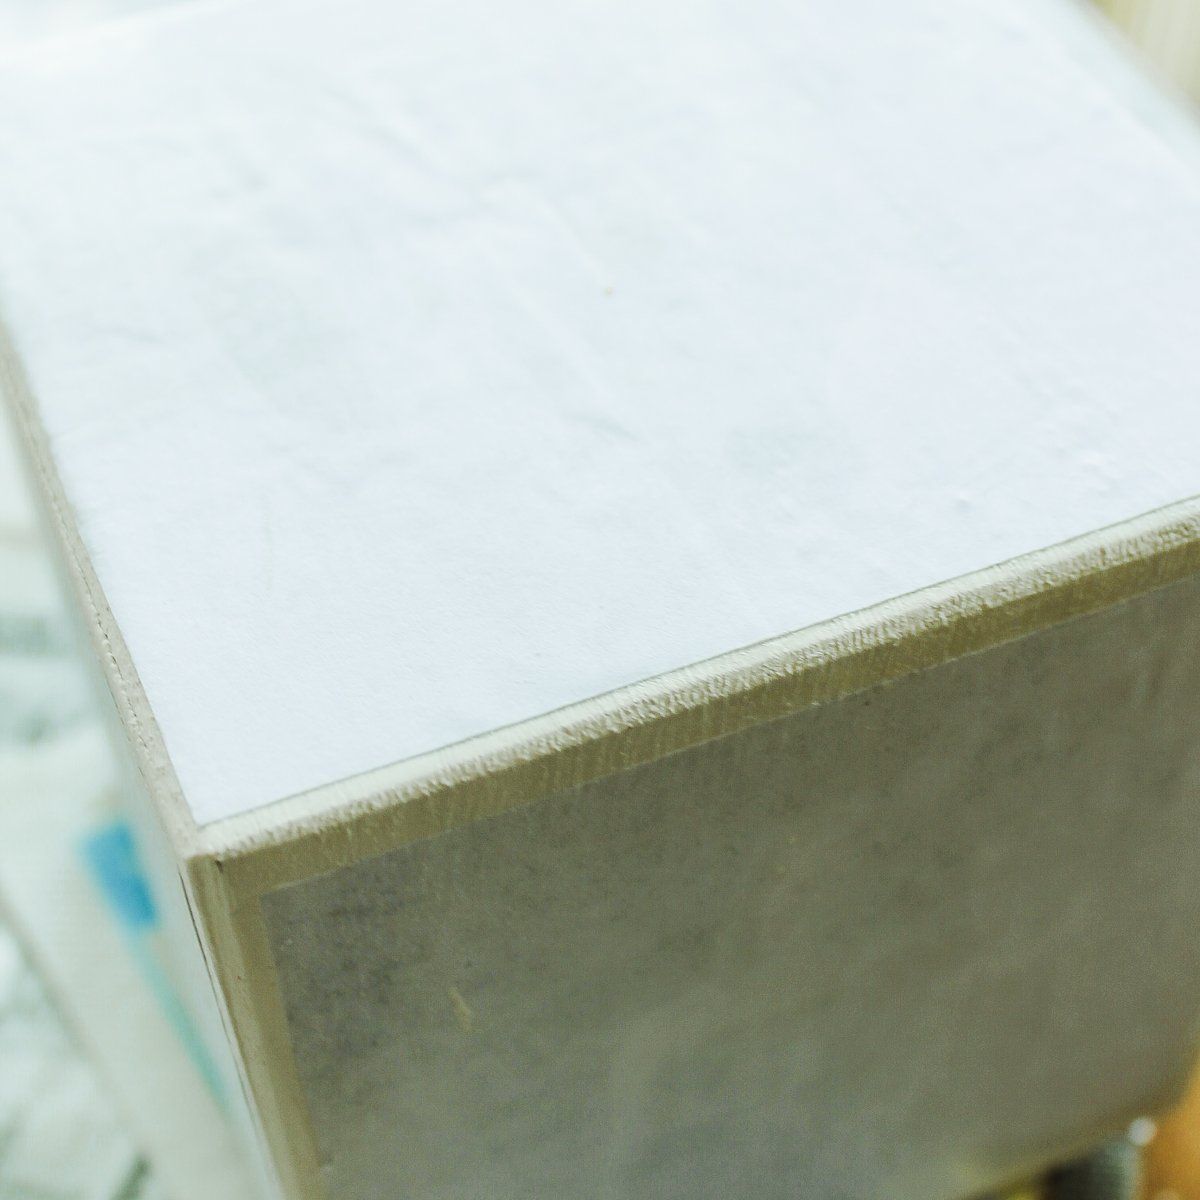
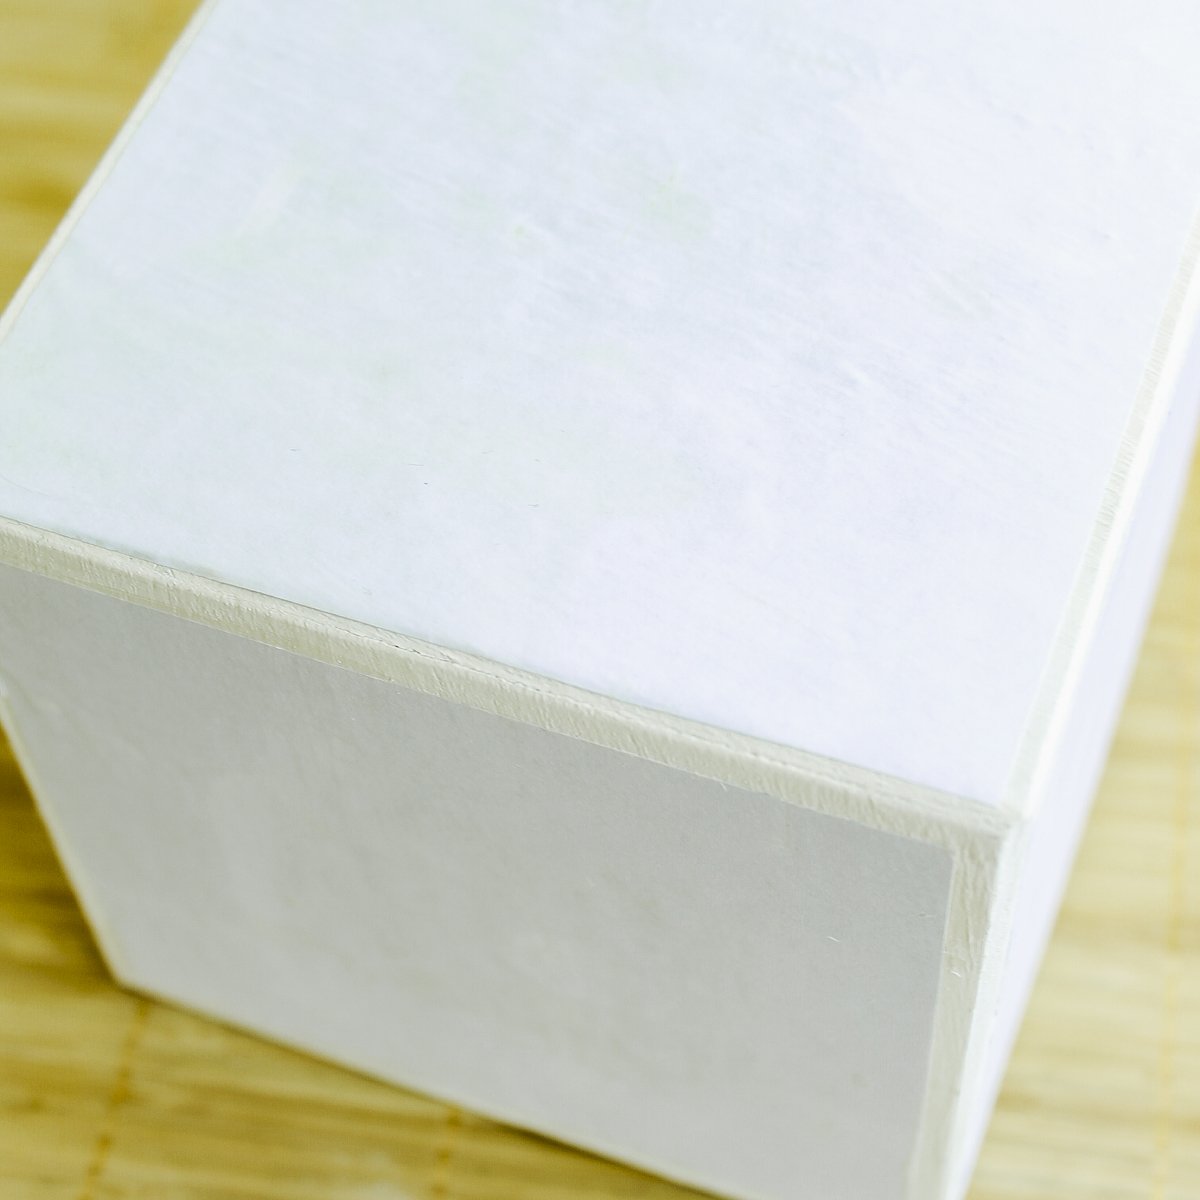
First, paint your cube white and allow it to dry completely.
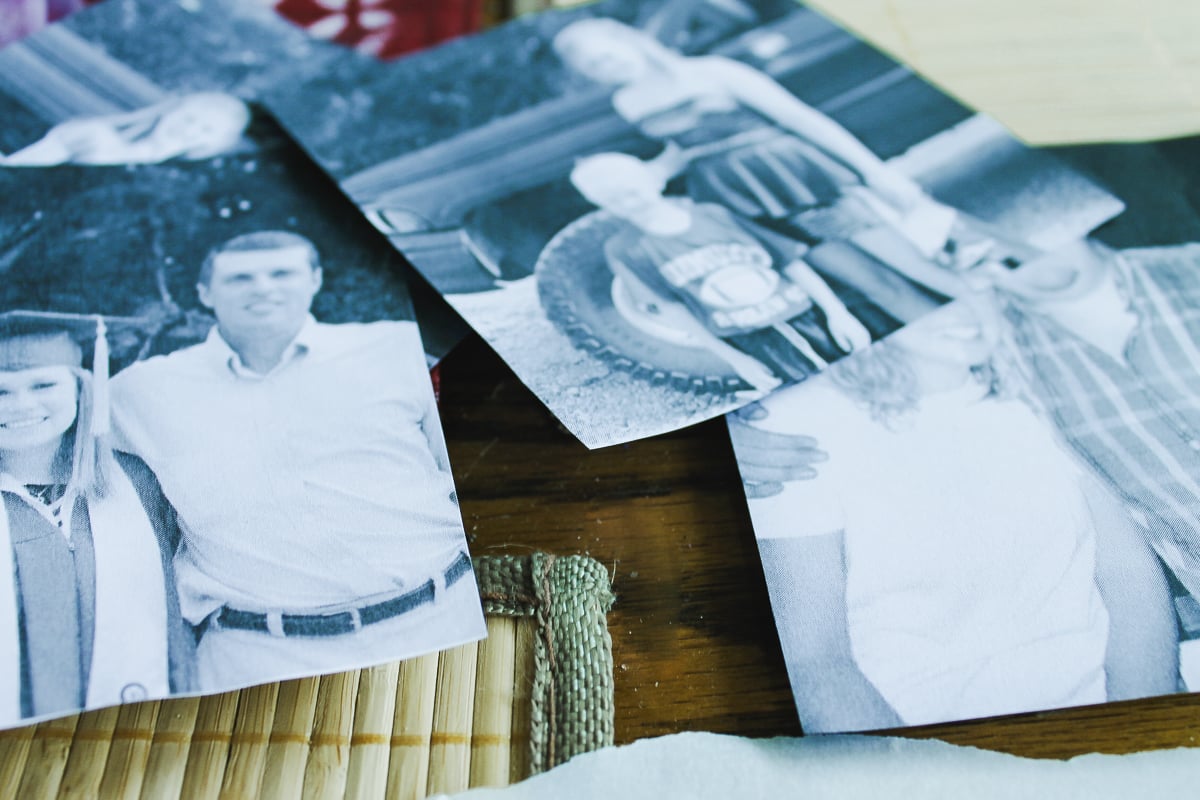
Step 2: Print & Trim Photos
You will need black-and-white photographs printed on a toner-based printer or copier. Trim your photos to the cube's size. I sized my photos just slightly smaller than the sides of my cube.
Pro Tip: The images also need to be mirrored to appear correctly on your cube.
NOTE: You can cut these by hand, but if you want cleaner lines, use your Cricut machine and the print then cut function.
Step 3: Add Mod Podge Photo Transfer Medium To Photos
We are going to use Mod Podge photo transfer medium to put our photos on the cube. Be sure to read the directions on the bottle thoroughly before using it.
You will need to apply a thick coat to the front of your image (see the example below).

Step 4: Add Photos To Wooden Cube
Then, place the chosen photos face down on your cube and smooth them out. You want to avoid as many air bubbles as possible for a smooth finish.
Allow to dry for the recommended time.
NOTE: Your DIY photo cube won't look like much at this stage.
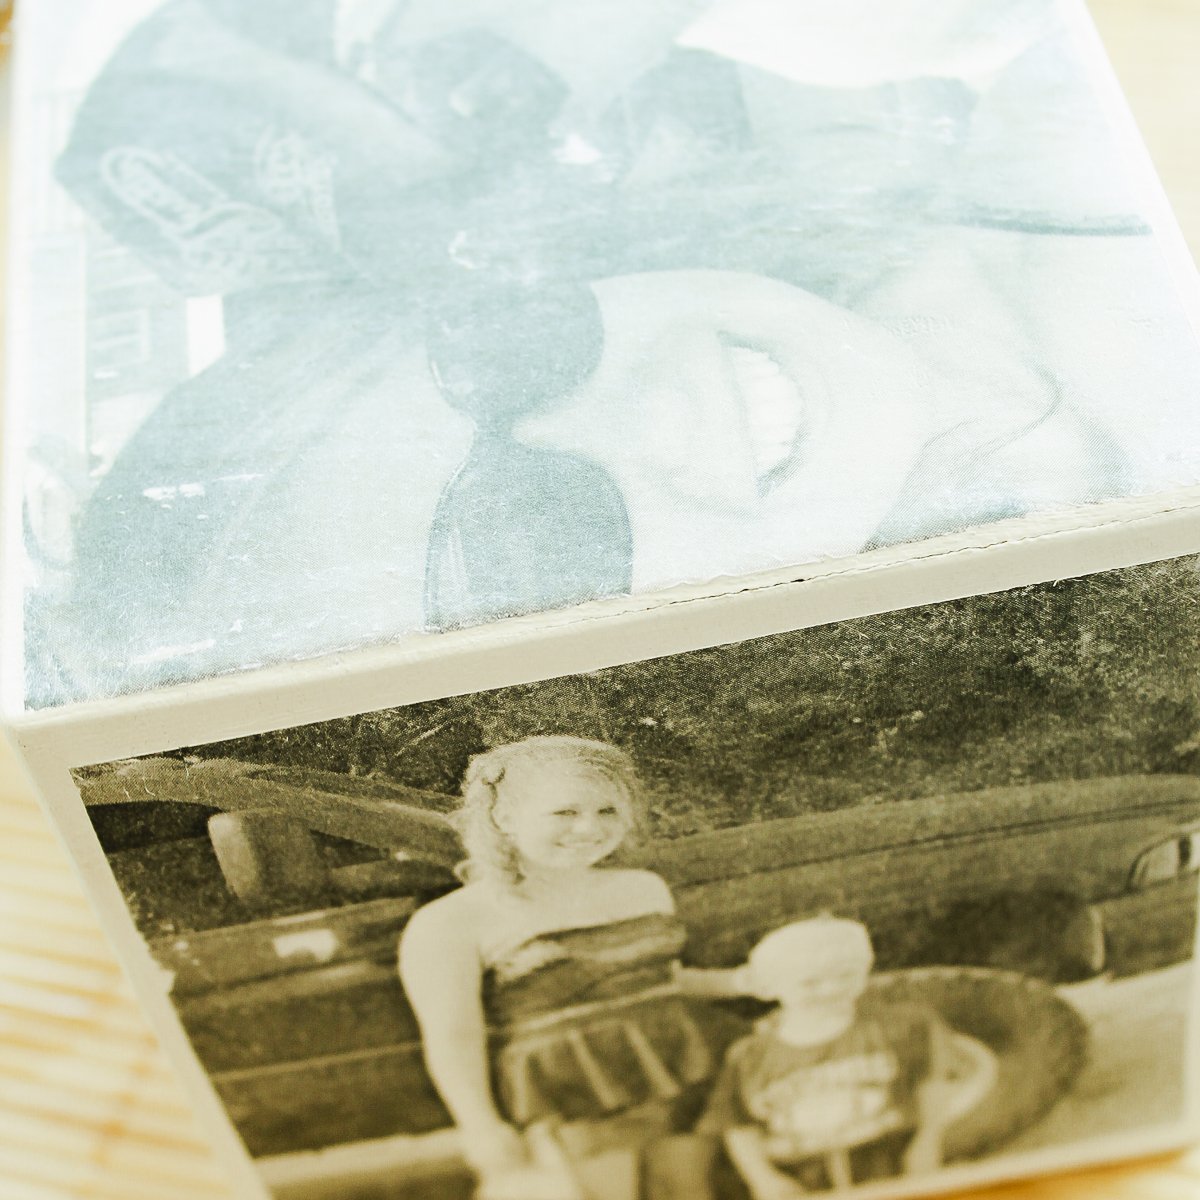
Step 5: Gently Scrub Photos With Sponge
Now, get the paper damp and gently scrub it with a sponge (or your hands). This will make a huge mess, AND it's the time-consuming part.
It will take 30 minutes or more for each side of your cube. In the picture below, the image on the side has been completed, and the image on top still needs some more paper removed. Keep working on the images until they all look good. Work slowly and come back if an image does not look great after it dries.
Step 6: Add Mod Podge To Wooden Cube
Finally, coat your entire project in Mod Podge to finish it off.
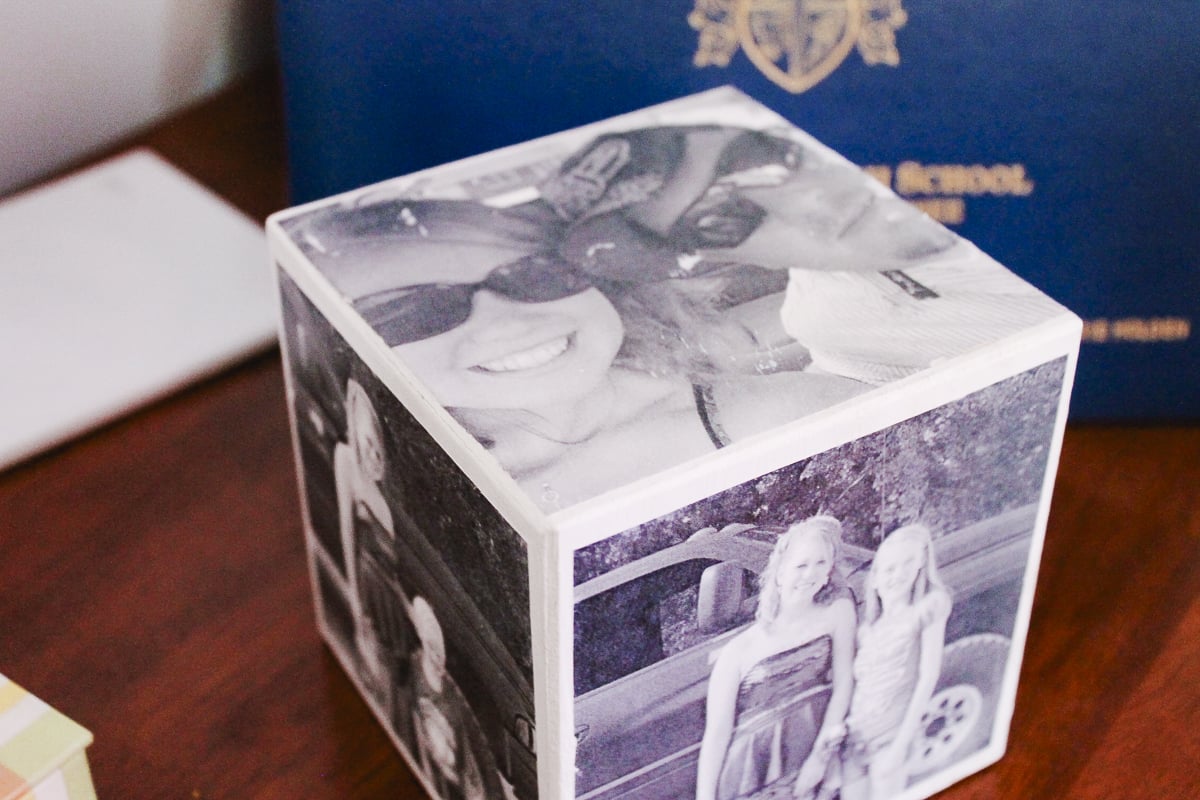
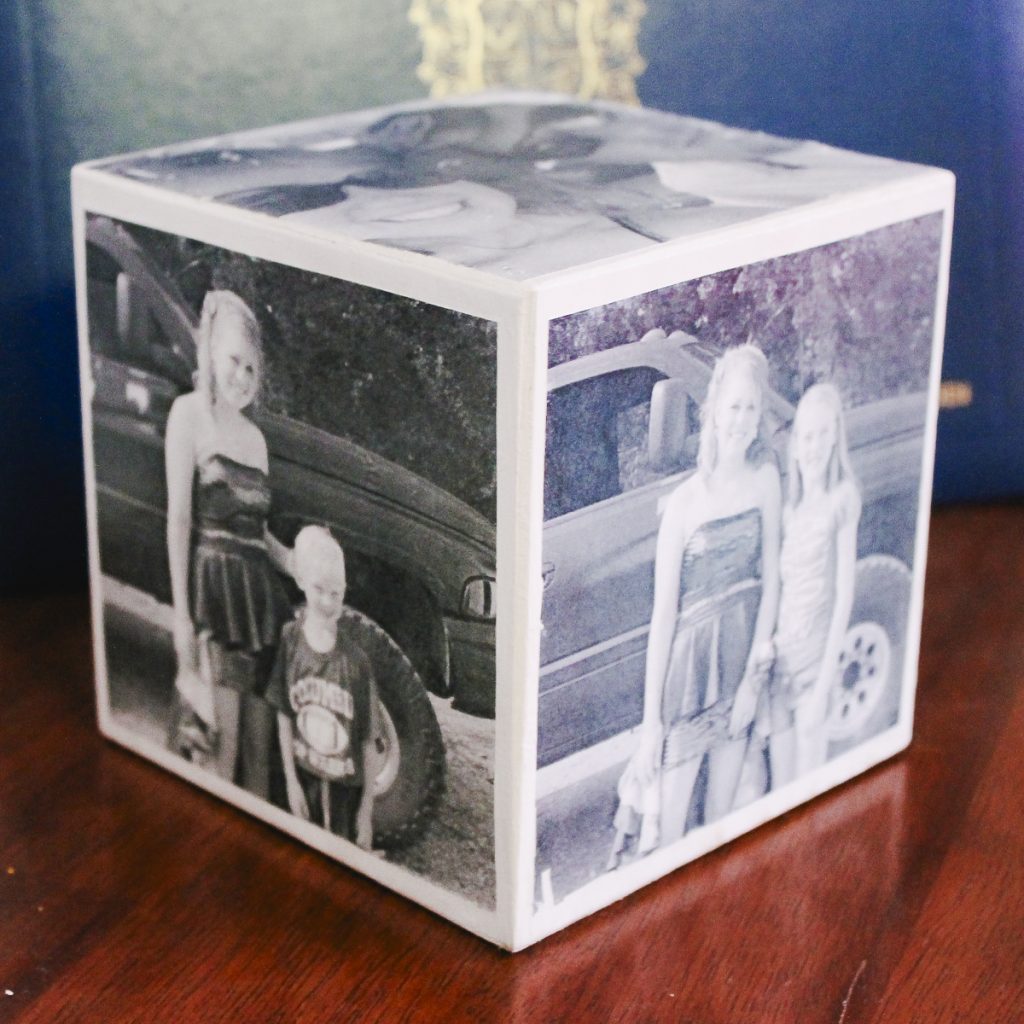
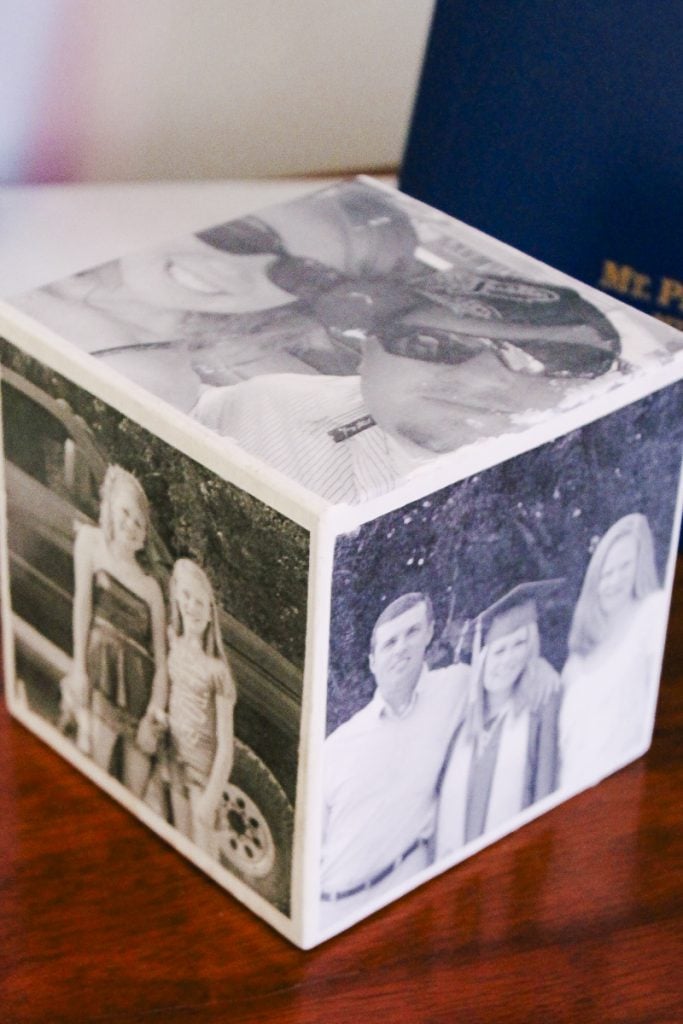
Simple and oh-so cool! I just love the way my DIY photo cube turned out.
I remember the first time I saw a photo cube and was blown away by how amazing and personal it was. One simple item meant so much to its owner because it was a connection to family and friends who weren't present at the moment.
Since then, I have seen photo cubes sold as gift ideas, and they can be so expensive!
This is a great gift for moms, grandmas, and even dads' desks at work. Hmm, as a matter of fact, you might want to pick up a few of these and make more than one!
Tips & Tricks for DIY Photo Cube
Now that you’ve seen this DIY photo cube, are you ready to make your own? Here are a few tips and tricks to help!
- Don't Use An Ink-Jet Printer – In order to make this project, your photos need to be printed on a toner-based printer or copier. An ink-jet printer will not work, and if you try to use ink-jet photos, it will ruin your cube and photos. Instead, you will need to use your laser printer or have your pictures professionally printed.
- Don't Forget To Mirror Your Image – Regardless of the photo type, make sure to mirror your image so it transfers to your cube correctly!
- Take Your Time Adding The Mod Podge Photo Transfer Medium – When adding the Mod Podge Photo Transfer Medium to your photos, take your time and make sure they are completely covered. Below are a few things to remember when adding the medium:
- Your photos need to be completely covered in the medium (you should not see any part of the photo showing through).
- The layer of Mod Podge Photo Transfer Medium should be thick enough to cover the photo (so you're not seeing through it) but thin enough so you don't have any globs of medium on your photo. You want a nice, thick, but smooth layer, as shown in step 3.
- Don't Saturate Your Paper With Water – A little water goes a long way! When scrubbing off the paper in step 5, start with a small amount of water on your paper towel or sponge. This is because if you add too much water, it will seep into your photo, ruining it.
- Gently Scrub In Circular Motions – When scrubbing off the paper, rub it in circular motions. This is because if you scrub in an up-and-down motion, you can rip your image.
5 More Photo Crafts
Did you love learning how to make this DIY photo cube, and are now looking for other photo crafts to make? Then check out the projects below!
- How to Make a Photo Lantern
- Watercolor Photo Postcards
- DIY Photo Coasters: A Great Gift Idea
- How to Make Sublimation Jewelry
- How to Make a Banner from Photos


Angie I just love everything that you create you are just an amazing person I can’t get enough of you. I have a cricket machine so I can print with a mirror image but if I didn’t have a cricket machine how would I do it on my regular HP printer
You can use the printer settings for mirroring or something like Canva usually has that option and is a free online program.
do the copies need to be on photo paper or regular copy paper?
Regular copy paper.