
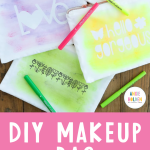
For the final day of Cricut Flowers Week, I'm excited to show you how to create a DIY makeup bag using Cricut Infusible Ink. I will be demonstrating a technique for creating a beautiful watercolor effect with the Infusible Ink markers, and I think you're going to love it!
DIY Makeup Bag Video Tutorial
Want to watch me create a fun DIY makeup bag? Just play the video below!
Can't watch the video or missed some of the steps? We have instructions below as well!
How To Make A DIY Makeup Bag
Making a watercolor effect with Cricut Infusible Ink markers is easy and oh so pretty! We are using this technique to make some pretty makeup bags with some sublimation blanks. However, you can use this technique to create so many fun projects!
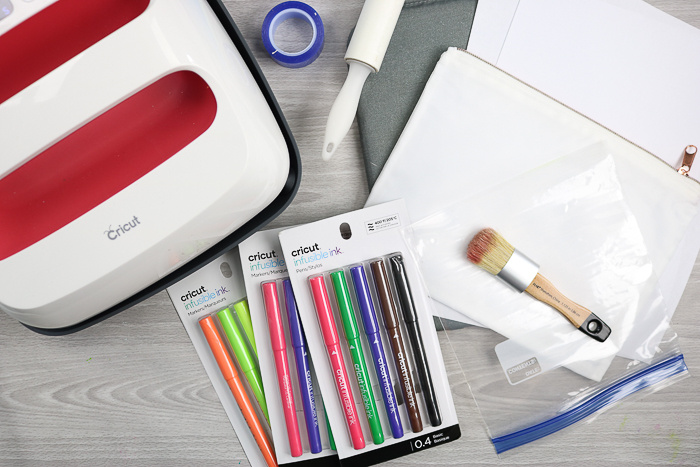
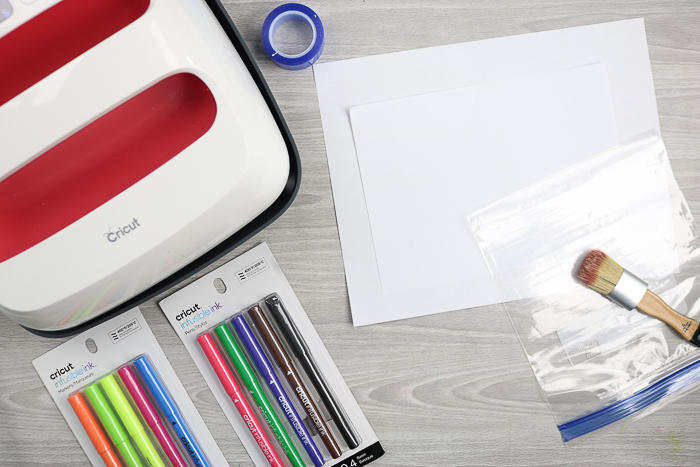
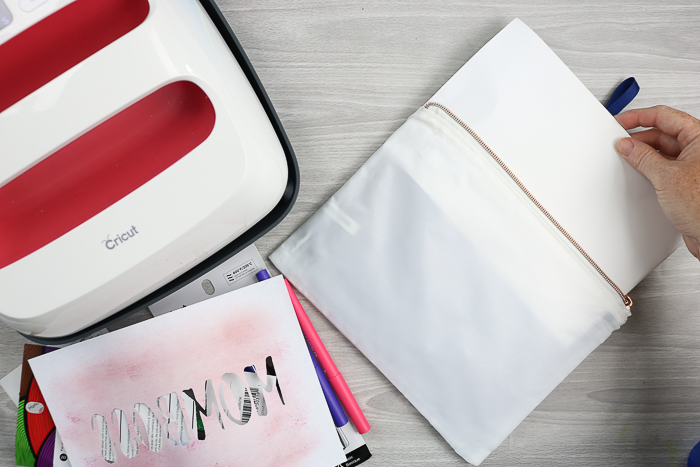
Supplies Needed To Make DIY Makeup Bag
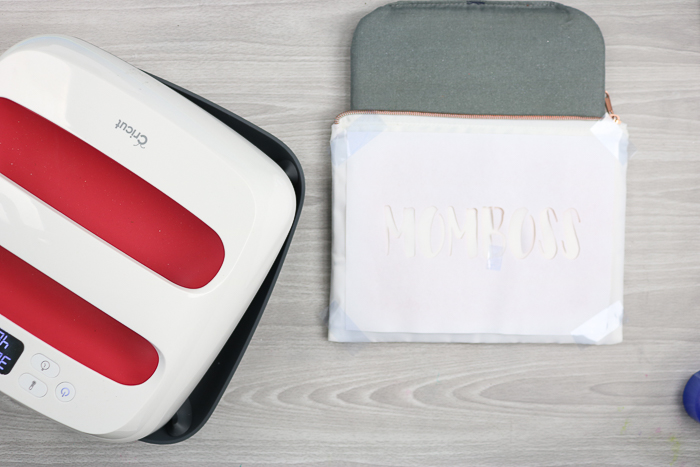
- Zipper pouch sublimation blanks NOTE: A sublimation blank or polyester bag is required for this tutorial. Cricut Infusible Ink requires a chemical reaction with the polyester base, which is not possible with plain cotton bags, for example.
- Cricut Infusible Ink markers and pens (you can read more about using them here) (buy at Michaels in-store or online here)
- Cricut machine (see which is my favorite here)
- Laser copy paper
- Cricut cut file
- Cricut EasyPress (required for Infusible Ink)
- EasyPress Mat (required for Infusible Ink)
- White cardstock
- Butcher paper
- Lint roller
- Heat-resistant tape
- Stiff bristled brush
- Plastic bag
- Scissors
Create The Watercolor Effect On Paper
First, we'll create our watercolor effect!
Step 1: Cut Laser Copy Paper To Size
Start with regular copy paper rated for laser printing. Cut it to the size of the front of your zipper pouch. You want it to be slightly smaller on all sides.

Step 2: Put Copy Paper Down Onto A Scrap Piece Of Paper
Put the cut piece of copy paper down on a scrap piece to protect your work surface.
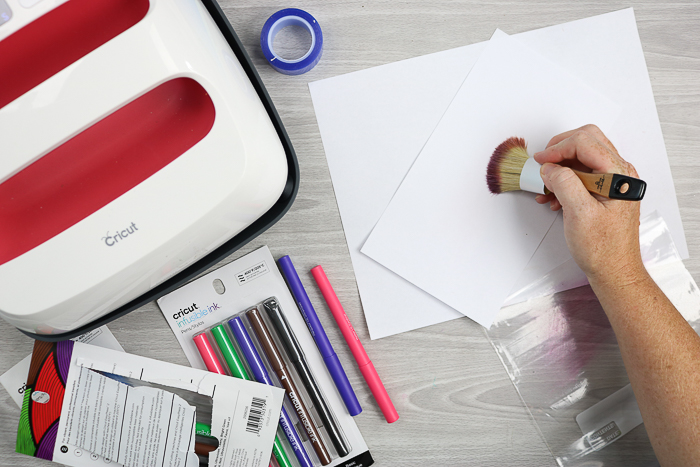
Step 3: Start Coloring Plastic Bag With Cricut Infusible Ink Markers
Then start coloring with the Cricut Infusible Ink markers on a plastic bag, as shown in the image below.
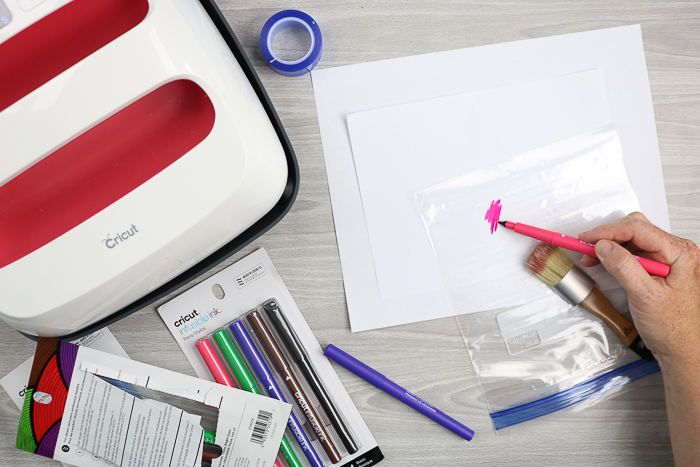
Step 4: Pick Up Ink With A Stiff-Bristle Brush
Pick up the ink from the plastic bag with a stiff-bristle brush. You will want to make sure to clean this brush in between bags if you switch colors.
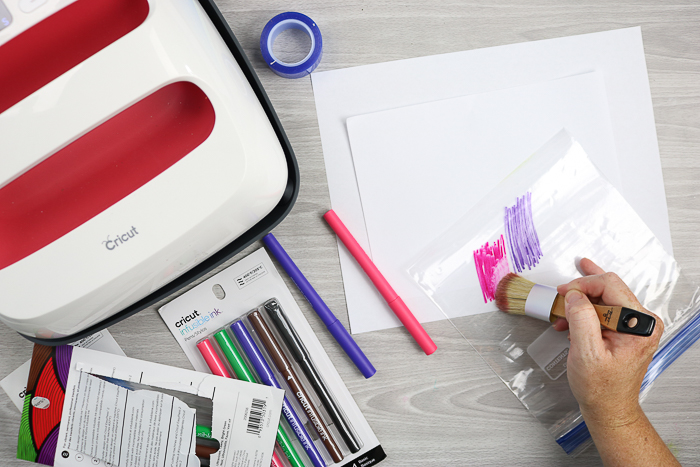
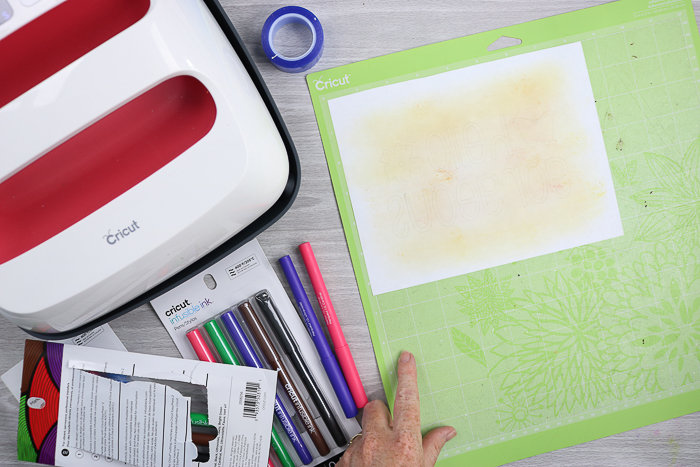
Step 5: Rub Ink Across Laser Copy Paper
Then rub the ink across your laser copy paper piece.
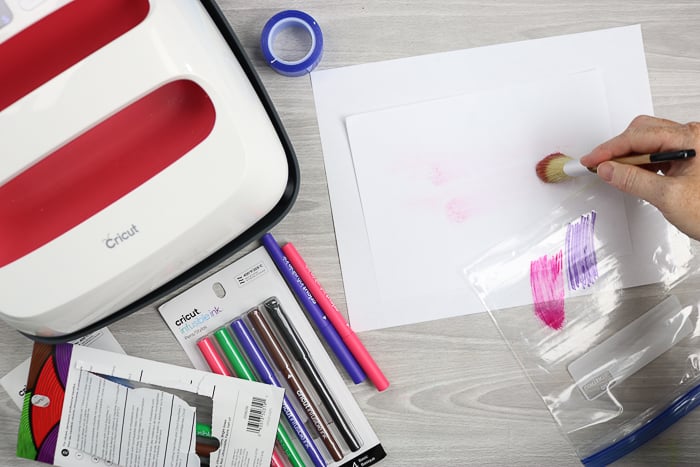
Continue with this method until you are happy with the watercolor effect you have on your paper. Remember that Infusible Ink will brighten once pressed.
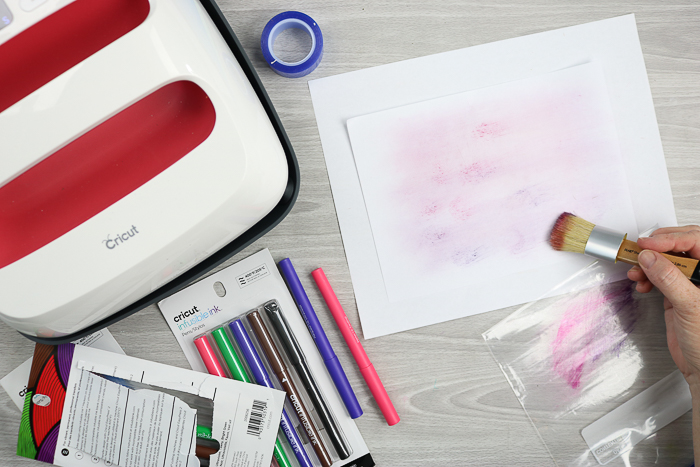
Step 6: Clean Brush
Once complete, clean your brush by rubbing it well on a scrap piece of paper. You can use these small pieces for smaller projects later.
Cut The Design For Your DIY Makeup Bag
Next, we are going to cut our design!
Step 1: Place Watercolor Piece Onto Cricut Mat
The ink basically dries immediately, so it is ready to cut. Place it, watercolor side up, on a mat.
Step 2: Cut Design Using Cricut Machine
Then be sure to mirror your design and cut using your Cricut machine. Remove the piece from your mat once cut.
Press Your Design Onto Your DIY Makeup Bag
Finally, it's time to add our design to our makeup bag!
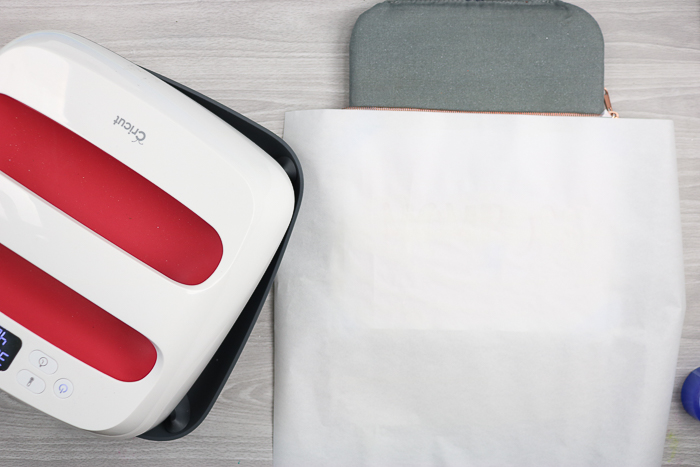
Step 1: Place The EasyPress Mat Inside Your Bag
First, place the EasyPress mat inside your bag as shown below.
Step 2: Add White Cardstock Over Mat
Add a piece of white cardstock over the mat to protect it from any ink.
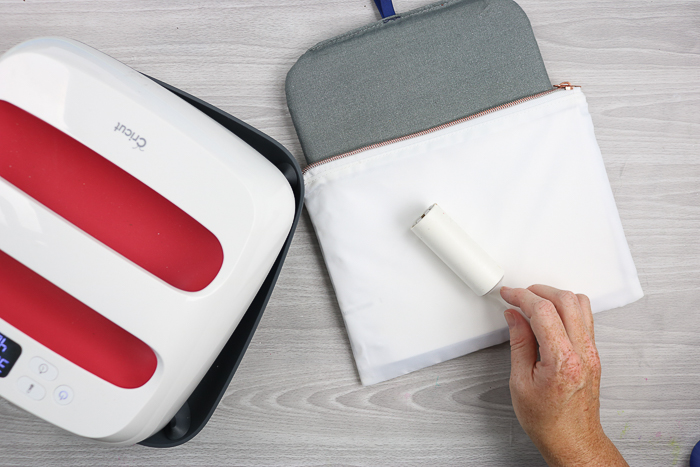
Step 3: Lint Roll Bag
Then lint-roll the entire surface to clean any debris.
Step 4: Press The Bag With The EasyPress
Cover your bag with butcher paper and press with your EasyPress for about 15 seconds to remove any moisture.
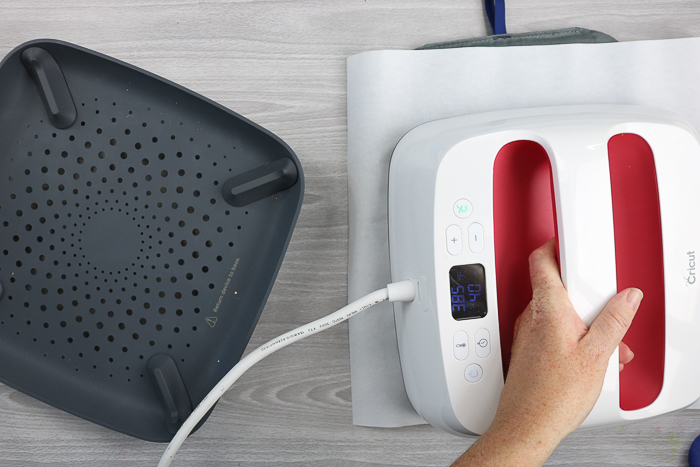
Remove the EasyPress and then let it cool completely.
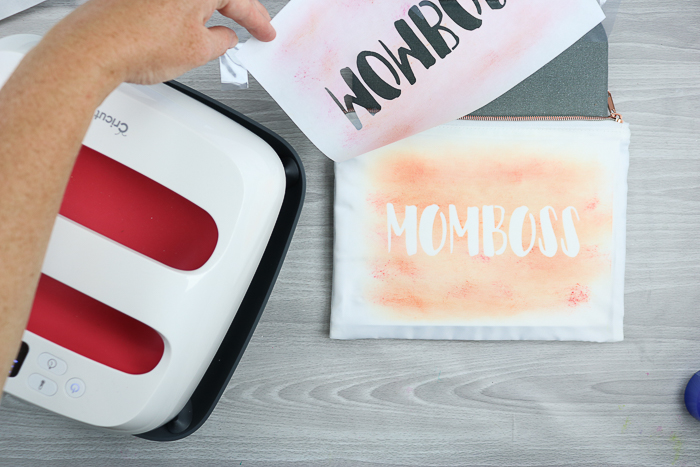
Step 5: Add Design To Bag Using EasyPress
Add your design to the front of the zipper pouch. Make sure it is where you want it. Then use heat-resistant tape to secure it in place.
Add the butcher paper back on top and place your EasyPress on your project for the full time recommended by the Cricut Heat Guide. Be sure the EasyPress is NOT resting on the zipper, as this could cause your design to transfer improperly.

Be sure to keep the EasyPress really still. Once pressing is complete, lift straight up and allow to cool completely. Then lift away your design to reveal the watercolor magic!
NOTE: Ink may transfer to your butcher paper or white cardstock, so be sure to discard any that has ink residue, as this can ruin other projects if used.
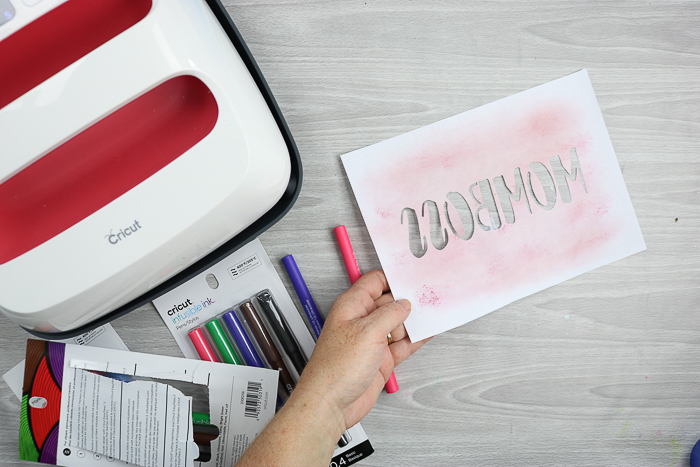
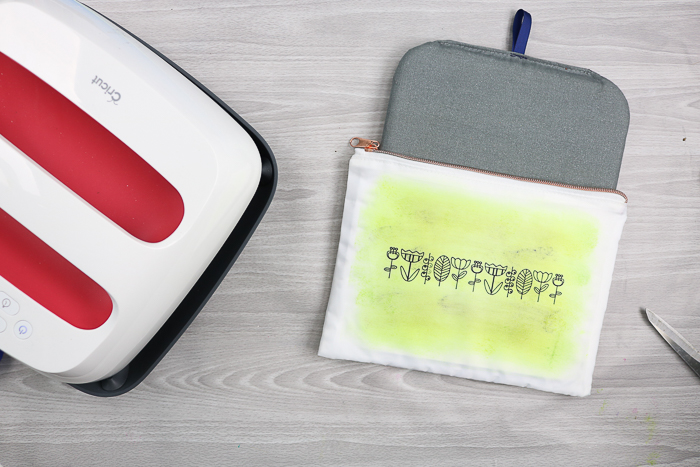
You can also draw on top of your watercolor paper with the pens instead of cutting out a design. I did one of those versions for you below, and it worked great!
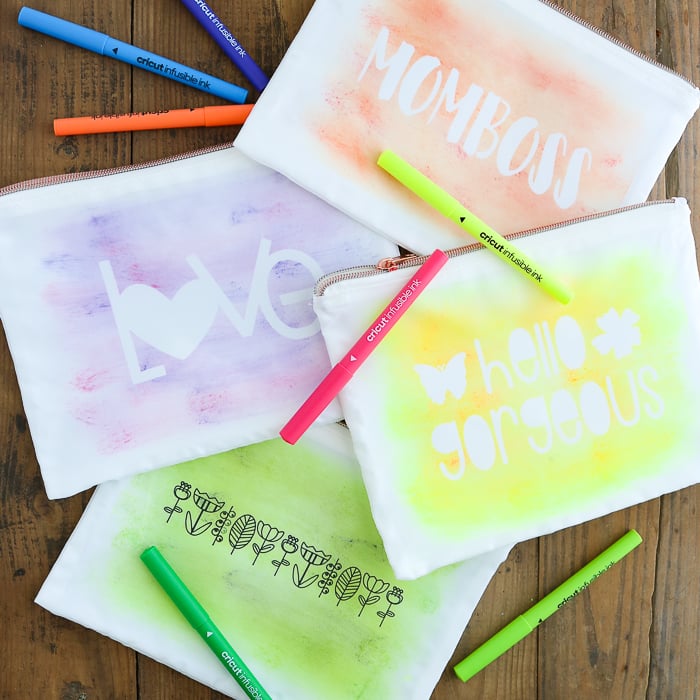
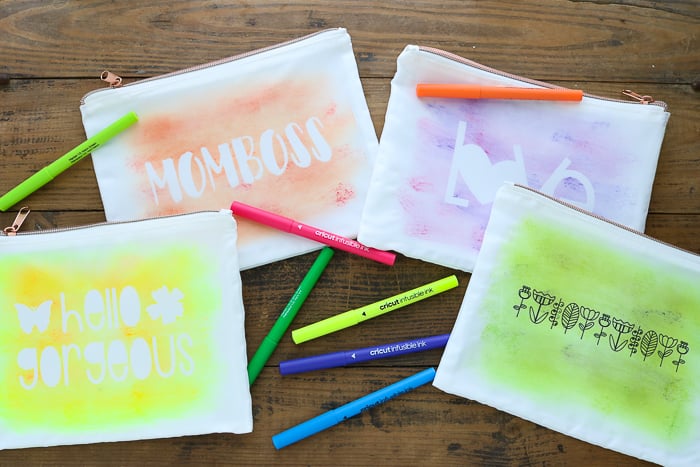
Designs To Use With This Technique
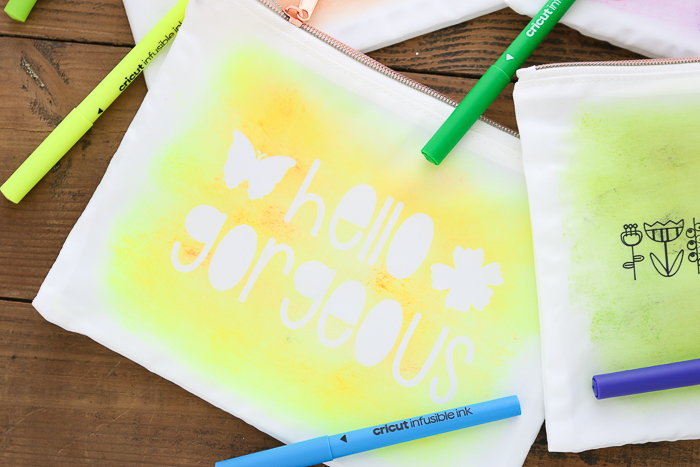
I used four designs with this technique. I will note that you will want to use something with a stencil effect for the letters, like the “momboss” design, or something where you are not worried about the centers, like the “hello gorgeous”.
Otherwise, you will need to tape the centers of your letters into place before pressing. Just be sure to tape on the WHITE side of your paper, not the side where you added the color.
You can use one of our designs for your DIY makeup bag, or come up with your own.
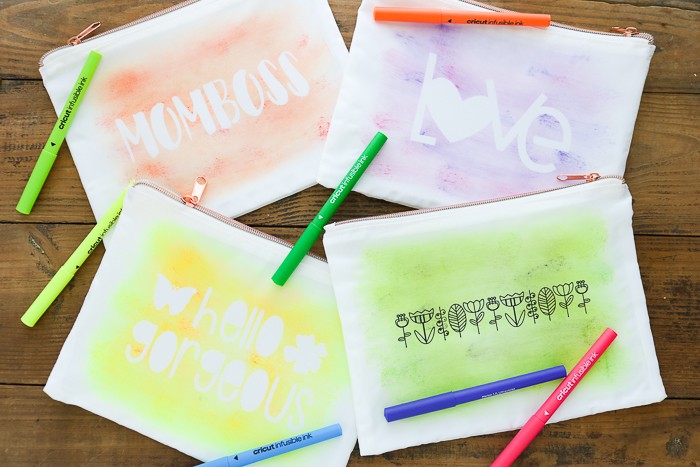
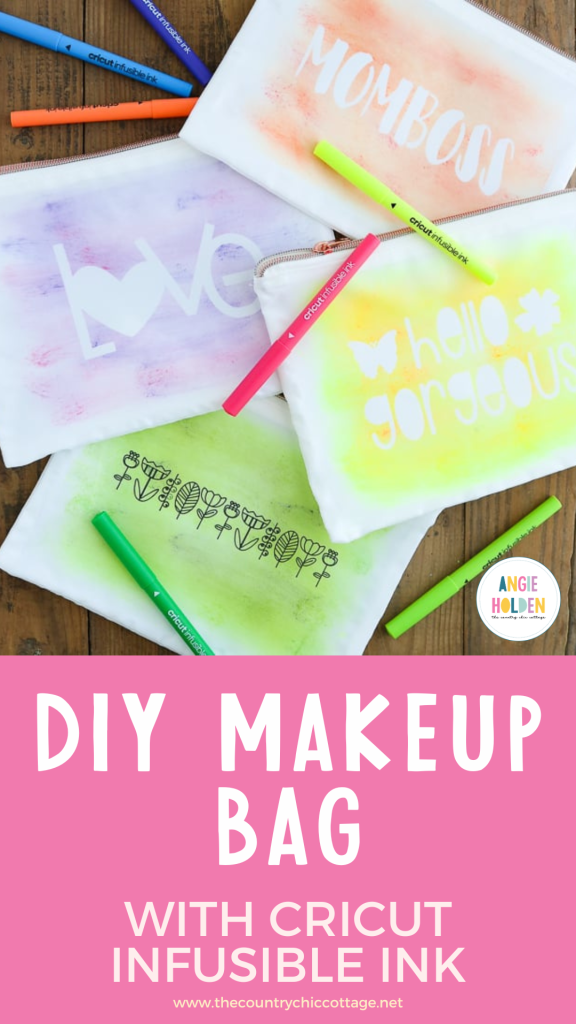
Momboss Makeup Bag
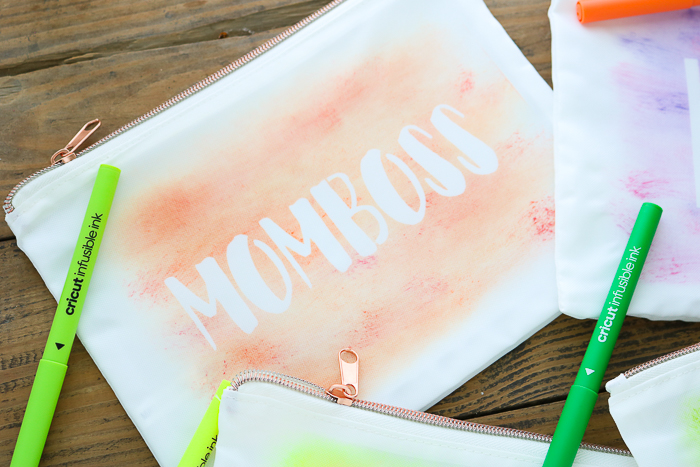
I really can't decide which I like best! The best part is that they are all unique.
Pink & Purple LOVE Makeup Bag
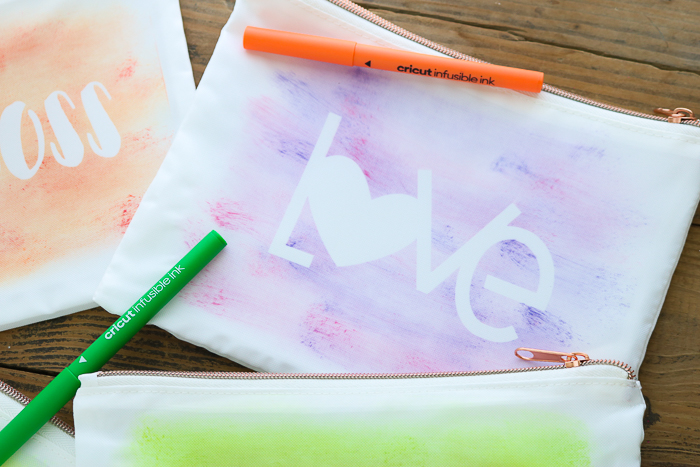
You can mix and match the colors however you like. Mix pinks with purples or greens with blues.
Green Floral Makeup Bag
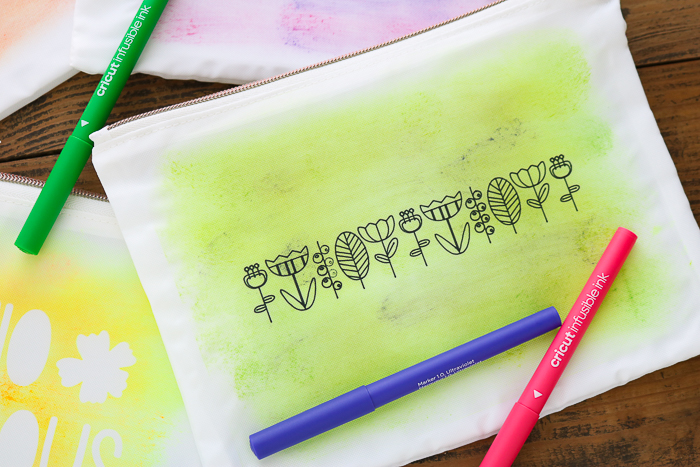
This watercolor technique is also really forgiving, so it is perfect if you are starting your first Cricut Infusible Ink project.
Hello Gorgeous Makeup Bag
You can also use this method on other blanks. I could see this done with coasters, tote bags, and more.
So, will you make a DIY makeup bag using this tutorial? I can't wait to see your version!
Grab your Cricut Infusible Ink markers and make a few of these! You are going to love how they turn out.
FAQs About DIY Makeup Bag
Here are a couple of questions that I see readers ask about this DIY makeup bag. If you have a question, please check whether I’ve already answered it below. Don’t see your question? Leave it for me in the comments!
What Cricut Machine Can I Use For This Project?
All of them! Can the Cricut Maker, Cricut Explore, and Cricut Joy series, as well as the Cricut Venture, be used to cut the design for this project?
Can I Use Any Bag For This Project?
If you mean a different style of bag, like a tote bag instead of a makeup bag, then yes, you can. However, the bag you choose needs to be a sublimation blank or polyester bag for this project to work. This is because Cricut Infusible Ink requires a chemical reaction, and that cannot happen on plain cotton bags, for example.
I Would Like To Learn More About Infusible Ink. Do You Have Any Resources?
Yes, I do! If you want to learn more about Infusible Ink in general, check out our blog post titled How to Use Cricut Infusible Ink the Right Way!
Where Did You Buy The Stiff Bristled Brush?
At the craft store! It is a Plaid Crafts brush that is designed for their Chalk Decor paint.
5 More Cricut Flower Crafts
If you loved this DIY makeup bag and want more Cricut flower crafts, check out the projects below!
- How To Make Giant Paper Flowers with Your Cricut
- Sunflower Cupcake Toppers
- How to Make Felt Flowers with a Cricut
- Teacher Gift Idea: Thank You For Helping Me Bloom Clipboard
- Free Sunflower SVG: How To Layer Vinyl Video Tutorial


Is there a link for these flowers?
You can click the link for the Cricut cut file and they are on there.