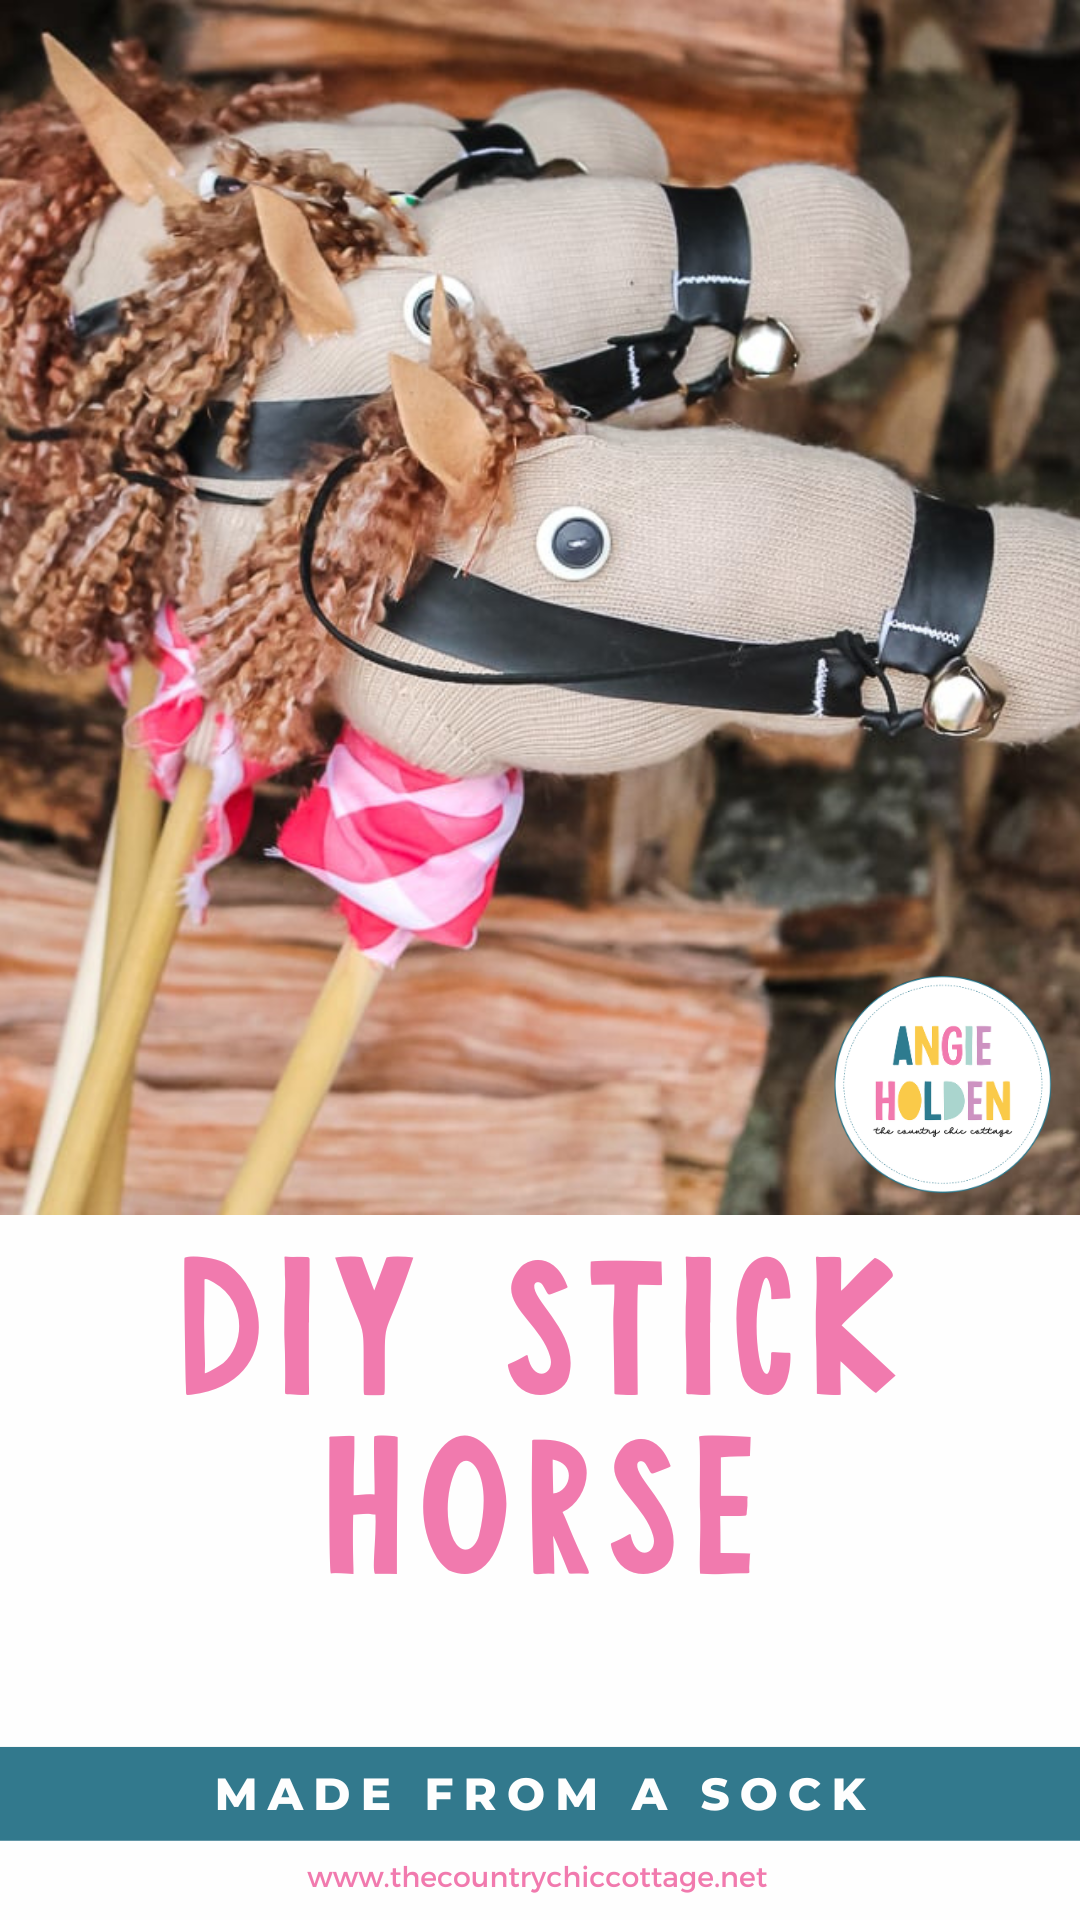
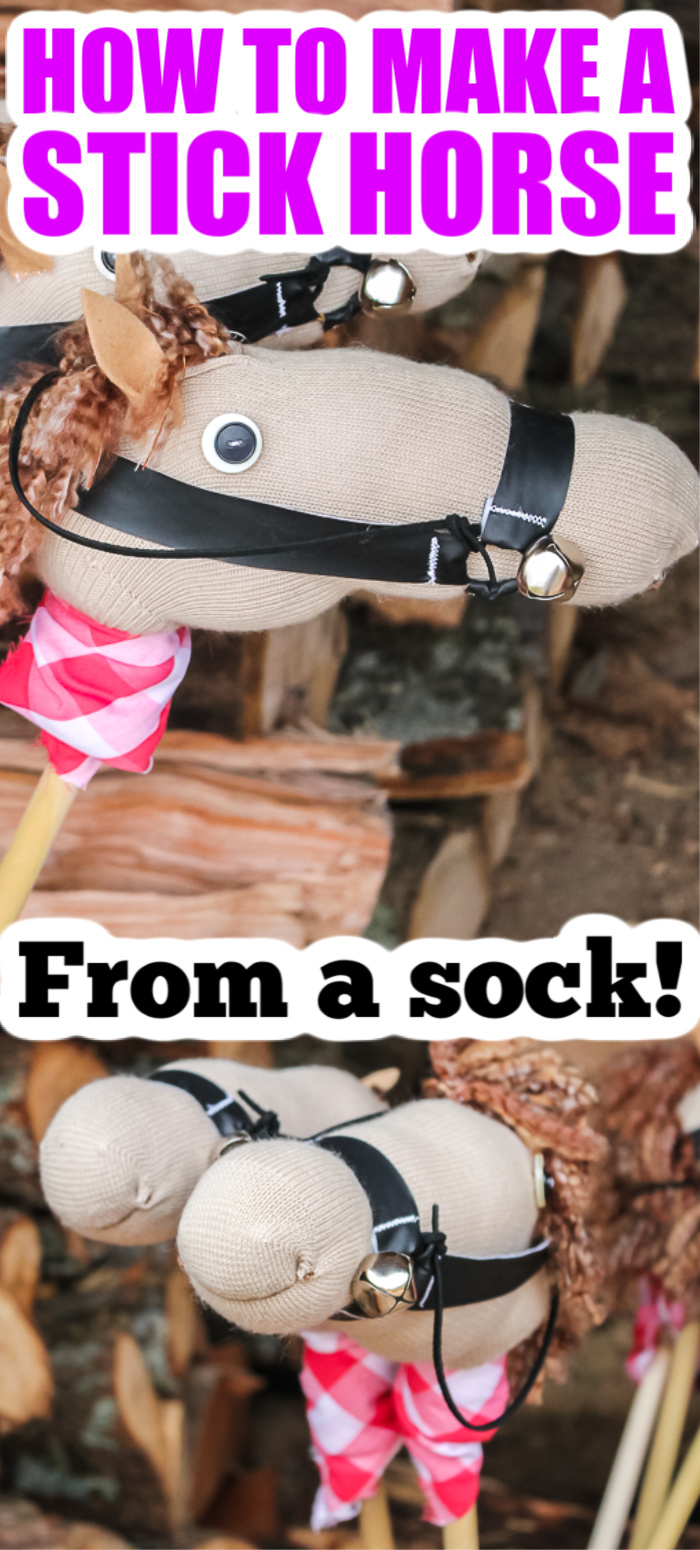
Are y'all ready to learn how to make a DIY stick horse? This is the perfect tutorial for a gift for that special kid in your life. I think girls and boys alike would love these stick horses. I actually made a whole herd of them for a cowboy birthday party. Let's get started on our sock stick horses!
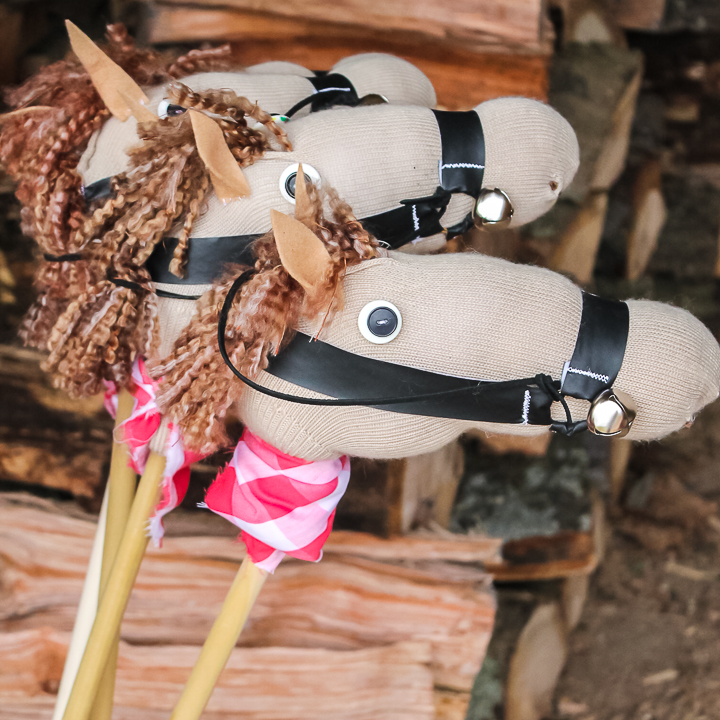
DIY Stick Horse
Remember that stick horse you would play with as a kid? Well, thanks to some handy crafting, they are making a comeback for your kiddos. These are so much fun for kids to play with indoors or out!
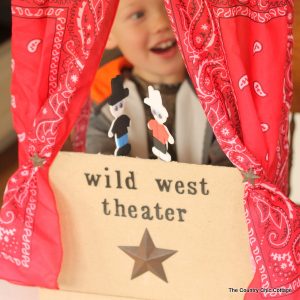
You could turn this craft into a farm or cowboy-themed adventure! The new stick horse could even make his debut at the Wide West Puppet Theater or as a party favor for a farm-themed birthday.
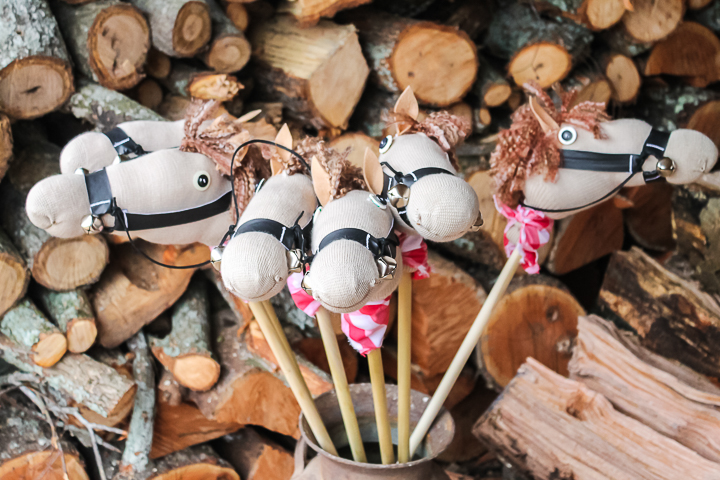
Kids of all ages will love using their imagination to ride a cute horse, and they are actually pretty easy to make yourself.
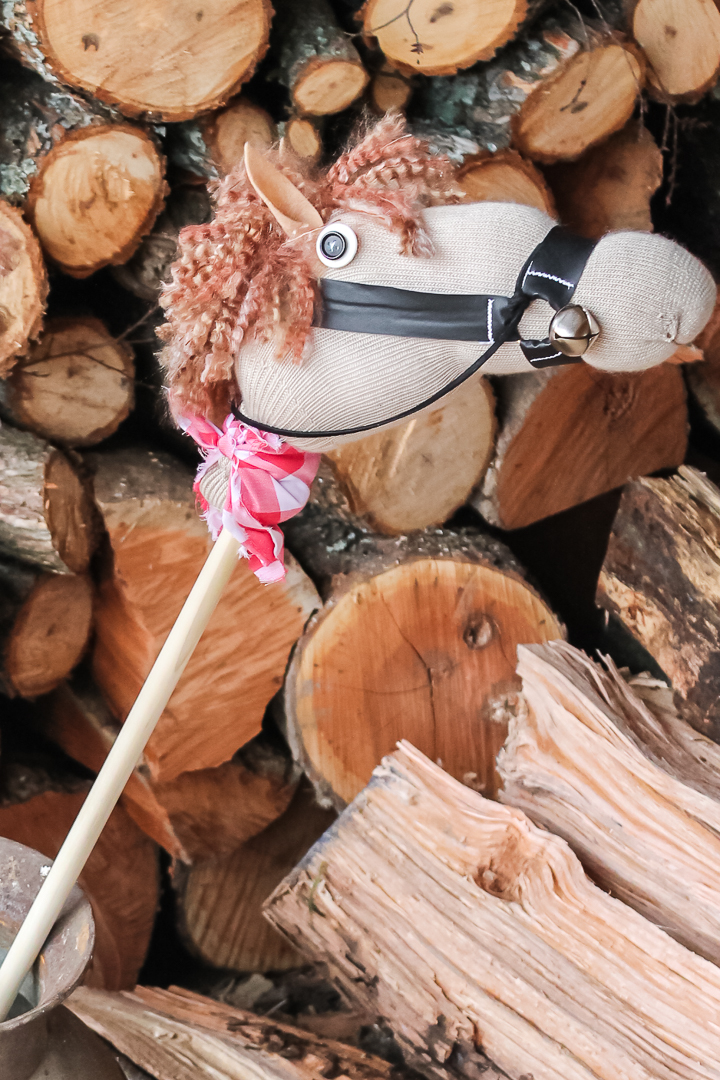
How To Make DIY Stick Horse
Even though this tutorial has several steps, these are easy and fun to make. Let the kid in your life choose their own sock color and yarn for their own style.
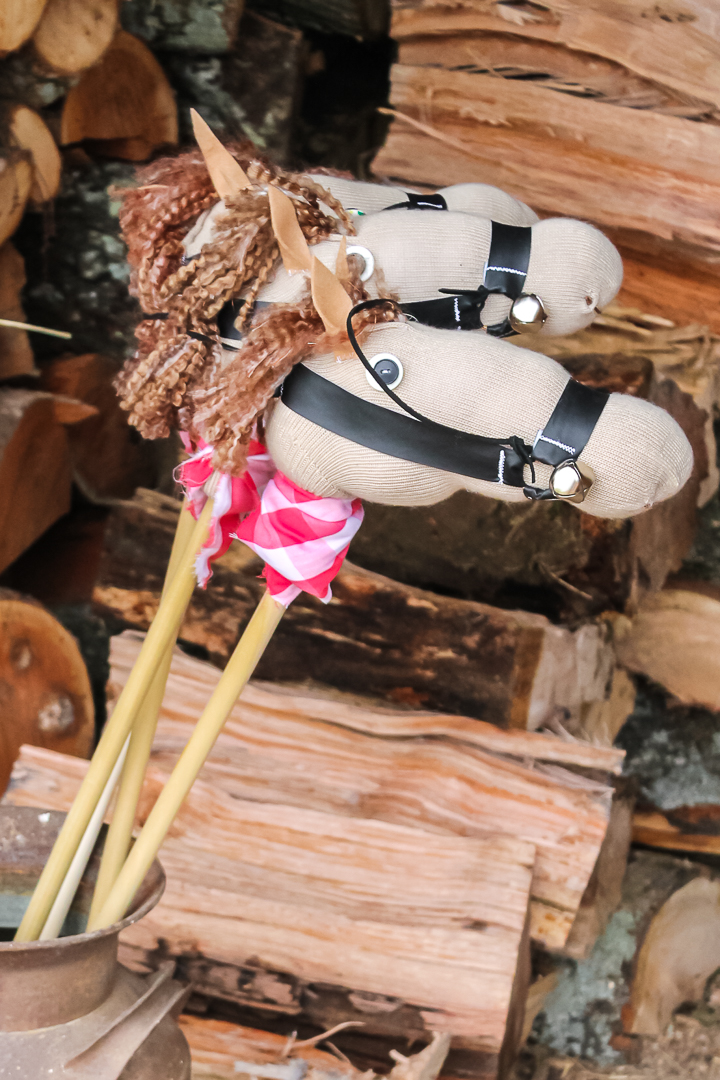
Supplies Needed To Make DIY Stick Horse
- Brown socks (I found mine in the men's department at Walmart.)
- Faux leather fabric in black (I purchased one-yard cut of fabric. A 1/4 of a yard would have been plenty.)
- Suede lace (1/8 inch)
- Lion Brand Yarn, Barley
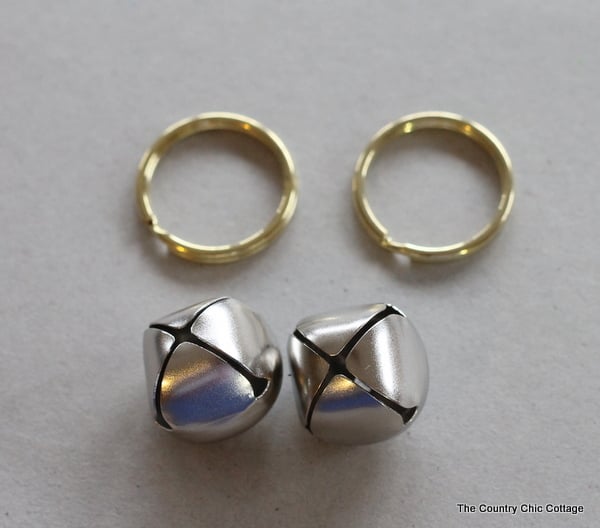
- Brass Plated Key Rings (2 per horse) (30 mm rings work best)
- 1″ Jingle Bells (2 per horse)
- 2 white and 2 black buttons per horse
- Brown felt
- Brown embroidery thread
- 2 1/2 inch Styrofoam ball
- Red plaid material or bandanna
- Hemp twine
- E6000 glue
- Fiberfill stuffing
- 5/8 inch dowel rod, 36 inches long
You could even recycle an old sock into this fun craft. Just be sure to follow the instructions below. I think you could substitute a lot of the supplies, actually, and if you don't have things like the jingle bells, you can just leave them off!
Step 1: Add Jingle Bells To Keyrings
Let's start with the halter for our horse. Grab your brass-plated key rings and jingle bells. Put the jingle bells on the key rings just like you would a key.
Step 2: Cut Faux Leather & Sew Pieces Together
Cut your faux leather fabric into 1-inch strips. You will need two 5-inch-long pieces and one 16-inch-long piece.
Using your sewing machine, set the zig-zag stitch and attach the faux leather ends to the keyring as shown below.
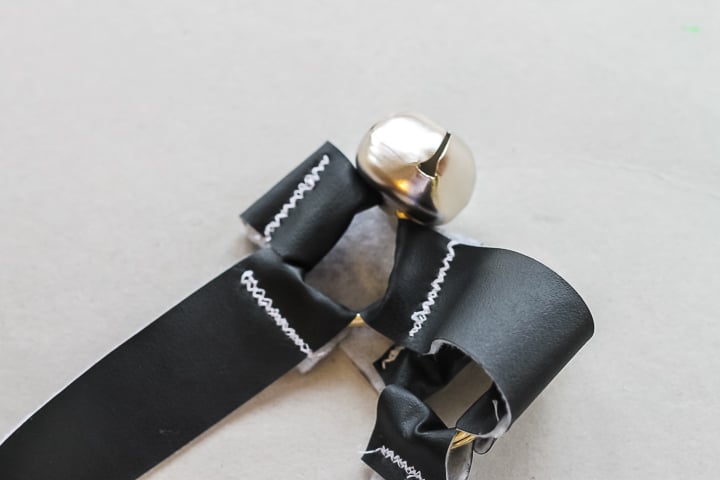
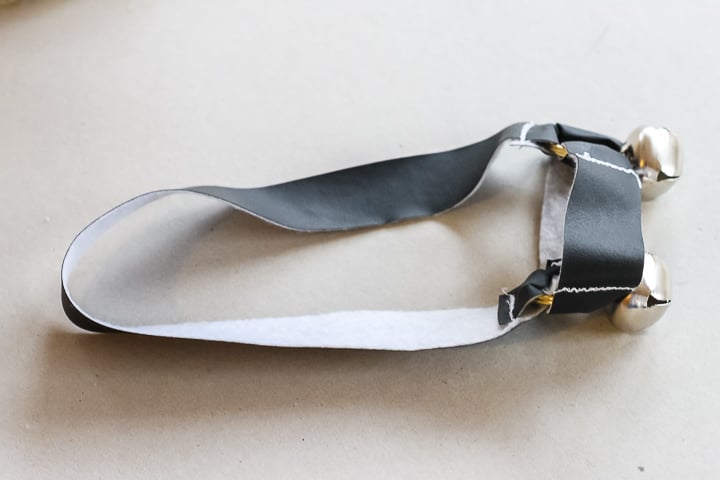
After all the pieces have been sewn to both key rings, your halter should look like the image below.
Step 3: Cut Yarn & Mark Sock
To make the mane, cut several 9-inch lengths of yarn.
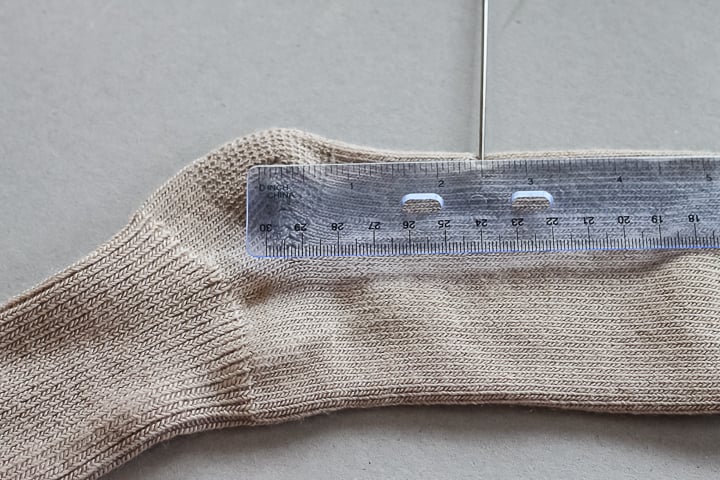
Then, mark your sock approximately 2 1/2 inches in front of the heel. This will be where the mane is attached.
Step 4: Add Fiberfill To Sock
Add fiberfill stuffing into the toe of the sock. Then, place the halter around what will be the horse’s head.
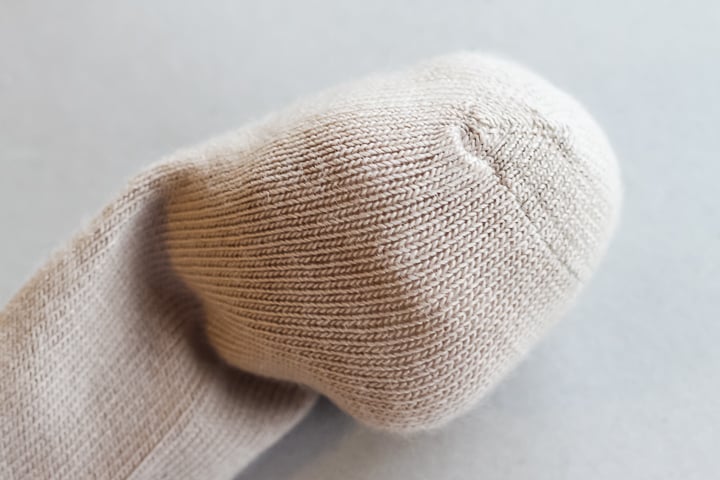
Step 5: Add Halter To Sock
Add your halter, then add some more fiberfill to the sock. Stop when you get close to your mark for 2 1/2 inches.
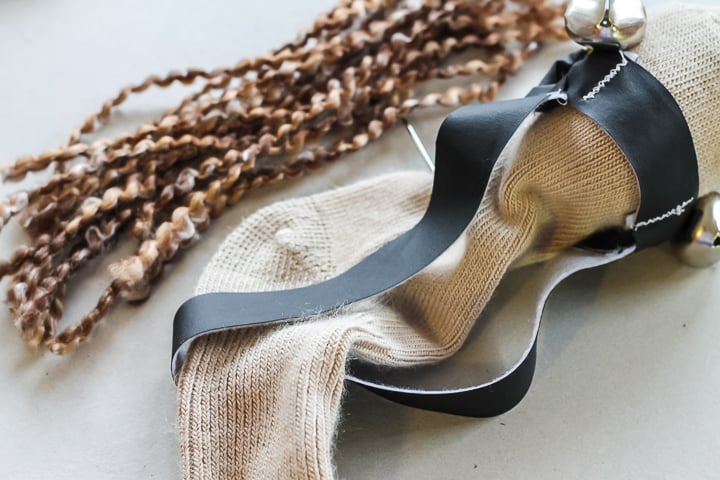
Step 6: Sew Halter To Mane
Using the same zig-zag stitch, begin at your 2 1/2-inch mark. Fold each piece of yarn in half and sew the fold to the sock. Pull the sock tight as you go, slowly adding in yard mane pieces. Be sure to stretch and pull the sock as you sew.
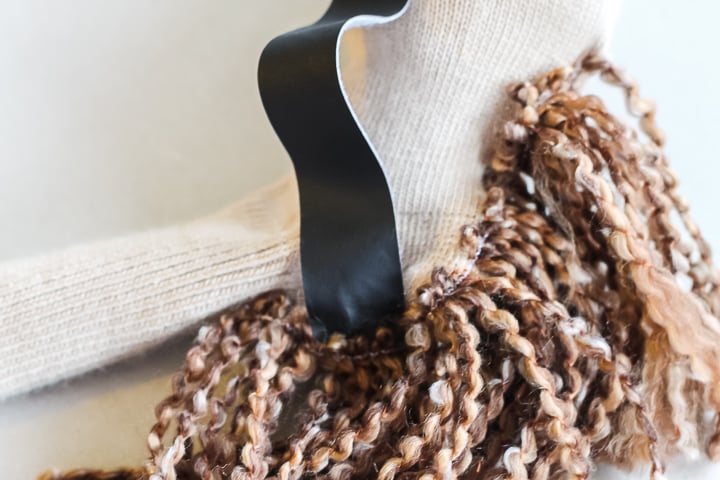
At this point, the halter should fall right on the back of the sock's heel. Then, sew the halter into the mane and continue sewing until you reach the ribs of the sock (or where the top of the ankle would be).
Step 7: Add Styrofoam Ball
Add fiberfill until you reach the heel area of the sock. Then, add your styrofoam ball.
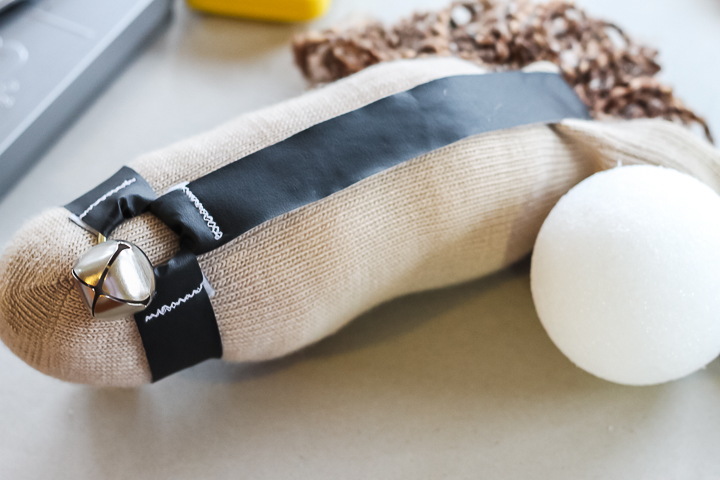
Step 8: Add More Fiberfill
Add more fiberfill UNDER the ball to make that area of your horse wider.
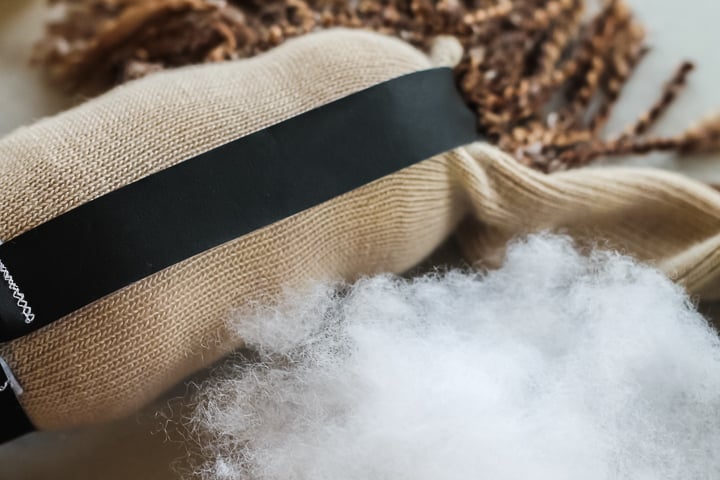
Step 9: Shape Horse's Head
Continue adding fiberfill, as you work, and shape your horse until he looks right. You can move the ball once inside the sock if you are not happy with the placement. It is looking a little like a horse now, don’t ya think?
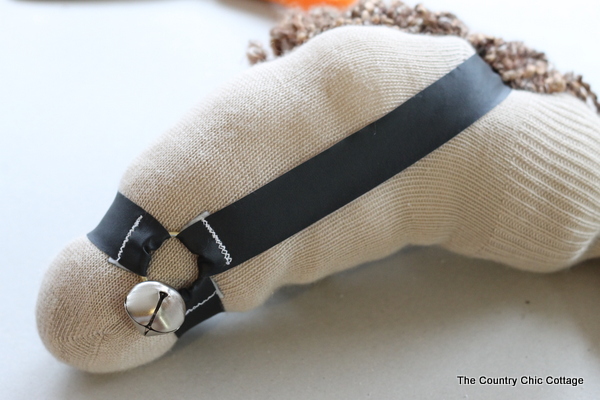
Step 10: Give Your Horse A Hair Cut
Now that you have a horse head, we can give him a haircut. You can keep your mane long, cut it short, whatever you think looks best.
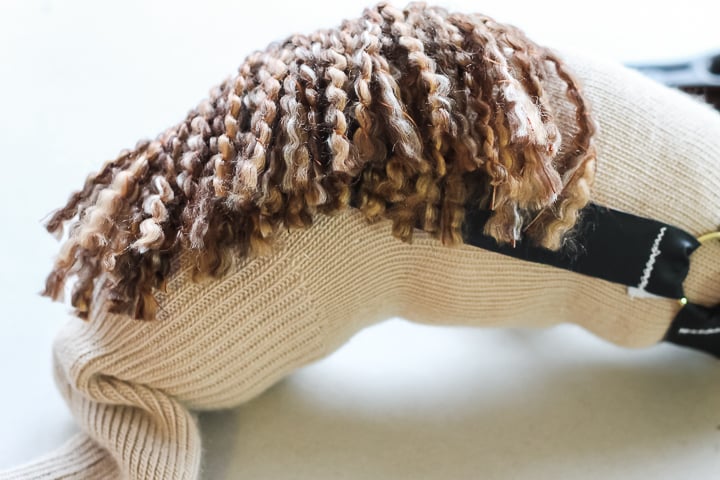
Step 11: Add Lead Rope
Then, to add a lead rope, tie the suede cording to the keyring.
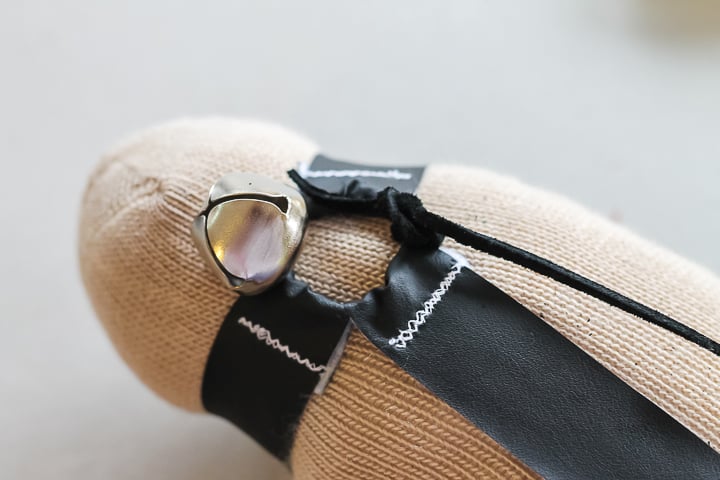
Step 12: Tie Lead Rope To Key Ring
Leave a little room on the cording at the back of the head for a little hand to hold it. Then tie the opposite end to the other key ring.
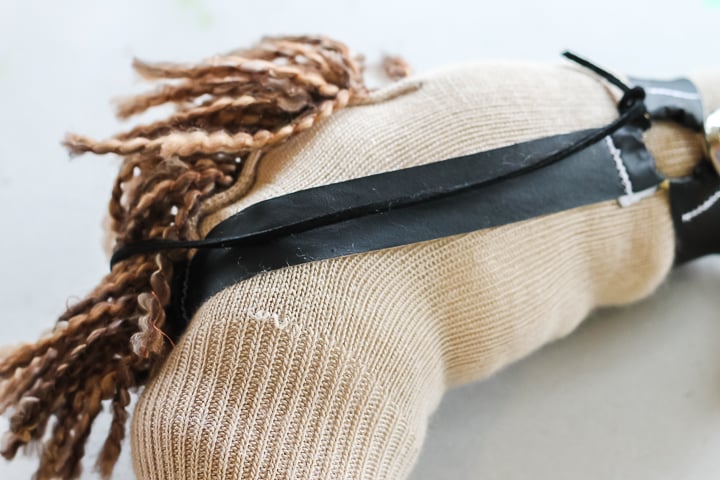
Step 13: Add Mouth To DIY Stick Horse
It is time for the details! Use brown embroidery floss to outline the toe seam of your sock to create the mouth.
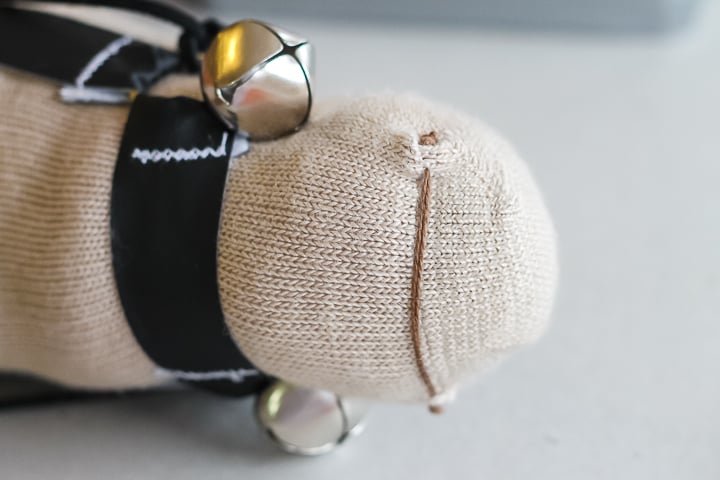
Step 14: Add Eyes
Sew one back button on top of a larger white button to make the perfect eye.
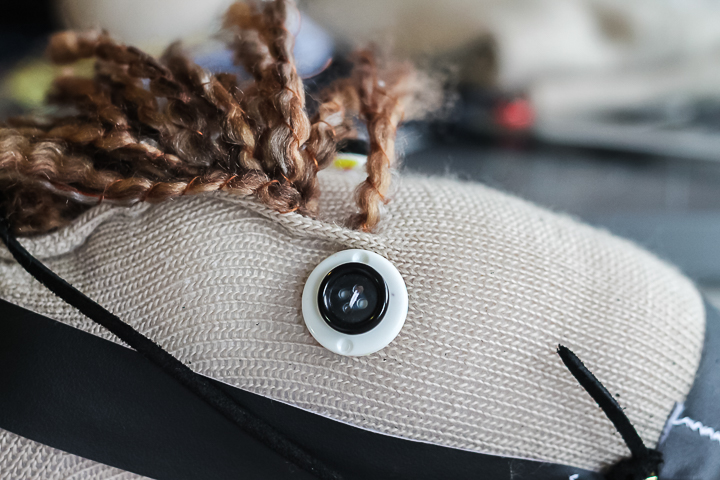
Step 15: Add Ears To DIY Stick Horse
Cut ear shapes from brown felt, then fold them in half and hand-sew them to the head.
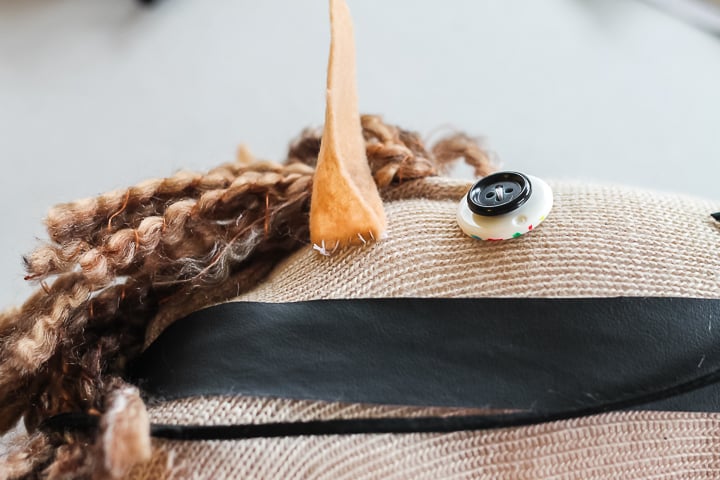
Step 16: Add Stick
To add the stick to the horse, fold up the length of the sock as shown.
Then, insert your stick into the horse's head and push it INTO the Styrofoam ball inside the sock. Make sure you press firmly and that the stick goes a few inches into the ball. Determine where you will tie your horse's head into place. Use a pen to mark that approximate location.
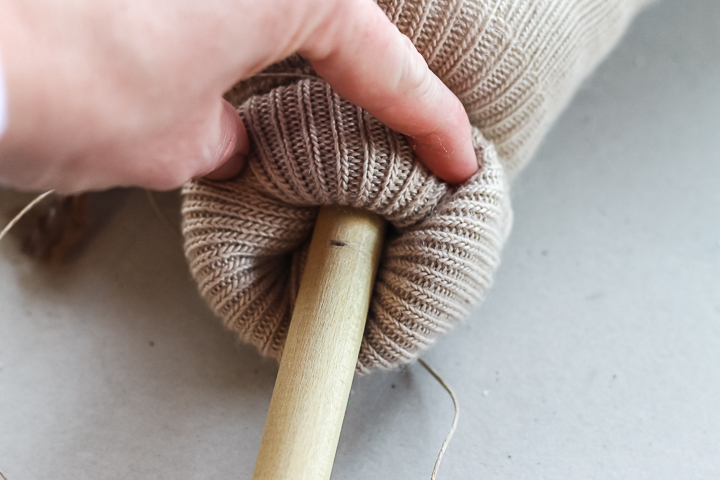
Remove the stick, then add E6000 glue to the marked area and to the very tip of the dowel that will be in the head.
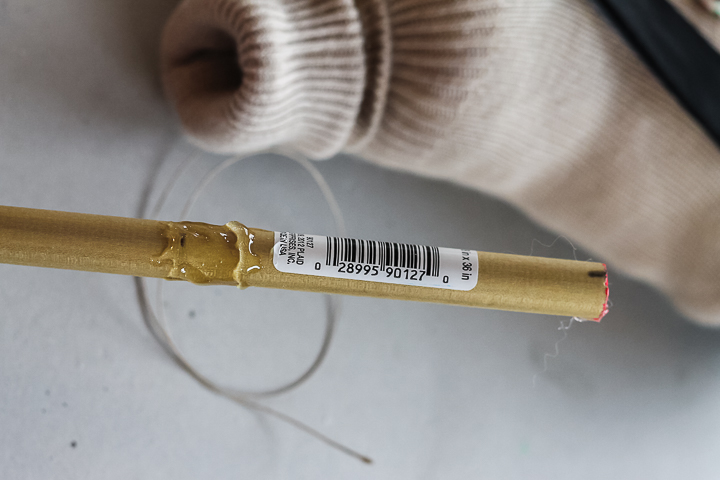
Insert the dowel back into the head, then use hemp twine to tie the head firmly in place. Be sure to let the glue dry for the recommended time on the packaging!
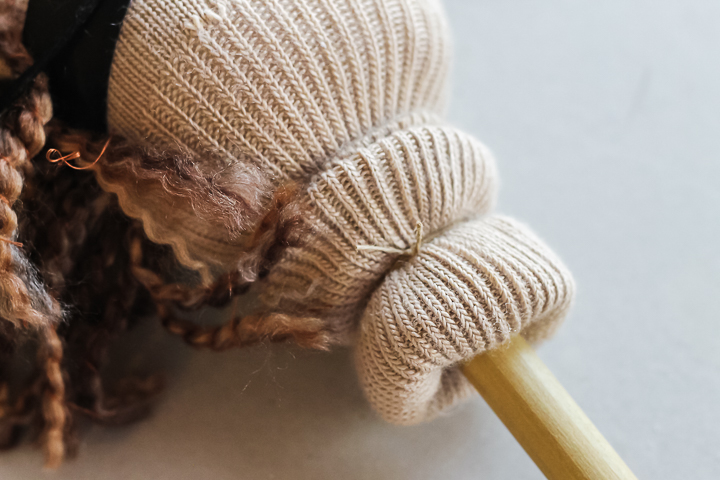
Step 17: Add Scarf To DIY Stick Horse
Tear your red checkered fabric into an 8-inch square, then tie it around your horse’s neck to hide your twine. You can also use a bandanna for this step.
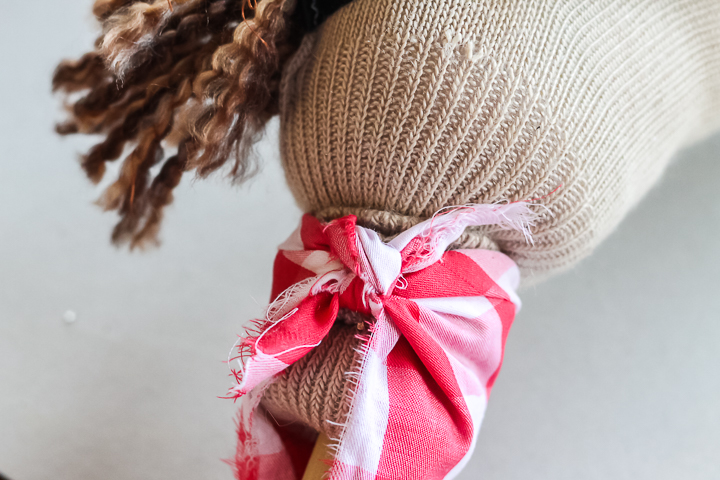
Now, your horse is ready for a cowboy or cowgirl!
I kept on making and making until I had an entire herd of horses ready for a party.

So far, so good on these horses. We had the party, and no horseheads came off. I believe the E6000 is working, but if you find it fails for you, an alternate method for attaching the head may be in order.
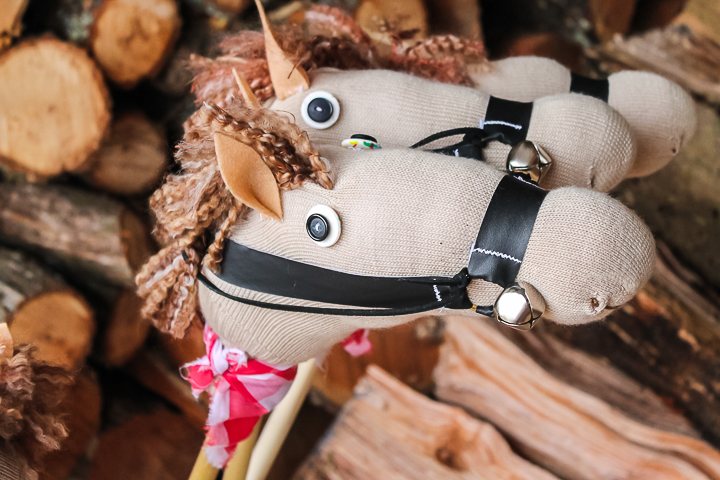
Grab a pack of socks next time you are at Walmart and make your little buckaroo their own sock stick horse. This will provide hours of entertainment for your little one!
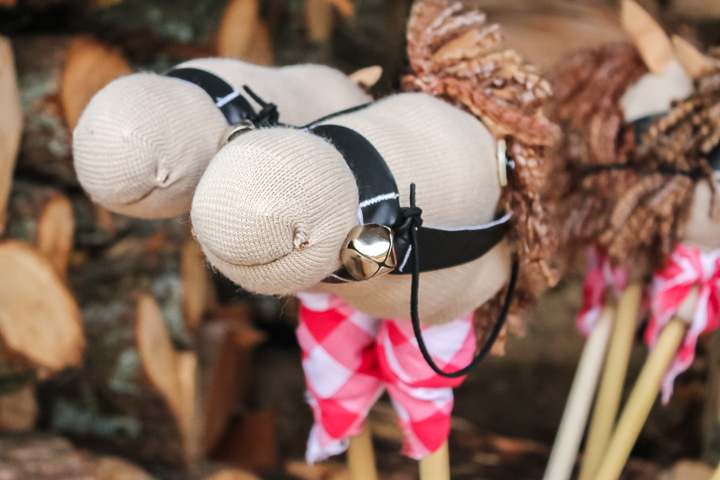
Tips and Tricks for DIY Stick Horse
Now that you’ve seen this fun DIY stick horse, are you ready to make your own? Here are a few tips and tricks to help!
- Create Horses In Different Colors – For my DIY stick horses, I chose a traditional tan color. However, you could make your horses white, black, or dark brown, or even whimsical pastels!
- Get Creative With Your Socks – If you want to skip the traditional horse colors, you can also use socks with stripes, polka dots, or other fun patterns.
- Give The Mane Style – Just like with the socks, you can choose different types and colors of yarn to give your horse's mane a unique look. For example, instead of regular yarn, you could use chunky yarn or color-changing yarn.
- Turn Your Horse Into A Unicorn – If your kids would rather ride a unicorn instead of a horse, simply follow the tutorial above, but leave out the halter and either sew or glue on a felt horn in the middle of the unicorn's head.
5 More Kids Crafts
Did you love learning how to make this DIY Stick Horse and want more kid crafts? Check out the projects below!



These hobby horses are so cute! You did a great job on these, Angie. Shared all around! Thank you.
Those turned out so cute! Excited to see the rest of the party!
Um…these are the cutest things ever! I love them!!! Totally LOVE them!!!!!!! Soooo cute!!!!
These are adorable! what a great idea.
REALLY beautiful!!! good idea and thank you for the tutorial! 🙂
Cecilia
Such a cute idea and great tutorial… I am pinning!
hey i am thinking about making some of these for someone’s wedding reception. do you know approximately how much this project cost to make that many? it would be awesome if you let me know. thanks!
They’re adorable!! Great tutorial, you made it look so easy 🙂
my daughter made 6 of these sock horses and used dowel rods, she told me the wooden rods are expensive without using a discount but I was wondering if PVC pipe could be used. It’s much cheaper.
Just be careful as the ends can be sharp for little hands!
Hello,
Very cute. How much would you estimate the amount of stuffing used? We’re making horses in our class at school and I want to know how much stuffing to buy for 30 students.
Thanks,
GIna
I would get 2 bags for 30 horses. Good luck!