Flower pot painting has never been so easy! I am about to show you a technique that you can use on your outdoor decor this summer to have gorgeous flower pots in a variety of styles. And yes this can be done in just 15 minutes or less! If you have missed any of our other clay pot ideas this week, be sure to catch up with day 1 of our series. You can also scroll to the bottom of this post and see what today’s bloggers have in store for you!
Supplies Needed for Flower Pot Painting:
I am an independent designer for Chalk Couture and links below are to my shop where I earn a commission on each product sold.
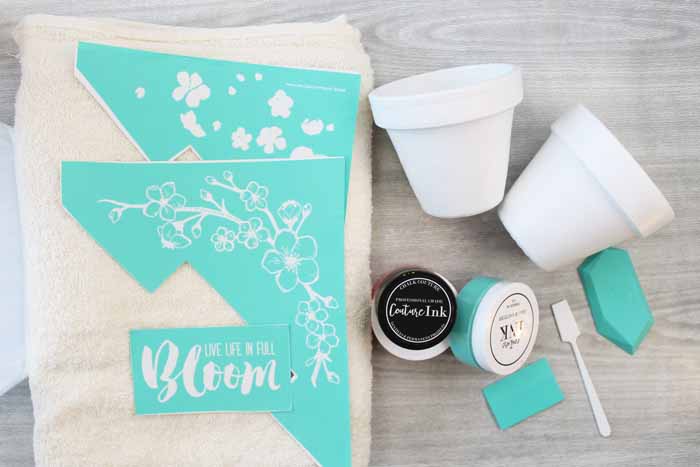
- Clay pots (painted with two coats of white outdoor paint)
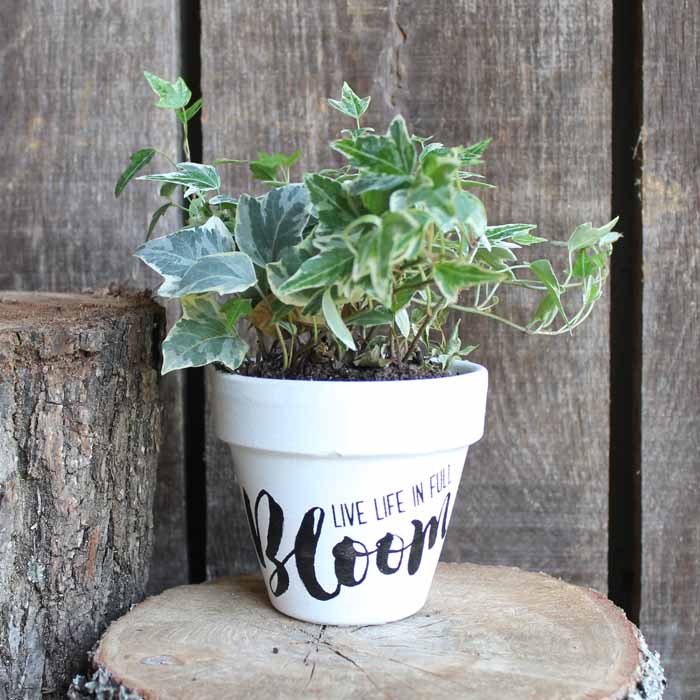
- Live Life in Full Bloom Transfer
- Couture Ink in Black
- Squeegee
- Stir Stick
- Painter’s tape (optional)
- Clorox wipes
- Water
- Magic eraser (optional)
- Scissors
- Towel
It is so much easier to show you how this product works then to tell you. I am sharing a video below that explains the process. Trust me…you are going to love how easy it is!
Flower Pot Painting with Chalk Couture: Video Tutorial
Still confused? Click here to download our Chalk Couture Beginner’s Guide!
Can’t watch the video or missed some of the steps? Try our step by step instructions below!
Instructions for flower pot painting with Chalk Couture:
- Start with flower pots that have had a few coats of a good quality outdoor paint. Look for paint that is intended for use on terra cotta to get maximum coverage.
- Be sure to allow your paint to cure about 24 hours before adding the transfer to make sure it is really on that pot!
- Cut your Live Life in Full Bloom Transfer into pieces along the cut lines.
- Then remove the transfer from the backing paper. Be sure to pull top to bottom or side to side and not diagonally.
- Put the transfer on a bath towel to fuzz the back.
- Stick to your flower pot wherever you want your design.
- Then use a squeegee to make sure it is stuck well and to remove any air bubbles.
- You may also want to add painter’s tape around the edge of your transfer as the ink is permanent anywhere that you get it on your pot.
- Then dollop the ink on one side of the transfer.
- Use the squeegee to pull it across and ensure that you cover all areas of the transfer.
- Remove as much of the ink as possible and put it back into the container for use on another project.
- Then remove the painter’s tape and discard.
- Remove your transfer from the flower pot. Again pull top to bottom or side to side.
- DO NOT let your ink dry on the transfer. Put in a shallow pan of water if you cannot wash right away.
- Clean up any mistakes on your flower pot while the ink is still wet. A q-tip works great for this.
- Then set your flower pot aside to dry.
- Clean up your transfer with a Clorox wipe on the front and back. Note that the ink does have a tendency to stain the transfer. You can use a magic eraser to remove a majority of this staining if desired but it is not required. The staining will not hurt future uses of the transfer.
- Allow your transfer to dry completely with the sticky side up then return to the shiny side of the backing paper for use again. Remember that the company guarantees use for 12 projects but you can use these transfers so many more times!
- You will need to heat set the ink in on your flower pot to make it permanent. Do that by baking in a 350 degree F oven for about 30 minutes. Then your project is complete and ready for a plant!
Still confused? Click here to download our Chalk Couture Beginner’s Guide!
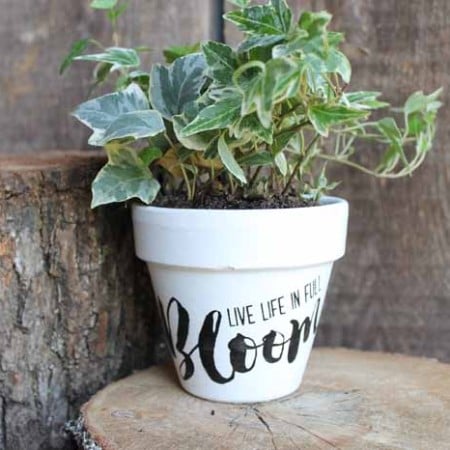
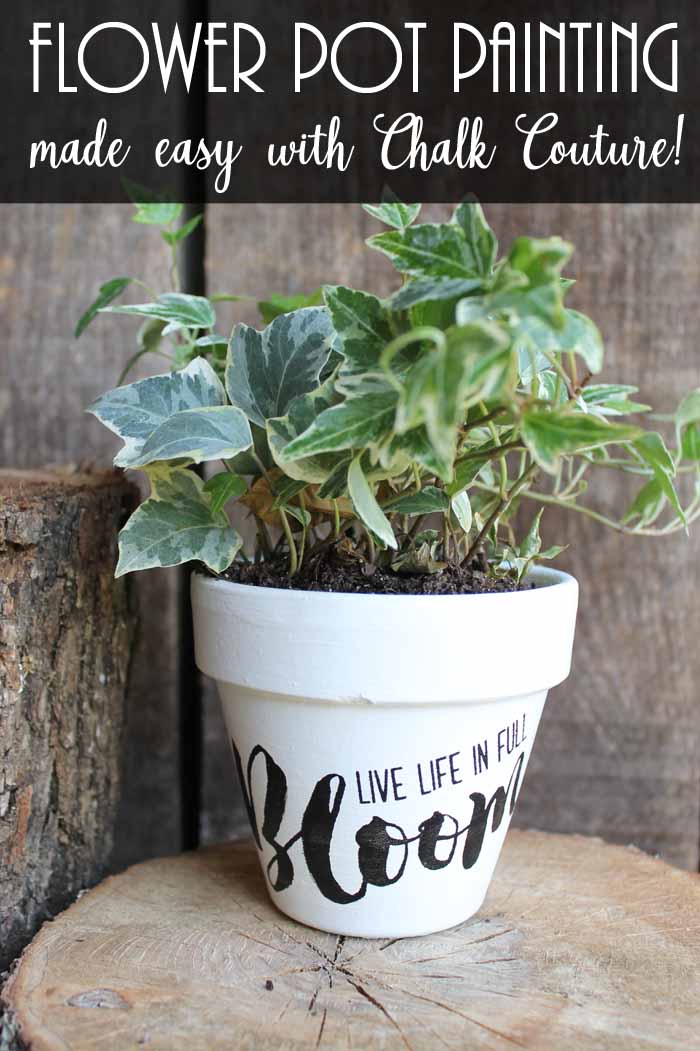
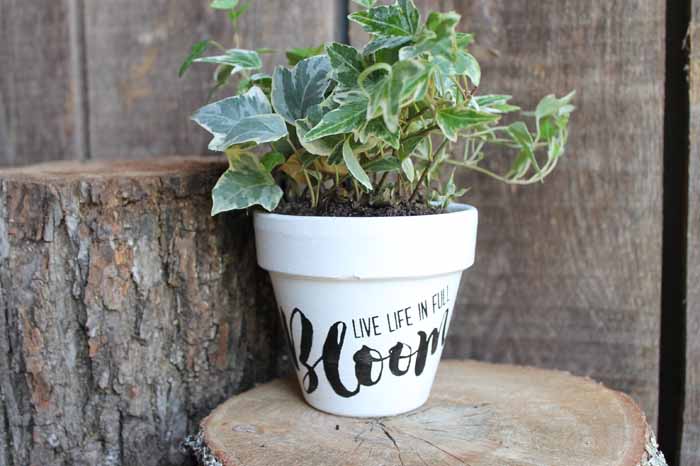
I told you this product would make flower pot painting so much easier!
With the wide variety of transfers available from Chalk Couture, you can add just about anything to your flower pots this summer! And it can be done in just 15 minutes! Now that is a win-win!
Print out this flower pot painting tutorial using the how-to card below!
Supplies
Instructions
Instructions for flower pot painting with Chalk Couture:
- Start with flower pots that have had a few coats of a good quality outdoor paint. Look for paint that is intended for use on terra cotta to get maximum coverage.
- Be sure to allow your paint to cure about 24 hours before adding the transfer to make sure it is really on that pot!
- Cut your Live Life in Full Bloom Transfer into pieces along the cut lines.
- Then remove the transfer from the backing paper. Be sure to pull top to bottom or side to side and not diagonally.
- Put the transfer on a bath towel to fuzz the back.
- Stick to your flower pot wherever you want your design.
- Then use a squeegee to make sure it is stuck well and to remove any air bubbles.
- You may also want to add painter’s tape around the edge of your transfer as the ink is permanent anywhere that you get it on your pot.
- Then dollop the ink on one side of the transfer.
- Use the squeegee to pull it across and ensure that you cover all areas of the transfer.
- Remove as much of the ink as possible and put it back into the container for use on another project.
- Then remove the painter’s tape and discard.
- Remove your transfer from the flower pot. Again pull top to bottom or side to side.
- DO NOT let your ink dry on the transfer. Put in a shallow pan of water if you cannot wash right away.
- Clean up any mistakes on your flower pot while the ink is still wet. A q-tip works great for this.
- Then set your flower pot aside to dry.
- Clean up your transfer with a Clorox wipe on the front and back. Note that the ink does have a tendency to stain the transfer. You can use a magic eraser to remove a majority of this staining if desired but it is not required. The staining will not hurt future uses of the transfer.
- Allow your transfer to dry completely with the sticky side up then return to the shiny side of the backing paper for use again. Remember that the company guarantees use for 12 projects but you can use these transfers so many more times!
- You will need to heat set the ink in on your flower pot to make it permanent. Do that by baking in a 350 degree F oven for about 30 minutes. Then your project is complete and ready for a plant!
Love this idea for flower pot painting and looking for more quick and easy clay pot ideas? Try the links below!
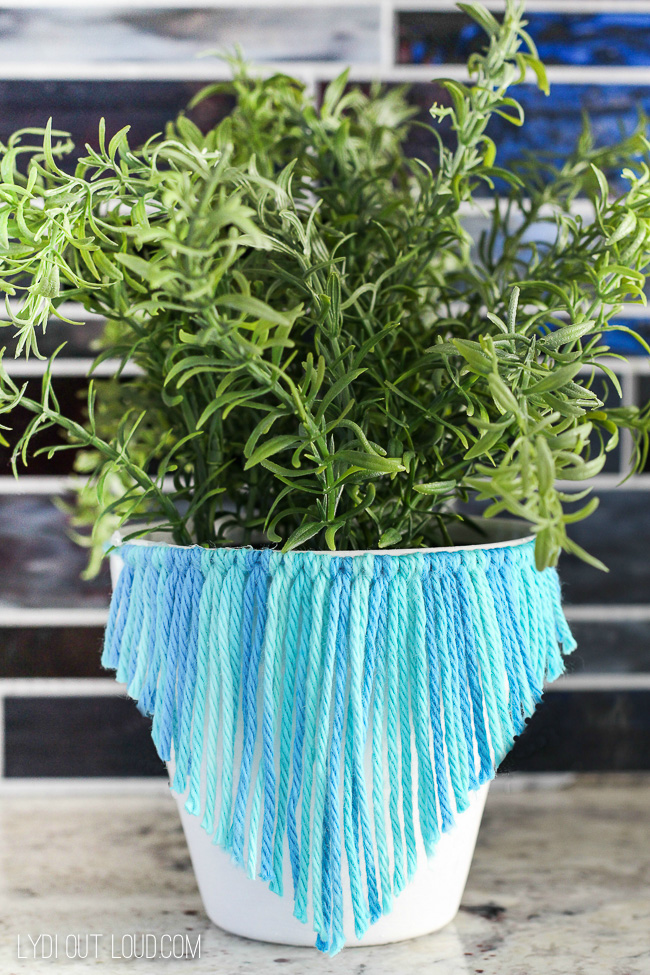
Start with this macrame inspired clay pot from Lydi Out Loud.
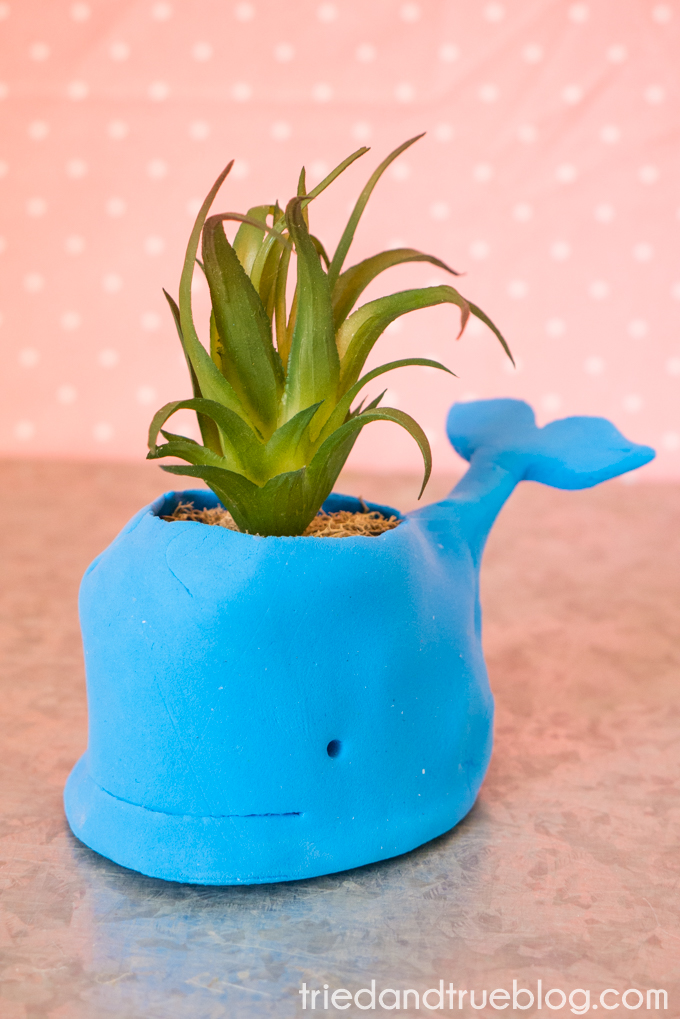
Then you might want to make this adorable whale clay pot from Tried and True.
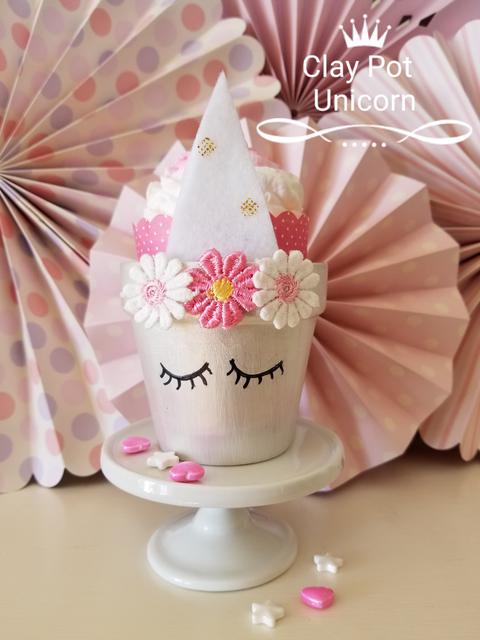
You can even make a unicorn themed clay pot like this one from Debra Quartermain.
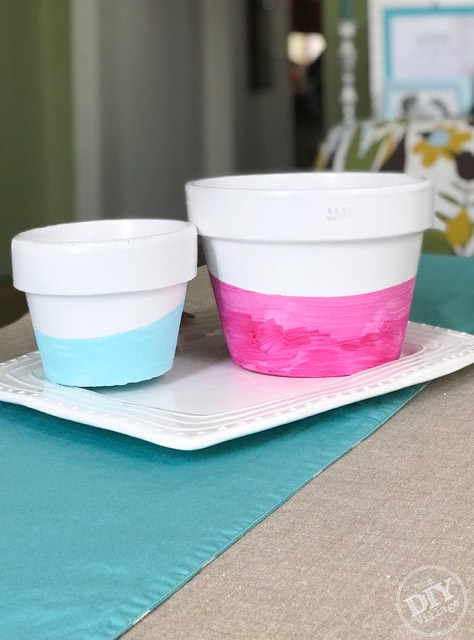
Love watercolors? You will also love this technique for creating watercolor clay pots from the DIY Village.
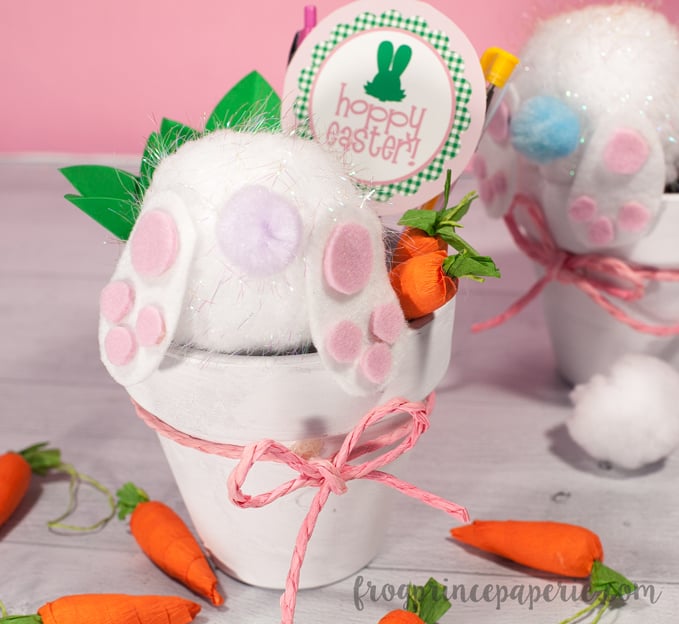
And a bunny butt is the cutest thing ever! Try turning a clay pot into a bunny butt pen holder like this one from Frog Prince Paperie.
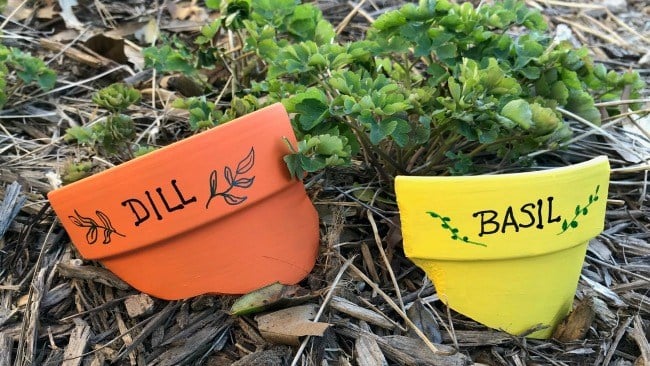
Have broken clay pots? No problem! Those can be turned into garden markers like these from PS I Love You Crafts.
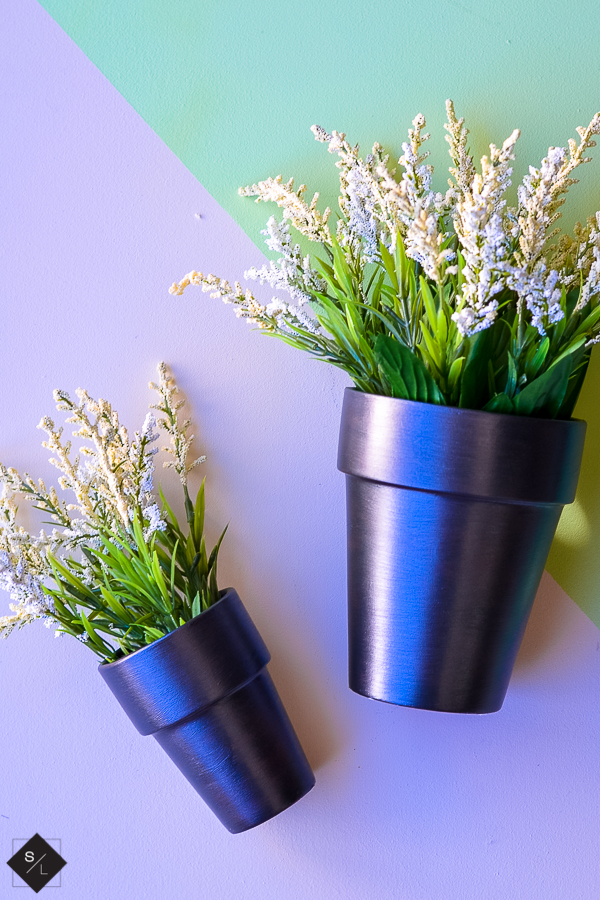
Maybe metallic is more your thing? You can also make these metallic clay pots from See Lindsay.
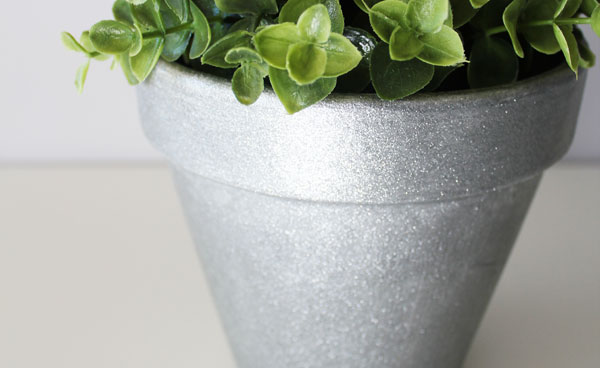
Or glitter! Yes glitter! My co-hostess for this series is 30 Minute Crafts and she is making these extreme glitter flower pots today!
So will you be trying flower pot painting with Chalk Couture or one of our other ideas today? So many ways to use clay pots in your crafting!
Chalk Couture Beginner's Guide

Getting started with Chalk Couture? Sign up for our email list and then use our handy free printable guide to start creating chalkboard art in minutes!



I love your pot Angie! So many fun ideas, thanks for hosting! 🙂
Angie these pots are so cute! I would love for you to link up at Thursday Favorite Things if you haven’t already. Can’t wait to try some of theses ideas!https://followtheyellowbrickhome.com/bunnies-and-blooms-at-thursday-favorite-things/
Loving this with Spring here. I have so many pots to get to decorating now. Thanks for sharing this at the Dishing It & Digging It Link Party.
Your flower pot painting is adorable and perfect to feature in my 7 Ideas to Beautify Your Outdoor Spaces next week at the Merry Monday Link Party on Sunday 6 pm pst. Hope to see you then!
Thanks so much Angie for linking up at Thursday Favorite Things! I have featured this post today at the party. I hope you will come over and link up again!
https://followtheyellowbrickhome.com/welcoming-spring-in-style-at-thursday-favorite-things/