
Learn how to make a fairy garden to add to your outdoor decor this summer. This fairy garden comes together in minutes and has a miniature pool that is so cute!
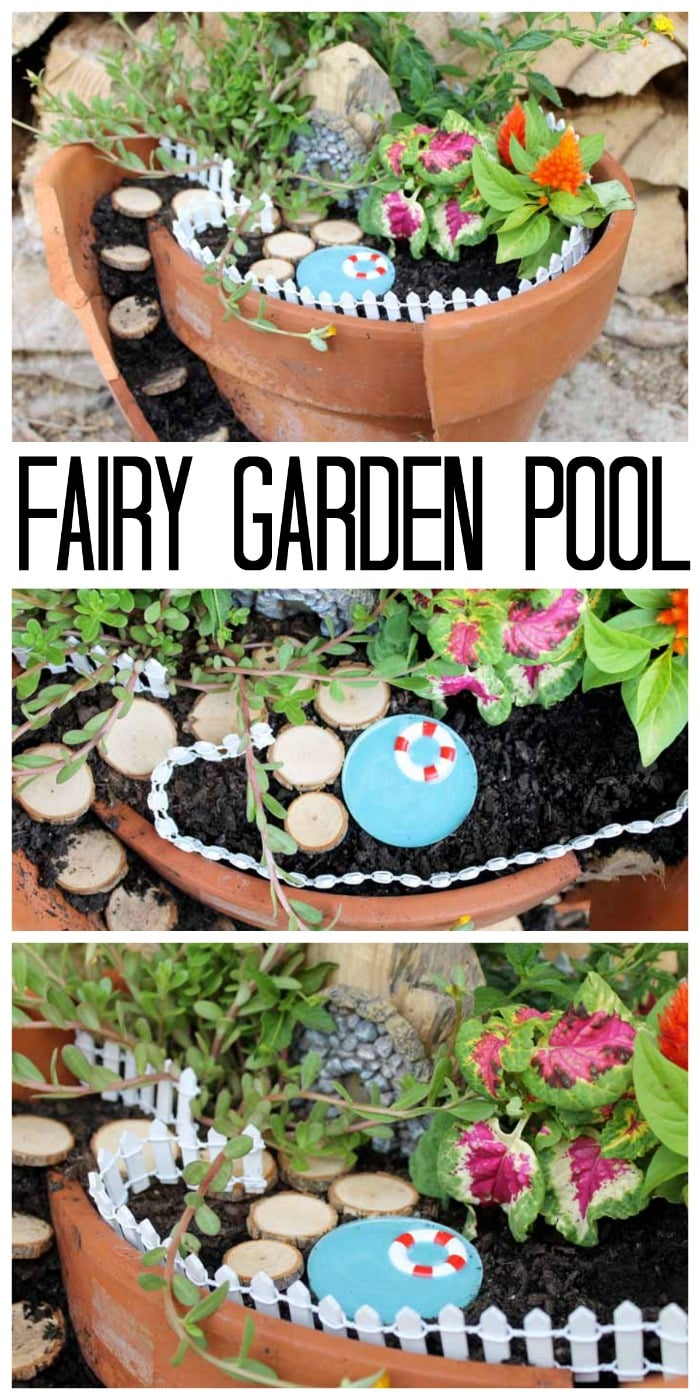
How to Make A Fairy Garden
Clay pot crafts are some of my favorite and this fairy garden is no different.
I made this fairy garden with a miniature pool one afternoon and I love how it turned out!
Let me walk you through the steps of how to make it so you have one for your outdoor space.
Supplies needed:
There are so many things you can add to your fairy garden. If you need more ideas, check out my miniature fairy garden supplies post.
These are the items I used:
- Broken pot
- Plants
- Potting soil
- Wood pieces
- Door
- Gnome
- Miniature Fence
- Any miniatures that you want!

Instructions to Make a Fairy Garden
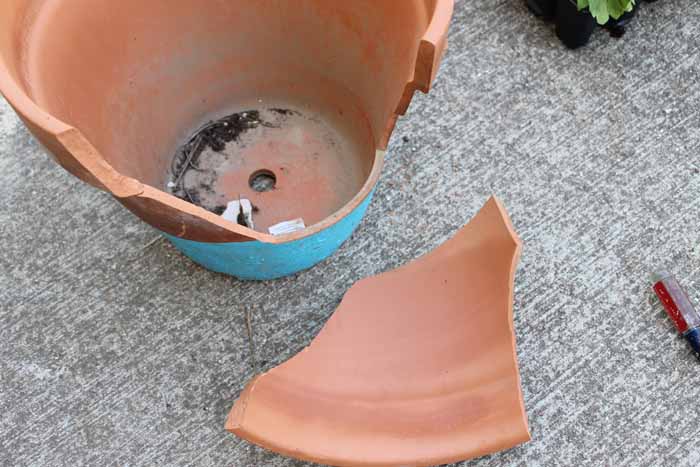
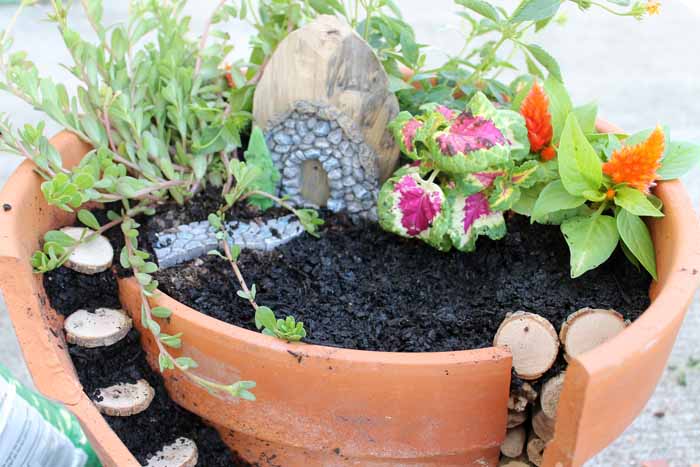
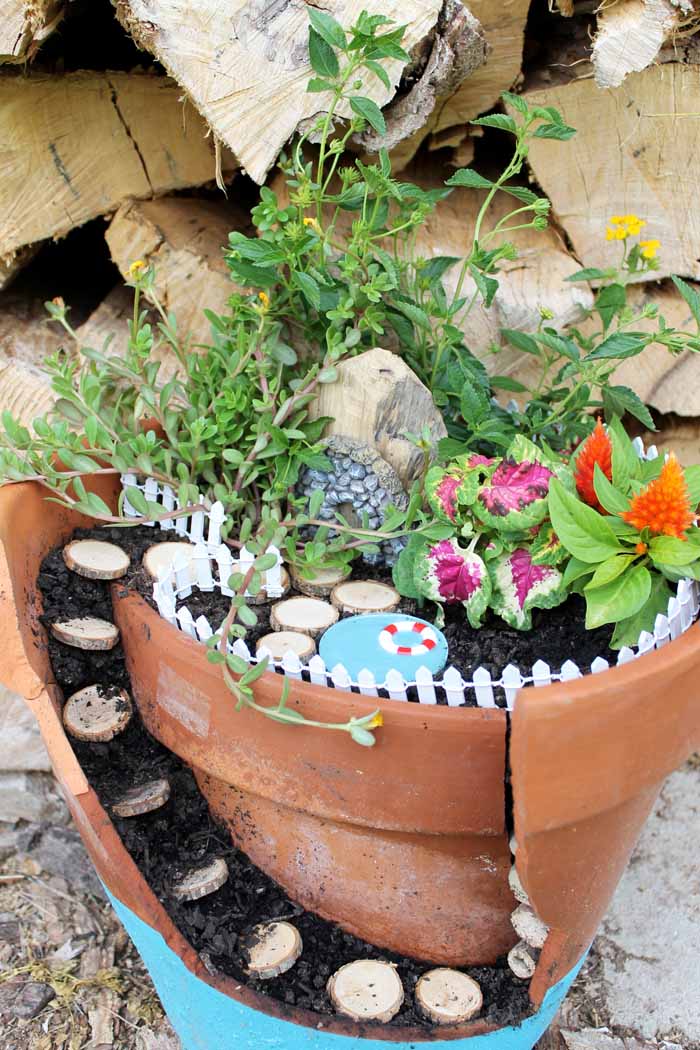
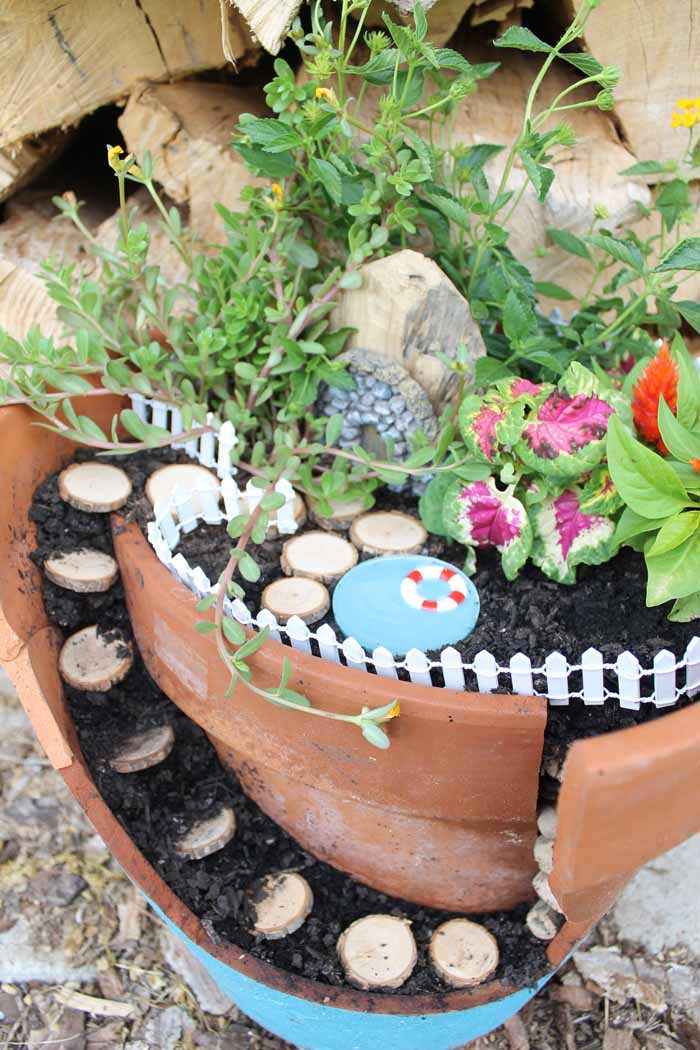
Start with a broken pot or use a screw driver to break one. I started with a cracked pot and used tools to break off a large section as shown below.
Add that piece back to the pot and start filling with soil.
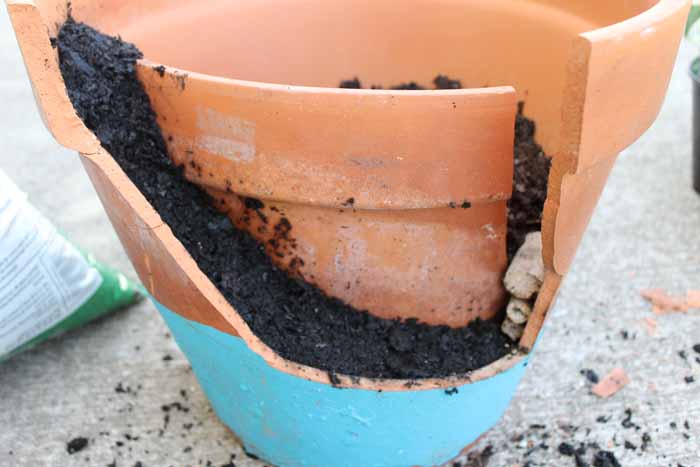
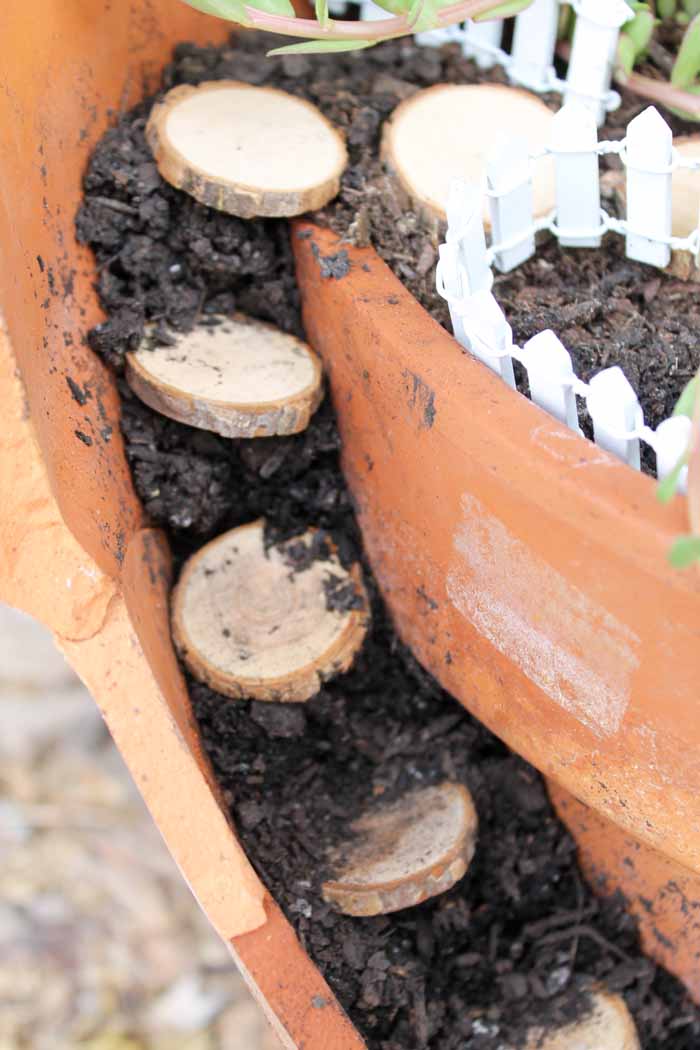
I added sticks up one side to help the dirt stay in the pot.

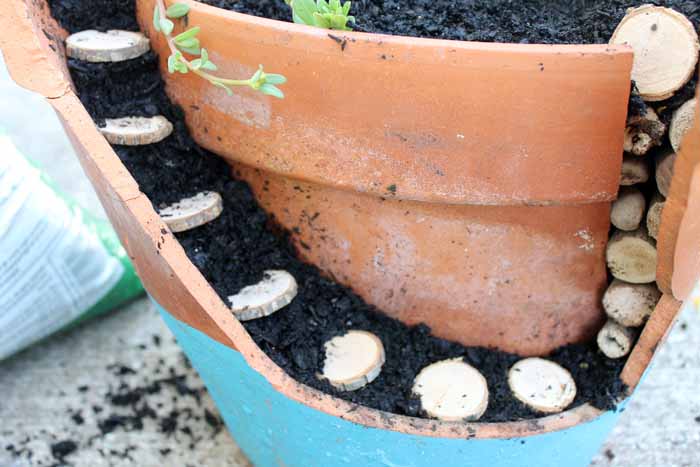
On the opposite side, I made some steps using small wood rounds.
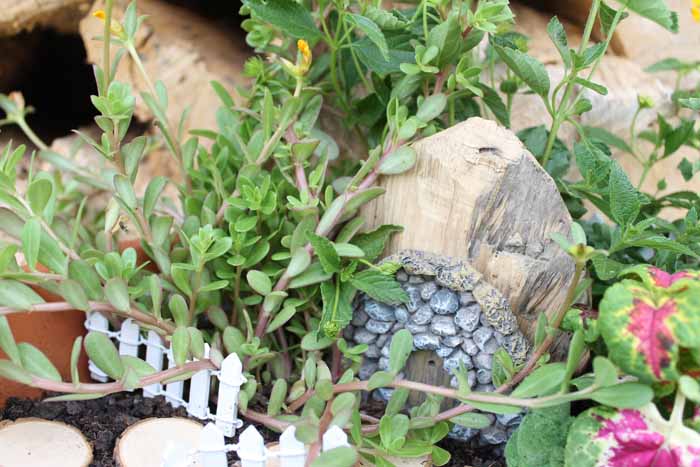
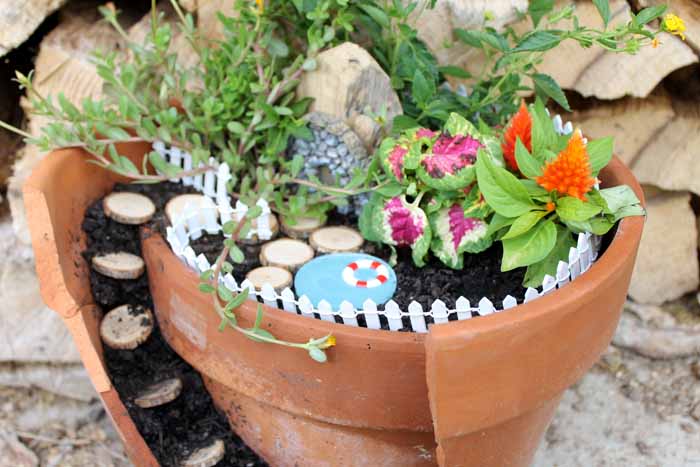
Then start filling your pot with your fairy garden. Add in colorful plants as well as miniatures. Here I added a door on a large piece of wood I had on hand.
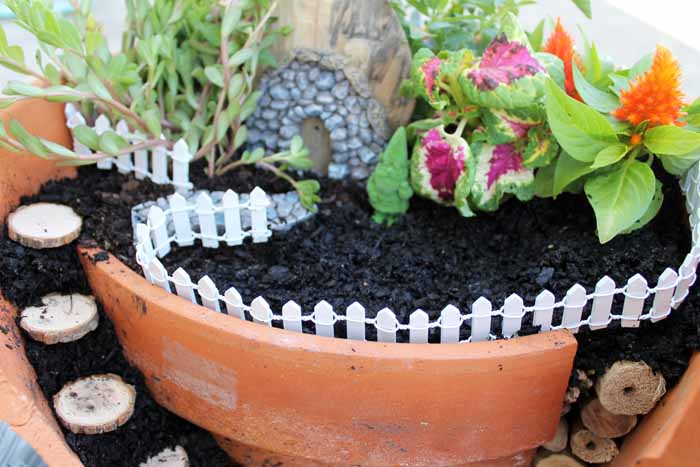
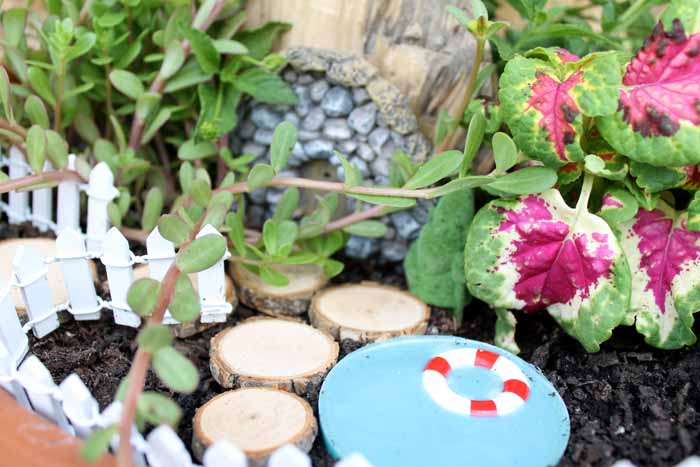
Add in a cute fence as well as a gnome. I thought like my gnome needed someplace to swim, so I made him a swimming pool as well.
Making the Fairy Garden Swimming Pool
It's hot so I wanted to provide my gnome with a nice swimming pool to cool off in. See how I made this cute little swimming pool to give my fairy garden a fun touch.
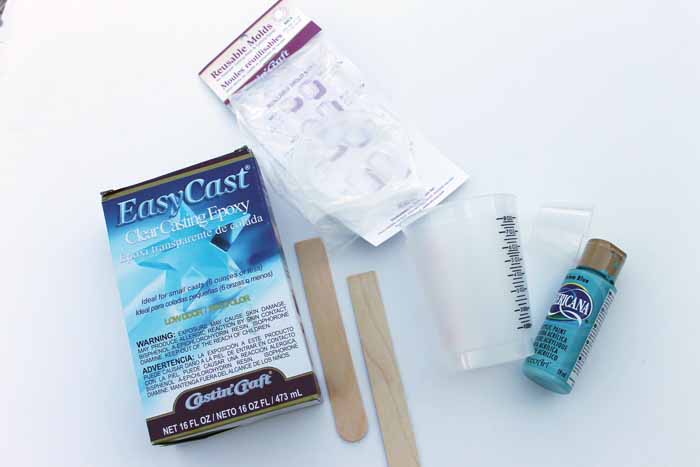
Supplies to make a fairy garden swimming pool:
- EasyCast Clear Casting Epoxy
- Circle mold
- Blue craft paint
- Stir sticks
- Measuring Cups
- Mixing Cups
- Miniature life preserver
- Gloves
Instructions
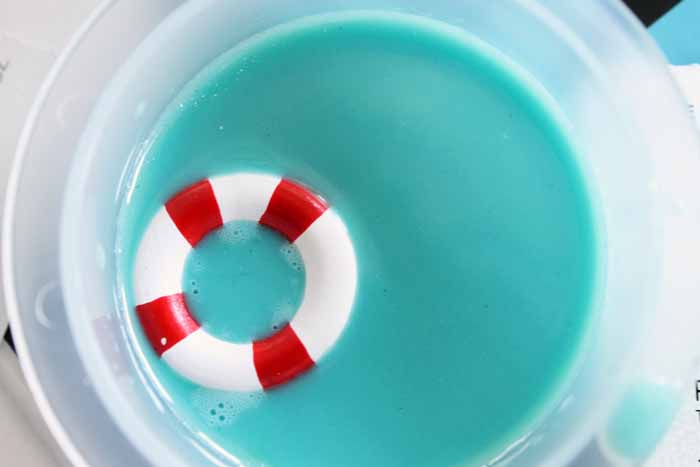
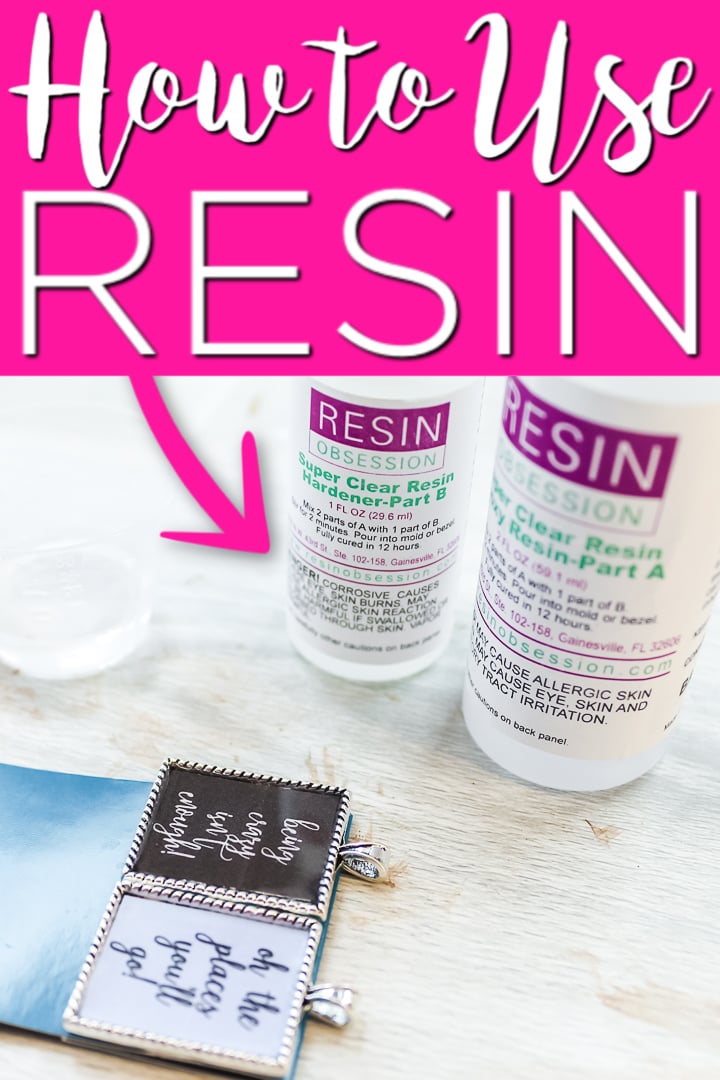
Start by mixing the resin according to the package directions. Mix equal parts of each component in enough quantity to create a thick layer in the bottom of your mold. Then add a few drops of paint to the mixture and stir well before pouring. Pour into your mold.
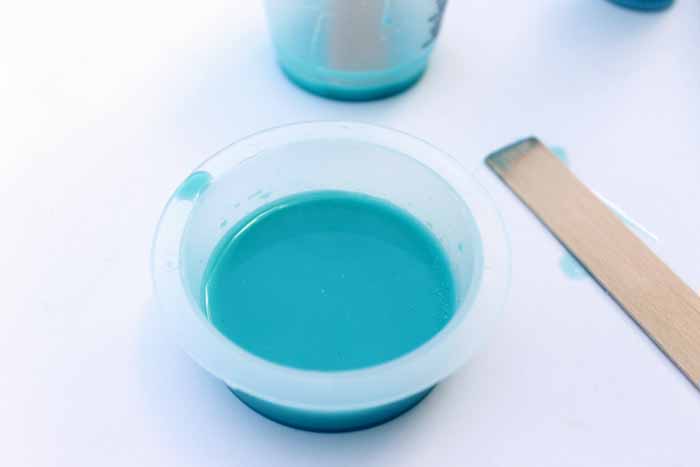
Watch carefully and remove any bubbles. Once the mixture has hardened slightly and has the consistency of gelatin you can add your float to the top. It will sink slightly but look just like a float in a pool.
TIP: Leave a little bit of mixed resin in your mixing cup when pouring. You can easily check the consistency of this small amount without bothering your mold. Allow to cure overnight before trying to release from the mold.
Then just remove from the mold and it's ready!
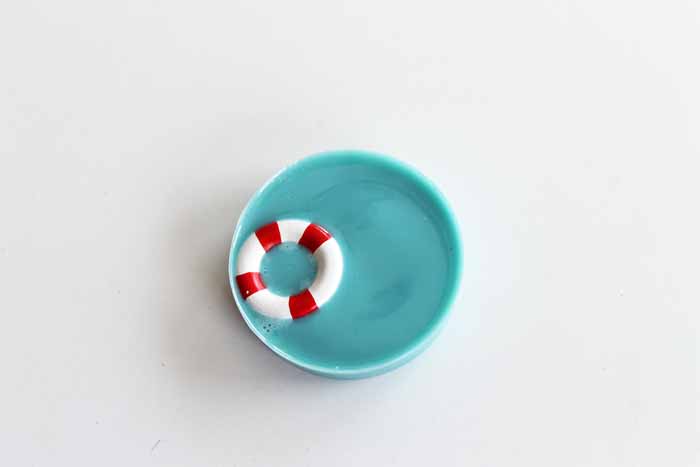
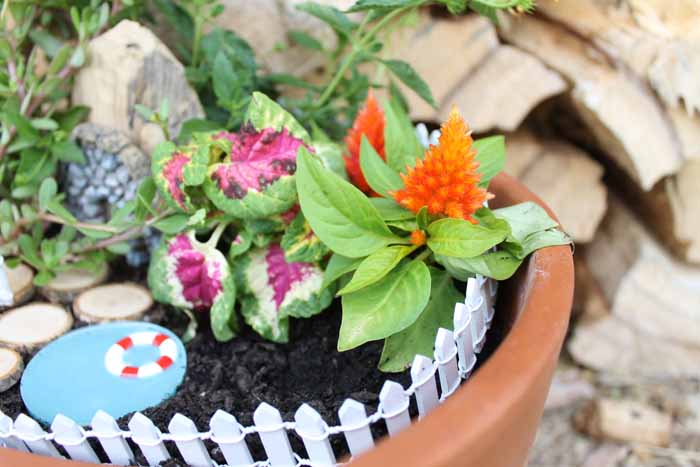
Add it by digging a hole and placing level with the dirt.

Supplies
- Broken pot
- Plants
- Potting soil
- Wood pieces
- Fairy Garden Door
- Gnome
- Miniature Fence
- Any miniatures that you want
- EasyCast Clear Casting Epoxy
- Circle mold
- Blue craft paint
- Stir sticks
- Measuring Cups
- Mixing Cups
- Miniature life preserver
- Gloves
Instructions
- Start with a broken pot or use a screw driver to break one. I started with a cracked pot and used tools to break off a large section as shown below.

- Add that piece back to the pot and start filling with soil.
- I added sticks up one side to help the dirt stay in the pot.
- On the opposite side, I made some steps using small wood rounds.
- Then start filling your pot with your fairy garden. Add in colorful plants as well as miniatures. Here I added a door on a large piece of wood I had on hand.
- Add in a cute fence as well as a gnome. I thought my gnome needed someplace to swim, so I made him a swimming pool as well.
How to make a fairy garden swimming pool
- Start by mixing the resin according to the package directions. Mix equal parts of each component in enough quantity to create a thick layer in the bottom of your mold. Then add a few drops of paint to the mixture and stir well before pouring. Pour into your mold.
- Watch carefully and remove any bubbles. Once the mixture has hardened slightly and has the consistency of gelatin you can add your float to the top. It will sink slightly but look just like a float in a pool.TIP: Leave a little bit of mixed resin in your mixing cup when pouring. You can easily check the consistency of this small amount without bothering your mold. Allow to cure overnight before trying to release from the mold.
- Then just remove from the mold and this one is ready for your fairy garden!
- Add it by digging a hole and placing level with the dirt. Now you know how to make a fairy garden as well as a pool to go with it!
I am really not sure what my favorite part of this project is…
Perhaps the wood steps going up the side.
Or maybe that miniature door on a piece of rustic wood.
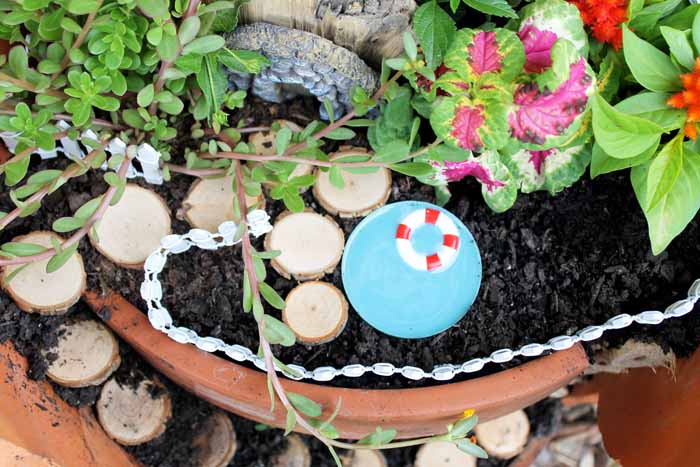
Maybe even the pool or the wood rounds acting as a path to get my fairy to the pool!
And then we have those colorful plants! I just can't decide.
What is your favorite part of this fairy garden? I would love to hear in the comment section below. And make sure to check out my Christmas fairy garden for a festive spin!

And now that you know how to make a fairy garden, will you be making one of your very own?
I will be enjoying mine all summer long!
More Fairy Garden Fun:
- Fairy house mason jar
- Fairy garden terrarium
- Mini fairy garden
- Fairy garden spring wreath
- Teacup fairy garden
Struggling with resin and need help?
I know that a ton of you are intimidated by resin. Don't be! You just need to know the basics and gain some experience with the medium. I have a course that will help you master epoxy resin and give you the confidence you need to tackle this project and so much more.
With unique insights drawn from more than a decade of creating and selling resin jewelry worldwide, this course is from an Amazon best-selling author on the topic. This class goes beyond making a few projects. You get thirty video lessons to give you clear directions on how to make resin jewelry you can confidently share and sell. Want to see more?


I love that tiny pool! So cute!
What a great idea for a broken pot! Love!
I love that tiny pool! So cute!
Hello! What tools did you use to break the rest of the pot?
You can use whatever you have. We don’t want the pot shattered. I used a screwdriver to break mine more but you could also use a hammer or something else.
Is this Fairy Garden for indoor decor only? I have a Bee Garden that this would be a lovely addition too!
Not at all 🙂 Mine is outdoors!