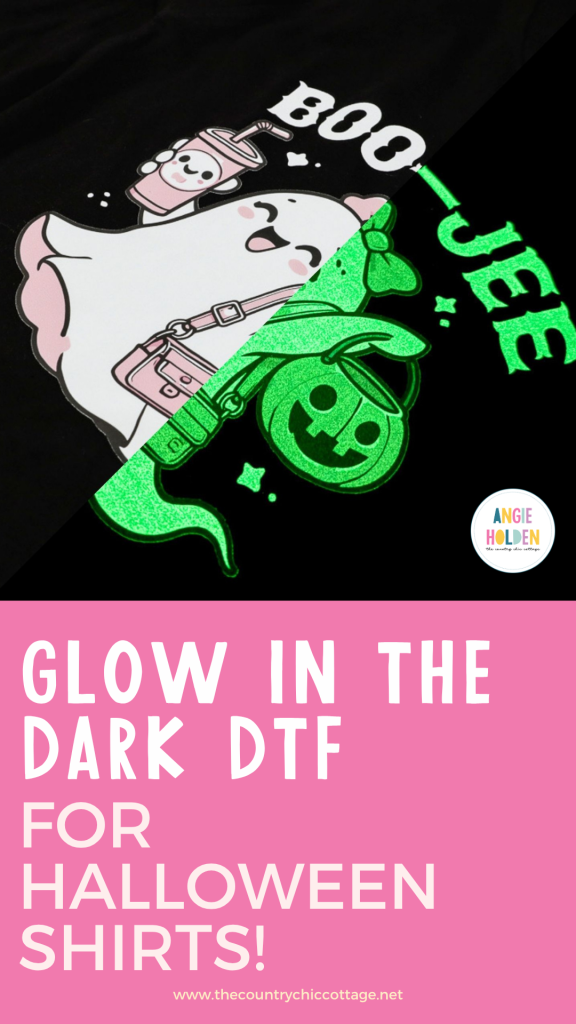
Seriously, if you want some cute Halloween shirts, make them glow in the dark! I’m going to show you how to use Glow in the Dark DTF prints from Ninja Transfers, and I’m sharing all my tips for getting the very best results. Trust me when I say you are going to love this one!
If you’re new to DTF crafts, make sure you check out my tutorial all about Direct to Film (DTF) before you get started.
For the shirts and totes I’m making today, I am using black blanks. You can use any color you want, just make sure your design will work in both the light and in the dark.
You can watch me make these projects and see all of my examples by pressing play on the video below.
What is Glow in the Dark DTF?
Glow in the dark DTF is a heat transfer, direct to film material that can be added to fabric blanks of all colors that will glow in the dark.
I ordered my prints from Ninja Transfers, and you definitely want to read through this whole tutorial before ordering your prints to ensure you get the results you’re looking for.
How to Use Glow in the Dark DTF
Let's take a look at how to order your prints as well as how to apply them to the blanks of your choice.
Supplies Used
NOTE: I am using a large clamshell heat press for my projects. Ninja Transfers DTF prints can be pressed with a lot of different presses. Make sure you follow the directions for the heat source you're using.
Step 1 – Choose Your Design
First, choose the designs you want to use. Remember, we are looking for designs that work well for glow-in-the-dark projects.
Some designs will work better than others. You also want to make sure the design looks good in the light and that the colors will show up on your blank.
For example, a design that is mostly black will look good on lighter blanks but won’t glow in the dark very well. A design with a lot of white will glow in the dark well, but won’t look good in the light, on a white shirt.
You can find all the designs I used here. I used a variety of different designs to give you examples of what worked well and what I would change. Be sure to see the images after pressing below before deciding on your design.
Step 2 – Order Prints.
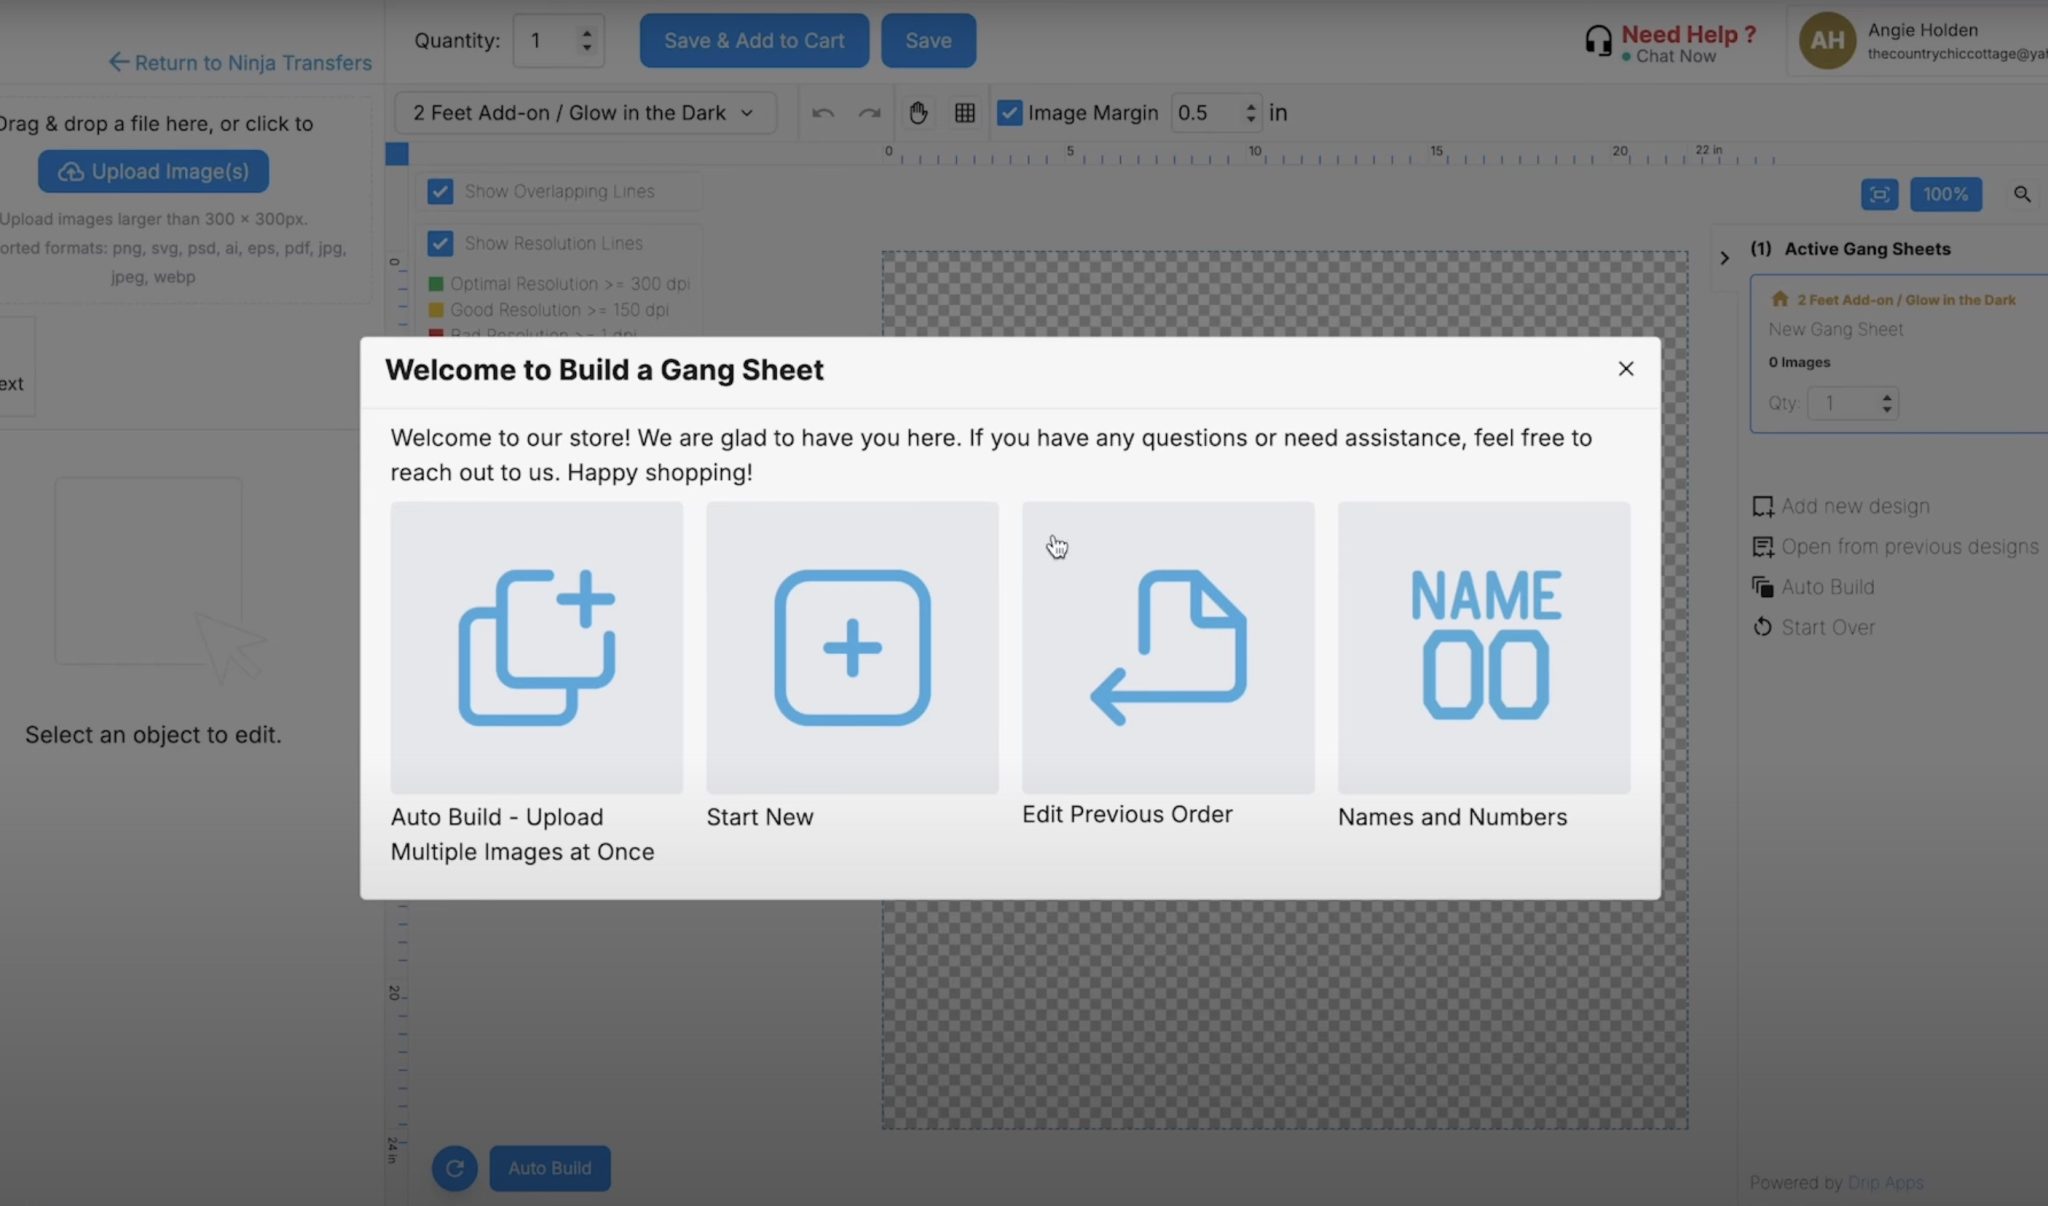
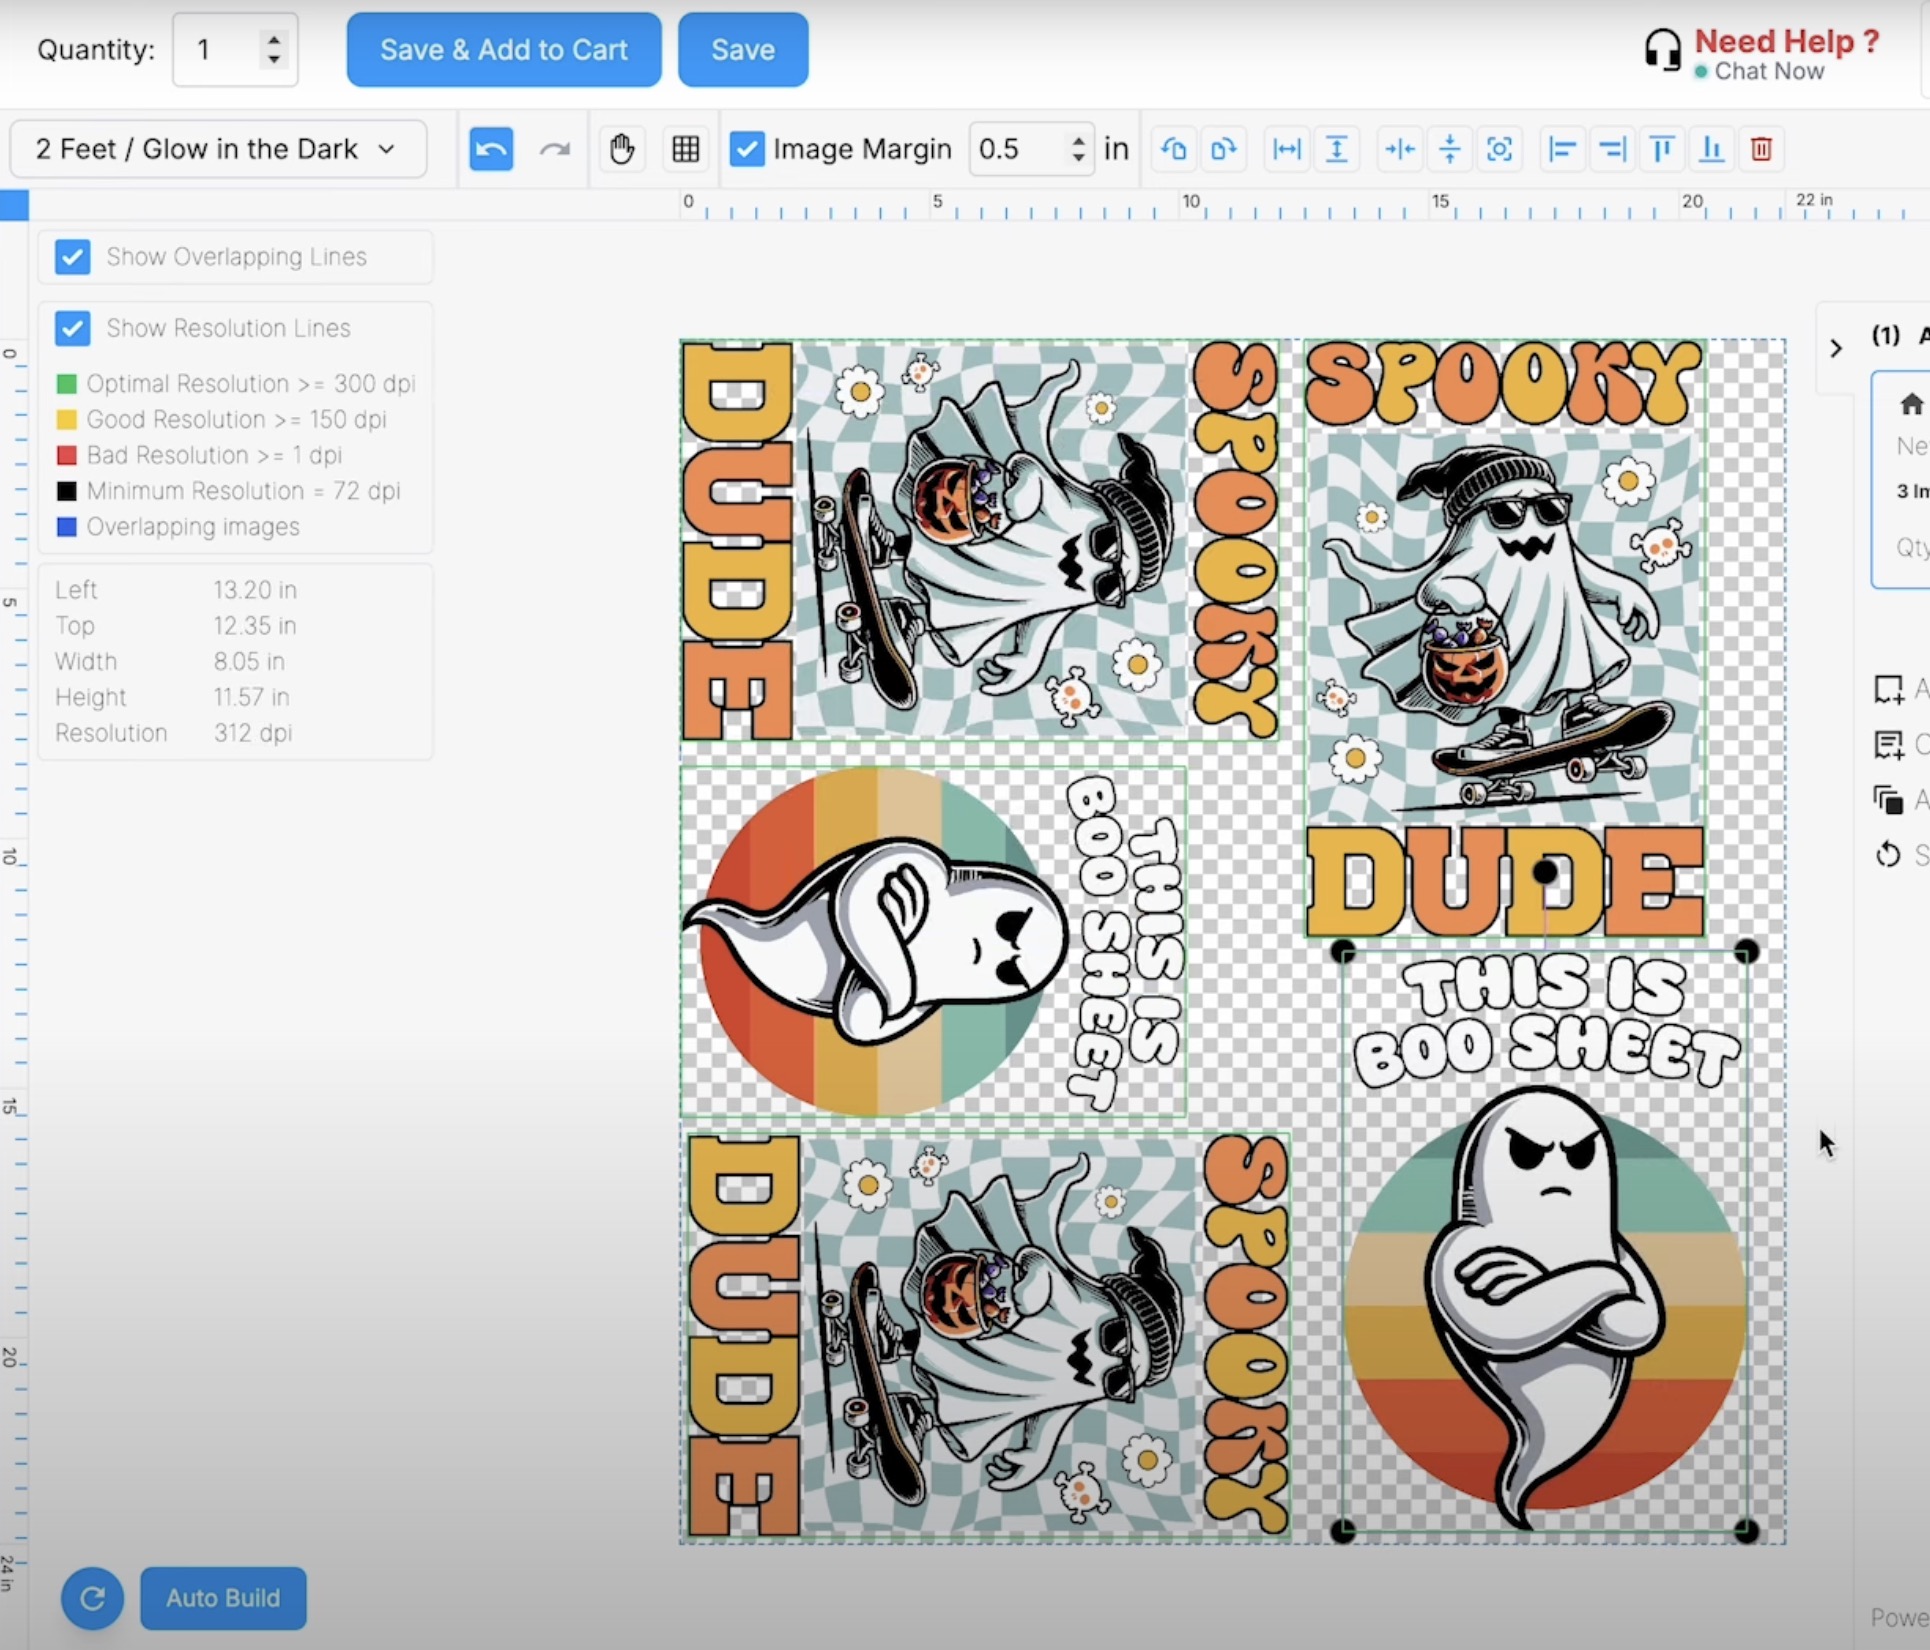
Next, we need to order our prints. Head to Ninja Transfers, click on Specialty DTF, and then select Glow in the Dark.

From here, you can upload a gang sheet you've already created or use their gang sheet builder. You can learn more about gang sheets in my How to Make Gang Sheets and Why You Need Them tutorial.
The most important thing is to make sure you know the sizes you want your designs to be and to fill up the gang sheet. I always like to fill the sheet as full as I can. Add small images in the blank spaces. Think of designs you could add to hats, the pocket area of shirts, onesies, and other small projects.

I found the gang sheet builder on Ninja Transfers really easy to use. Simply upload your designs, resize them to the size you need, and then order.
Step 3 – Prep Your Glow in the Dark DTF Prints
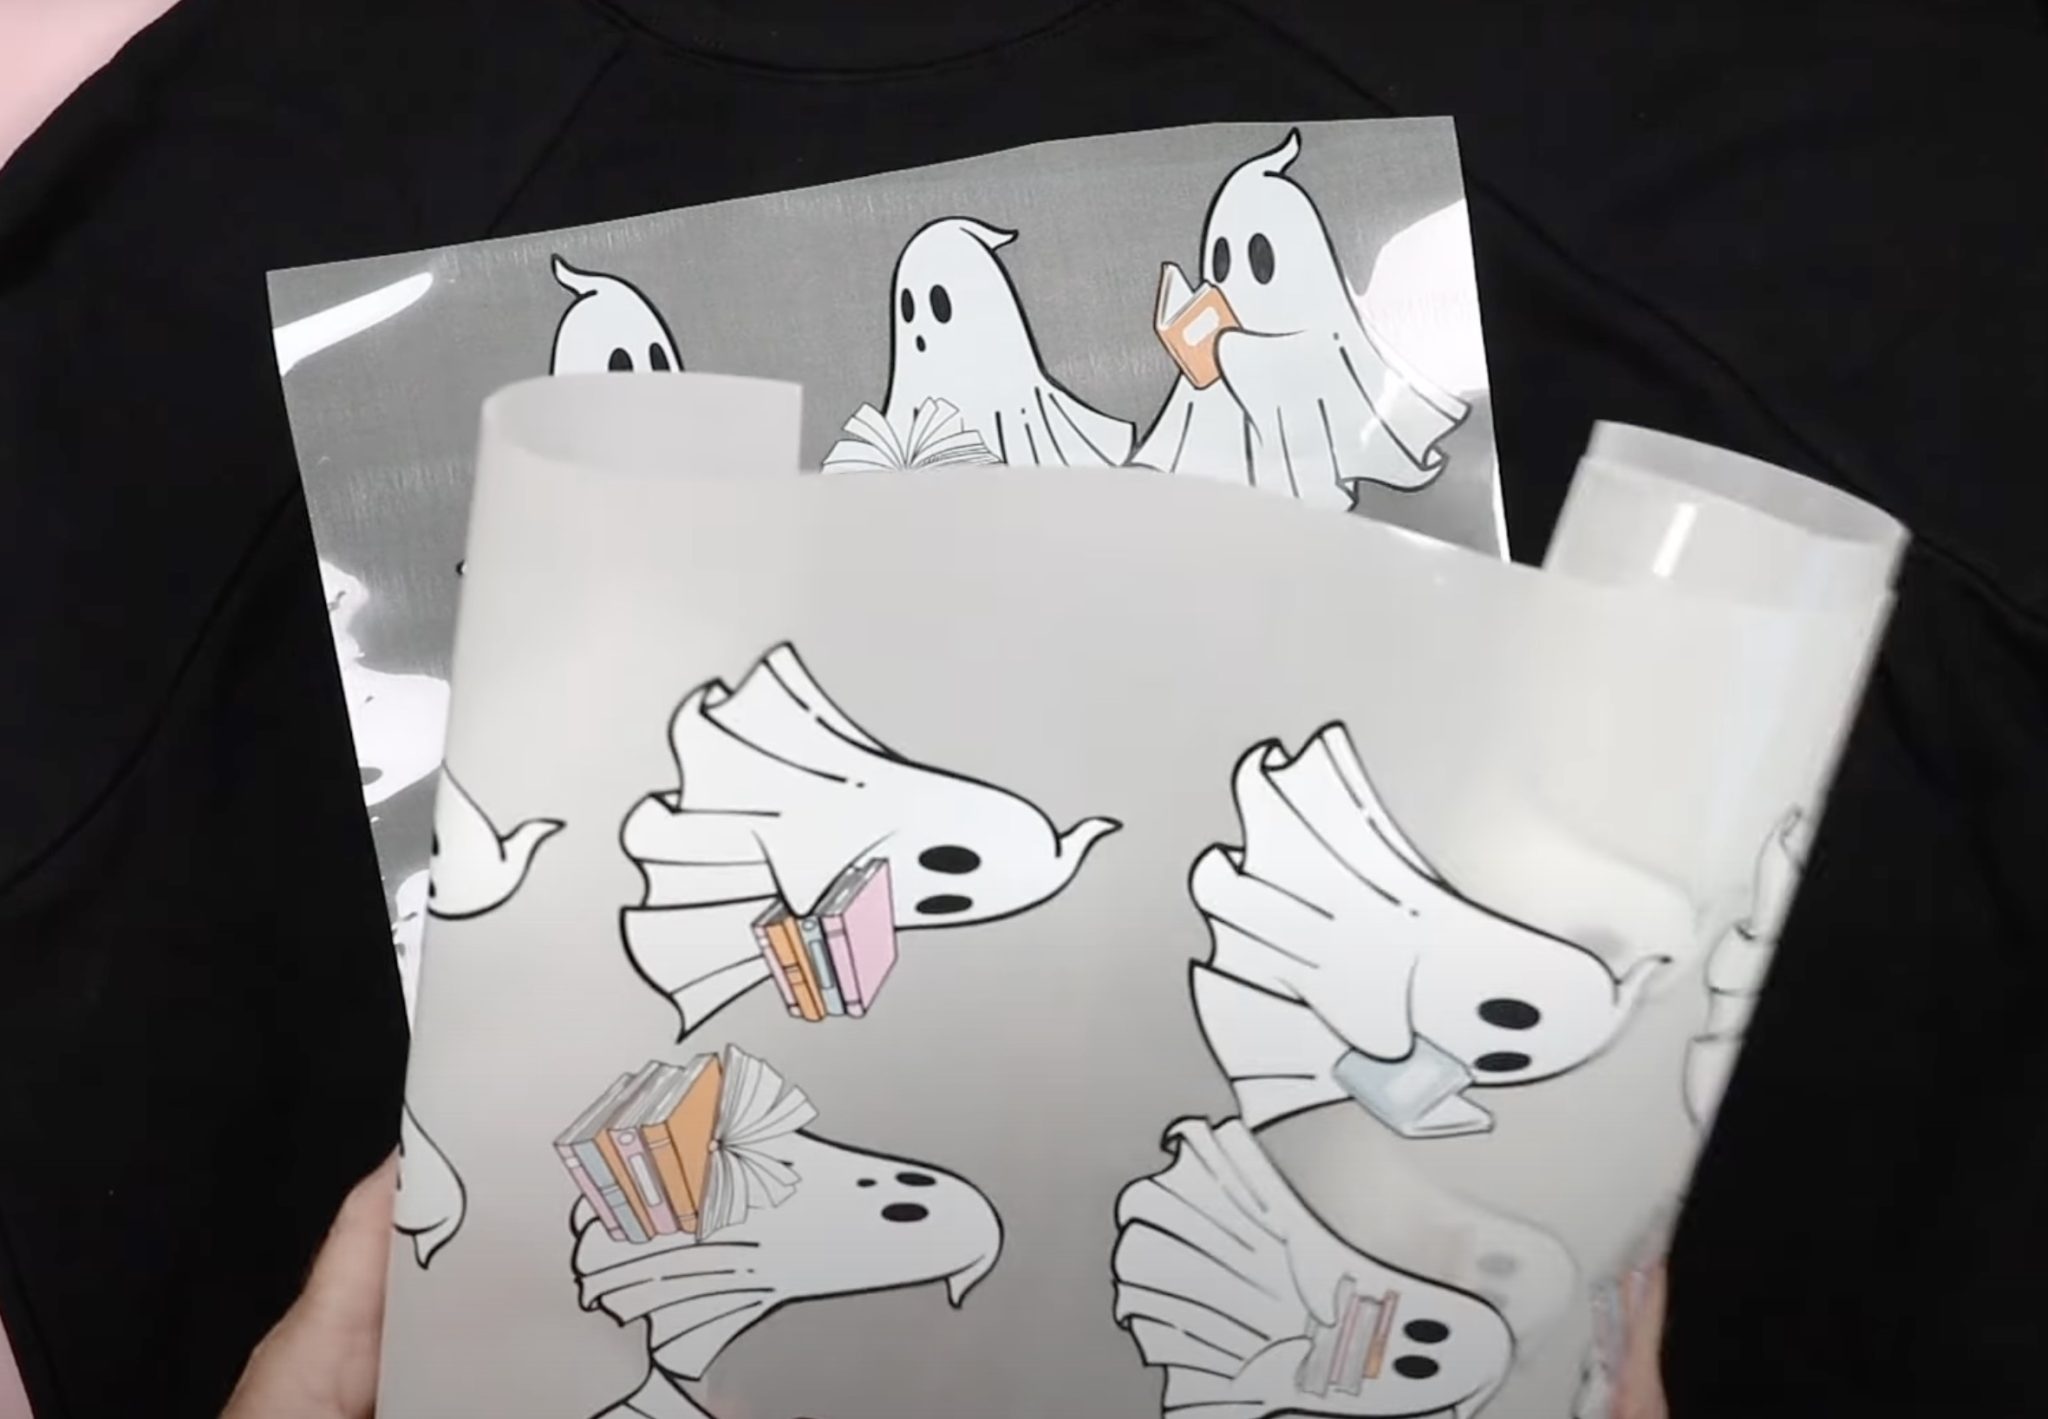
When your order arrives, it will come in a large roll of transfers. I first cut them apart into individual designs.
Your order will also include an instruction sheet with the time and temperature for the heat source you’re using.
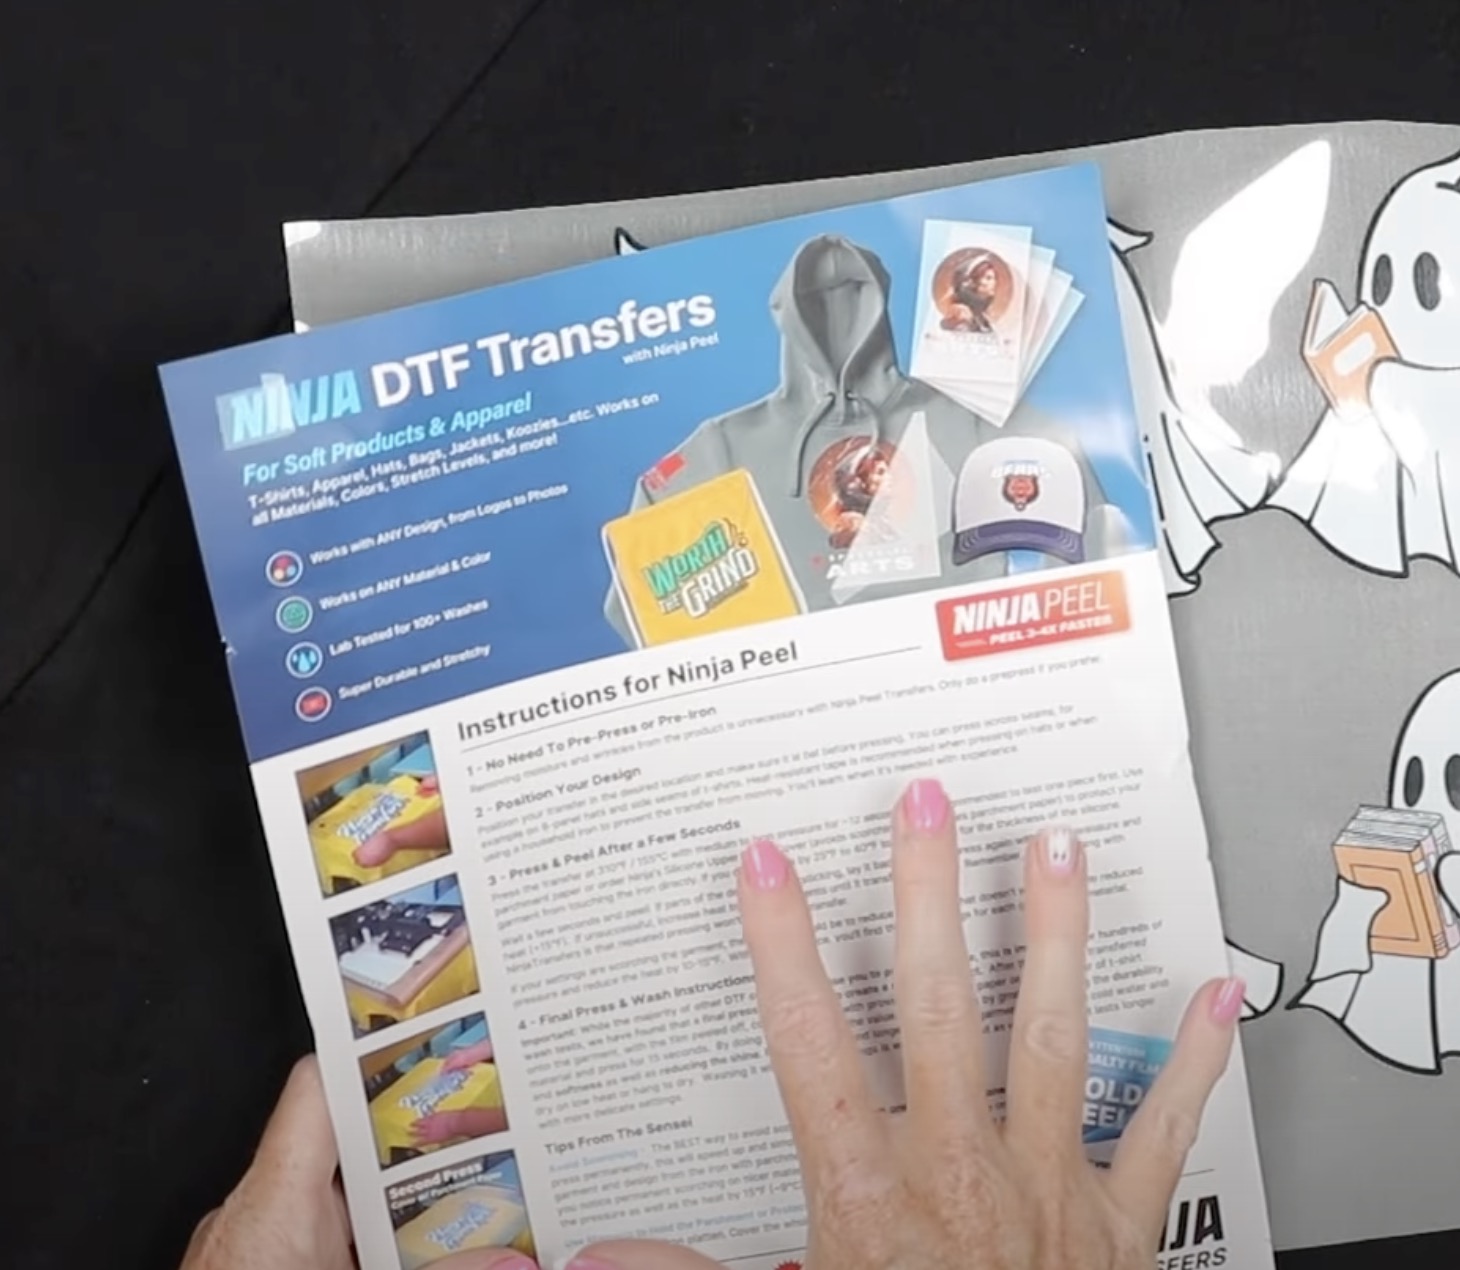
These designs are ready to press when they arrive. You don't need to do anything else to them.
Step 4 – Locate Glow in the Dark DTF Design and Press
With Ninja Transfer glow-in-the-dark DTF prints, you can use a variety of different heat sources. Today I am using a clamshell heat press set to 310 degrees with medium to high pressure, and my time is set to 12 seconds.
If you have not pressed this material before, I would test one print first. You may need a slightly higher temperature or a little more time to get it to adhere correctly.
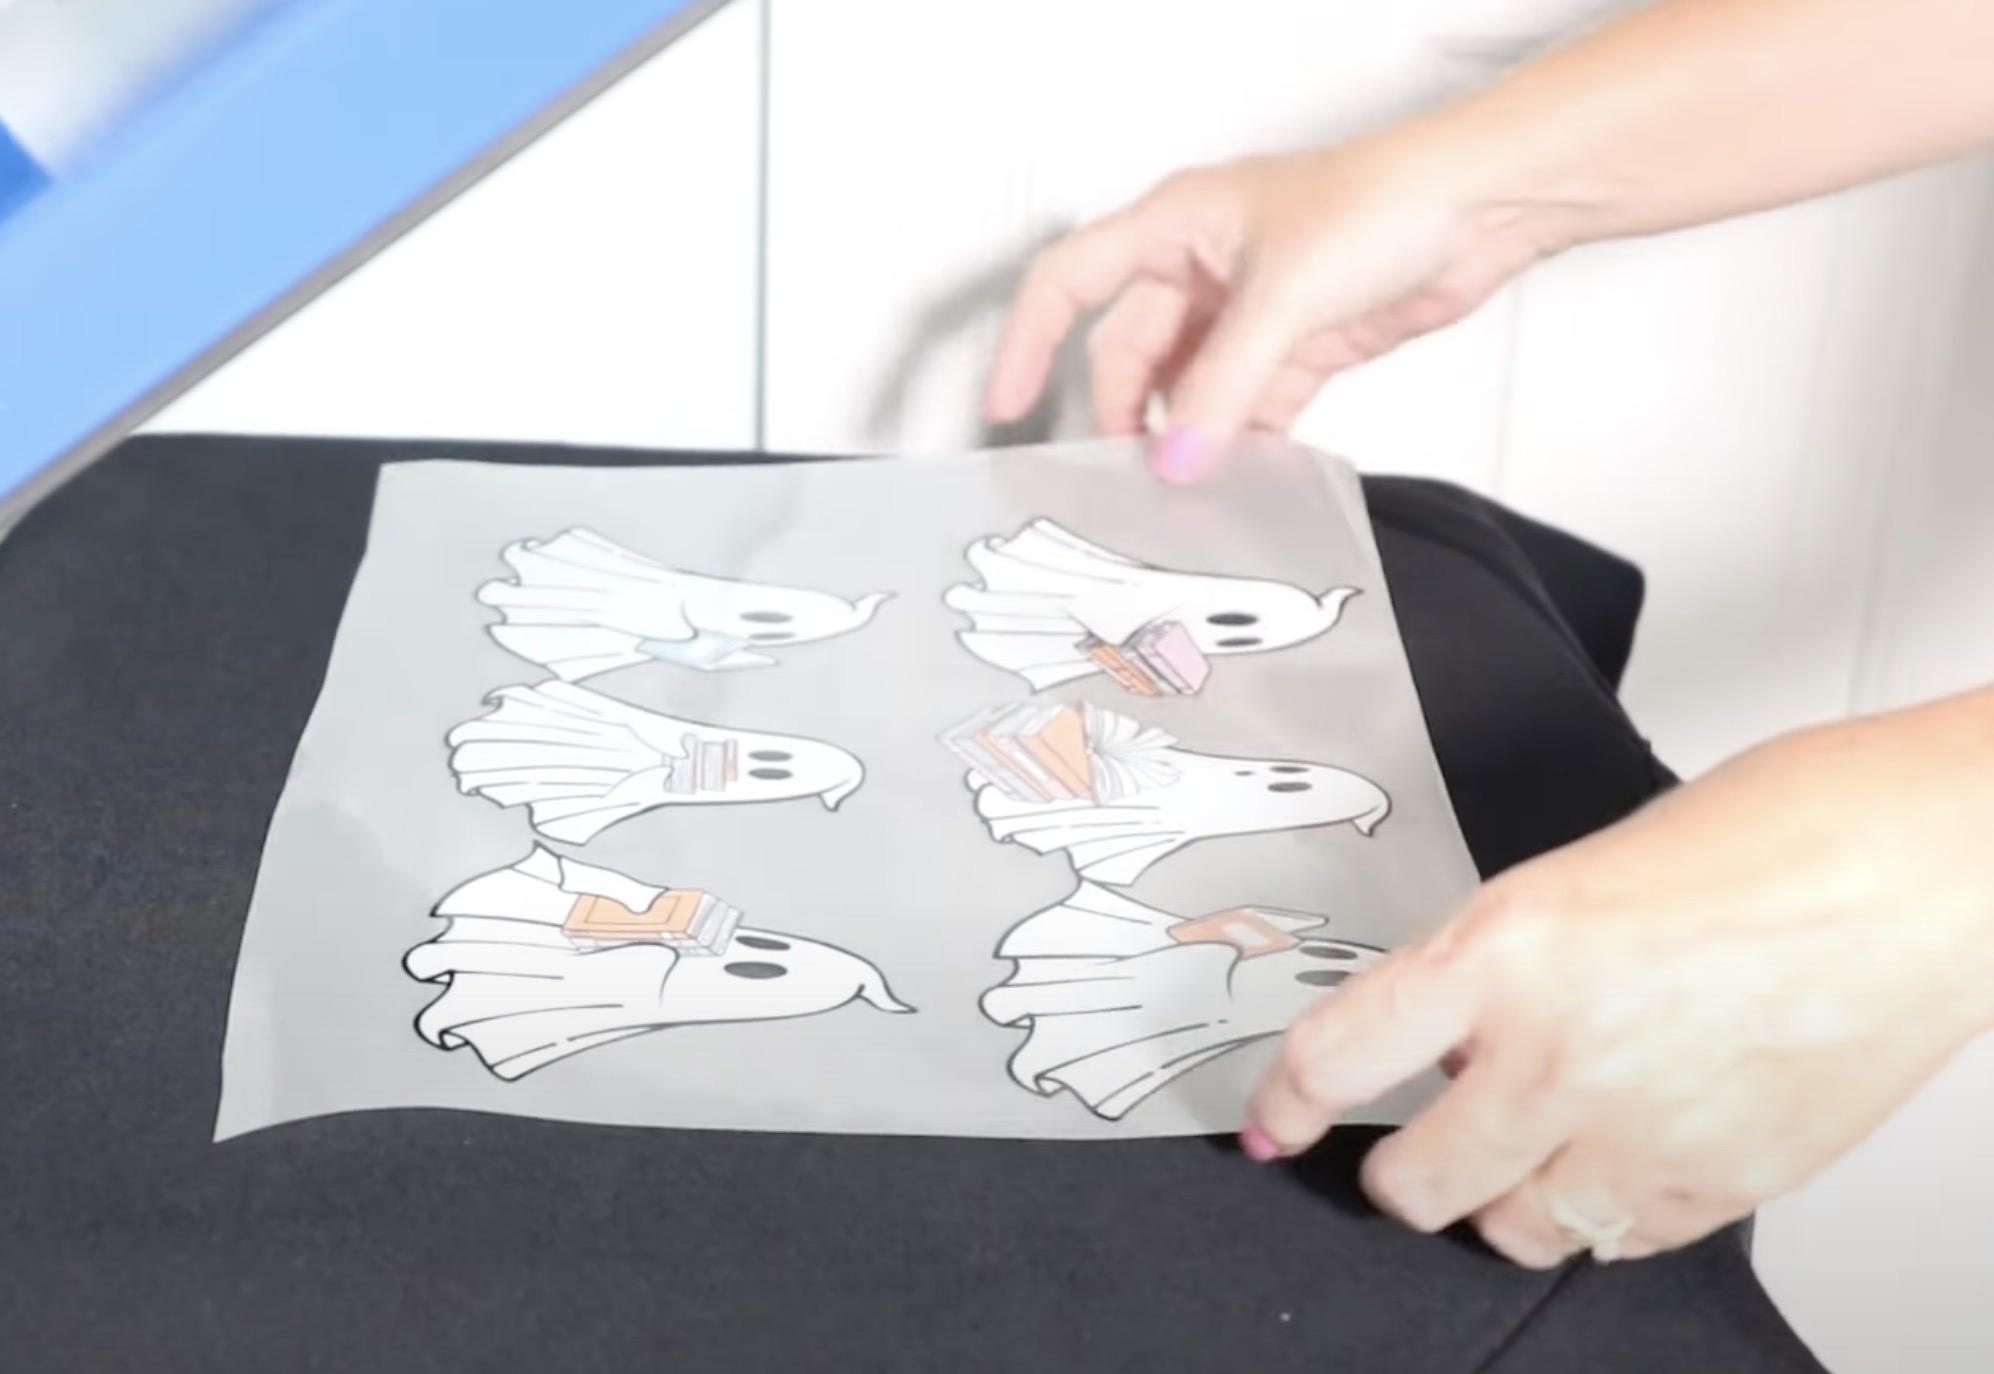
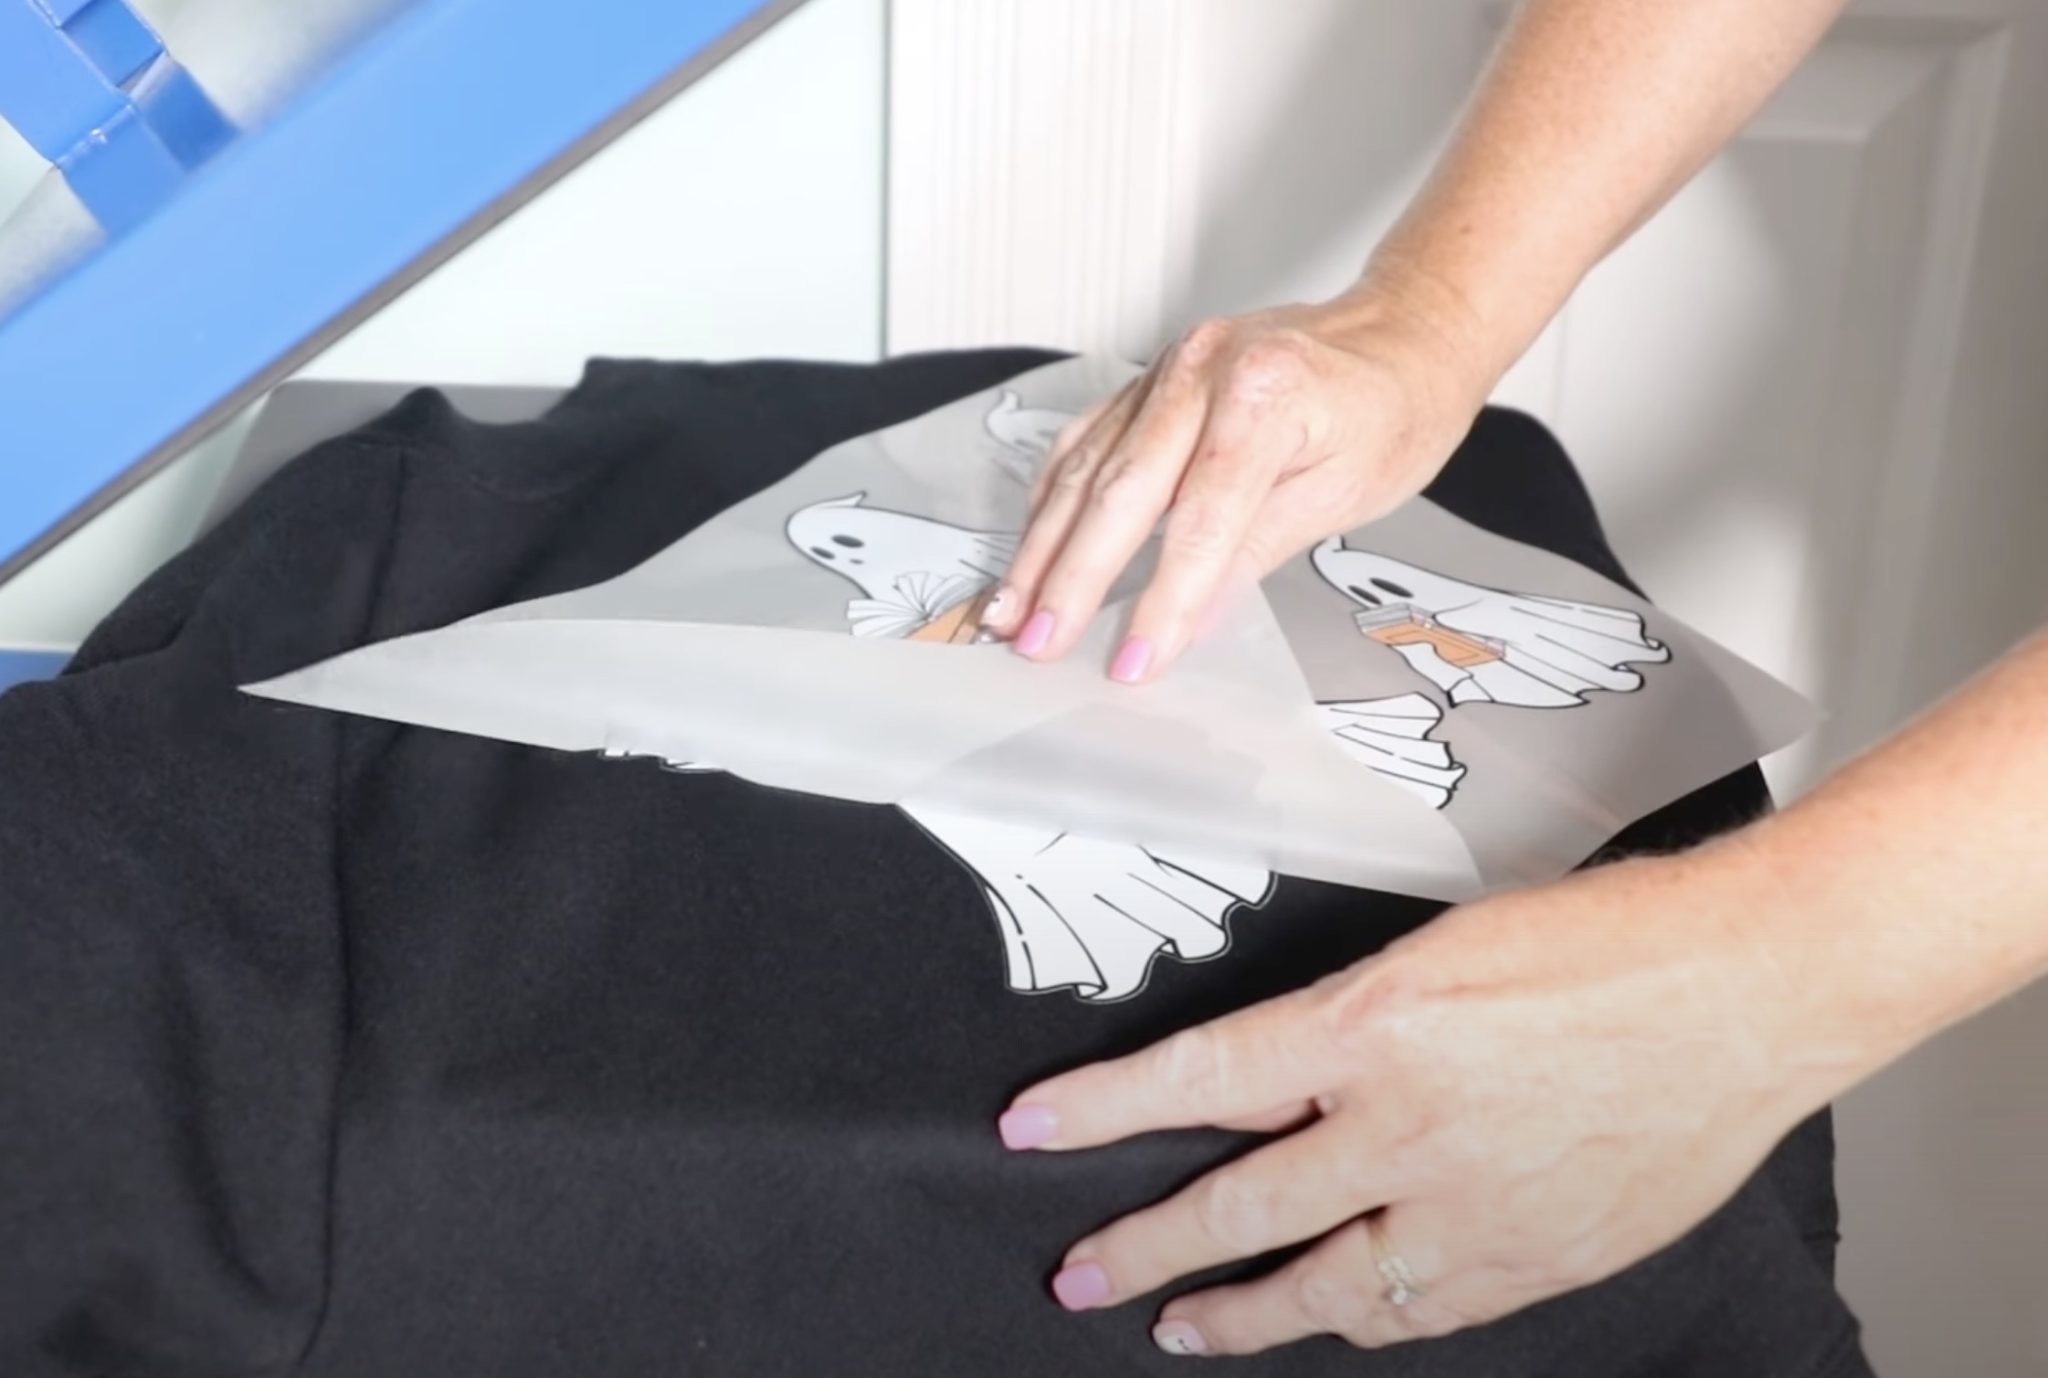
There is no need to prepress your blank. Simply locate your design and press for the required time. If you’re having trouble with your design staying in place, you can use heat-resistant tape to hold it in place.
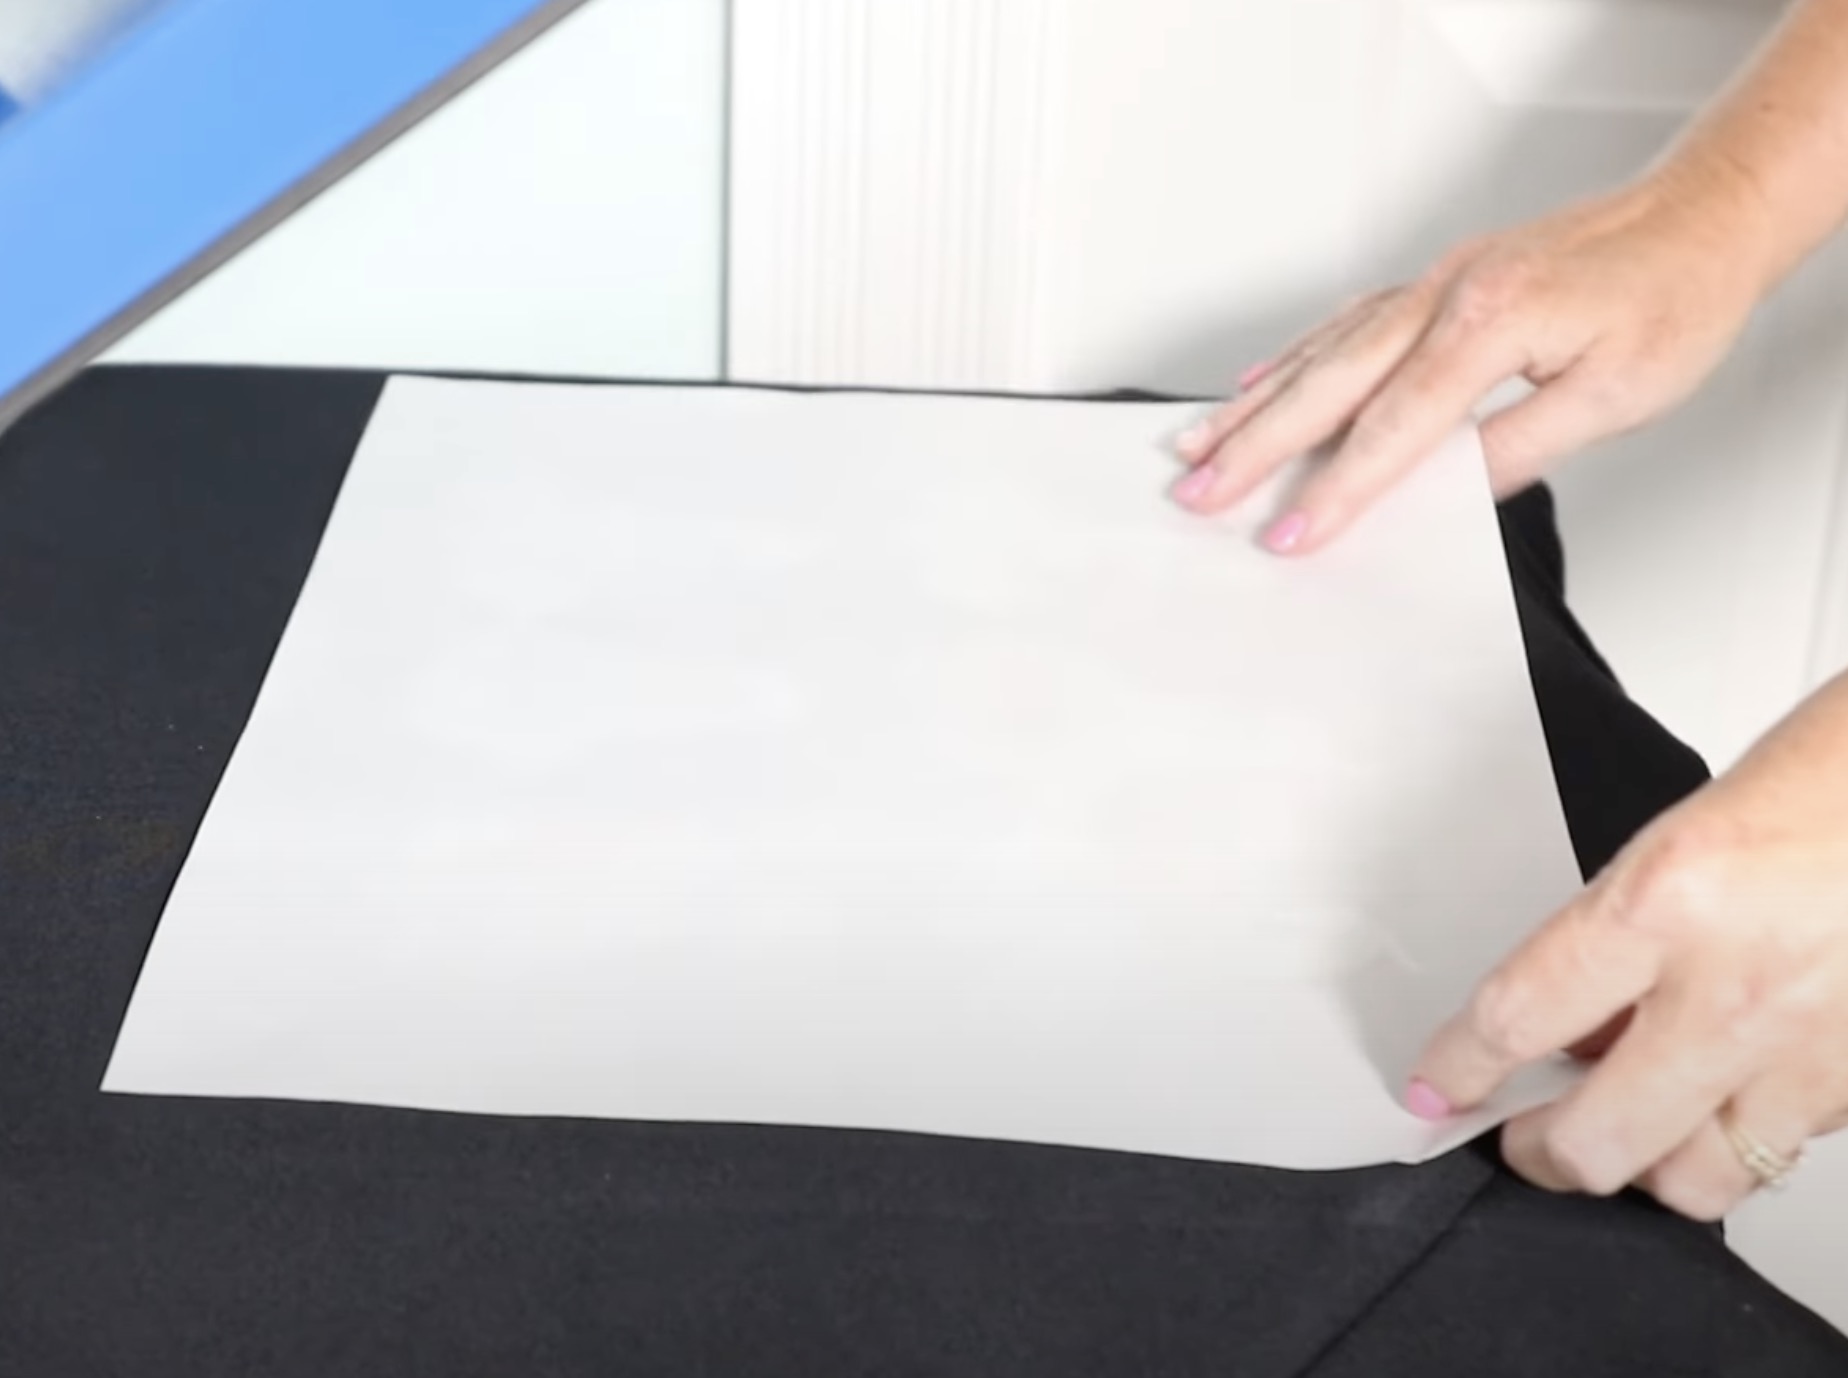
I covered my print with butcher paper to help protect the fabric from the heat.
Step 5 – Remove the Carrier Sheets
Glow in the Dark DTF is a specialty material, and it calls for a cold peel. After pressing, remove it from the heat source and allow it to cool completely before removing the carrier sheet.
I actually pressed all my projects and then removed the carrier sheets when they were all cold.
If your print is not sticking, you can press it again. Make sure, if you press it again, you allow it to cool all the way before trying to remove the carrier sheet.
Step 6 – Post Press
After removing the carrier sheet, you want to do a post press.
Add the glow-in-the-dark project back to the press, cover the design with butcher paper, and press again at 310 degrees for 15 seconds.
I find that the post press improves the durability and softness and reduces the shine that can come with DTF.
When the post press is finished, your glow-in-the-dark DTF project is done.
Glow in the Dark DTF Design Considerations
Now that I have made several projects, let’s look at the designs and how they work for glow-in-the-dark.
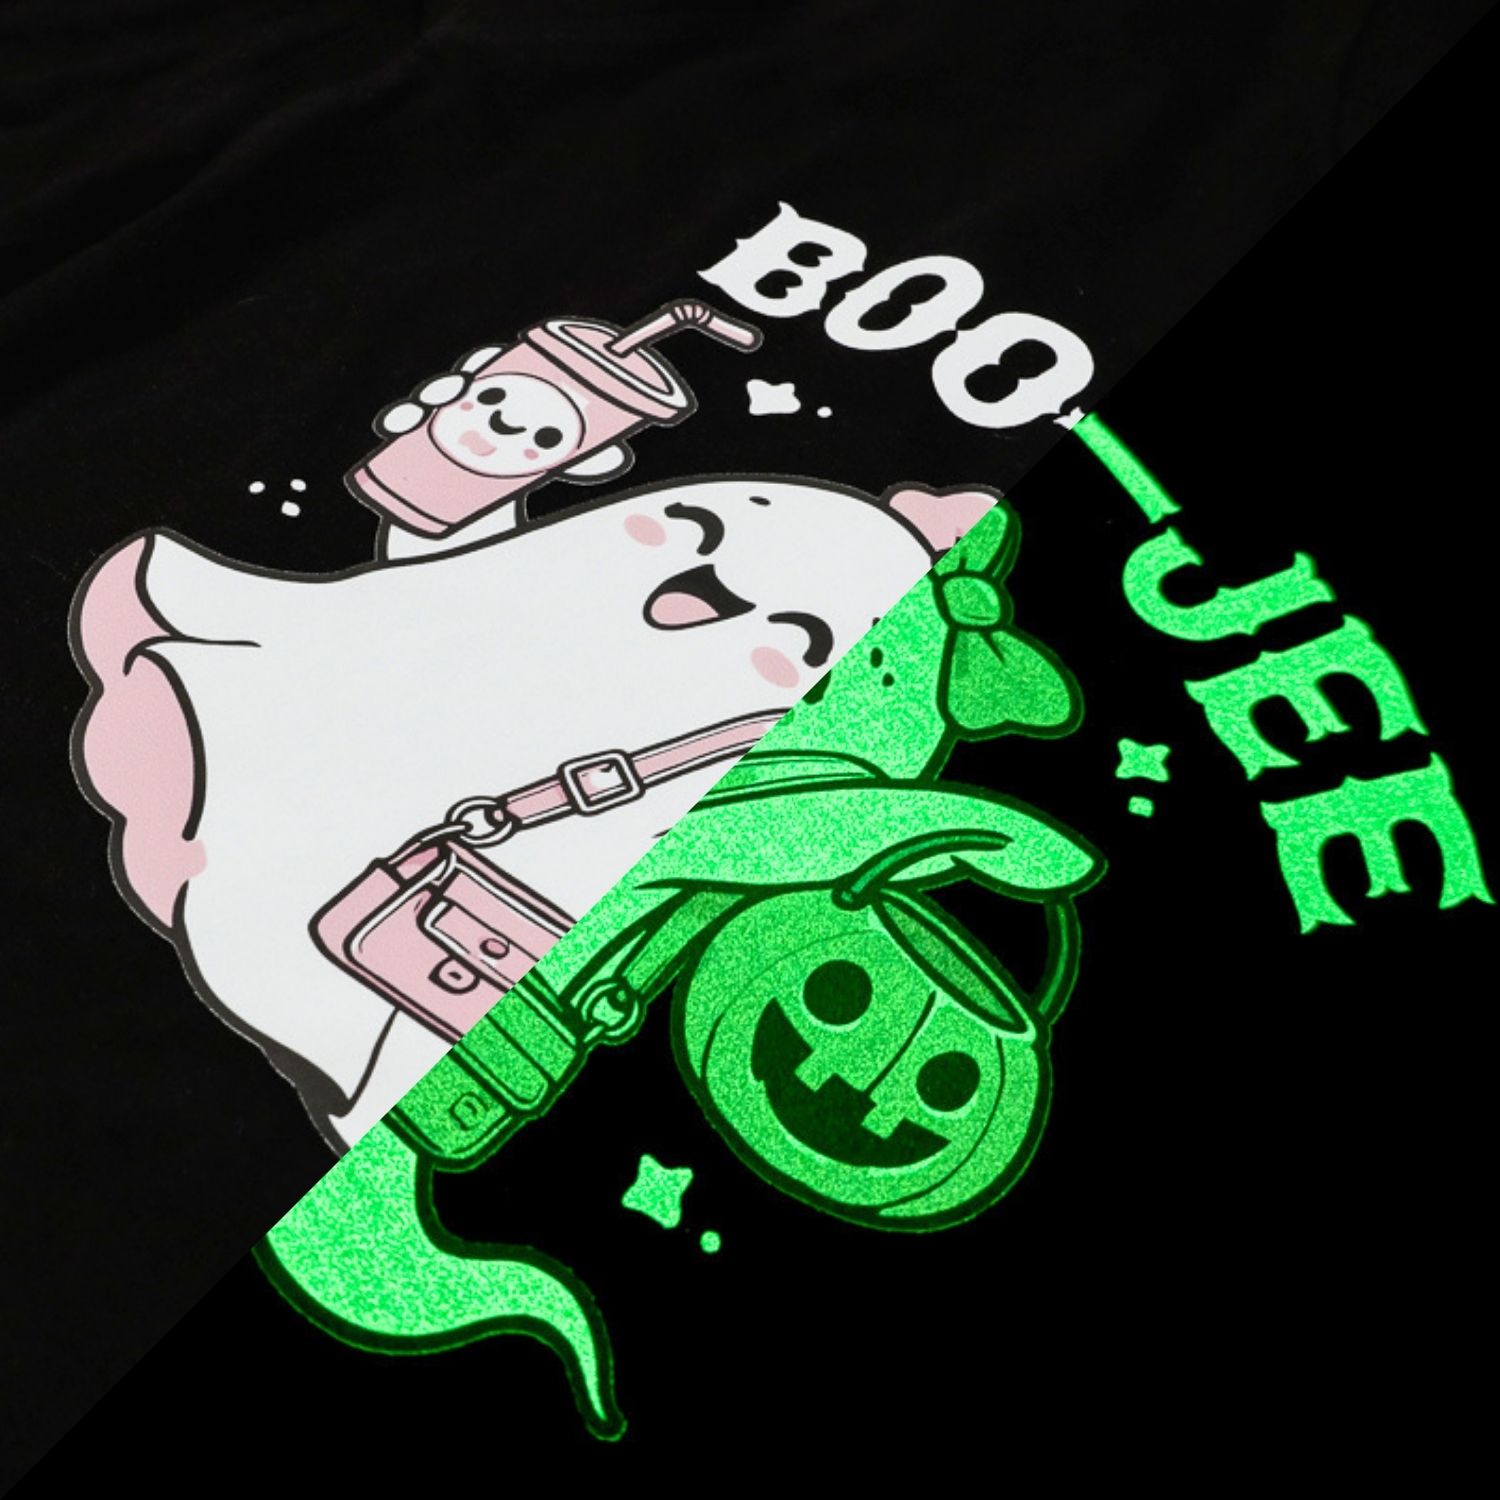
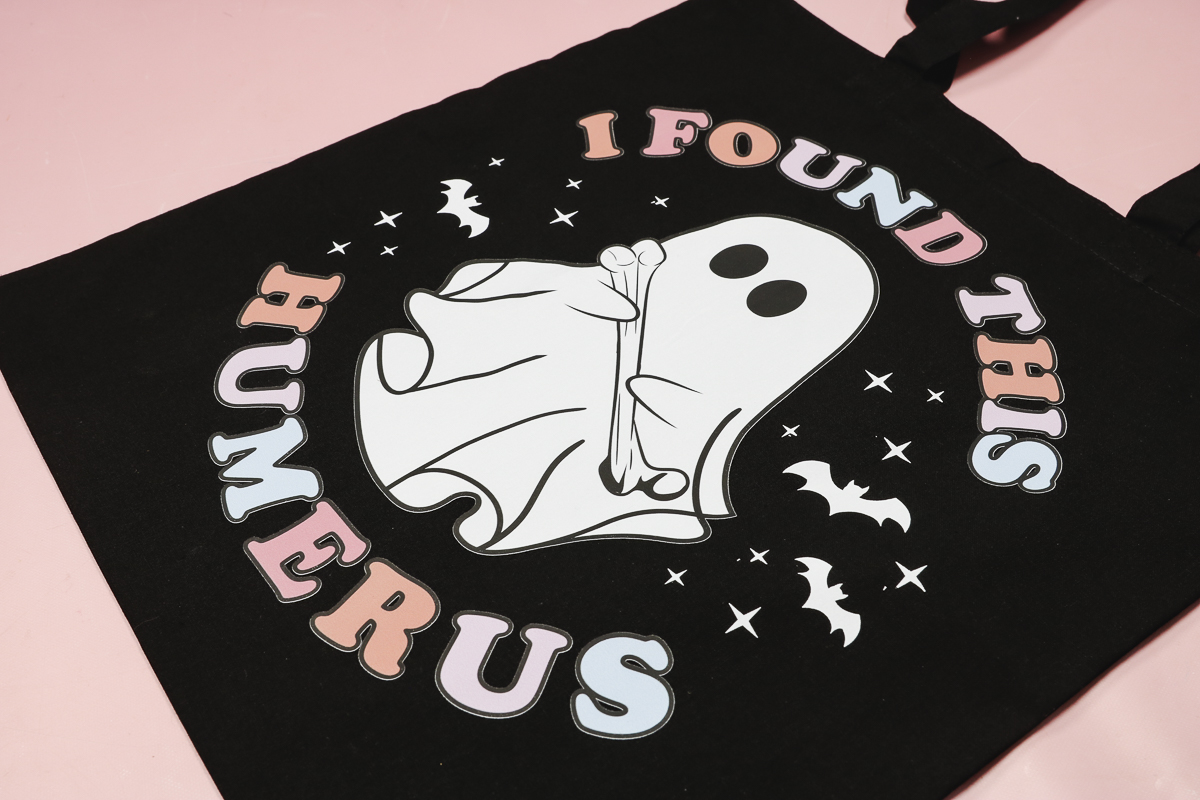
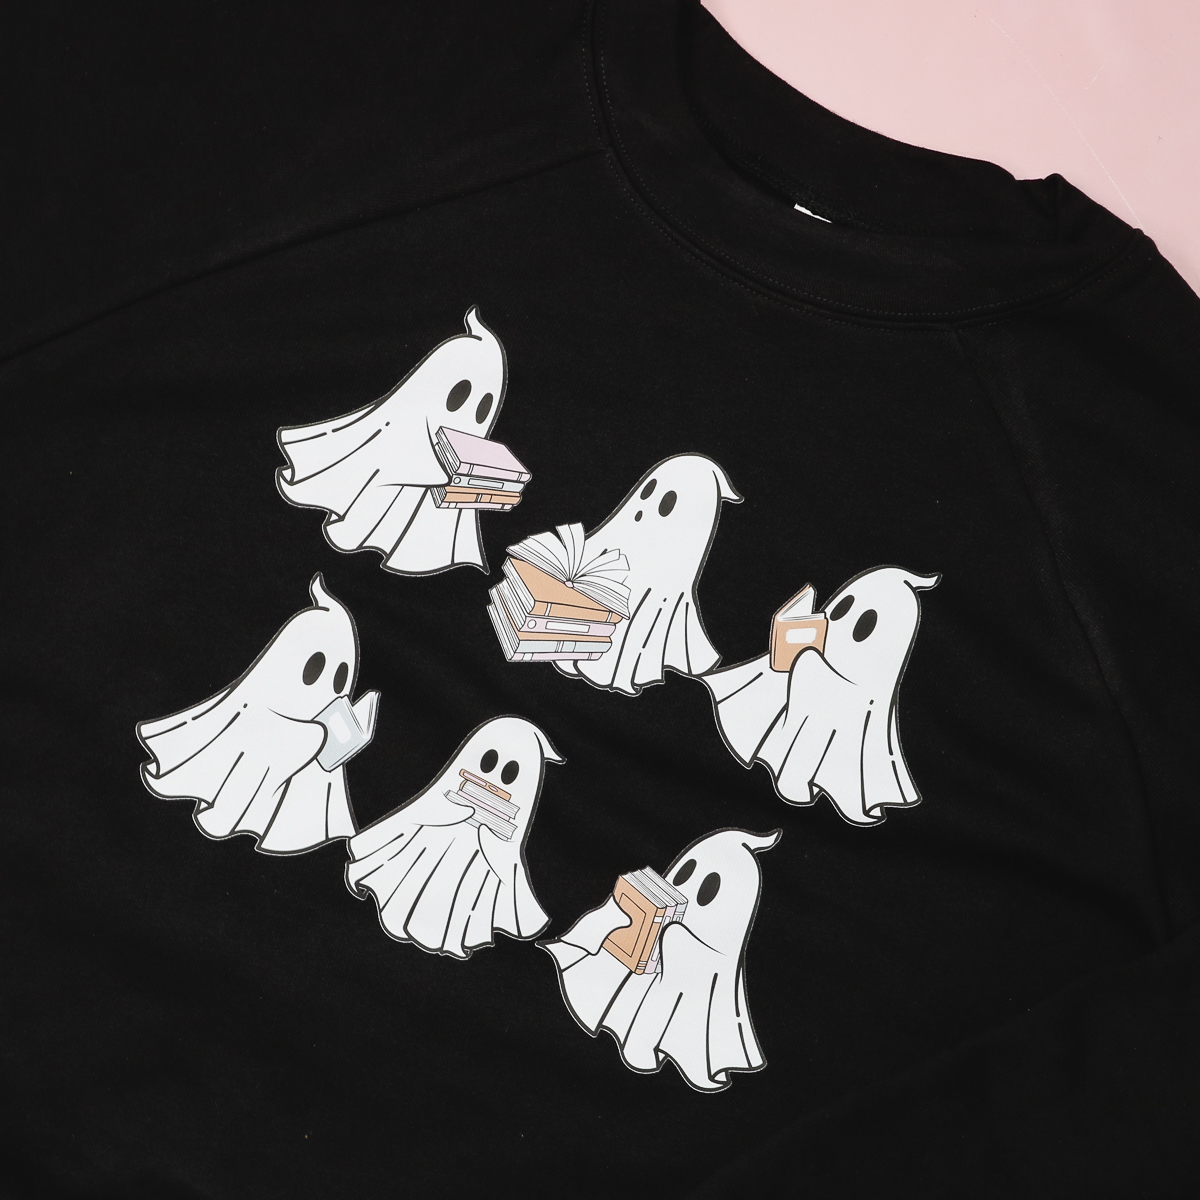
You know I love a good ghost + book design, and this one is a great option for Glow in the Dark DTF. There is a lot of white in the design, which means it will glow well.

Even though this adorable design was applied to a black shirt, the white shows up really well, even in the light.
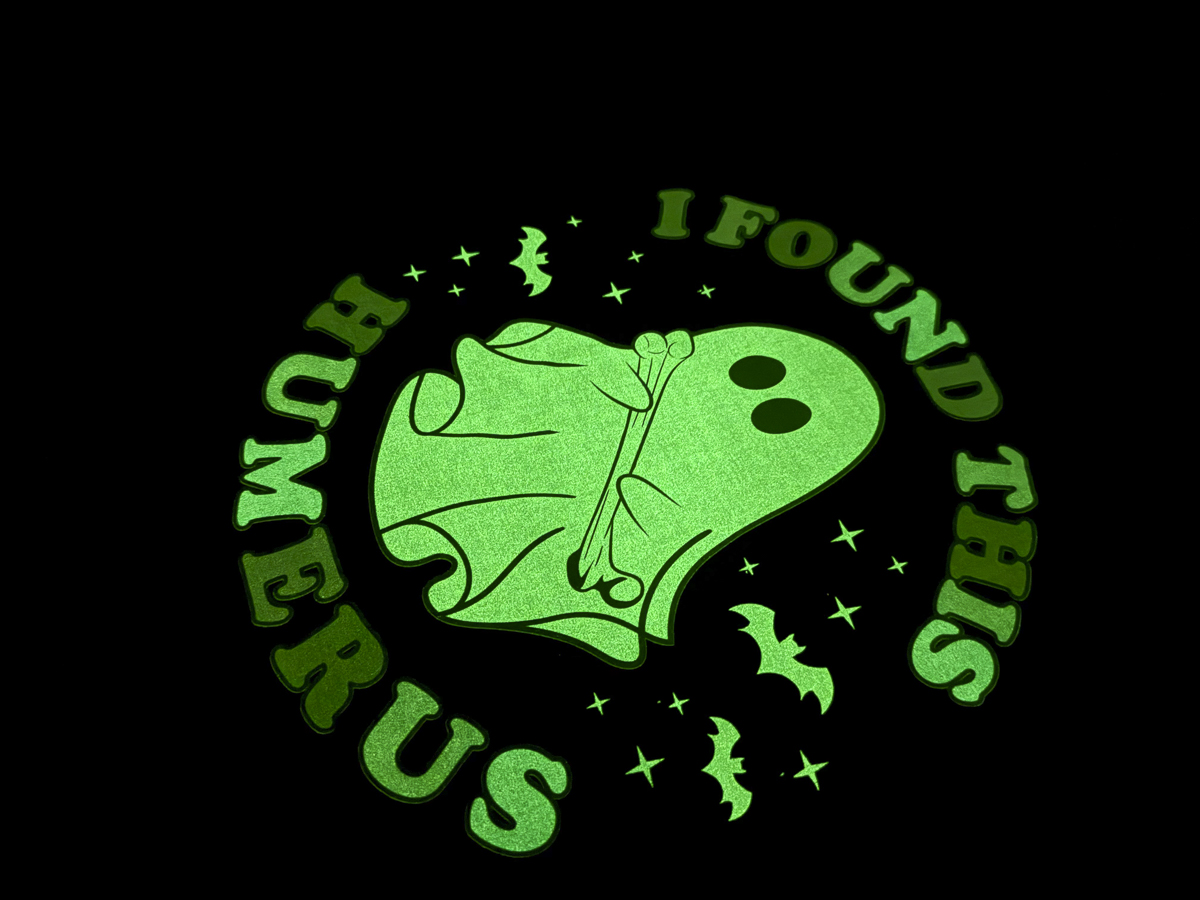
Here is the same design glowing in the dark. You can see the ghosts and other white elements of the design glow really well. The colored parts of the books don't show up as well, but the design looks so good!
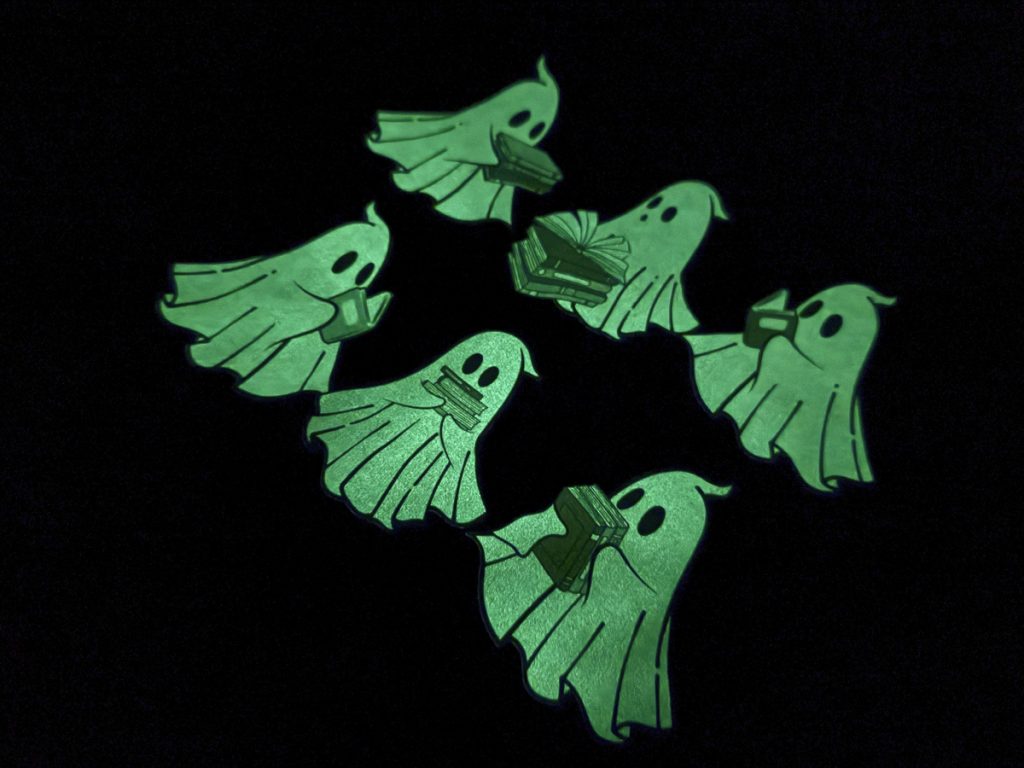
I definitely think you want a design with a lot of white for glow-in-the-dark DTF.
Here's another design that worked perfectly. It has a lot of white, and the light pink also shows up really well.
You can see that the white areas glow a lot. Even the colors look good in the dark.

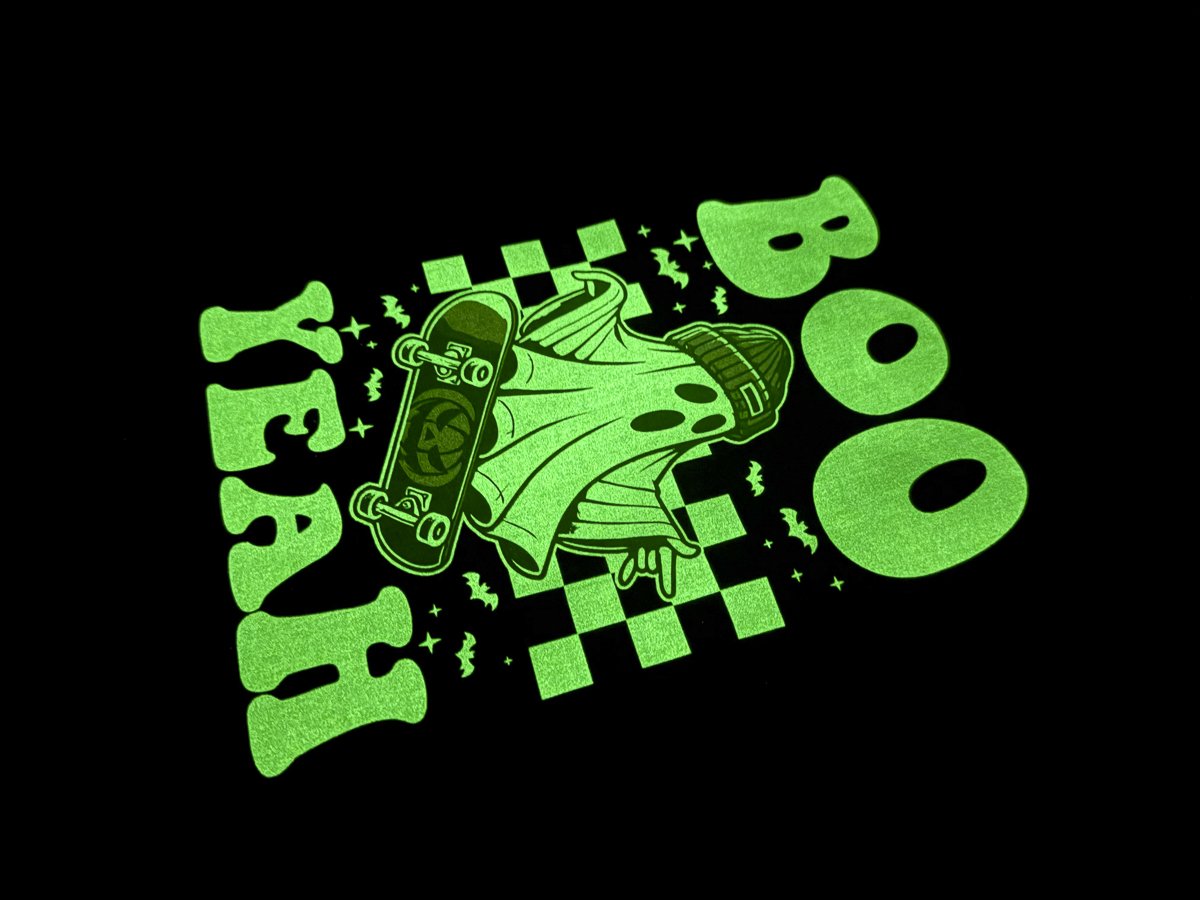
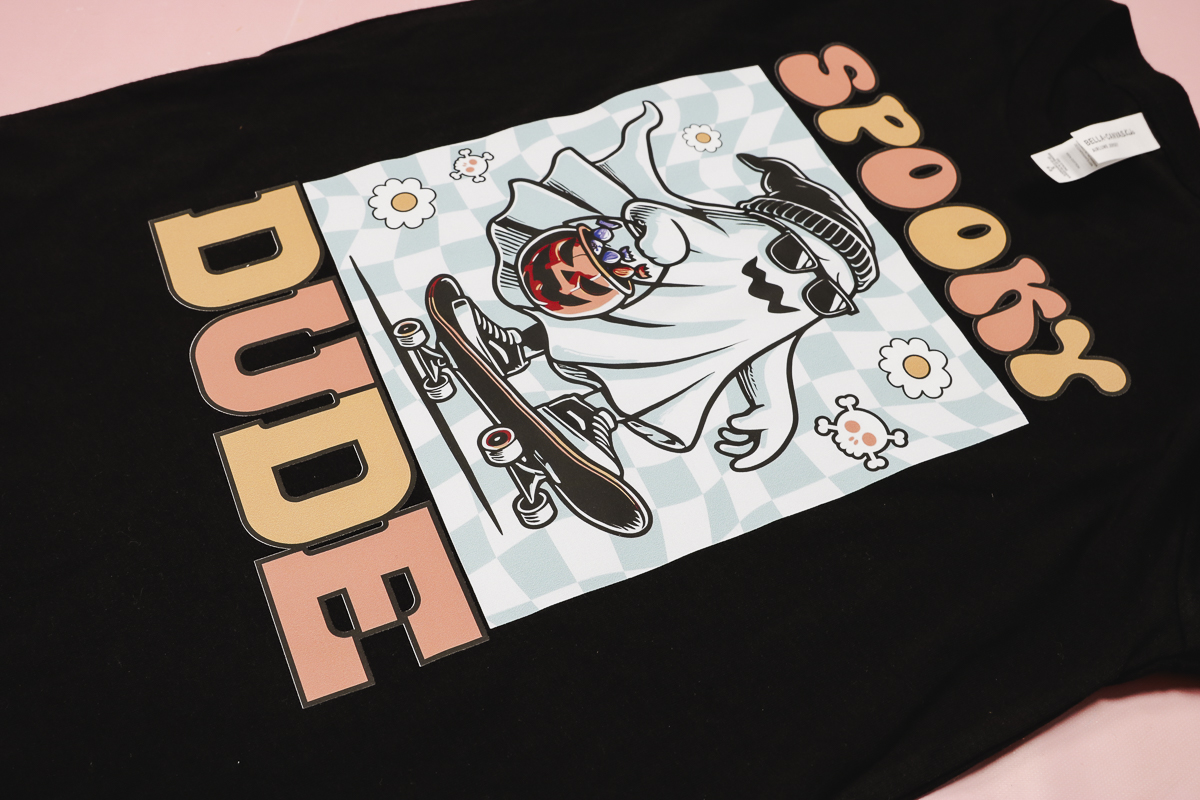
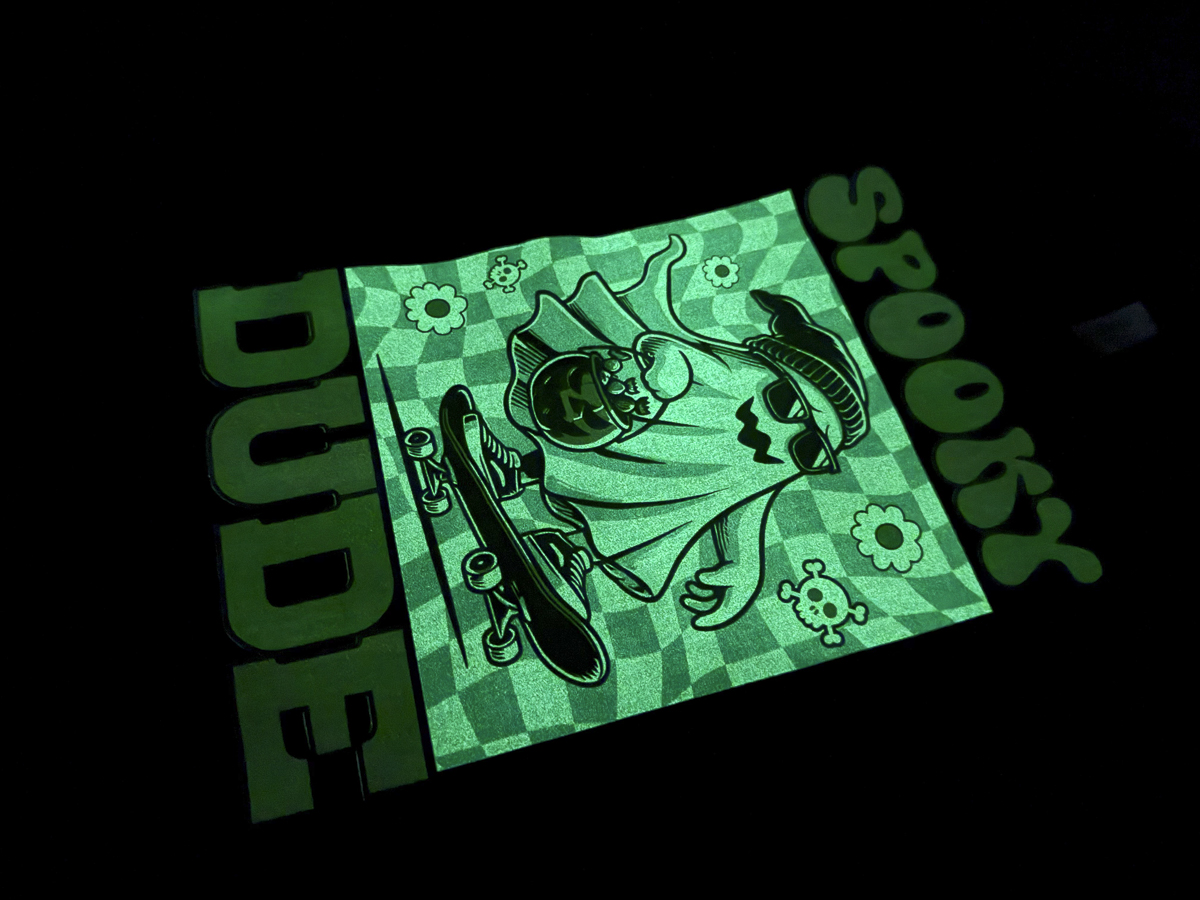
This tote has another design that worked really well. You can see that the ghost and skateboard are outlined in white. This helps the design pop even when it's black or colorful.
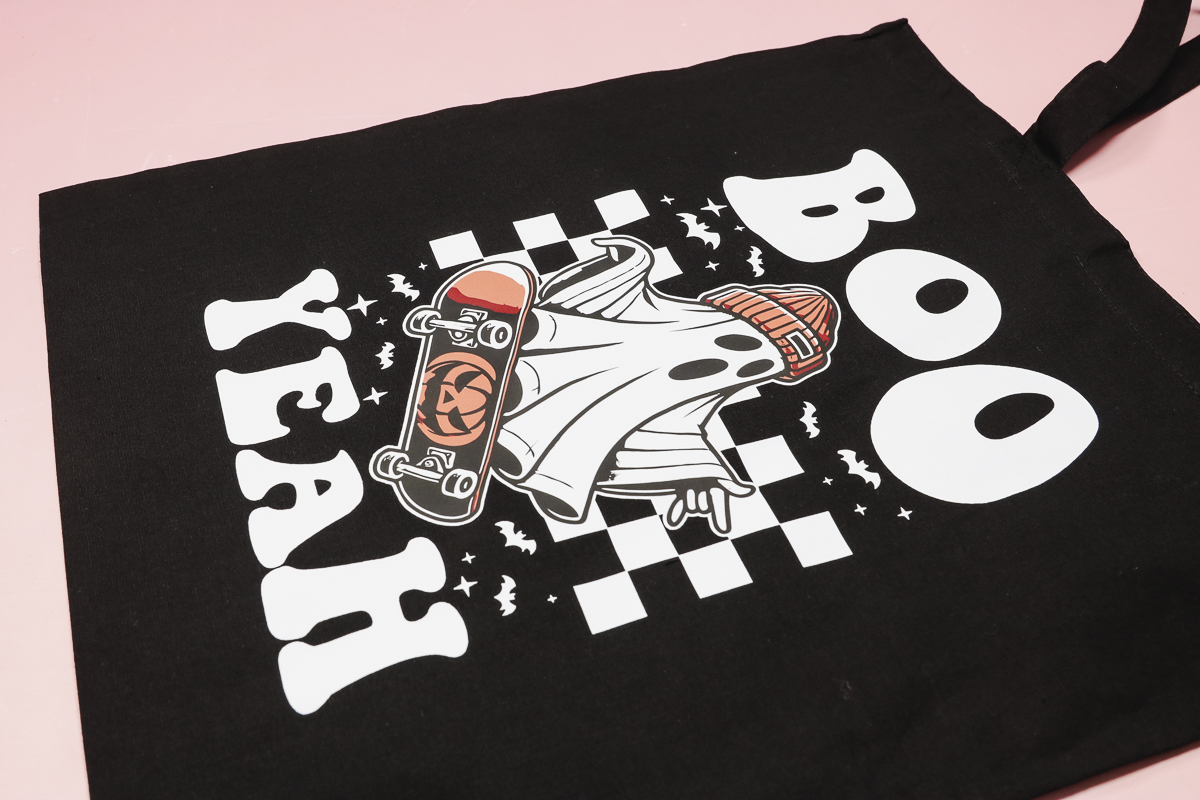
Notice how the beanie and skateboard show up really well, even though they're darker colors? I recommend adding a white outline if your design doesn't have a lot of white.
This ghost design is also fun and works pretty well with the glow-in-the-dark DTF.
The darker colors on the background don't glow quite as much as the white, but it all looks good. You can read all the letters and see the ghost even in the dark.
Glow in the Dark DTF Designs that Didn't Work as Well
Now we're going to look at some of the designs that didn't work as well. All of these designs show up really well on the black fabric.
The DTF glows on all of them, but the whole design doesn't show up as well.
I think this design is really cute. You can see, all of the colors show up well on the black tote.
Because the letters are different light colors, they glow in the dark in various amounts.
To help this design work better for glow in the dark, I would change the letter outlines to white instead of black. This would make it so all of the letters could be read even in the dark.
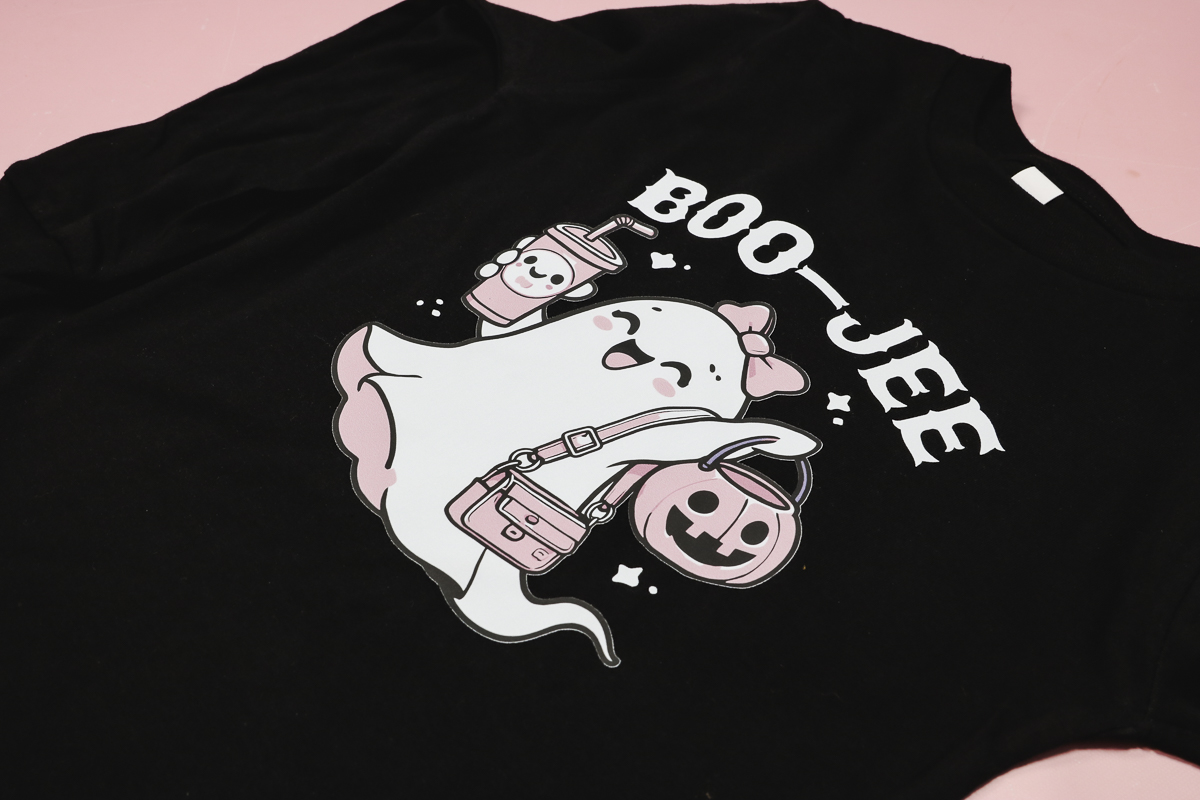
This is another design that works in the light but doesn't work as well in the dark.
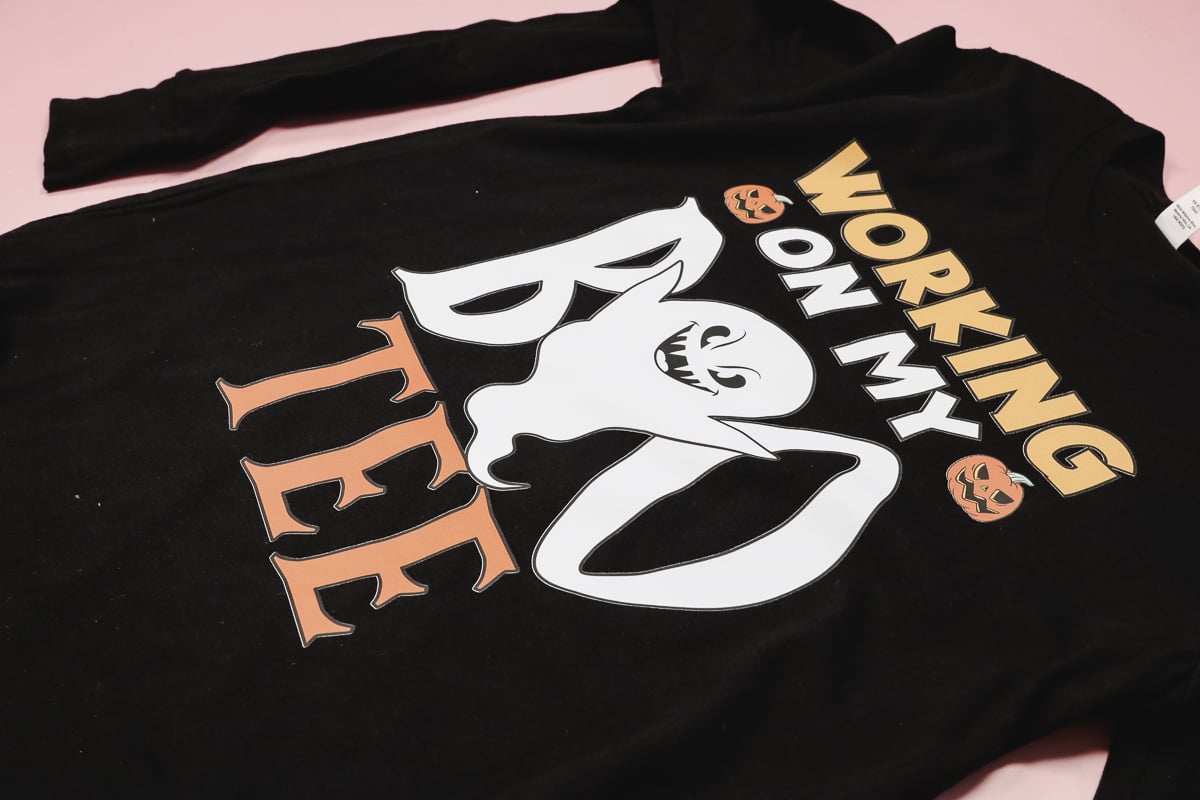
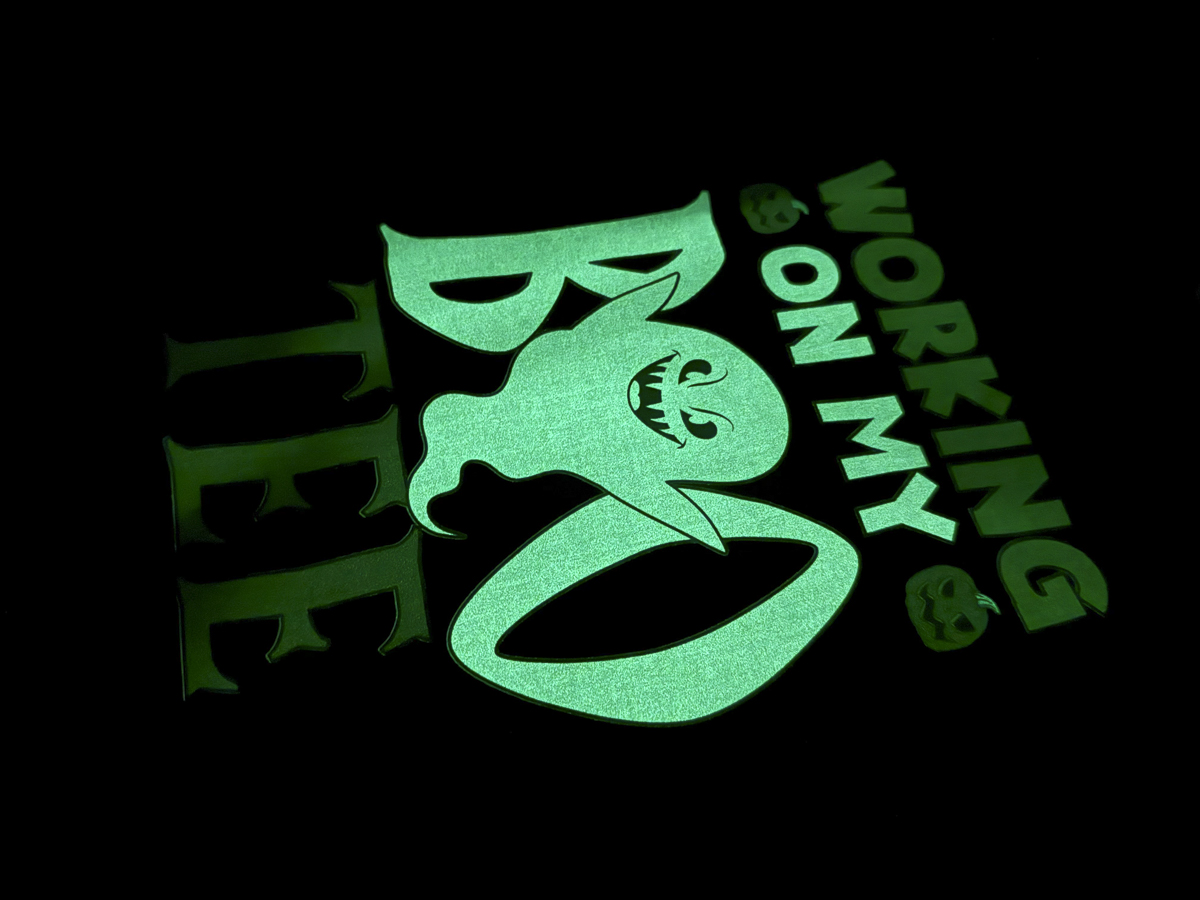
Working and Tee are very hard to see in the dark. It's the same with the pumpkins. If Working, On, My, and Tee all didn't show up in the dark, this design would work well. It would just say Boo and have a ghost. But since On and My can still be read, it doesn't really work.
To fix this design, I would either change the color of all the text except Boo to a darker color or I would add a white outline to all the letters. I would also add a white outline to the jack-o-lanterns and make the insides of the eyes and mouth white.
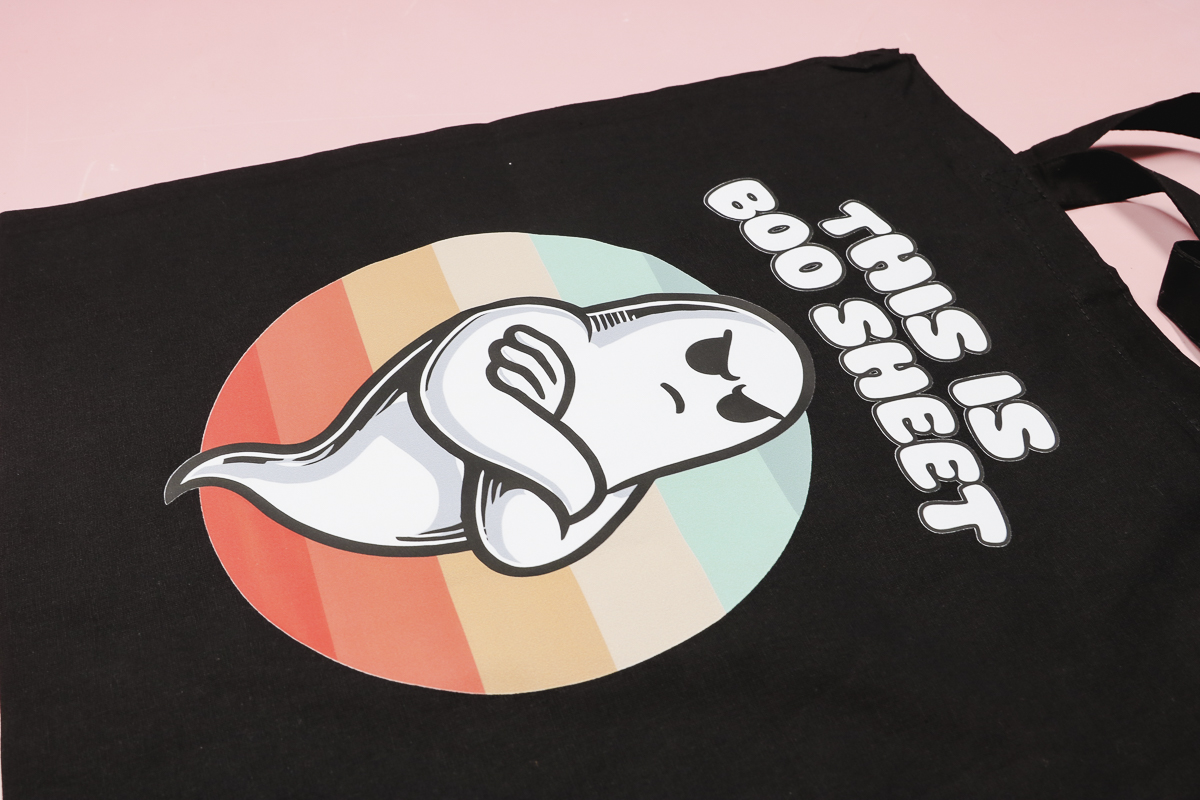
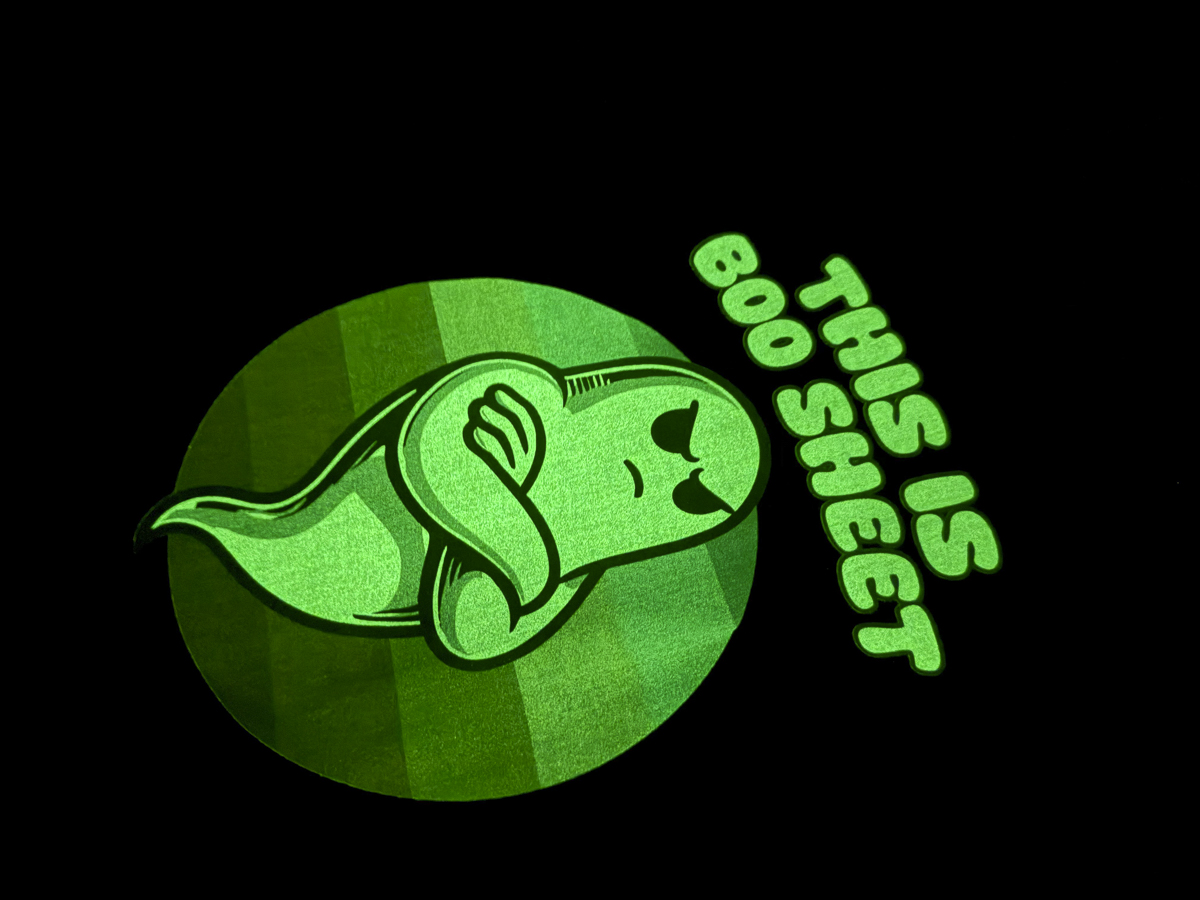
This design works pretty well. The image in the middle pops off the shirt and looks cute in both the light and dark.
The text doesn't glow very well in the dark. If that bothers you, change the black outline to white (or add an offset). That will make it easier to read the words even in the dark.
These are just a few options of designs you can use that would work with Glow in the Dark DTF. Regardless of the design you want to use, you can use the tips I shared here to help make sure your design looks the way you want in the light and the dark.
How to Get the Best Glow
I do want to note that in order for the DTF to glow in the dark, it has to be exposed to light. It won't glow forever; you will need to recharge the design with light to keep it glowing. It will charge more with UV light/sunlight vs ambient light.
If you want the design to continue to glow all night, for example, while you're out trick-or-treating, I would purchase something like a UV flashlight so you can continue to recharge it while you're out.
I love these projects, and the possibilities of projects you can make are endless. I know I made a bunch of Halloween projects today, but glow-in-the-dark projects can be used year-round.
It would be really fun to add glow-in-the-dark DTF prints to Christmas pajamas, front porch signs, sleepover shirts, glow-in-the-dark parties, and more.
Remember, you can use this material on any blank that works with DTF prints.
I hope I've answered any questions you have about using Glow in the Dark DTF and which images work best with it. If you have any additional questions, leave them in the comments, and I'll be happy to answer them for you.