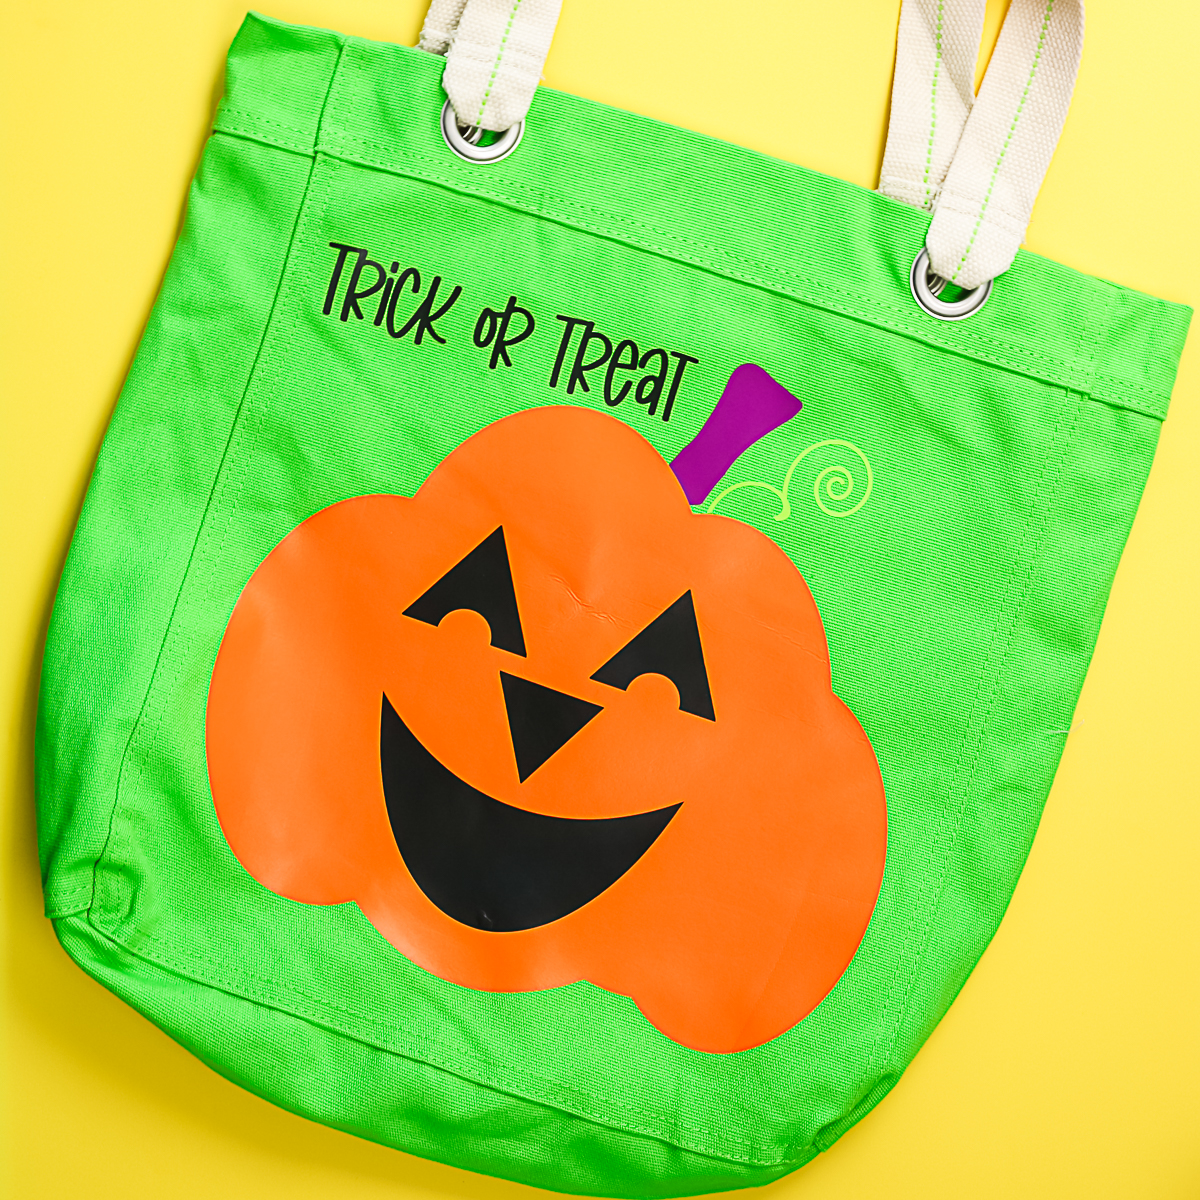
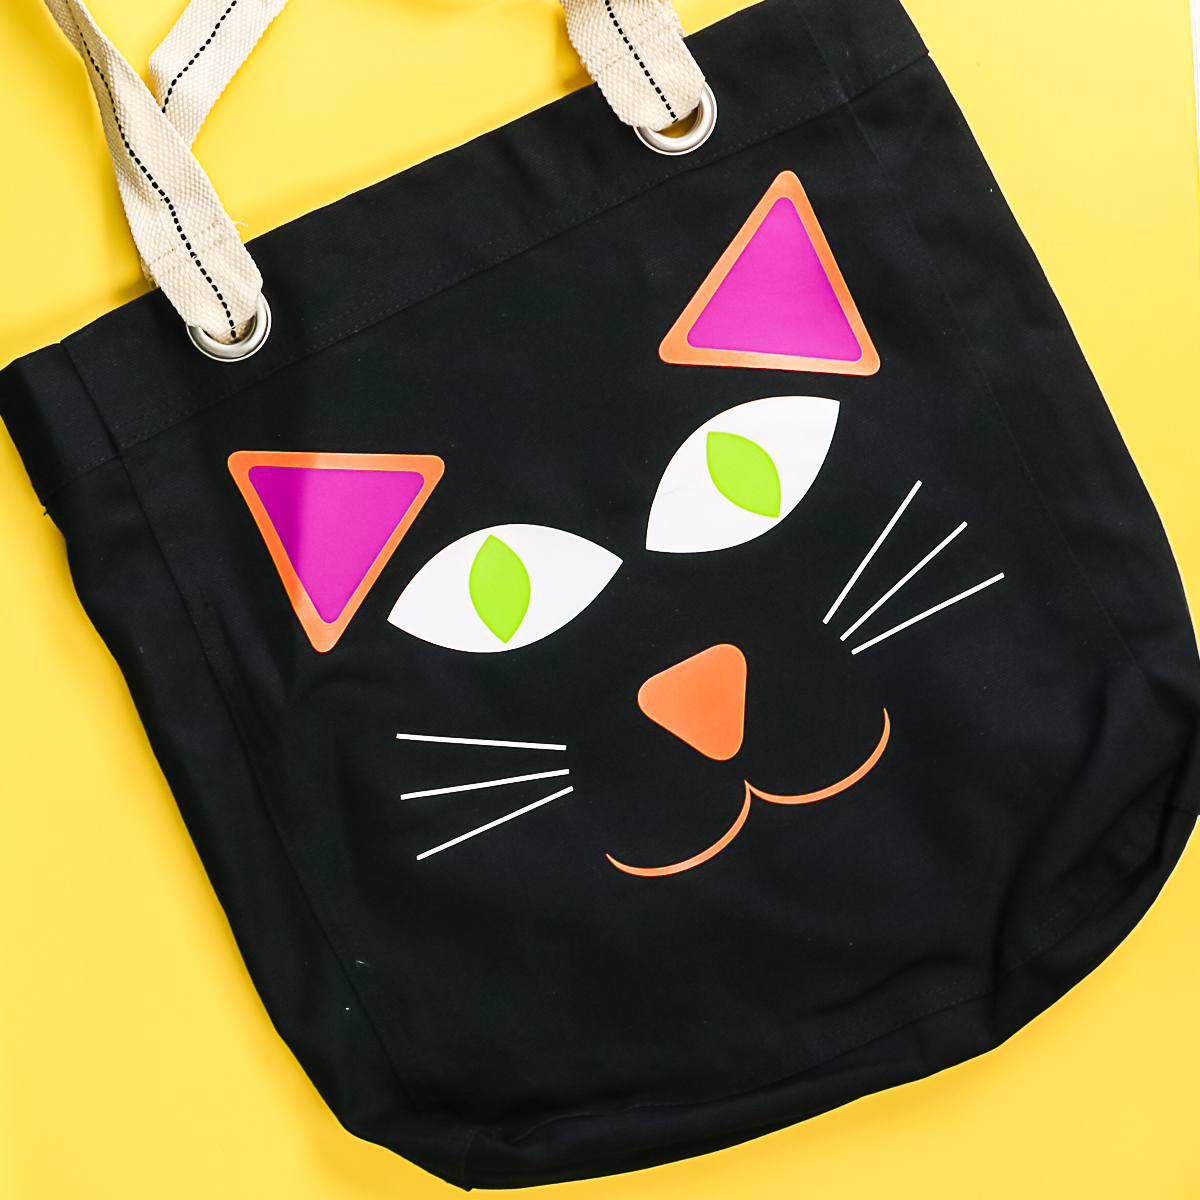
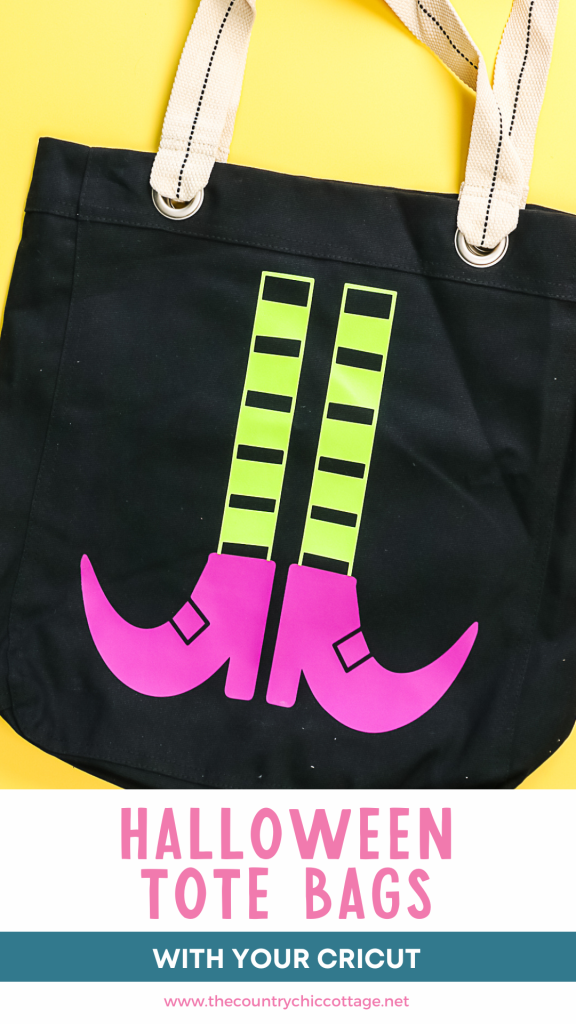
Use your Cricut machine to create Halloween tote bags with Cori and me from Hey, Let's Make Stuff. We hosted a live event, and you can watch the replay below. Watch to learn how to use HTV on a tote bag or create with us in real time. I know you will love the 6 SVG options we have for you to make cute bags for yourself or any little trick-or-treater in your life!
Can't watch the video or missed some of the information? You can also follow along with the instructions below.
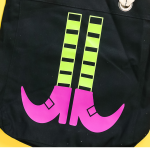
How to Put HTV on a Tote Bag
Have you ever put heat transfer vinyl on a tote bag? It is a fairly simple process. I even find this a great beginner project for those new to Cricut. Start by gathering your supplies.
Supplies needed:
- Cricut machine
- Heat transfer vinyl
- Tote bags
- Tote bag SVGs (Use code SPOOKYTOTE to get 25% off!)
- Weeding tools
- EasyPress or Heat Press
Cutting and Applying HTV
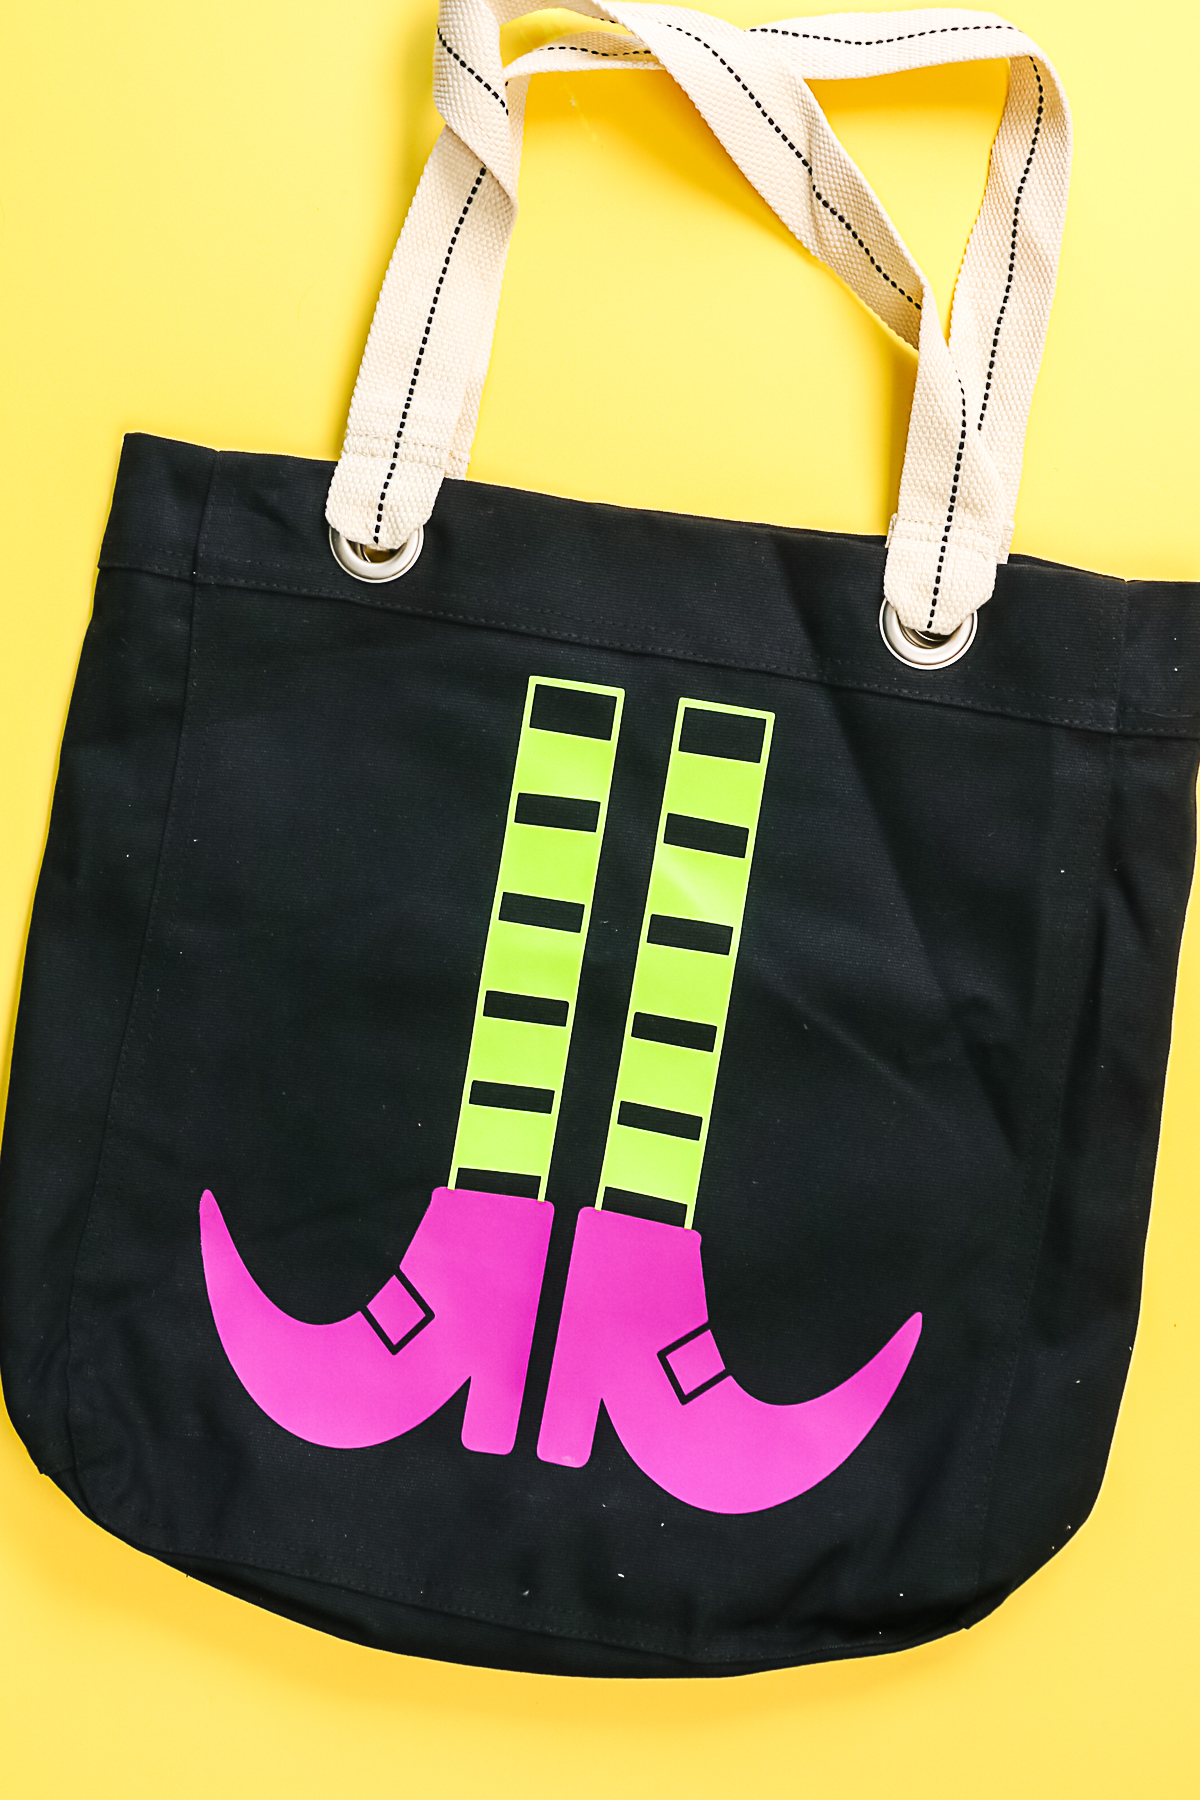
- Upload the SVG file of your choice to Cricut Design Space. You can see more about how to do that here. There are six design options in the bundle.
- Size your file to fit your bag. Remember to take into account things like the seams on the bag and make sure the design does not overlap those seams. I like to use a sewing tape measure for this step, as it allows me to get a more accurate measurement.
- Put the HTV onto your mat with the shiny side down. This will ensure that you are cutting the correct side. TIP: Use a brayer to push the HTV down onto the mat. This is especially helpful if you have an old mat that may be dirty.
- Cut each color using the iron-on setting on your Cricut machine. Be sure to mirror your mat before cutting. NOTE: Before clicking make it, be sure that like colors are attached by picking them and clicking the attach button.
- Once all of your pieces are cut, weed away the excess from each of your HTV colors. Be sure to weed away anything around the outside and things like the centers of letters.
- Then, start by pressing your first color to your tote bag. Be sure to find the time and temperature instructions for the brand of HTV that you are using. I always recommend pressing the first layer for as little time as possible. Then, add other layers if you have any other colors.
- After you press, peel back your carrier sheet. If the HTV is not stuck, replace the carrier sheet and press once more to ensure everything is in place.
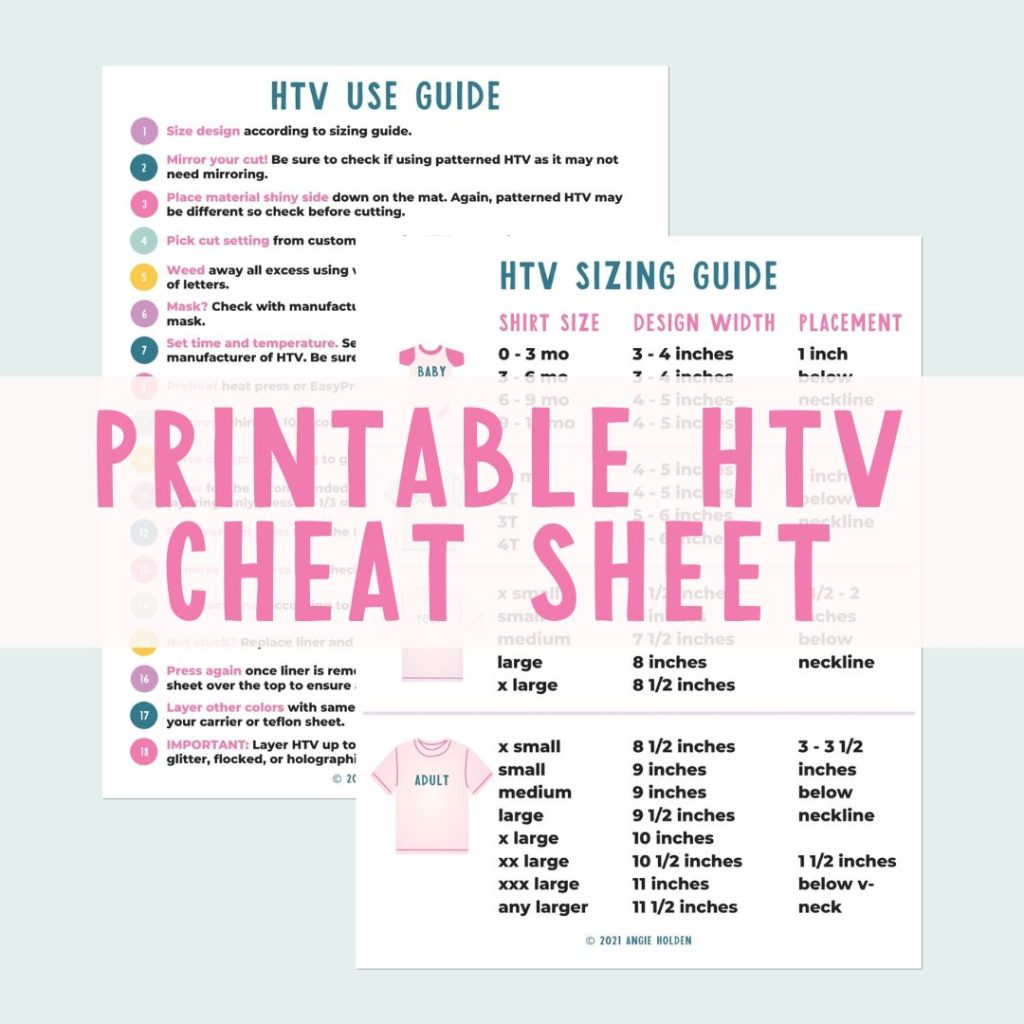
Free HTV Cheat Sheet
Get your FREE Printable HTV Cheat Sheet now! This guide has sizing and position recommendations for infant through adult shirts as well as a handy HTV use guide. Print this double sided guide and put it by any heat press you own!
Personalizing Your Bag
Let's chat about ways to make these Cricut Halloween bags your own. There are several options for creating a bag that is unique as your little one.
- Choose different HTV colors to make it personal for the recipient.
- Add a name or a phrase for an extra special touch. You can watch us do this at the end of the live video above.
- Make the design smaller and put it in one corner for a unique look.
- Mix and match from various files to create something creative that is all your own!
Get creative with this project and make a Halloween tote bag you can be proud of. I know you will love the results and learning to use HTV.

Follow Cori on Social
If you haven't already, be sure to follow Hey Let's Make Stuff on social so you don't miss a thing!
I hope you enjoyed making these Cricut Halloween bags as much as we did! Enjoy the video above, and make a version of this project for your little ones this holiday season!
More Crafting
Want even more crafting fun?
Cori and I got together for some Holiday fun making these cute mugs pictured below. You can see how we made them by checking out our DIY Christmas Mug post. You can also get the Mug SVGs to create your own holiday mugs today! (Use code HUGINAMUG to get 25% off!)