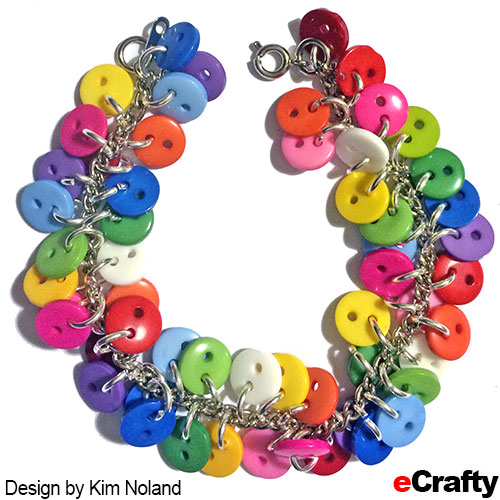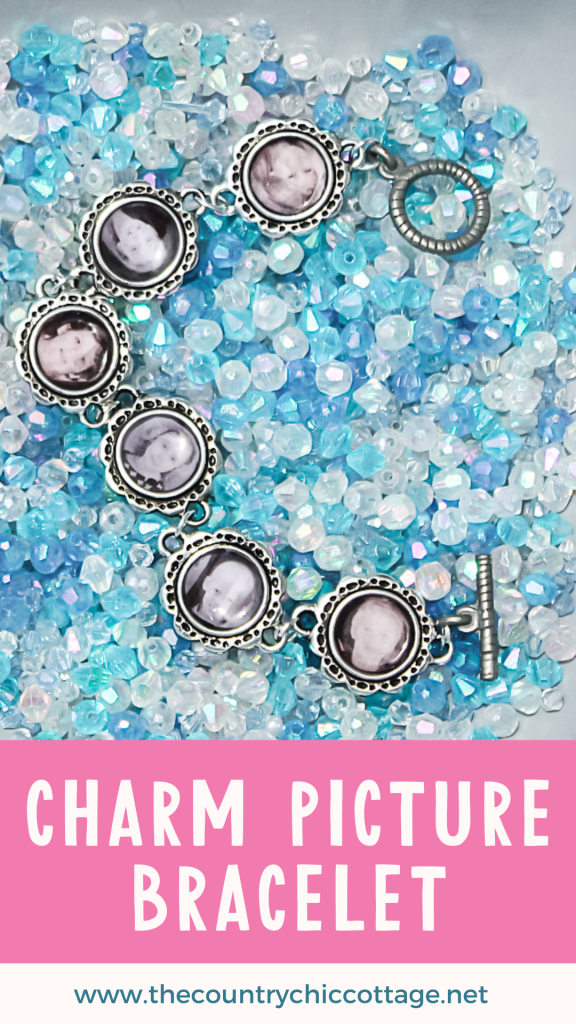
If you're looking for a special DIY gift idea for mom or grandma, look no further than this DIY charm picture bracelet. Filled with pictures of all their favorite people, this bracelet is the kind of gift that will make her cry tears of joy!
DIY Charm Picture Bracelet
I love DIY gifts. They're truly my favorite kind of present because they hold so much more meaning and sentimental value for me since someone took the time to create them for me.
I'm in “gift-making mode” right now and was just coming off making these great DIY Photo Gifts when inspiration struck. Why not make photo bracelets?
Any mom or grandma would love to get one of these filled with pictures of the ones they love. This is actually a super simple tutorial, so break out your pictures, and let's get started. Special handmade gifts like this one are perfect for Mother's Day or ANY occasion!
NOTE: If you love DIY photo gift ideas, check out our DIY Photo Coasters, DIY Photo Cube, and DIY Photo Mug projects!
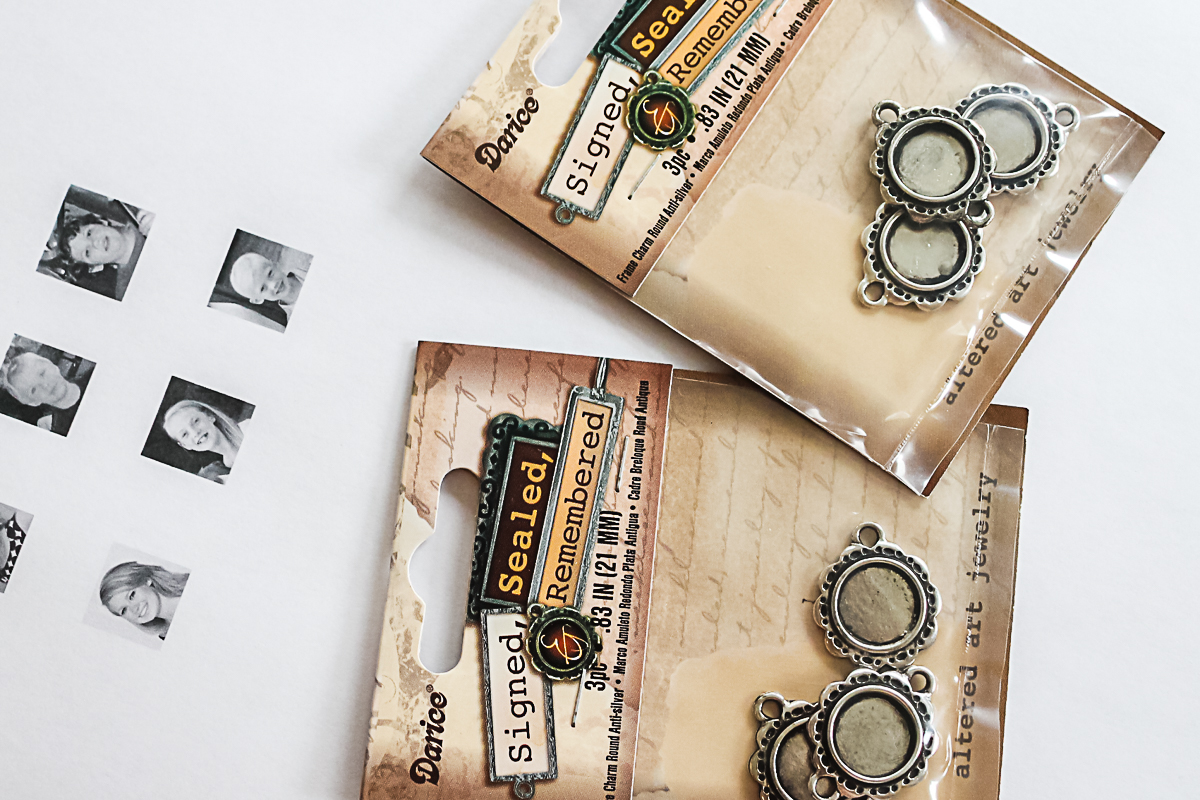
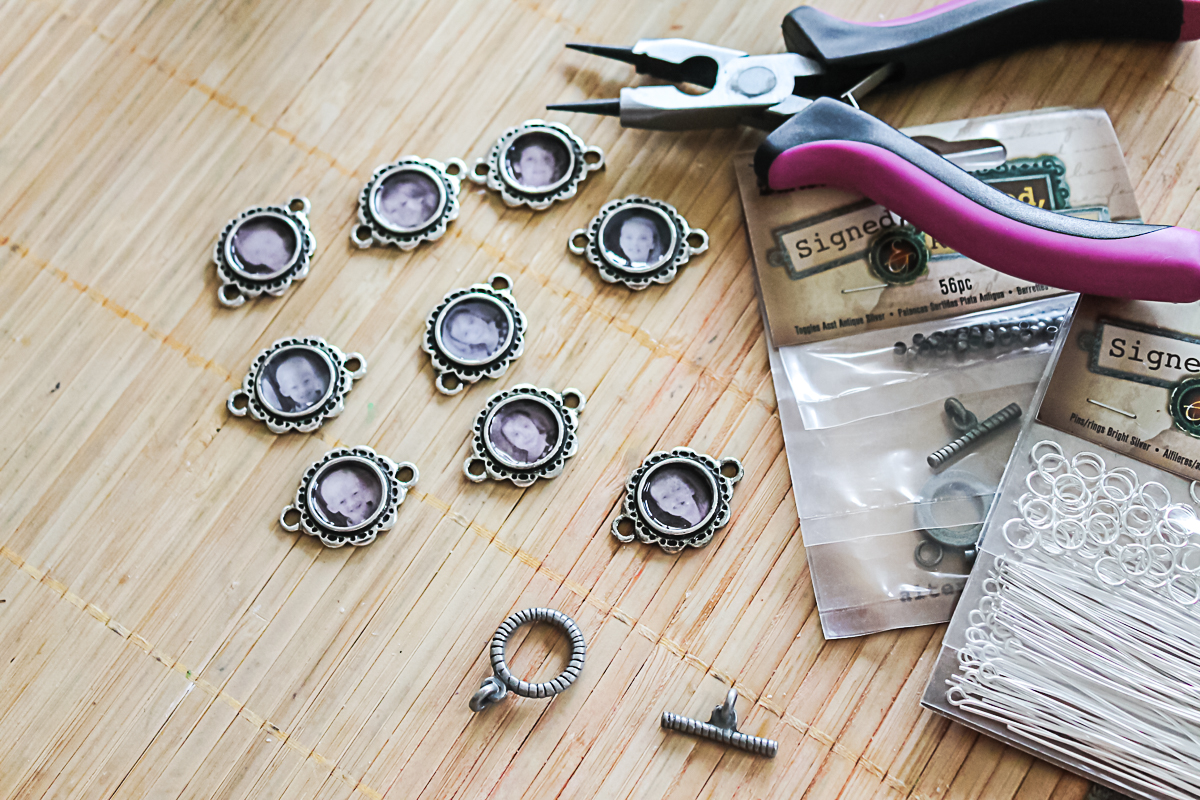
Supplies Needed To Make Picture Bracelet
- Frame charms
- Printed pictures (Just on regular copy paper.)
- Craft knife
- Mod Podge
- Mod Podge Dimensional Magic
- Toggle and closure set
- Silver jump rings
- Jewelry pliers
Step 1: Print Out Pictures
Measure your frame charms and print your pictures to the approximate correct size. Trim away excess paper.
I printed my pictures on regular copy paper using the highest quality setting on my printer. You could do these in color if you wish, but I went with black and white.
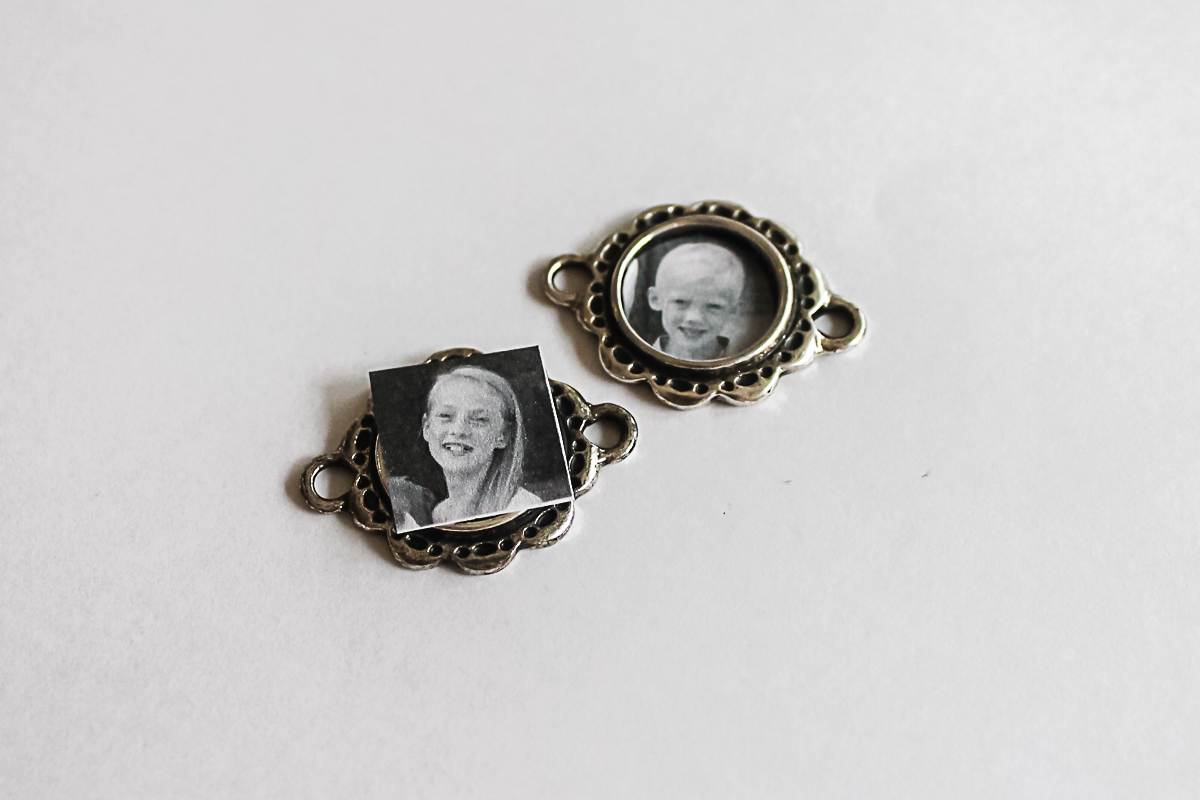
Step 2: Push Photo Into Frame
Push the picture into the frame with your finger.
Step 3: Mark Around The Photo
Use the craft knife to mark the entire outside edge. Do not try to cut all the way through the picture at this point.
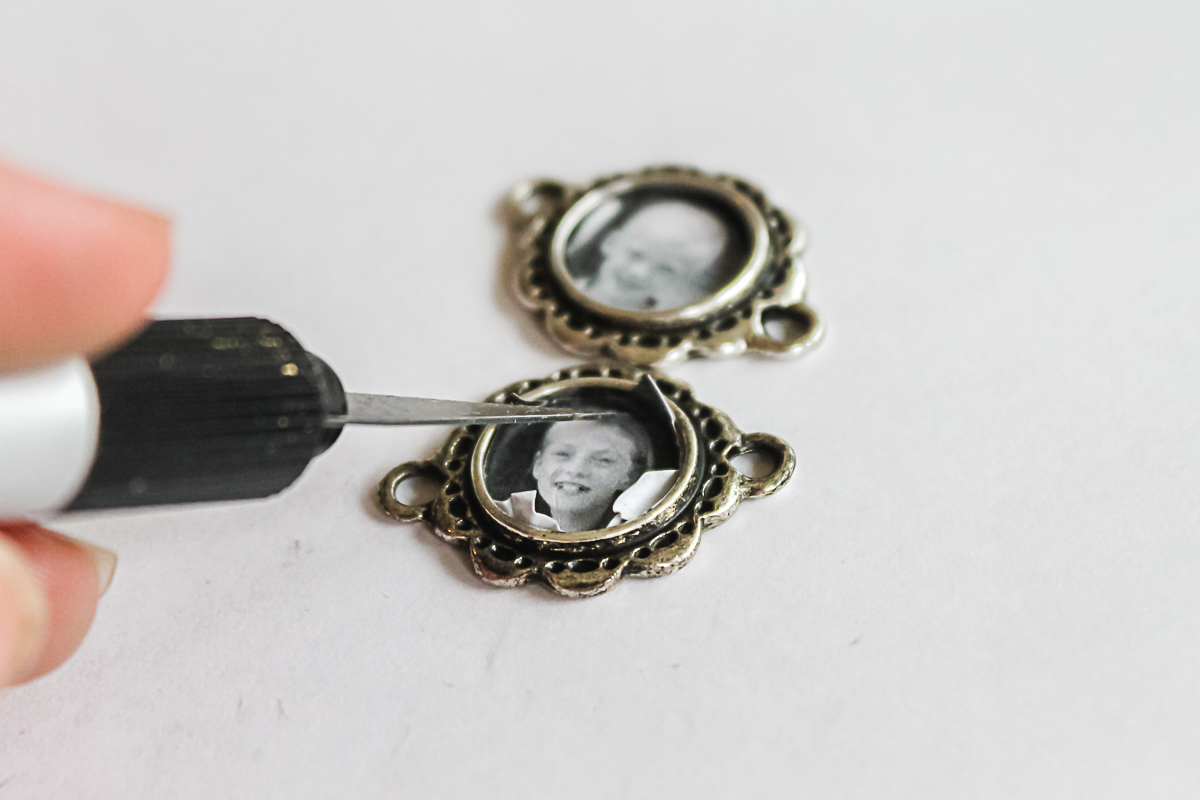
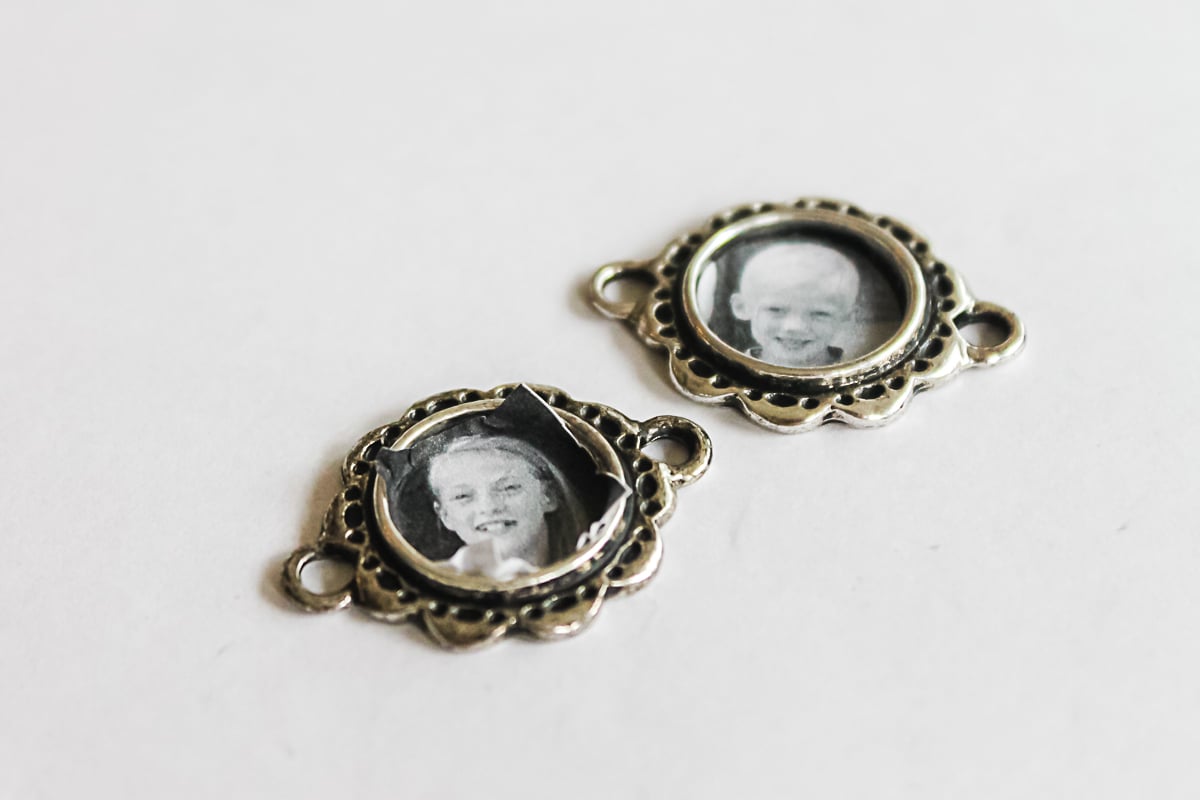
Step 4: Trim Away Excess Around Photo
Remove the picture from the frame, then use either a craft knife or scissors to trim it all the way around. Test and make sure it will fit properly into your frame.

Step 5: Glue Photos Into Frames
Adhere the photos to the frames using Mod Podge. Be sure to coat the top of the picture thoroughly and allow it to dry completely.
NOTE: I recommend doing 2 to 3 coats on the top of the photo to seal it well. This will prevent the images in your picture bracelet from yellowing over time.
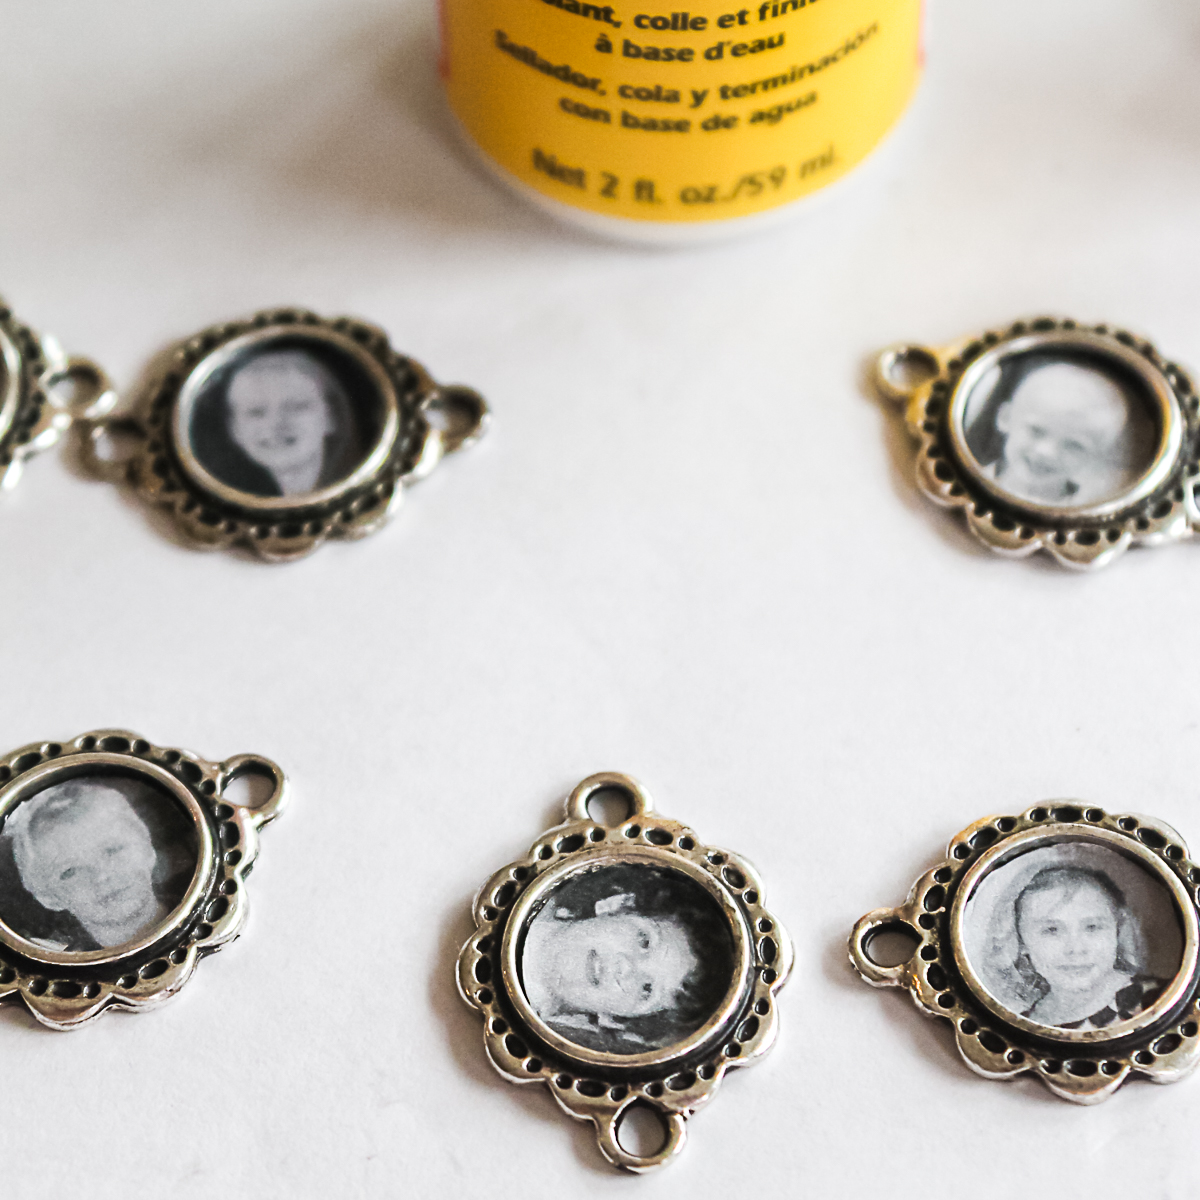
Step 6: Add Mod Podge Dimensional Magic To Photos
Add a coat of Mod Podge Dimensional Magic and allow it to dry completely. You can fill the frames with this product for a finished look.
Step 7: Add Jump Rings
Once dry, use your pliers to add jump rings in between the frames.
Step 8: Add Toggle To Picture Bracelet
Using jump rings, add the toggle and closure to the ends of the bracelet.
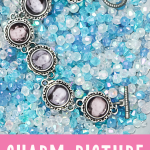
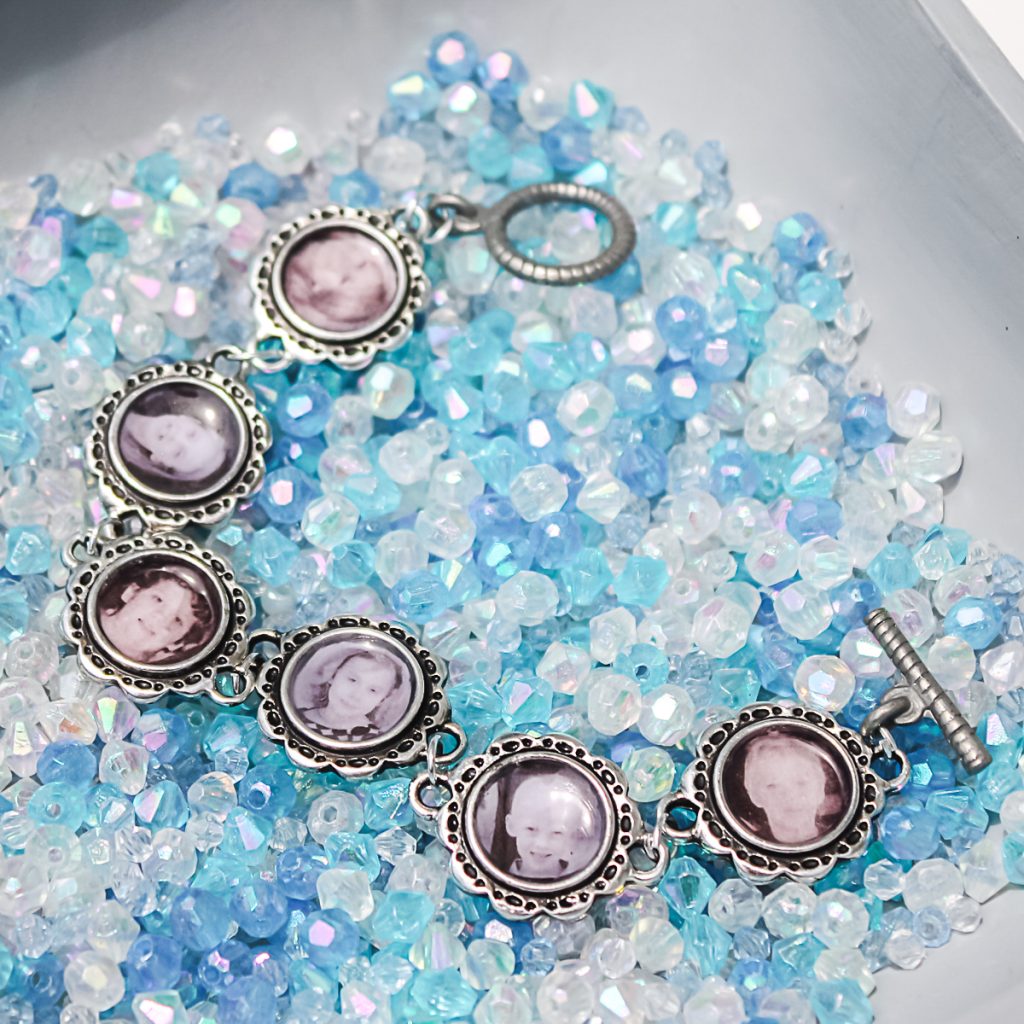
Your handmade picture bracelet gift is now complete!
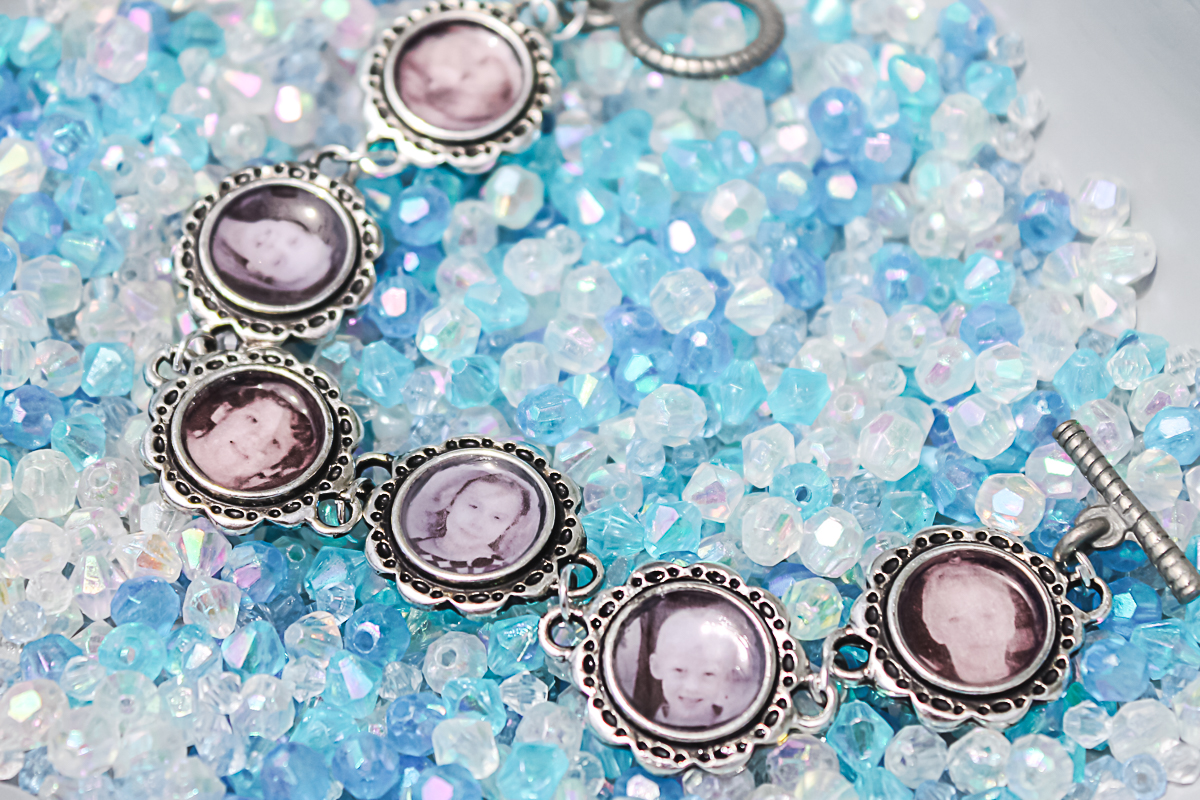
Photo gifts are always a huge hit with moms and grandmas. And a wonderful charm photo bracelet like this one helps her keep all her favorite people close to her at all times.

Grab your supplies and get started on your own version of this DIY charm picture bracelet. I know you will love one for yourself as well as a few to give as gifts!
FAQs About Picture Bracelet
Here are answers to some of the most frequently asked questions I receive about creating this picture bracelet. If your question isn’t listed, feel free to drop it in the comments, and I’ll be happy to help!
What Other Types Of Photos Can I Use In A Charm Picture Bracelet?
Will this gift idea work if you don't want to use pictures of kids? Yes!
I thought I would give you a few more ideas so you have plenty of excuses to make photo bracelets for everyone on your list.
Try making picture bracelets with pictures of:
- Vacation destinations
- Flowers
- The beach
- Waterfalls
- Relatives who have passed away
- Relaxing photographs
- Pets
- Geometric patterns
- Photos with letters to spell a word
Let your imagination run wild and create all sorts of photo bracelets for those you love!
How Many Charms Should Be On A Bracelet?
I will leave that up to you! I put six photo charms on my picture bracelet, but you could use different charms or build the bracelet differently, using fewer charms.
One of the best parts of making your own jewelry is that you really get to make what you want (or what your mom would prefer)!
Would Printing The Pictures On Cardstock Make Them More Durable?
No, not for this project. I do like to print things on cardstock to help them withstand wear and tear. However, the charms do a great job of protecting the photos, and sealing them with Mod Podge further protects them.
Using cardstock would make it harder for you to get the photos into the charms and wouldn't provide any additional benefit.
Do You Have Any Tips On Using Mod Podge Dimensional Magic?
Yes, I do! If you have never used Mod Podge Dimensional Magic before, I recommend following the tips below to achieve the best results and avoid air bubbles!
- Don't Shake The Bottle – Shaking the bottle can create more air bubbles, which you don't want!
- Have A Toothpick Or Sewing Pin On Hand – If an air bubble does occur, you can pop it easily with a toothpick or sewing pin!
- Don't Touch Your Picture Charms While They Dry – After you have added your Mod Podge Dimensional Magic to your picture charms, let them dry on a flat surface. Don't pick them up or move them around, as that could cause air bubbles.
5 More DIY Gift Ideas
If you love this beautiful DIY picture bracelet idea and want more crafting ideas for DIY gifts that will be a hit, check out these popular ideas!
Also, check out these 60+ Handmade Gifts for Kids, and don't miss our Handmade Gift Gallery Page!