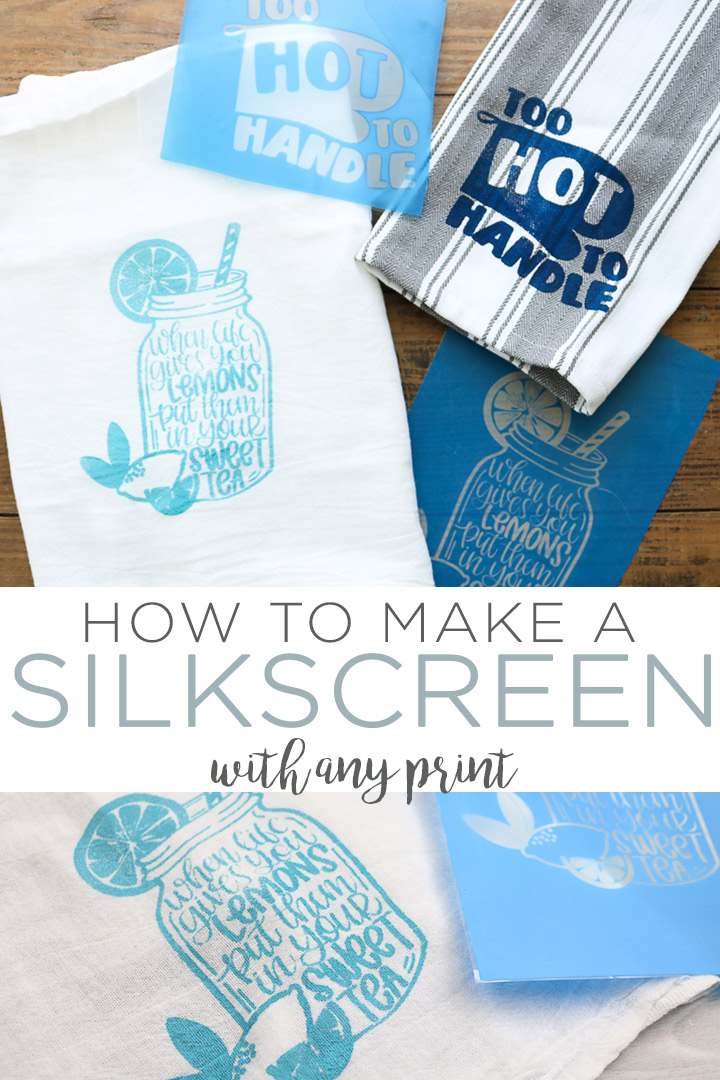
Did you know that you can use the IKONART Stencil Kit to make your own silkscreens right at home? It is a great addition to your crafting arsenal and also another way to use all of those SVG files. I thought I would show you how to use the IKONART custom stencil maker in this post. Then you can see whether or not this new craft product is something to put on your wishlist this Christmas. Psst…don’t miss our 10% off coupon code below!
Please note that IKONART sent me a kit for free, however, I received no other compensation for this post. All opinions and projects are my own.

IKONART Stencil Kit Video Tutorial
Want to see everything you ever wanted to know about the IKONART Stencil Kit in a video? Just watch below!
Can’t watch the video or missed some of the steps? Just keep reading below!
What Is In The IKONART Stencil Kit?
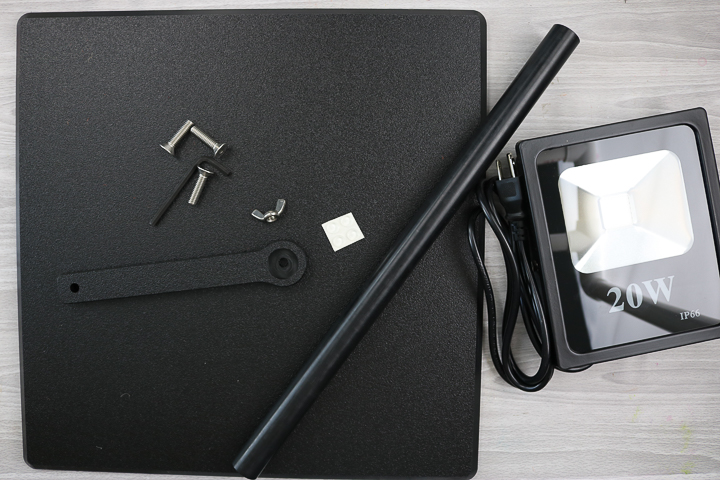
First, the kit comes in a great box and it is disassembled. The assembly is easy as I will show you below. You can also disassemble the kit each time and store it in the box.
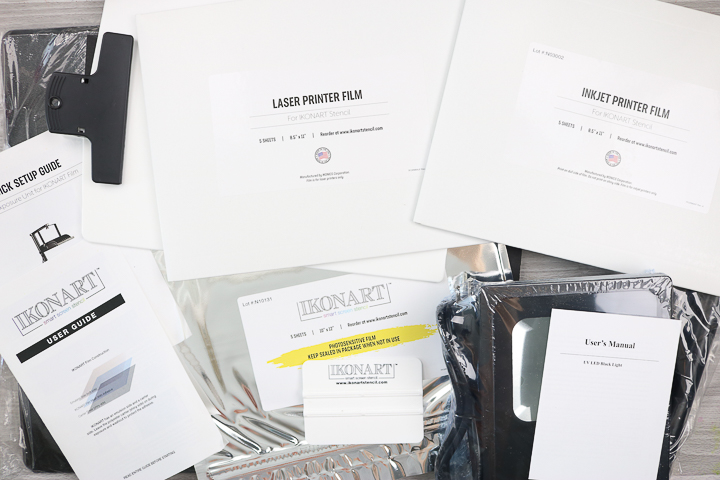
When you open the box you will find:
- Exposure Stand
- UV LED Light
- IKONART Stencil Film (10″ x 12″ 5-Sheet Pack, Made in the USA)
- Inkjet Film (8.5″ x 11″ 5-Sheet Pack, Made in the USA)
- Laser Film (8.5″ x 11″ 5-Sheet Pack, Made in the USA)
- Clipboard
- Squeegee
- Exposure Stand Setup Guide
- User Guide
How To Assemble The IKONART Stencil Maker
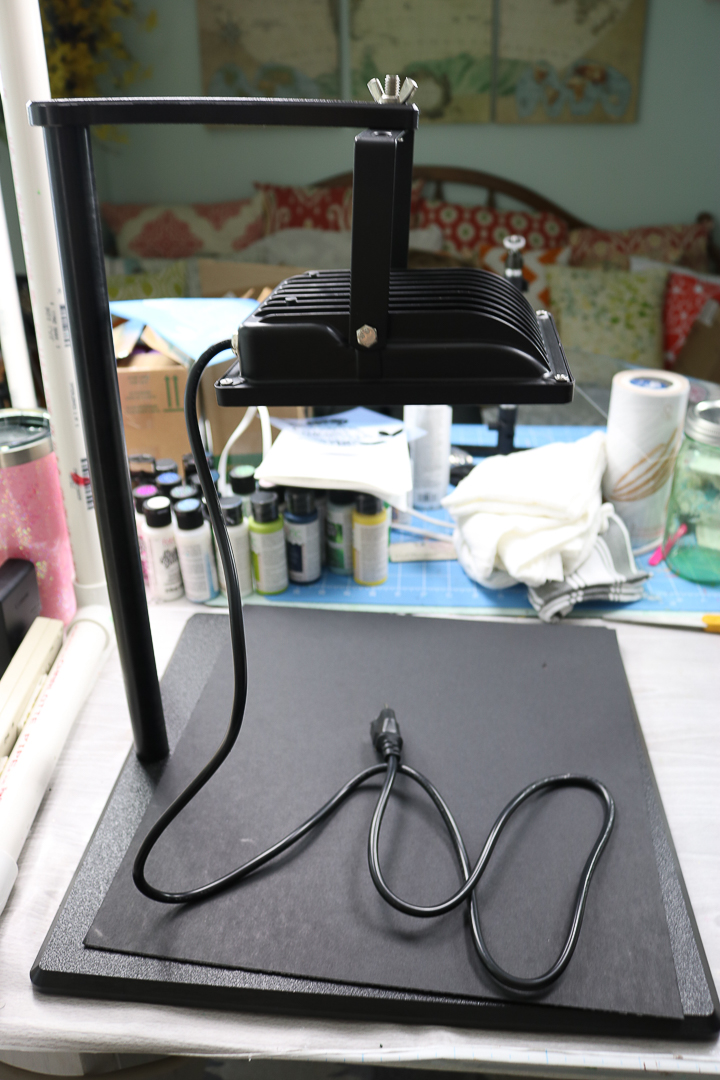
Next, you will want to assemble the silkscreen maker. There is a booklet right in the kit that will walk you through the steps. The set-up is minimal and even the tools are included in the box.
Your silkscreen maker will look like the image below once assembled.
How To Make A Custom Silkscreen
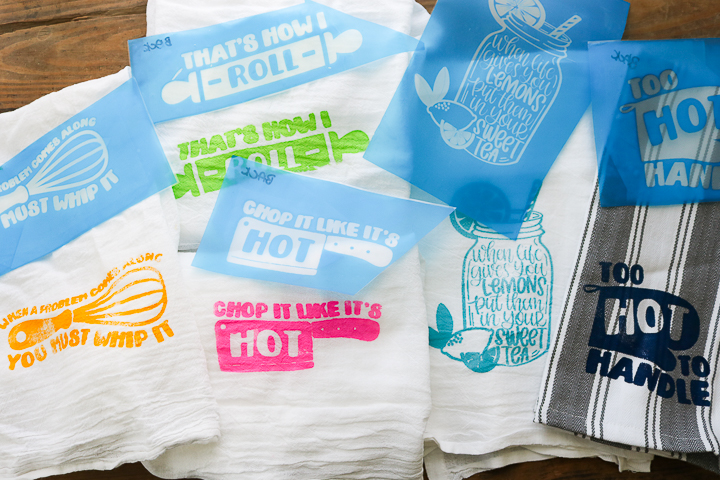
Now that you have your machine unboxed and assembled, it is time to make a custom silkscreen. You can watch the video above for more information or just follow along with our steps below. Do you want the files for the silkscreens we made? You can find the mason jar here or the kitchen designs here.
Printing Your Design
You will need to print your design onto the printer film. Film for both inkjet and laser printers is included. Inkjet is recommended, however.
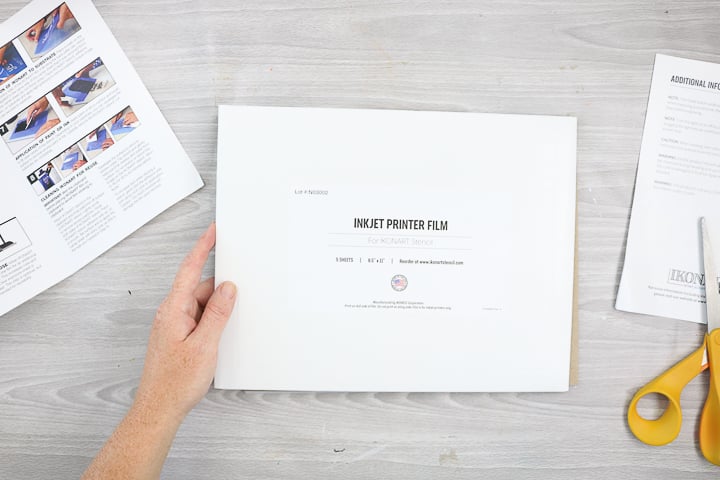
Run the film through your printer and print your design MIRRORED onto the non-shiny side of the film. You will also want to change your printer settings (if you can) and have it print with just black ink for a really good print.
NOTE: If you DO NOT print on the correct side, the ink will just wipe away. Then just print on the opposite side.
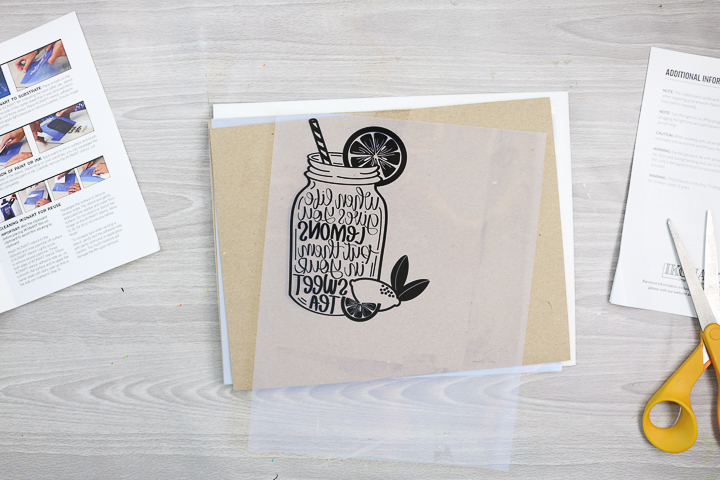
You can also cut the film as long as there is a small area around your design. Then save the excess for the printing of another design.
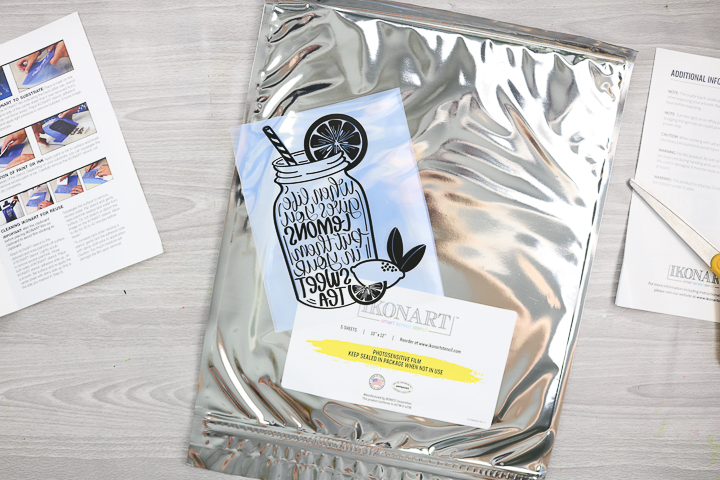
Exposing The Silk Screen
Now you are going to work with the IKONART Stencil Film, which is photosensitive. I would dim the lights as much as possible and pull the curtains closed in the room you are working in. You will also want to add the black cardboard that comes with your kit to the base of your stencil maker.
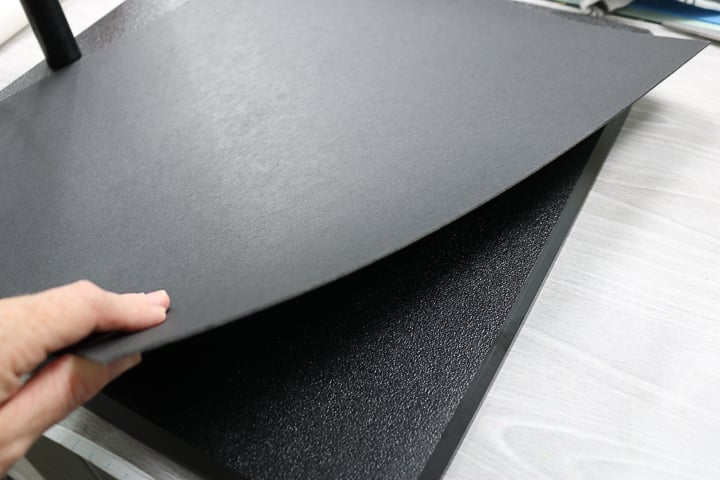
Have everything ready and set up before you open your package of film. You want it exposed to the light as little as possible.
NOTE: You can also cut the film to a smaller size if needed.
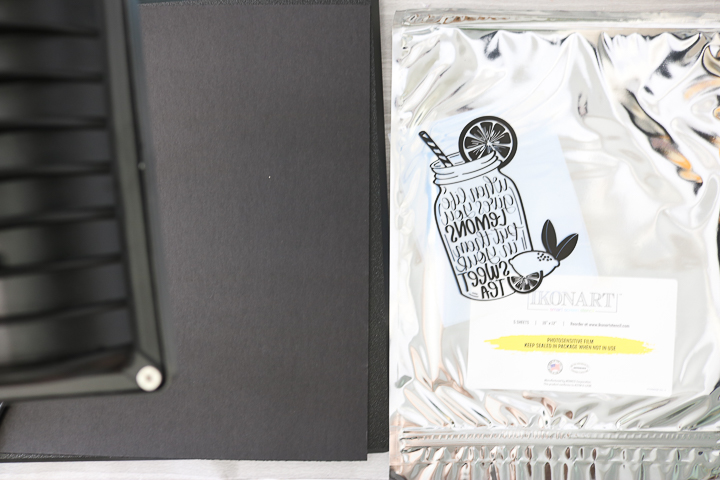
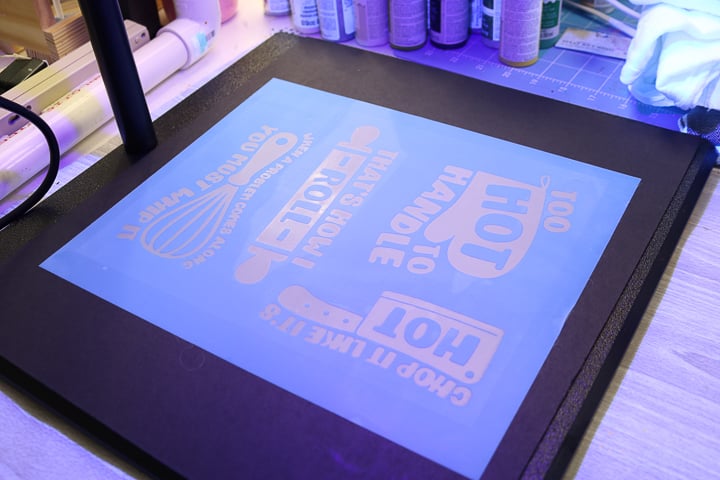
Then put the film over the black cardboard shiny side down and put your design on top printed side down.
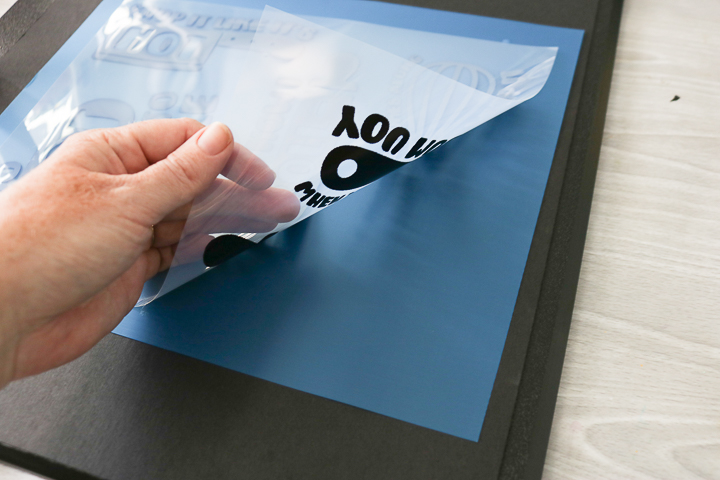
Place the plastic cover that is with the film over the top.
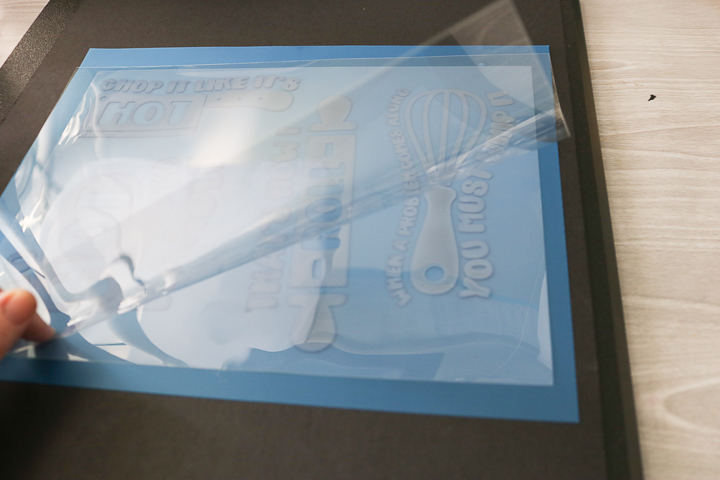
Switch on your black light and expose it according to the guide. The time is actually MUCH shorter than other silkscreen products that I have used over the years.
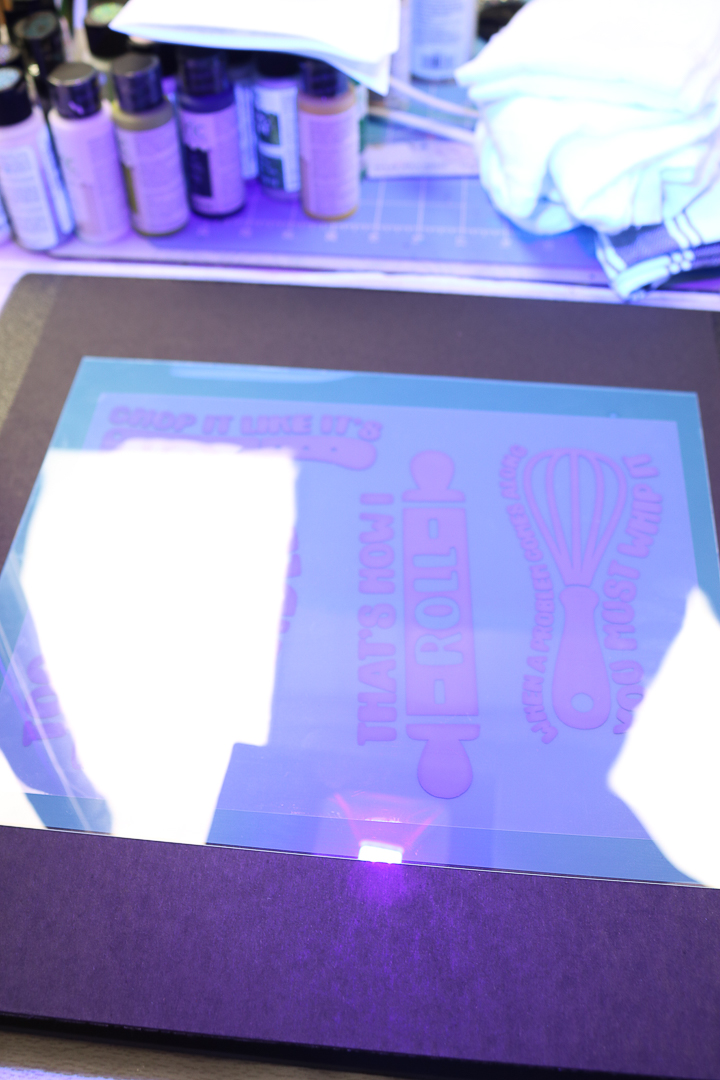
Once the exposure is complete, remove everything from the machine. Your film may not look much different but you just need to wash it to reveal the magic!
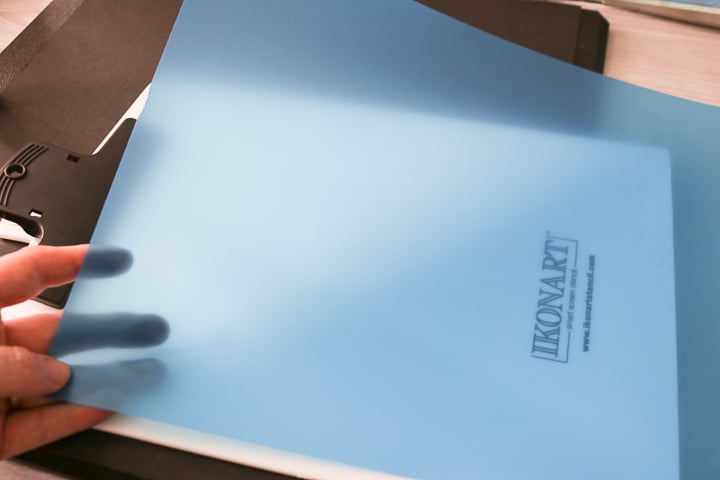
Washing Out Your Custom Stencil
Add the film to the clipboard that is provided and move to a sink with a sprayer. Use warm to hot water to spray your stencil and your design will begin to reveal. You can also use a sponge gently over the top if needed. You will be left with a silkscreen in the end!
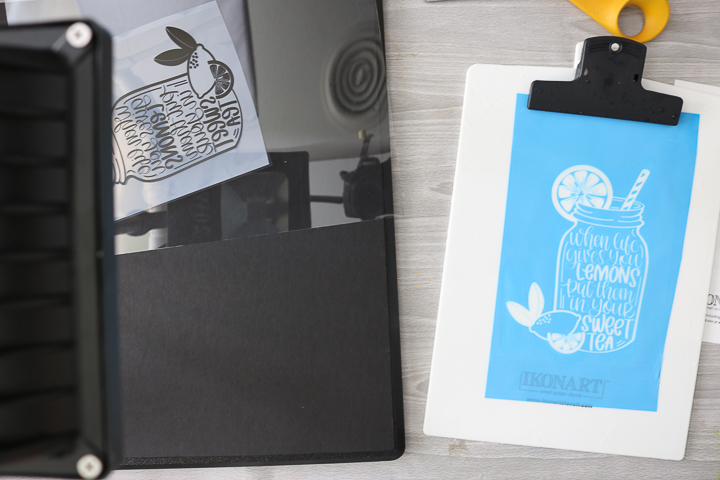
Lightly wipe away the excess water and allow your stencil to dry completely. I have one stencil that failed below and I am pretty sure I was a little too eager during this step and did not allow everything to dry.
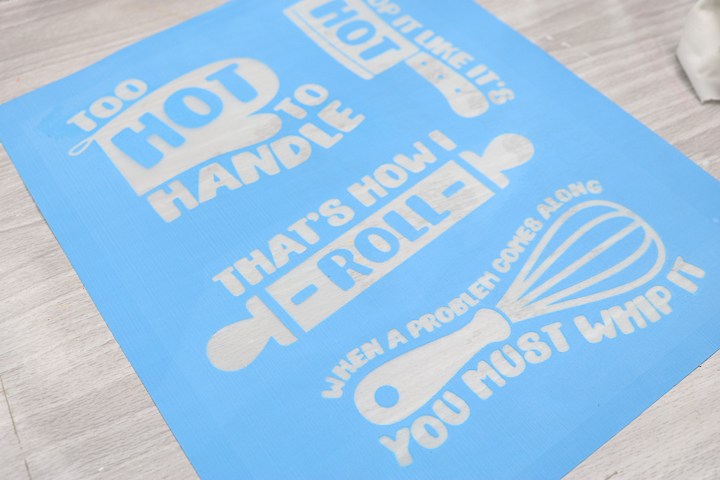
Expose Silk Screen A Second Time
To make your silk screen reusable, you will need to expose it a second time once dry. This time, just add to the machine with nothing over the top. Expose for the amount of time in the user guide. Again, the time is super short and, once you do this step, you will have a silkscreen that is able to be used a bunch of times!
Congrats! You just used the IKONART Custom Stencil Maker to make your own silkscreens!
How To Silk Screen A Kitchen Towel
Now that you have a custom stencil, what are you going to do with it? These self-adhesive stencils can be used on fabric, wood, metal, and so much more. I thought I would show you how to silkscreen a kitchen towel as an example. Peel the self-adhesive stencil from the backing paper and apply it to your towel.
NOTE: You may want to mark the back of the carrier sheet as you want to put it back onto the same side it came off of.
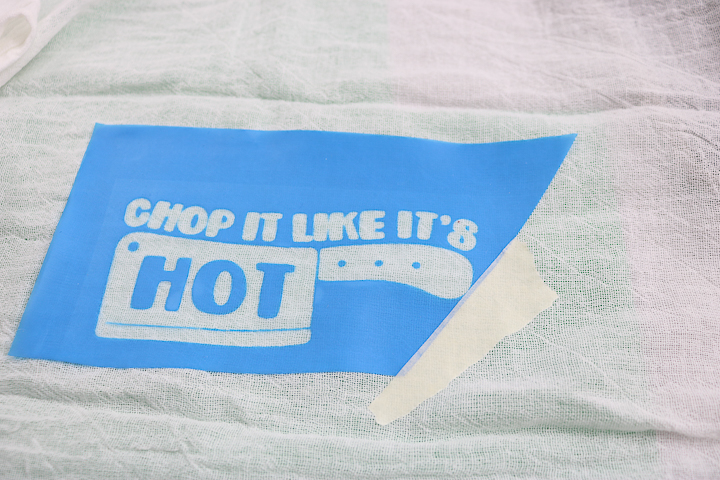
You can add tape around the stencil if you would like to protect the towel from excess. Press the silkscreen down well.
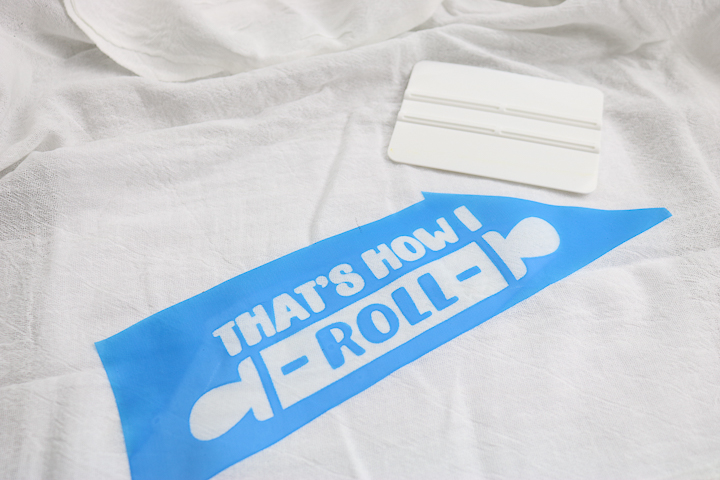
Add paint or ink on one side. I am reviewing a few types of paints and inks below if you want to see which worked best for me.
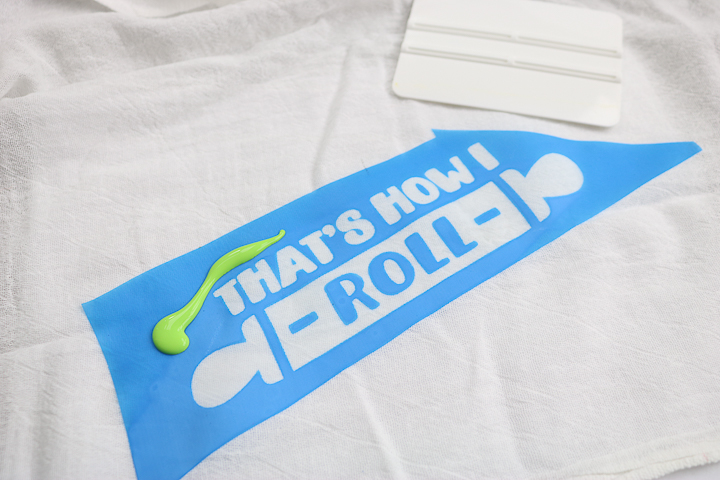
Use the squeegee in the kit to pull the ink across your design. Make sure everything gets covered then remove any excess.
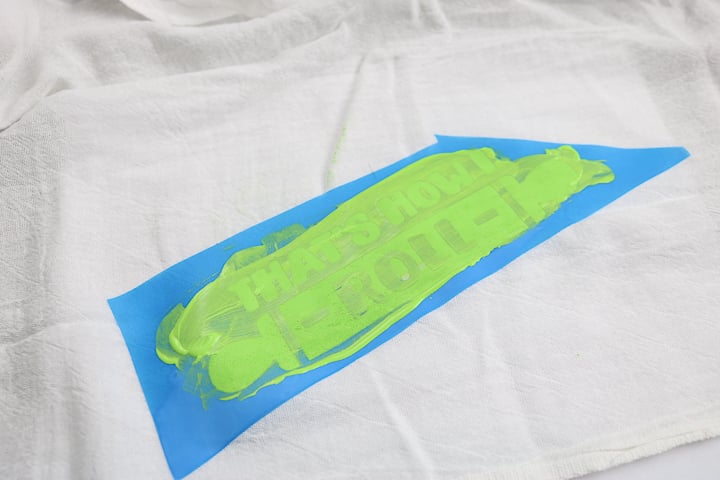
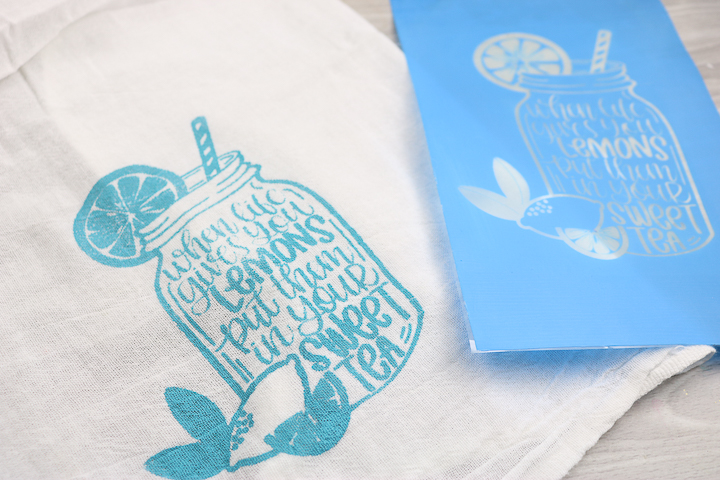
Pull up the silkscreen to reveal your design.
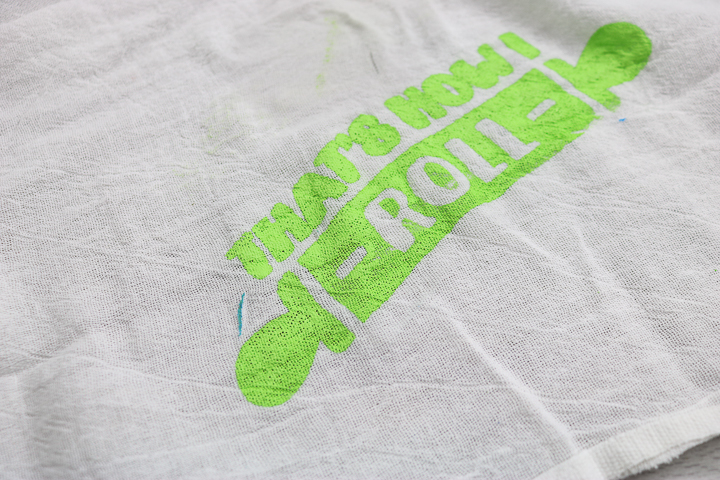
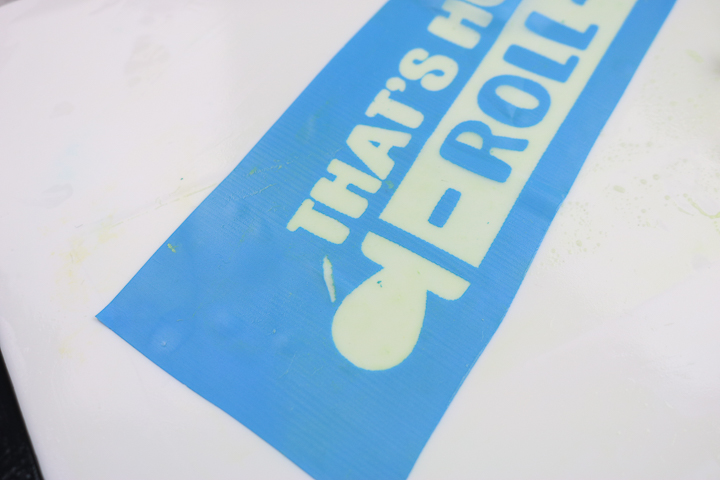
You can actually see a little blue on the towel in the image above. This was the ONLY silkscreen I had trouble with but it did mess up after the one use. I was able to remove the blue from the towel.
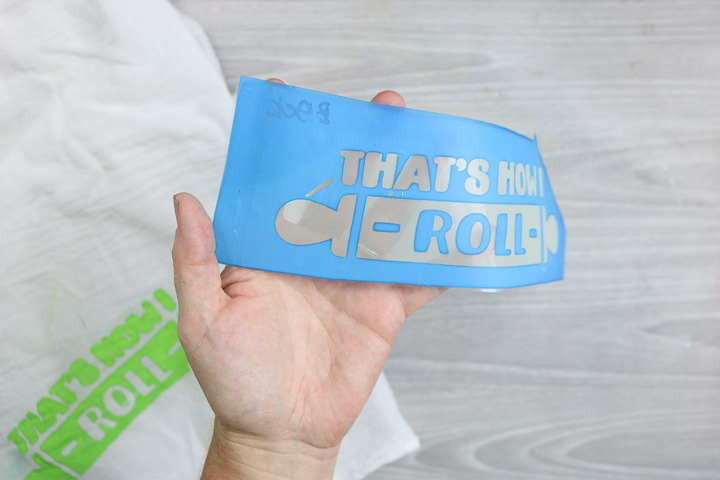
The silkscreen, however, would probably not be able to be used again. I think this was not from allowing it to dry enough after washing out during the step above. So, just be sure to follow all directions when working with this product.
How To Clean Your Silkscreen
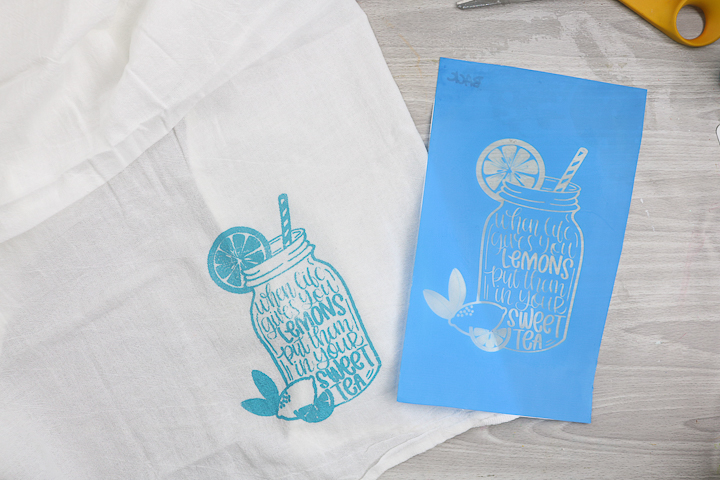
Wet your clipboard and place the stencil adhesive side down on the board. Rinse with water and lightly scrub to remove all paint and ink. You can rinse both sides. Squeegee the surface to remove excess water. Gently wipe paint/ink residue and water from both sides.
Please note that you do not want to stretch or distort the IKONART stencil.
Place it adhesive side up on a table or flat surface and add the backing. Allow to dry at least 30-40 minutes before reusing. You can gently blot the adhesive side with water when you reuse it to make it more sticky if needed. With these methods, you should be able to re-use this silkscreen many, many times!
Which Paint Or Ink To Use With A Silkscreen
So, now that you have used your IKONART Custom Stencil Kit to make a silkscreen, which paint or ink do you use with it? I thought I would test a few different options to see which works best.
NOTE: You will ALWAYS want to use water-based paints with these stencils.
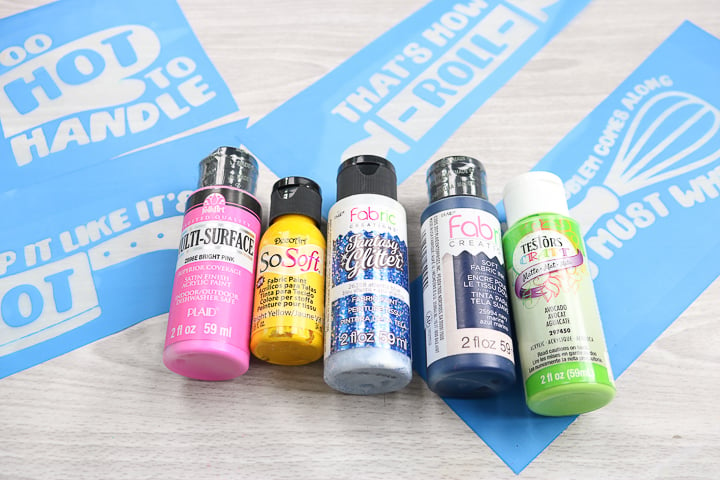
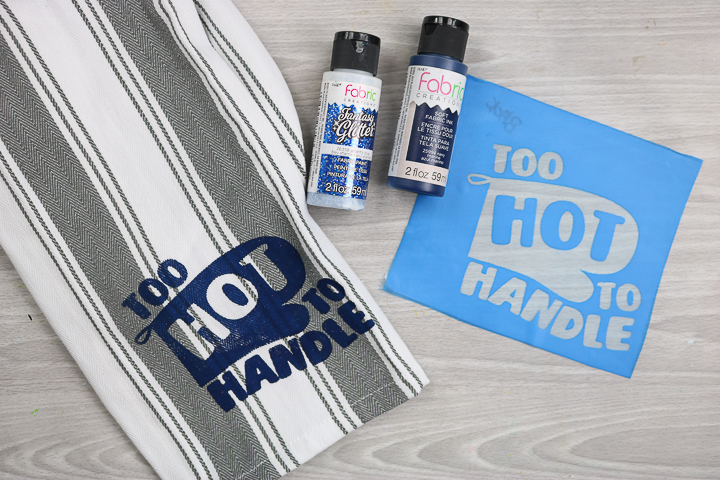
First up, is Plaid Fabric Creations Soft Fabric Ink. This one worked like a dream! It was easy to pull across and got in all of the areas. It is also one of my personal favorites as it dries soft.
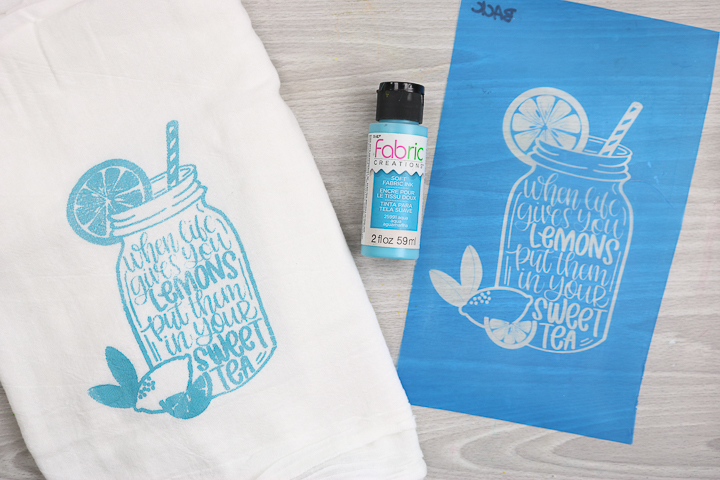
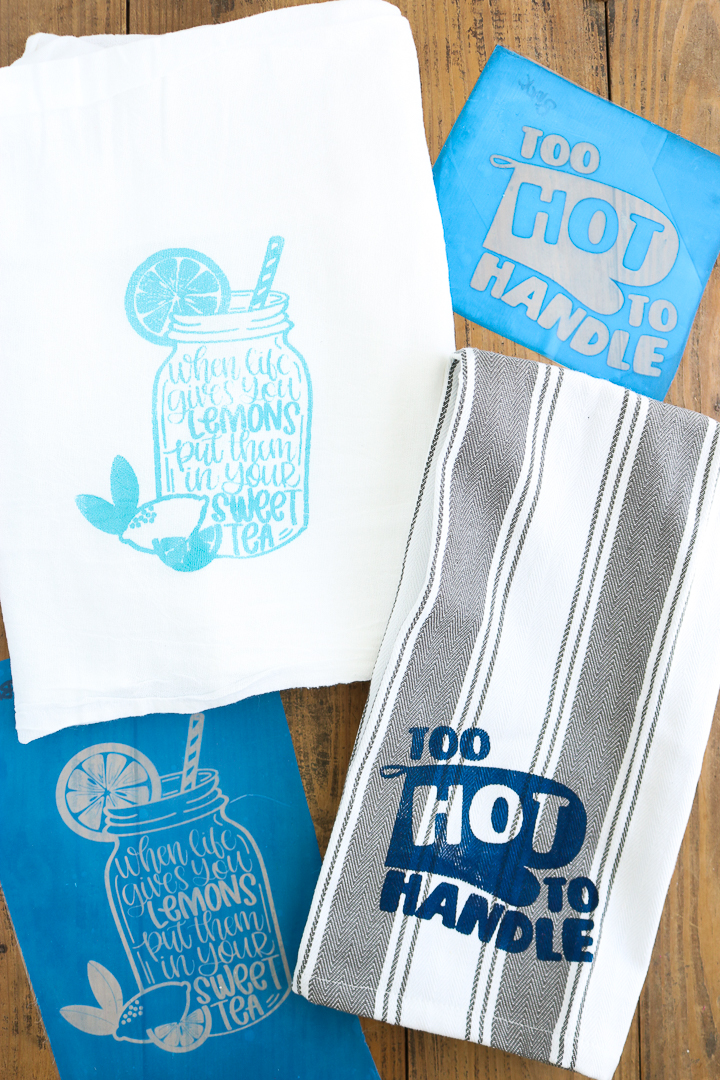
I did another towel with a different texture and the same ink and it also worked great. On this striped towel, I tried to add some glitter paint over the top of the solid color as well. I will say that only the small pieces of glitter will go through the silkscreen and the larger ones will not. So, be aware of that when using glitter paints and your custom stencils.
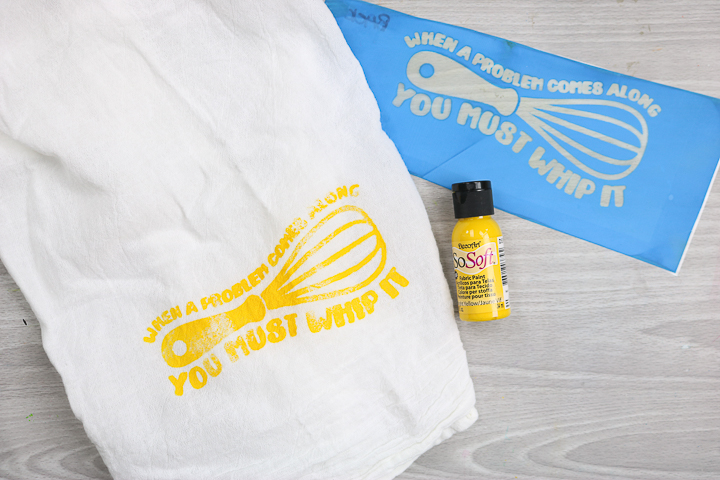
What about fabric paint? I used the DecoArt So Soft Fabric Paint. I must say that this was really too thick. The thinner ink above really did work better.
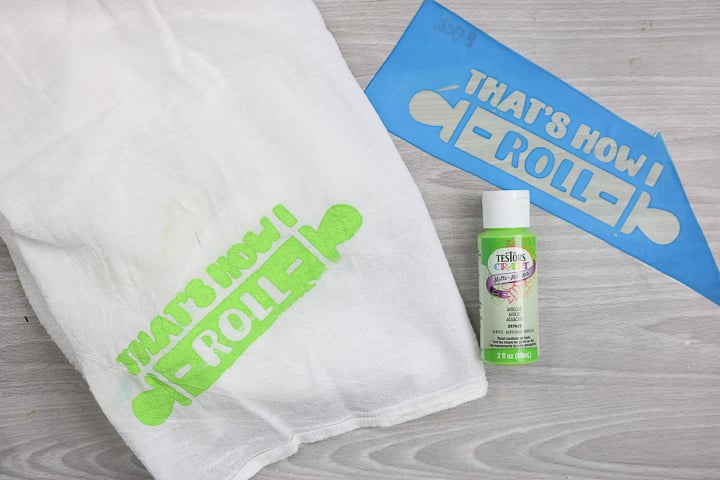
I also tested a few brands of multi-surface paint. The first is Testors. This one bled more than the others I tried.
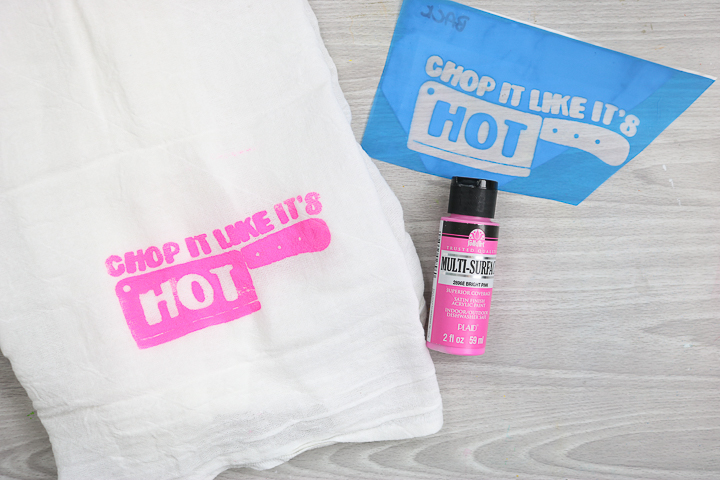
The Folk Art Multi-Surface also worked pretty well. I would say it is my second favorite.
For me, the Plaid Fabric Creations Soft Fabric Ink was the clear winner. It results in a clean look when put on fabric with the custom silkscreen.
So, when looking for paint or ink, be sure to look for one that is fairly thin when working with silkscreens.
Do You Need The IKONART Silkscreen Kit?
Now for the moment of truth. Is this really something you need? If you want to make your own custom reusable stencils easily, this is definitely a product you want to consider. It is easy to use and the stencils are really high quality. It is perfect for those who want to make the same project over and over.
Where To Purchase IKONART Stencil Kit
If you are ready to purchase your own kit, you might want a deal as well! You can use the code countrychic for 10% off your purchase. Just click here to get your kit and use the code!
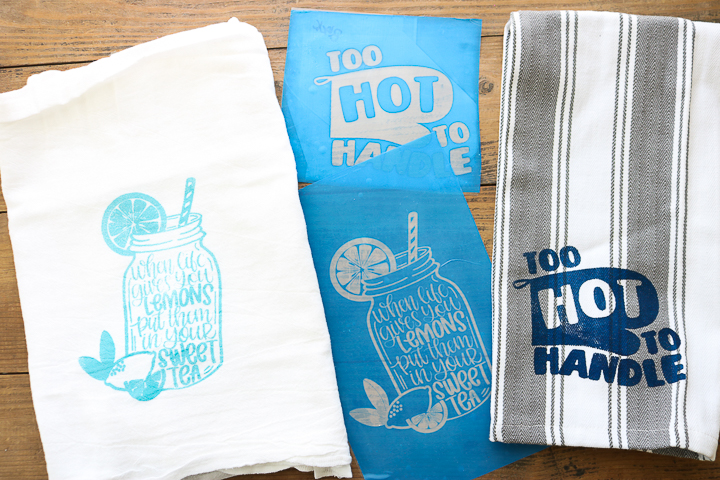
I hope you enjoyed this review of the IKONART Custom Stencil Kit! Let me know if you have any questions about anything we have covered or have things you would like to see me experiment with in the future. Just comment below!

FAQs About IKONART Stencil Kit
If you have questions about this IKONART stencil kit, I have answers for you! Please leave your question for me in the comments if you don’t see it already answered below!
Did You Use A Computer With Your Design? If So What Program Did You Use?
I purchased some of these and some were hand-drawn.
Some Of The Lettering Is Not Legible, Does It Need To Be Washed Out More?
I think it is more about what file you use and the font. The mason jar was the toughest but it is also a hand-lettered file so it is not super clean like a chunky font would be.
Can Other Sheets Be Used Other Than The IKONART Brand?
I don’t know of anyone else who makes sheets like this that would work with this particular machine.
Can You Use The Speedball Ink With These Stencils?
Yes, you can!
Do You Think Art Canvas Would Be The Same As The Tea Towels?
I would say it would be similar!
So You Have To Wash The Stencil Each Time You Use It? If You Are Doing The Same Design You Can’t Just Keep Reusing It Unless You Wash It?
You could do the same design/color over and over again right in a row. If you are going to take a break, I would wash it so it doesn’t dry.
Have You Had A Problem With The Blue Coming Off As You Rinse The Screen?
I didn’t have any issues that I remember. Be careful not to rub too hard when rinsing though.
Have You Ever Tried The Speed Screen By Speedball?
Yes, I have! You can check out my video called Cricut Screen Print: How to Screen Print with Vinyl where I use Speedball’s screen and inks!
5 More Stencil Resources & Crafts
Did you love this IKONART stencil kit, and are looking for more stencil resources and crafts? Then check out the resources and projects below!
- A Cricut Stencil Vinyl for Every Machine
- How to Spray Book Edges Using a Stencil
- The Best Material for Making Stencils on a Cricut
- Stenciled Botanicals on Canvas
- How to Make a Large Stencil with Cricut
