
Want to make some organizer labels with your Cricut for organizing around your home? I have a great tutorial below on how to use print-then-cut to do just that! You can use my file for the organizer labels, make a cute shelf organizer that will work for your craft supplies, and so much more!
This is a sponsored conversation written by me on behalf of Cricut. The opinions are my own.
DIY Organizer Labels Video
Want to see the entire process on video rather than reading the steps below? You can watch our how-to video that covers all of the steps below.
Can't watch the video or missed some of the steps? Just keep reading!
How To Make A Simple Craft Organizer With Organizer Labels
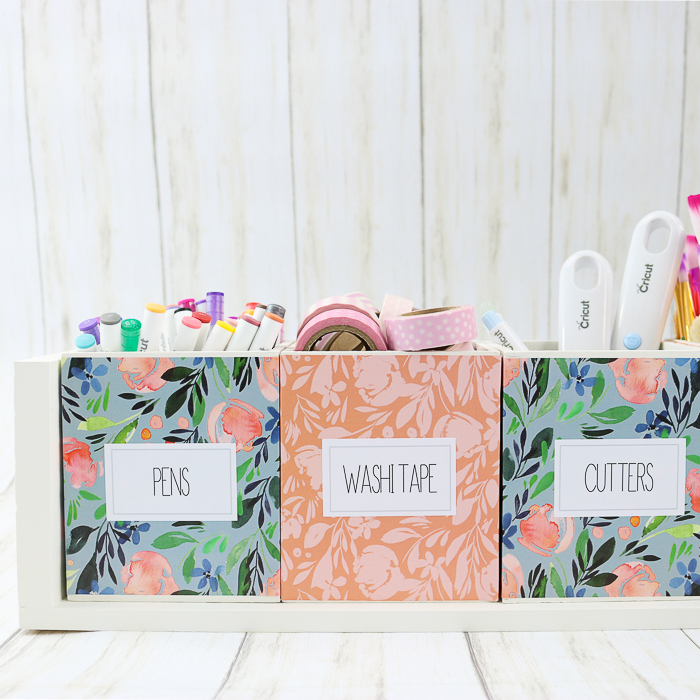
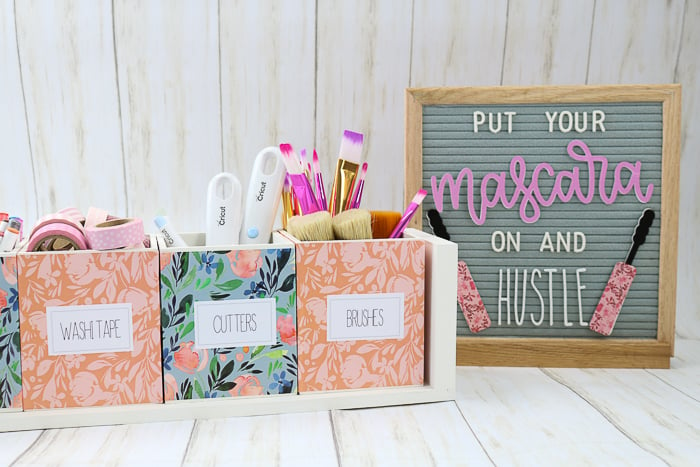
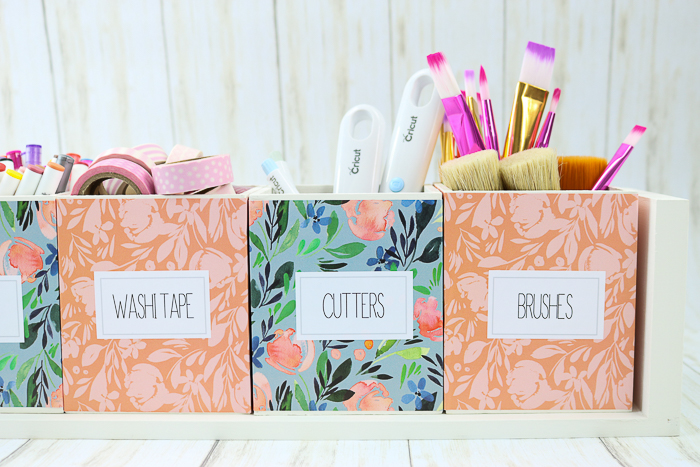
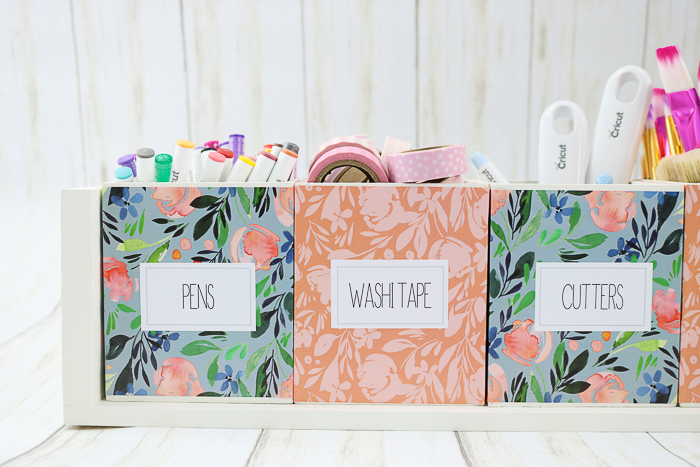
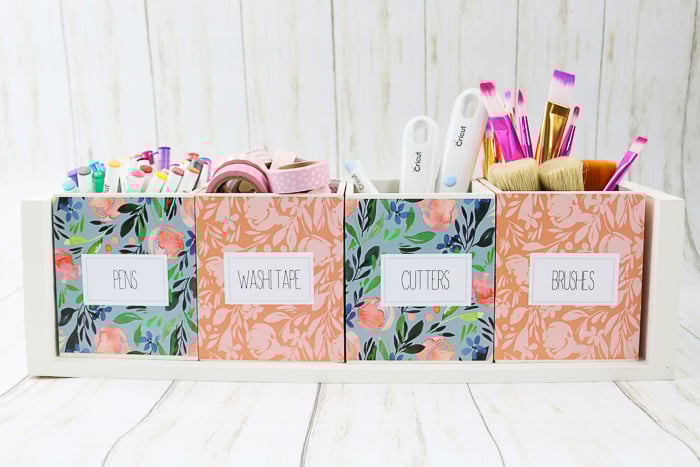
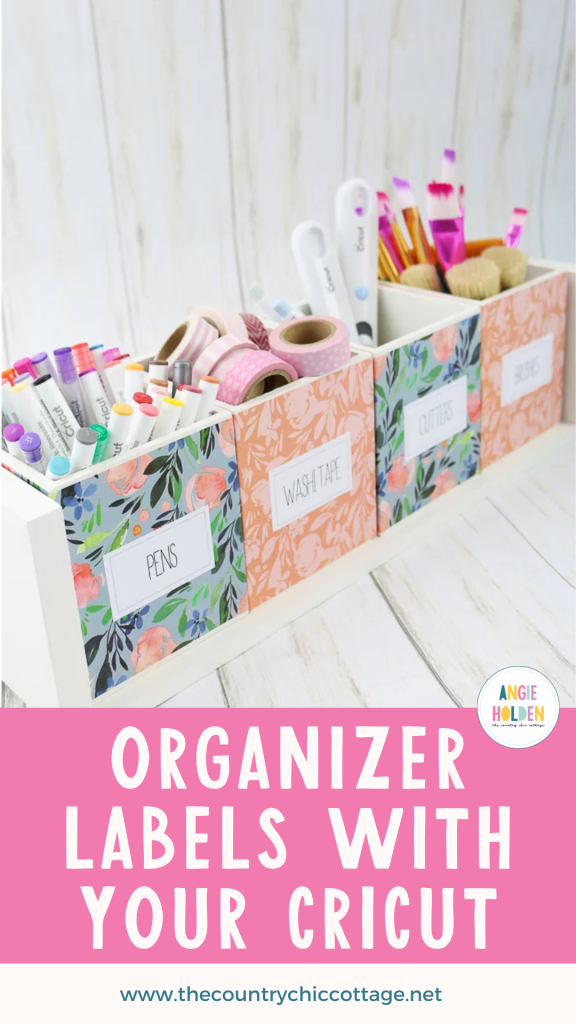
As you can see, I am making these DIY organizer labels for my craft supplies. However, the Cricut cut file I am sharing today can be edited. So, if your craft room is already organized, you can customize these labels for your kitchen, bathroom, laundry room, and more!
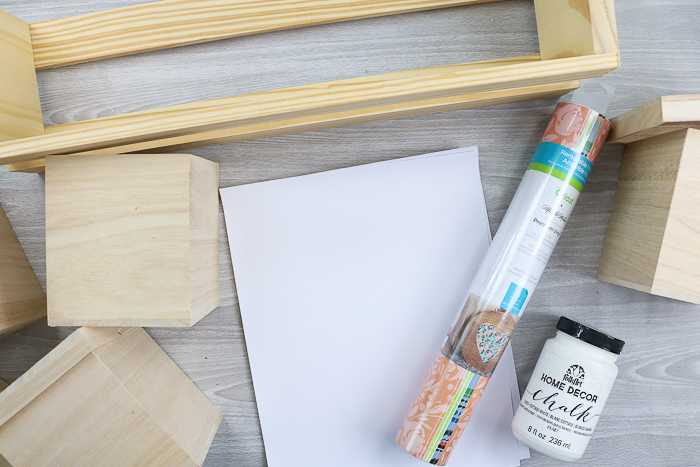
Supplies Needed To Make Crafter Organizer
- Unfinished wood shelf
- Unfinished wood boxes (4)
- White chalk paint
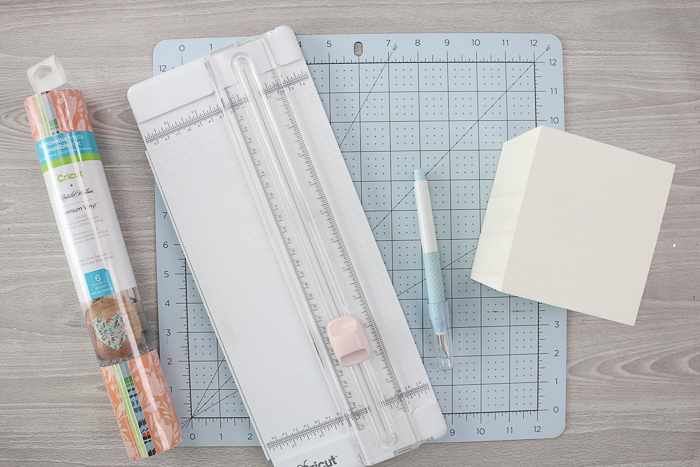
- Patterned Vinyl
- Cricut Printable Vinyl
- Cricut cut file
- Paintbrush
- Cricut Explore Air 2
- Printer
- Cricut Scraper
- Cricut Trimmer
Note: Below are a few notes about the supplies used in this project.
- The unfinished wood shelf and boxes that I used in the project are no longer available. However, you can check the unfinished wood area of your local craft store for something similar.
- The Cricut Explore Air 2 in Wild Rose is no longer available, but you can get the Cricut Explore Air 2 in other colors on Cricut's website.
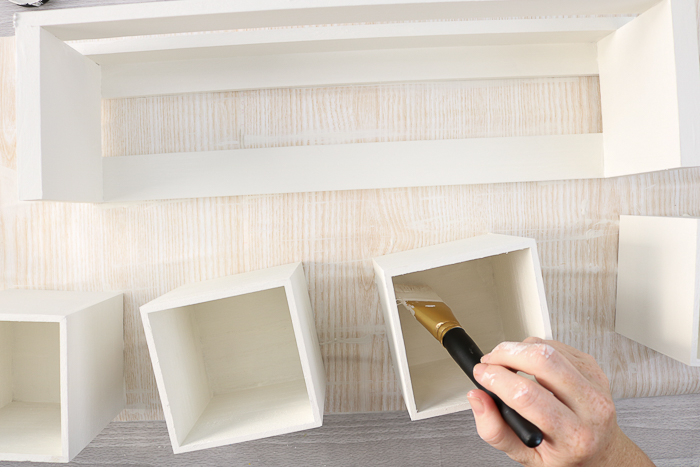
Step 1: Paint Your Shelf And Boxes
First, you will need to paint the shelf and the boxes white. The boxes actually come with lids, but I set those aside for another project and just used the open-topped boxes, as four of them fit perfectly on the shelf.
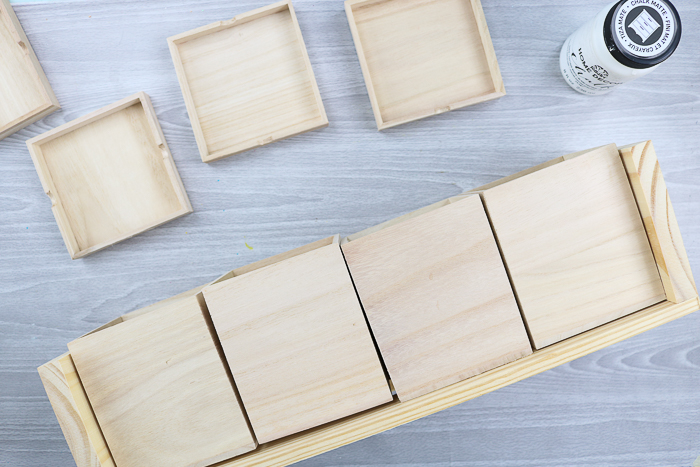
You will then need to give both the shelf and the boxes a couple of coats of paint.
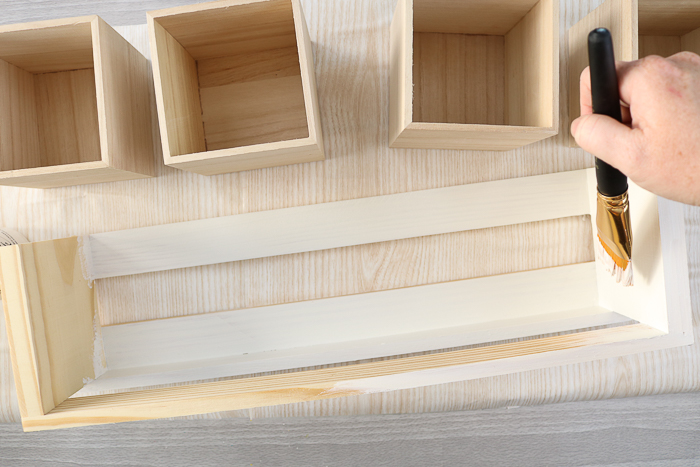
Be sure to paint all visible surfaces, including the insides of your boxes and the bottom of the shelf.
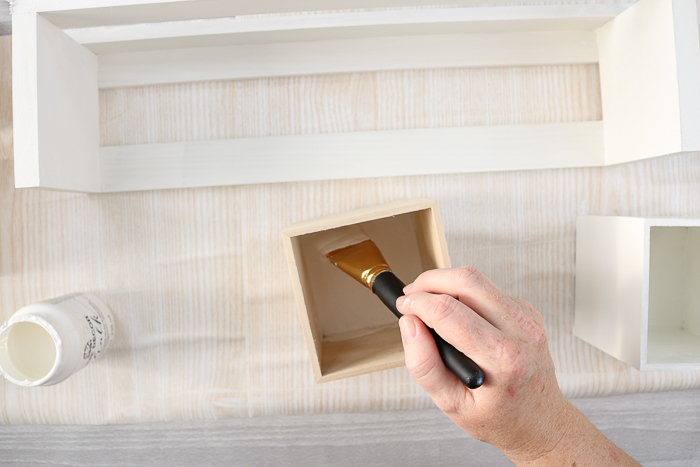
Allow to dry in between coats as well. I used two coats over all surfaces for my project.
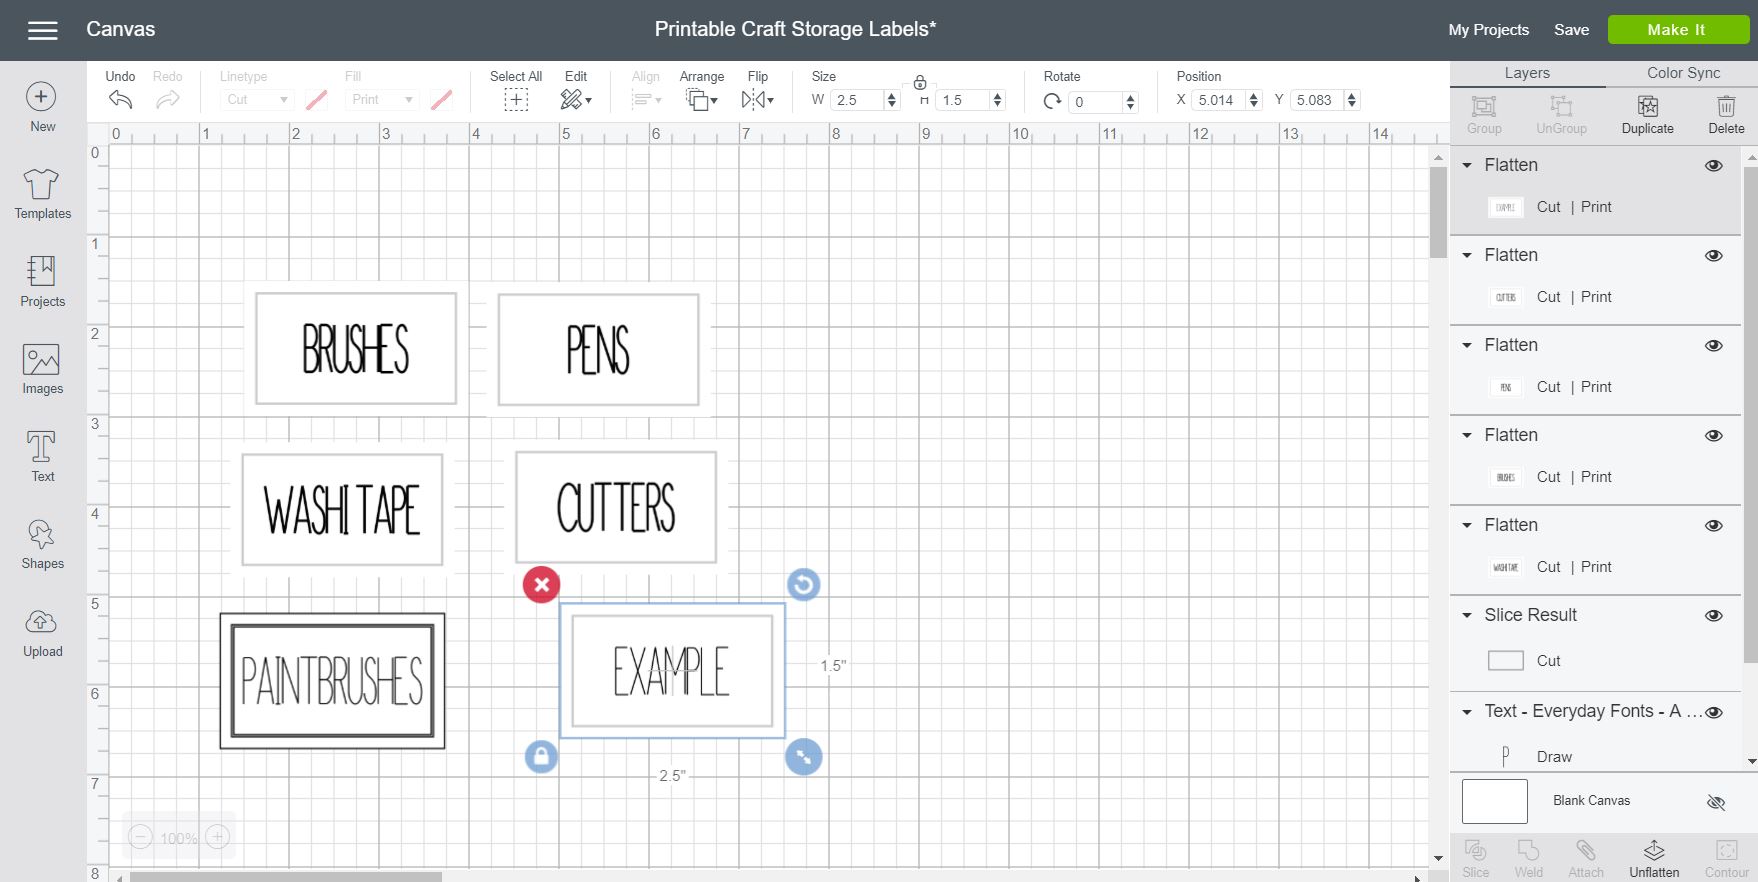
Step 2: Make Custom Printable Organizer Labels
Step 1: Upload File To Design Space
While everything dries, you can start on your printable organizer labels. Access the cut file by clicking here. I have four labels already made for you, but I also have a fifth one you can use to customize this project. Just pick all three elements on the fifth label and duplicate them.
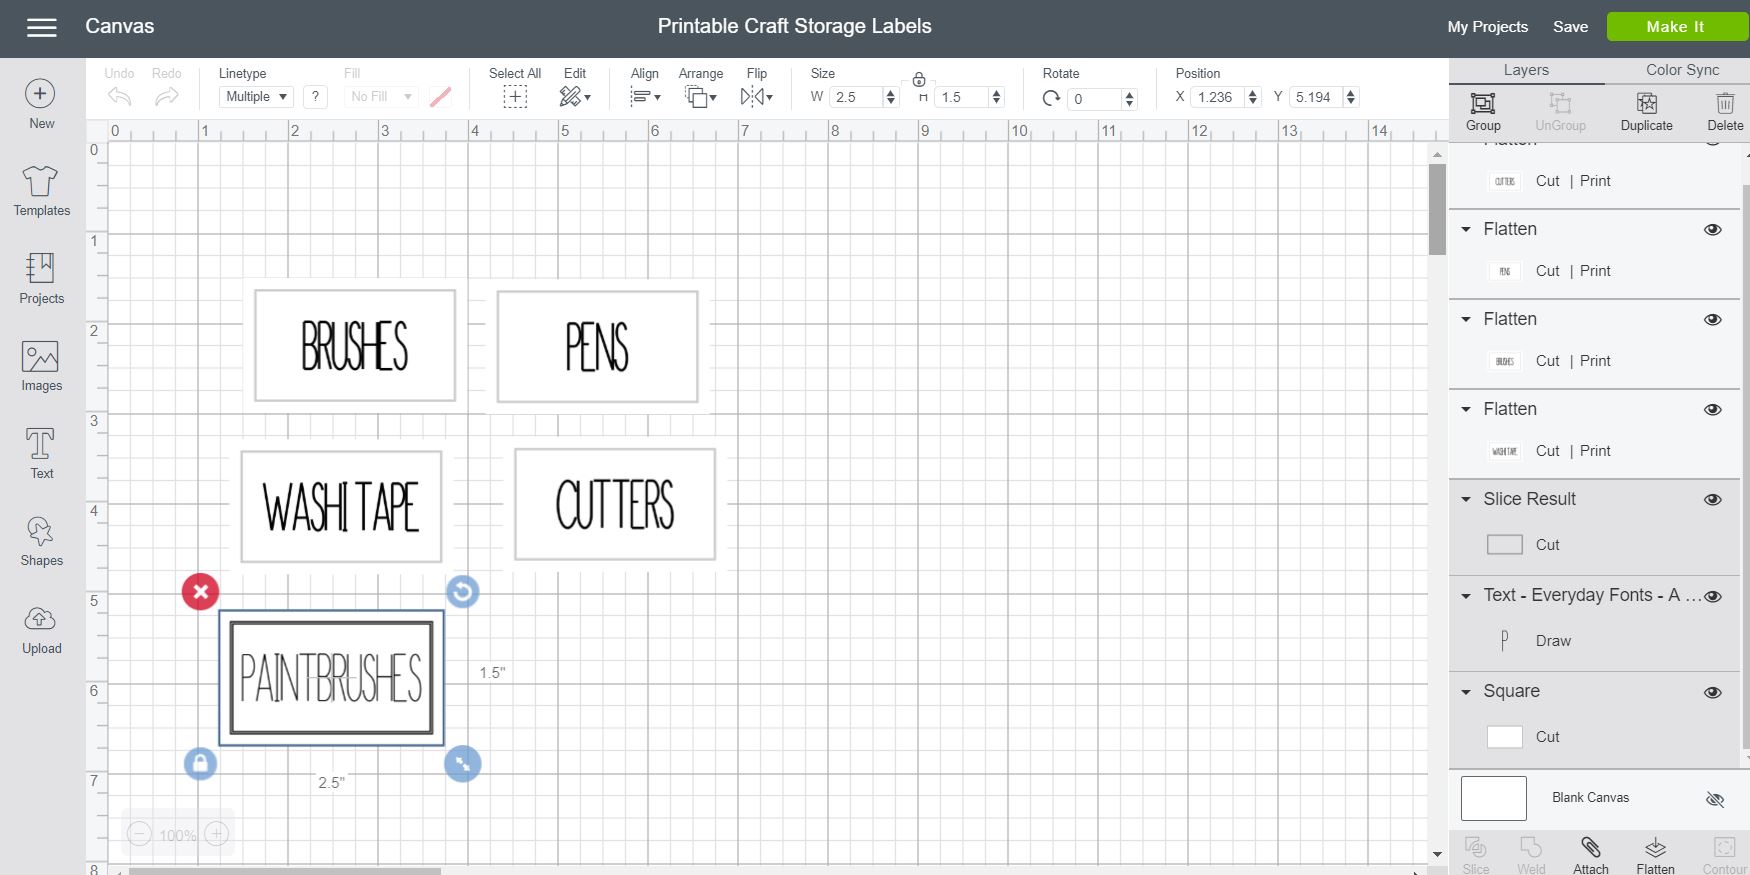
You will then have a label that you can edit.
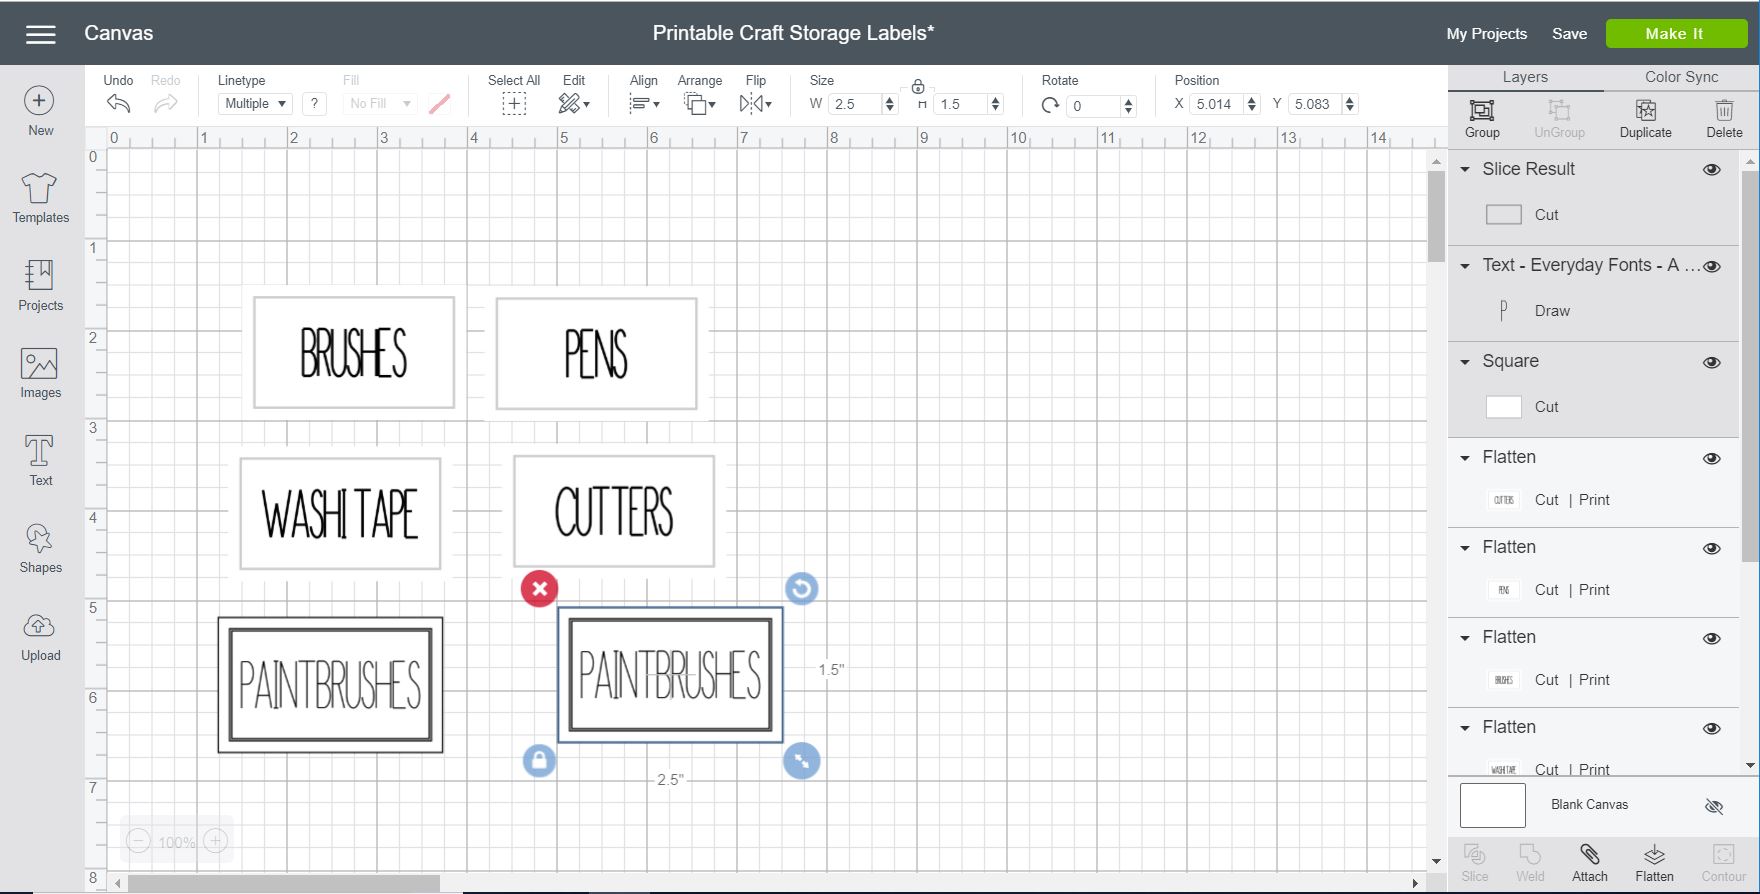
Step 2: Customize Text Layer
Pick just the layer with the text and customize it to say whatever you want. You may have to move the boxes to make it easier to select. You could also change the font here if you wanted.
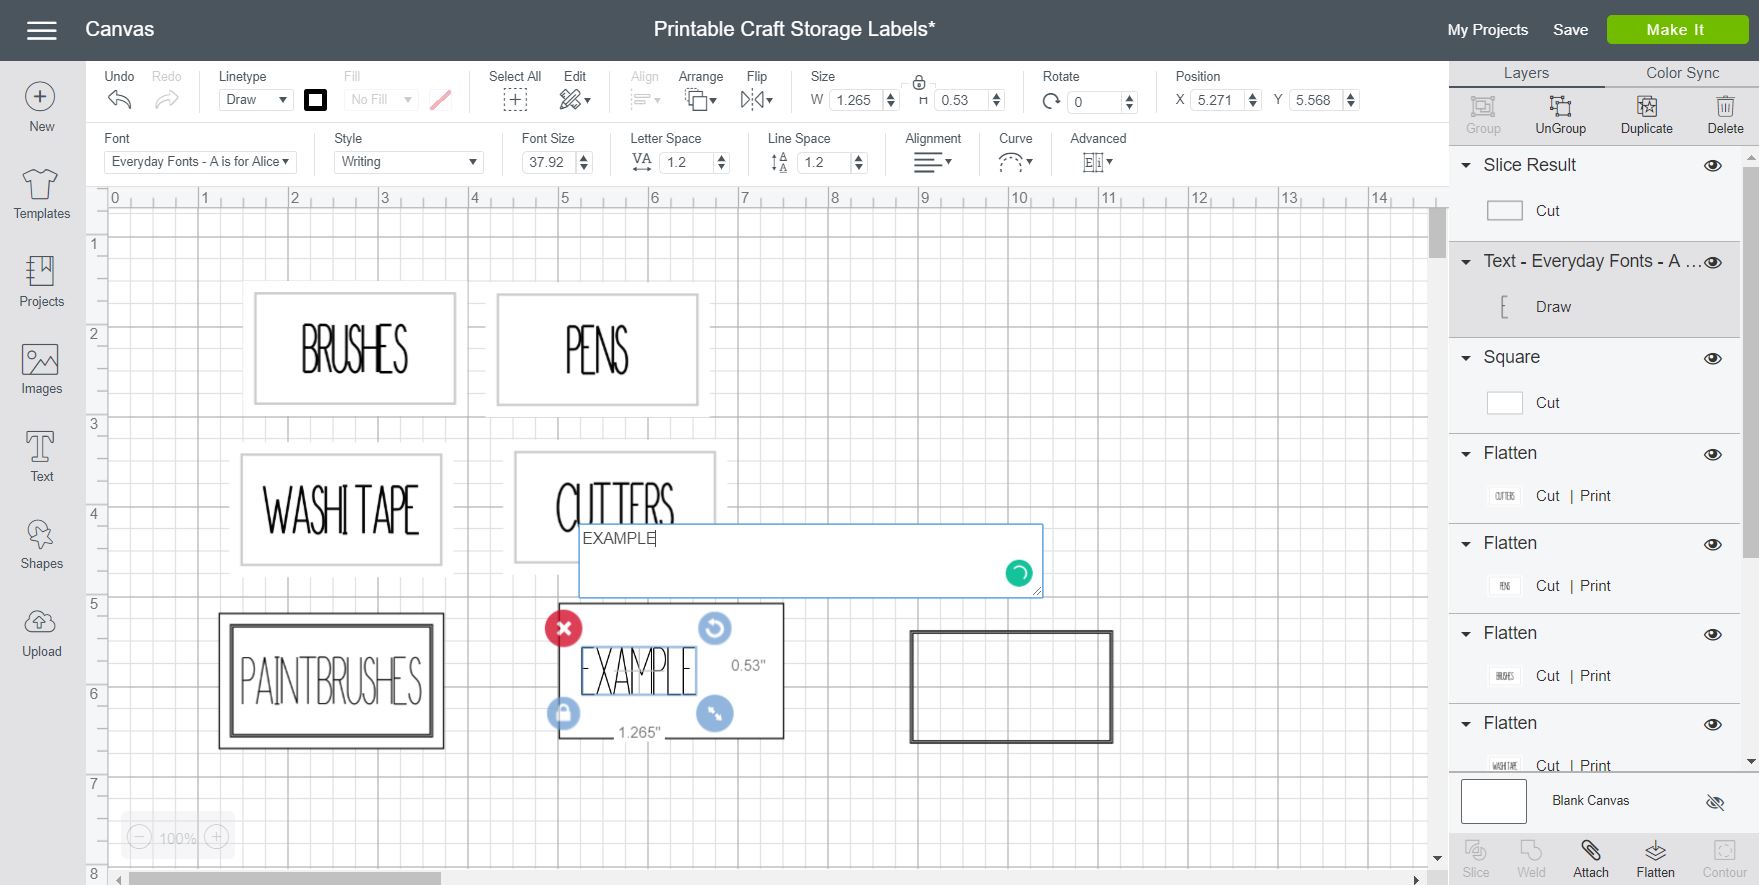
Step 3: Add Layers Back Together
Then, put all three layers back together. Pick them all and click Align.
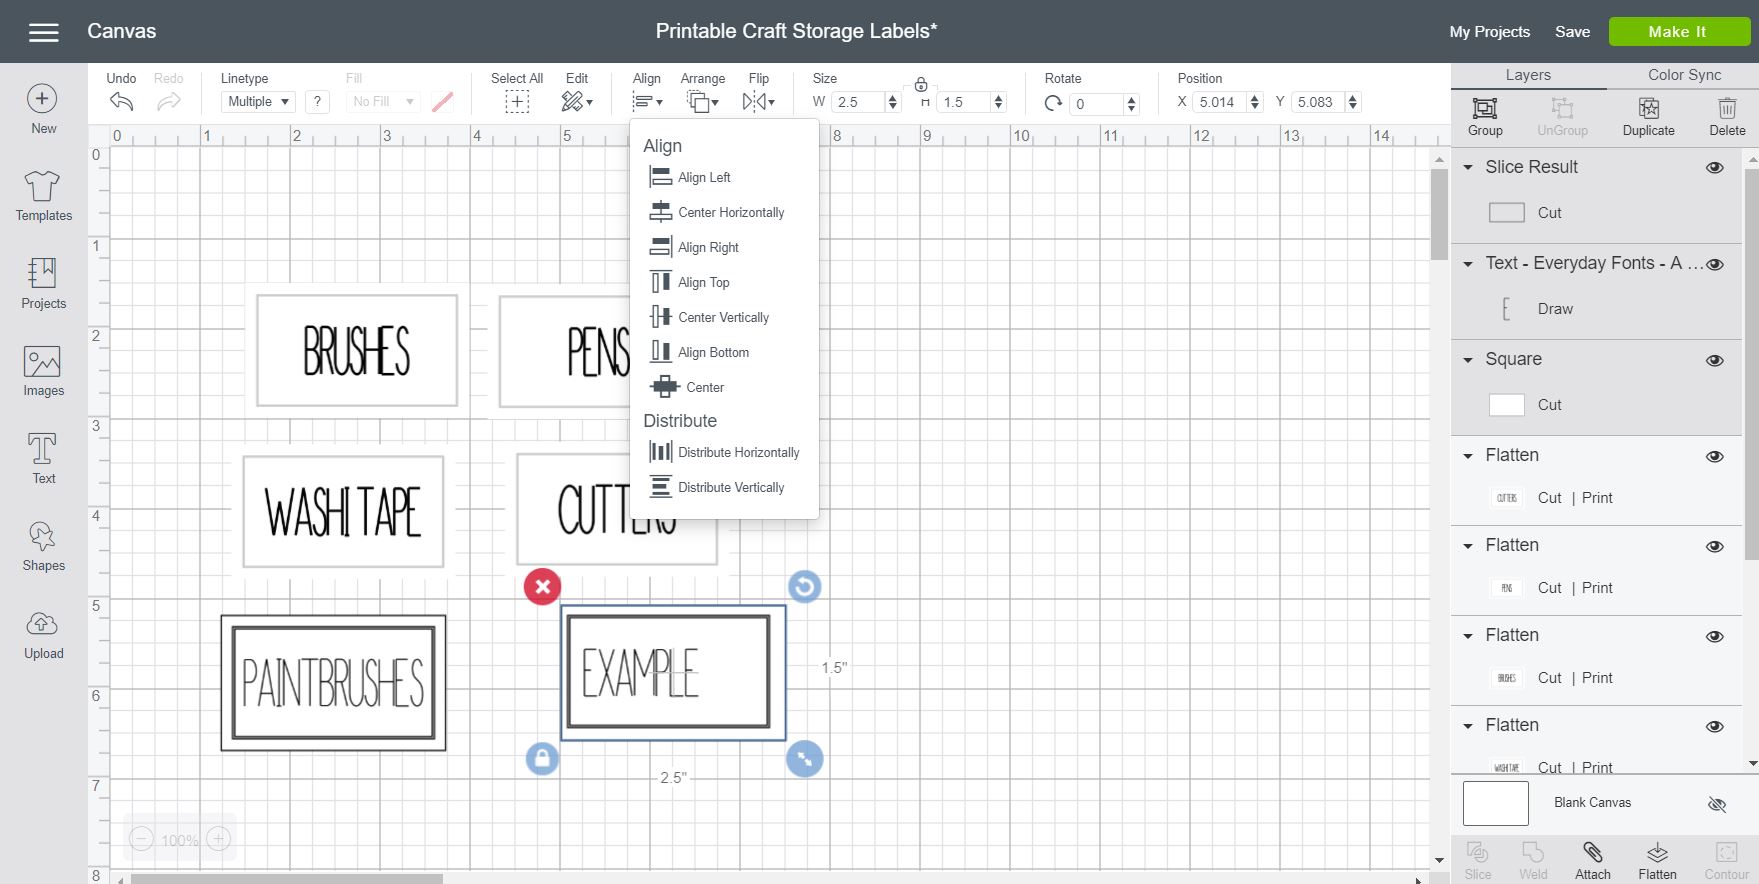
Step 4: Center Label
Click “Center,” and you will have a gorgeous label once again, but this time, it says whatever you want it to say!
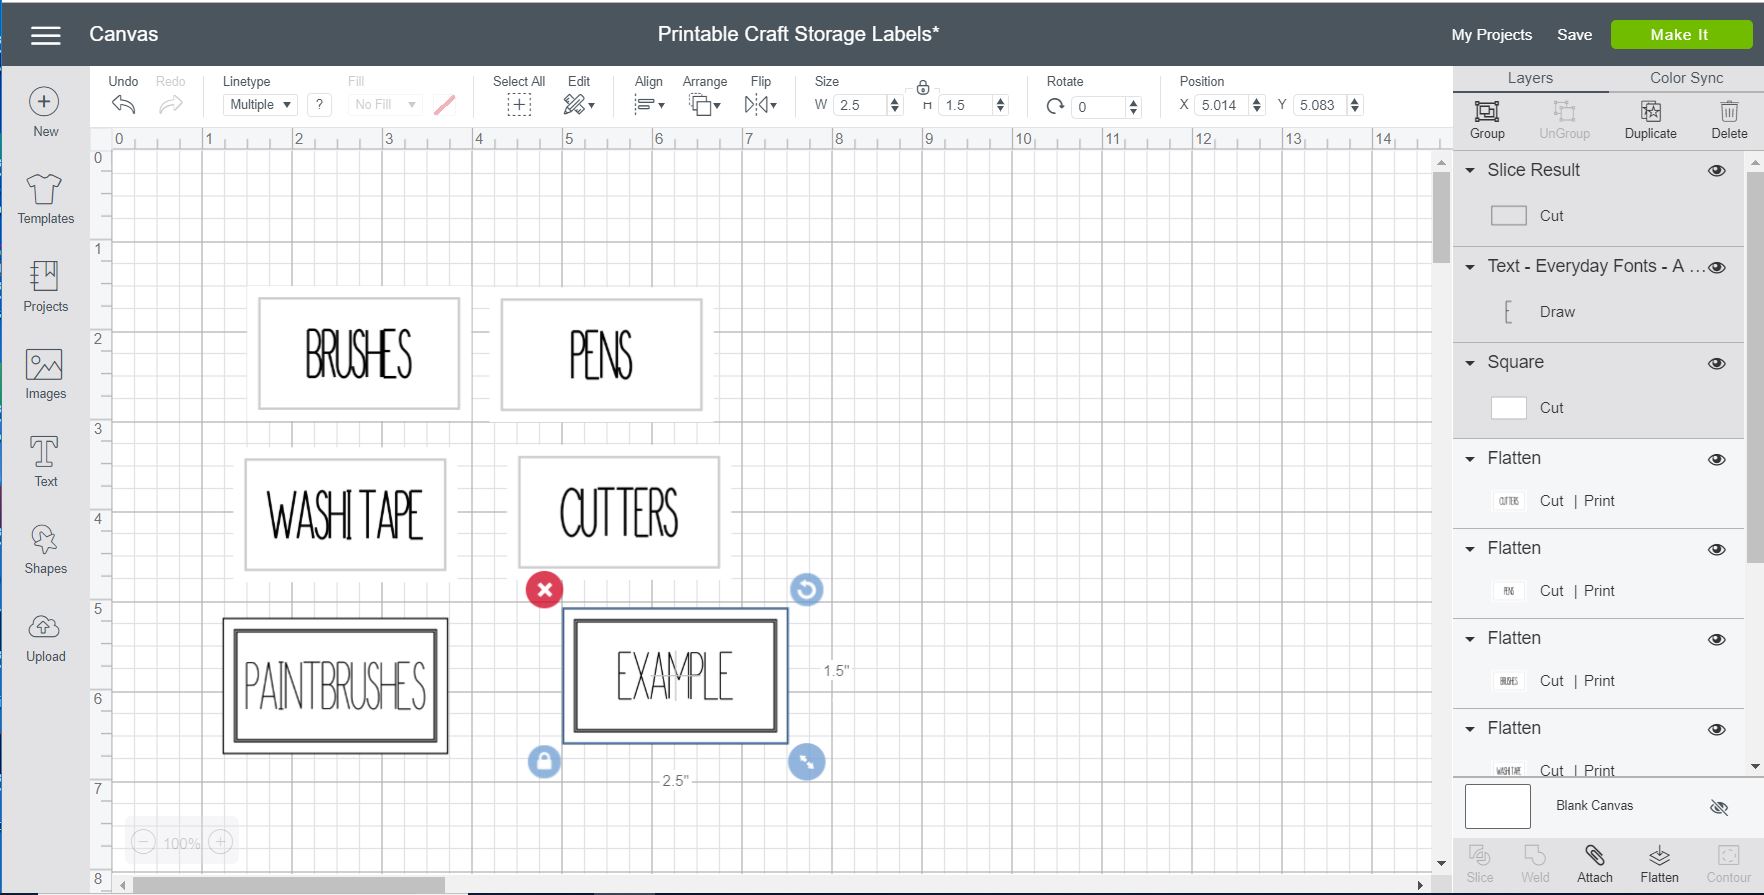
Step 5: Flatten Label
Click Flatten in the lower right-hand corner to make this a print-then-cut label and it is ready for your machine! Be sure to delete or hide any labels you don't want to use before continuing.
Step 3: Make Printable Organizer Labels With Print Then Cut
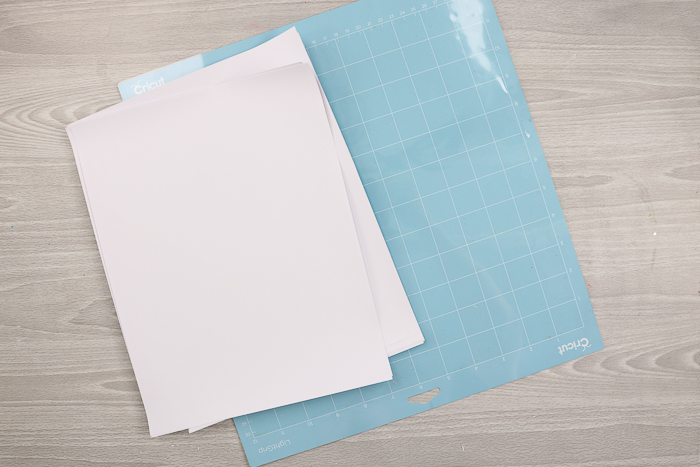
Now, it is time to use print-then-cut to make our printable organizer labels. I am using the Cricut printable vinyl for my labels.
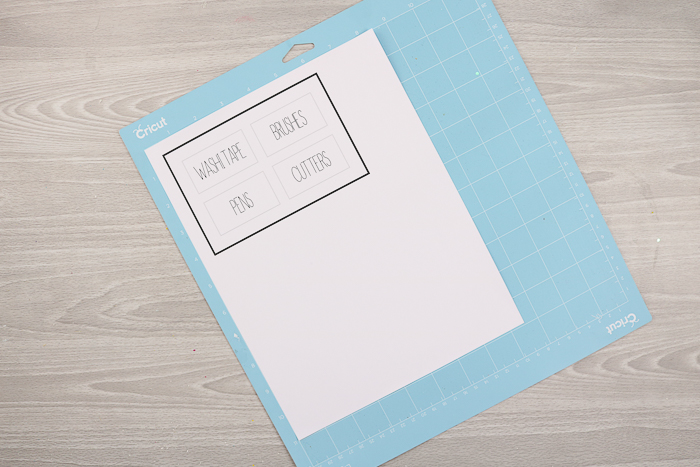
Step 1: Print Organizer Labels
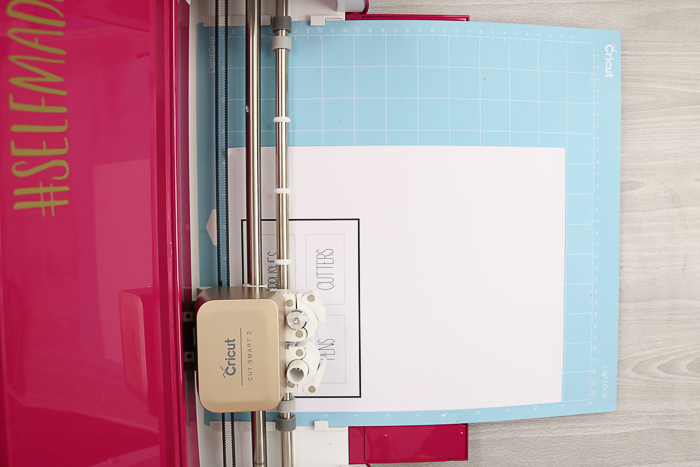
Click “Make” in Design Space, and you will be prompted to print your design. It will look like the image below once printed. That box around the outer edge is for your Cricut machine to locate your image for accurate cuts. Just put the design face up on your mat.
Step 2: Load Mat Into Cricut Machine
Then, put it in your Cricut Explore Air 2 once prompted. Be sure to turn your dial to custom and pick printable vinyl from the custom materials list.
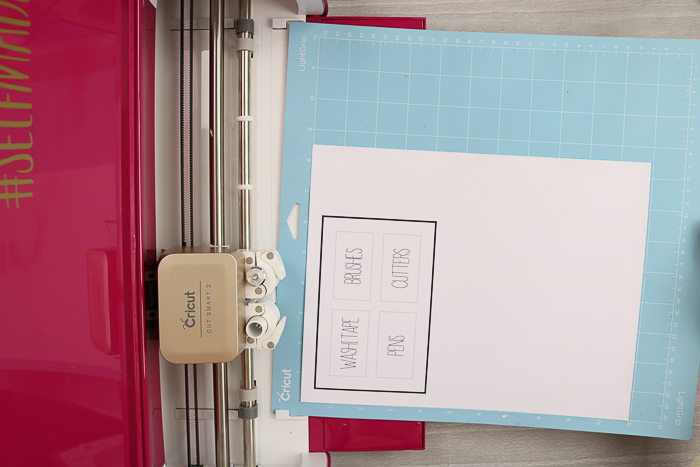
Step 3: Cut Organizer Labels
The machine will first find the edge, then cut each of your organizer labels.
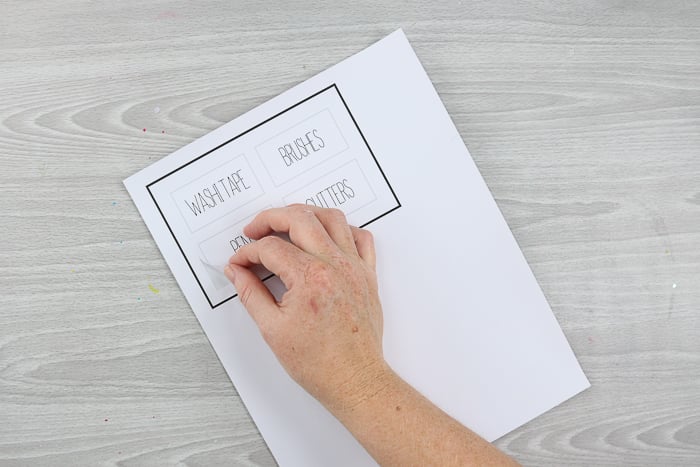
Step 4: Remove Cricut Printable Vinyl From Mat
After your Cricut finishes cutting, you will be left with perfectly cut labels that can be used on any project!
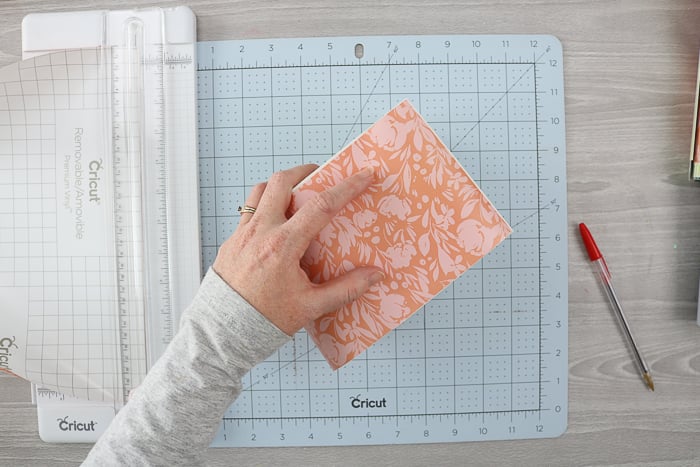
Step 4: Cover Boxes In Vinyl
To cover your boxes, you will need to trim the vinyl. I am actually going to use a trimmer for this, but you could use a knife and self-healing mat as well, or even lay it out in Design Space and use your Cricut machine.
Step 1: Measure Wood Box And Cut Vinyl
Measure and mark for length and cut to size.
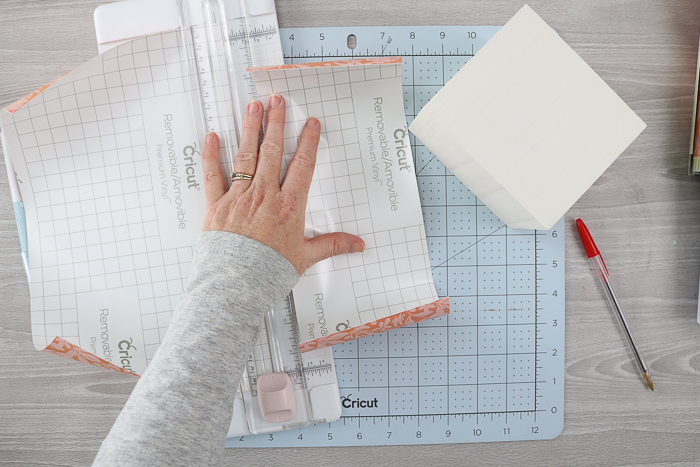
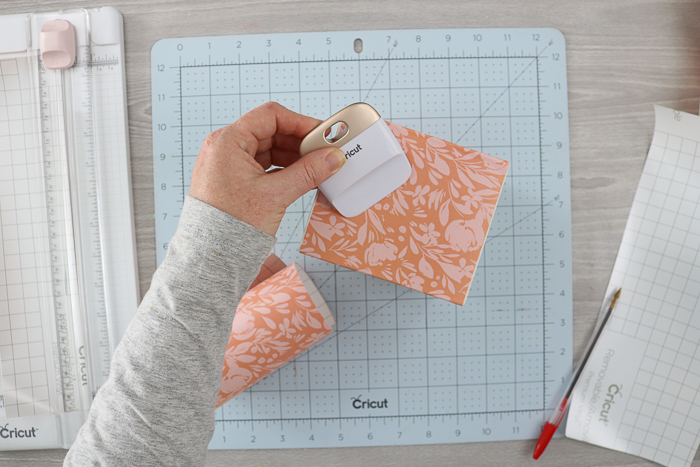
Step 2: Add Vinyl To Wood Box
Peel back the liner and stick it right on your painted wood box.
Step 3: Smooth Vinyl With Scraper
Use the scraper to help smooth out the vinyl and get out any bubbles.
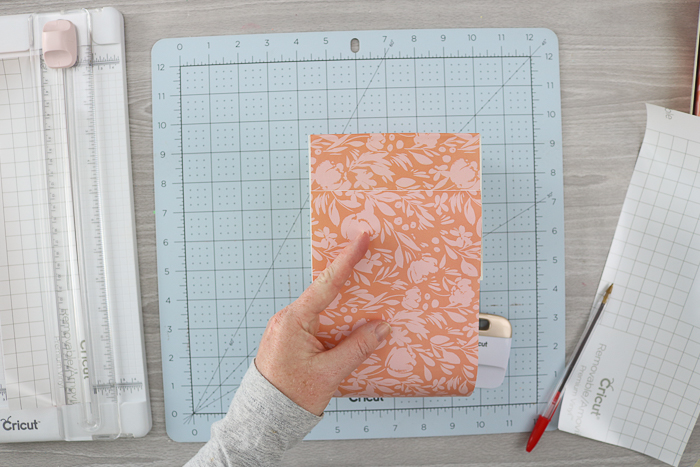
Step 4: Measure, Cut, And Add Another Piece Of Vinyl
The vinyl will not wrap around these boxes, so I did add a second piece to cover them completely.
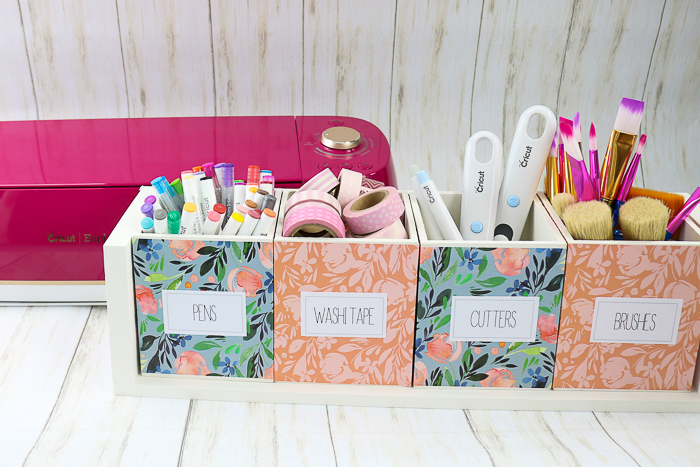
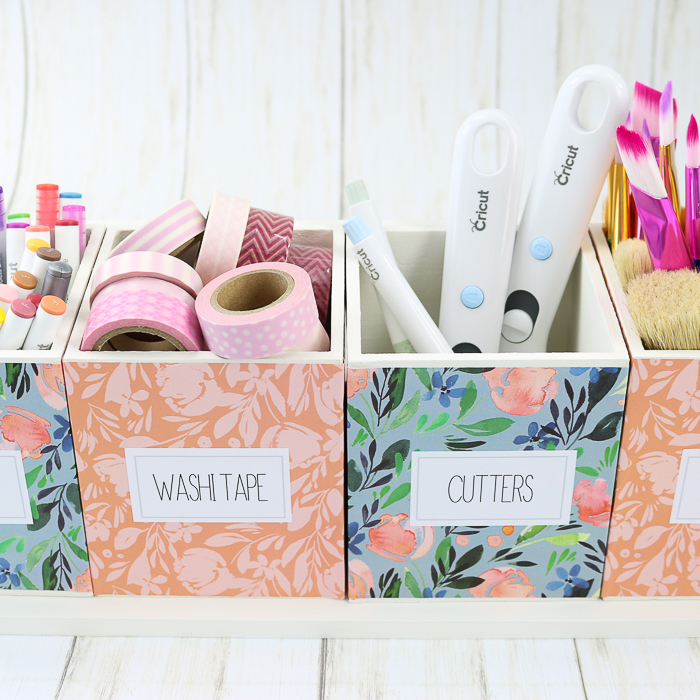
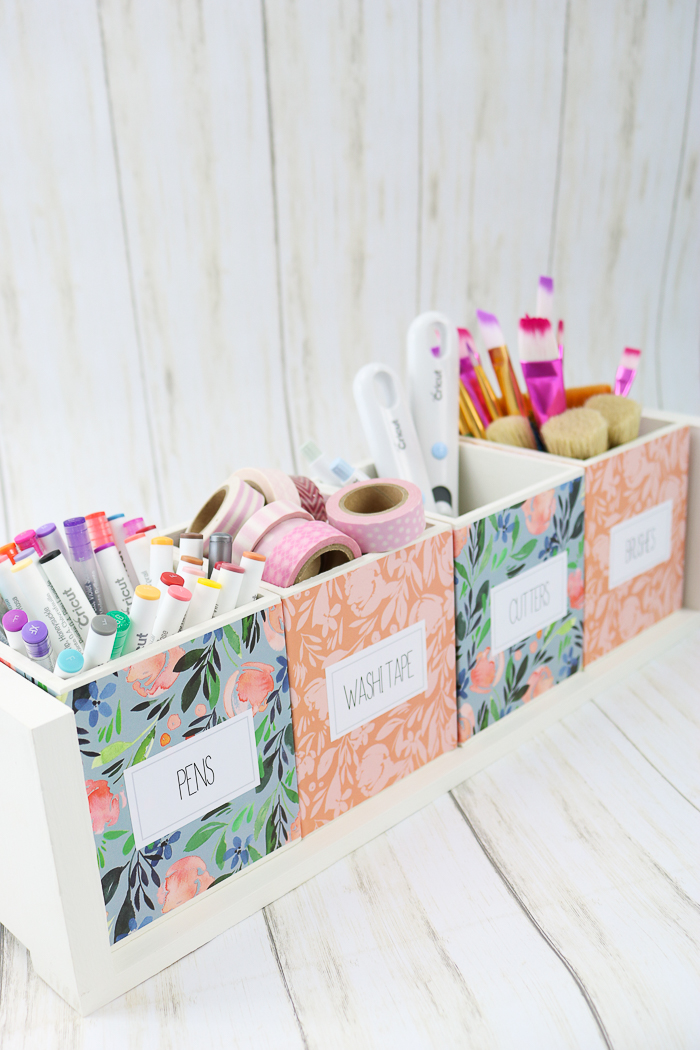
Step 5: Add Organizer Labels To Wooden Boxes
Then, peel off your printable organizer labels and add them to the front of each box to complete your organizer.

Your craft supply organizer will look great with your Cricut Explore Air 2.
You can also decorate your craft room with these custom DIY letterboard accessories that are made using some of this gorgeous pattern vinyl as well. You can also watch the video on making those here.
Add whatever craft supplies you want to the organizer. Again, you can use this same idea to make printable organizer sticker labels for any room in your home!
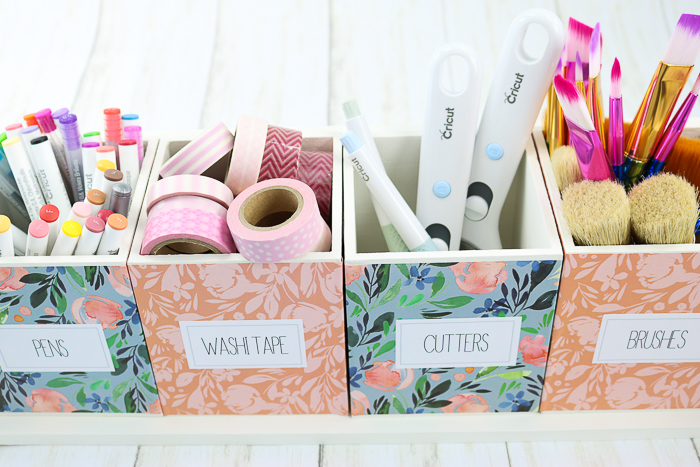
The boxes hold so much, and you can hang the entire thing on a wall or set it on the counter.
Printable organizer label stickers are easy to make with your Cricut machine and the print-then-cut feature!
So, use these organizer labels to organize your entire home. They don't just need to be on these boxes. I could see them on jars, drawers, plastic bins, and more.
Will you be making some printable organizer labels with your Cricut machine?
I can't wait to get this project up in my craft room and fill it with even more supplies!
I hope you enjoy these organizer labels and the craft organizer I used them on! Now, go make your own set and get organized! I can't wait to see what you create!
FAQs About DIY Organizer Labels
Here are a few common questions that I often see readers asking about making organizer labels. If you have a question, please check if I’ve already addressed it below. If you don’t see your question listed, please leave it in the comments!
Can I Use Any Cricut Machine For This Project?
No. The print-then-cut feature only works with the Cricut Maker, Cricut Explore series, Cricut Joy Xtra, or Cricut Venture.
Do You Have Free Font Recommendations?
Yes, I do! Check out my video title The Best Free Fronts For Your Cricut! In the video, I share my favorite free fonts in Cricut Design Space and my favorite resources for finding fonts outside Cricut.
Can I Use Any Type Of Vinyl For This Project?
No. Cricut makes a wide variety of vinyl; however, for this project, you will want to use their Permanent Vinyl and Printable Vinyl.
Can You Give Me More Label Ideas For A Craft Room?
Absolutely! If the labels on the cut file don’t fit your craft room supplies, you can easily change them to what you need. However, if you need a few crafty words to get those creative juices flowing, below are some potential labels you can make for your craft room.
- Crayons, Markers, Glitter Pens, Pencils
- Fabric, Thread, Knitting Needles, Crochet Hooks, Embroidery Thread
- Scissors, Tape, Glue Sticks, Erasers
- Beads, Buttons, Brads
- Cricut Blades, Cricut Cords, Cricut Pens
5 More Craft Room Organization Ideas
Love these organizer labels, and want more ways to organize your craft room? Then check out the ideas below!
- Craft Room Pegboard: How to Organize Your Space
- Cricut Craft Room: Ideas for Organizing
- Organized Cricut Craft Room Tour – Angie Holden 2022
- Take Your Craft Room Storage to the Next Level
- Craft Room Organization: Ideas From A Craft Blogger


I love the style of your labels!! Now i’m new to all this just bought mine last week and i’m unable to access your label file into my cricut design Can you guide me on this process?
Sorry! This post is older and Cricut changed some of the links. I will try to see if I can go back and find this!