
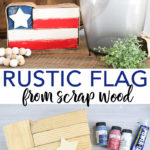
We are continuing with Craft Lightning today and making a rustic wood flag. You can make this rustic wood flag DIY in minutes with those pieces and just a few other supplies. Then add it to your mantel this summer for a gorgeous farmhouse-style addition to your home. If you have missed any of Craft Lightning this week, be sure to catch up with the projects from day 1 and day 2.
I love using up scrap wood from larger projects. Plus, it's the perfect vehicle for patriotic crafts and July 4th decorating!
This wood flag is a smaller version of my DIY Wooden American Flag. This smaller version would be perfect as a part of a centerpiece for an outdoor table or to go along with this patriotic wooden star. If you love Uncle Sam crafts as much as I do, you'll definitely want to check out my other patriotic crafts for your summertime parties!
How to make a rustic American flag out of wood
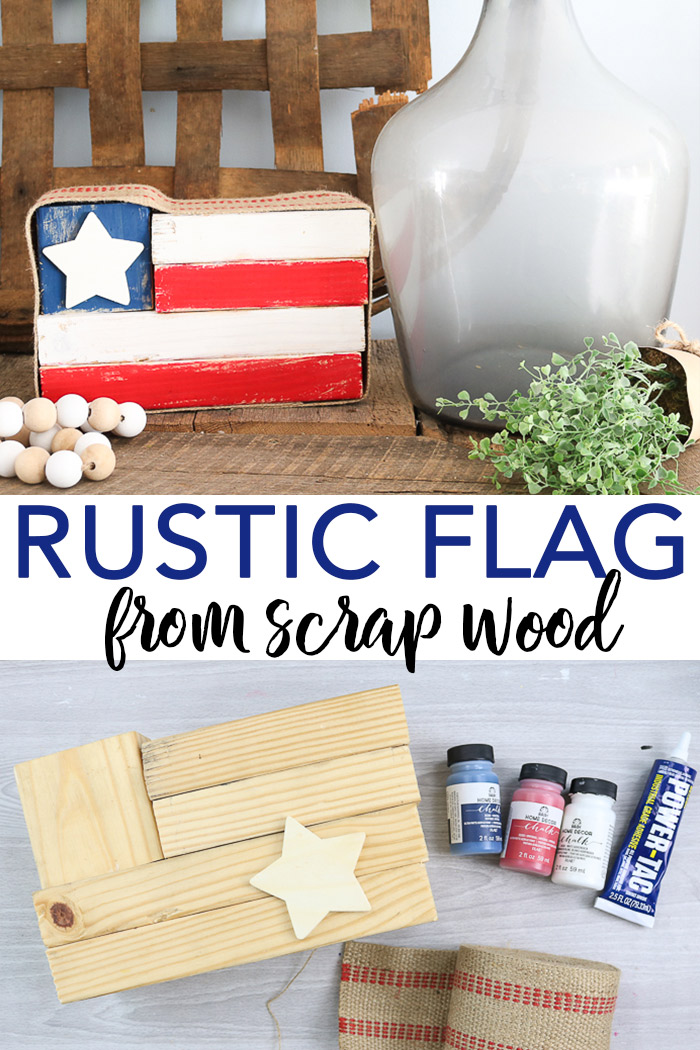
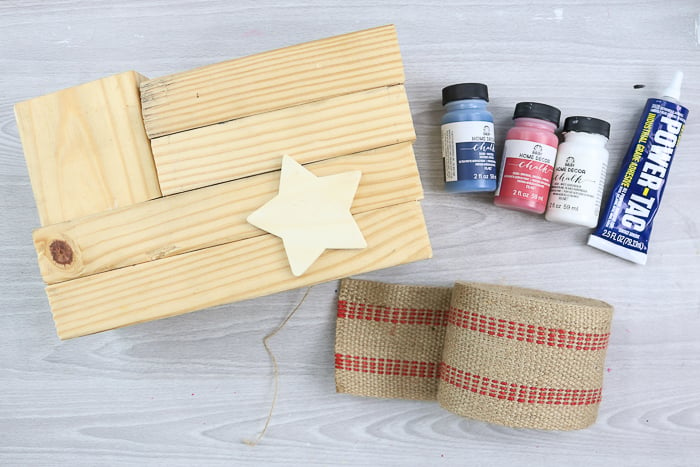
Supplies needed to make a rustic wood flag DIY:
- Scrap 2×4 pieces
- Paint in red, white, and blue
- Wood star
- Glue
- Nails (optional)
- Burlap ribbon or chair webbing
- Paintbrushes
- Twine
- Scissors
Instructions for a patriotic wooden flag
Want to see just how to make this rustic flag? Just follow along with the video below!
If you can't watch the video or missed some of the steps, then just read on for further instructions.
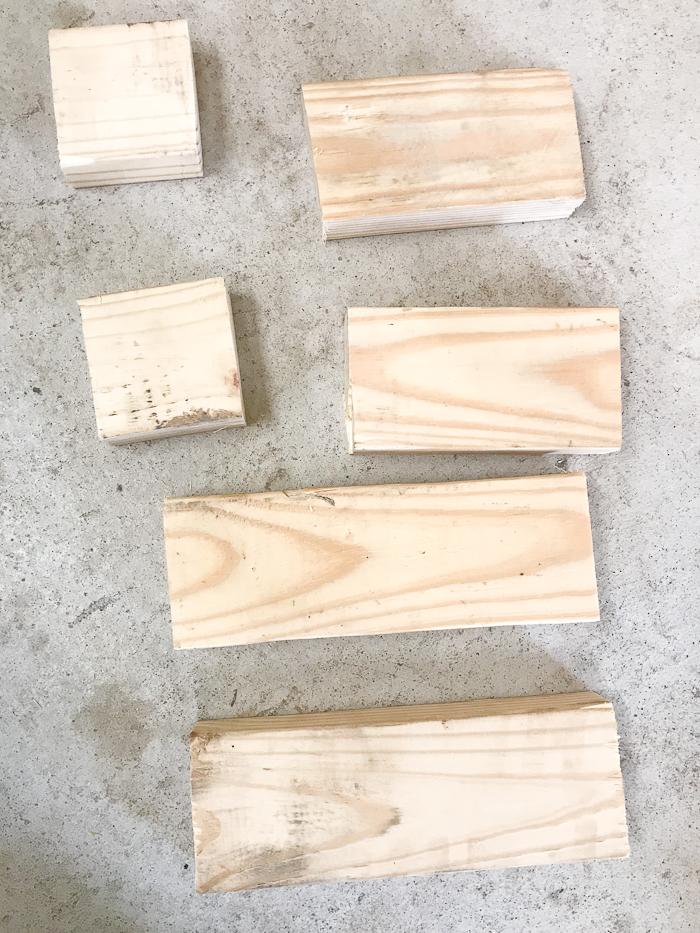
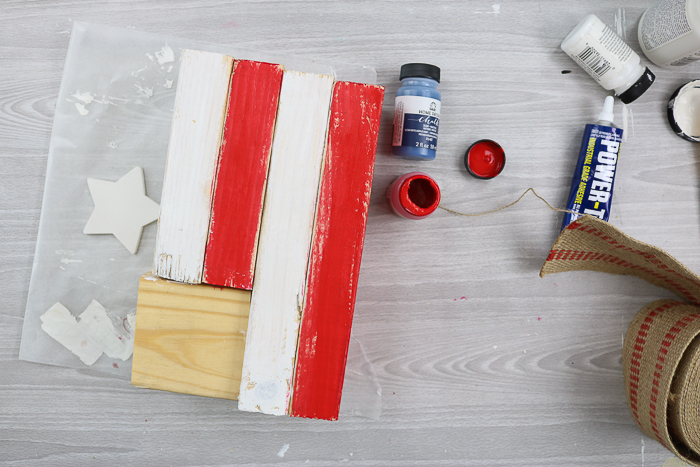
Trim your 2×4 pieces if needed. You should have pieces approximately the size shown in the image below.
Since you are using scraps, you can customize the size of the wood pieces to fit whatever sizes you have on hand. Just be sure to have the right proportions for the stars and stripes sections. It may be a good idea to lay them out like in the picture below.
Glue or nail the pieces into a flag shape. If you use glue, be sure to allow it to dry before painting.
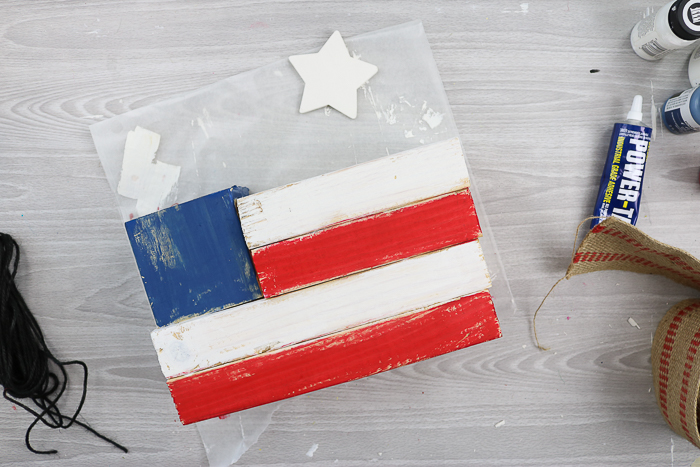
Then, begin painting the flag with a dry brush technique. The use of a “dry brush” method leaves a rustic appearance without any sanding needed. Dab a very small amount of paint onto your brush and wipe most of it off on a paper plate or towel. Then swiftly move it over the piece of wood. Allow it to dry.
Don't forget to paint the star as well. You will want to paint all sides of the flag pieces so that the piece will have a finished appearance.
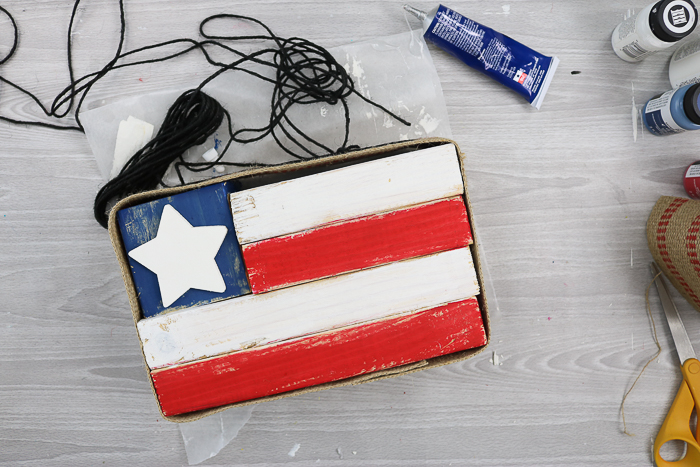
Once your flag has dried, use additional glue to add the star on the blue portion as well as adding the ribbon around the outside.
Trim the ribbon to length with scissors before gluing. You will need something to hold the ribbon in place while it dries. I used twine and just tied it around while drying.
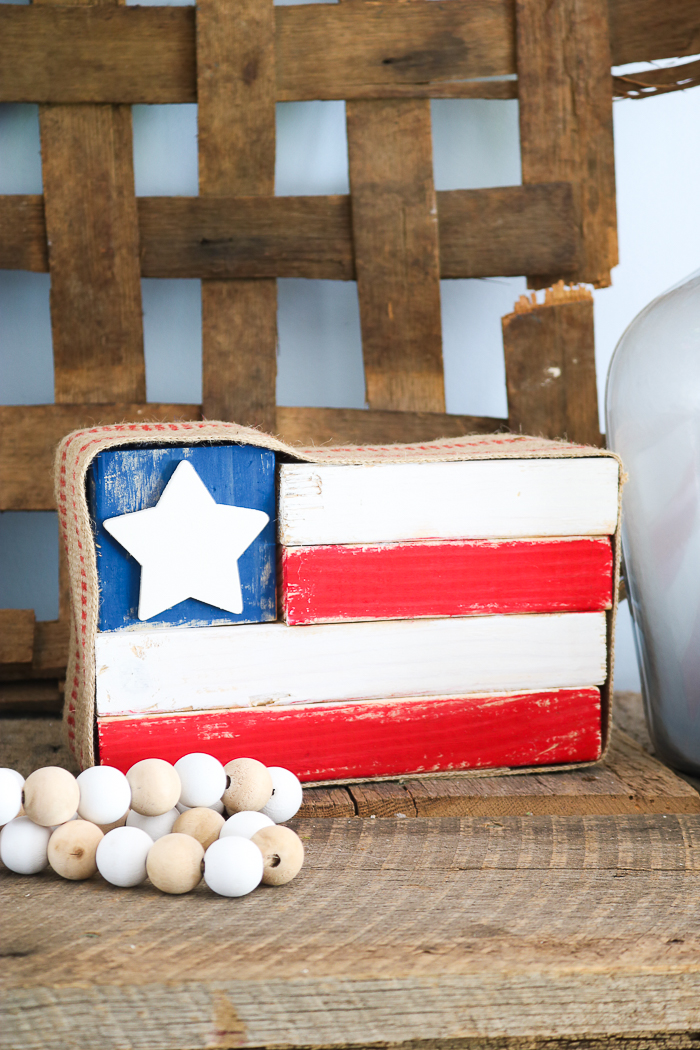
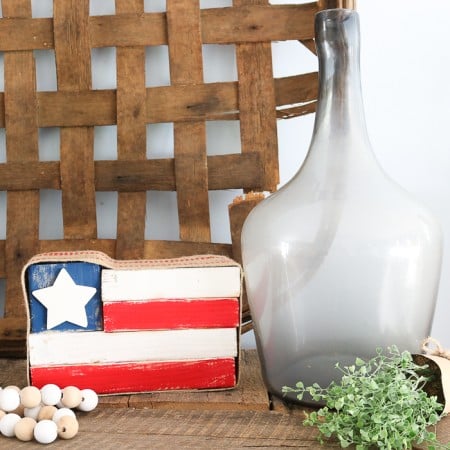
Once the glue is dry, your rustic wood flag is ready to be displayed in your farmhouse-style home. I added it to my barn wood mantel for summer.
Now that you know how to make a rustic wood flag, you can make as many as you would like with just the wood scraps left over from all of those other projects.

This rustic wood flag DIY is the perfect way to show your American pride even if you are on a budget.

Love this DIY rustic flag and want more ideas? Try the links below from our other bloggers for this series.
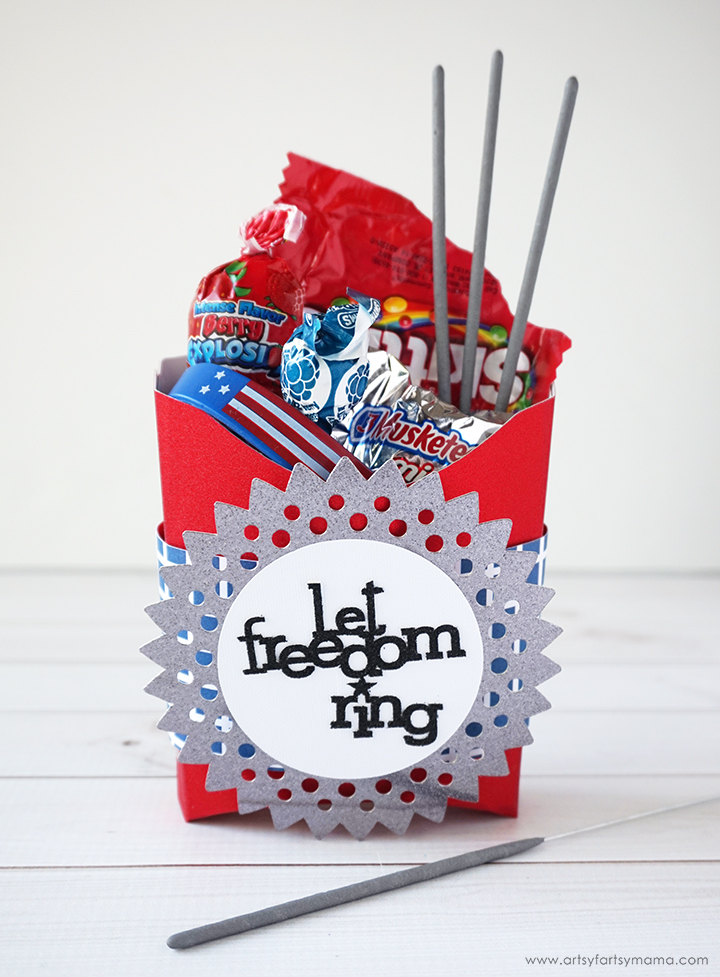
These fireworks treat bags from 5 Little Monsters are the perfect party favor for summer.

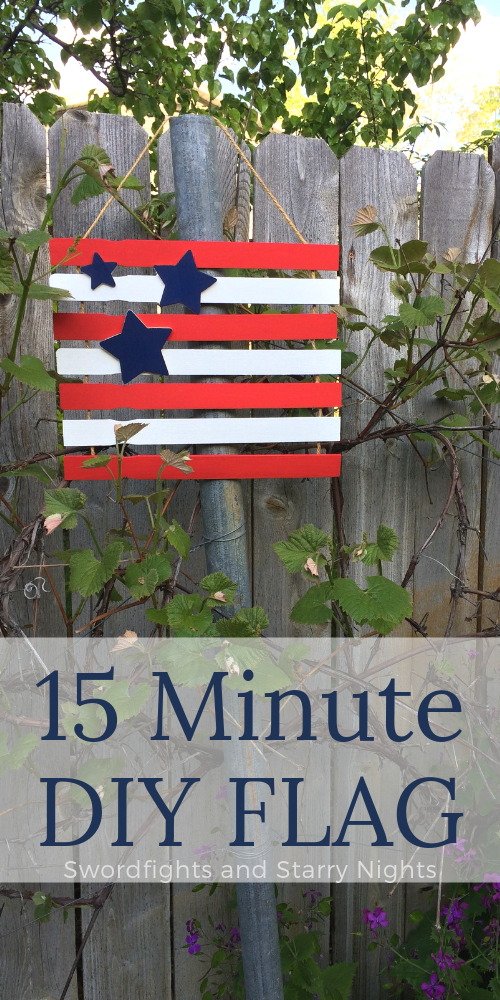
Turn paint stir sticks into a cute wood flag like this one from Sword Fights and Starry Nights.
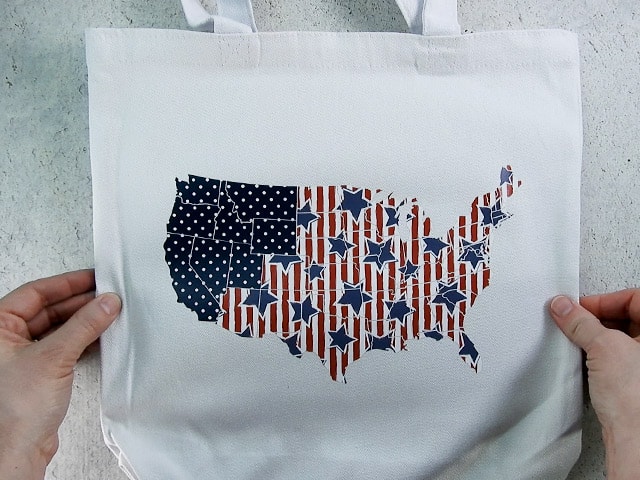
Use your Cricut machine to make this patriotic tote bag from Ginger Snap Crafts in just minutes.

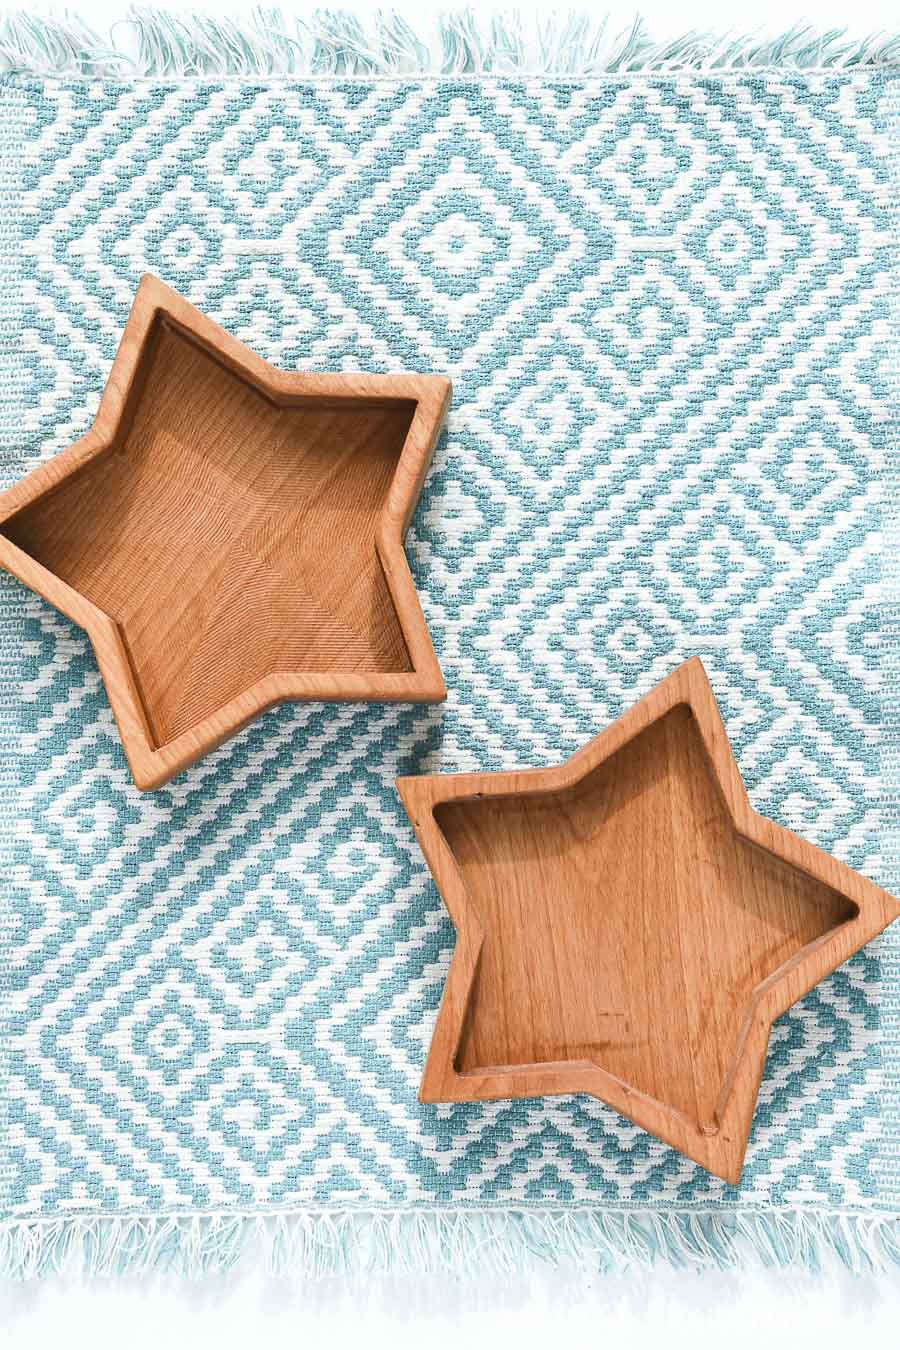
Love wood scraps? Use them to make some of these wood star bowls from Houseful of Handmade.
Use patterned iron-on to make a cute America tote bag like this one from Burton Avenue.
Need another favor idea? Try these July 4th favor boxes from Artsy Fartsy Mama.
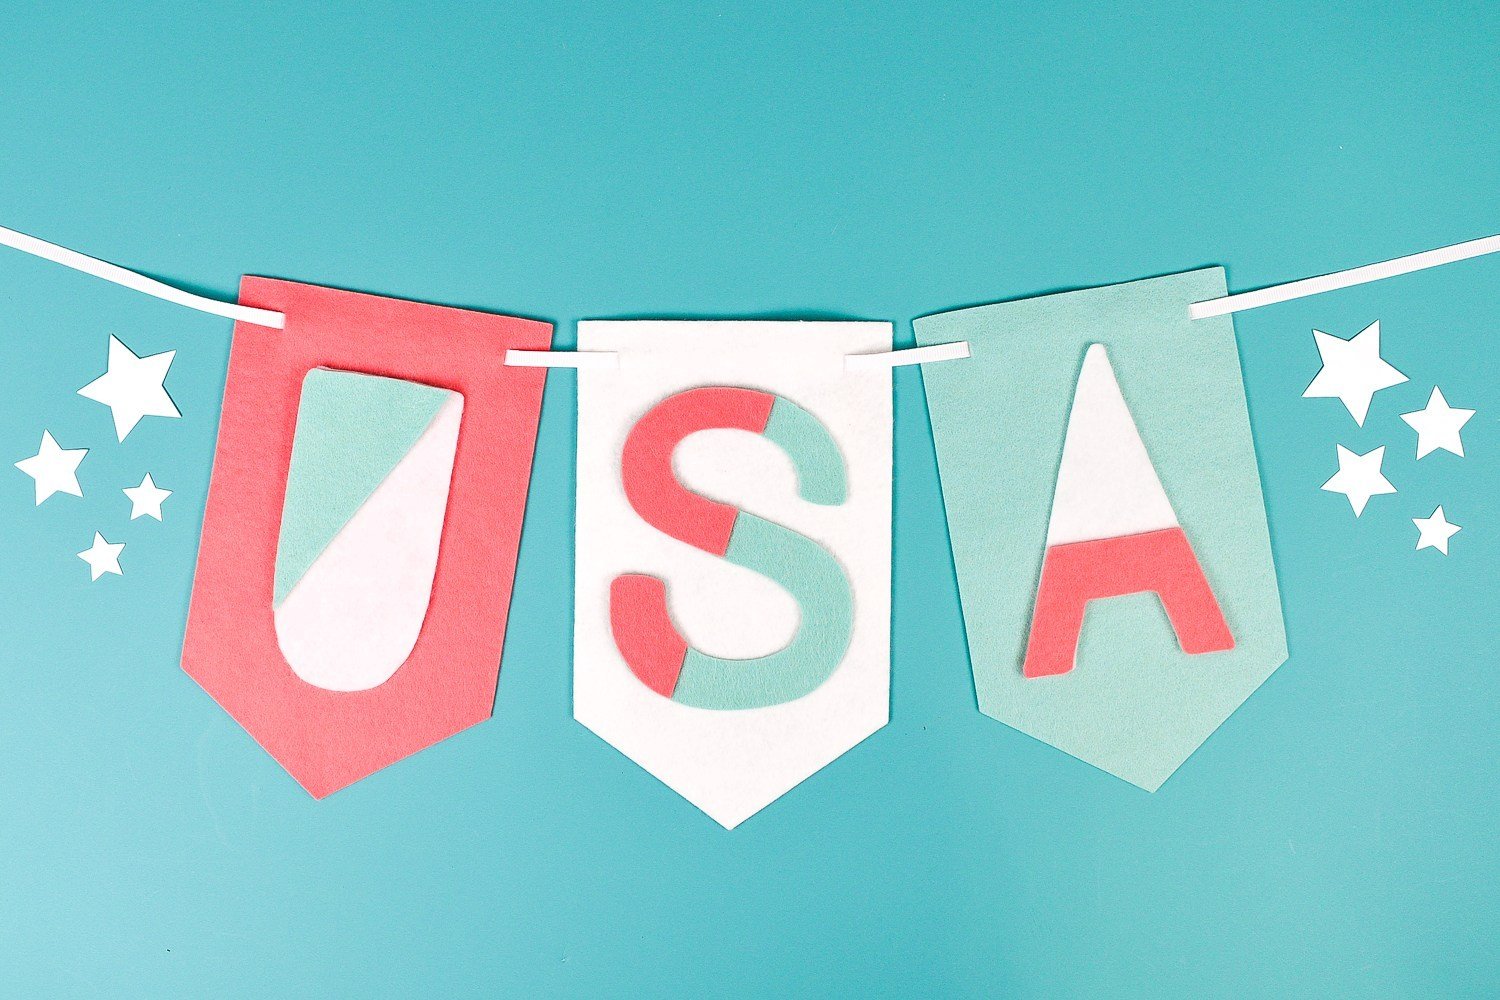
Do you decorate with red, white, and blue for summer? Try this USA felt banner from Hey Let's Make Stuff.
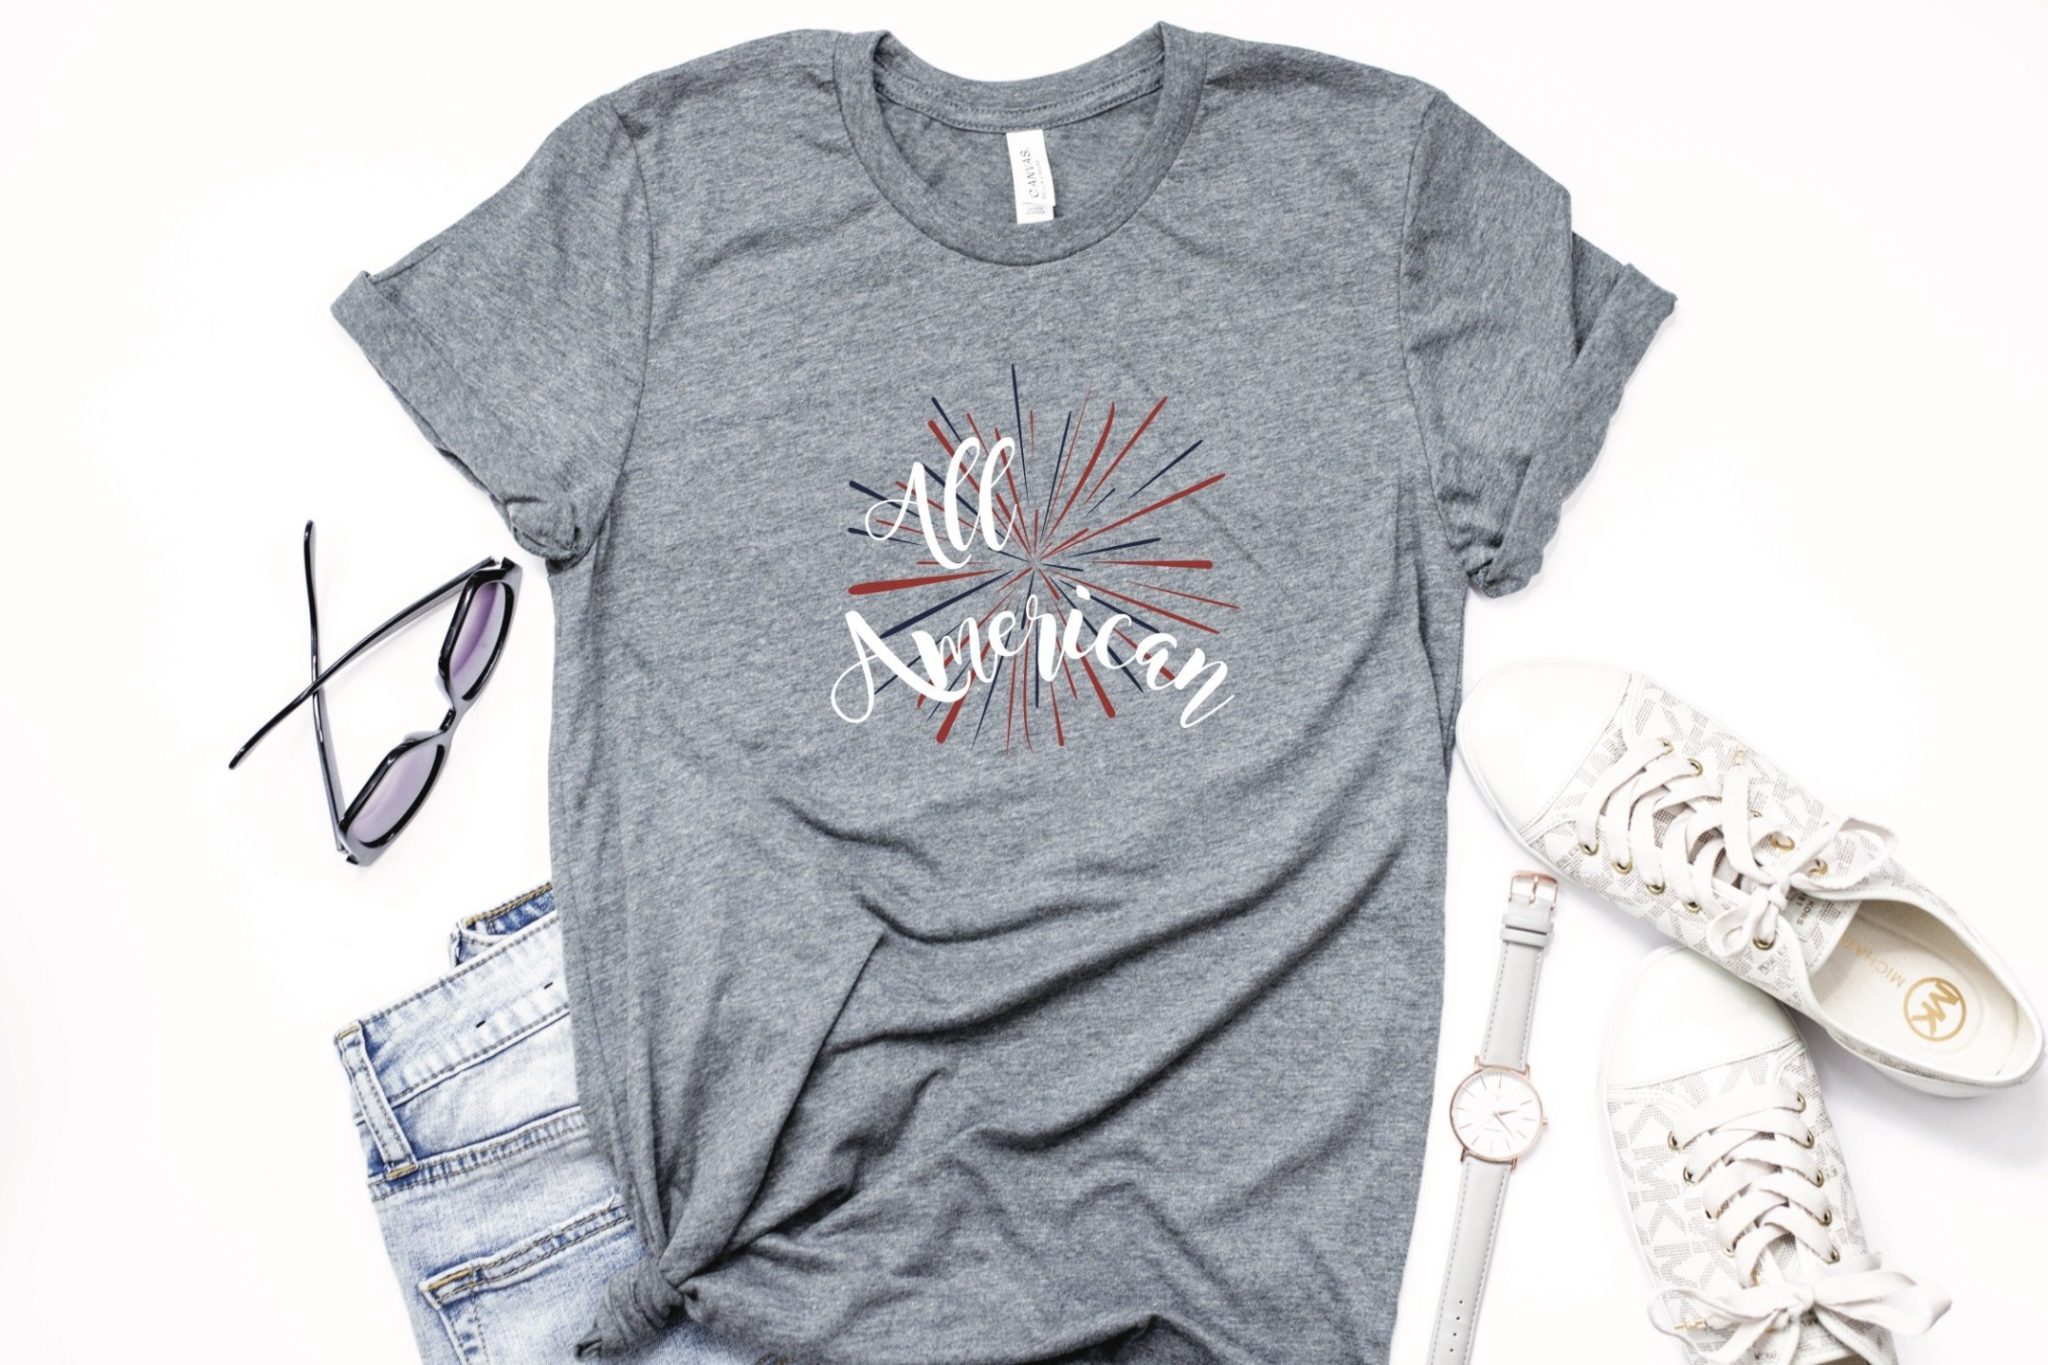
Celebrate summer with this All American shirt from Everyday Party Magazine.
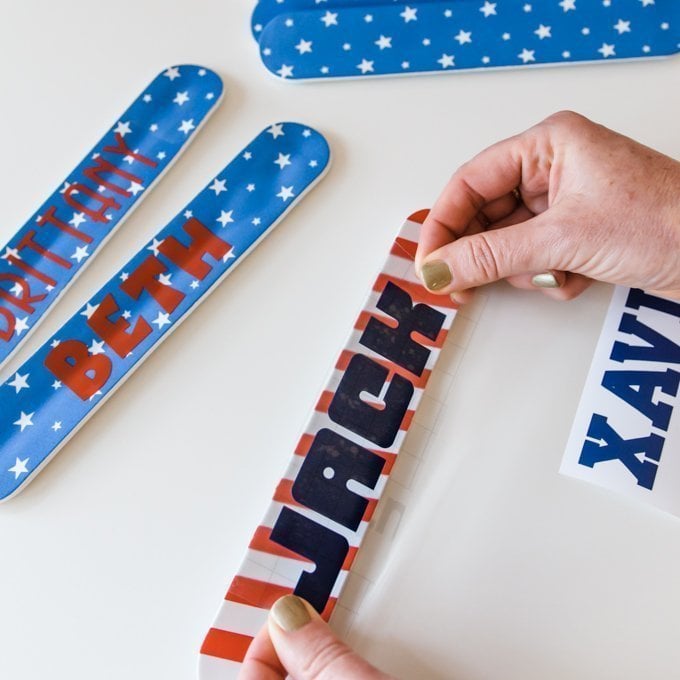
Make personalized slap bracelets for the kids with the instructions from our co-hostess Kingston Crafts.
So, get your supplies and start on your own rustic wood flag or any of these other patriotic summer craft ideas that you can make in 15 minutes or less.
Supplies
- Scrap 2×4 pieces
- Paint in red white, and blue
- Wood star
- Glue
- Nails optional
- Burlap ribbon or chair webbing
- Paintbrushes
- Twine
- Scissors
Instructions
- Trim your 2×4 pieces if needed. You should have pieces that are the right proportions for the stars and stripes section. It may be a good idea to lay them out like in the picture below.
- Glue or nail the pieces into a flag shape. If you use glue, be sure to allow it to dry before painting.
- Then, begin painting the flag with a dry brush technique. (see notes)
- Don’t forget to paint the star as well. You will want to paint all sides of the flag pieces so that the piece will have a finished appearance.
- Once your flag has dried, use additional glue to add the star on the blue portion as well as adding the ribbon around the outside.
- Trim the ribbon to length with scissors before gluing. You will need something to hold the ribbon in place while it dries. I used twine and just tied it around while drying.
- Once the glue is dry, your rustic wood flag is ready to be displayed in your farmhouse-style home.


Love this! It could totally work as a great afternoon with a pack of bored boys. Just have to figure what to do with the 1.5 year old at the same time…
Okay that’s a nice one, but behind it in the picture there pallets WOVEN TOGETHER!!! You can’t just show me that and skip over it like that’s normal! I been looking all day for something originally that’s it. Post that!
Are you talking about the basket that is behind the rustic flag in the photos?