
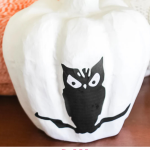
Are you ready to create a unique Halloween decoration that will have all the neighborhood kids hooting in delight? Let's introduce you to our fun and whimsical project: The Owl Pumpkin! Creating an Owl Pumpkin is a delightful way to add some charm to your Halloween decor. Made from paper mache pumpkins, this funky owl will give a creative twist to the traditional pumpkin silhouette.
Did you know that you can make an owl pumpkin for your home? I have been on a huge pumpkin kick lately. Every idea I have lately seems to center around a pumpkin!
By the end of the season, I might be drowning in paper mache pumpkins. But I do love them, and this one is no exception.
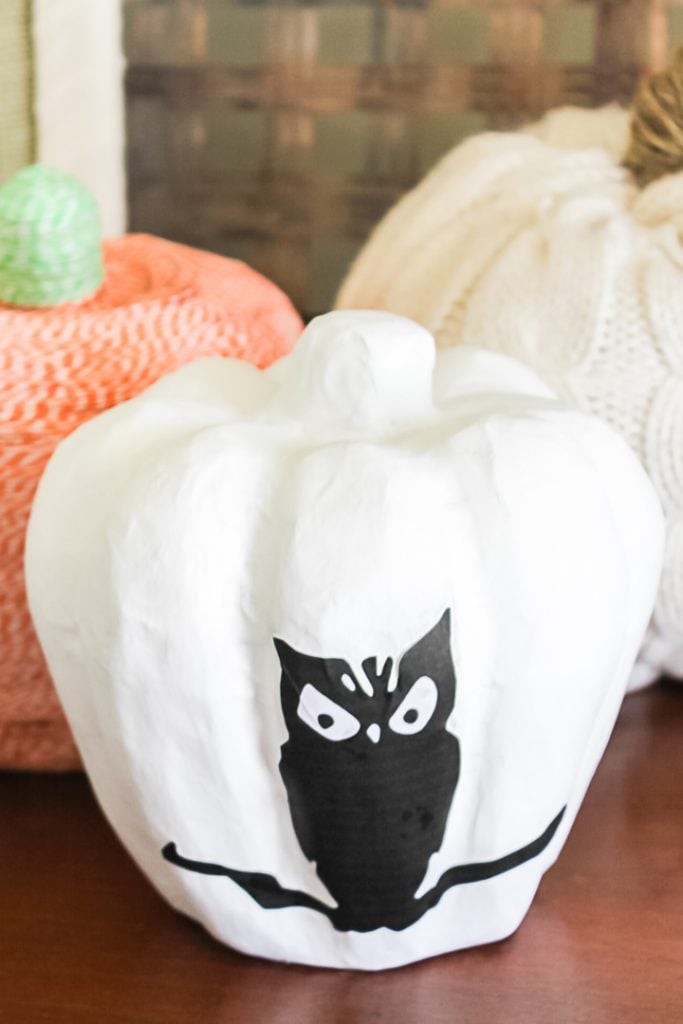
I wanted something different to make this year, and I found the perfect solution — a paper mache owl pumpkin. It’s simple enough for kids to help with but chic enough for adults too!
You can easily choose your own owl design to add to your painted pumpkin silhouette.
This post was originally written in 2012 and has been updated in 2024 to use a Cricut to make this project even easier!
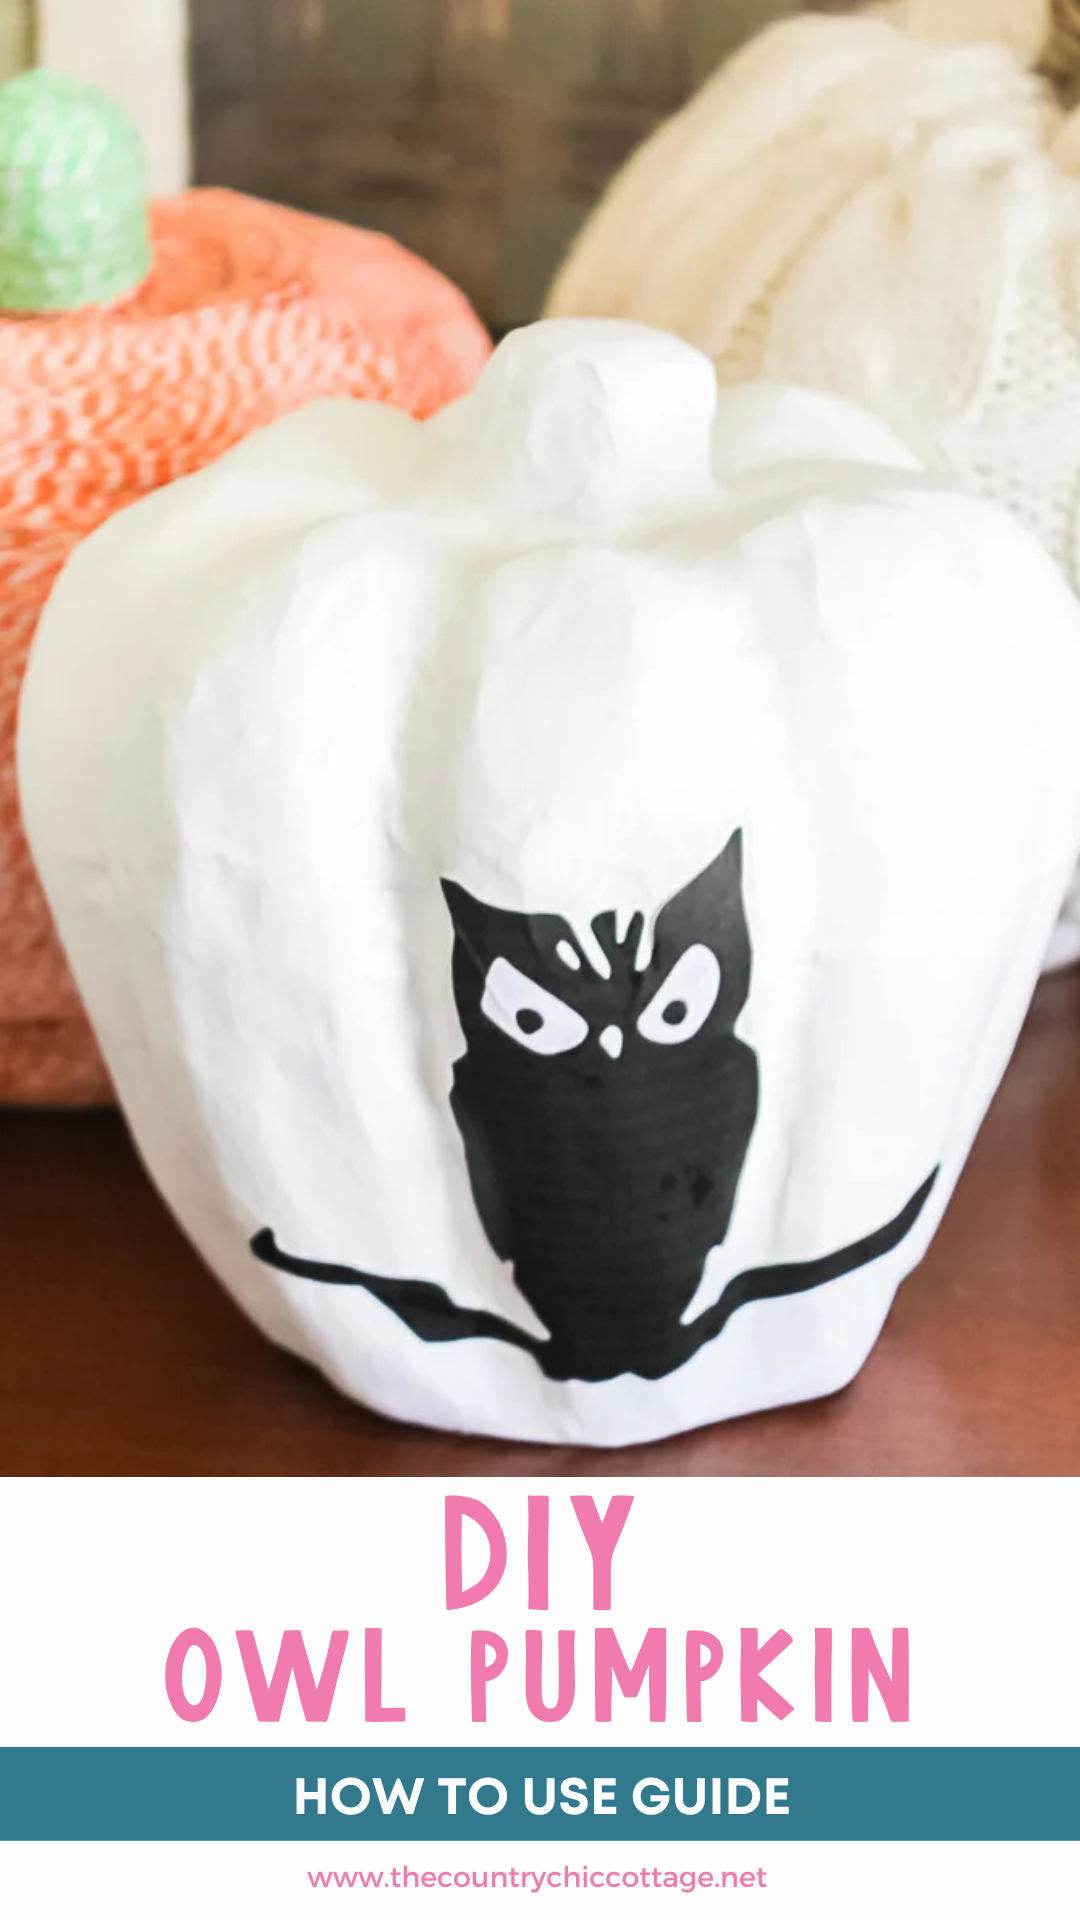
How To Make An Owl Pumpkin
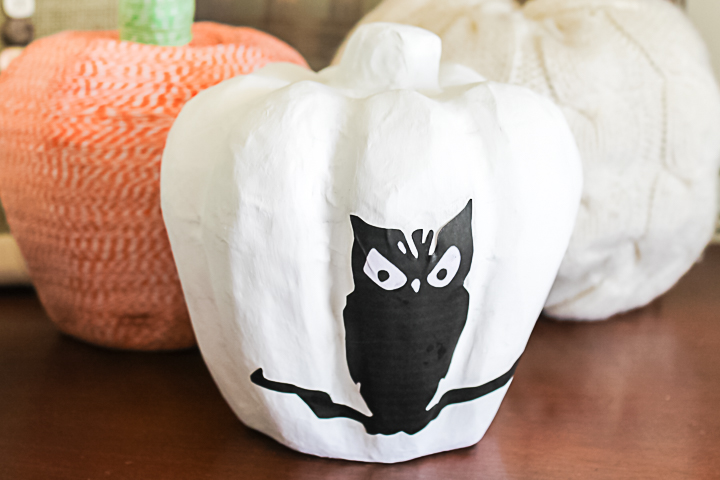
My scary silhouette pumpkin is sure to put some fright in your Halloween decor. Plus, who doesn't love Halloween quick crafts? You just can't go wrong!
Supplies Needed
Here's what you'll need to gather to make your owl pumpkin:
- Paper mache pumpkin – check your local craft stores
- White paint
- Cricut machine
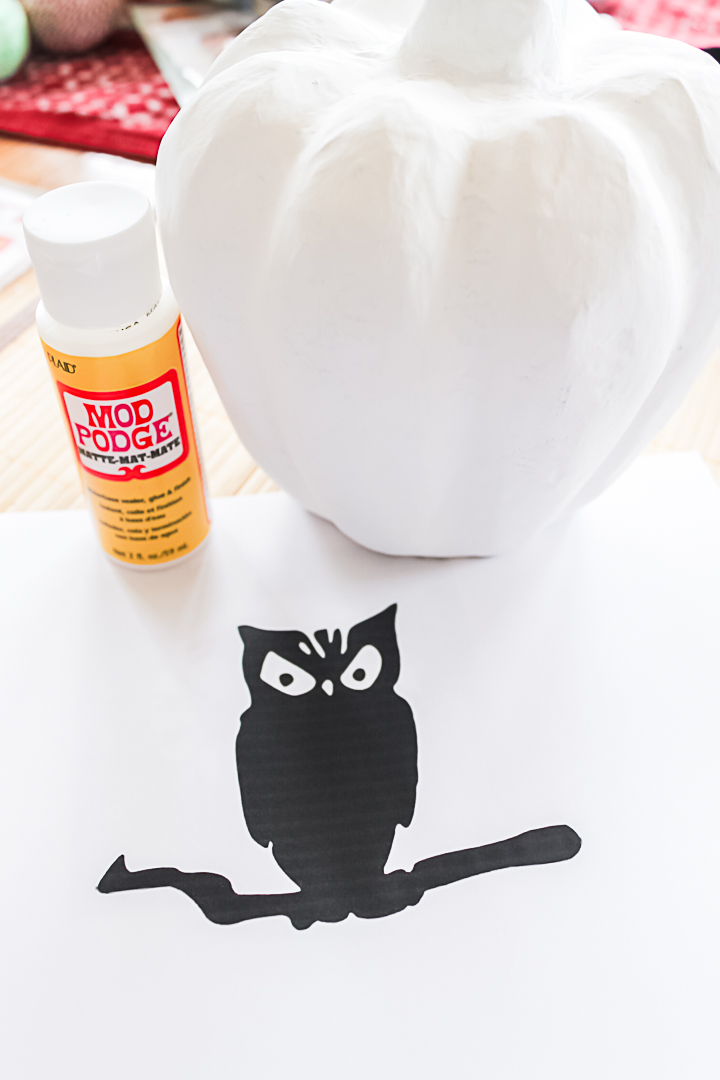
- Mod Podge
- Owl silhouette (search “owl silhouette” in Cricut Design Space)
- Black cardstock or adhesive vinyl (black and white)
- Paintbrush
DIY Paper Mache Pumpkin Instructions
Making an owl pumpkin is actually super easy! Here are the steps:
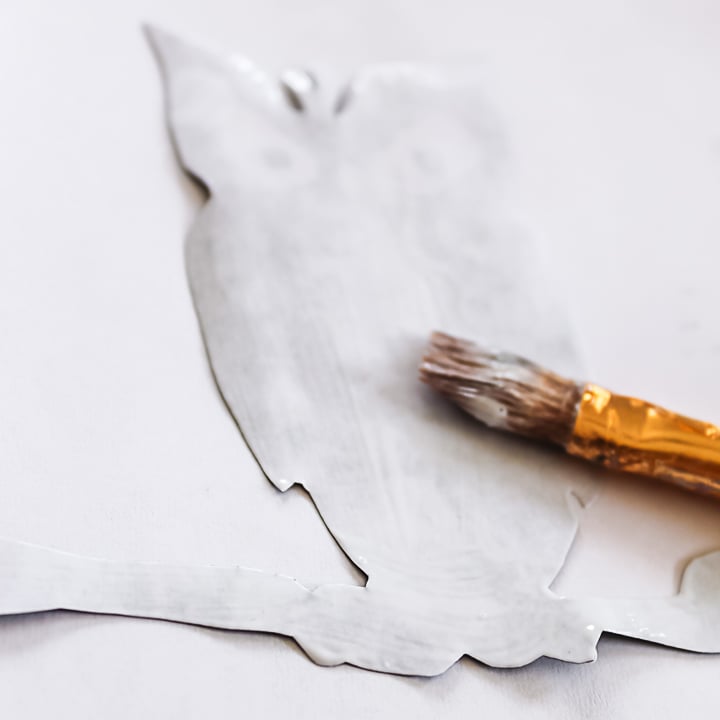
Step 1: Paint Paper Mache Pumpkin
First, paint your paper mache pumpkin with white paint. Allow the paint to dry completely before moving on to the next step.
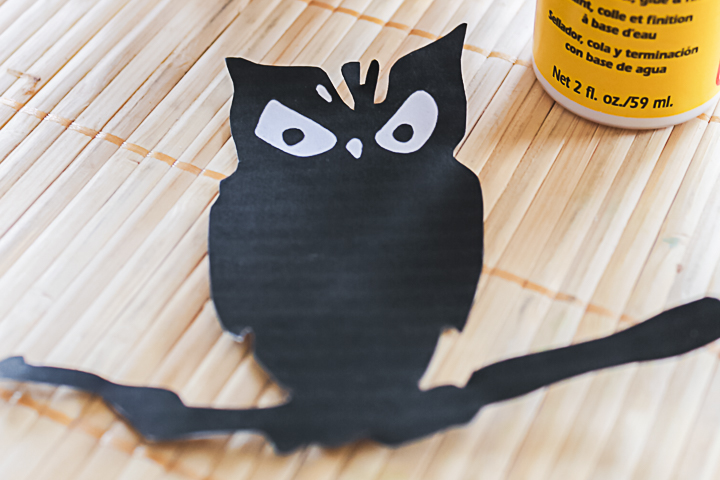
Step 2: Cut Out Owl Silhouette
Using Cricut Design Space, add your owl silhouette to the canvas, adjust the sizing to fit your pumpkin, and click “make it.” You can choose to cut the image with black cardstock or adhesive vinyl. Once cut, weed the excess material from the design.
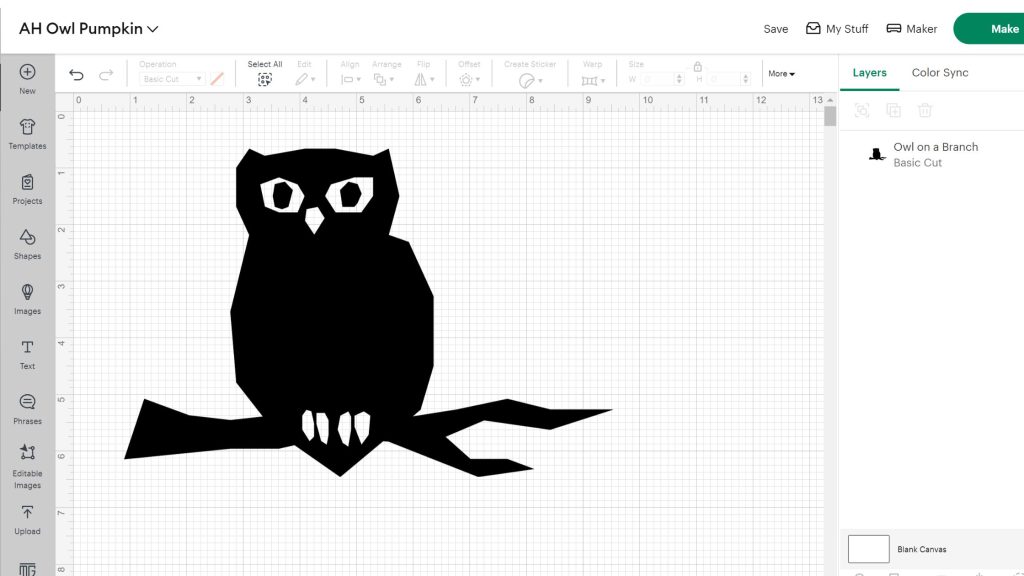
Note: the image below was created with a different design and printed on copy paper.
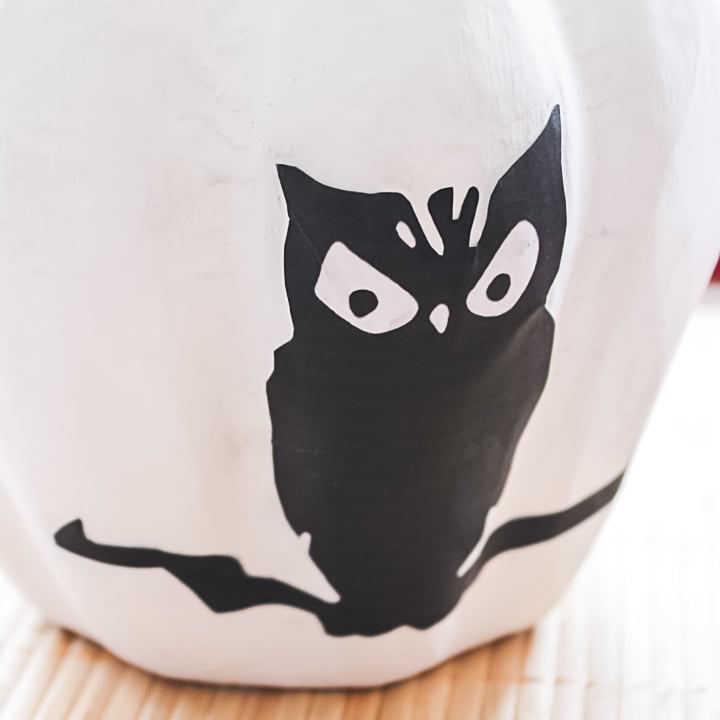
Step 3: Attach Owl Silhouette To Pumpkin
If using cardstock or paper, apply Mod Podge to the back of your owl silhouette and attach it to your painted pumpkin. Be sure to press firmly so that it sticks securely.
For adhesive vinyl, use transfer tape to remove the silhouette from the vinyl backing and attach it to the pumpkin.
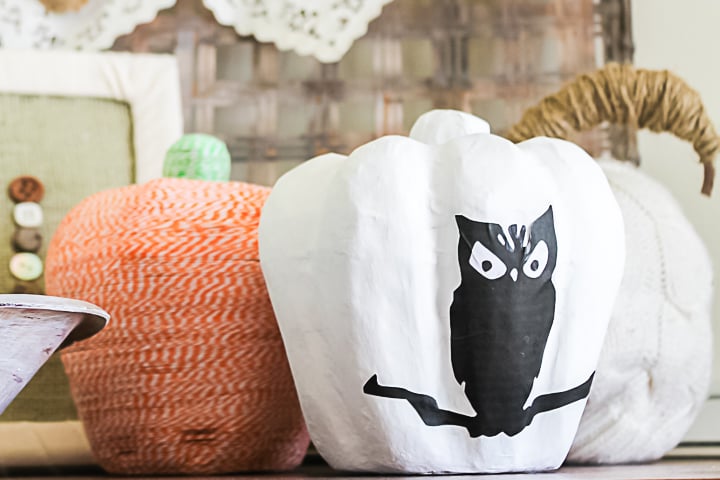
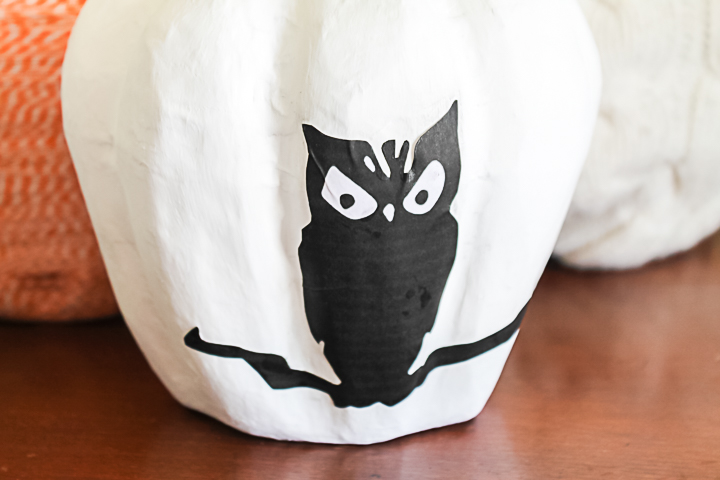
Note: I did get a few wrinkles because the surface itself is bumpy, but overall, it turned out great!
I love this owl pumpkin, and I know you will, too. The best part is that they will last for years since these are paper mache. So, you can pull them out year after year and add them to your Halloween mantel or spooky home decor.
FAQs
If you have questions about making paper mache pumpkins, I have answers! If you don’t see your question answered below, please leave it in the comments.
Can I use a real pumpkin instead of a paper mache?
While it is possible to use a real pumpkin, you won't get the same crisp details as with paper mache. The surface of a real pumpkin is much more bumpy, so if you're looking for an intricate look, paper mache is the way to go!
Do I have to add Mod Podge over the owl silhouette?
I did not apply Mod Podge to the image that I printed. I was afraid the ink would run once the paper got wet with the Mod Podge.
You need to seal the ink before decoupaging the top. If I am going to decoupage the front, I usually use hair spray over the top of my image before starting. This will ensure that the ink does not get wet and run.
If you use cardstock, adding Mod Podge on top is completely up to you. There are several different finishes that would look amazing! I'm thinking matte, crackle, glitter, or even glow-in-the-dark Mod Podge!
Do I need Mod Podge if I'm using adhesive vinyl?
That depends on the look you are going for (see options above). Adding Mod Podge on top of the silhouette will keep the vinyl on the pumpkin for years to come. If the vinyl starts to peel (due to dry or hot storage conditions), you can add some Mod Podge over the vinyl to reattach it.
Can I put the owl pumpkin outside?
I do not recommend putting paper mache outdoors. If you are looking for an outdoor option, you can try a craft pumpkin that is rated for outdoor use. You can also seal the finished pumpkin with an outdoor sealant to protect it from sun and rain damage.
More craft ideas
If you love this project and want to make pumpkin decor, we have those for you! Just follow the links below.
- DIY Pumpkin Cupcake Topper with Your Cricut
- How To Paint Pumpkins and Add Texture
- DIY Wooden Pumpkins from Log Slices
- Make an Easy DIY Pumpkin Door Hanger (with Video)
- DIY Stacked Pumpkin Planter with Your Cricut


That owl has a great scOWL! So cute!!!!
<3 Christina at I Gotta Create!
Wildly Original Linky party is open!
Is there somewhere to get that owl image?
I got it from this slideshow on Martha Stewart:
http://www.marthastewart.com/275639/halloween-pumpkin-carving-patterns-and-p/@center/1006802/halloween-pumpkins