
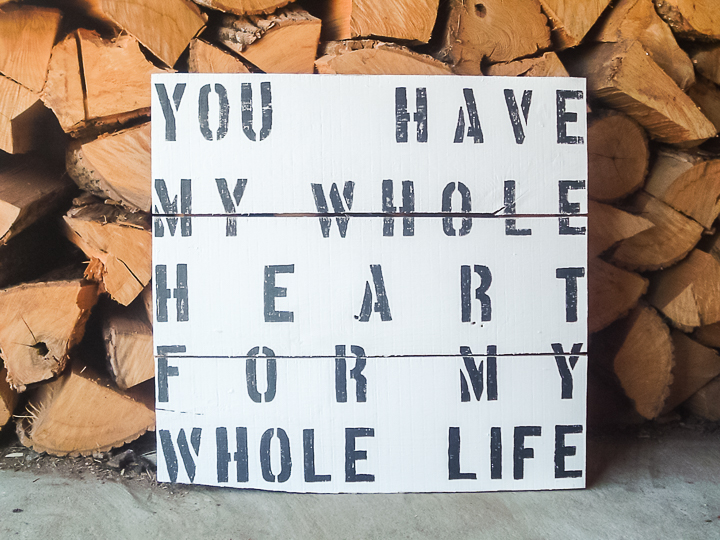
Are y'all ready for all the details on how to paint letters on wood? I am oh so happy with this project. I actually made this project completely with things I had on hand. Yes, free to me. Plus this technique does not require any special tools. My love sign is a great way to add some rustic, farmhouse decor to any room in your home. I can see this sign in a dining room, living room, or even a bedroom. Plus, once you learn how to paint letters on wood, you will be making all the signs.
This one was first published on February 21, 2012, however, I am republishing it with more information.
Supplies to make a wood sign:
- 1×10 boards that are 30 inches long (3)
- 1×4 boards that are 25 inches long (2)
- Screws or nails
- White paint
- Black paint
- Printer
- Copy paper
- Pen
- Paintbrushes
- Ruler
Notes on supplies:
I made this with standard-sized lumber that I had on hand. You can actually use this technique for any sign in any size that you want. Just follow the general directions below.
How to Make a Wood Sign
First, you will need to actually assemble the sign and paint it. Then we will move on to the letter painting hack.
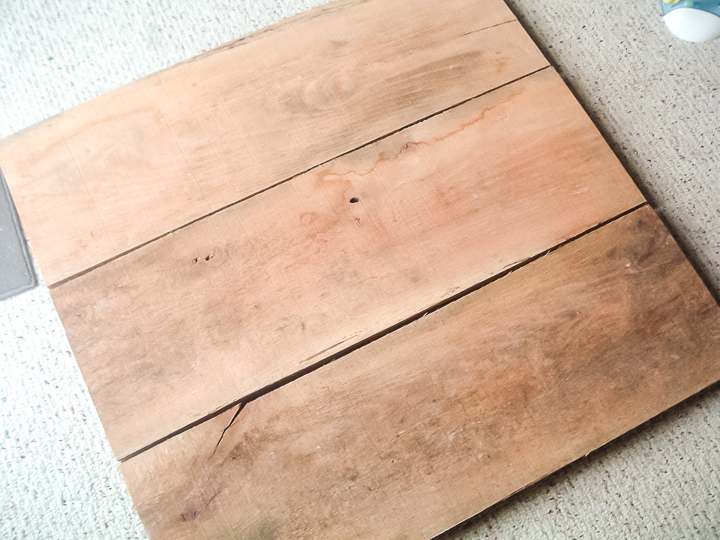
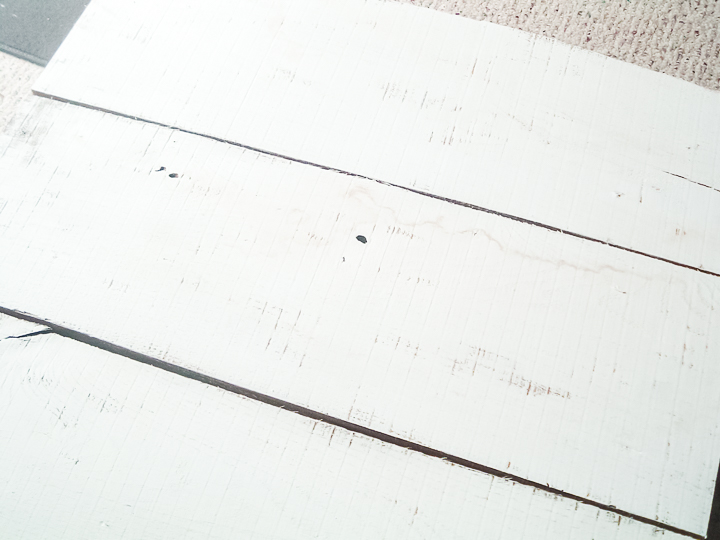
Step 1: Cut your lumber
Cut your lumber to size. I used rough-cut lumber for a more rustic look but you can use finished boards as well. The three main pieces should all be the same length. These will be the front of your sign so be aware of that as you pick your boards.
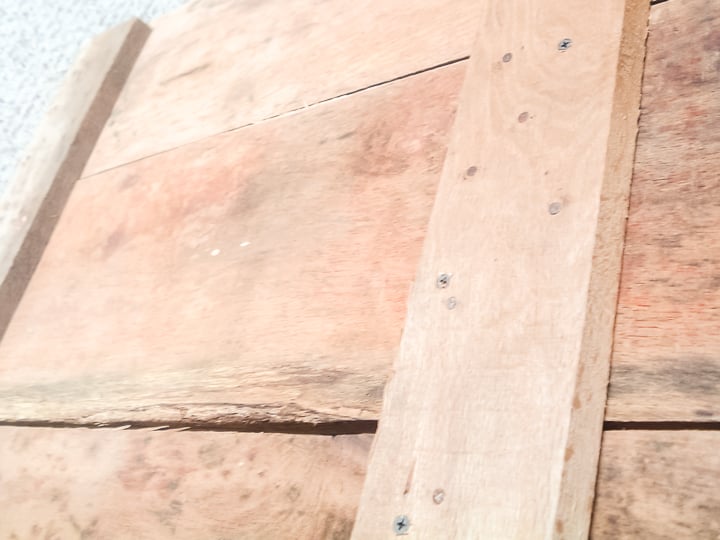
Step 2: Assemble the sign
Add the smaller boards as runners to the back and secure with either nails or screws. You will want to be sure to use several on each board. You will also want to make sure that your nails are not too long and will not stick out on the front of your sign.
Step 3: Paint the sign
Once you have your sign assembled, you will need to add a base coat of paint. I am using white on my sign and it did take me about 5 coats of paint to get good coverage. You may get some bleed through on your first few coats but keep going! The lighter your base coat color, the more coats you will probably need.
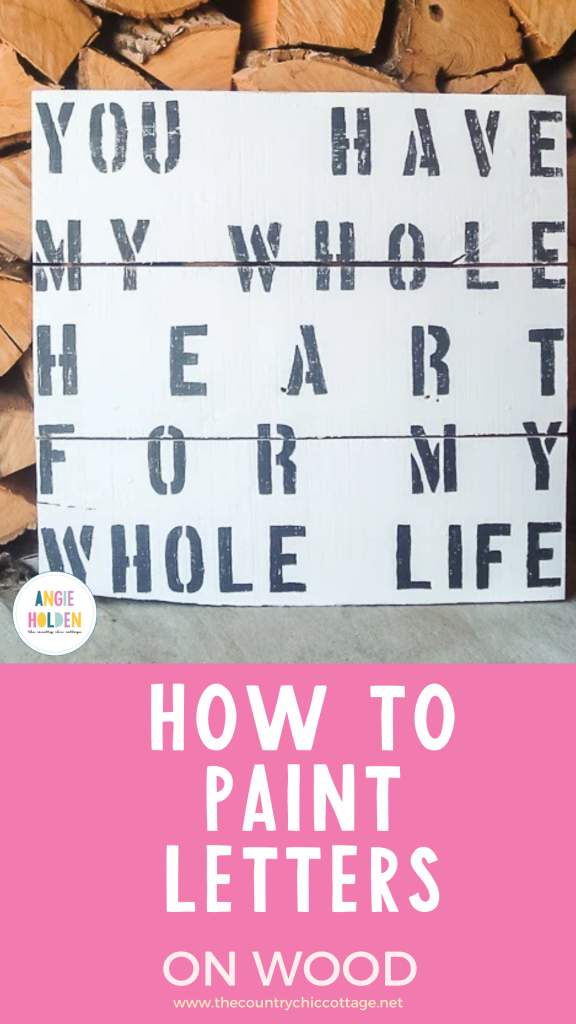
How to Paint Letters on Wood
Now that you have a base, you are ready to add those letters! It is actually super easy to paint letters on wood. Just follow the easy technique below.
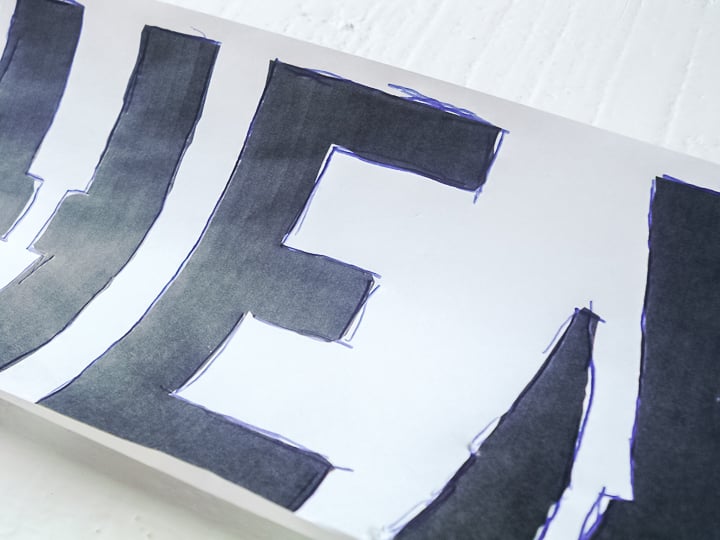
Step 1: Print your design
Print out your words with any old printer the size you want them. It is okay if you have to print on multiple pages. I don't have a printer that will print 30 x 30 inches. I just printed on regular copy paper and cut into pieces then laid on my sign.
Step 2: Trace your design
Lay them on your wood sign and trace around them with a pen. For this sign, for example, I would trace the “H” measure and move my paper and trace the “E” measure and move my paper and trace the next letter, etc. Press with your pen as you trace and you will leave a small indent in the wood under your paper.
Step 3: Paint your design
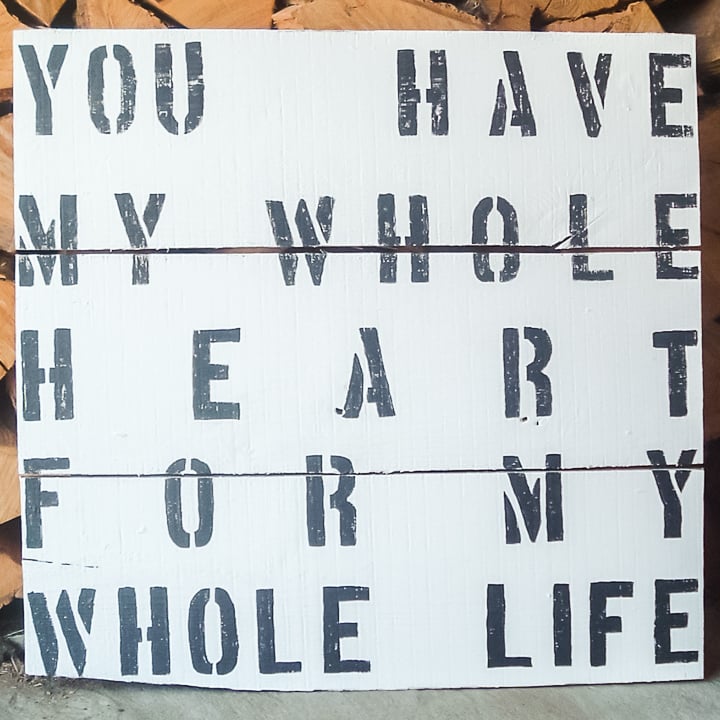
Then you just use that indention as an outline and guide for your panting. I wanted rustic letters. So I used a very dry brush and left all of those natural imperfections.
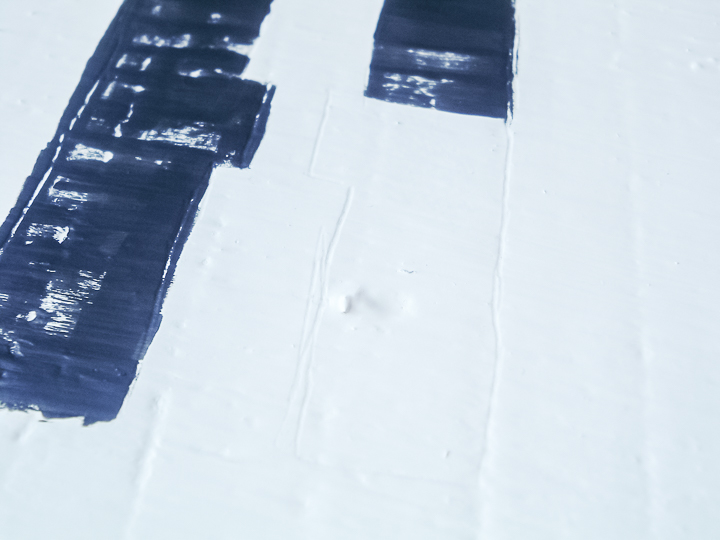
Each letter is unique. The best part for me is that there is no sanding required to get this look. To me, it looks more worn and less “forced” than sanding. If you want to add a more distressed look, try this technique.

You don't have to go rustic with this technique. You can definitely paint each of the letters completely so you don't have the worn paint look.
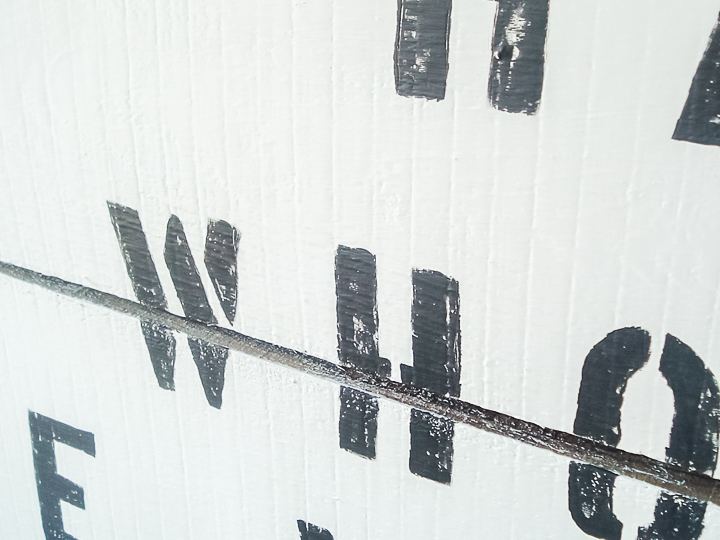
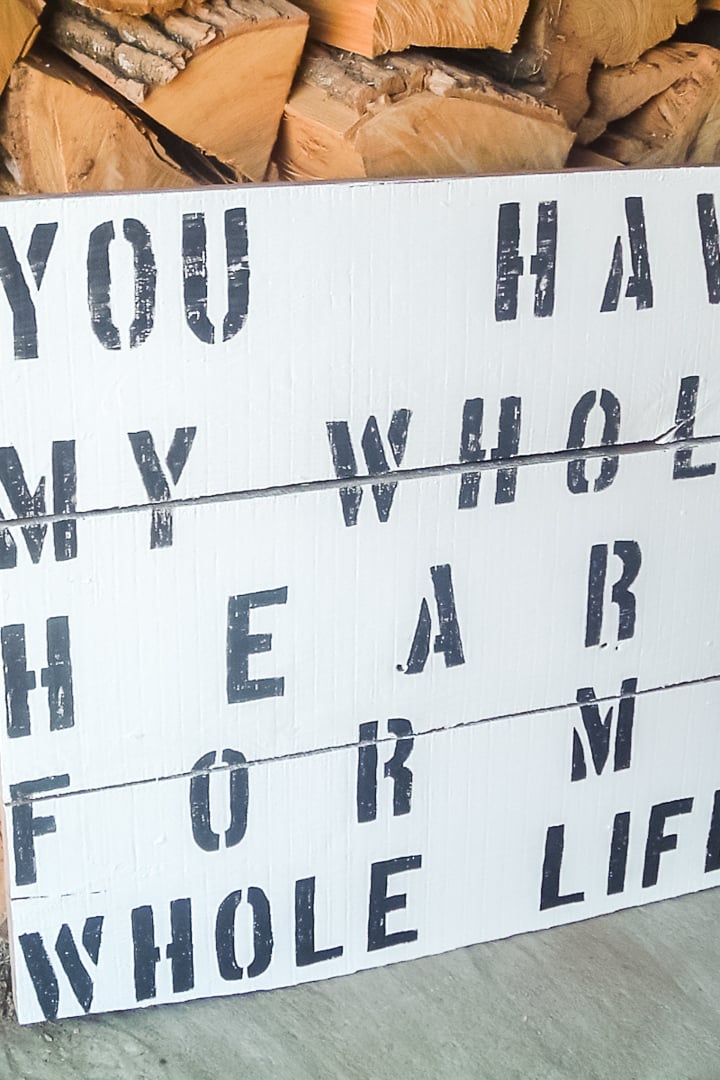
I loved the idea of the letters landing on the middle of the separations between the boards. So I measure carefully and had mine come out in those locations. The measuring of the letter placement was the hardest part. Just use a ruler and locate each letter how you like them. You can even cut the letters apart and tape them in place to get an idea of how it will look.
You can seal over this with a clear sealer if you would like. It is definitely not required. I love all things rustic (obviously) so the sign wearing over time is fine with me. I would put a sealer on it if I were putting it outdoors, however.
So, now that you know how to paint letters on wood, will you be making a sign of your own? You can use this quote “you have my whole heart for my whole life” or another quote/design. Anything is possible with this technique!
Love this idea for painting signs and want more? Try these other links as well!


I love this, Angie! It’s so cute!
wow this looks great, i have seen this sign around and wanted to do a knock off i love yours xxx
What a great job you did! I love how it turned out 🙂
I have also used carbon paper to do the same thing…works GREAT!!!
Great tips, Angie! I groan every time I go to paint letters. I’ll definitely try this and maybe limit the amount of whining 😉
Awww this reminds me of our wedding. Our ring bowl said “My Whole Heart, My Whole Life” and in our vows as we put the rings on each other we each said “My Whole Heart, My Whole Life.” *Tear*
Beautiful job!
So great! Thanks for linking up and I always enjoy your projects. You are a CSI all star!!!
Hugs
Dee, the CSI Girl
I have this sign pinned, too! You did a great job with yours–thanks for the tip on painting the letters.
What a great job! I like that saying too.
I’m dropping by as the guest judge on The CSI Project this week. I’m so impressed that you made a $300 sign for nothing! And I like yours better than the original. Great job!
It came out really cute!
* Visiting from YHL
Visiting from YHL. Love this idea! I am pinning it from the pinterest party. LOL!
blessings,
karianne