
If you have been around here any time at all, you already know I love mason jars. Adding some color to those jars makes them even better sometimes. So I started playing around with some supplies sent to me by Plaid and came up with not one by FIVE ways to add color to mason jars! I am going to give y'all a tutorial to do all five yourself!
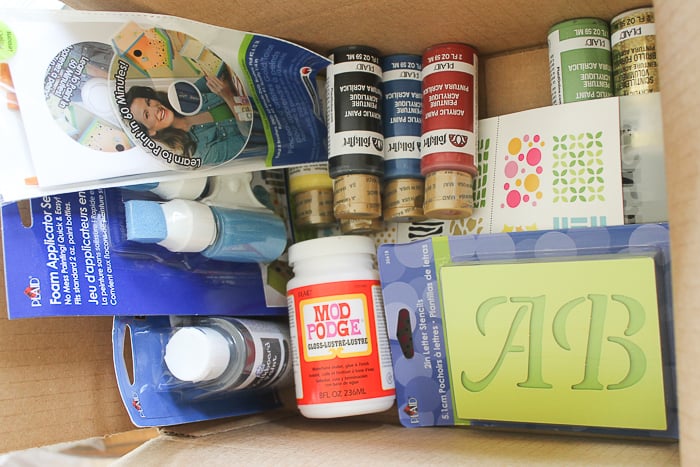
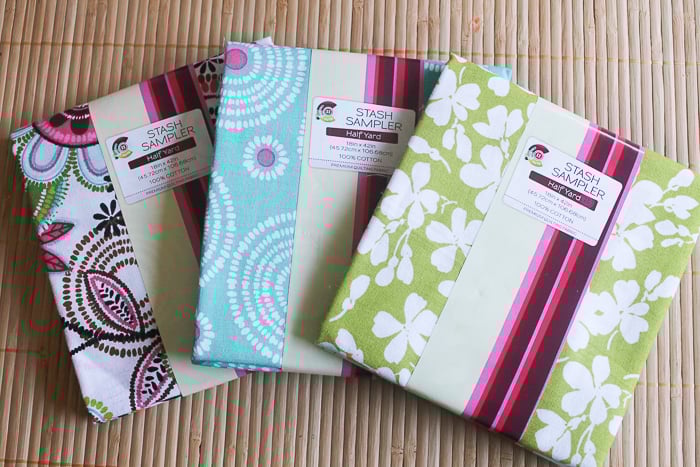
First of all , this box from Plaid arrived at my house packed with goodies. I had tons of ideas when looking through the box. I have already posted some projects here that have used some of the supplies. After all, who could make just ONE thing with a box this great??
How to Decorate Mason Jars: 5 Creative Techniques
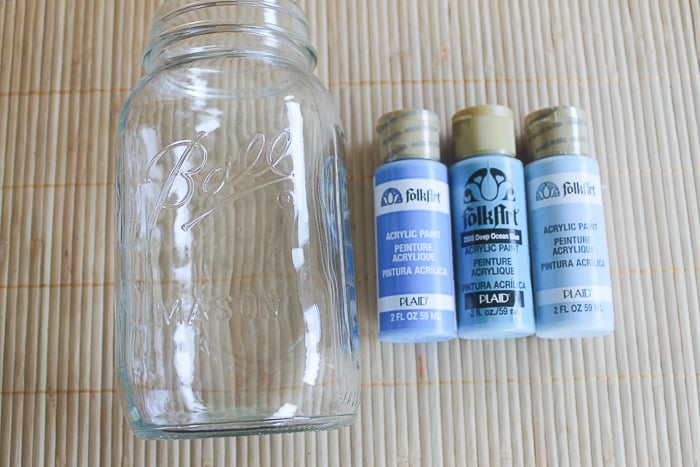
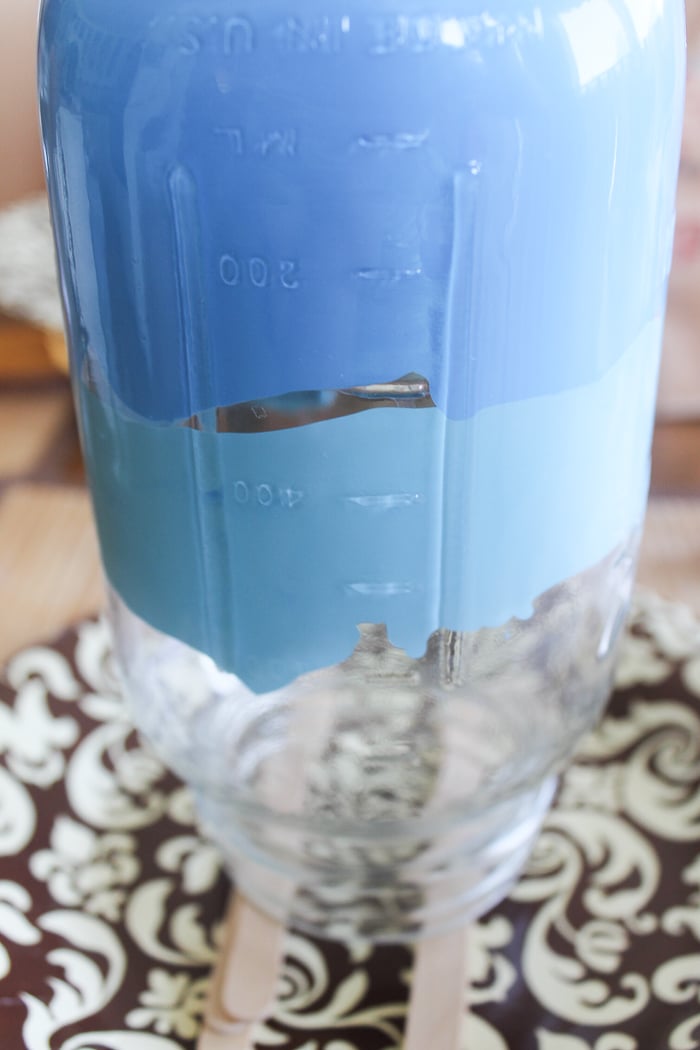
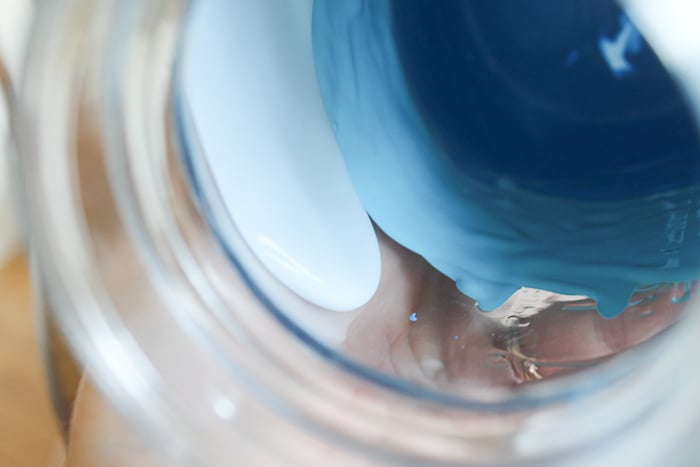
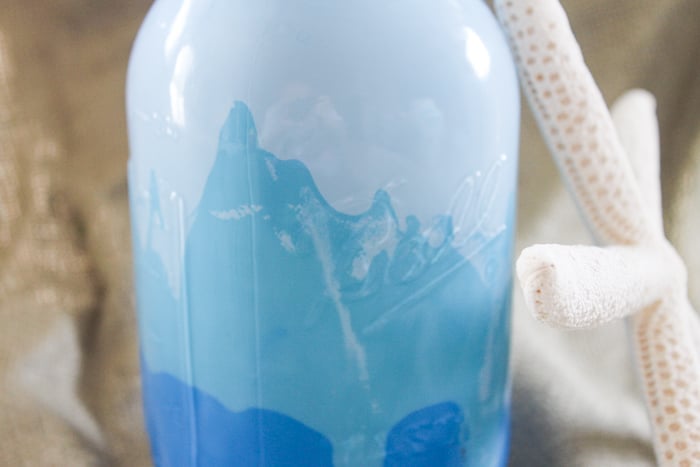
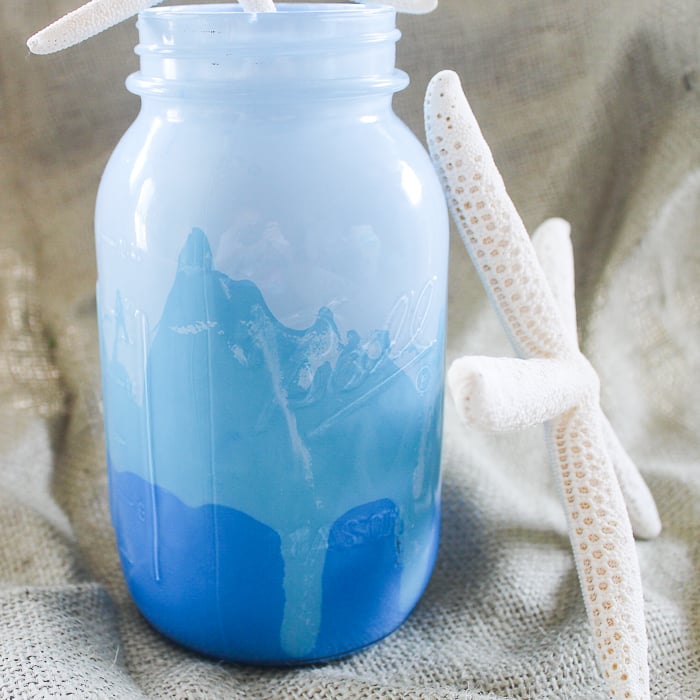
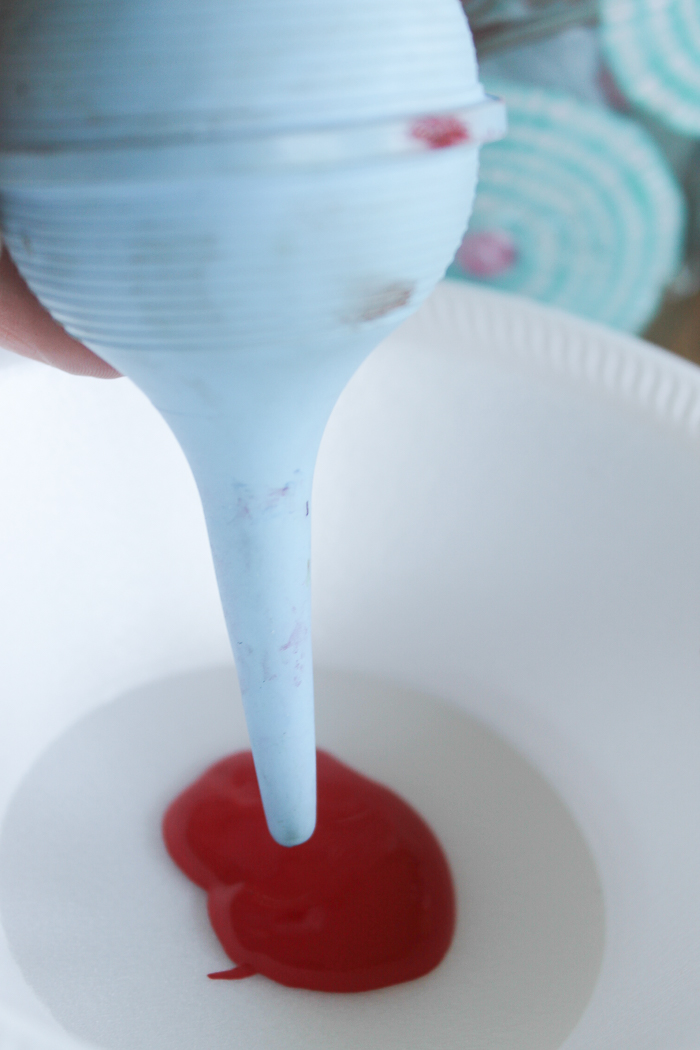
1. Beach Themed Blue Ombre Mason Jar
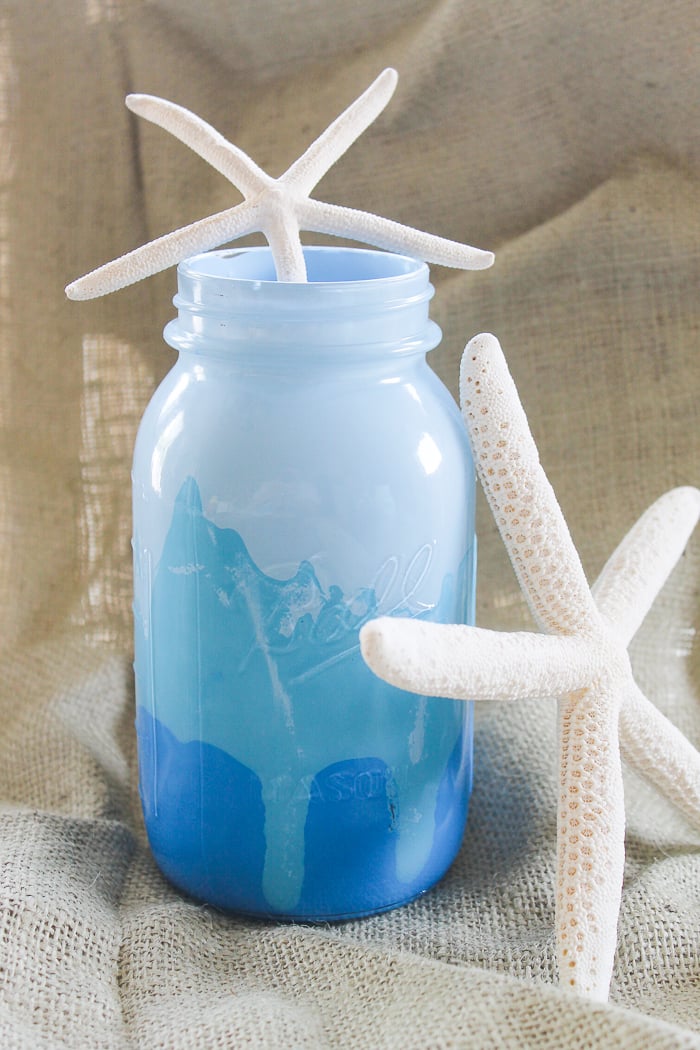
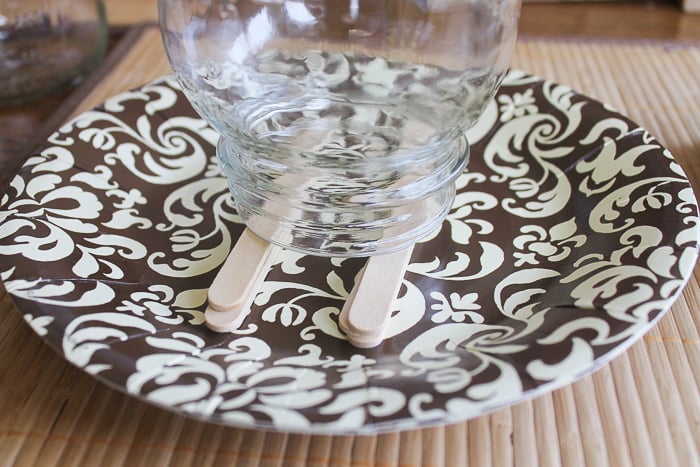
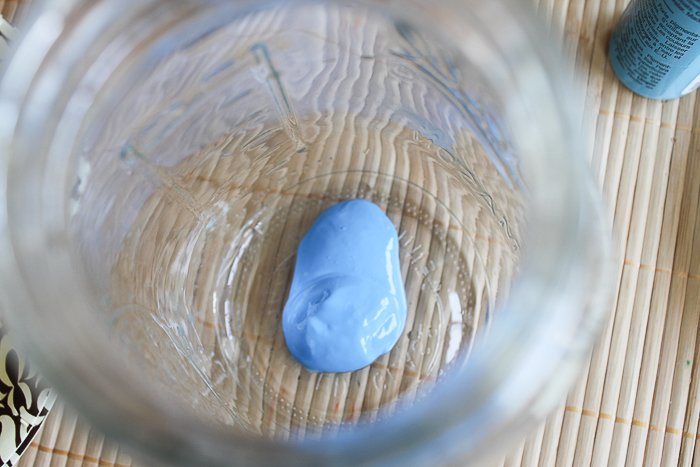
I literally turned, tapped, pounded, etc until I got this.
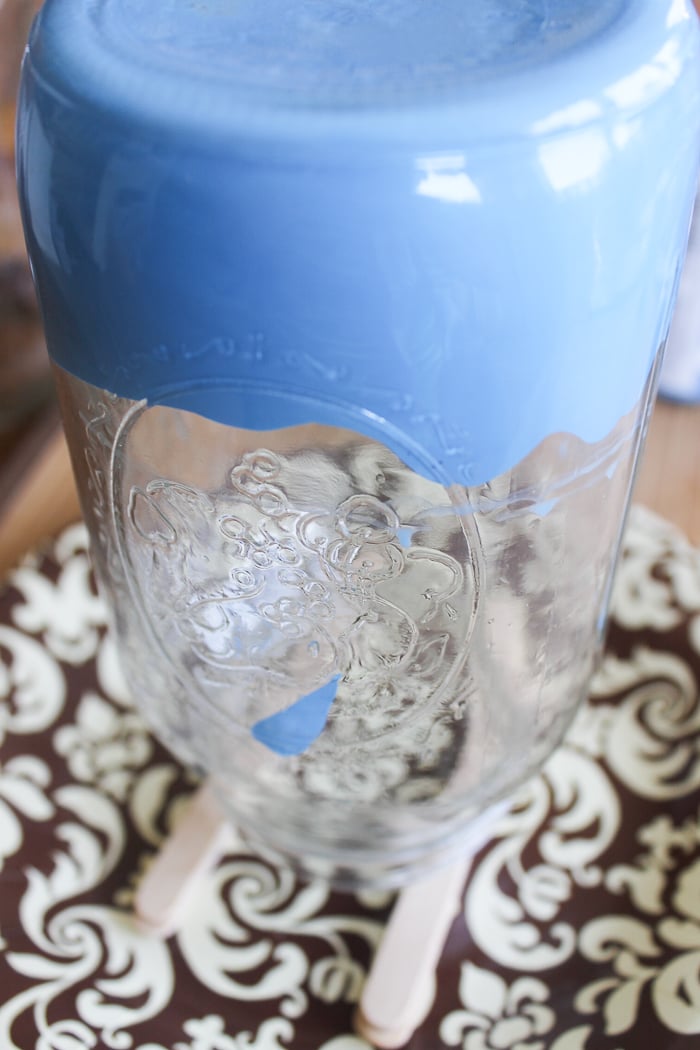
Yes just let your paint flow on the inside of the jar. Then add in your second color on the side of the jar above the first. Again tap, shake, pound, etc.
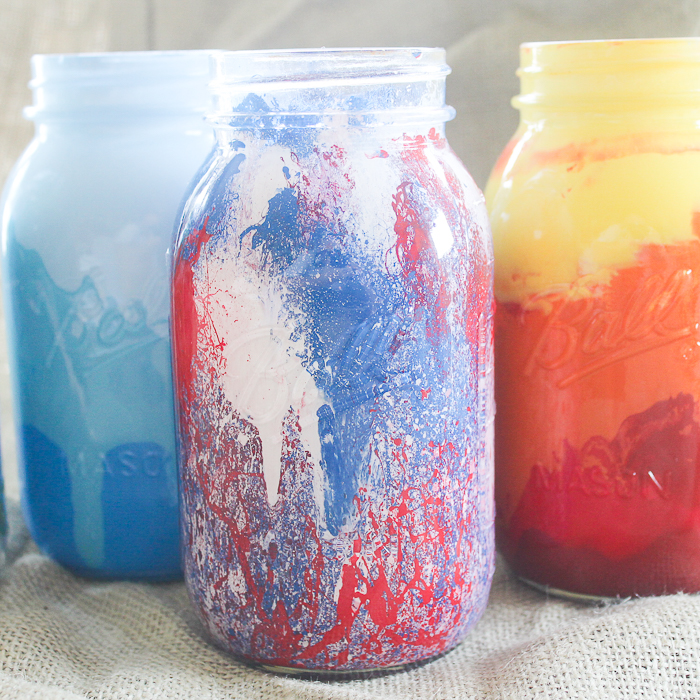
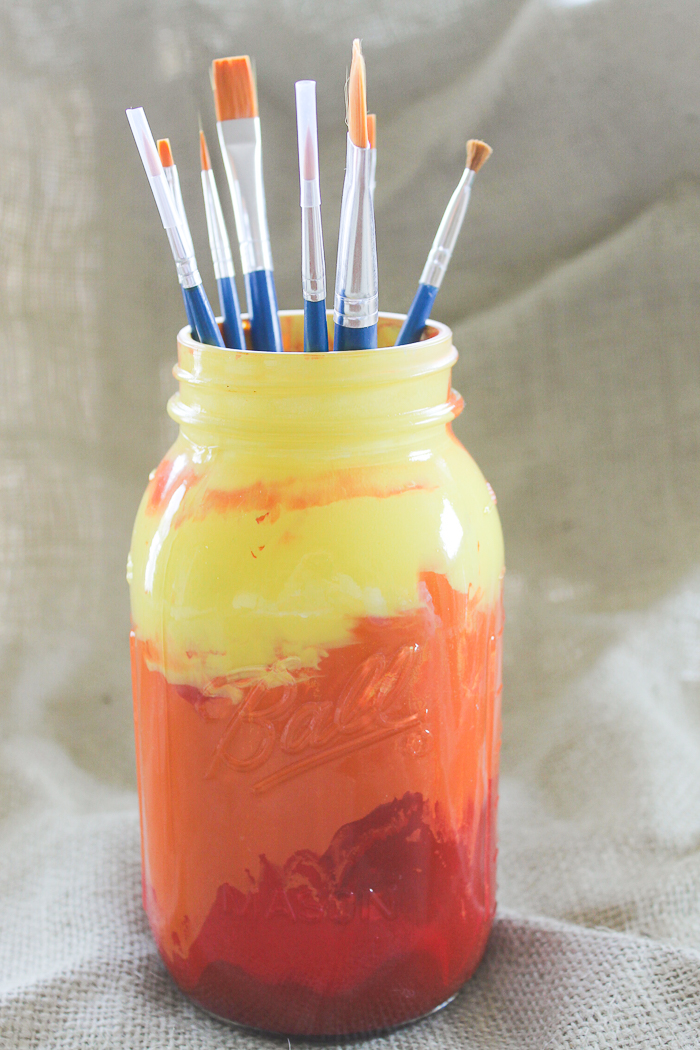
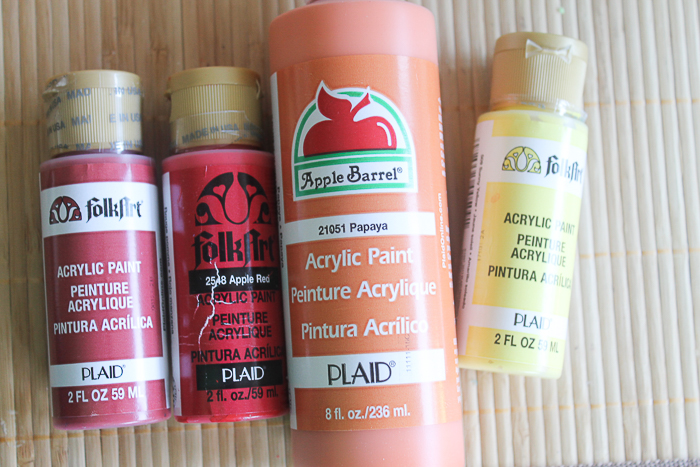
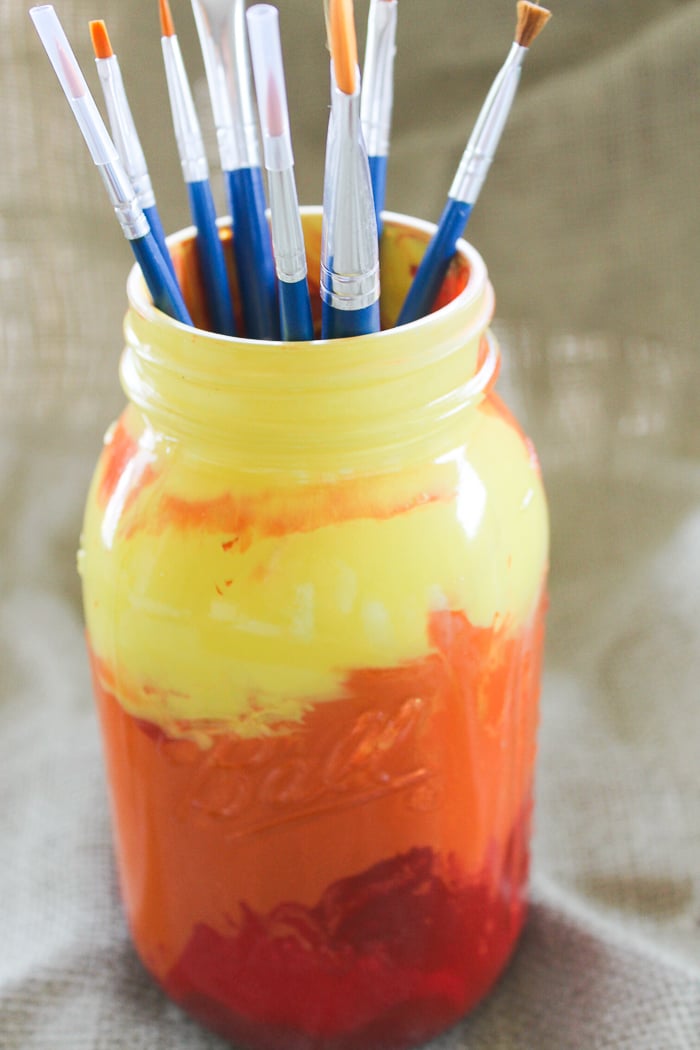
2. Sunset Painted Mason Jar
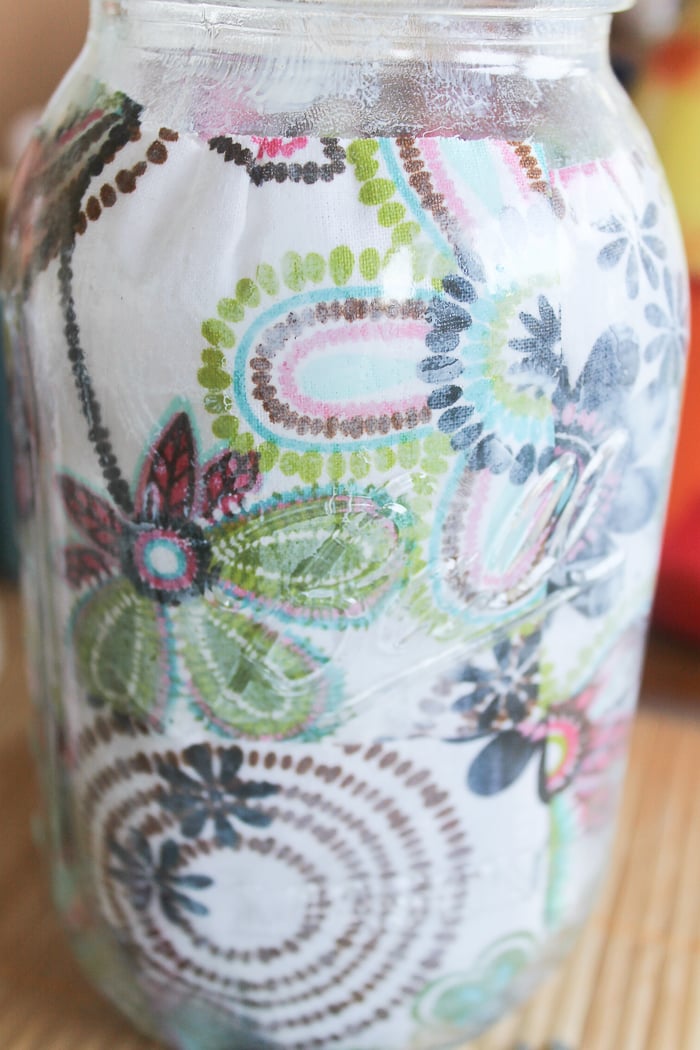
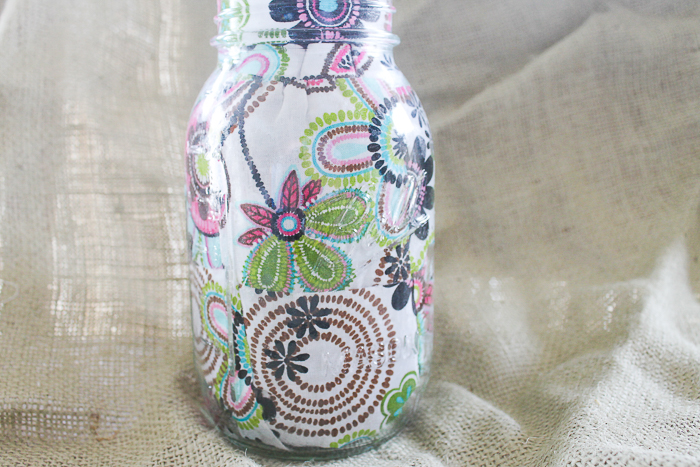
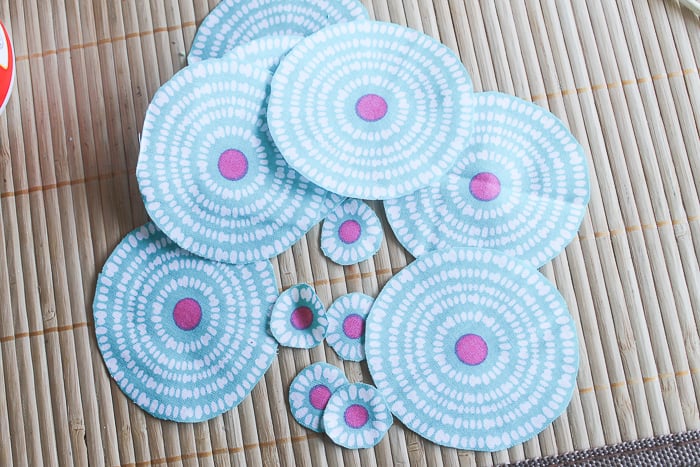
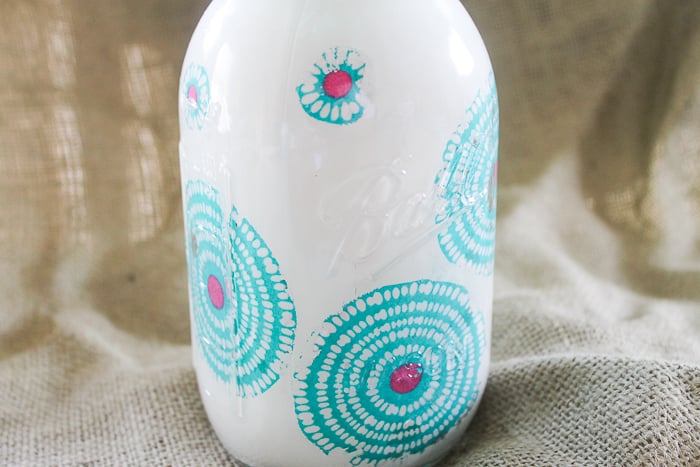
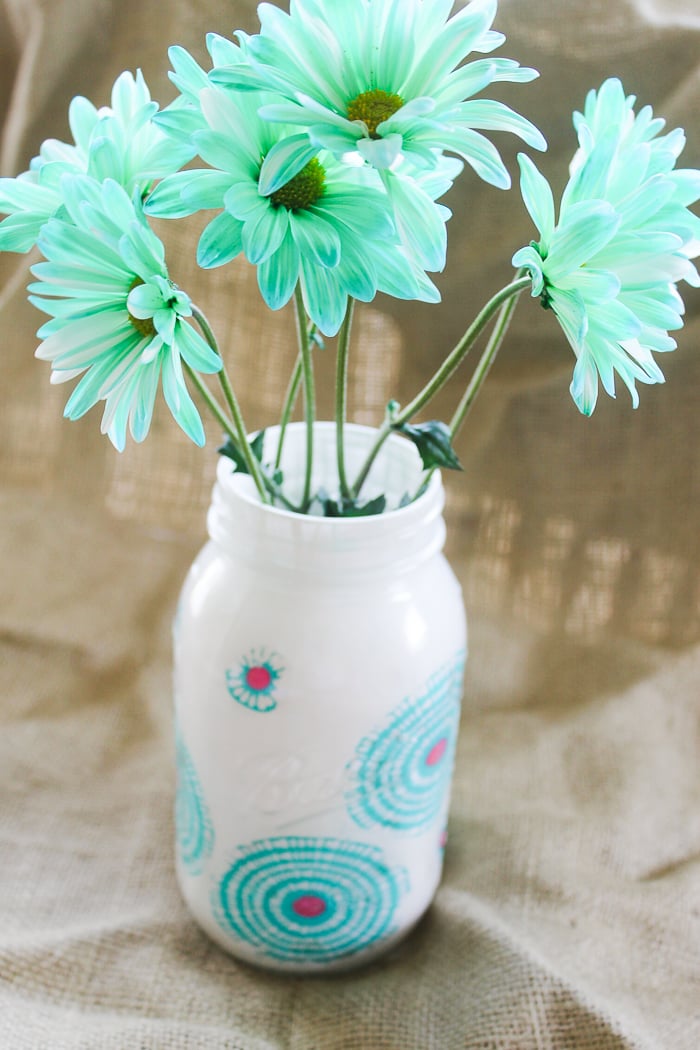
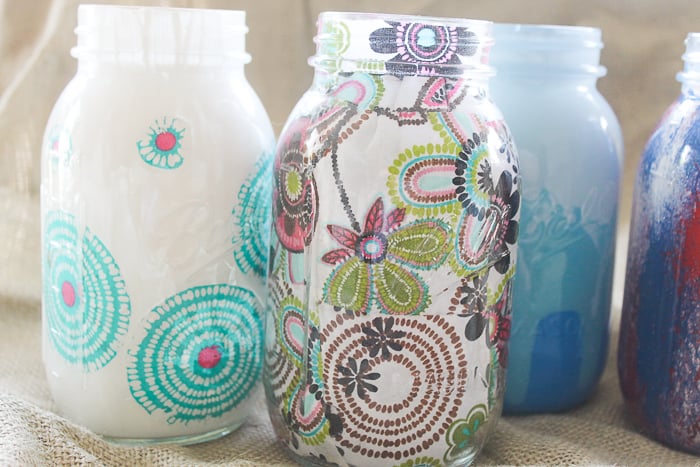
3. Fabric Decoupage Mason Jar

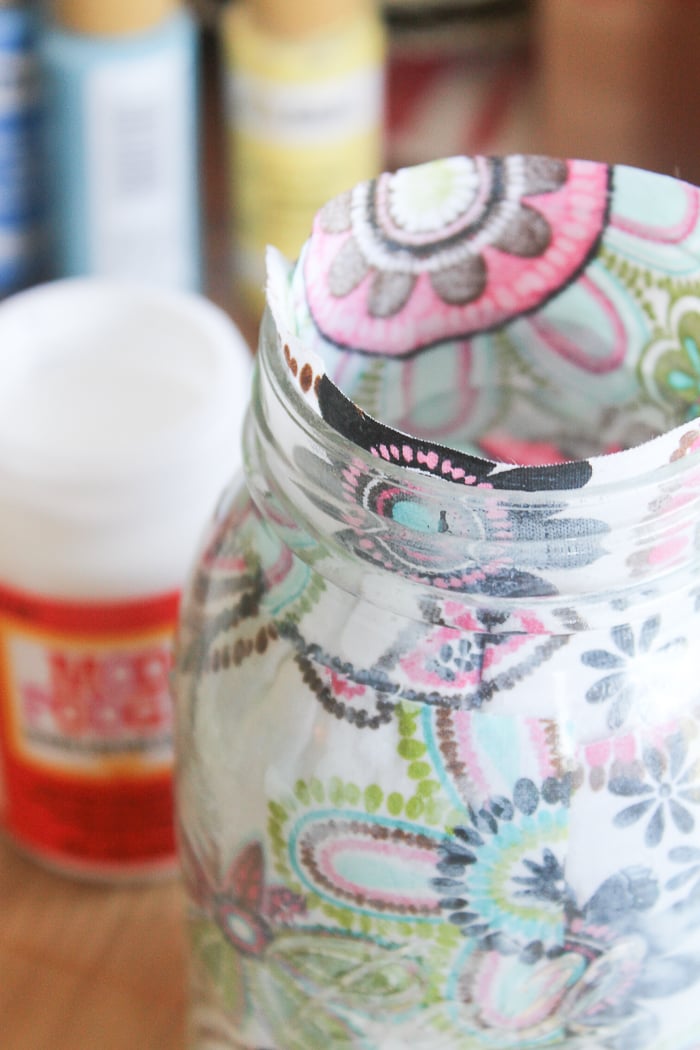
For this first one, I cut the fabric into approximately 3-inch squares.
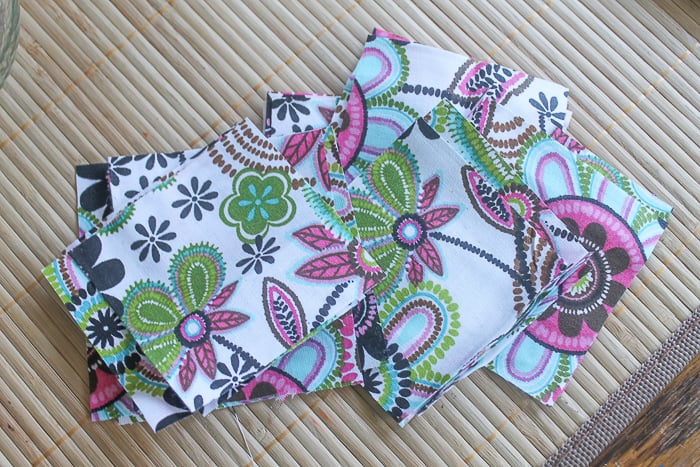
Two squares tall brought me up to the rim of the jar.

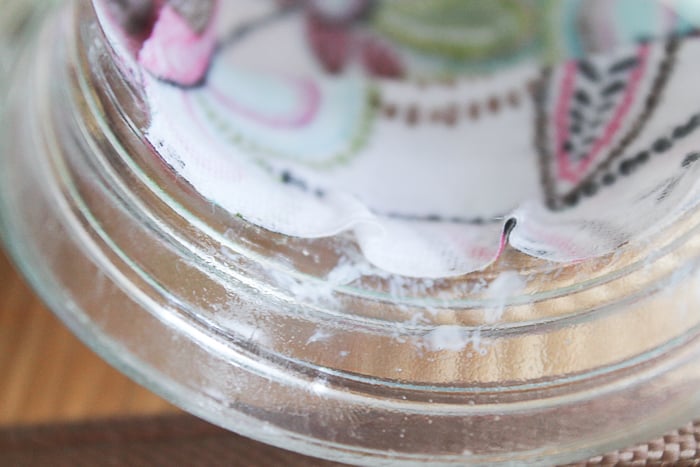
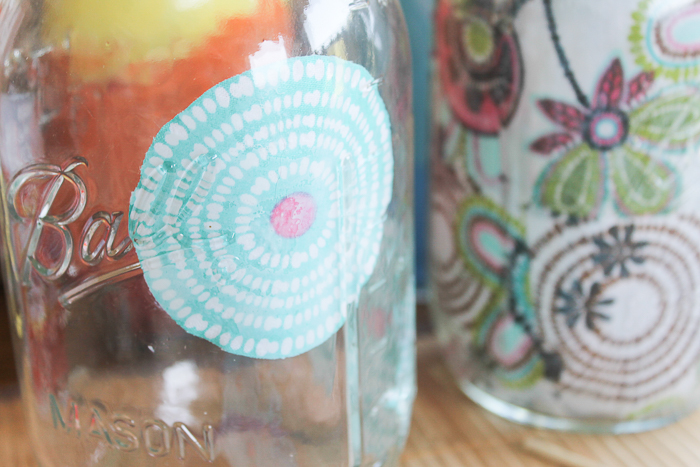
There will be some “bunching” on the rim area where the jar comes up to the neck.
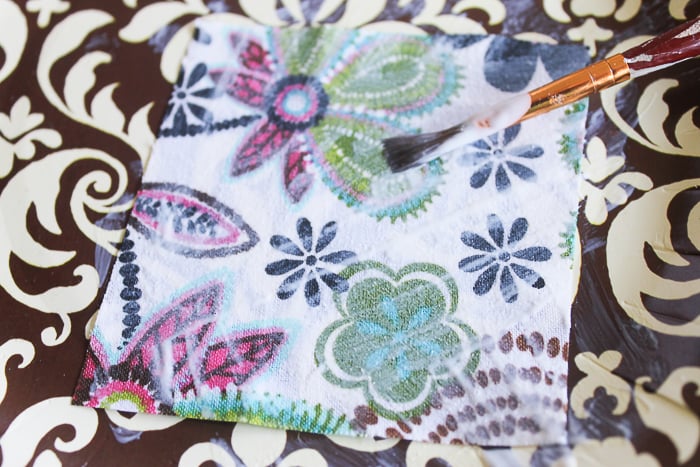
4. Fabric and Paint Decorated Mason Jars
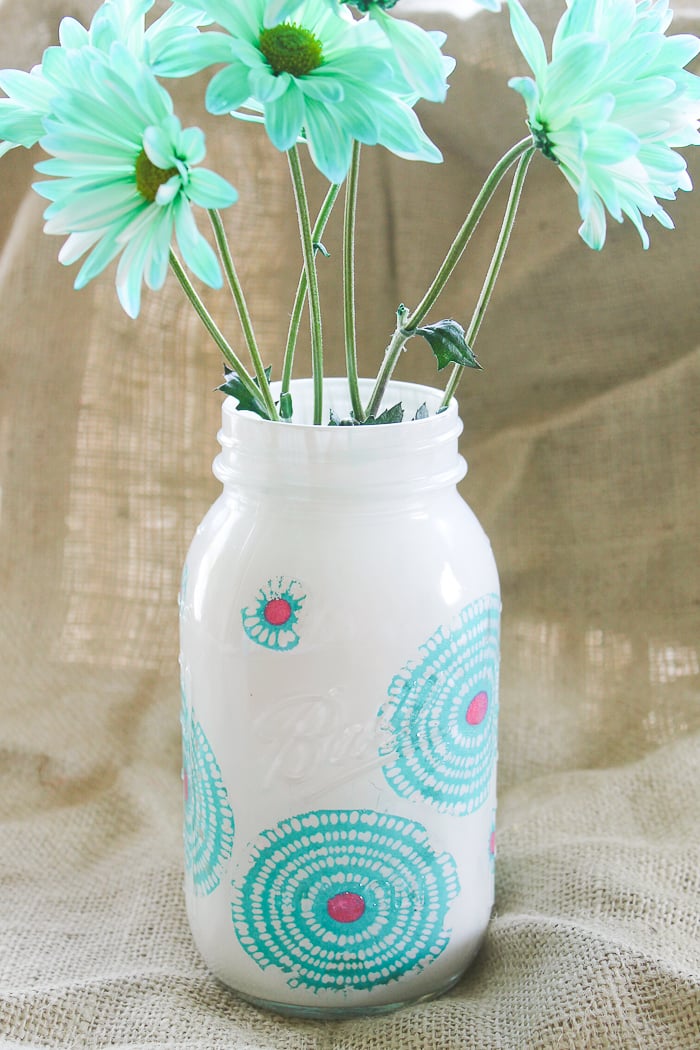
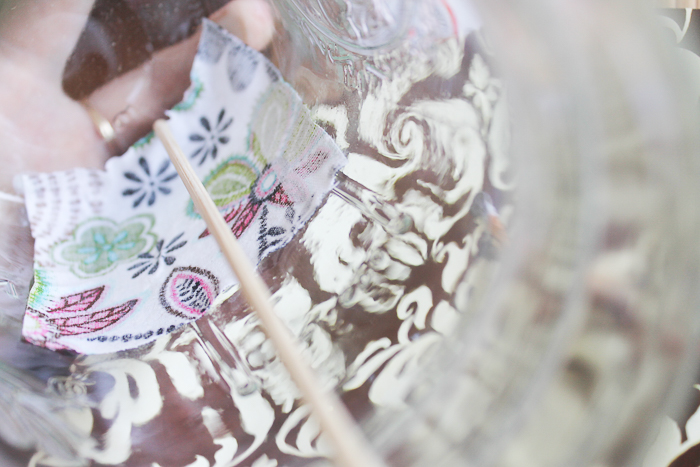
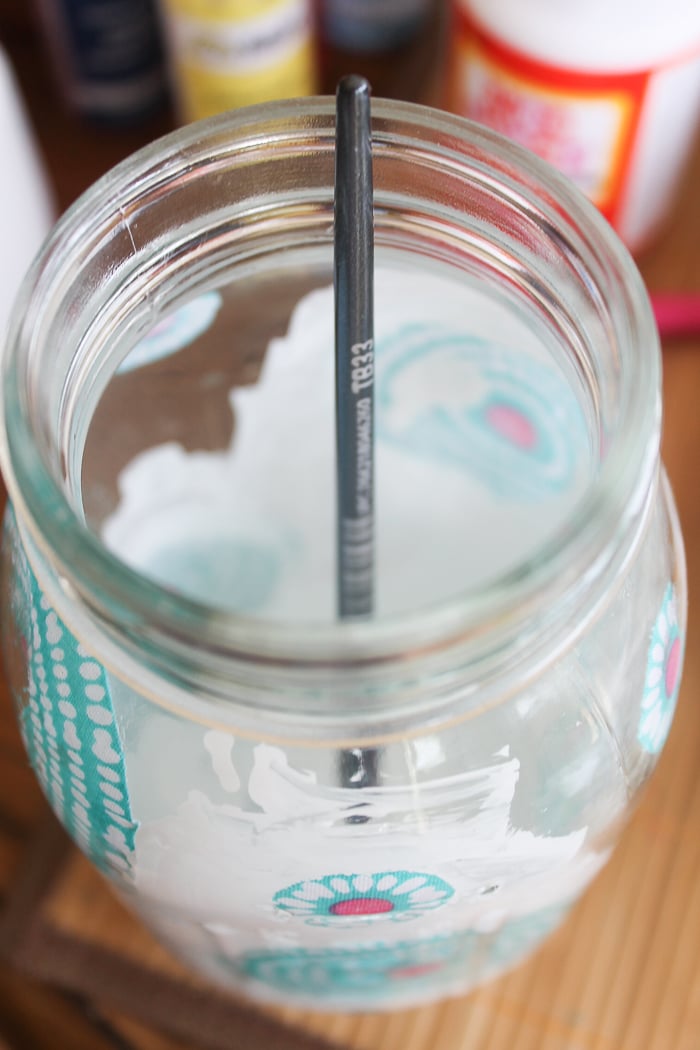
I then used Mod Podge to adhere them to the inside of the mason jar. Again applying Mod Podge to the front of the fabric and using a wooden skewer to work them into the tough spots.
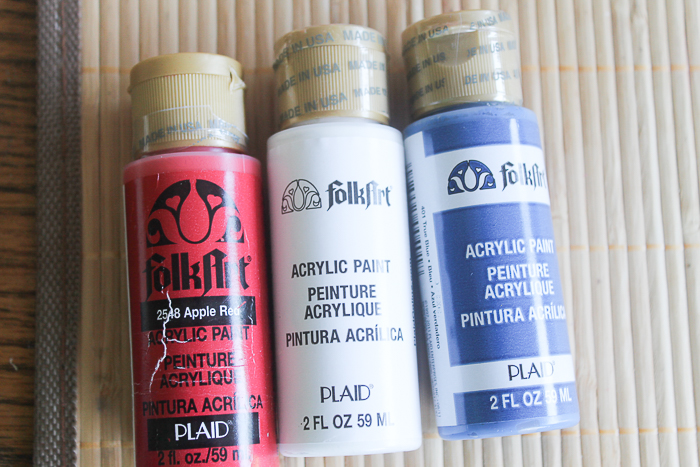
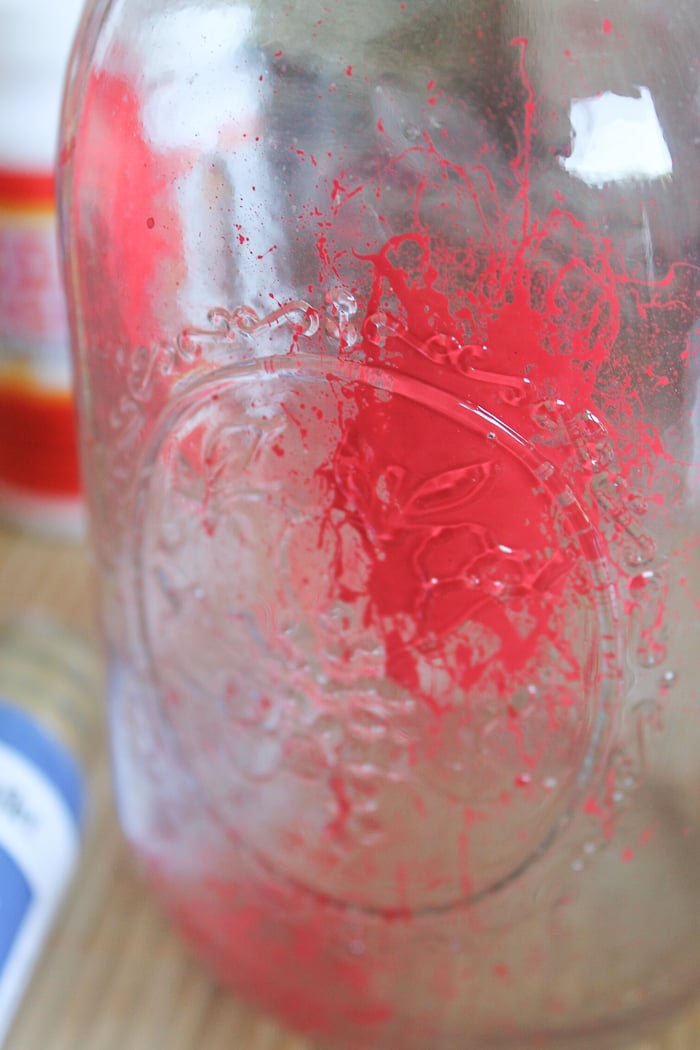
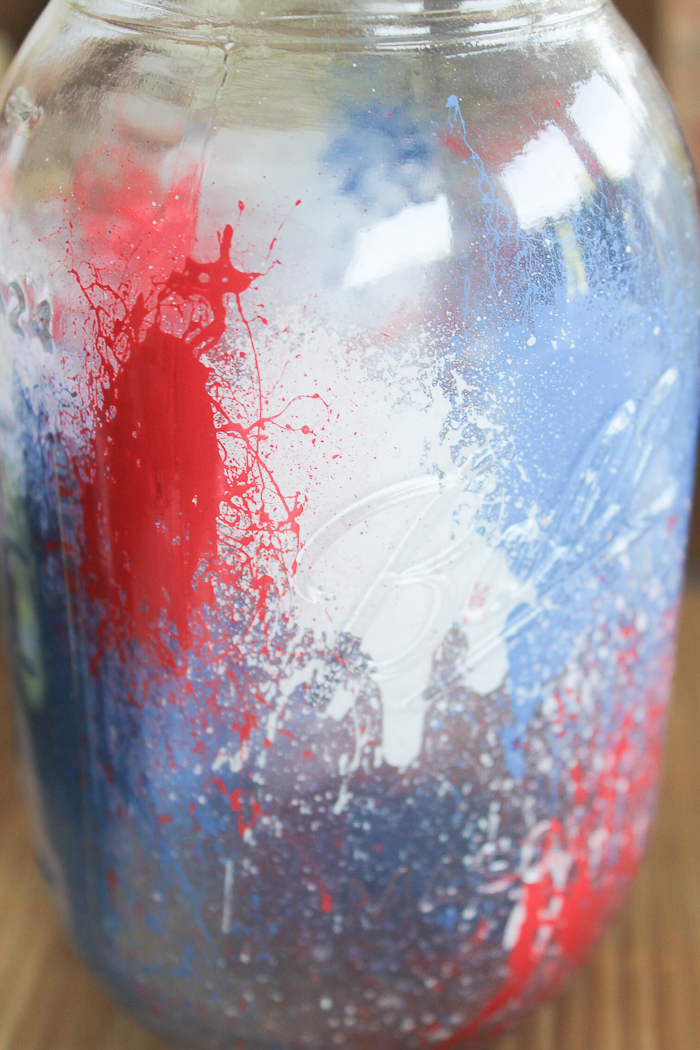
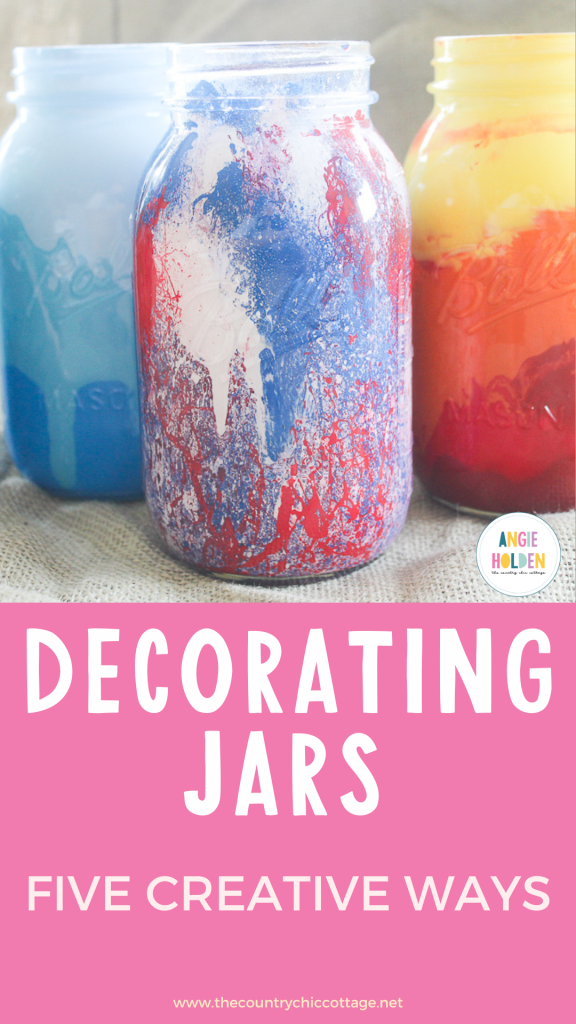
5. Red, White, and Blue Patriotic Splattered Paint Jar
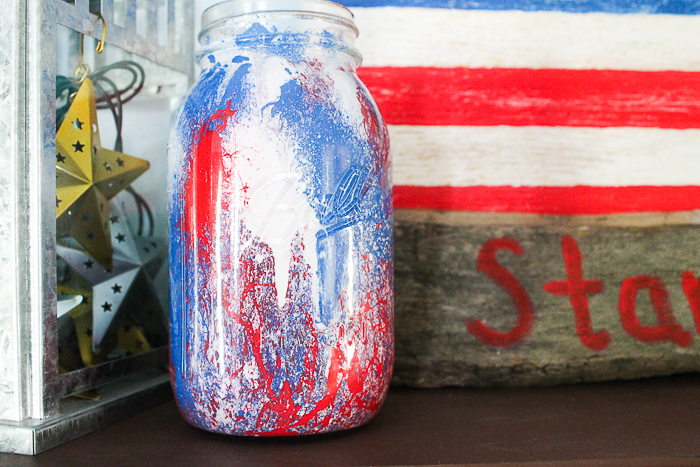
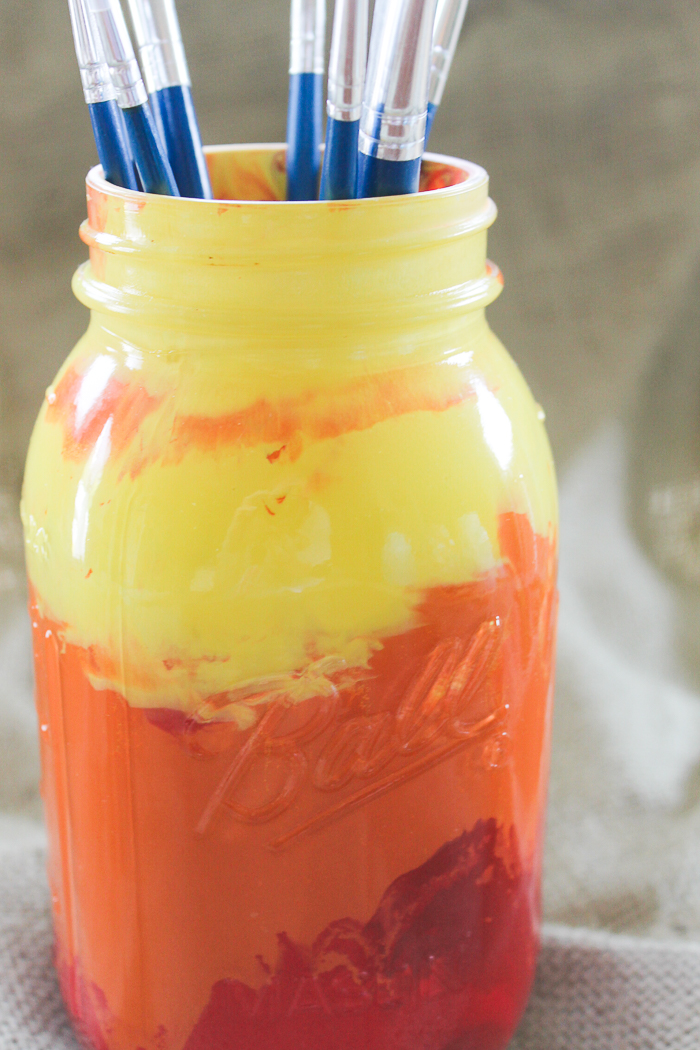
You are going to need red, white, and blue Folk Art Paints by Plaid.
Then SQUEEZE hard on the inside of your jar.
Love these ideas for decorating mason jars? Try these other links as well!
- Mason Jar Lighting Fixtures for Your Rustic Home
- Mason Jar Table Lamp: How to Make Your Own
- Mod Podge Ultra: How Does It Really Work?
- Mason Jar Wall Decor: Bathroom Organizer
- Baby Shower Favor in a Jar


So pretty, Ange! Great ideas! I use plain ones for storage in my craft room. I think they need a makeover! 😉
These are awesome. I have painted jars before but never dawned on me to paint the insides of the jars. I love them all but my favorites are the blue ombre and the circle material. Thanks for sharing.
I’m here from Modge Podge Rocks! I love your ideas…My fav is the fabric covered mason jar!! I can totally do this. 🙂 I’m pinning to my pinterest board. 😉
WOW!! These are all so fantastic!! I have to try them all! LOVE this! 🙂
I love the fabric ones. They’re so beautiful. I find it hard to throw away jars. Now I know just what to do with them!
Very creative my friend! It makes me want to take out all my decorative fabrics and papers and get on the work!
Angie, these look incredible! Your tutorial is so thorough, you make this look way too easy! Off to save on Hometalk!
Wow! Those all look great. Thanks for sharing your wonderful ideas.
Now to find some jars in the garage!
I loved the fabric jar but thought for sure it was scrapbook paper inside. I wonder if the same concept would work?
I just love your jars! They are all gorgeous! But the one with the fabric circles and the paint is my favorite 🙂
Love the jars; great colors. And the snot-sucker as a paint-sprayer is genious! I have some glass ball ornaments that I would like to do splatter paint in and that will do the trick just right!
Thanks!!
Can the painted ones be used to put candles in ? does the light come through or is the paint too thick ? i was thinking of doing the splatter design …. I have a party coming up and wanna put decorated jars out and around the back porch
love your jars and ideas. . . thanks for sharing
Great ideas, BUT….. I’ve dried using Folk art acrylics on mason jars, no matter what I do it scratches off so easy. Doesn’t matter if I use inside or out. And forget putting a second coat on, as soon as u try to brush or touch the first layer loosens and gets clumpy in the new paint.
Hmmm…I have had these for years with no issues. Something I would try is cleaning your glass well with rubbing alcohol before starting. It sounds like oils for your fingers or something that is preventing the paint from sticking.
genius <3
i love the fabric + paint combo. your collection of ideas adds so many more possibilities to my list of mason jar plans this year. thank you for sharing with us!
Hi Angie,
I’ve got a bunch of clean, plastic peanut butter jars. Do you think plastic will work as well?
BTW, I love buying those Hobby Lobby acrylic paints and use them often.
🙂
It should work fine!
LOVE!!!
can you do the fabric on the outside sealing with mod podge?
You could definitely try that, I haven’t yet 🙂