
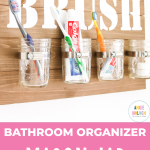
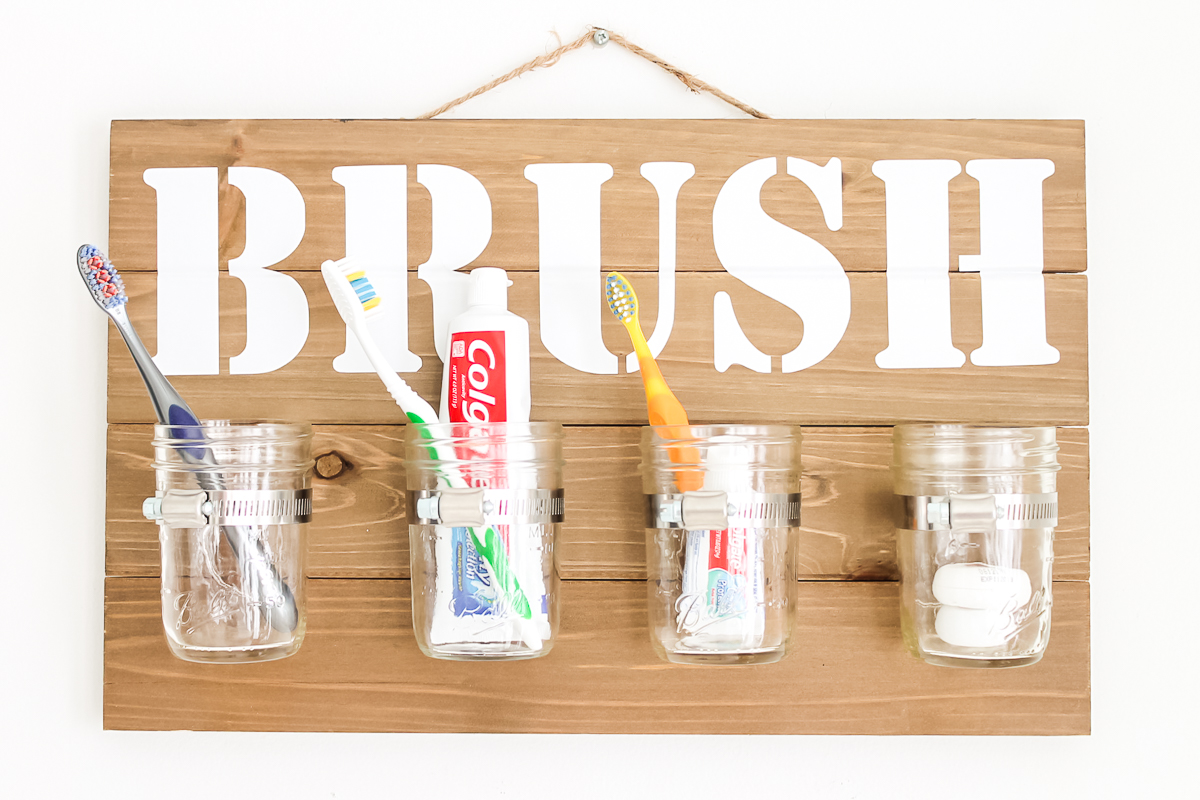
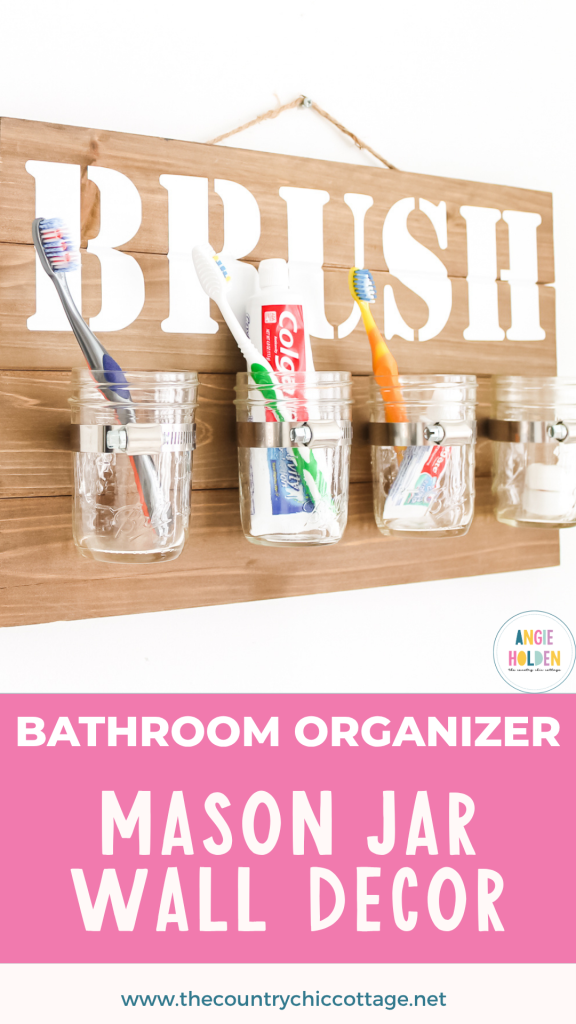
Mason jars + farmhouse style = a perfect match! This mason jar wall organizer is one of my favorite easy projects, and it works great in the bathroom. It’s simple to make, super functional, and adds a charming touch to your space. I’ve even included the cut file so you can add the word “BRUSH” and make it your own.
This one was first published on December 26, 2018; however, I am republishing it with more information.

Mason Jar Wall Decor
Click play on the video below to watch me make this cute mason jar bathroom organizer in just a few minutes. I think you will be surprised at how easy it is to make!
Can't watch the video or miss some of the information? You can also find the instructions below.
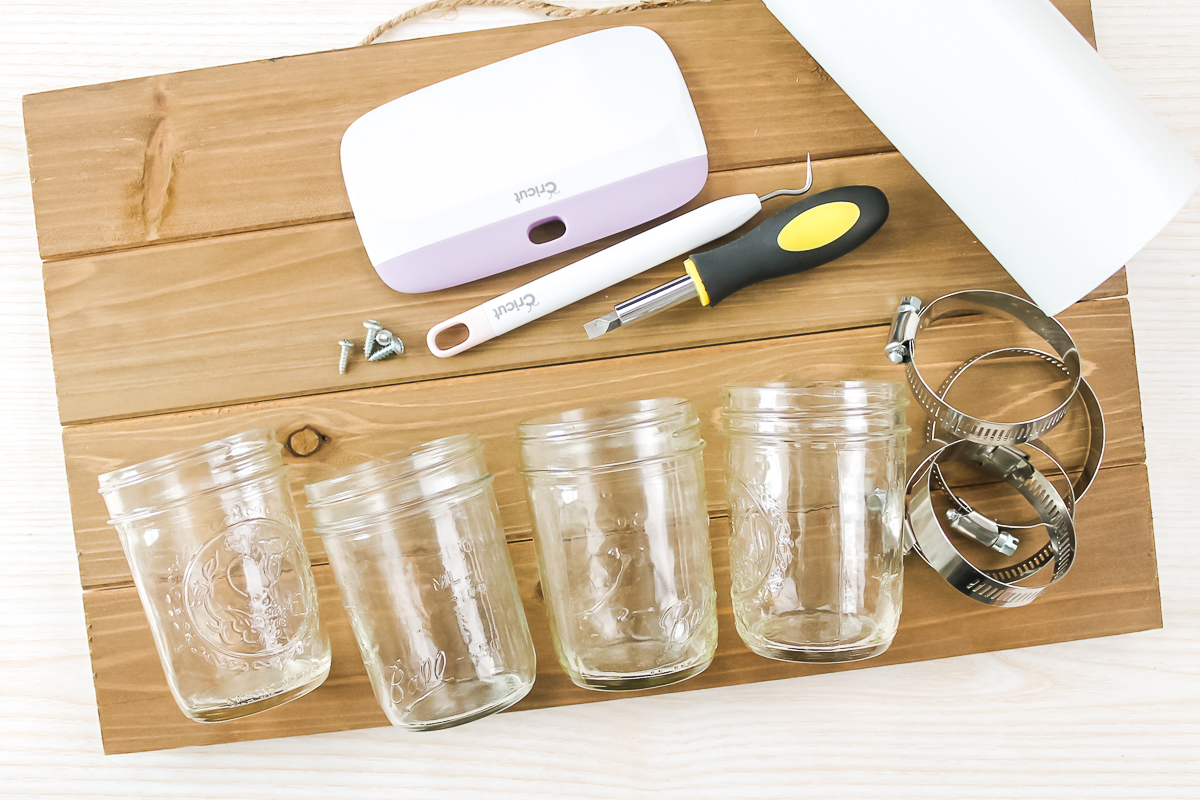
Supplies needed to make this mason jar wall decor:
- Rustic wood panel (I found mine at Hobby Lobby)
- Mason jars
- Pipe clamps
- White vinyl
- Transfer tape
- Cricut machine (click here to see which I like best)
- Weeding tools
- Scraper
- Screwdriver
- Drill
- Screws
- BRUSH file (see how to get your file below)
Free SVG File
To get the BRUSH file, sign up for the newsletter in the box below. Look for a box with a picture of the file you want, then add your information. If you already get the newsletter, add in your information again, as you will not be signed up for anything further. Once you sign up, check your email to get your file. You will need to unzip the file before uploading it to Design Space. You can see more about the upload process here.
Step-by-Step Instructions to Make Cricut Bathroom Decor:
Step 1
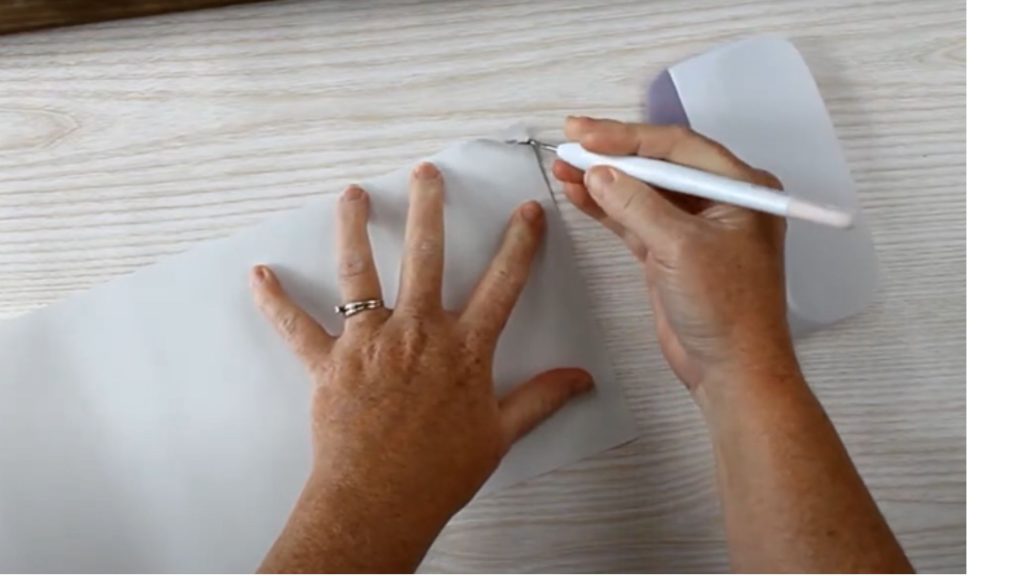
After you have the SVG file from filling out the form above, upload it to Cricut Design Space. Then size the word to fit your wood panel. Click “Make” and cut the design from adhesive vinyl.
Step 2
Once cut, weed away all excess vinyl. Having issues cutting vinyl? You can see my basics guide here.
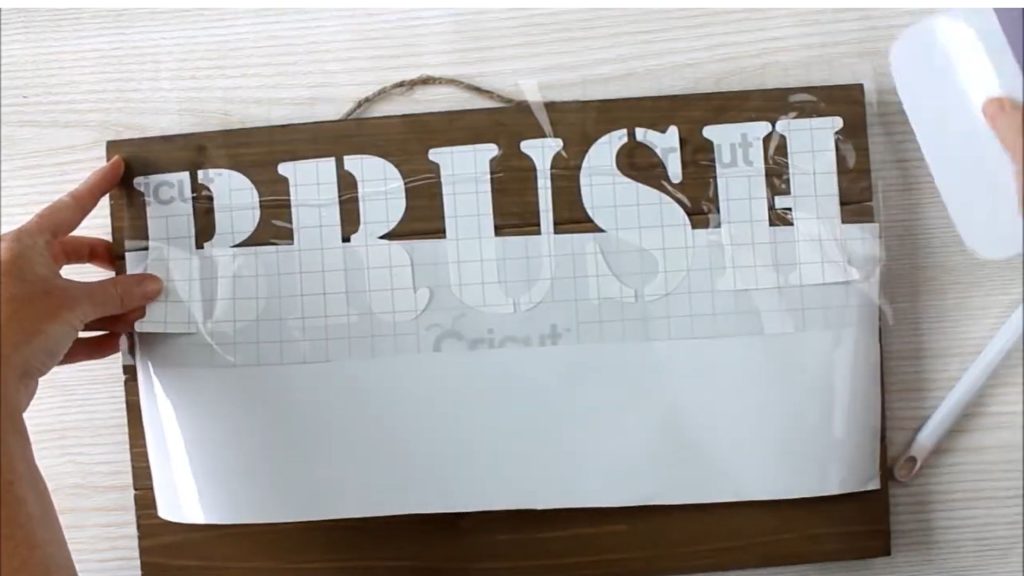
Step 3
Apply the vinyl to the top of your board using transfer tape. With the division between the boards, I applied the top, then pressed down into the gap. And finally applied the bottom of the word to the next board. You can watch this in the video above.
Step 4
Once the vinyl is on the board, measure and mark where your mason jars need to be attached. You can see I laid mine out to eyeball it, but also measured to make sure they are where I want them.
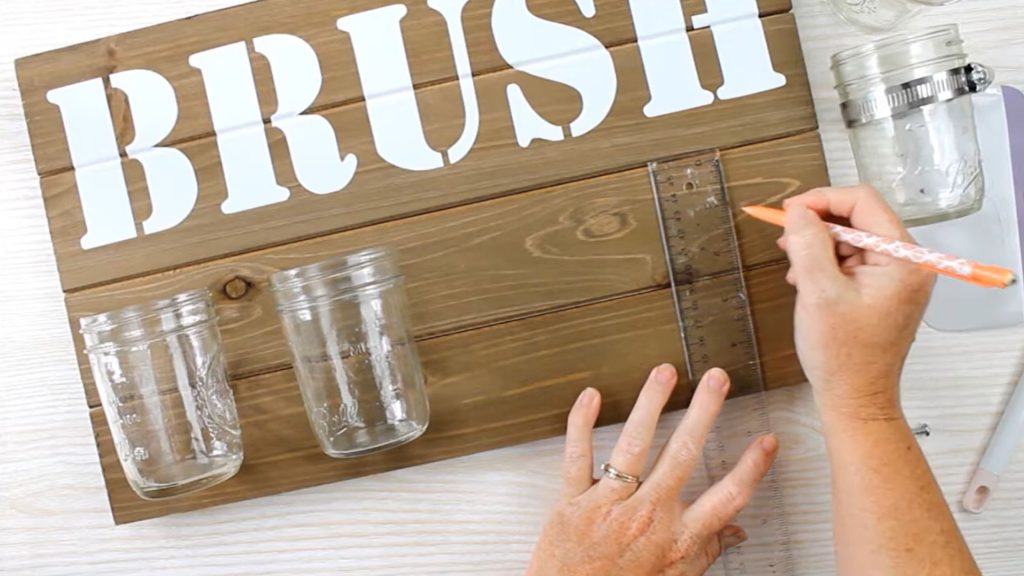
Step 5
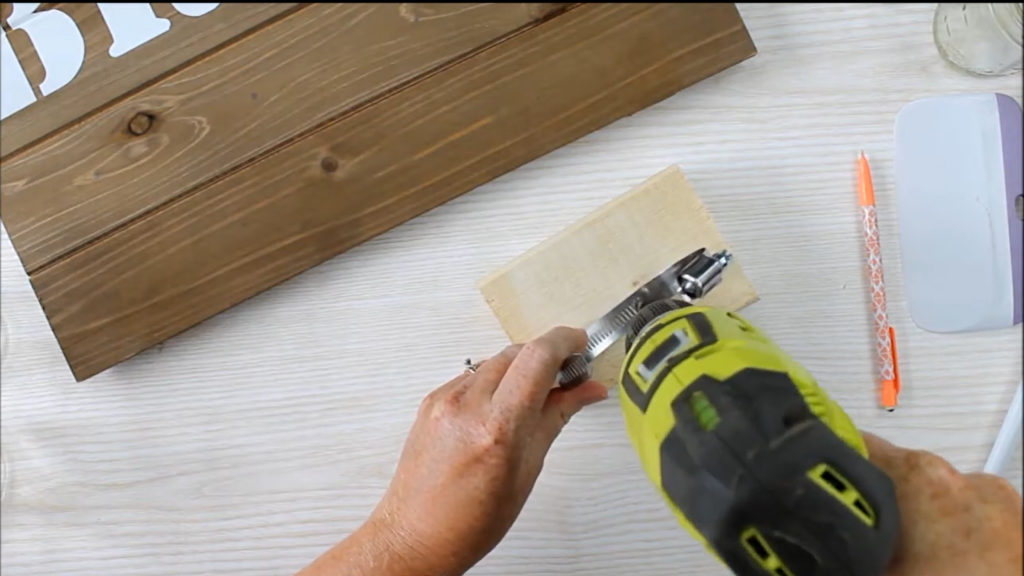
Drill through the clamp to make a hole large enough for your screw. Use a scrap piece of wood under your clamp during this step to avoid damaging your work surface.
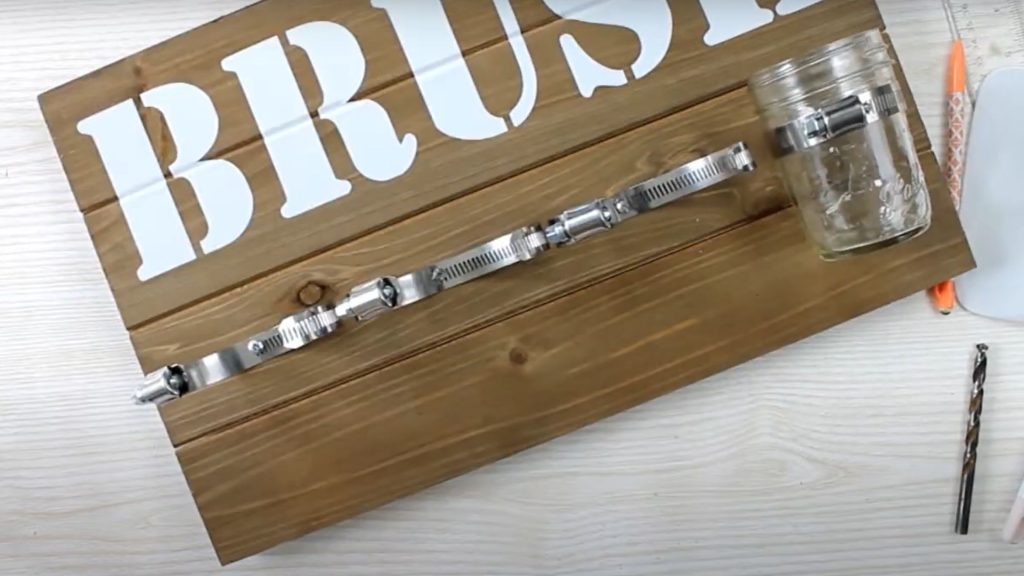
Step 5
Then screw through the hole in the clamp and into your board in four areas, tighten your screws, and add the mason jars. Once the mason jars are on the sign, just tighten up the pipe clamp to complete your mason jar wall decor.
Step 6
Now you're finished with this easy mason jar wall decor, perfect for your bathroom. Hang your sign and add the items you want to organize.
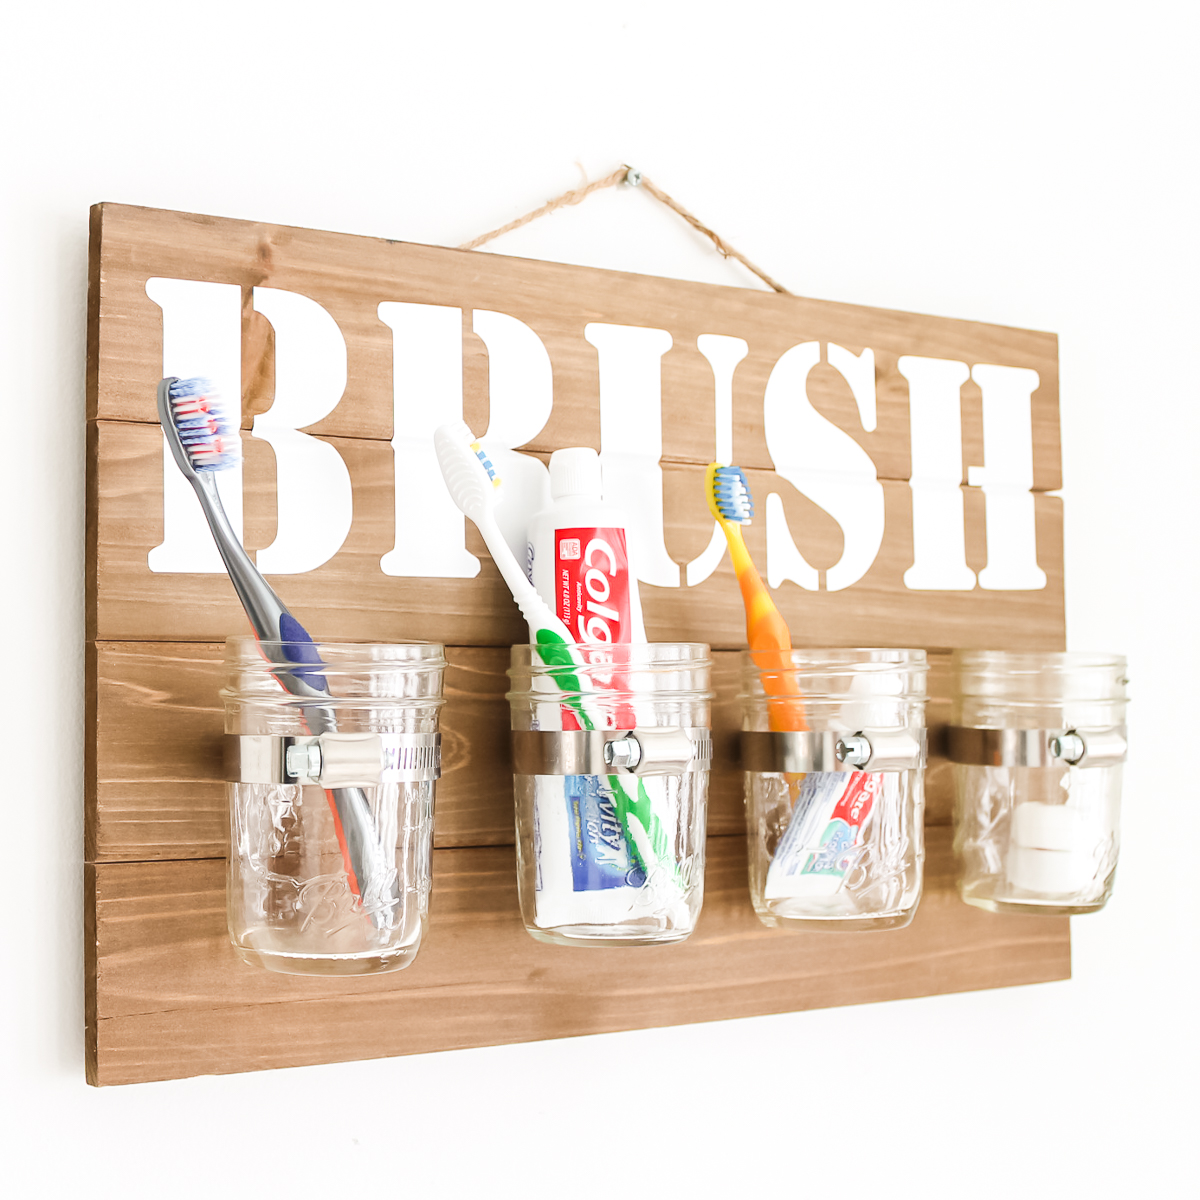
Add this bathroom organizer to any powder room to organize toothpaste, toothbrushes, floss, and more.
Get your home a little more organized with this easy-to-make DIY project! You can't go wrong with mason jar wall decor! Looking for more Cricut bathroom decor ideas? You can make this sign as well!
Love this mason jar wall decor? Want more ideas? Try the links below!
- Organize Your Life with This Free Download
- Recipe Organizer Ideas
- Make Up Organizer Ideas
- Mason Jar Hardware Organizer
- 10 Ways to Use a Shoe Organizer


I LOOOVE that idea and it looks absolutely gorgeous. I have to try it! Thank you 🙂
This would look great in my bathroom. Thank you!
Oh my goodness, this is fabulous! Adding to my project list for this year!
You know what, I have 6 other people in my house, and someone (they won’t own up to it) keeps using my razor. I’m gonna make one for our razors. Even buying colored ones, with different colors for everyone, doesn’t seem to help. Dropped in from Funtastic Friday and saw this post. Great idea!
I love how cute this is! I love how this would help organize my bathroom and look fantastic too! So clever! Thank you for sharing at Celebrate It!
Pinned – great idea. Thanks.
Joy
Absolutely stunning!
I think this is so adorable and something my son and I could make together. For his restroom because it would look more manly than items I find in the store.
Great idea for tooth brush storage. Happy New Year, Kippi
Super cute! I’ve shared it to my social media peeps! Great for counter space saving too!