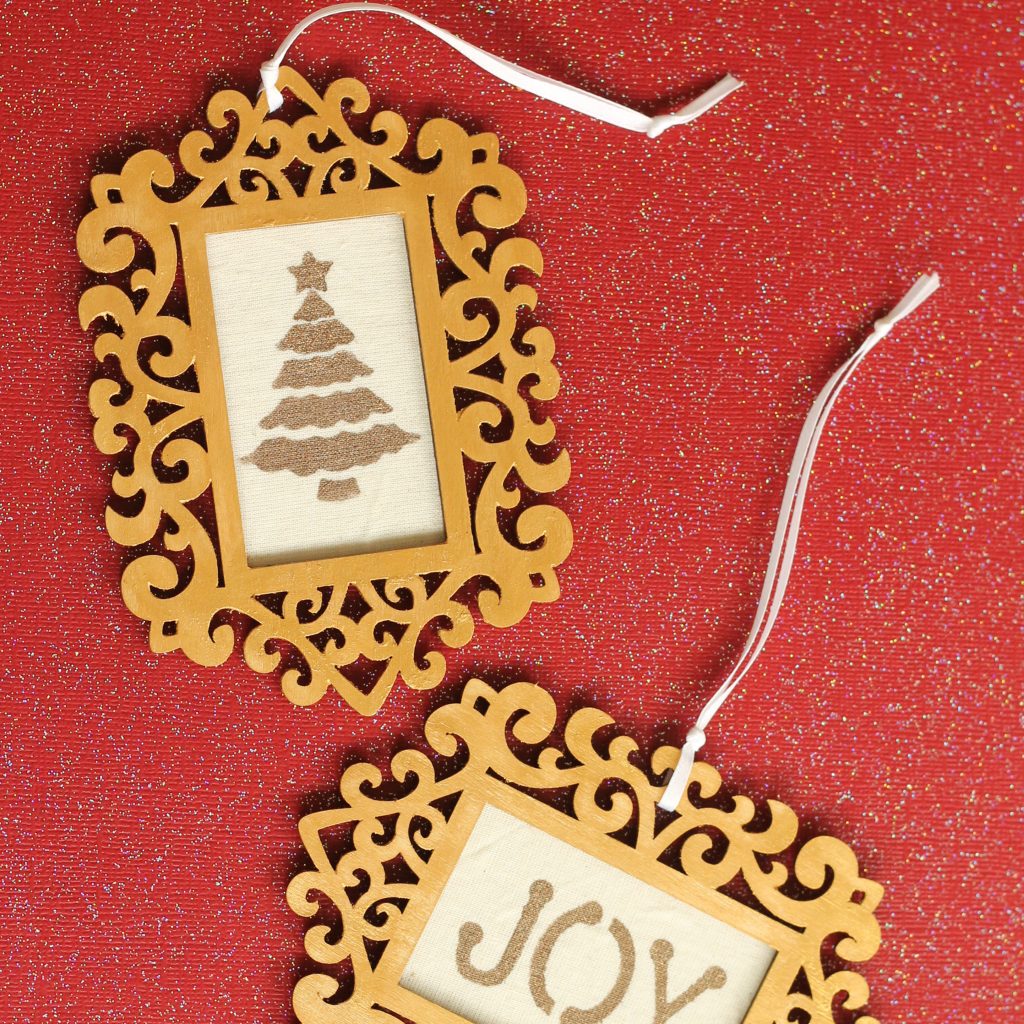
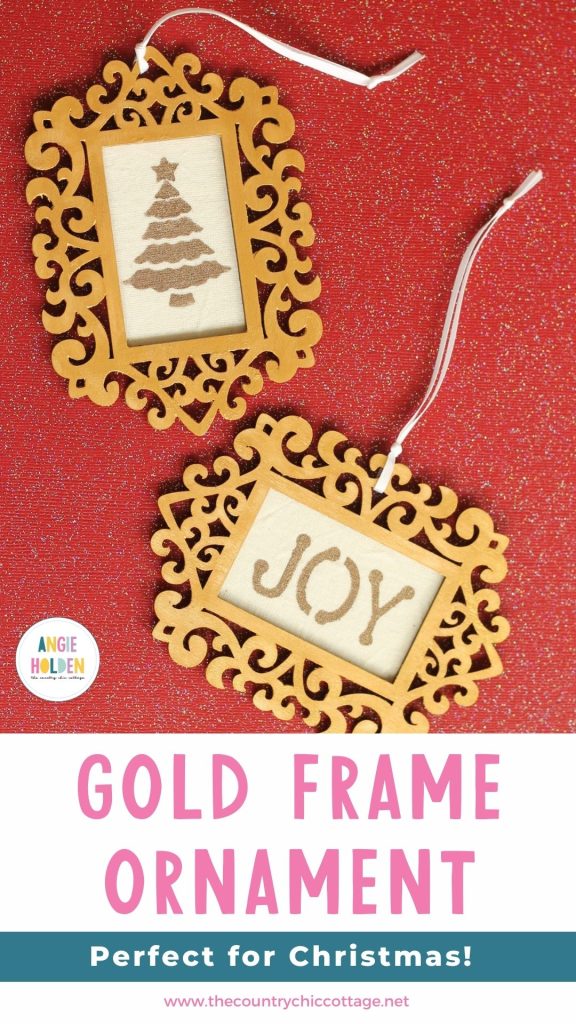
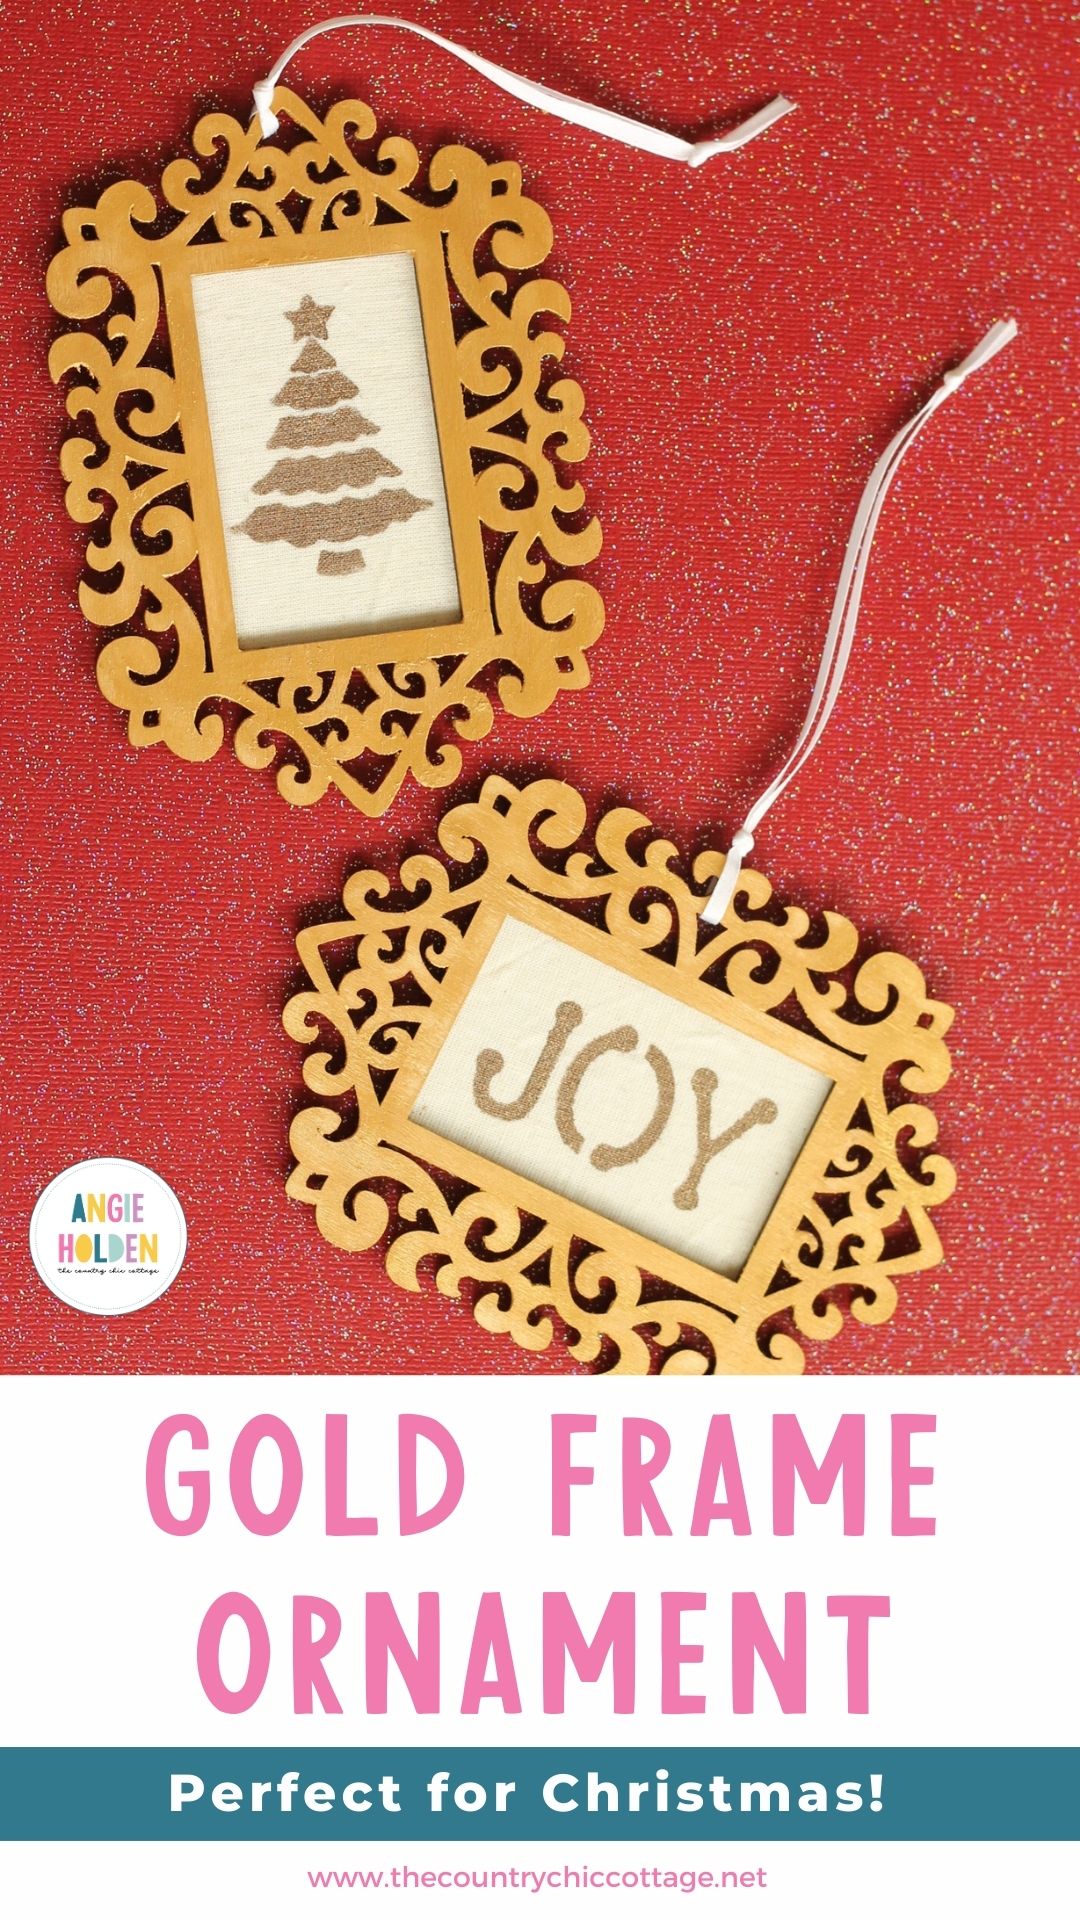
Looking for more simple crafty ornament tutorials? Then these gold frame ornaments are perfect. Read on to learn how to make your frame appear to be gilded in gold, plus how to stencil anything in the inside. Get the kids involved in making these simple ornaments this holiday season.
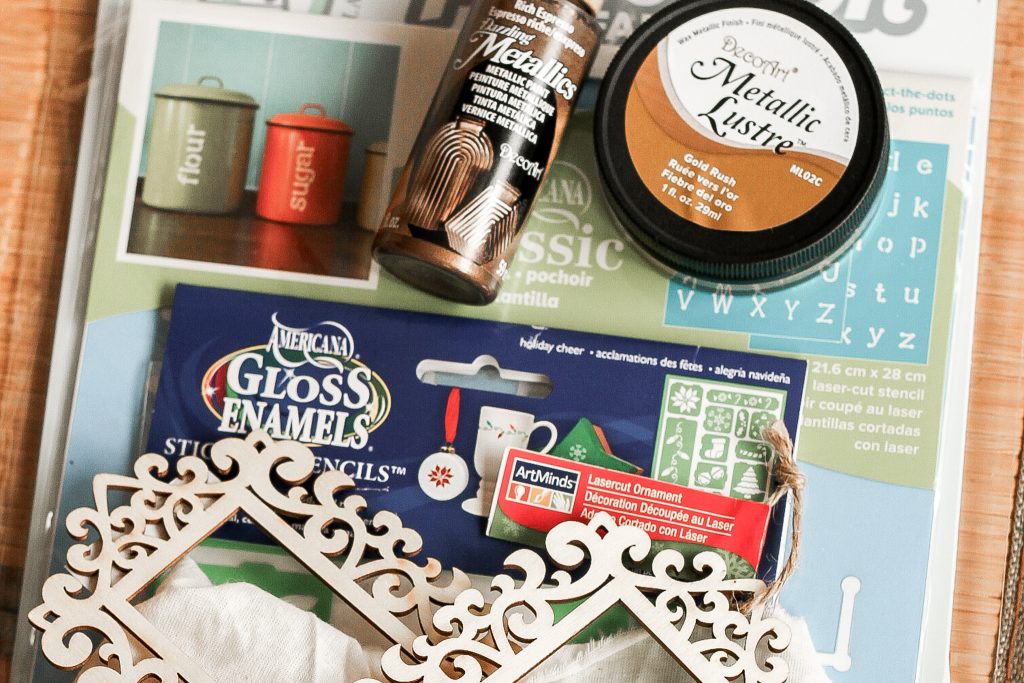
Supplies for Gold Frame Ornaments
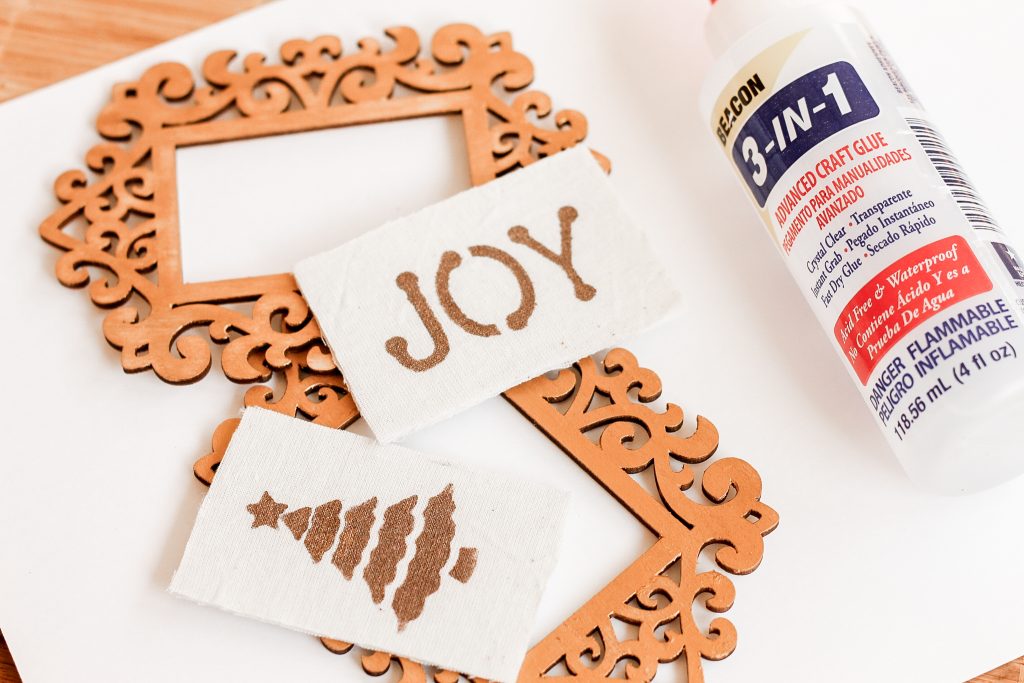
- Frame ornaments (or make your own, see below)
- Fabric stabilizer (or thick piece of wood)
- Metallic wax in gold
- Scrap fabric
- Metallic craft paint (I used a dark brown)
- Paint brush for stenciling
- Stencils
- Glue
Make Your Own Frame (Optional)
If you have a craft laser, you can make your own frame in any design. I took a look at Design Bundles and found these frames that are similar to the ones I purchased. There are also several laser cut files to choose from on Etsy as well. This is a great project to use up scrap pieces of laser hardwood or plywood.
DIY Gold Frame Ornament Instructions
Here are the steps to bring these gold frame ornaments to life. Feel free to use other colors or patterned fabric to match your holiday decor.
Step 1 – Cut stabilzer
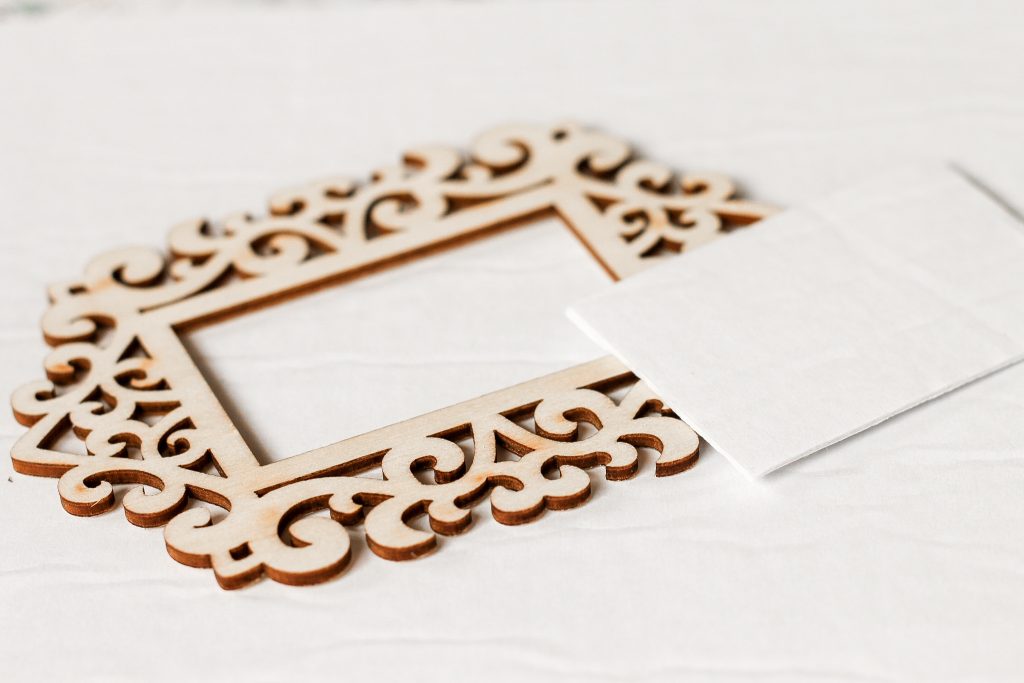
Start by cutting a piece of fabric stabilizer (I like to use Phoomph, but it's getting really hard to find) to the size of your frame opening. I am using the stabilizer to give my fabric some rigidity when inserted into the frame. You could also cut a thin piece of wood to go into the frame as well.
Step 2 – Add fabric
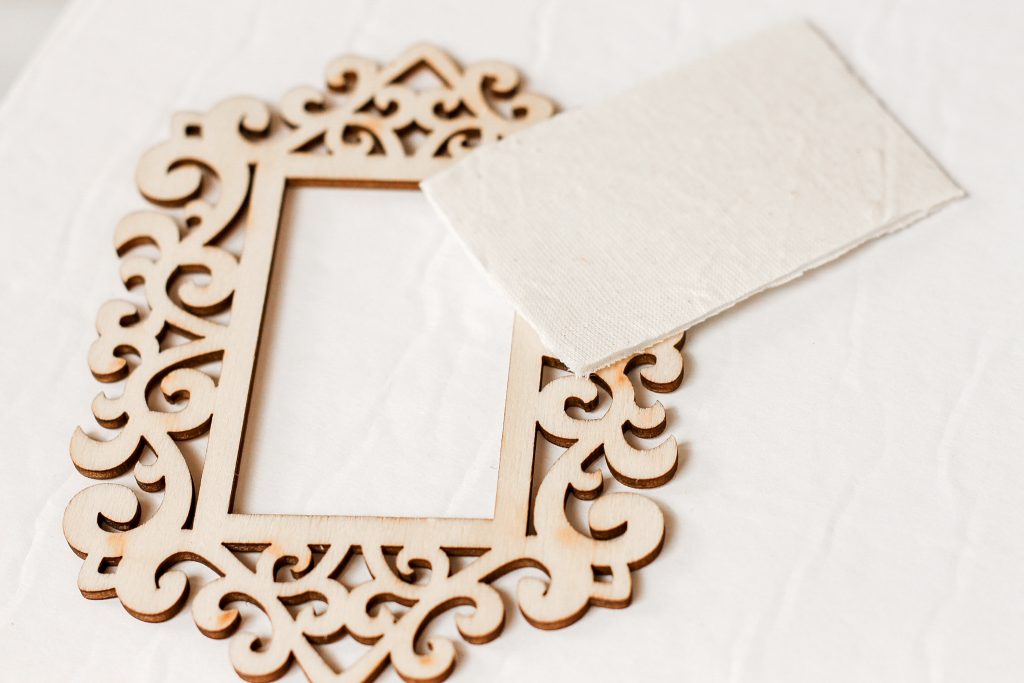
Cover both sides of the stabilizer or wood with fabric. Follow the instructions for your specific stabilizer to adhere the fabric. If you are using piece of wood, you can use light layer of mod podge on the wood and then again on top of the fabric.
Step 3 – Enhance the frame
Now lets work on that frame and getting that gilded look. For this, I used a metallic wax, similar to Rub N' Buff, which is perfect for this application. Literally just use your finger and rub the product onto your frame. You can see from the picture below that the product is like a paste.
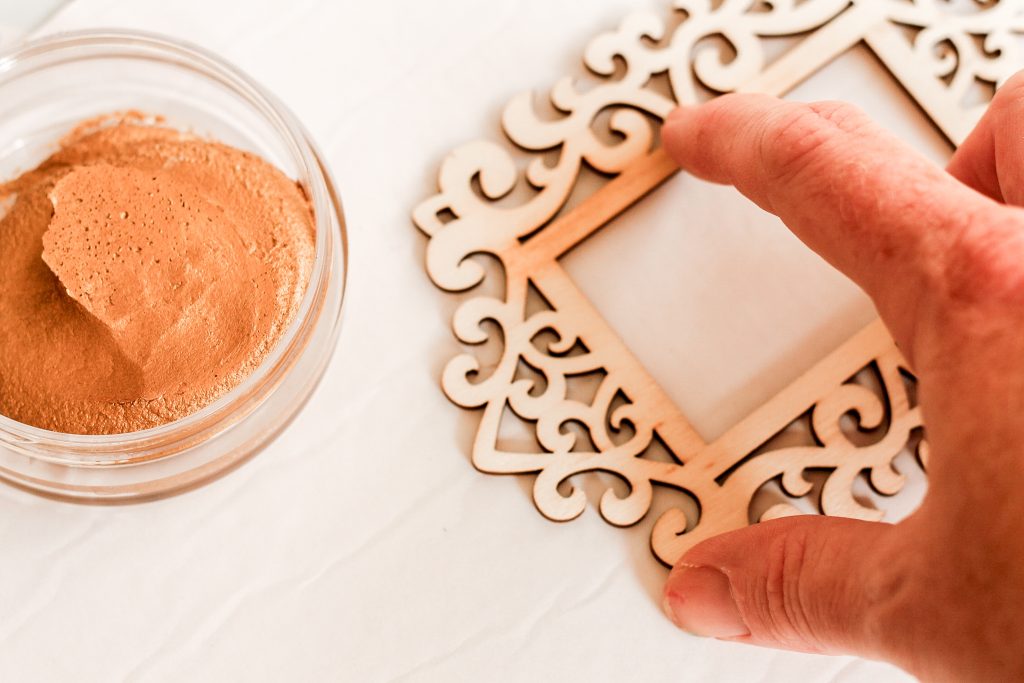
I actually rubbed on two coats to get the look you see in the pictures. But you use very little product on each application. I did have a little trouble with the product balling up in the intricate frame. I just used a toothpick when the frame was complete to remove any excess product.
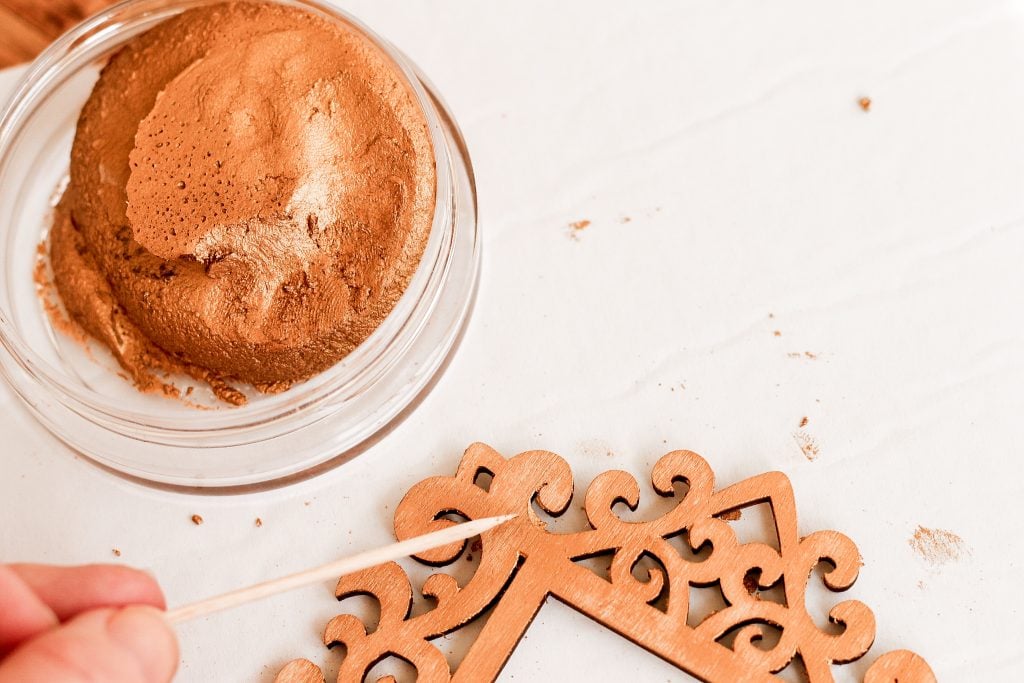
Now we have a pretty gilded gold frame and all in a few minutes.
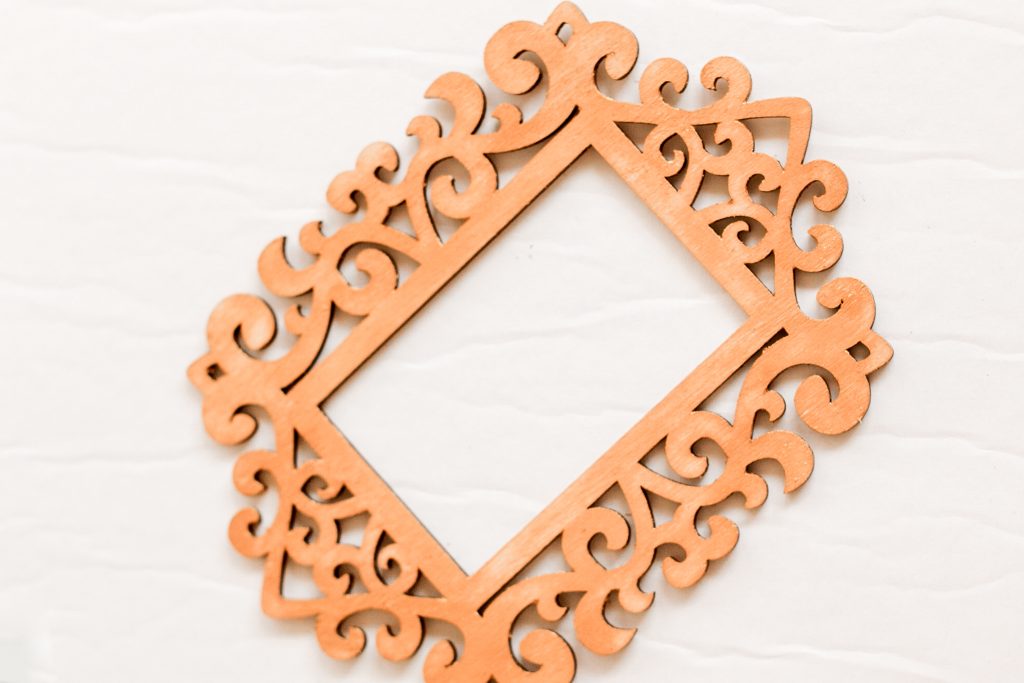
Step 4 – Stencil the fabric
Getting back to that stabilized fabric, it's time to stencil on the design of your choice. I used the word “JOY” on one ornament and a tree silhouette on another. Let your imagination run wild for what you would like in your gilded frame. I used the same color for both designs because I liked the metallic luster to match the gold in the frame.
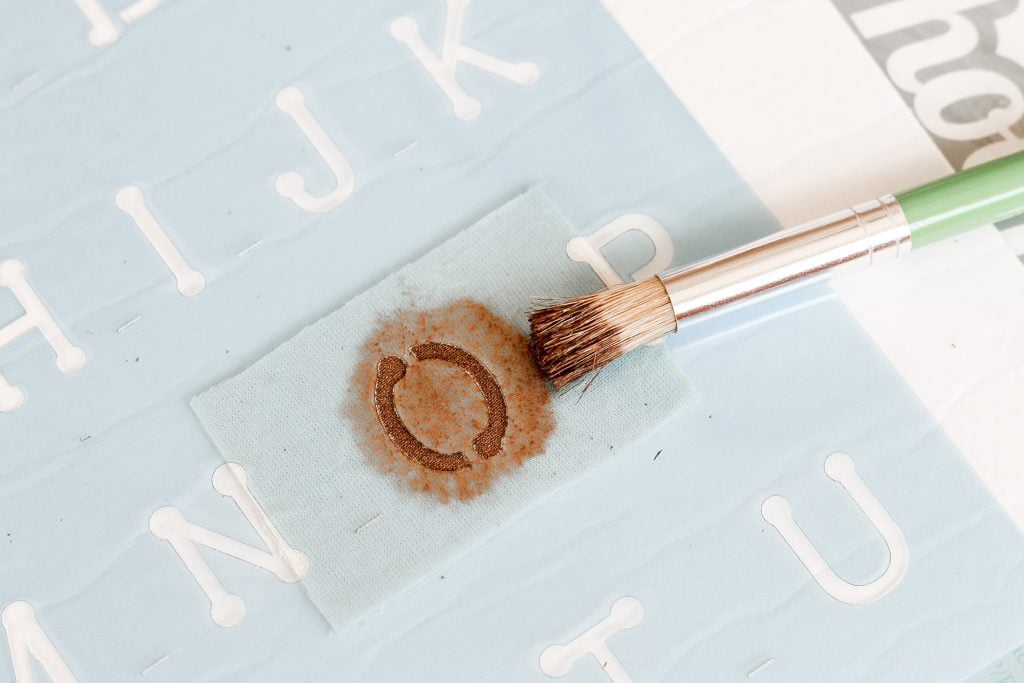
Step 5 – Glue the stenciled fabric
Once the paint is dry, glue the finished fabric pieces inside of the frames. Allow to dry before continuing.
Step 6 – Finish the ornaments
To finish off these gold frame ornaments, I threaded a ribbon through the top for hanging on the tree.
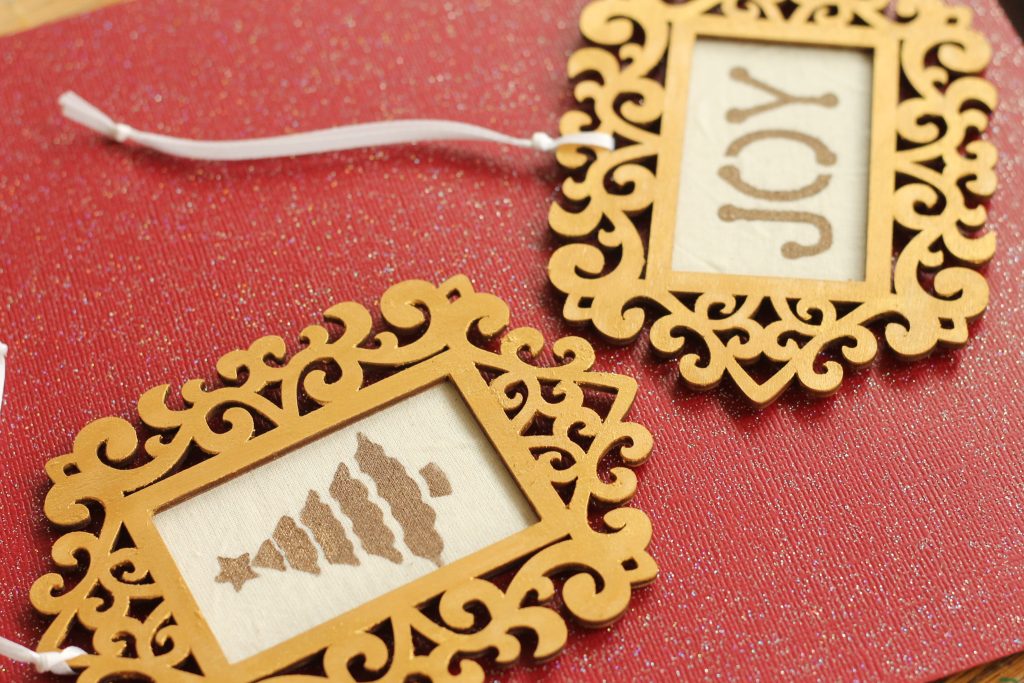
These are now ready for my tree (once it is up). Grab some of these fun frames (or make them yourself!) and use them to adorn your tree this Christmas. These gold frame ornaments are easy enough for the kids to help make but elegant enough to give as a gift.
More DIY Ornaments
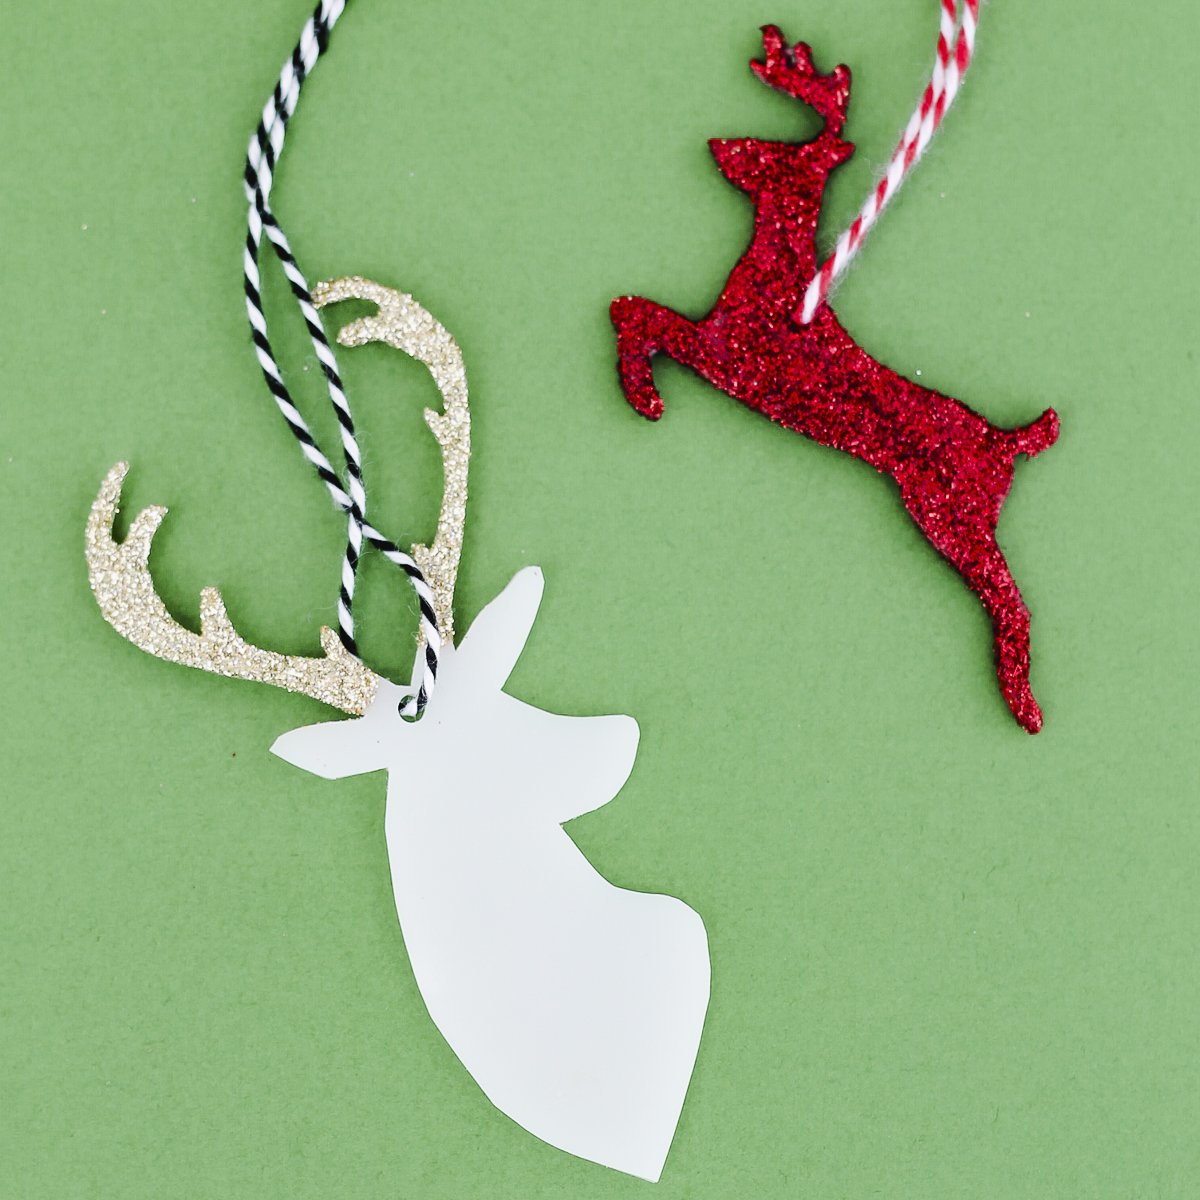
If you enjoyed making these gold frame ornaments, here are some additional ones to try.




Love these little frames Angie! They are perfect for ornaments!
Love these little frames Angie! They are perfect for ornaments!
Excellent as always Angie, love these, the size is so great. I love these and hope Michaels has some little ornaments like those left. Was just there Saturday night and left $36 there, ouch. Sure cleaned out my craft supplies budget for holidays. I want to make these tho so will use my very low limit credit card. Think those little frames are 99cents each. Hope they still have them. Great project. I’m so inspired I don’t know which project to do first. Happy crafting away Happy week
I love these little frames. They make perfect ornaments!