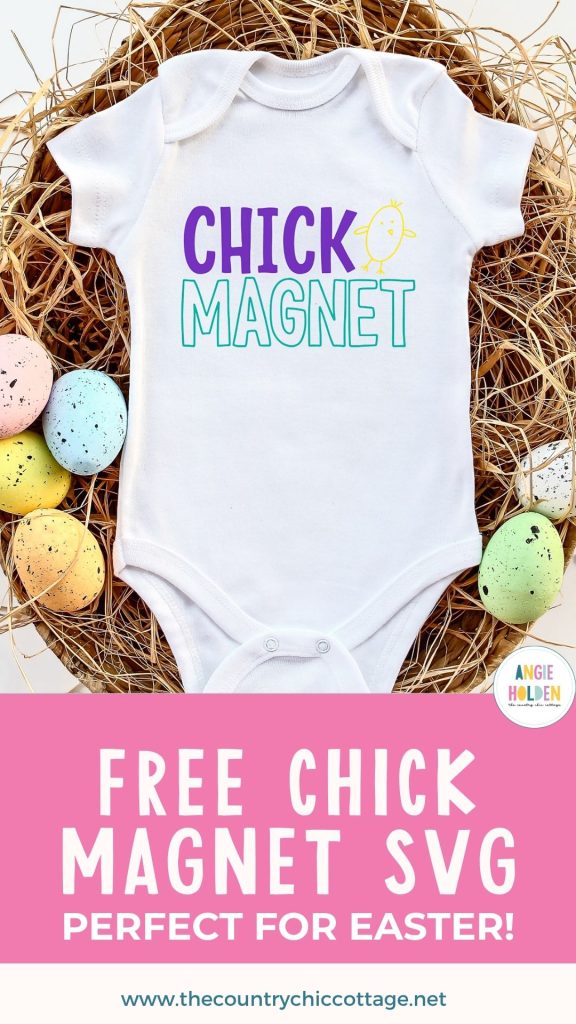
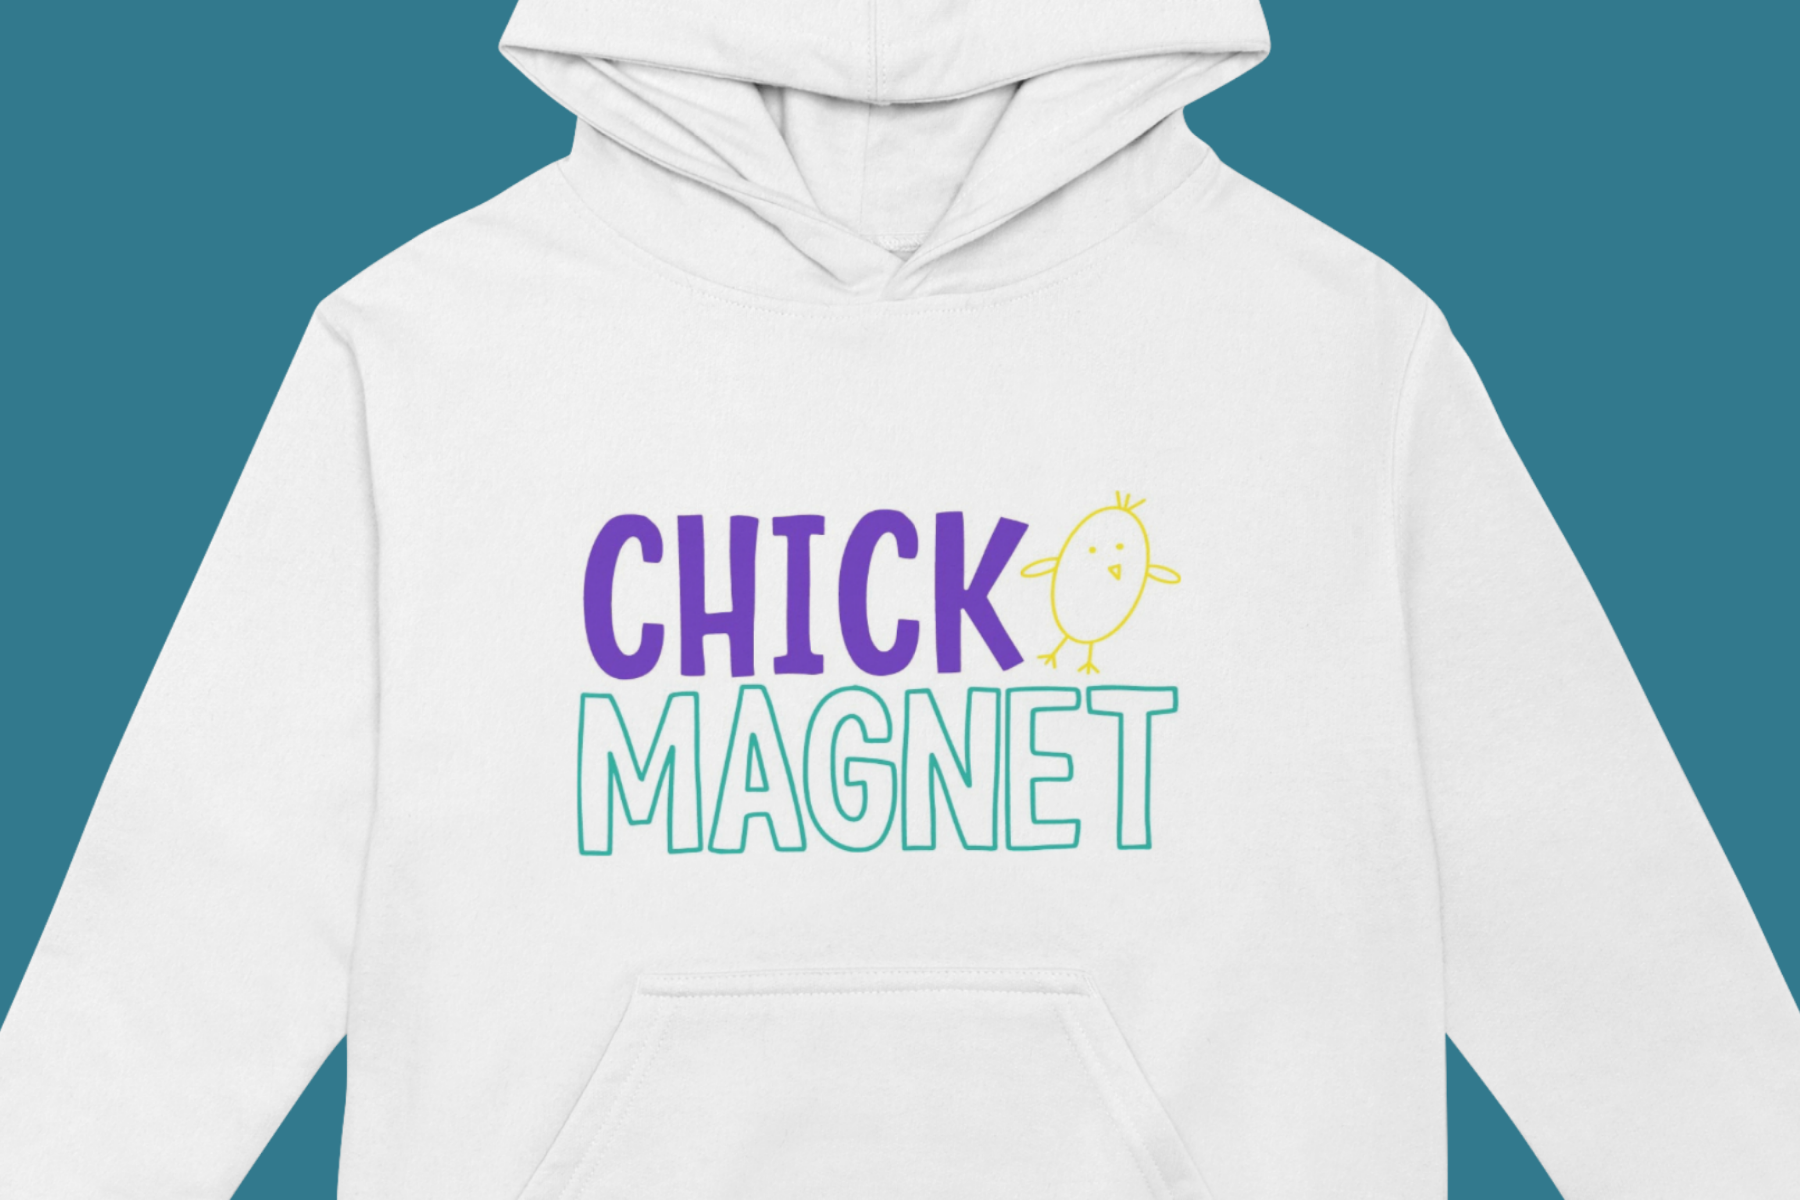
If you're crafting for Easter, you're going to love my free Chick Magnet SVG. I love celebrating all the different holidays, and this design is perfect for all the egg hunts and family parties.
This design includes multiple colors of HTV. Learn more about layering HTV with my How to Layer Iron-on Beginner's Guide.
How to Make a Chick Magnet T-shirt
To make a t-shirt, onesie, or sweatshirt using HTV, begin by gathering the supplies. I am using an EasyPress for this project, but you can use any heat press you have.
Supplies Used
- Free Chick Magnet SVG
- Cricut Machine
- Cutting Mat
- Weeding Tool
- HTV
- EasyPress
- EasyPress Mat
- Protective Paper
Step 1 – Download the Free Chick Magnet SVG File
To download the file, click here and enter your information. If you've already signed up for emails, enter your email address again, and the file will be sent to your email. You will not be signed up for anything extra.
Open the email and download the file to your computer. In Design Space, you'll want to use the SVG file. JPG and PNG files that you can use for sublimation or printed projects, and a DXF file for Silhouette Studio, are also included.
I am using my Cricut machine and Design Space today. This project can be made with any Cricut machine that can cut the size you need.
Step 2 – Upload the File into Design Space
Upload the file into Design Space. If you don't already know how, you can learn how to do this in my How to Use an SVG with Design Space tutorial.
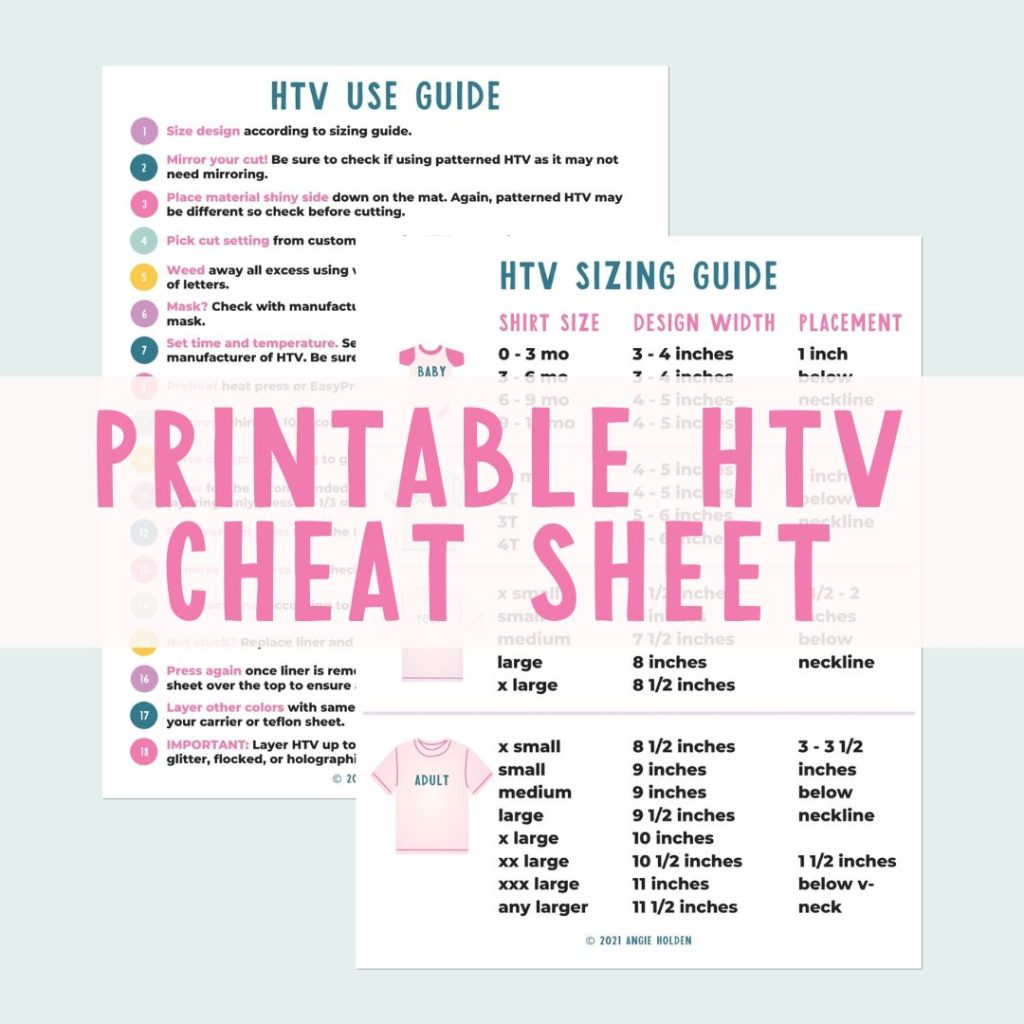
Free HTV Cheat Sheet
Get your FREE Printable HTV Cheat Sheet now! This guide has sizing and position recommendations for infant through adult shirts as well as a handy HTV use guide. Print this double sided guide and put it by any heat press you own!
Step 3 – Adjust the Design for Your Blank
With the design on the canvas, you can resize the image to fit your blank. Make sure you resize all the layers at the same time so the design stays proportionate.
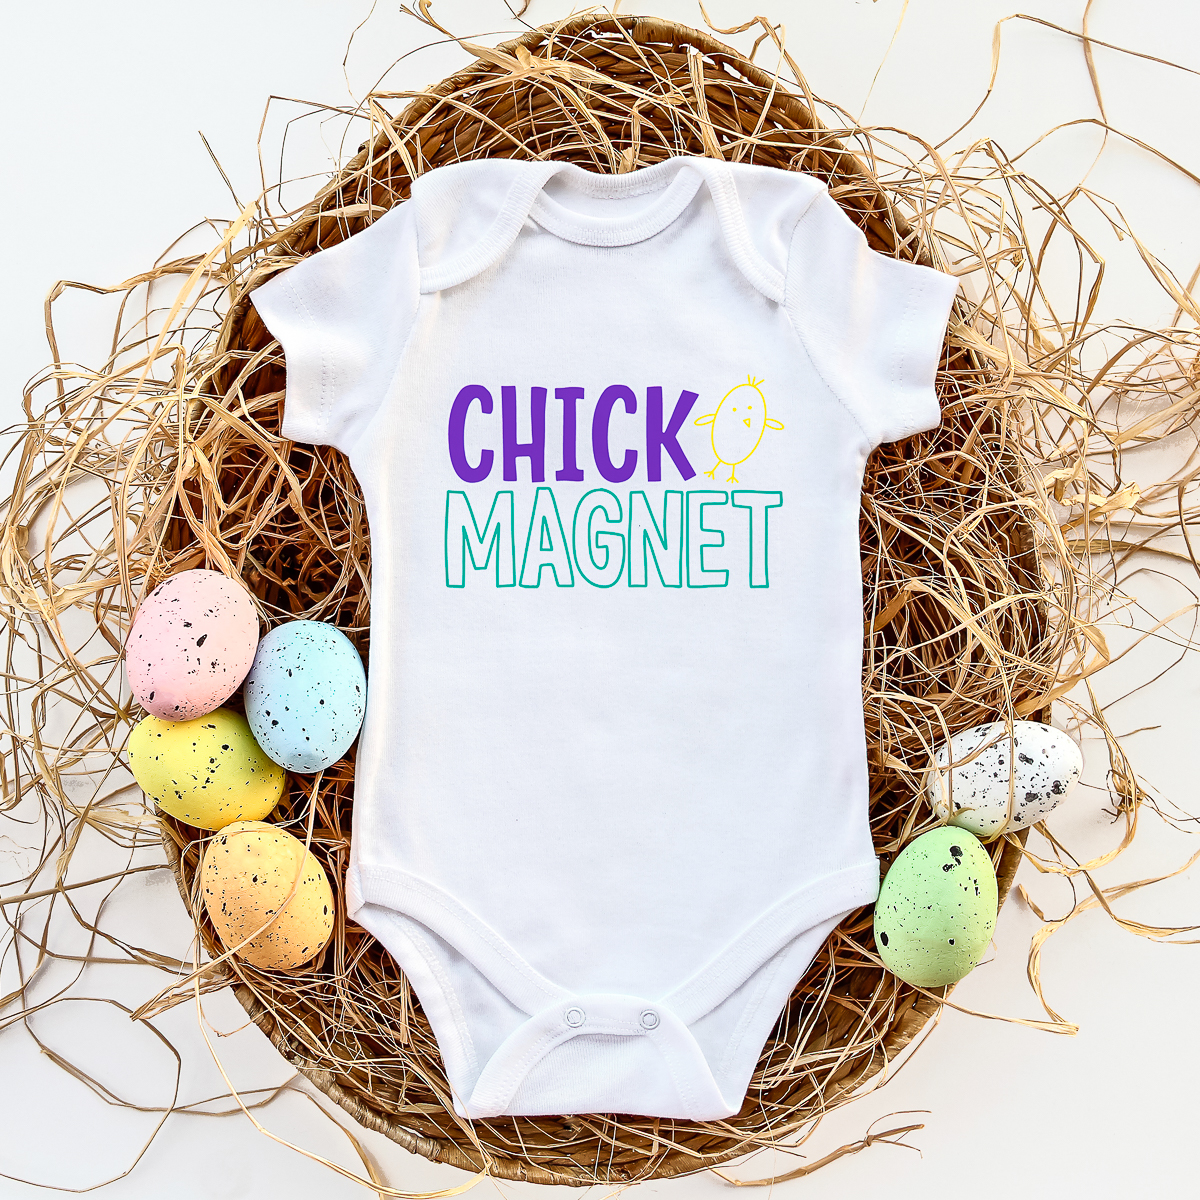
This design comes onto the canvas in 3 different colors. You can change any of the colors in the layers panel if you want to alter the design.

Step 4 – Cut Out the HTV
Next, we're going to cut out the HTV.
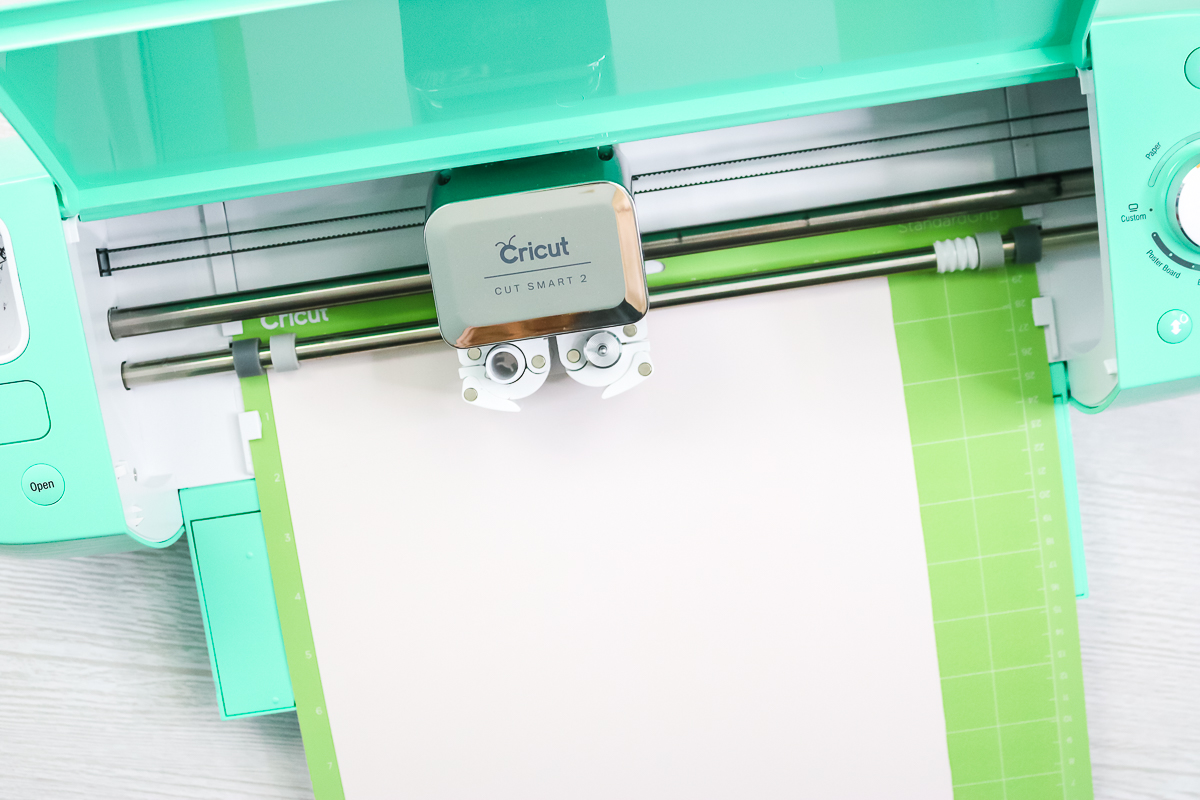
Load the material onto the cutting mat shiny side down, and then load the material into the machine.
HTV is cut with the Fine Point Blade, so you can use any Cricut machine; the only limitations would be size restraints on Joy and Joy Xtra.
Because we're using HTV, make sure each mat is mirrored so they cut correctly.
Select the material setting that matches the Iron-on you're using, and press Go. When it's done, unload the mat and repeat for each additional material.
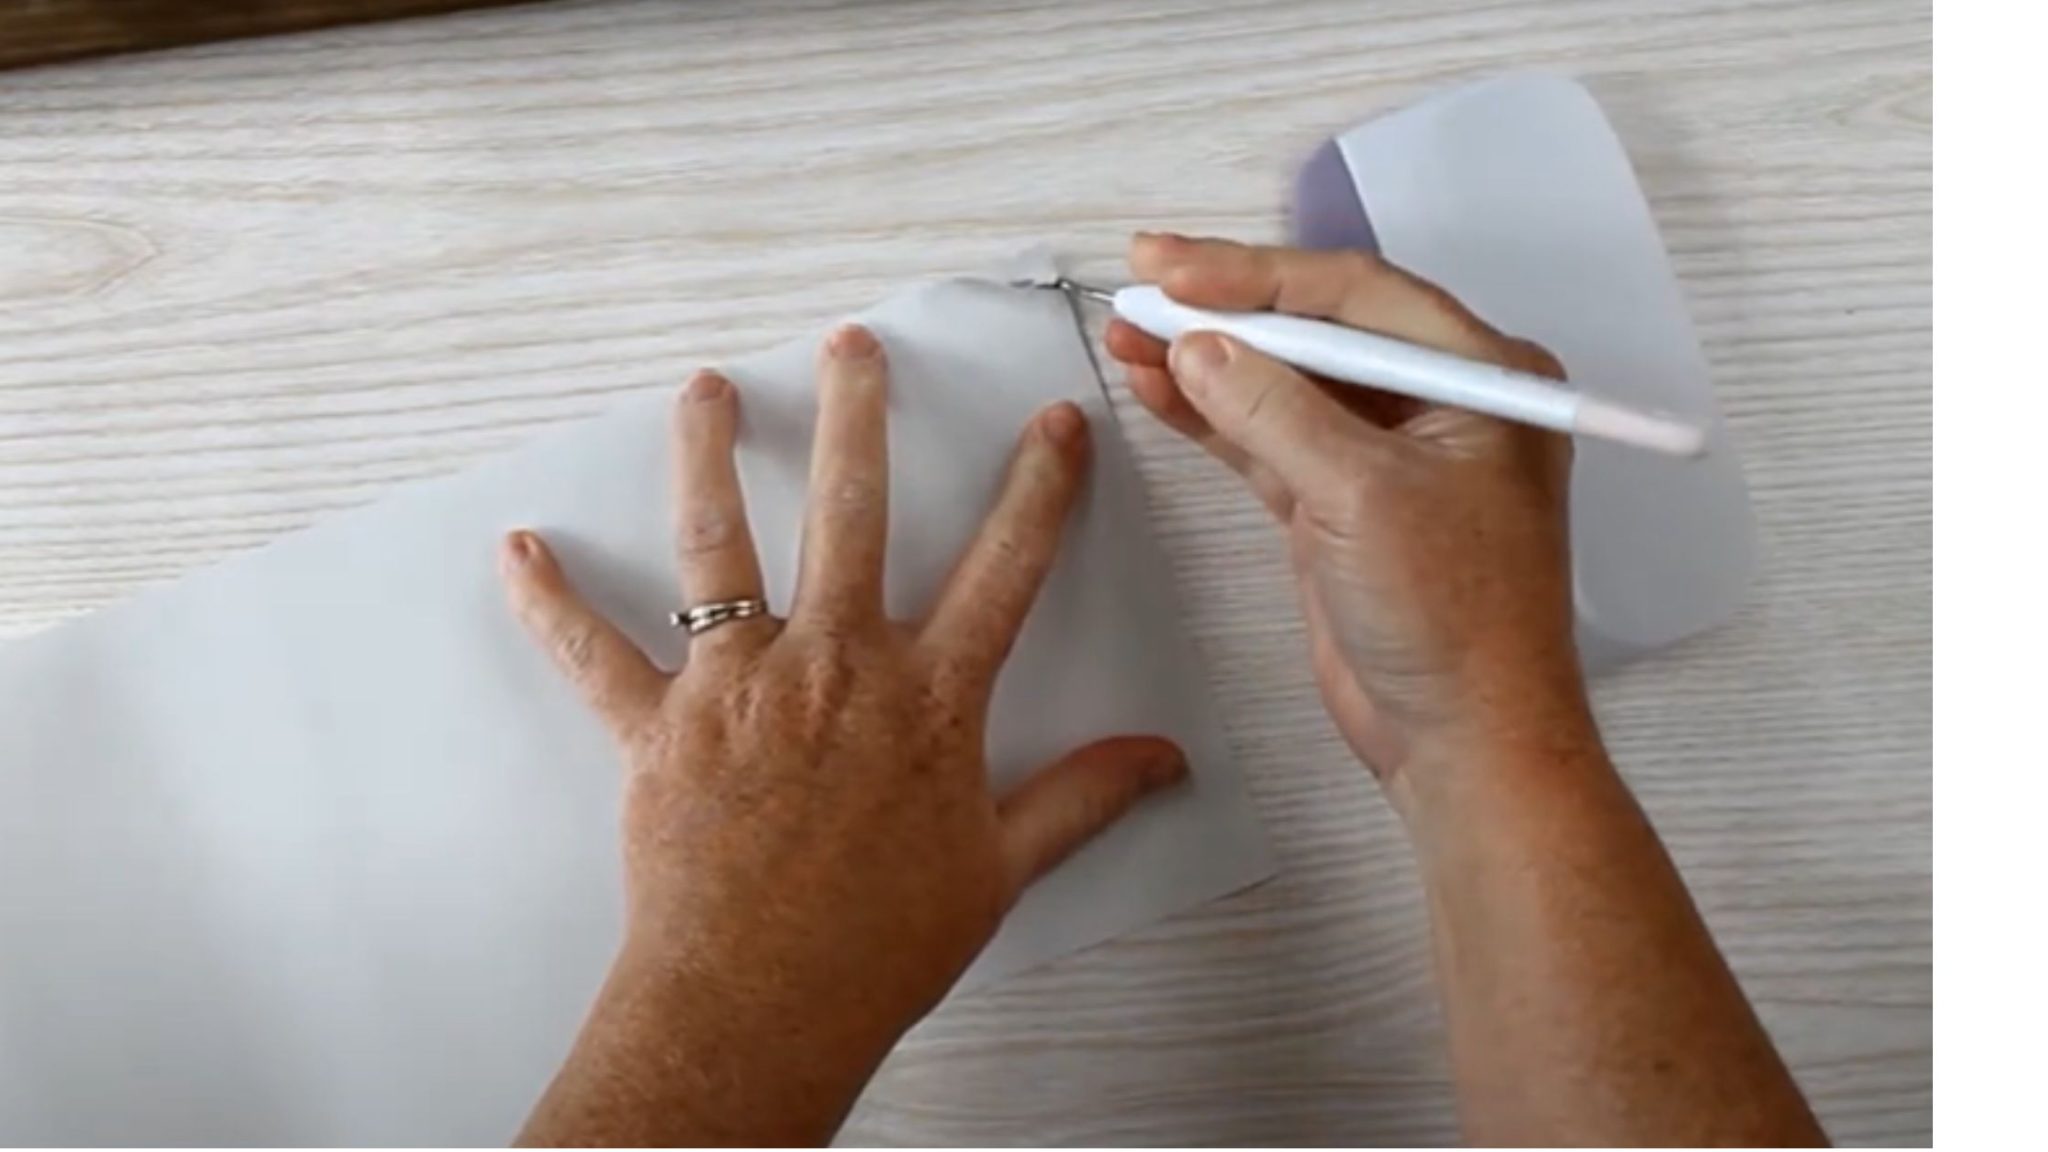
Step 5 – Weed Away Excess HTV
Use a weeding tool to remove the excess HTV. Don't forget the inside pieces, including the insides of the letters.
Step 6 – Locate Design
With everything weeded out, locate the design on the shirt.
Make sure you have all the pieces laid out so you know exactly where you want them.
If you'd like, you can trim the carrier sheet so you can press all of the layers at once.
Step 7 – Press the HTV
First, we need to preheat the shirt to remove any wrinkles and moisture. If you're using a sweatshirt, you may want to put the pressing mat inside the sweatshirt to lift the pressing area above the seams.
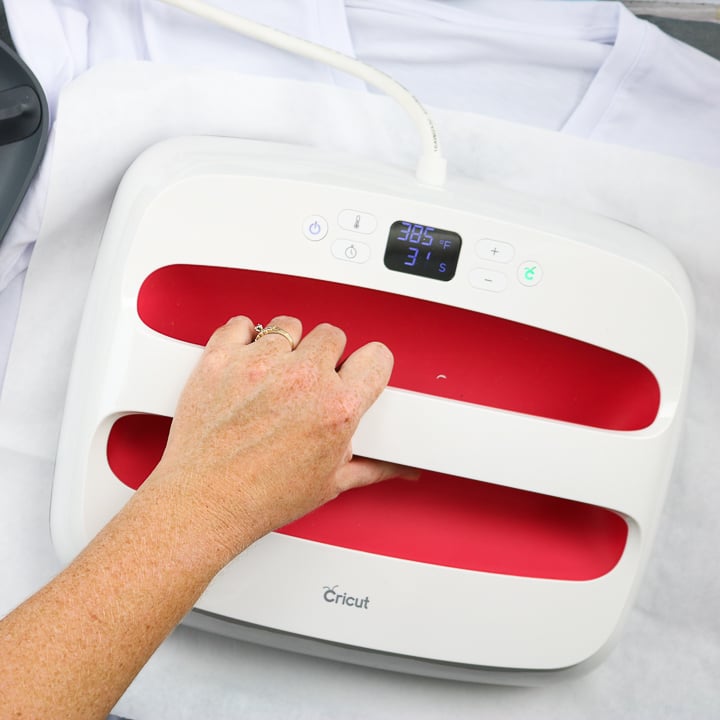
Following the directions for your HTV type, press the HTV.
You never want to press directly on top of uncovered HTV. If you have any exposed HTV from previous layers, cover the HTV with a protective paper or Teflon sheet.
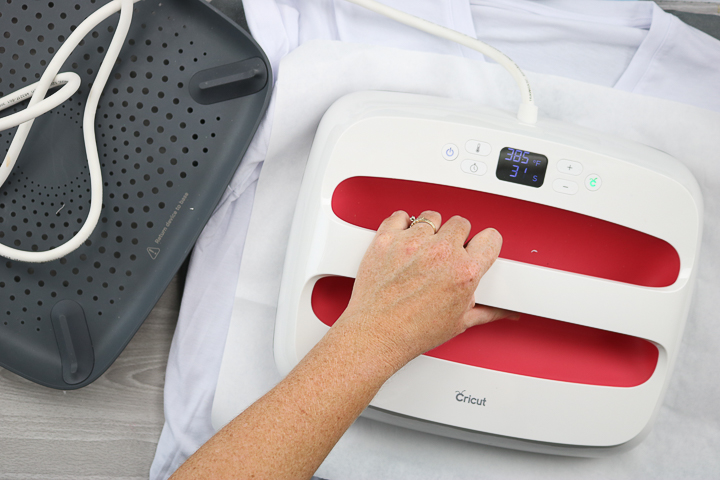
After each layer, remove the carrier sheet and apply the next layer.
Press each layer for the full time recommended for your type of HTV.
After pressing the last layer, you have a completed Chick Magnet shirt perfect for Easter.
Don't forget to get this free SVG today so you can make fun shirts for Easter.
If you have any questions about making a chick magnet shirt, leave them in the comments, and I'll be happy to answer them for you.