

If you're ready to create professional faux leather projects perfect for gifting and selling, you're going to love these projects. I'm testing how to get the best results for laser engraving faux leather blanks to help you get crafting faster.
I'm using leatherette dual-color blanks from MakerFlo, and I'm going to show you how to make sure you get the best results without wasting a blank.
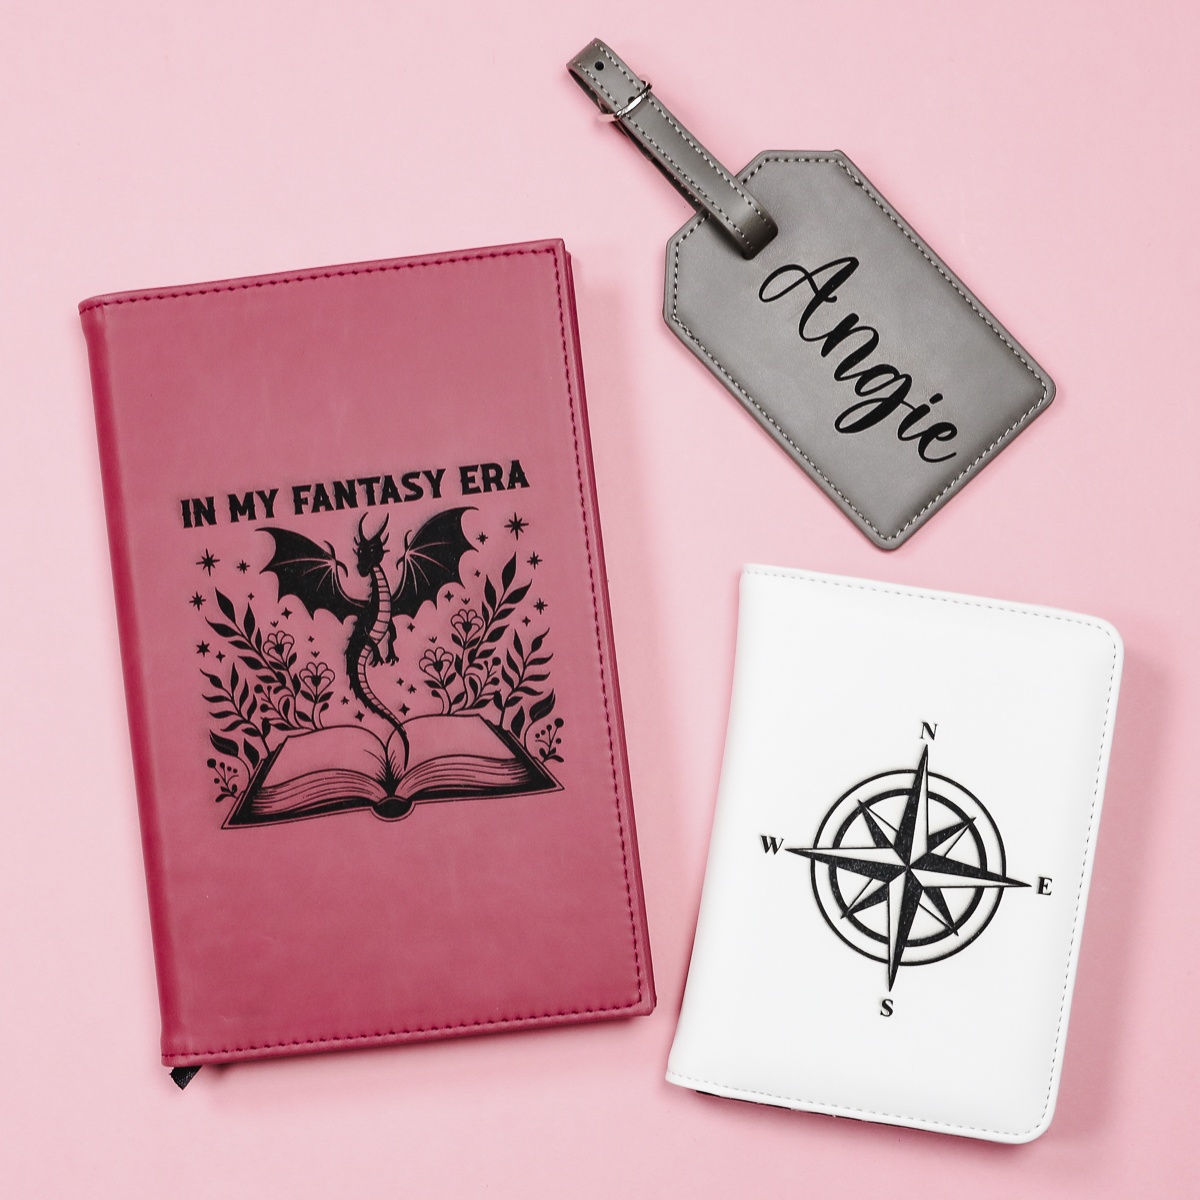
This leatherette faux leather material from MakerFlo is made especially for laser engraving. During the engraving process, the top color is removed, exposing the second color, resulting in beautiful finished projects.
Make sure to read to the end; you may be surprised to learn that the settings can vary depending on your laser and the color of leatherette you're using.
How to Laser Engrave Faux Leather Blanks
The great thing about the leatherette blanks from MakerFlo is that you can order swatches of the actual leatherette material. The swatches are decent-sized, so you can do a few different tests and really dial in your settings.
I am using my WeCreat Vision Pro laser today, but you can do a similar process with any laser you have.
Create a Test Array
The first thing I'm going to do is create a test array. I'm going to show you how to create a test array for WeCreat. I have tutorials for creating test arrays for GlowForge and xTool too, if you need those.
Order the Swatch Kit from Maker Flo and place one or more pieces in the bed of the laser.
Open WeCreat MakeIt and go to the toolbox. Click Material Test Array, and here, we'll set our parameters.
In the beginning, I start with wide parameters and narrow them down as I go. I have the Speed parameters set from 100 to 600 and the power parameters from 10 to 100.
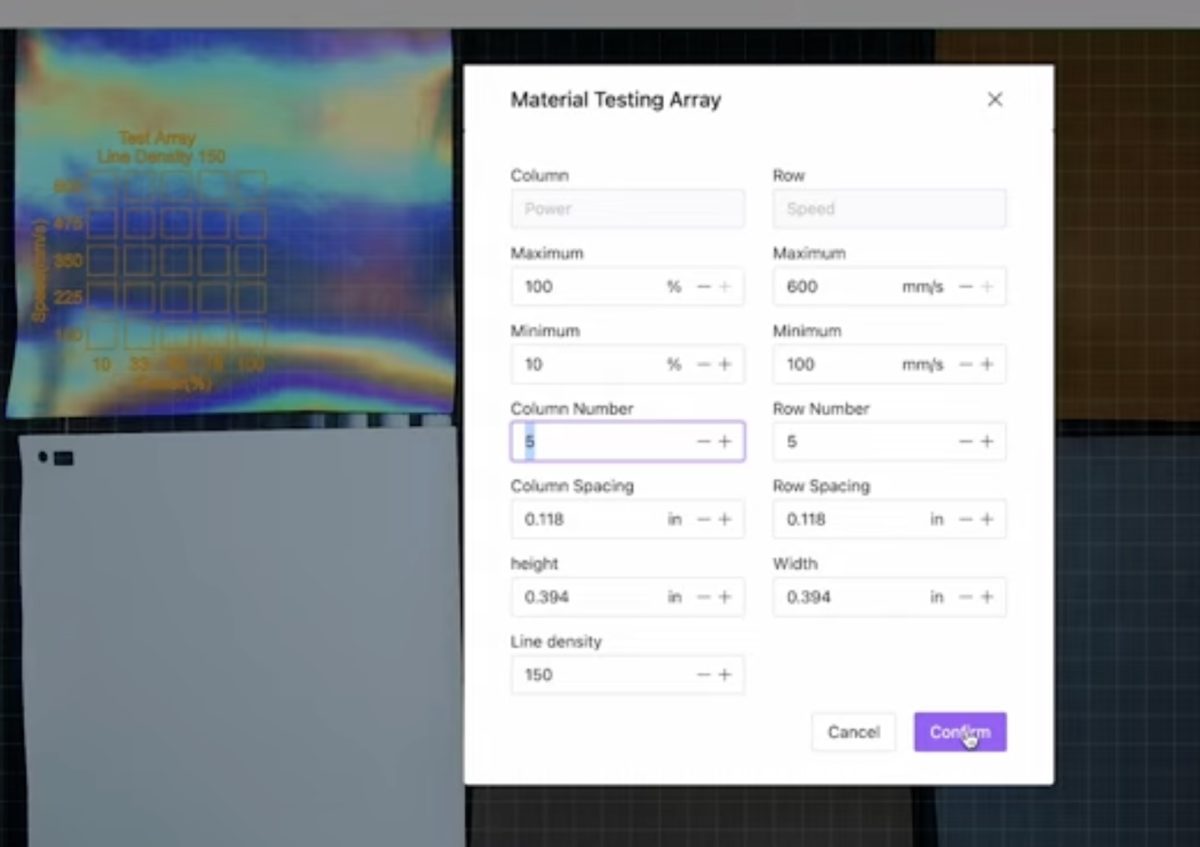
I resized my test array so there is room for multiple tests on the leatherette swatch.
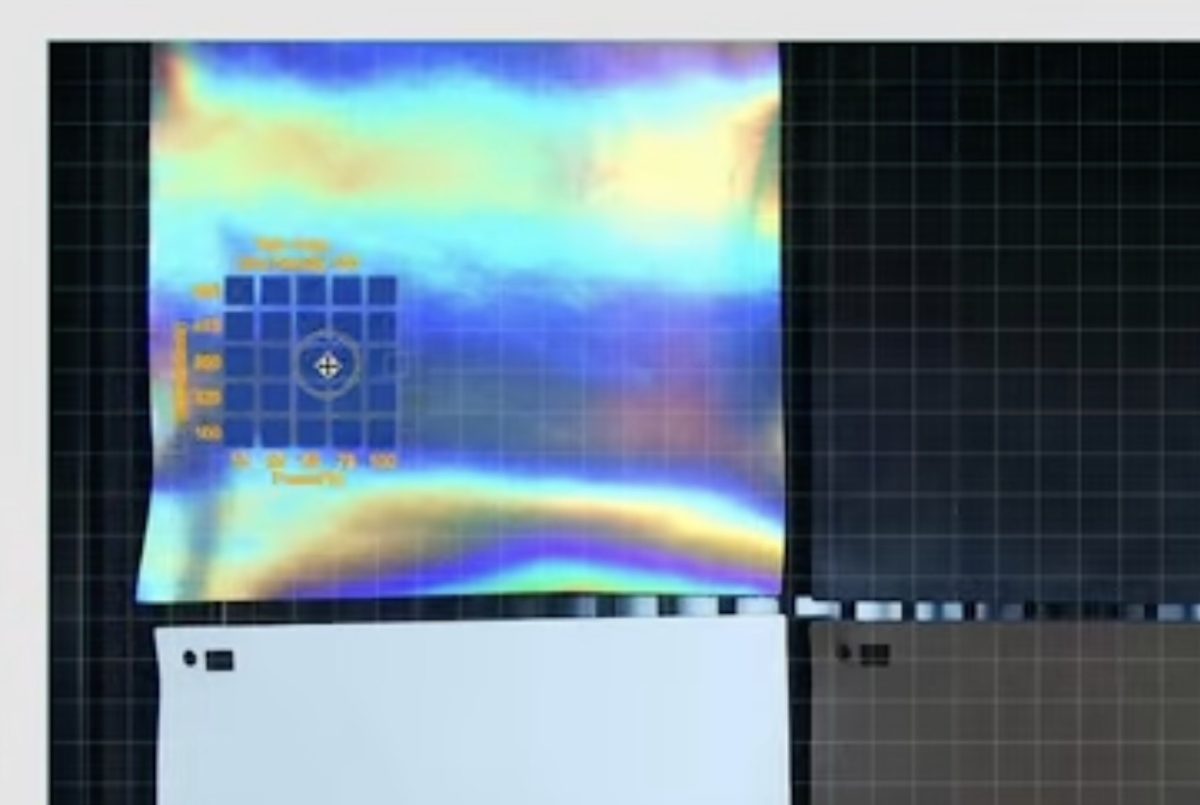
Send the file to the laser, and when it's done, remove the swatch from the laser.
Review the Test Array
As you can see, some of the settings went all the way through the leatherette, and others didn't remove the entire first layer.
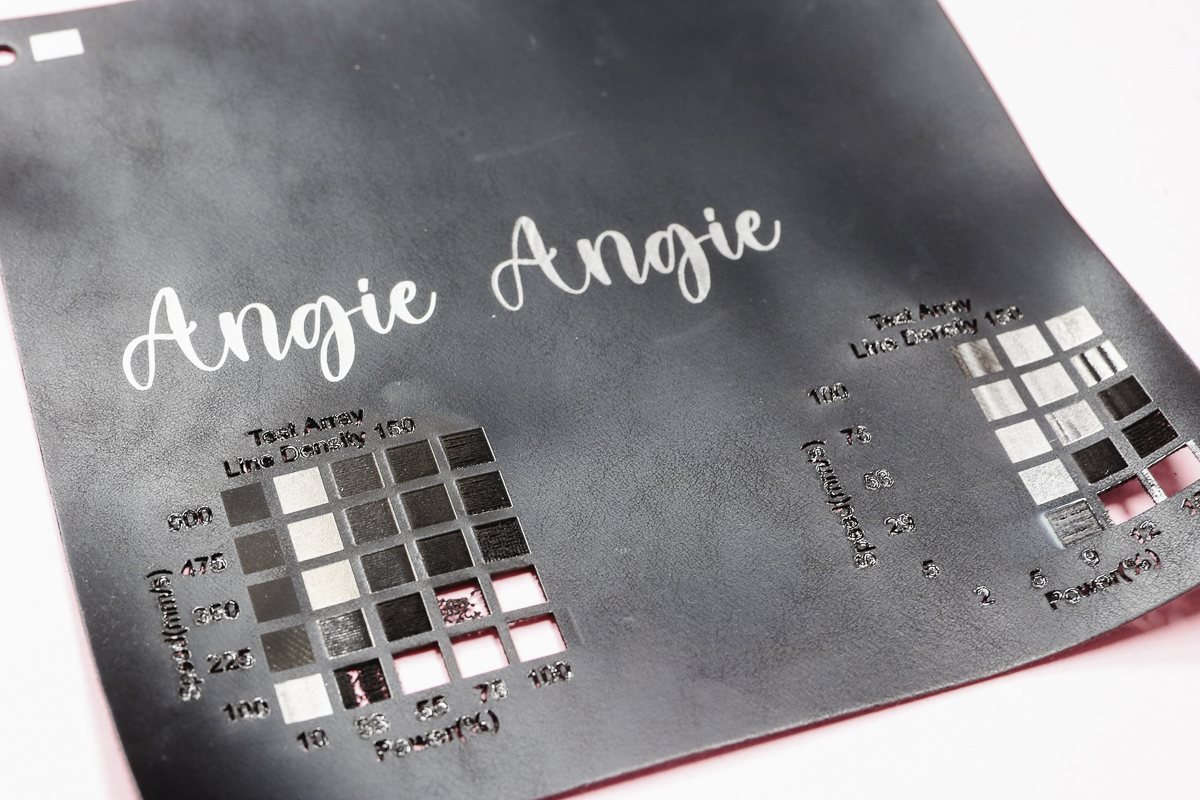
With this first array, we have a better idea of which settings may work. Now, I'm ready to do a second test array with the settings less broad.
For this test array, I have the speed range from 5 to 100, and the power range is from 2 to 15.
Now, I'm going to move the array to a different section on the swatch and allow it to process again.
Test a Design on the Leatherette Swatch
With the second test array done, there are a couple of speed and power settings that I think will work best. Now, I'm going to go back into WeCreate MakeIt and type in my name as another test.
I applied the settings from the second test array, moved the names to a blank space on the leatherette swatch, and sent the file to the laser.
Review the Final Test Images
When the laser is done, remove the swatch from the laser, and here we can look closely at the finished engraving to see which one worked best.
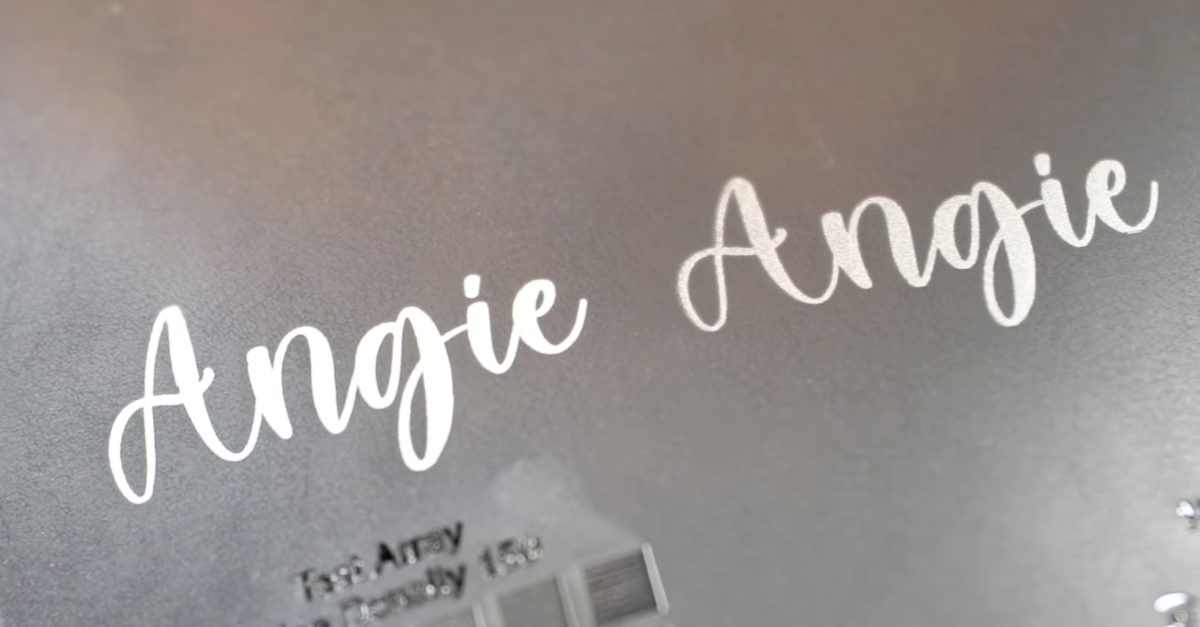
To me, it's obvious that one turned out better than the other one. The lines are a bit cleaner, and I think they're going to be the best settings for the leatherette in this color.
Repeat the Process for Each Leatherette Color
Now, we need to repeat this process for each different color of leatherette. I was surprised that the optimal settings for each color were slightly different.
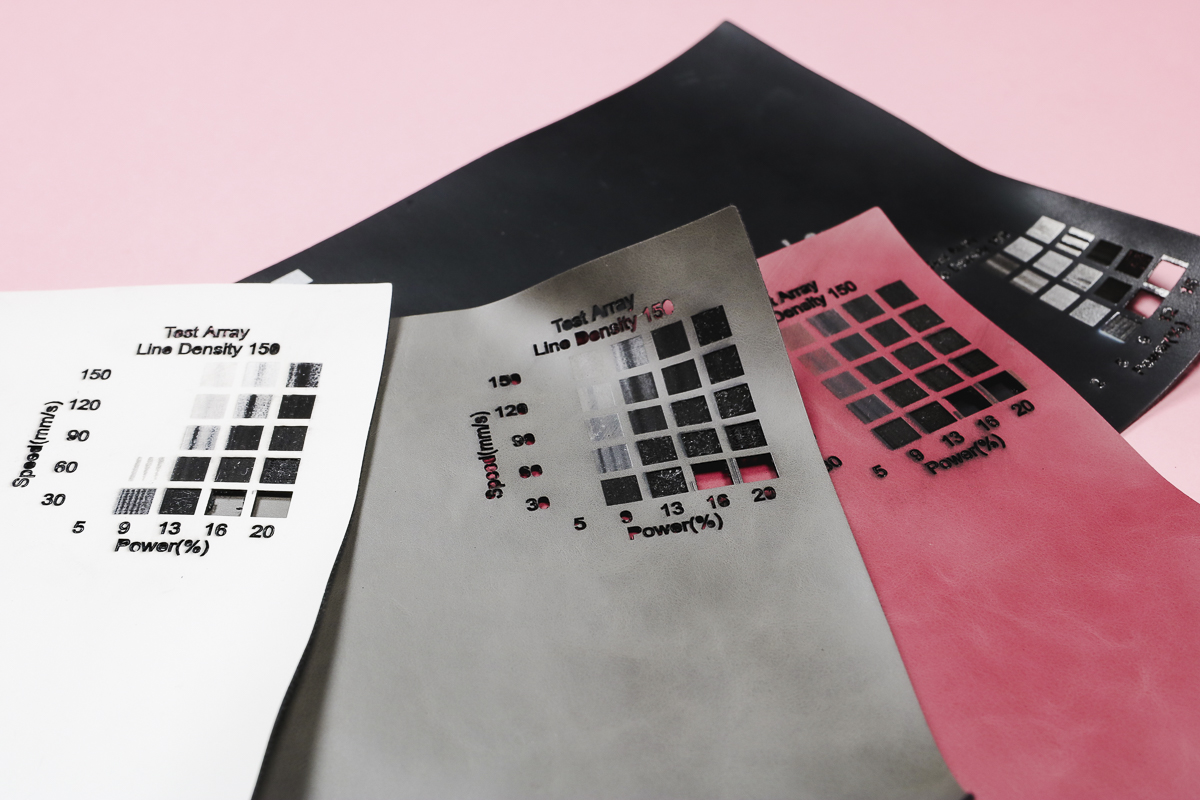
The color of the leatherette did impact the results I got. I highly recommend testing each color you plan to use so you don't waste a blank.
Now that we know the correct settings for each color, we can set up the designs we want to use on our projects.
How to Use the Test Array Swatches in the Future
A huge benefit of these test array swatches is that you can use them for future projects too. Keep the swatches on a ring and save them so that every time you order a leatherette blank from MakerFlo, you can reference them to get the correct settings the first time.
I hate wasting blanks, so any time I find a way to prevent that from happening, I use it.
Laser Engraved Leatherette Blanks
Now we're going to test laser engraving faux leather blanks to make actual projects.
Before we begin, I wanted to note that I cleaned up the leatherette before taking the photos. To clean the surface, I took the blanks to the sink and cleaned up any char marks left from the laser.
Make sure to check the listing for the blank you purchase for the proper cleaning process.
Laser Engraved Faux Leather Notebook Cover
First, we're going to engrave a leatherette notebook. This is a faux leather notebook cover that comes with lined notebook pages that you can refill as many times as you want.
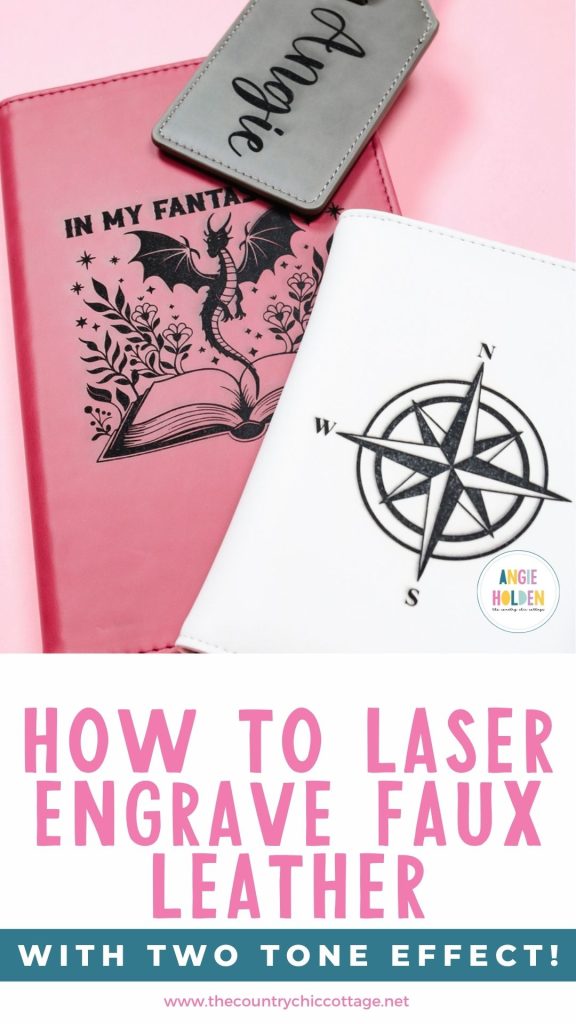
The laser engraving on this faux leather notebook turned out amazing. There are really fine details in this design, and even those look perfect.
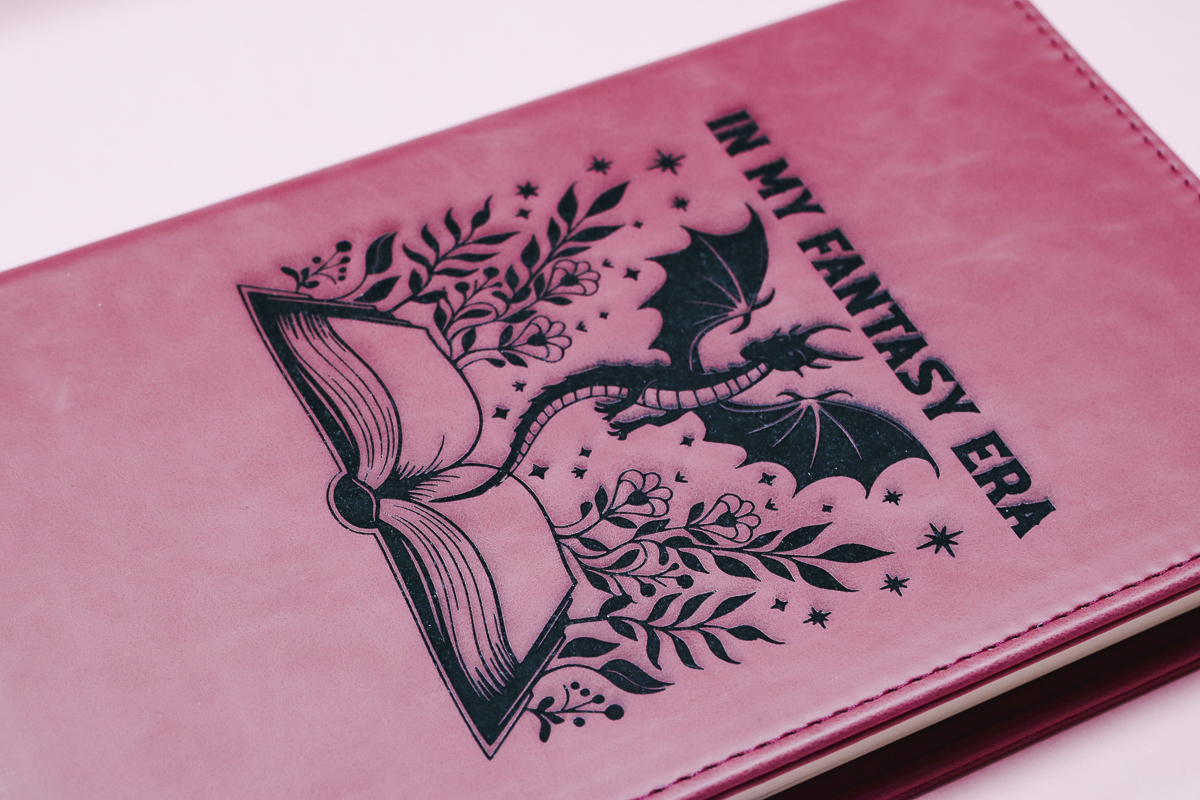
I am thrilled with how this turned out. Now that it's completely finished, there is more clean-up that can be done, but even with it needing to be cleaned up a little more, it looks fantastic.
Laser Engraved Faux Leather Passport Cover
Next up is the passport cover. It looks so good. I think the white and black combination is my favorite, I love the contrast.
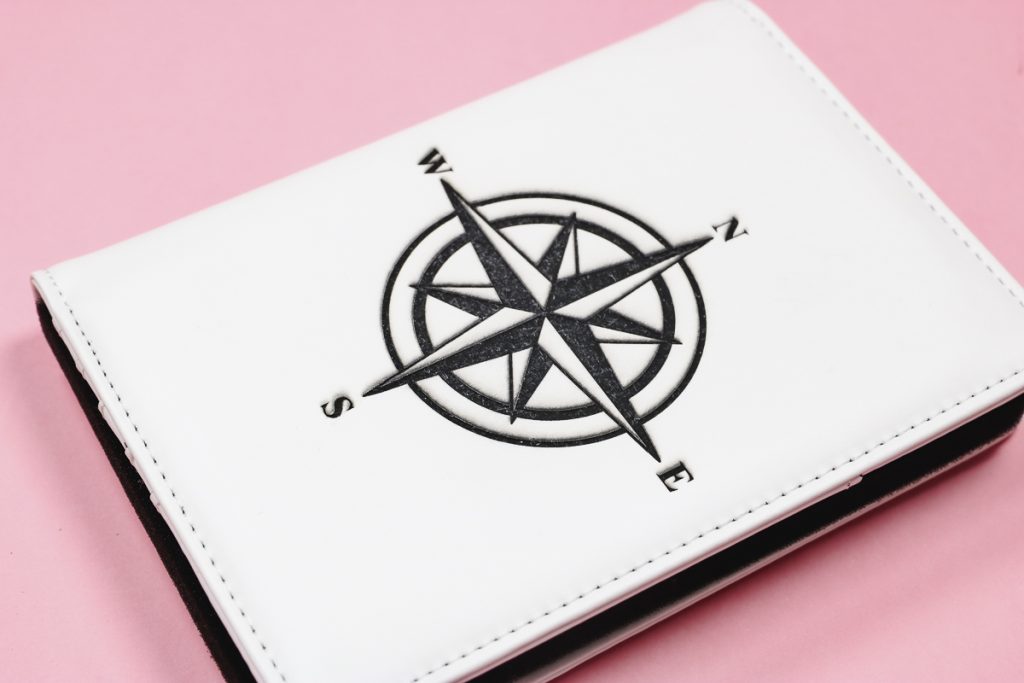
There are so many colors to choose from, you're going to want to try them all to figure out which one is your favorite.
Leatherette Luggage Tag
If you want to be able to quickly and easily spot your luggage at the airport, you need to make your own luggage tags.
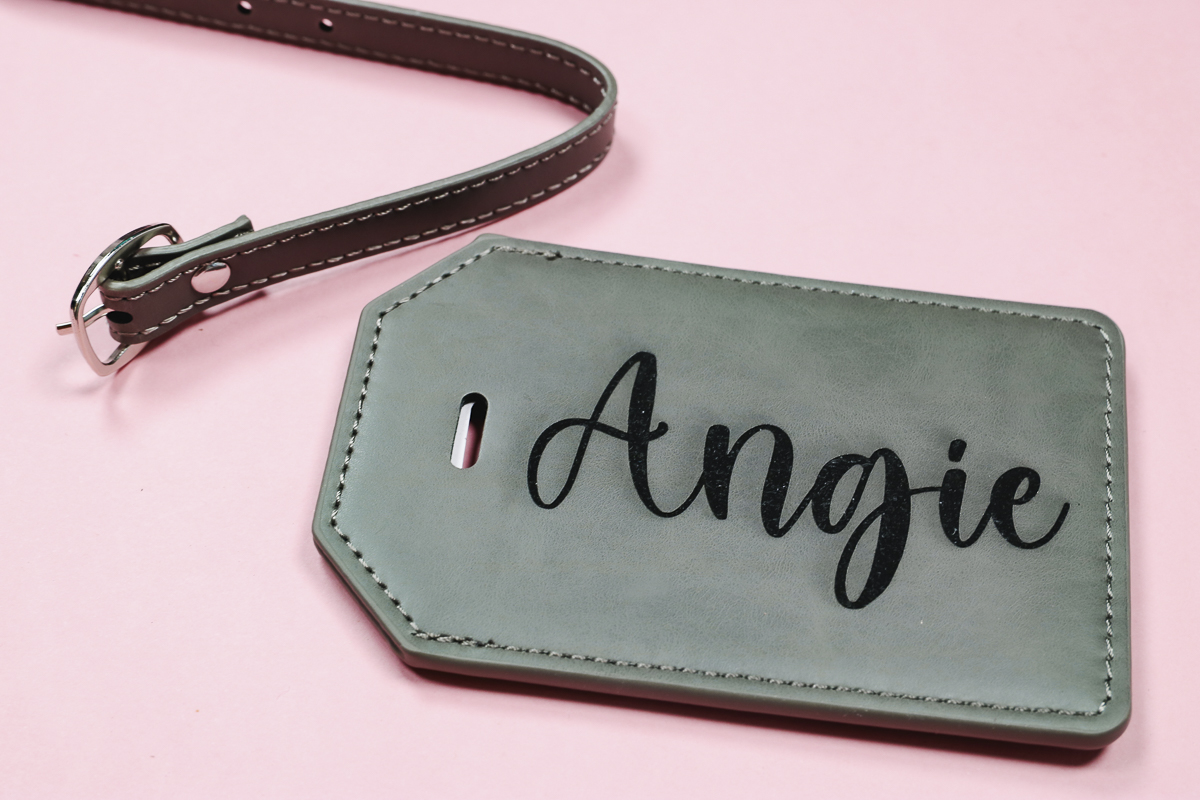
I really like that these are two-sided. You can engrave on both sides, and behind the flap on the back is where you can add all your information so the bag can be returned to you if it's lost.
I added my name to the front of the luggage tag, and it looks really good. It's easy to read, and the black really pops on the grey.
Packaged for Gifting or Selling
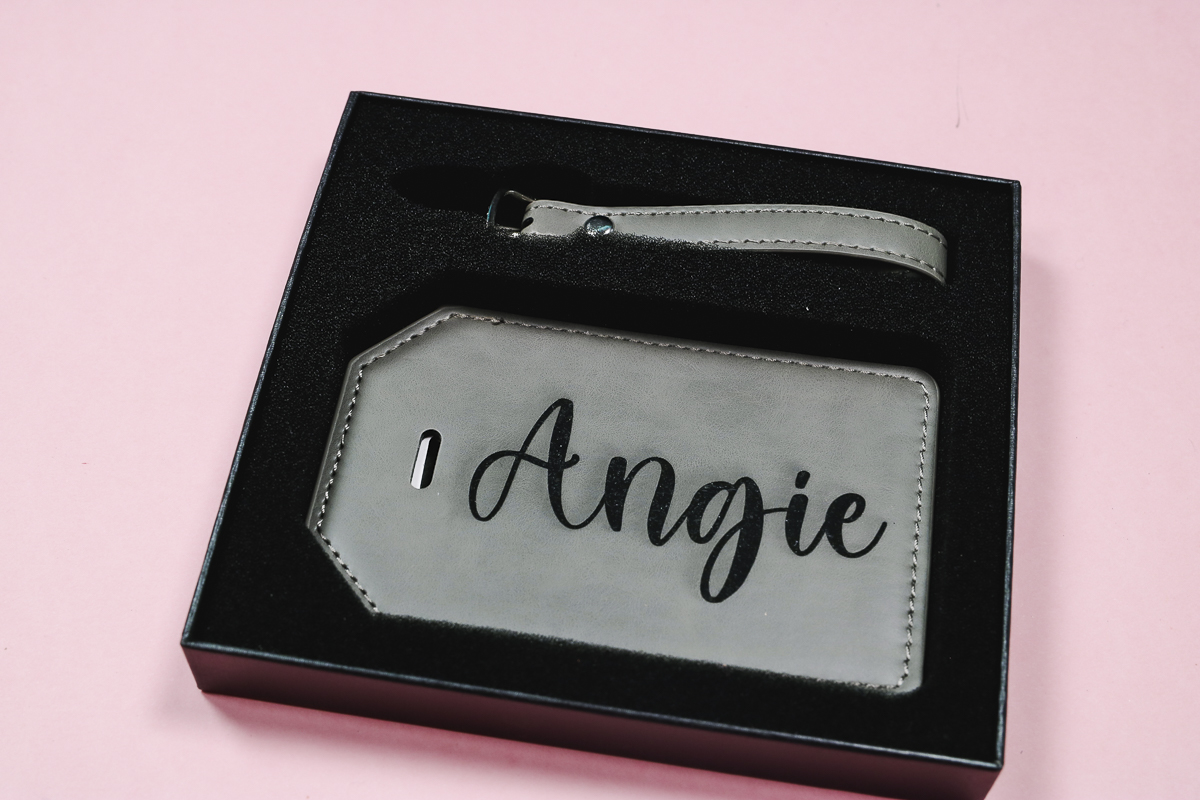
One of the things I really love about MakerFlo blanks is that they come packaged so they're ready to gift or sell. These are high-quality, beautiful boxes.
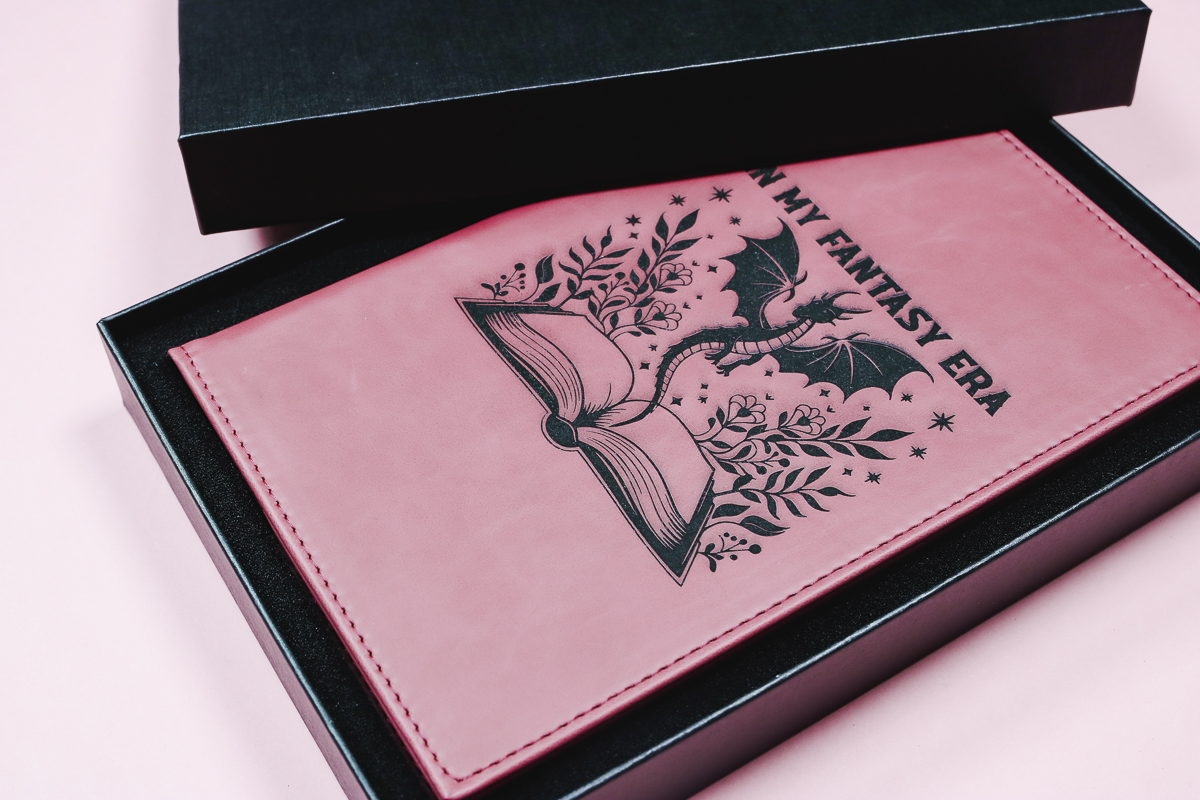
Each item comes in a box with a foam insert that holds the blank perfectly. After engraving, you can place the item back in the box, and it's ready to go. The way they are displayed makes them perfect for selling and/or gifting.
Is Laser Engraving Faux Leather Blanks Right for You?
I am really impressed with how the laser engraving worked on these faux leather blanks from MakerFlo. The dual-color leatherette is beautiful, it engraves beautifully, and the way it comes packaged is an added bonus.
If you're looking for gifts you can customize, or items you can add to your product line with a customizable option, these two-tone faux leather blanks may be exactly what you're looking for.
The way they're made, the second layer really makes the engraving pop, and it looks so good.
All you need to do is grab the swatch kit, do the test array, and really dial in the right settings for the color you're using. Doing the test array will ensure your laser engraving on faux leather will look perfect every time.
I really think you're going to love these leatherette blanks. I hope I've answered any questions you have. If you have any additional questions, leave them in the comments, and I'll be happy to answer them for you.











Your writing has a way of resonating with me on a deep level. I appreciate the honesty and authenticity you bring to every post. Thank you for sharing your journey with us.
I’m so glad you find it helpful 🙂 Have a great day!