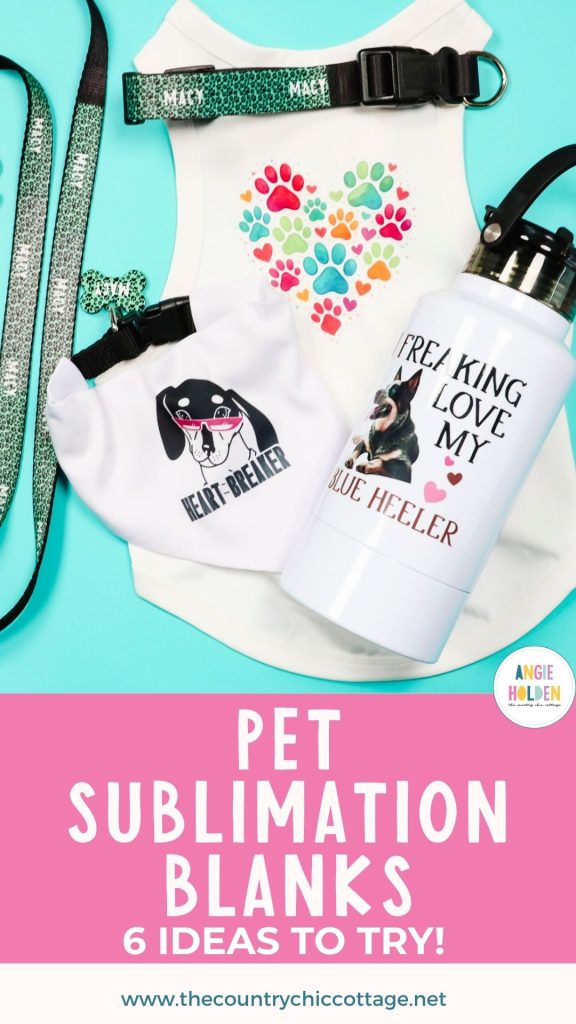
If you're a pet lover who also enjoys sublimation crafting, you're going to love these pet sublimation blanks. I'm going to show you six different sublimation blanks you can customize for your pets, gifts, or to add to your small business.
All of these sublimation projects are beginner-friendly and can be personalized with names, photos, and other pet-themed designs.
From leashes and collars to pet tags and tumblers, there is something here for everyone. Whether you have a sublimation oven or a heat press, you'll be able to make at least one of these projects.
You can watch me make each of these projects by pressing play on the video below.
Sublimation Blanks for Pets
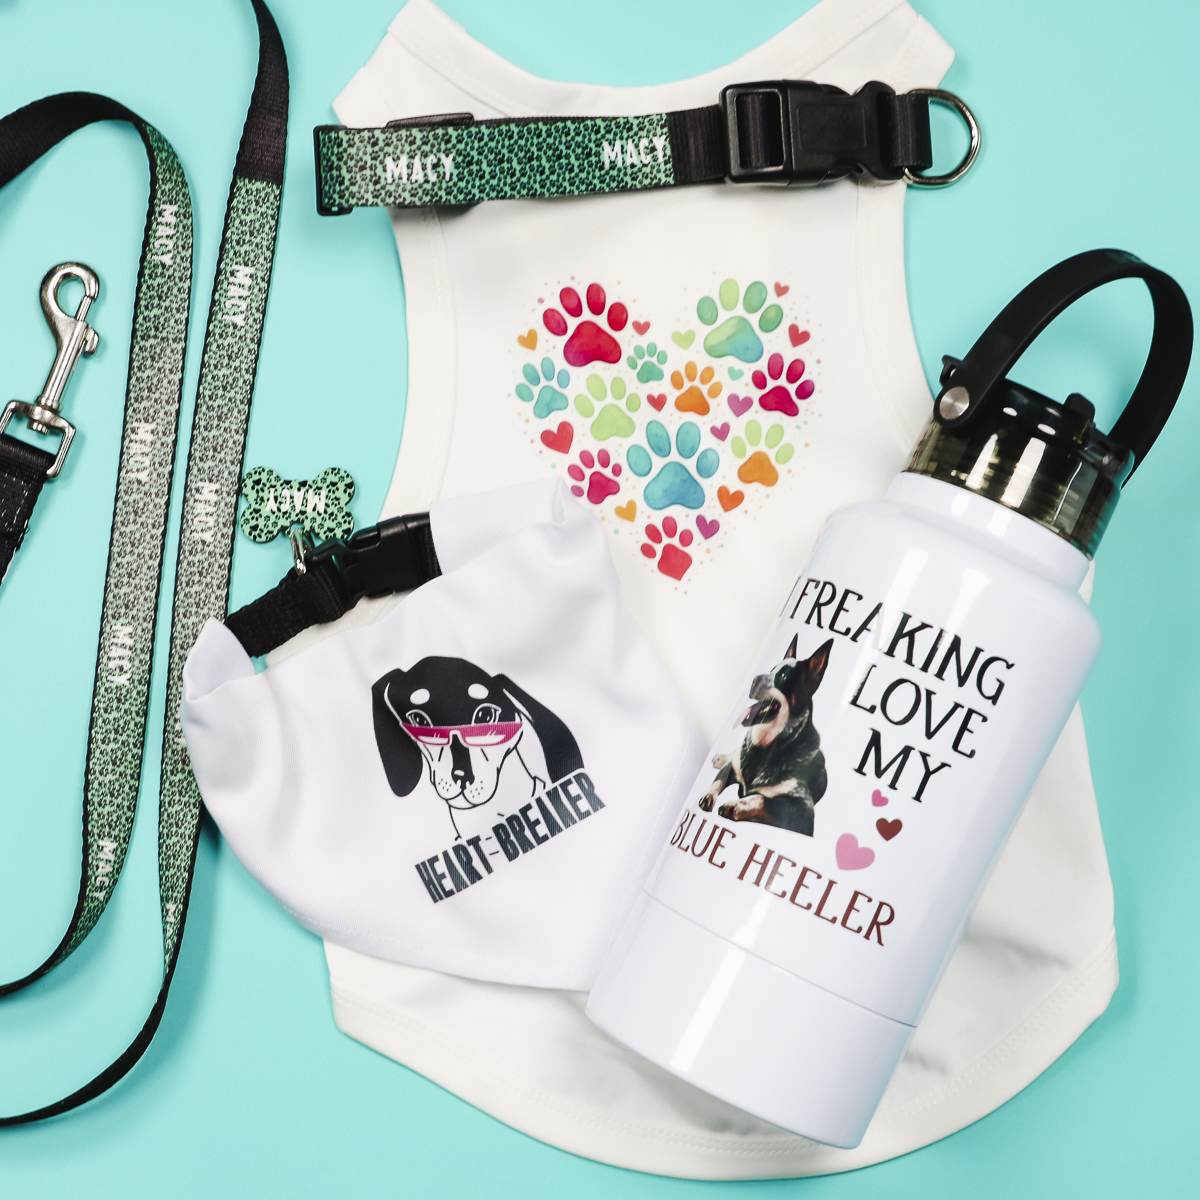
I really love how these sublimation pet projects turned out. If you and your pet love the outdoors, make sure to check out the pet tumbler. It has a bowl attached to the bottom, making it easy to water your dog on the go.
Supplies Used
These projects are all sublimation projects. To make any of them, you need a sublimation print. That is sublimation ink printed on sublimation paper from a sublimation printer.
- Water Tumbler
- Dog Collar
- Dog Leash (The one I used is no longer for sale.)
- Bandana
- Dog Shirt
- Dog Tag
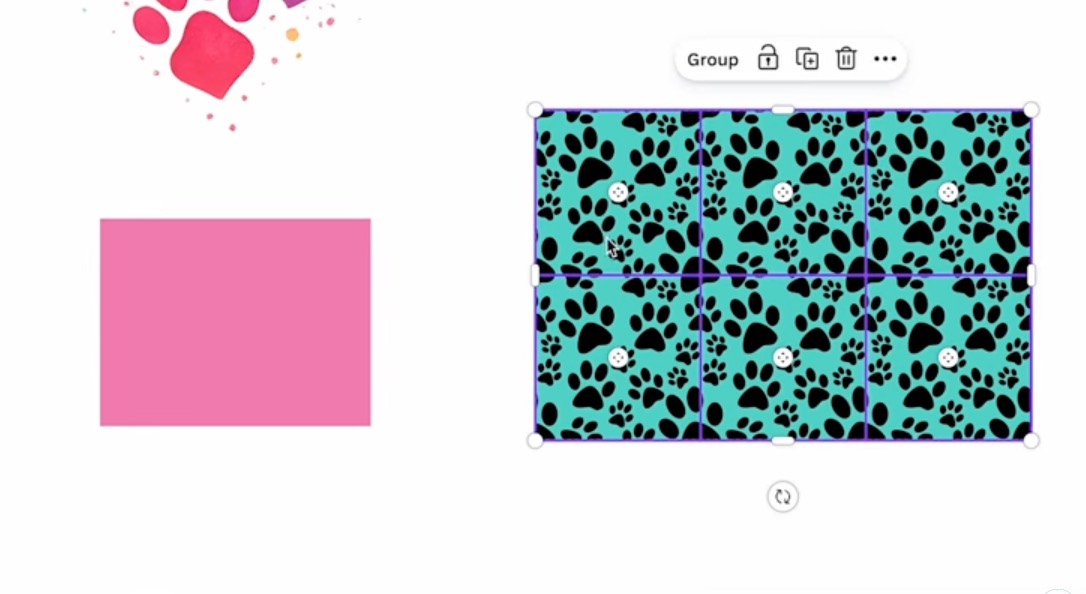
- Paw Print Pattern
- Paw Print Heart
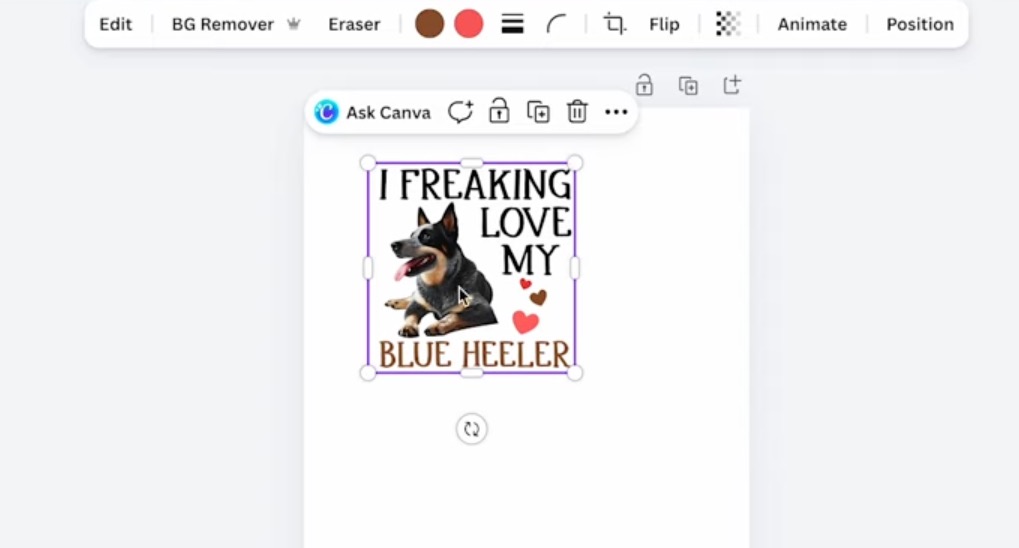
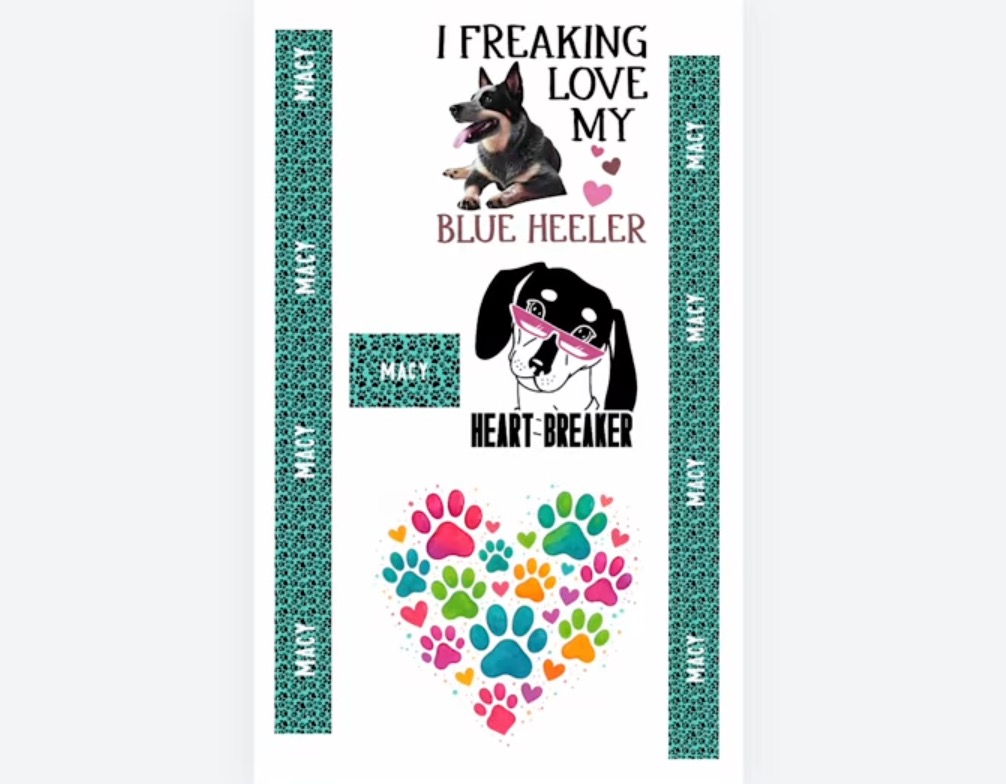
- Blue Heeler Design
- Dachshund Design
- Brother Sublimation Printer
- Sublimation Paper
- Lint Roller
- Heat Resistant Gloves
- Protective Paper
- Paper Dispenser
- Cricut EasyPress
- Heat Resistant Mat
- Sublimation Oven
- Heat Gun
- Shrink Wrap
NOTE: When ordering your blanks, make sure you choose the size that fits your pet, especially the collar, shirt, and bandana.

Step 1. Create a Gang Sheet in Canva
The designs I'm using today are from Creative Fabrica, and I am making any size and design adjustments in Canva. Canva is a great design software for beginners and more advanced users.
The sublimation paper I'm using today is 8.5″ x 14″. In Canva, click Create and Custom Size and insert the size of your paper.
I want to fill the page with as many designs as I can. If you are only making one project, you can print just the design you need.
Upload the files you're using and add them to the canvas.
Measure your blanks and resize the design so it will fit on your blank.
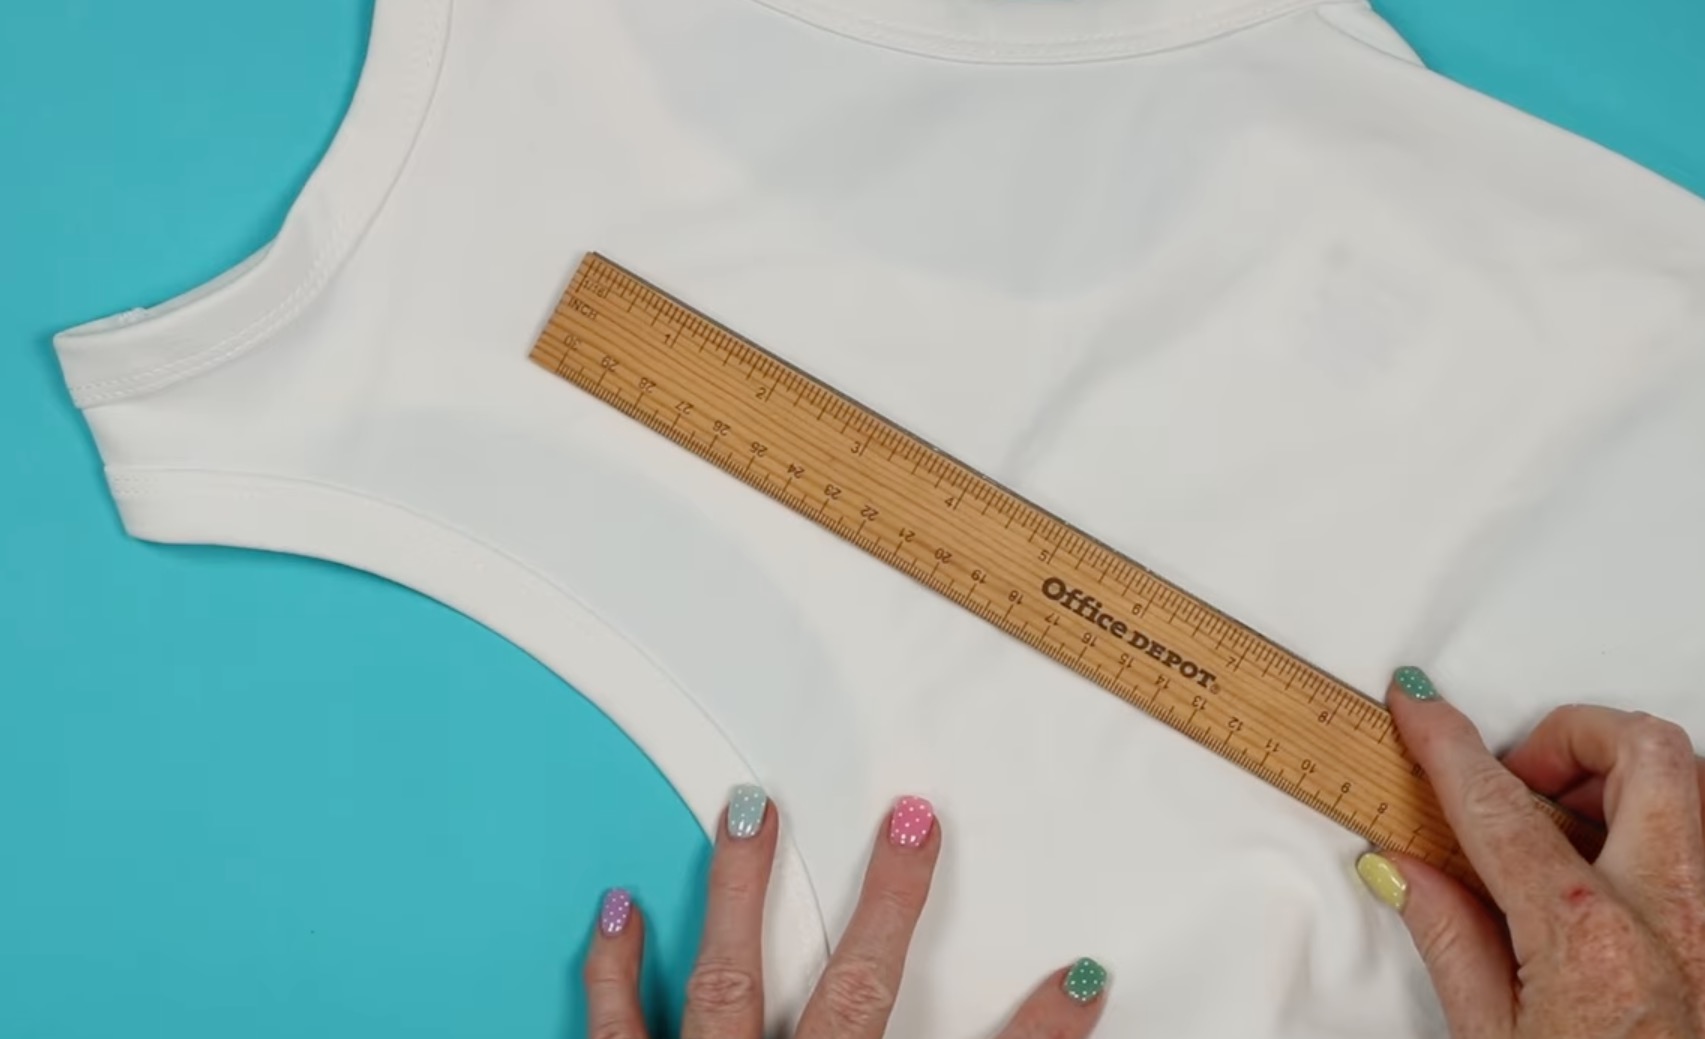
Note – If your design is going to cover the entire sublimation area, make it slightly larger than the blank. When adding text, make sure the text will fit on the blank.
For the water bottle, I resized the design to about 4″ x 4″. If you want to make any color adjustments, you can do that now. Depending on the design type, changing a color may alter the image, so keep an eye on that.
Repeat this process for all the blanks you're working with. For the bandana, I resized the design to 3.5″ by 3.5″. For the shirt, my design is 5″ wide.
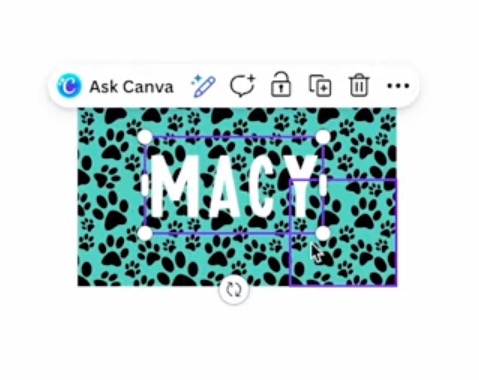
Customize Designs
For the dog tag, leash, and collar, I want them to coordinate with each other. I customized the design by repeating the design and adding the name.
This works well with seamless patterns because the edges should all match up making it look like one continuous design.
Measure the sublimation portion of the blank. For the collar, you need to measure it lying flat.
You may need to loosen the collar all the way to get this measurement.
Once you have those measurements, I like to add a shape to the canvas the same size as the blank. This allows me to add the design and the text to the canvas, and I can move things around how I want them to look on the blank.
My leash has two sublimation sections, and they are 12″ in length. That is why I needed 8.5″ by 14″ sublimation paper.
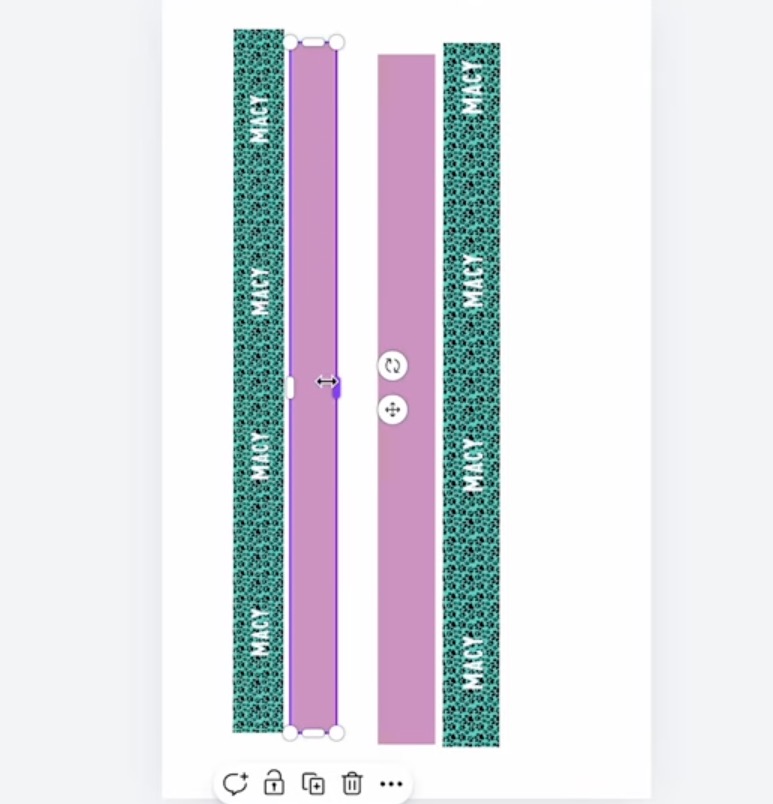
I wanted to include the name throughout, so I repeated it on the collar and leash. I changed the name to white and added it to the design multiple times.
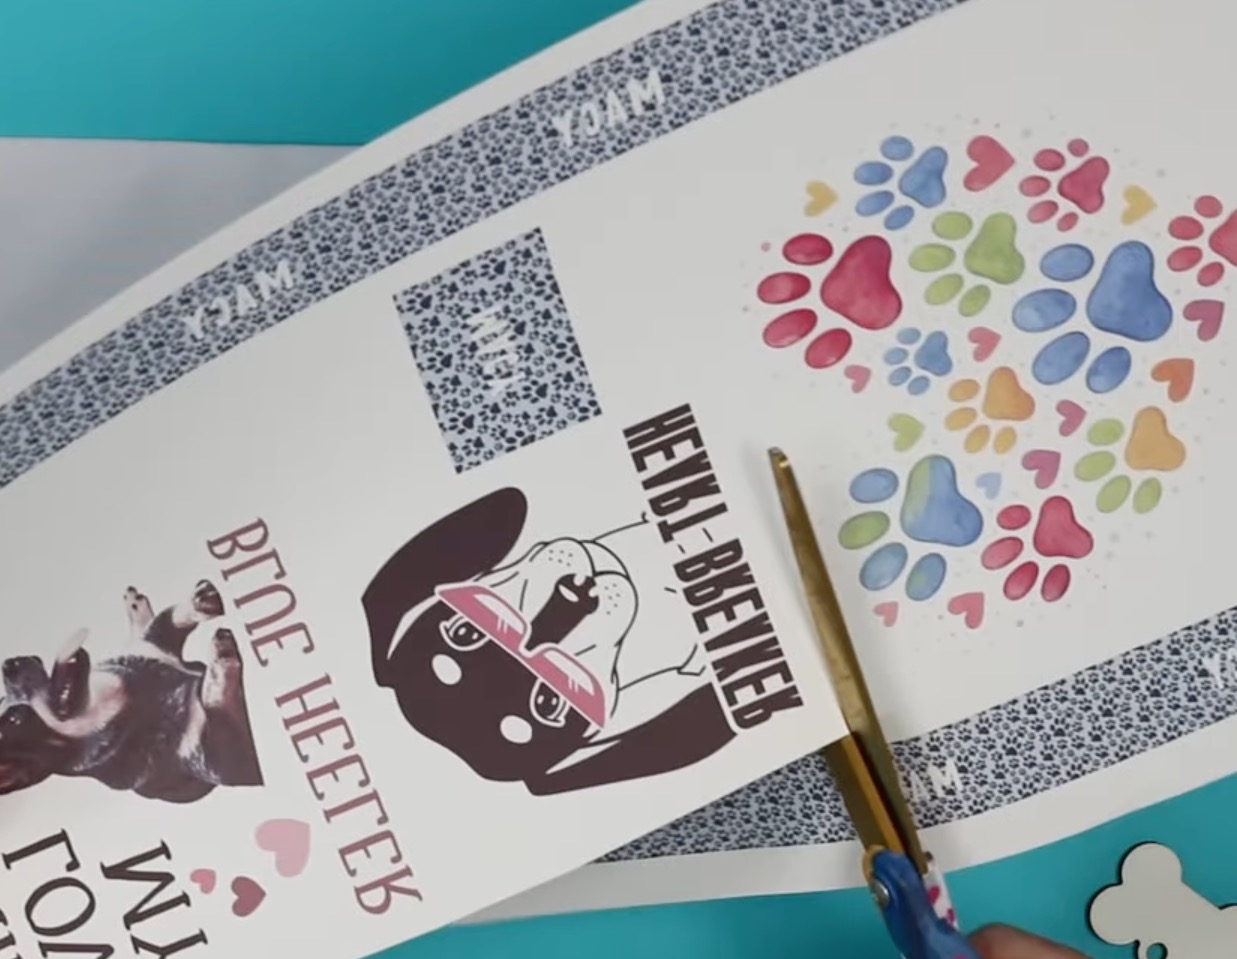
Note – Originally, I only added one leash section to the canvas, so I printed the page twice. If your leash has multiple sublimation sections, set them up at the beginning. All of my designs could have fit on one sheet.
Step 2. Print the Sublimation Design
You cannot print directly from Canva. Click Share, Download, and then choose the settings. For my printer, the best settings are PDF for Print and CMYK.
Click Download, and it will save to your device.
Open the file and send it to your printer. Make sure you mirror the design so it transfers onto the blank correctly.
Remember you need to print on a sublimation printer using sublimation ink on sublimation paper.
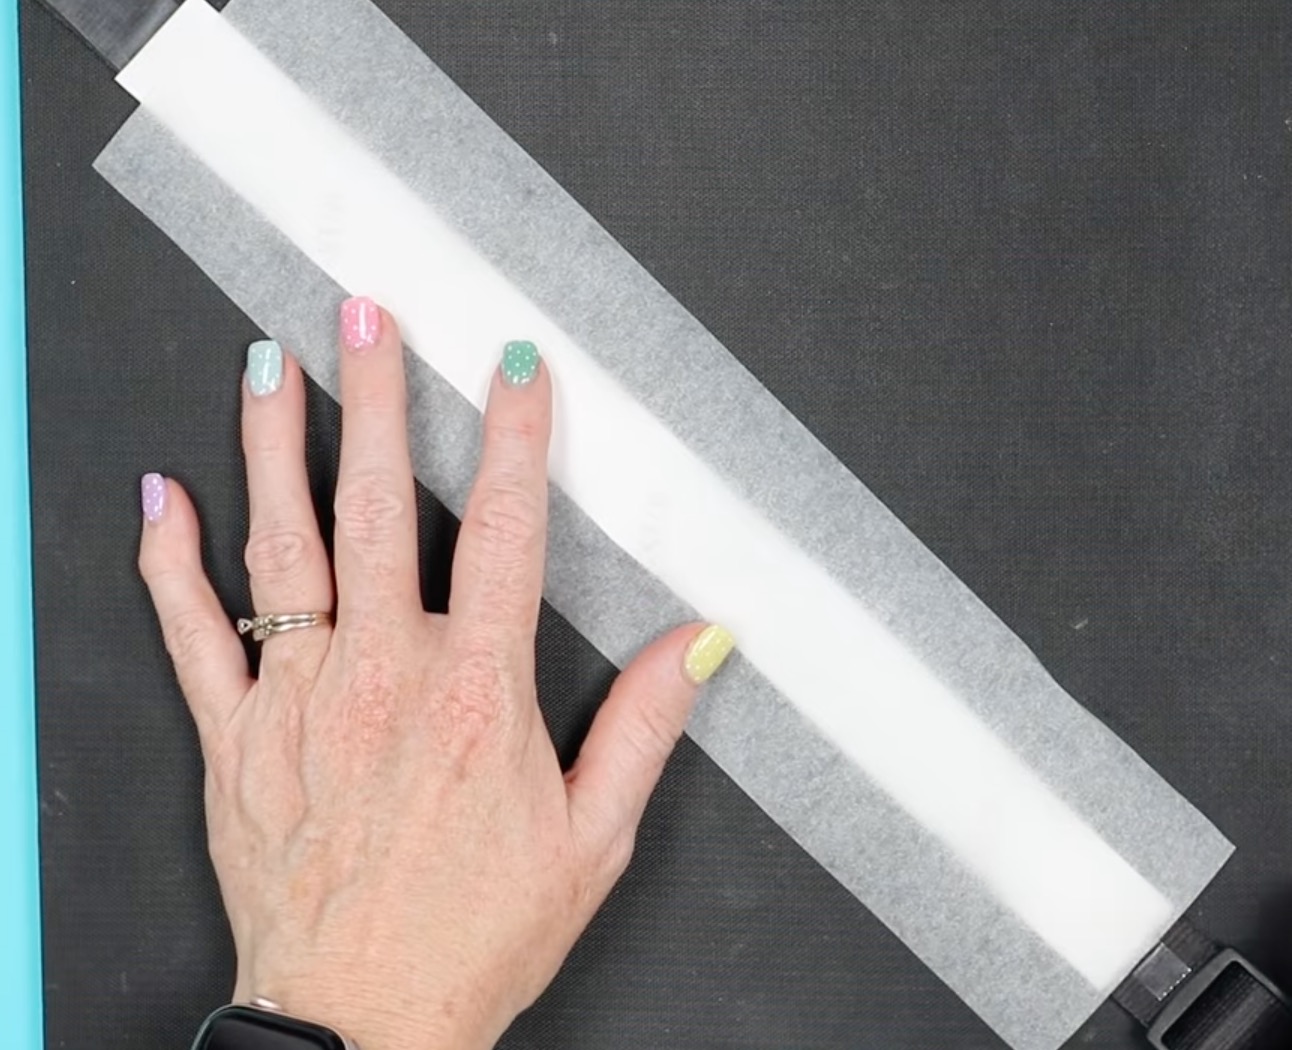
With the designs printed, cut them apart so they're ready for each blank.
Step 3. Prepare the Sublimation Pet Blanks
The first step for all of the sublimation blanks is to lint roll the surface to remove any pet hair, dust, or other debris.
Preheat the fabric blanks to remove any wrinkles and moisture.
Step 4. Locate the Sublimation Print
I am using my EasyPress and a firm heat-resistant mat for all of the projects except the tumbler.
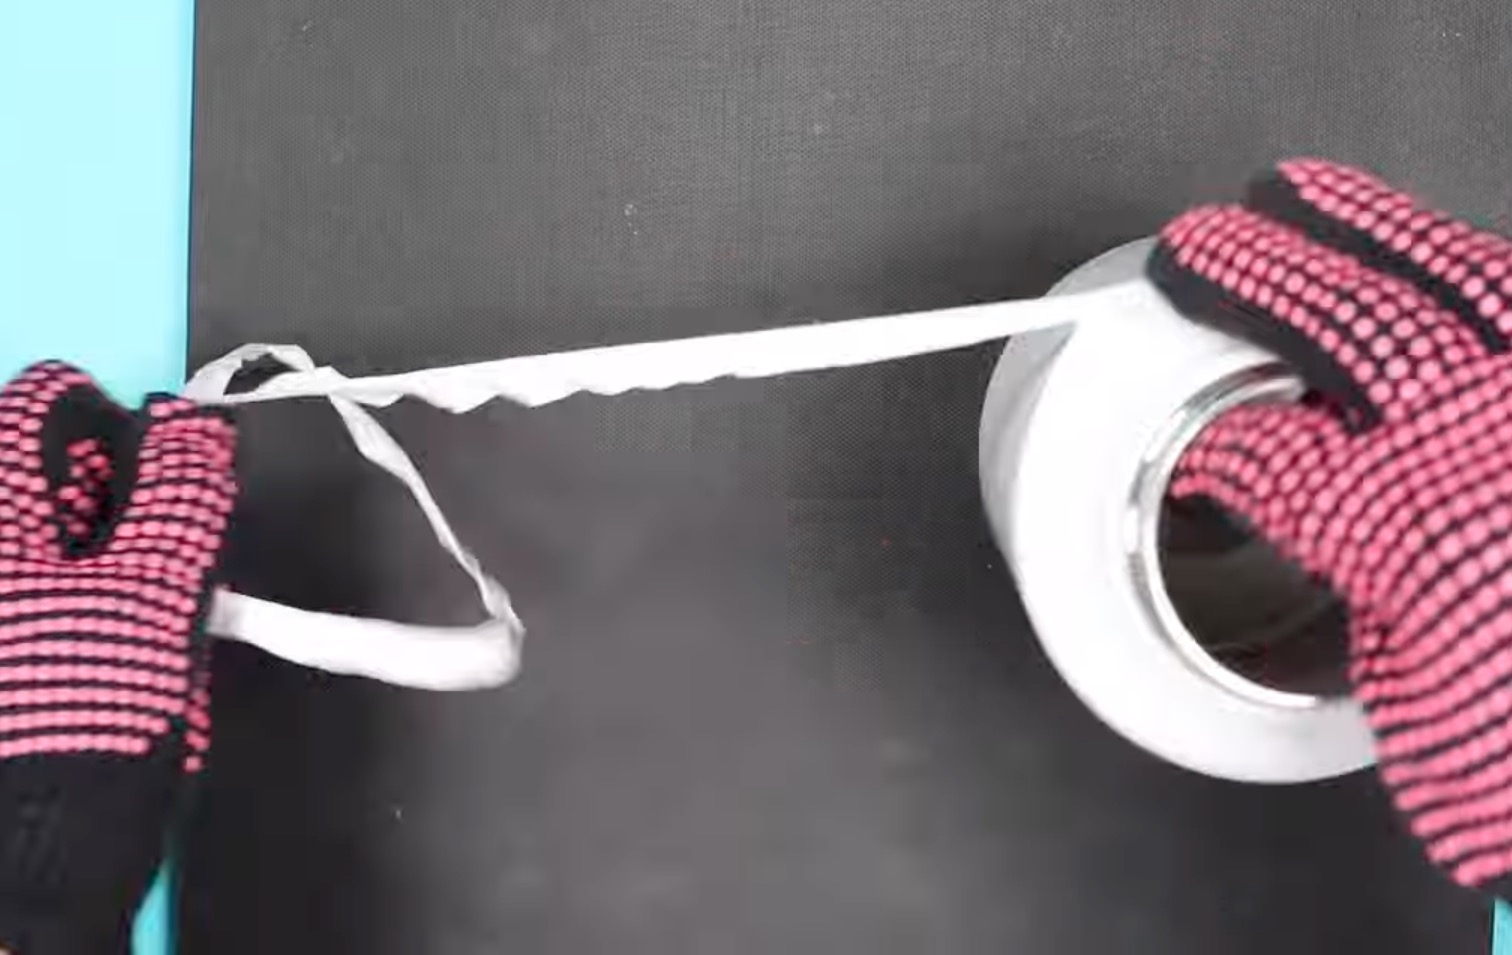
Locate the design on your blank and secure it in place using heat-resistant tape.
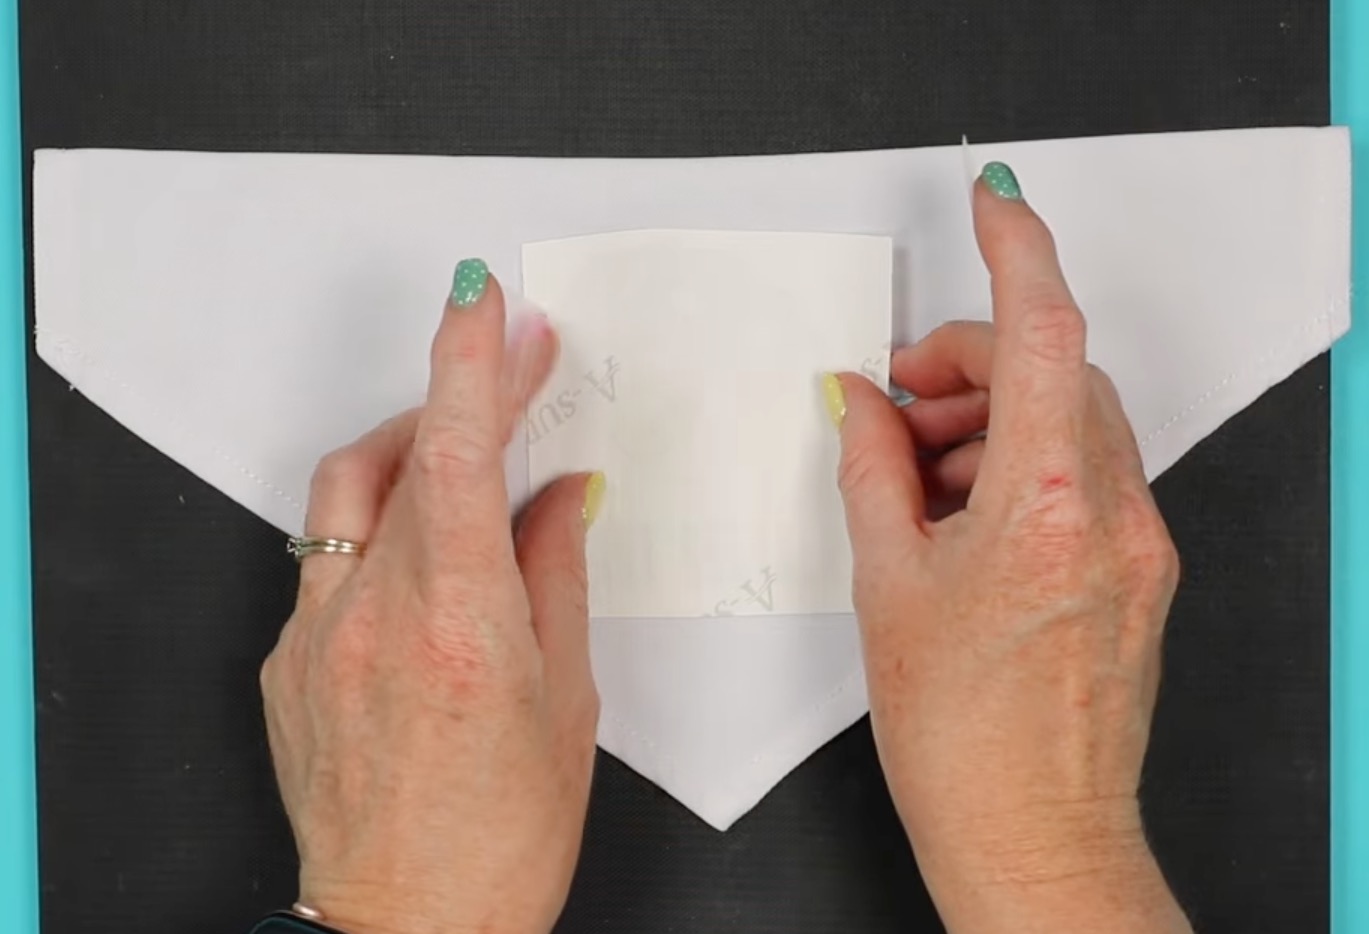
Dog Bandana
For the dog bandana, I located the design centered above the point.
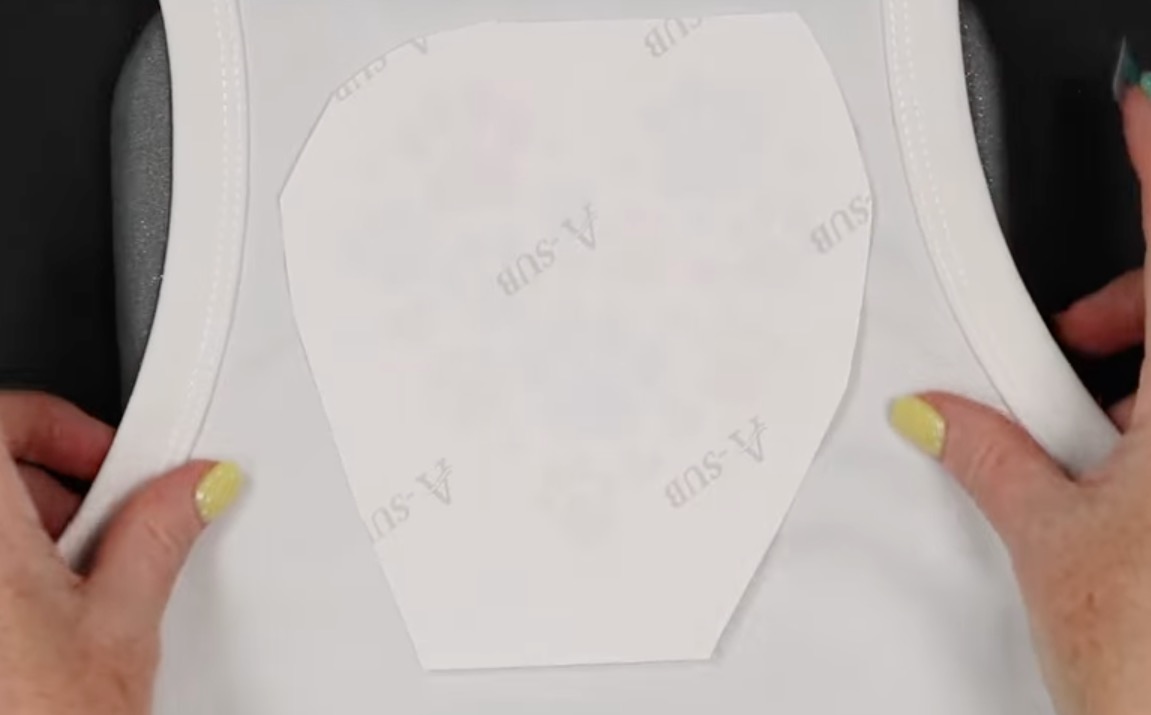
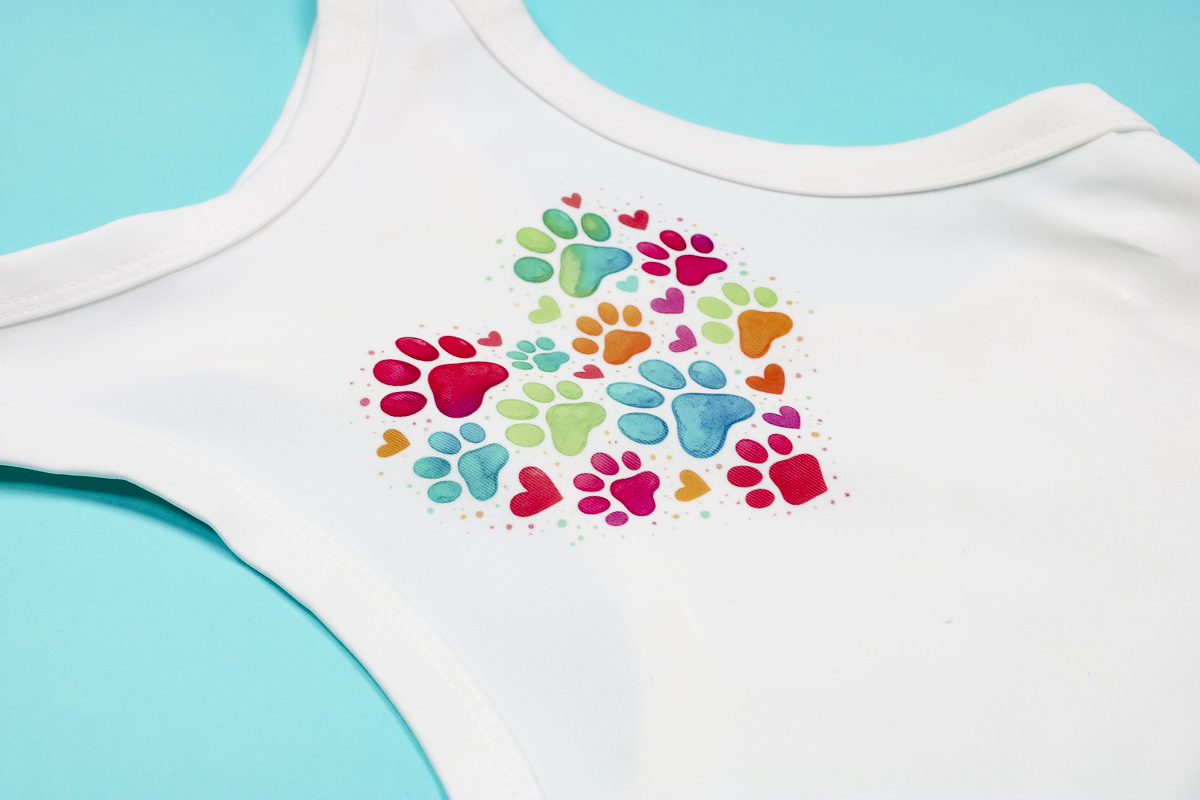
Dog Shirt
For the dog shirt, I centered the design so it would sit between the shoulder blades. I don't want it too close to the neck, but also not too far down on the back.
Sublimation Tumbler
Since I printed my sublimation gang sheet twice, I had two of the tumbler images. I decided to add both designs.
Locate the first design where you want it and secure it with heat-resistant tape.
If you add a second design, rotate the tumbler and place the second print on the other side. I do my best to make sure they're about the same distance from the top and bottom.
Trimming the excess paper can help you get the location just right on both sides.
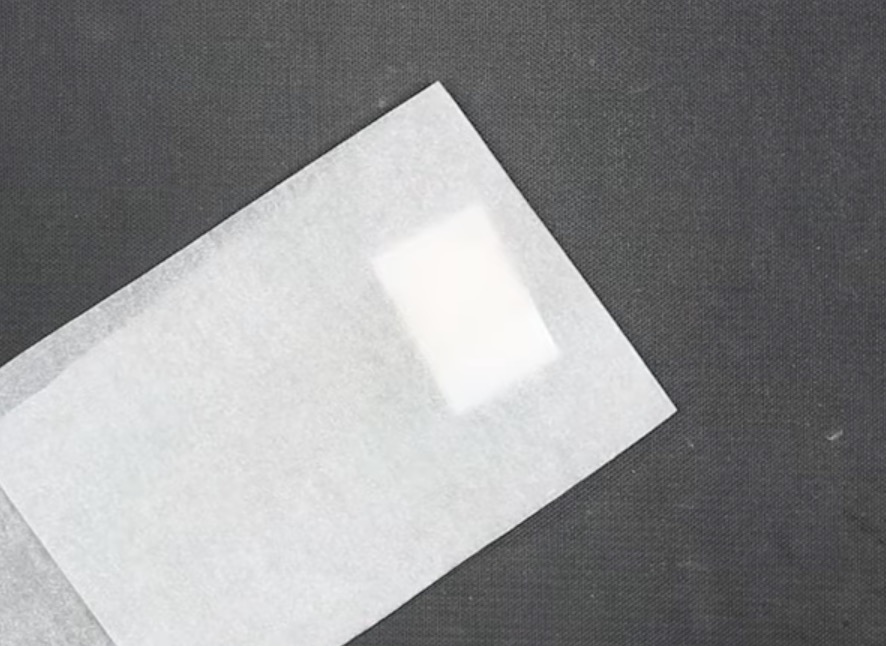
Sublimation Dog Tag
With the dog tag and any type of blank like this, first, make sure you remove any protective film from both sides.
This is a double-sided tag, and since I printed my designs twice anyway, I am going to add the print to both sides.
On the first side, locate the tag on the print so the name is where you want it, and trim the print so it is just slightly larger than the blank.
The other side can be slightly larger than the first.
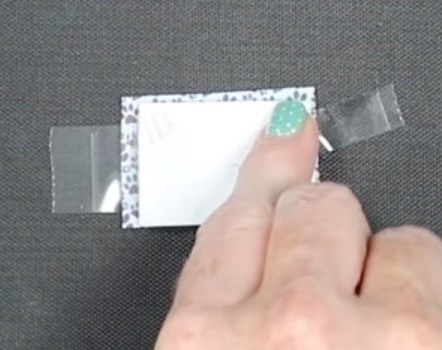
Use heat-resistant tape to sandwich the dog tag between the prints. Make sure your heat-resistant tape is not between the blank and the sublimation print.
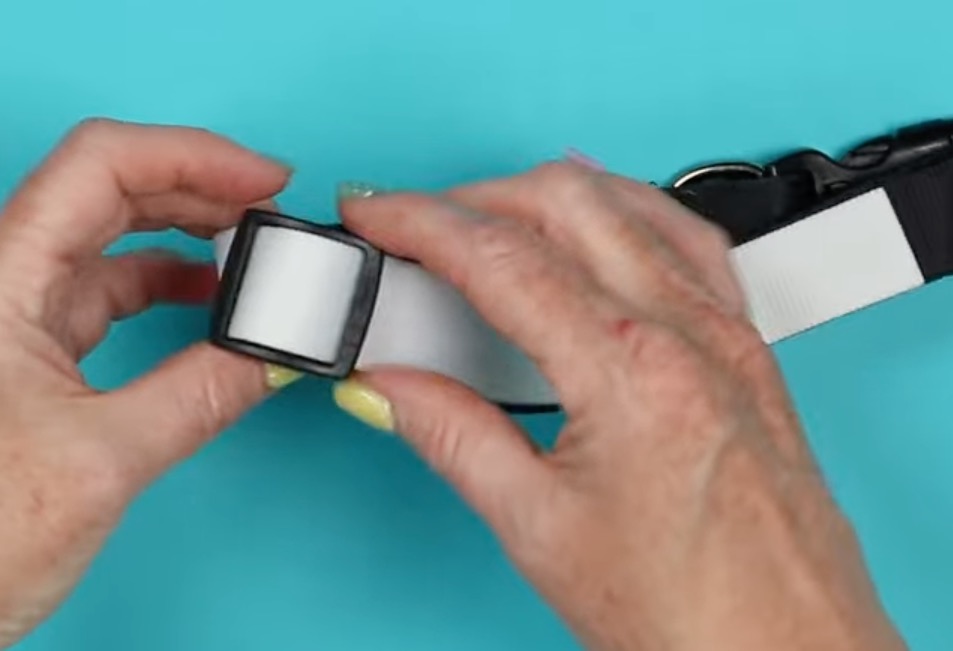
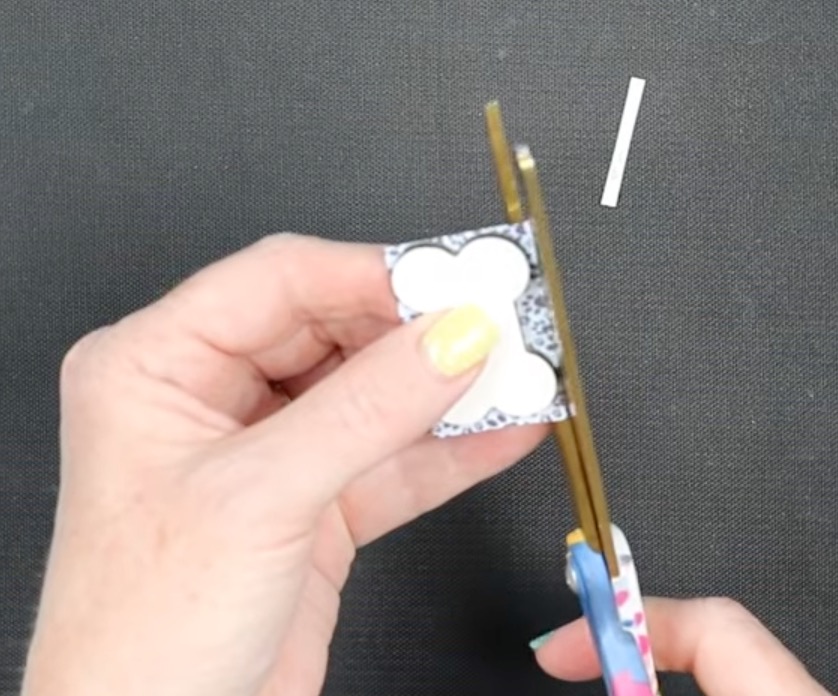
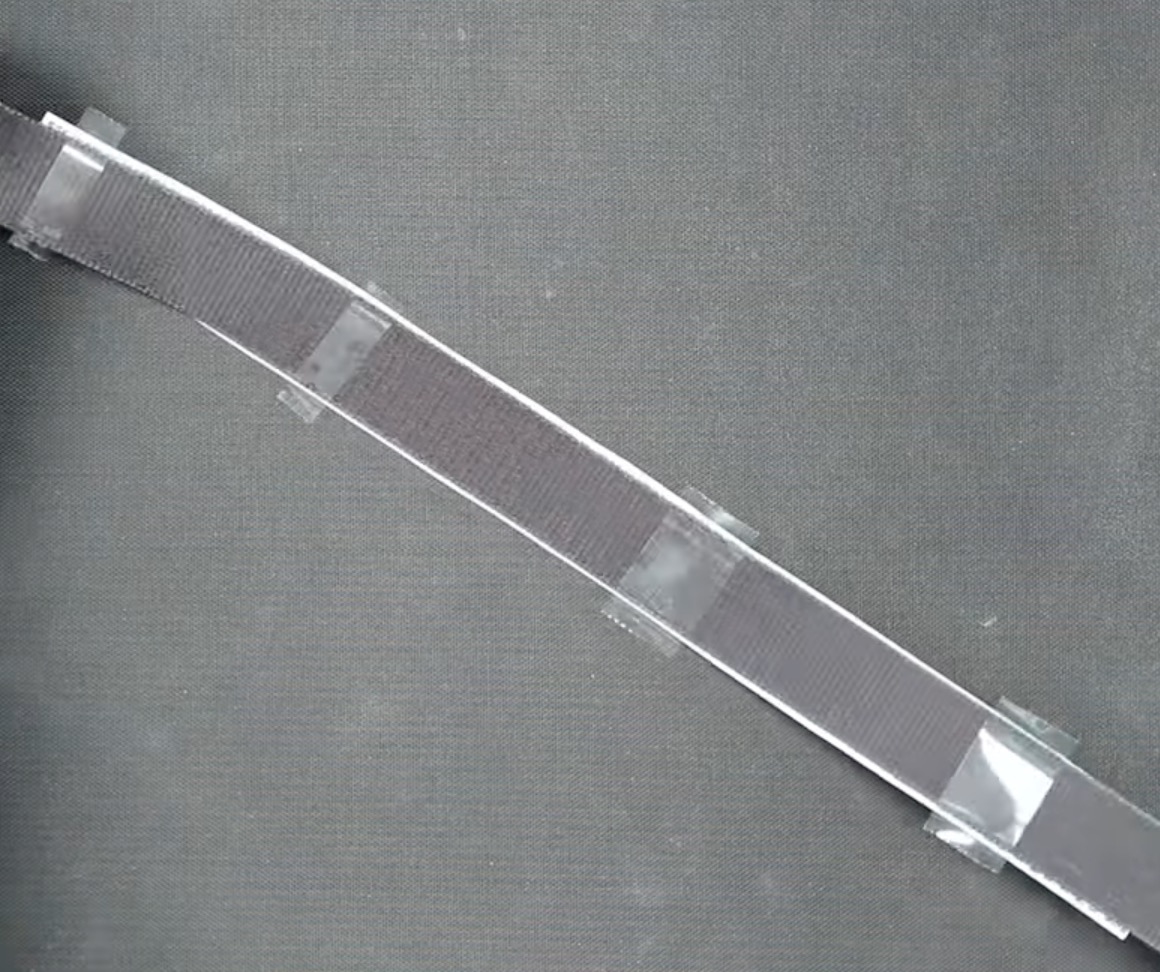
Sublimation Pet Collar and Leash
The process for locating the sublimation print on the collar and leash is the same.
First, lay the blank flat.
Next, lay the sublimation print flat, print side up.
You may find it helpful to add a small piece of heat-resistant tape to each end with the adhesive side facing up.
Flip the blank on top of the print so the sublimation side of the blank is against the sublimation print.
My print is slightly wider than the blank. This allows me to make sure the whole sublimatable area is sublimated.
Center the blank on the print.
Add heat-resistant tape along the back to secure the blank to the print.
Step 5. Press the Sublimation Print onto the Pet Blank
Depending on the blank you're using, the pressing process may be slightly different.
Always check the time and temperature recommendations for the specific blanks you're using.
Sublimation Pet Bandana
With the print located on the bandana and secured with heat-resistant tape, place it on a heat-resistant mat.
Add protective paper under the bandana and on top of the sublimation print.

My sublimation bandana has a recommended temperature of 380 degrees for 55 seconds.
Press with medium pressure.
I am using my Cricut EasyPress; you can do this with the Autopress or other heat press types.
When the time is up, remove the sublimation paper. It can be helpful to lift one area to make sure the design has transferred before removing the whole print.
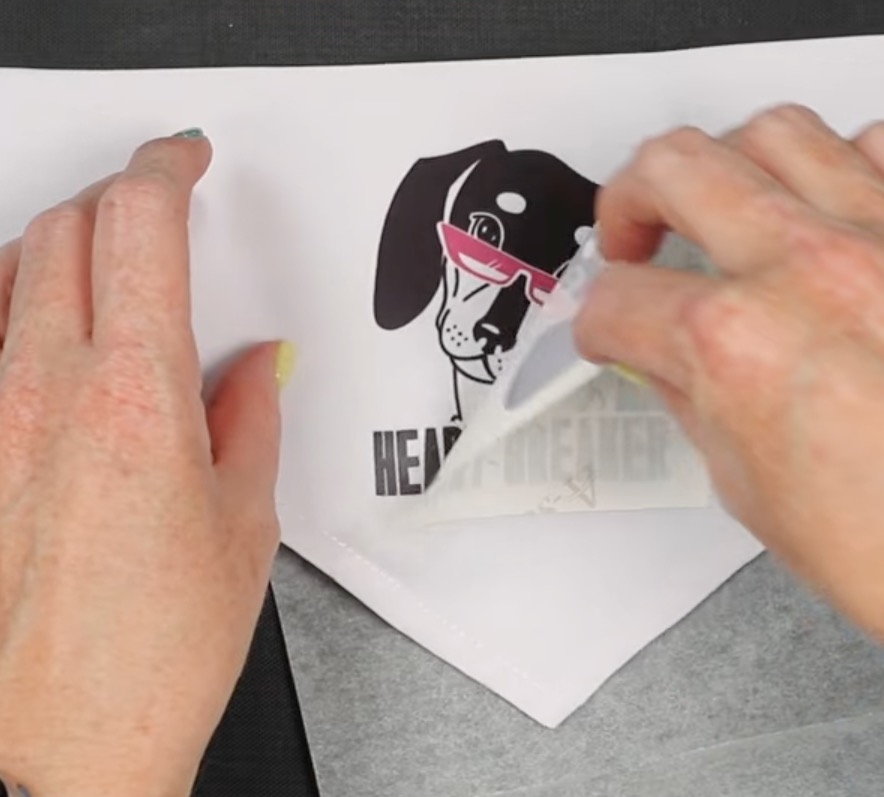
Sublimation Dog Shirt
Pressing the dog shirt is very similar to the bandana.
The main difference is that I added my small EasyPress mat inside the shirt to help lift the pressing area above the seams on the sides.
The EasyPress mat is softer and has more give than other mats, so when I press down on the EasyPress, I can get even pressure on the raised area.
Place protective paper between the mat and the shirt and on top of the sublimation print to protect the mat and the EasyPress from ink transfer.
I pressed the shirt for the same time and temperature I used for the bandana.
When the time is up, remove the sublimation paper.
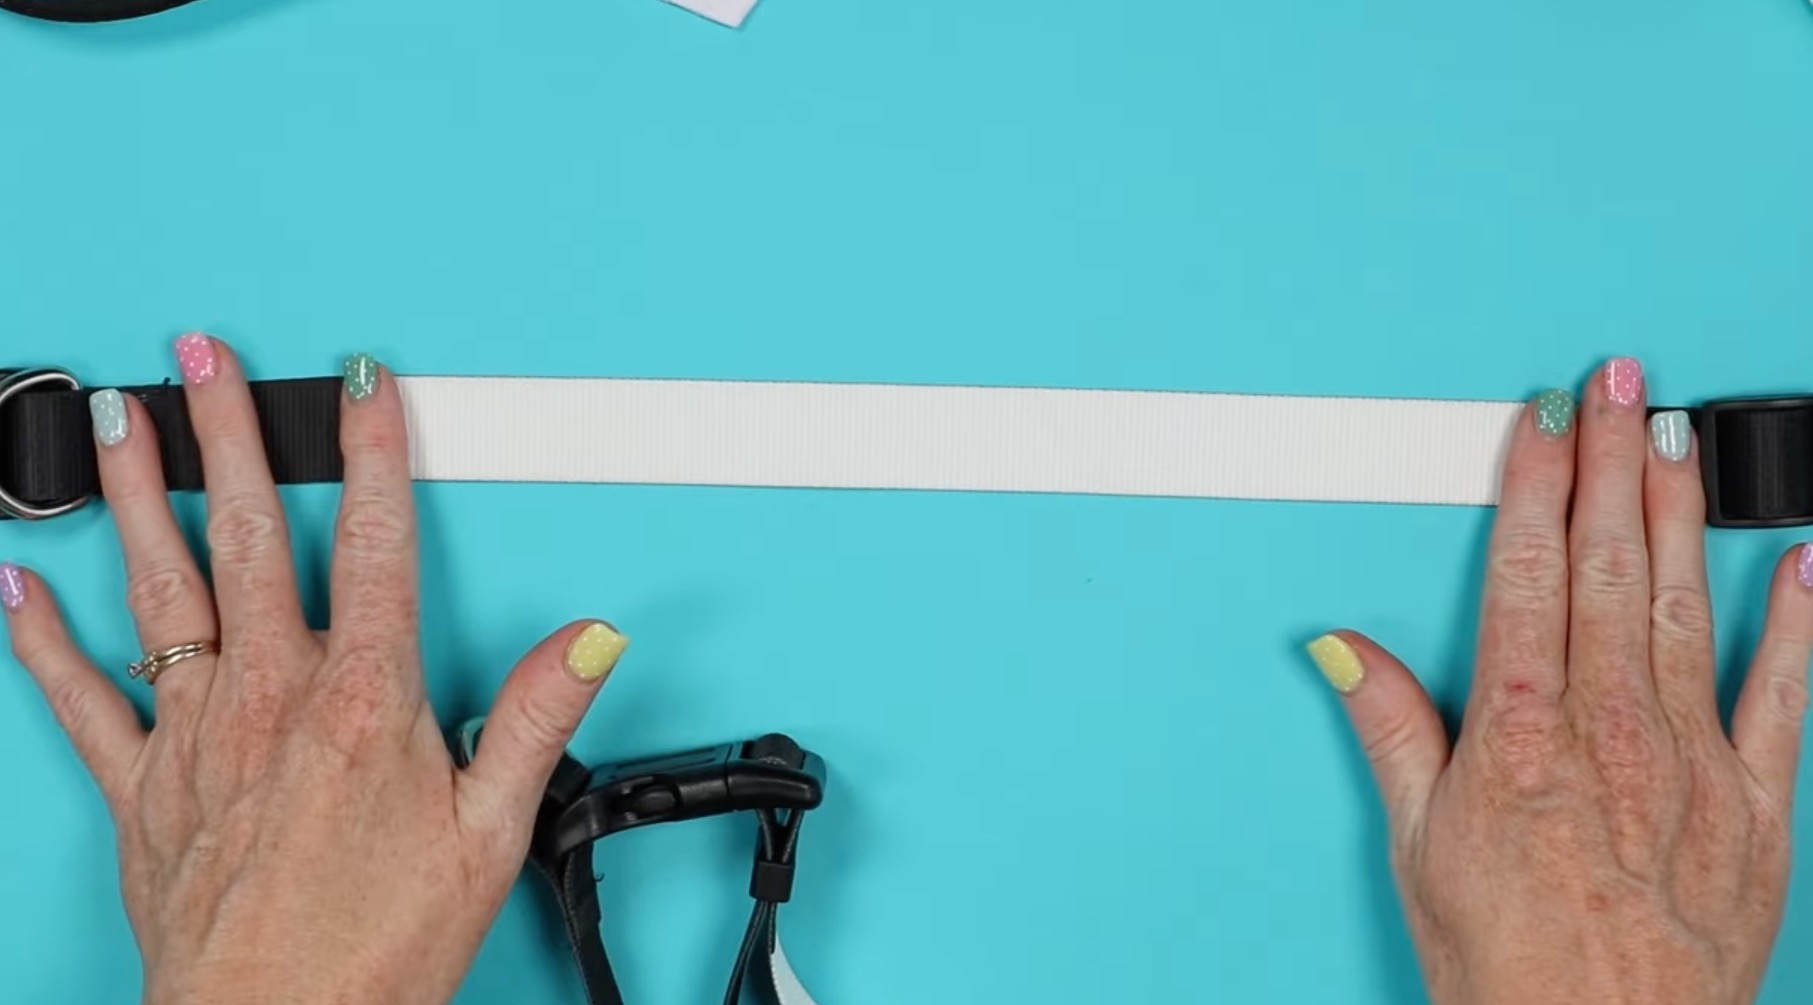
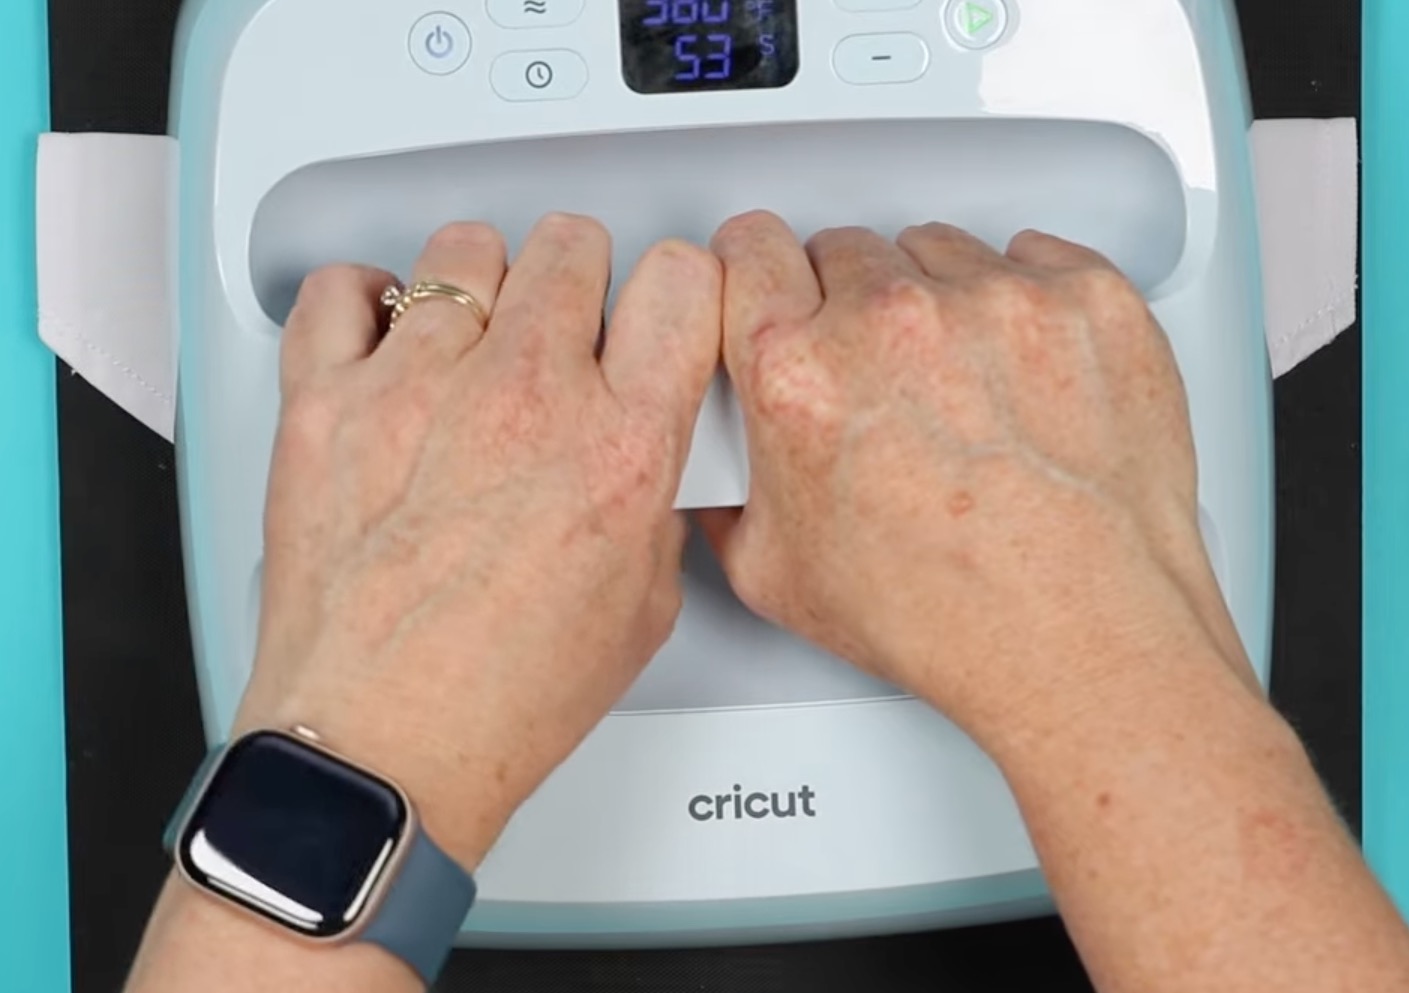
Sublimation Leash and Collar
The process for pressing the sublimation collar and sublimation leash will be the same. I am pressing the collar first.
Place the collar on a flat, heat-resistant surface and add protective paper under it and on top of the sublimation print.
Both the collar and leash are too big to press all at one time. If your press is larger, you could possibly do it all at once.
Make sure to keep the heat away from any plastic pieces.
Press at 400 degrees for 60 seconds. When the time is up, move the EasyPress over and press the next section.
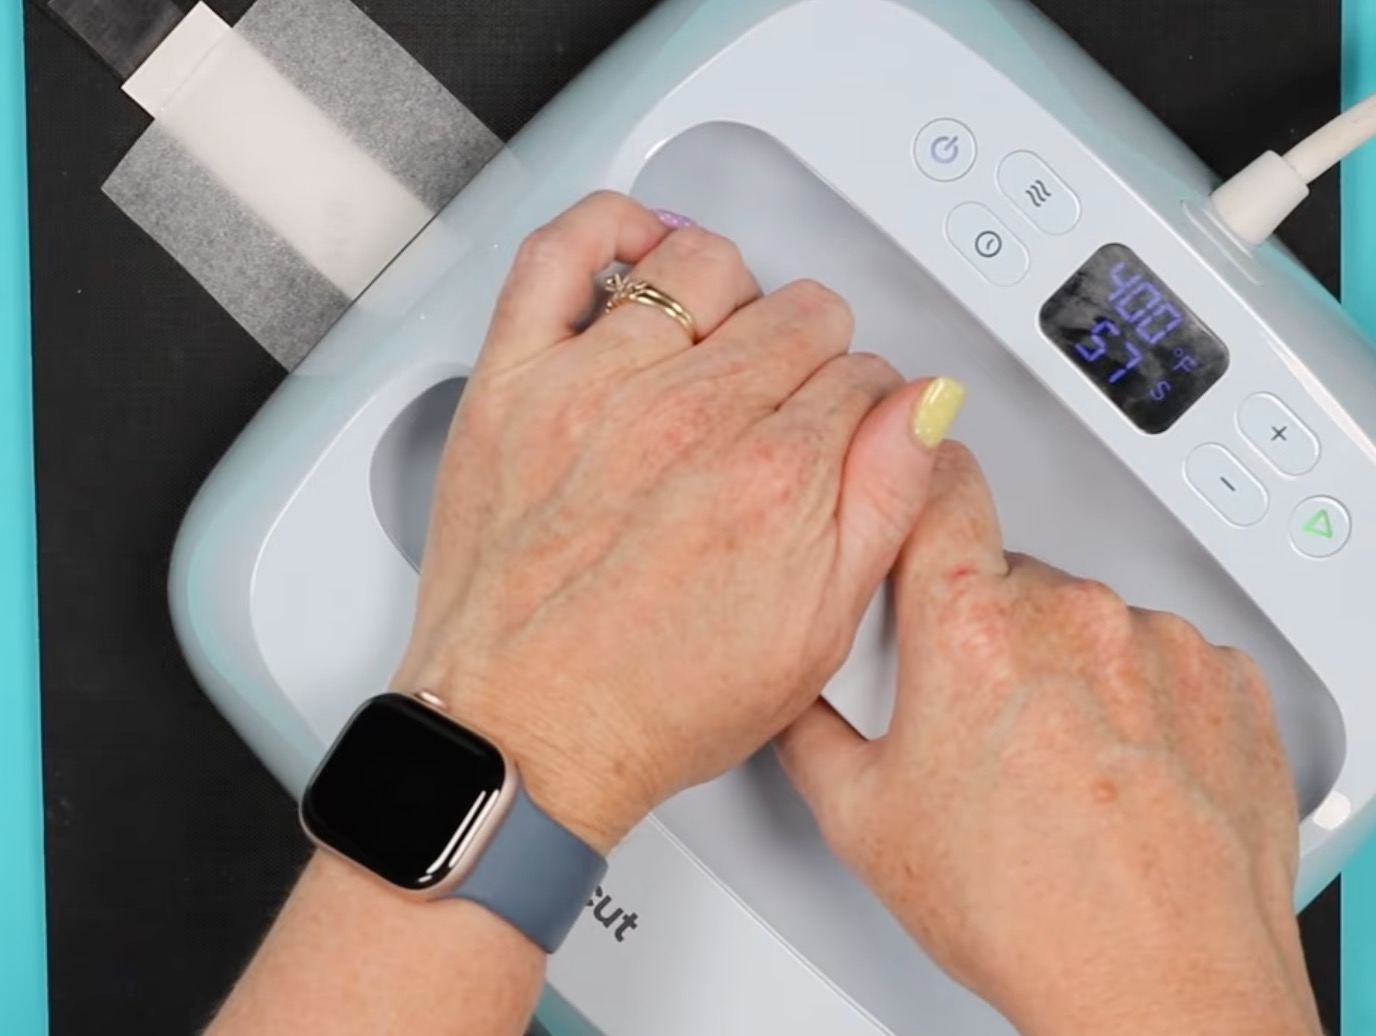
Repeat the process for each section of the collar.
When the pressing is complete, remove the sublimation print and heat-resistant tape from both blanks.
Sublimation Pet Tags
Remember, before pressing, make sure you've removed any protective film from both sides of the tag.
Add protective paper to the top and bottom of the tag. I am going to press both the front and back of the dog tag.
Set the EasyPress temperature to 385 degrees and the timer to 50 seconds.
Press the first side with medium pressure for the full time.
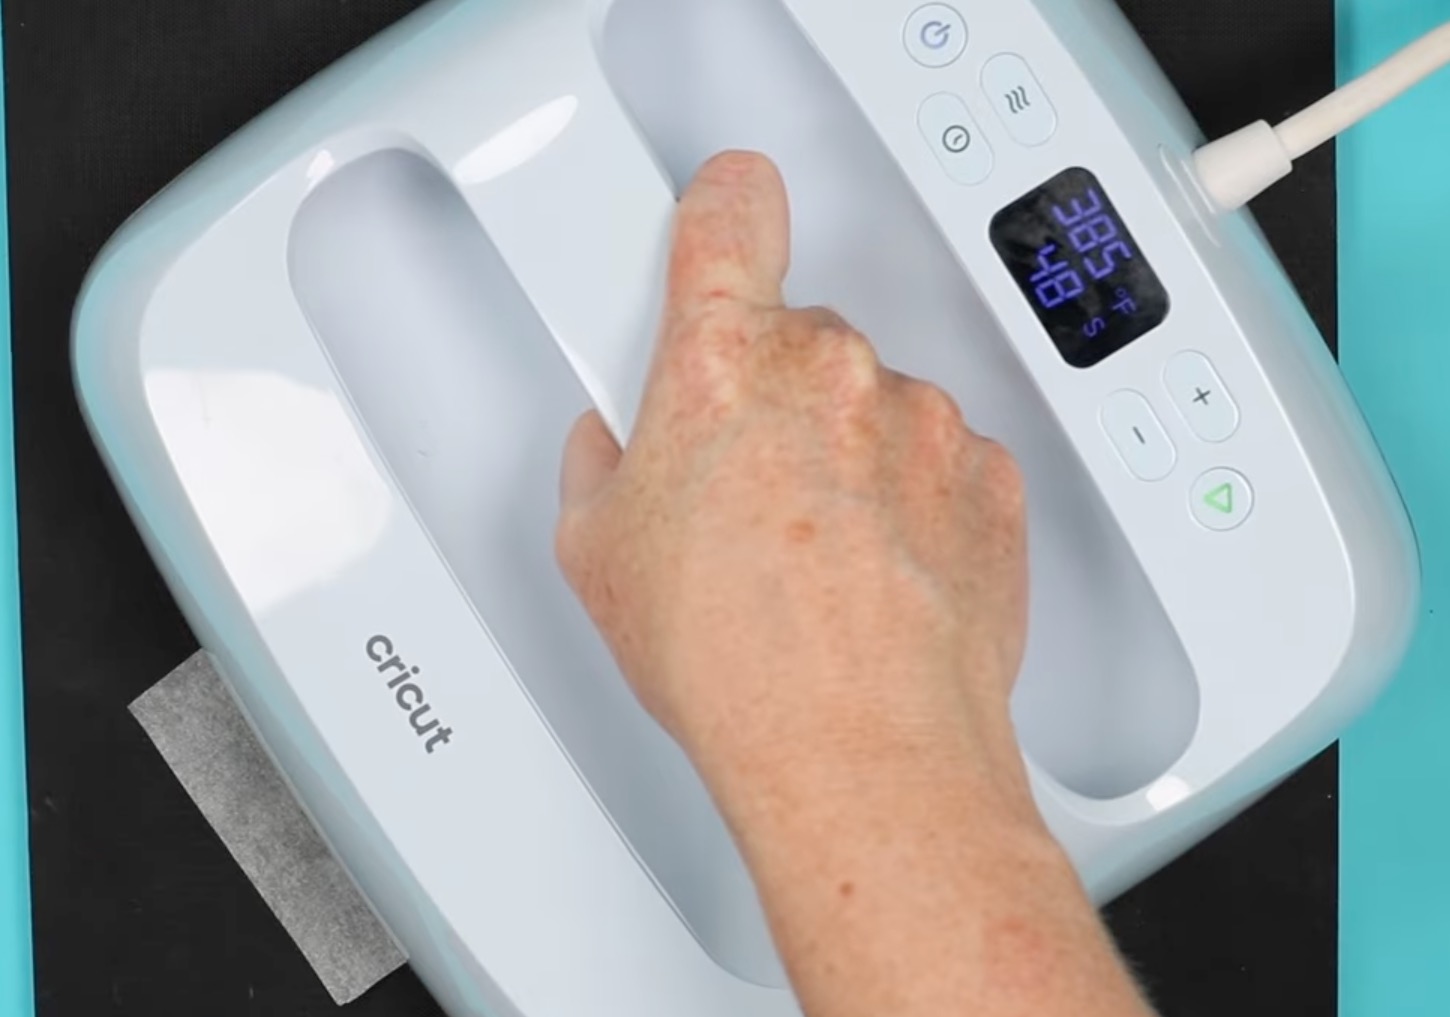
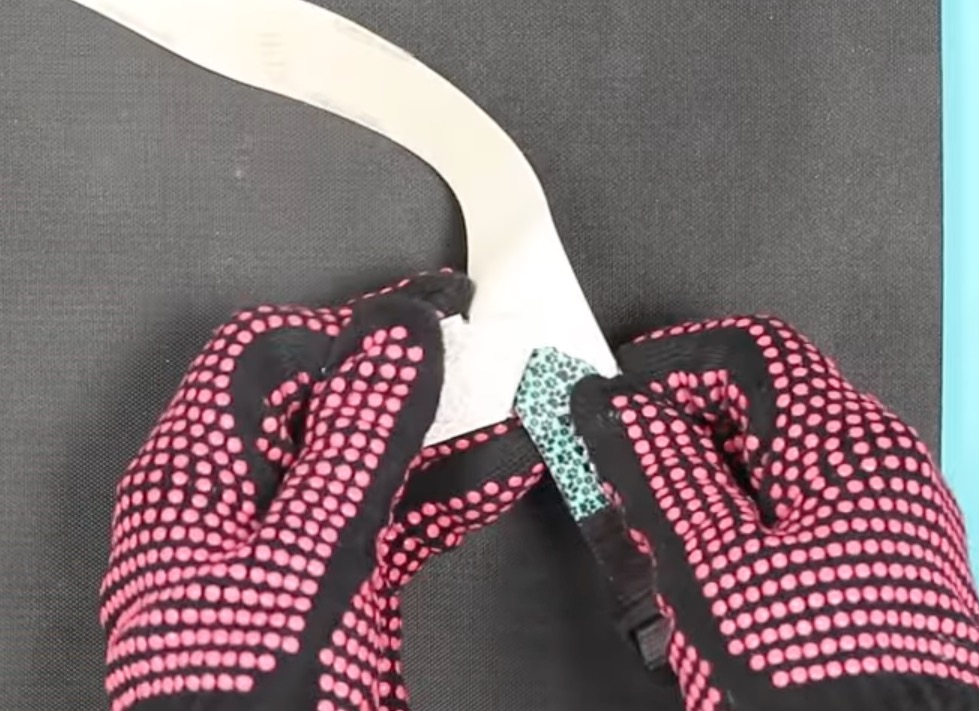
When the time is up, use a heat-resistant glove to immediately flip the pet tag over and press the other side for the same amount of time.
When the time is up, remove the prints from the front and back of the dog tag.

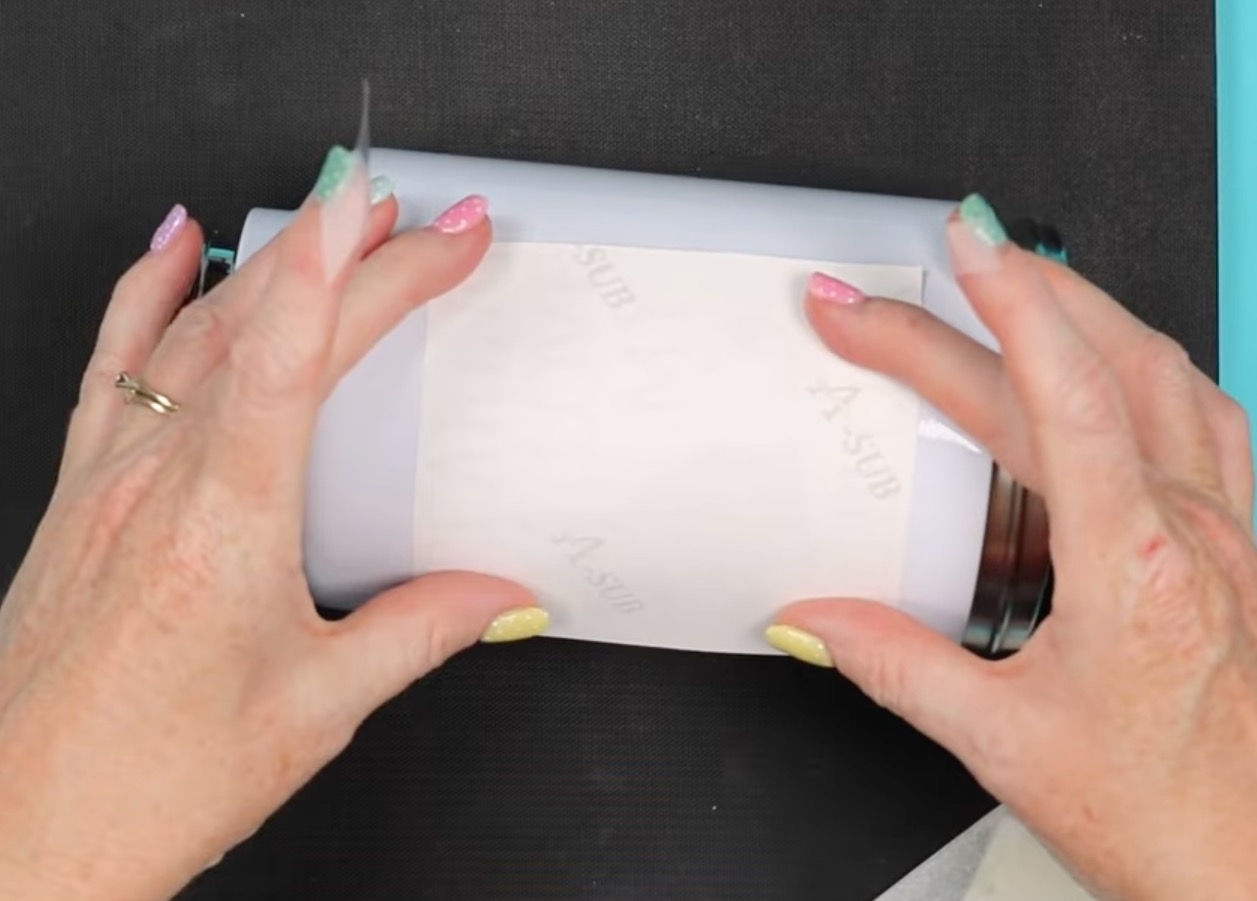
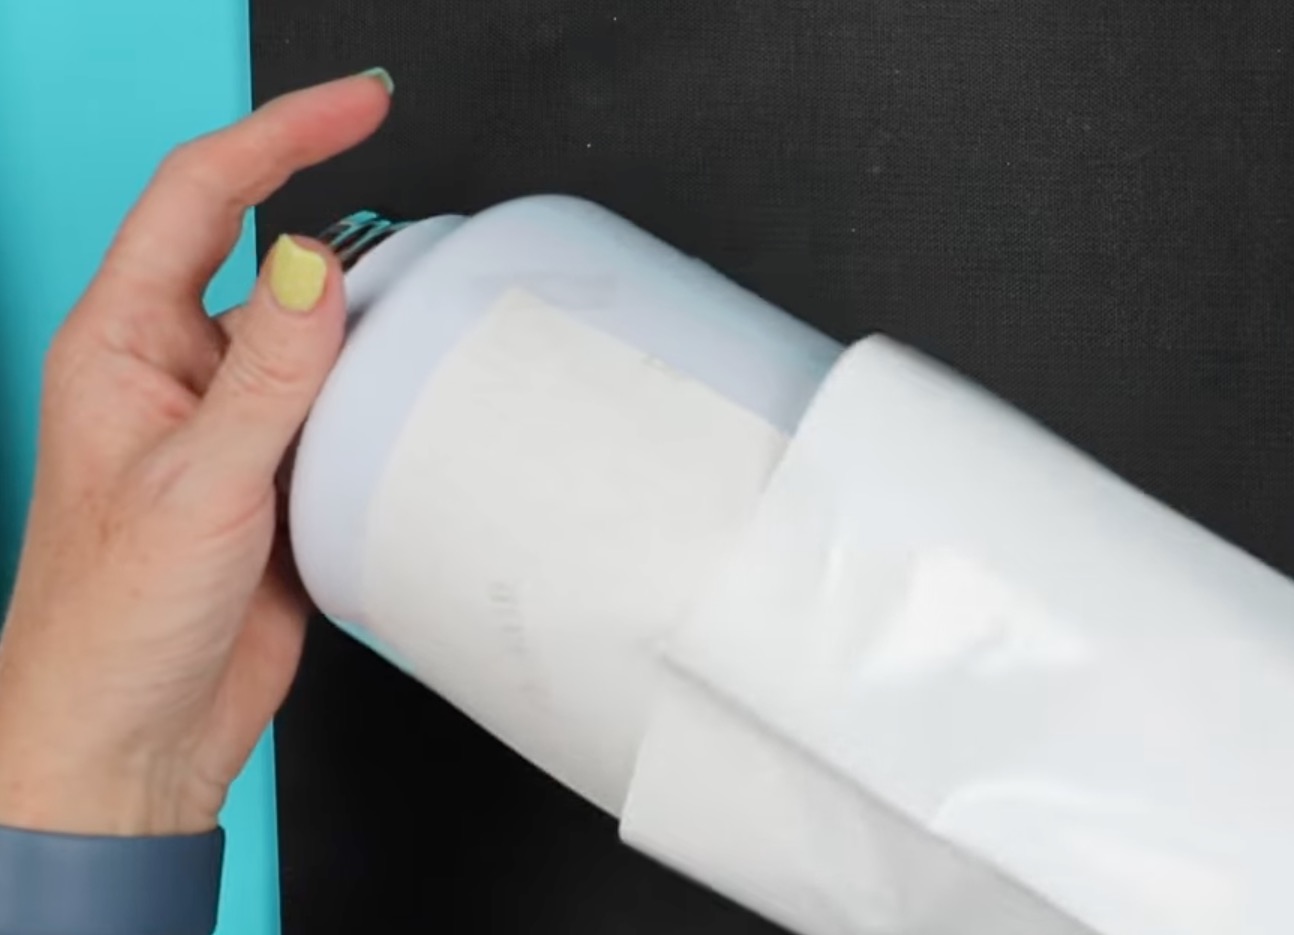
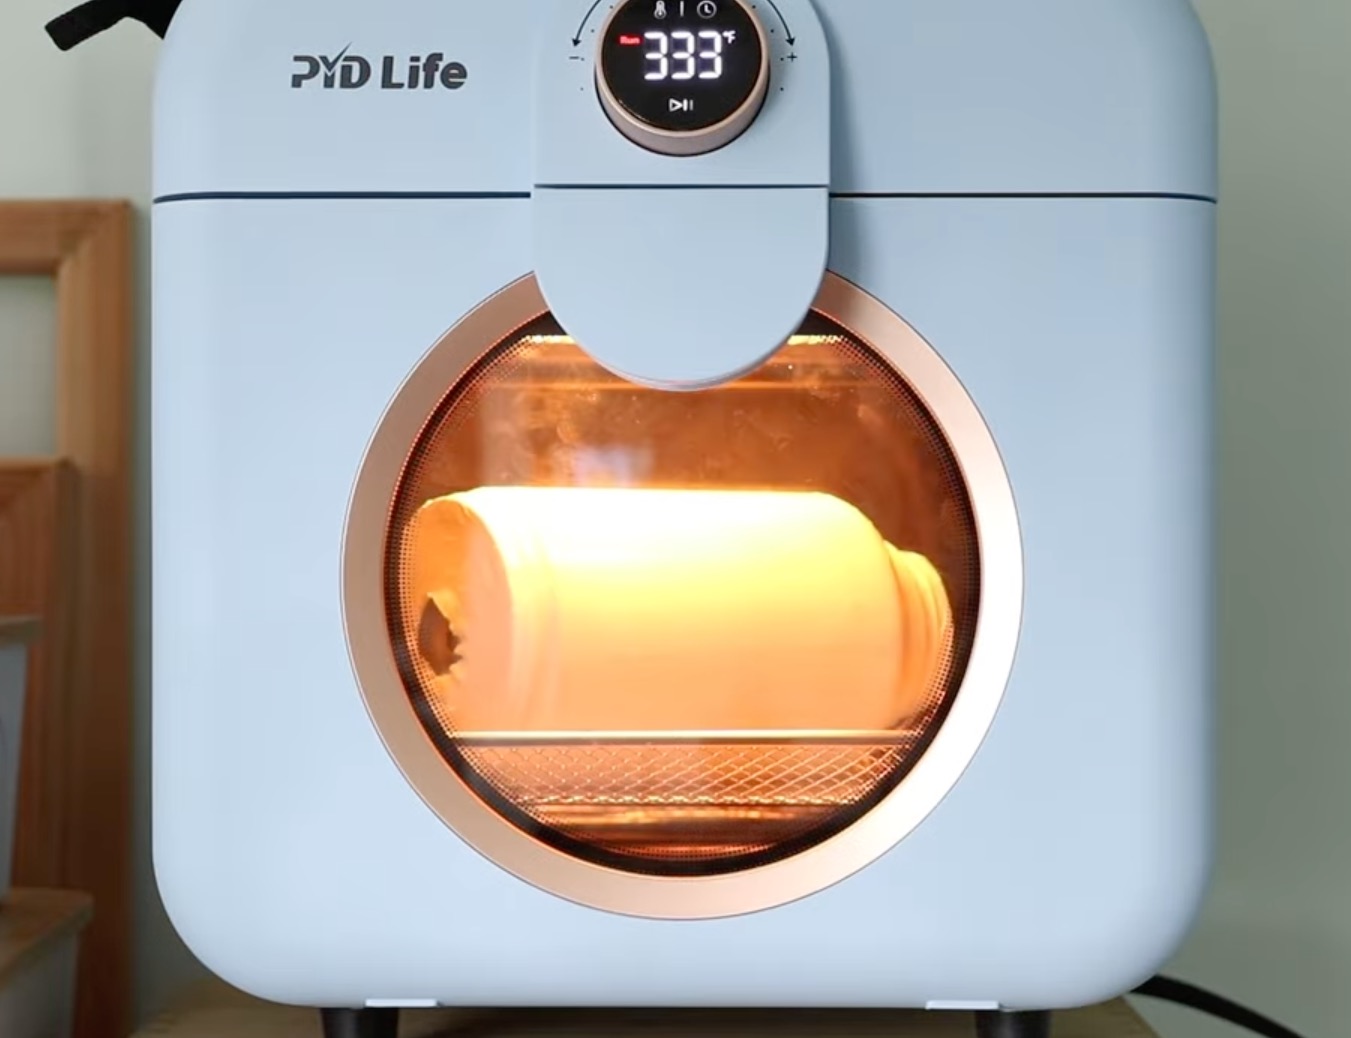
Sublimation Pet Water Tumbler
The last pet sublimation blank I'm going to press today is the water bottle.
For this blank, I am using my sublimation oven.
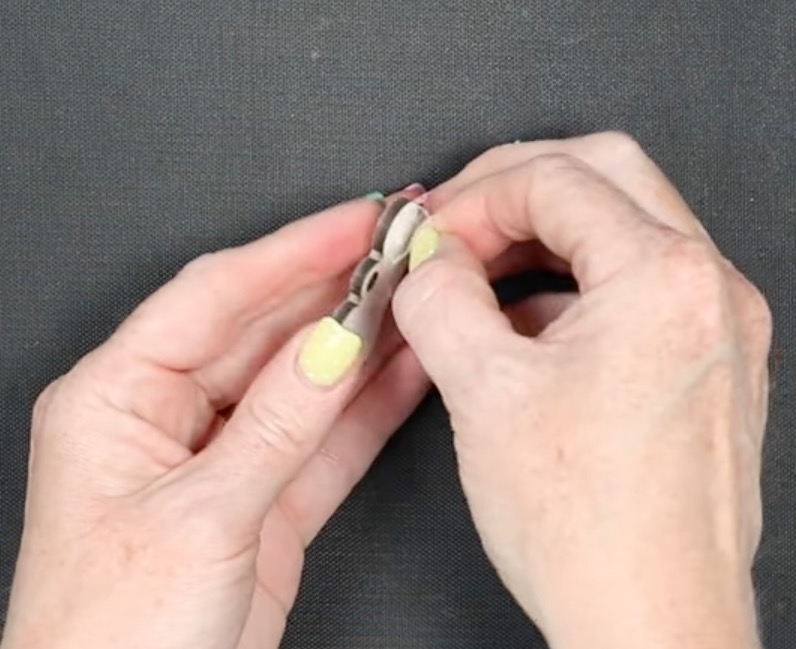
First, remove the bottom section. Inside, you'll find collapsible dog bowls and hooks. Remove those and any other internal pieces.
I have my oven preheated to 360 degrees and the timer set for 6 minutes.
With the sublimation designs taped in place, put the tumbler inside a shrink sleeve.
Use a heat gun to tighten the shrink sleeve. Move the heat gun back and forth to prevent any burn holes.
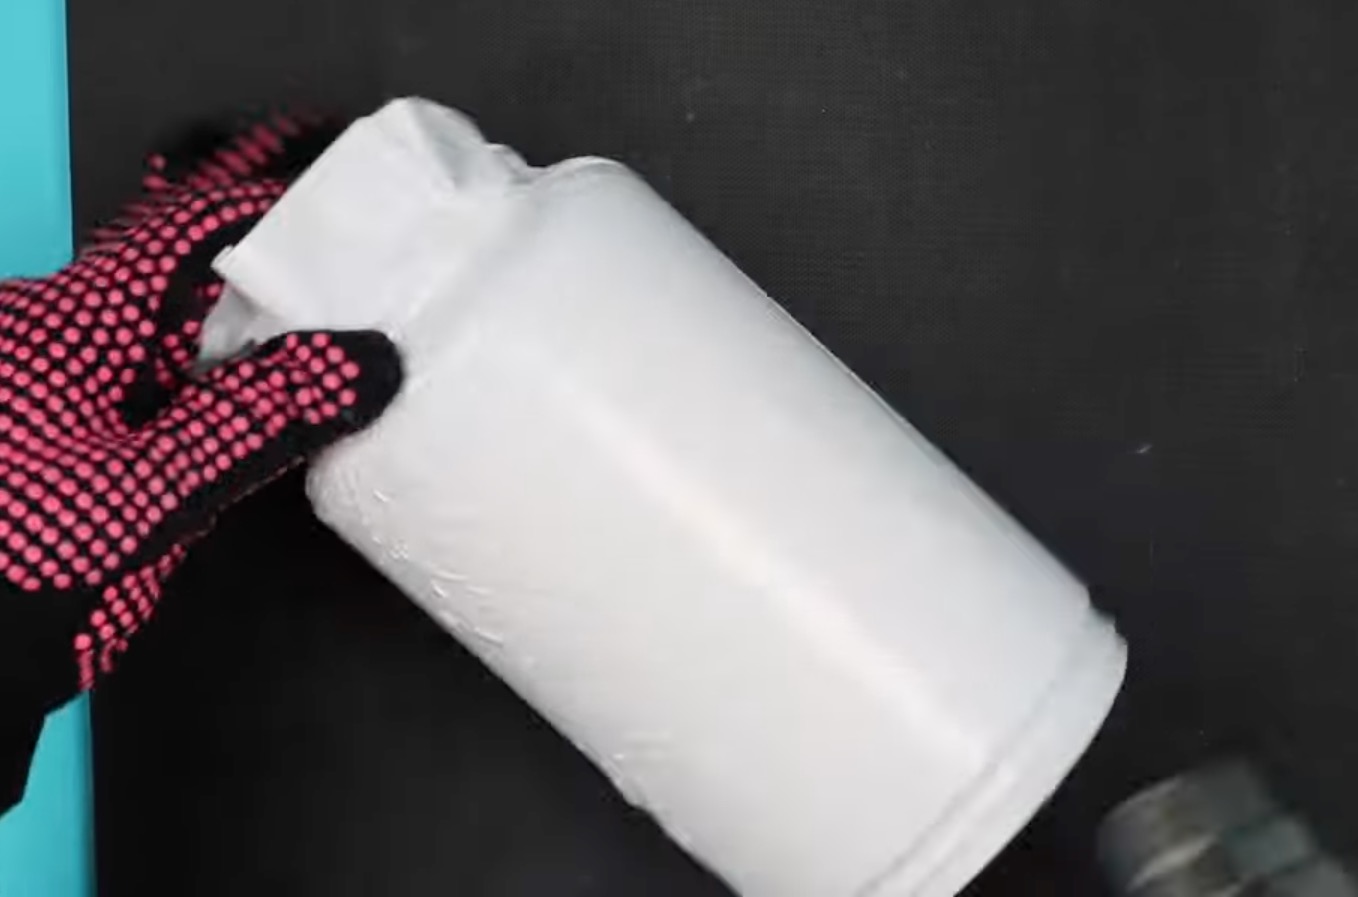
Place the tumbler inside the sublimation oven and allow it to bake for the full time.
When the time is up, using heat-resistant gloves, remove the tumbler and immediately remove the shrink wrap.
Shrink wrap becomes more difficult to remove as it cools. I highly recommend removing it quickly.
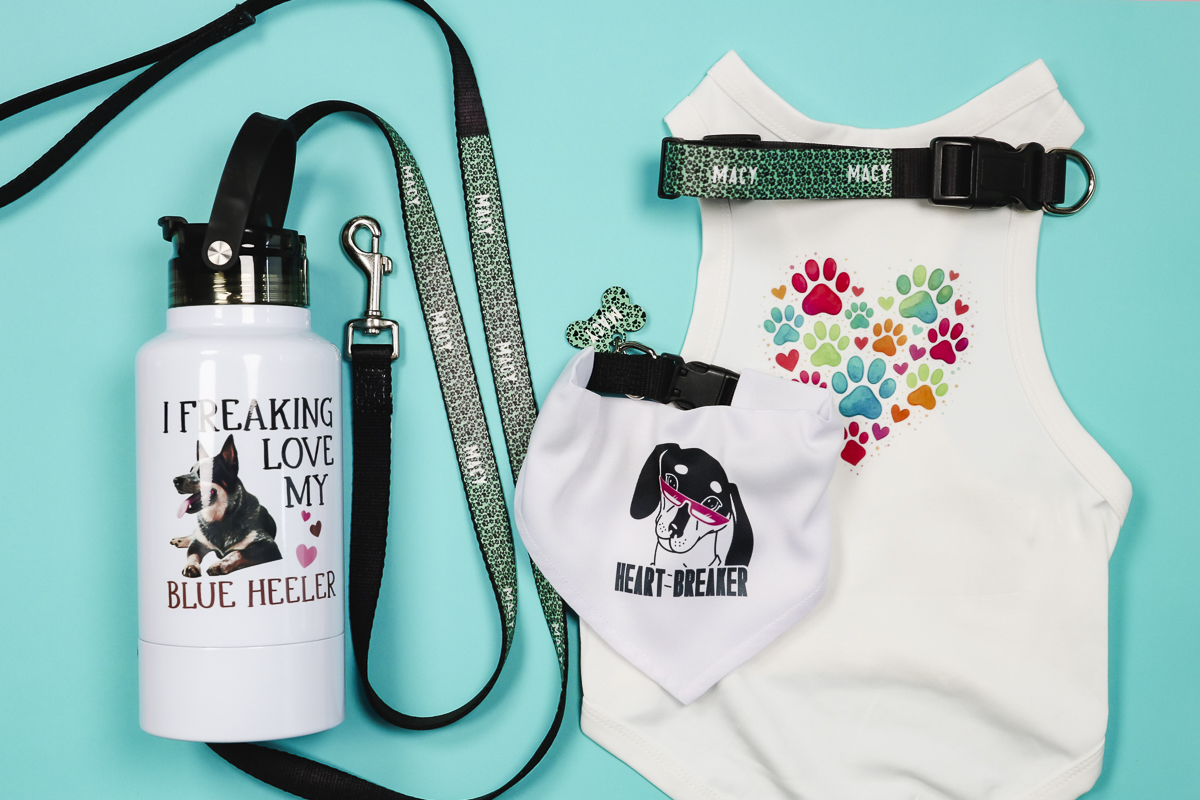
Close Up of Finished Sublimation Pet Blanks
I love how all of these sublimation pet blanks turned out. Each one sublimated beautifully and, really, pretty easily.
Pet Bandana
The bandana is so cute. It was easy to press, and it comes with a collar, so you just slide that through the bandana, and it's ready to wear.
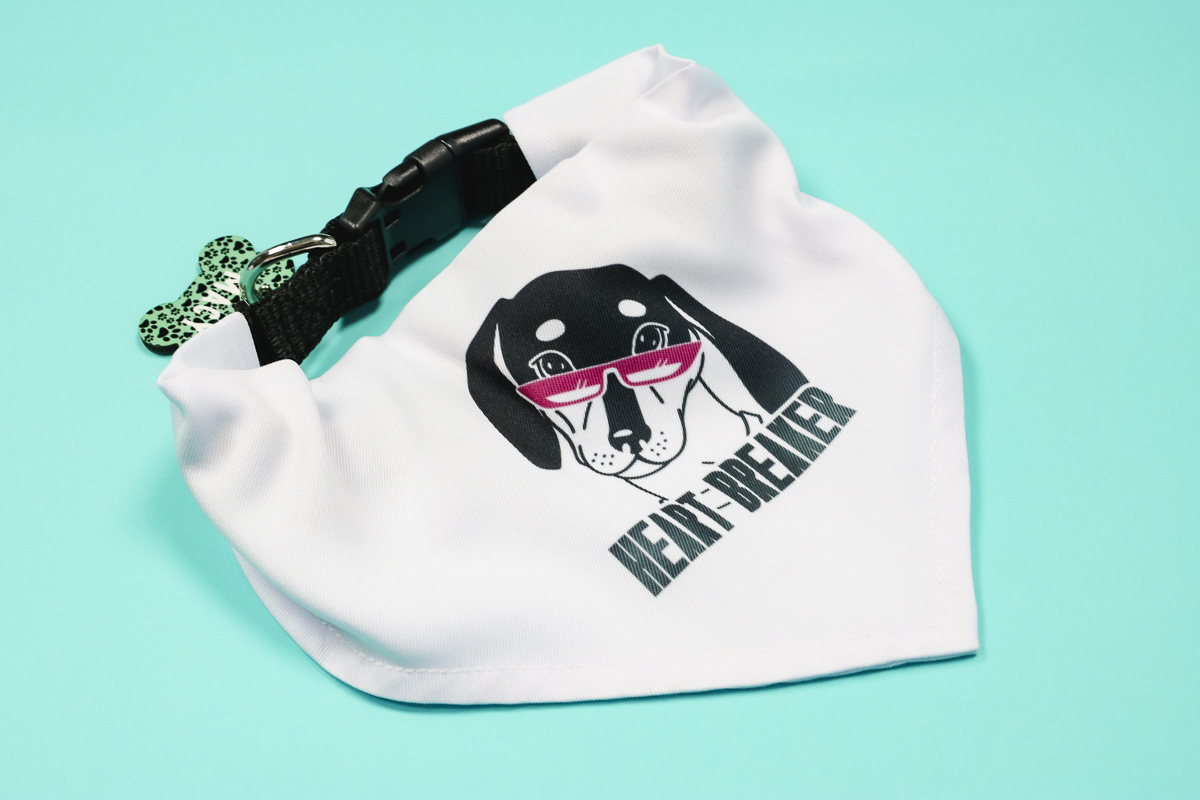
Before ordering, make sure to check the sizing if you're making it for a specific pet.
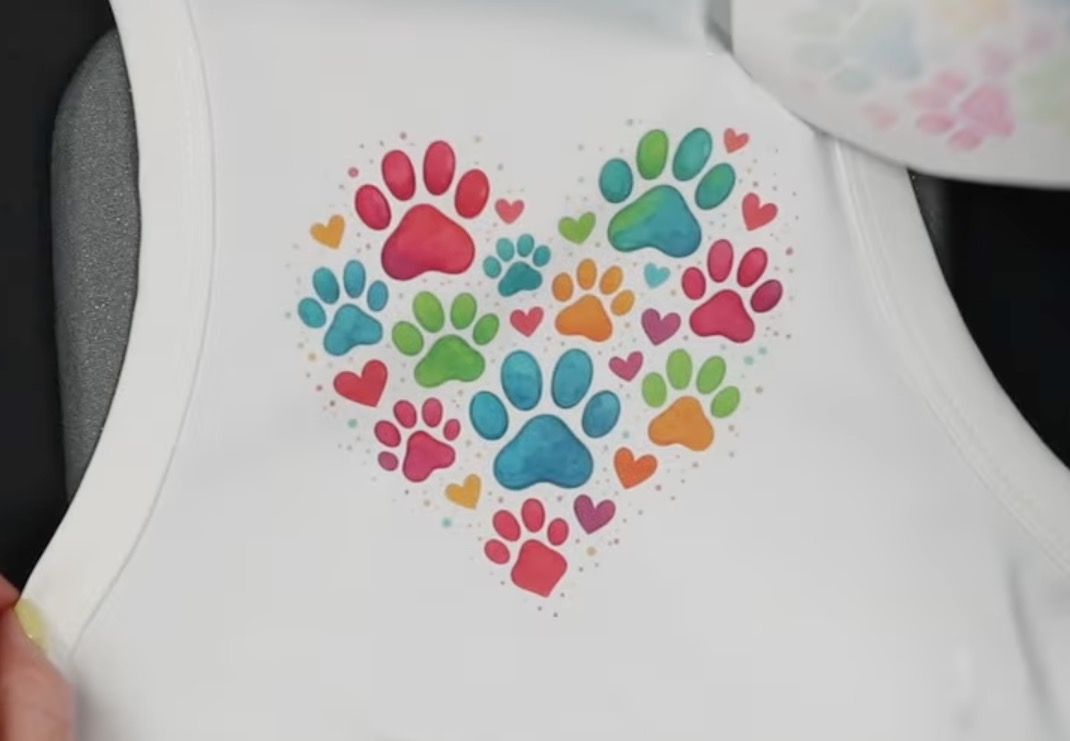
Sublimation Dog Shirt
The dog shirt was also easy to press, and this paw print heart design is really cute on it.
The colors are vibrant, and using the EasyPress mat inside the shirt really helped ensure the design transferred evenly.
Dog Collar and Leash
I'm really happy with how both the collar and leash turned out.
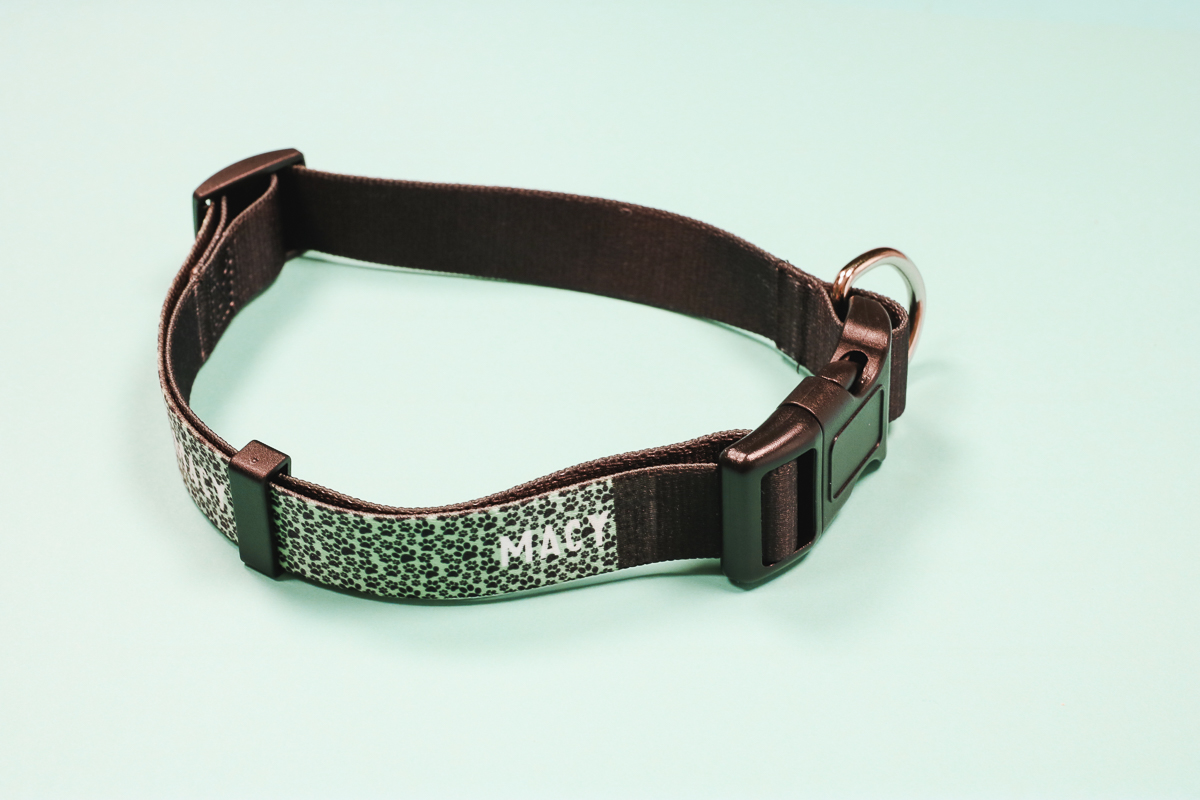
I did get the location off just a little bit on one section of the leash. There is a little white portion that wasn't covered by the print.
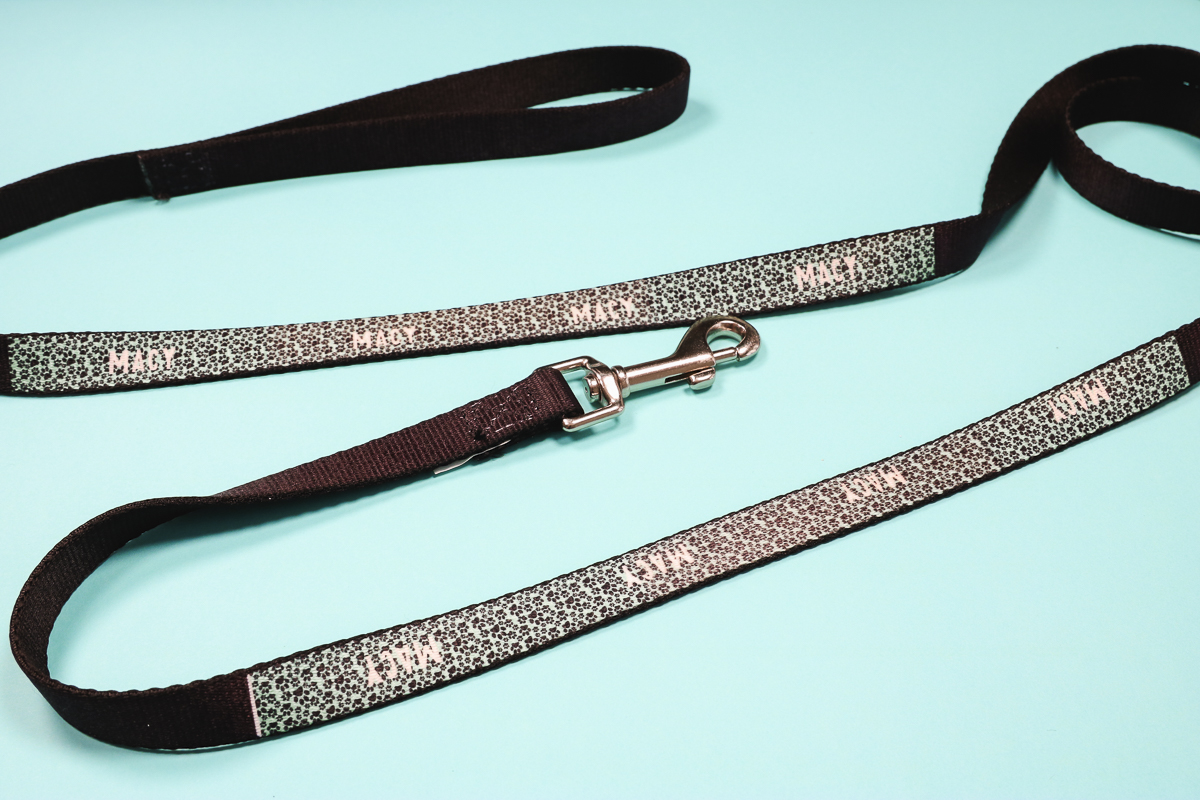
Even with that small section not pressed, both the leash and collar turned out amazing. They look very professional, and I am happy with the quality.
Sublimation Pet Tag
The sublimation pet tag was also really easy to sublimate and looks really professional when it's done.

Because it's double-sided, you can sublimate the same design on both sides as I did or add the owner's name, address, and/or phone number to the back.
Finished Sublimation Pet Tumbler
The tumbler might be my favorite of all the sublimation pet blanks.
First, it sublimated beautifully in my sublimation oven.
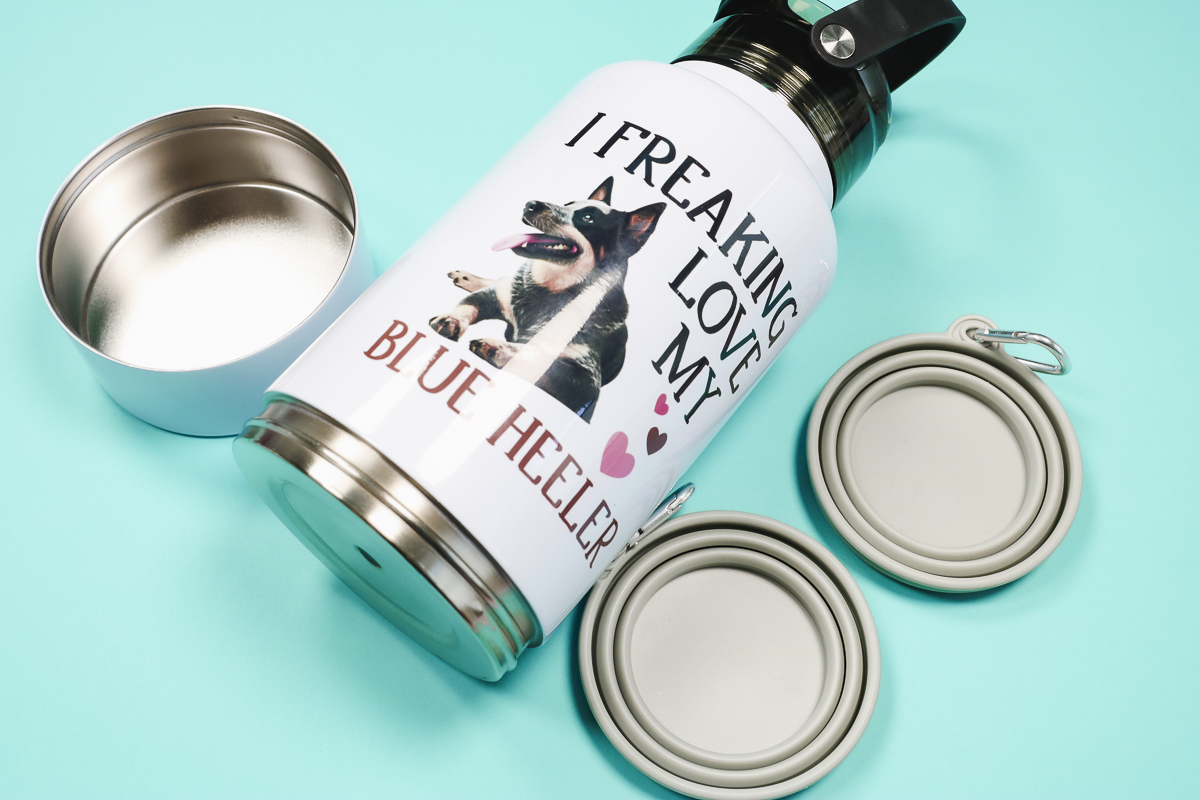
Second, I love how handy it is. The bottom screws off, and you can add snacks or food to the bottom bowl.
It also includes two collapsible bowls with hooks. These can be used for both food and water. You can hook them to the handle of even your leash.
If you like to take your pet on hikes or walks, this is a must-have sublimation blank.
Are You Ready to Make Your Own Projects with Sublimation Pet Blanks?
I don't know about you, but if I know anything about pet owners, it's that they love personalized items for their pets.
Items that feature names, photos, colors, etc., are always a big hit for gifts and for small businesses.
All of the projects were made quickly and easily, and the blanks are typically inexpensive, especially if you purchase them in bulk.
If you're making them for specific pets, make sure to double-check the sizing. Other than the tag and water bottle, all of these items come in different sizes.
Different animals and breeds measure differently. Some may be thicker at the neck and others at the body. If you're creating for a certain dog, get any measurements you can to help ensure you get the right size.
I hope I've answered any questions you have about using sublimation pet blanks. If you have any additional questions, leave them in the comments, and I'll be happy to answer them for you.