
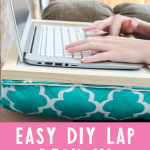
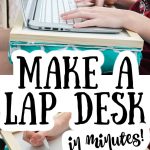
Are you looking for a practical and fun project to create a creative space for your kids? With just a few supplies, you can assemble a portable workspace that your children can use anywhere, whether it's at home, in the car, or on the go. This project is not only perfect for the back-to-school season but also ideal for distance learning situations when organized desk space is limited. Join me as we explore how to make your very own lap desk—my version even includes a convenient dry-erase board top!
How To Make DIY Lap Desk
Add this DIY lap desk project to your to-do list for kids of all ages! It’s a wonderful gift for those with children learning at home or for those preparing to head off to college this year. Follow the instructions below to learn how to create a DIY lap desk using a dry-erase board!
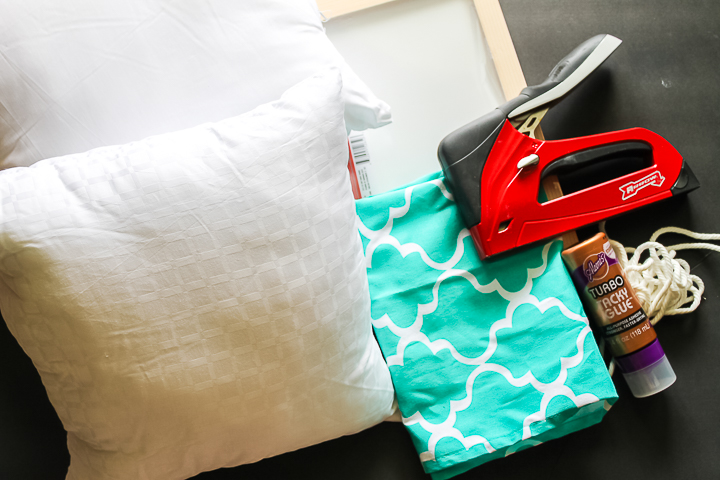
Supplies Needed To Make DIY Lap Desk
- Framed Dry-erase board in the size you want for your desktop
- Fabric to cover the back of the board and your pillows
- Pillows to fit the size of the dry-erase board
- Rope trim to go around the entire edge
- Staple gun and staples
- Glue
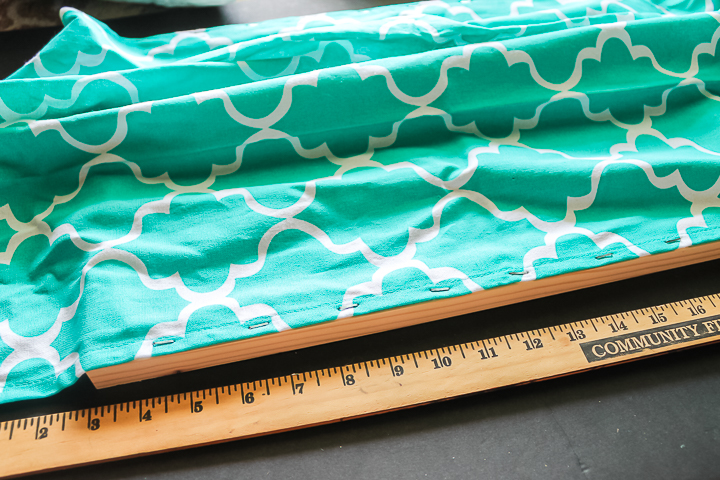
Step 1: Create Pocket
Find the center of the side of the dry-erase board as well as your fabric piece. Put staples into the fabric and through the back of the dry-erase board, starting in the center. Add staples along both long sides every few inches, leaving enough material in the middle so your pillows fit snugly inside.
NOTE: I am using a dish towel as my fabric. This means that the edges are finished. If you are using raw fabric, fold it along the side to avoid a raw edge.
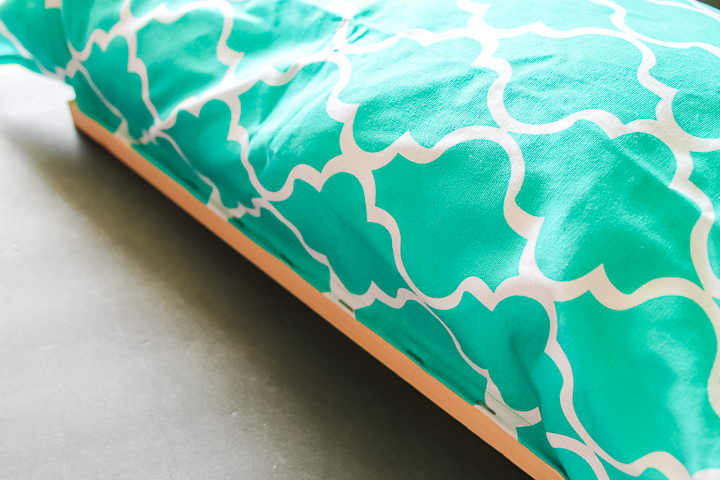
Step 2: Slip Pillow Inside Pocket
Slip the pillows inside the pocket you just created.
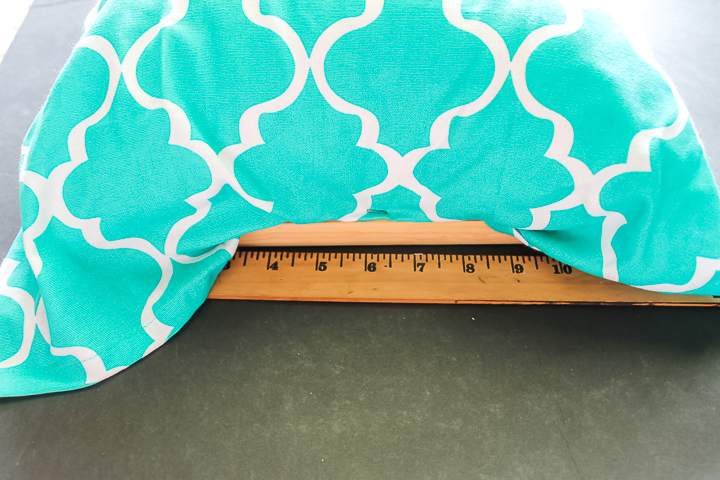
Step 3: Finish Edges
Then go to one of the short sides and pull the fabric tight. Fold under to create a finished edge, then staple in the center. Repeat on the opposite end.
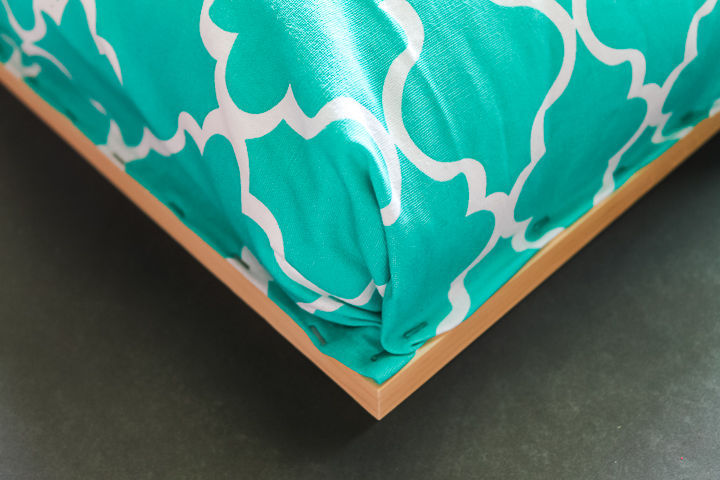
Step 4: Finish Corners
Continue using staples every few inches until you come to the corners. Work with the fabric to create a finished look at the corner and add staples to secure it.
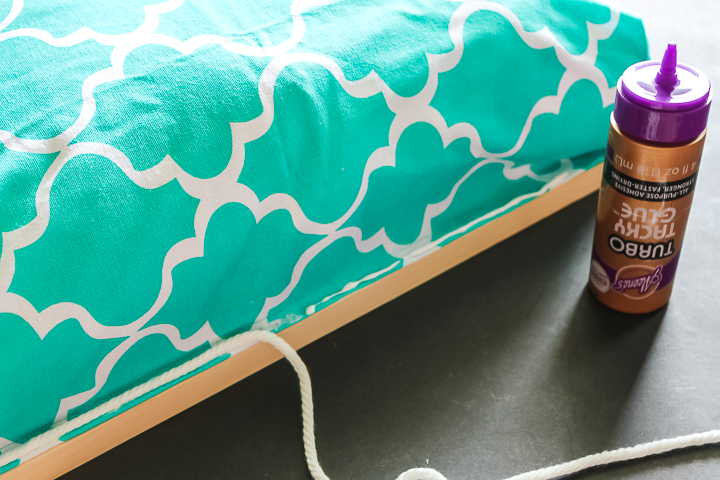
Step 5: Add Trim
Go around the entire edge with some rope trim and glue to cover up the staples. Allow the dry-erase board lap desk to dry completely before using it.
Great, right? And you are going to love how easy it is to make. Now head out and grab your supplies to create your own version of this project today.
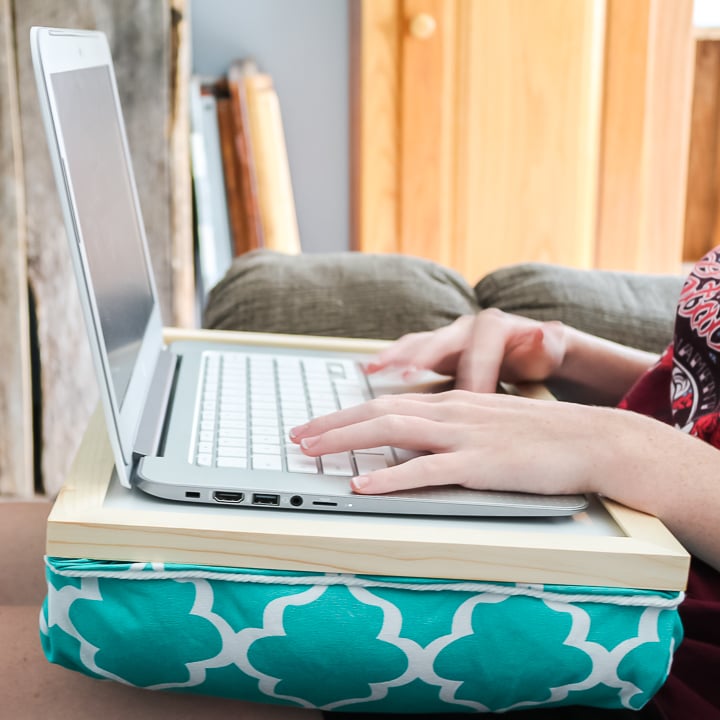
The DIY lap desk is one of my favorite things I have ever made. My kids love it, and I'm confident yours will too. If you are looking for a fun back-to-school project, this one will definitely be a hit.
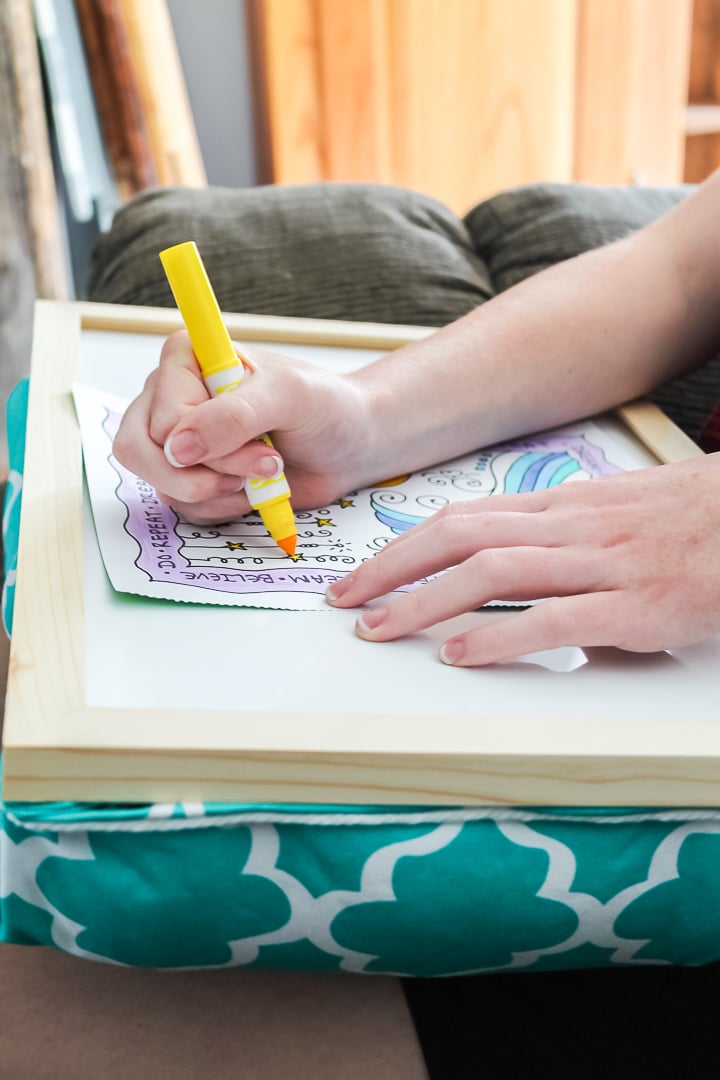
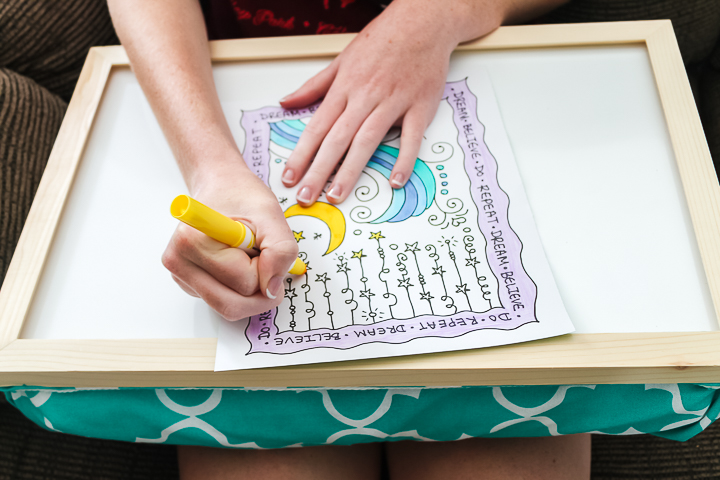
The best part is that they can use it for schoolwork, to hold a laptop, to color their favorite coloring pages, or even to write on with dry-erase markers. It really serves so many purposes.
If your kids are going to spend more time learning at home this year, this DIY lap desk really is a must. I love that it is inexpensive to make and great for small spaces. I hope you and your kids enjoy this quick craft idea.
Tips and Tricks for DIY Lap Desk
Now that you’ve seen this DIY lap desk, are you ready to make your own? Here are a few tips and tricks to help!
- Adjust The Size – Whether you have a small, medium, or large-sized laptop, you can easily adjust this DIY lap desk to be any size! To do so, just buy a dry-erase board that fits your computer comfortably.
- Decorate The Wooden Edge – If you want to add even more pizzazz to your lap desk, you can decorate the wooden frame before you begin step 1. You could decorate the frame using paint, paint markers, or even vinyl.
- Get Creative With Your Fabric – As I mentioned before, I used a tea towel for this project. However, you can use any fabric you have on hand, or even cut apart a pillowcase.
- Use Fabric Glue or Hot Glue – If you don't have Tacky Glue on hand, you can use fabric glue or hot glue when adding the rope trim.
- Don't Forget The Markers & Eraser – After you have completed your DIY lap desk, make sure you purchase some markers and an eraser for your dry-erase board!
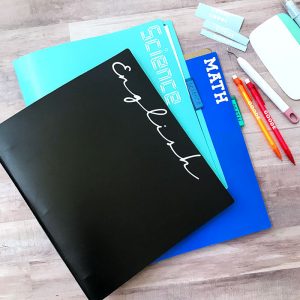
5 Back-To-School Crafts
Did you love learning how to make this DIY lap desk, and are now looking for other back-to-school crafts? Then check out the projects below!


Great project! Where did you purchase the whiteboard?
I think Walmart? Literally any will do!
Absolutely fantastic project! I know two littles that could use these! And I’m pretty sure I would like one for myself as well!
Oh wow! Thank you! Just what I really need.