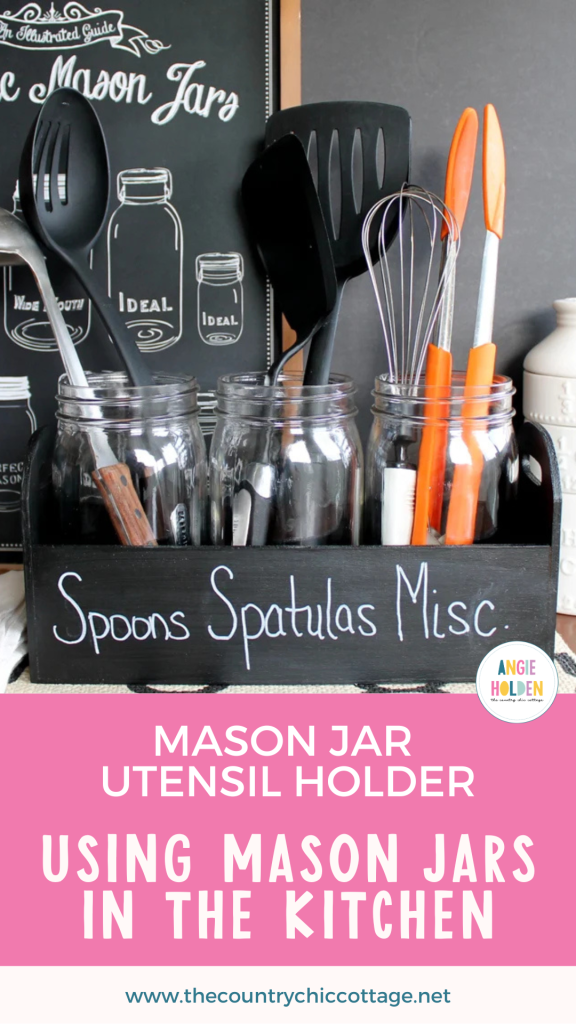
Make this simple mason jar utensil holder to help keep your kitchen neat and organized. I’m sharing how I created this utensil organizer using just a few craft supplies and some mason jars. It’s an easy project that adds both function and charm to your kitchen.
How To Make A Mason Jar Utensil Holder
I love organizing things. Keeping like-minded items together in cute containers is one of my favorite ways to stay organized in the various rooms of my house.
Here are just a few of the organization crafts I've made recently:
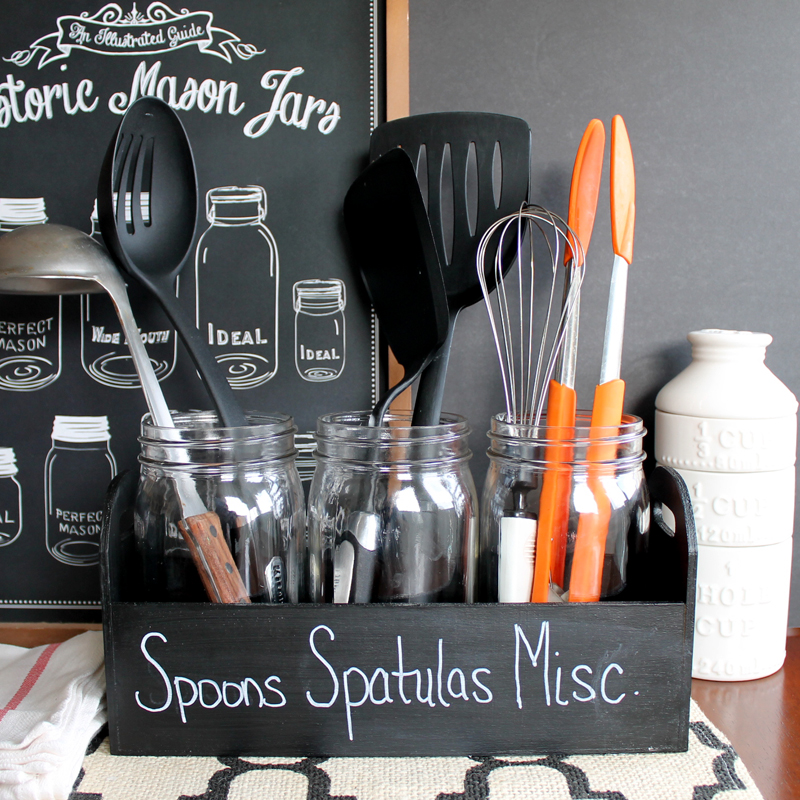
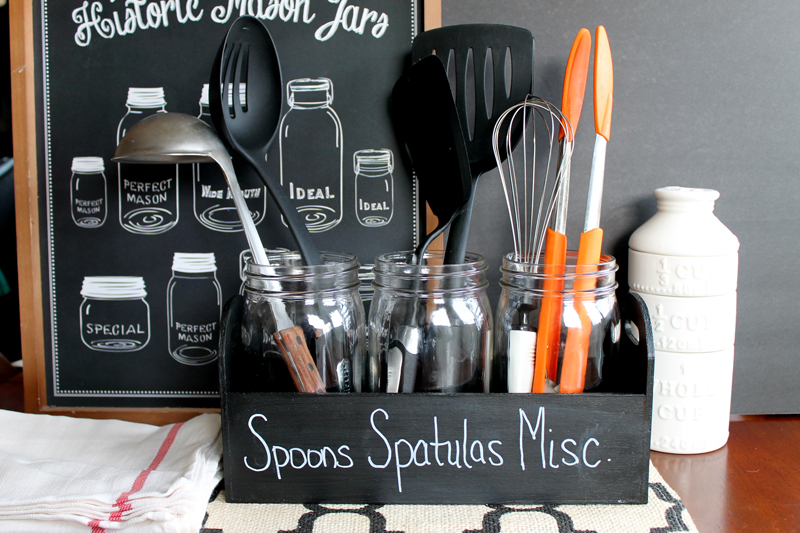
This utensil organizer is an ideal way to store and display all your kitchen utensils. It is a great way to use mason jars for kitchen organization. Plus, it is a chalkboard surface, so you can update it as often as needed.
You can make this utensil organizer for your home in just minutes. This idea will leave your kitchen more organized and help you love the look of your counter! Grab the supplies below and get started on making one for your kitchen counter today.
Supplies Needed To Make A Mason Jar Utensil Holder
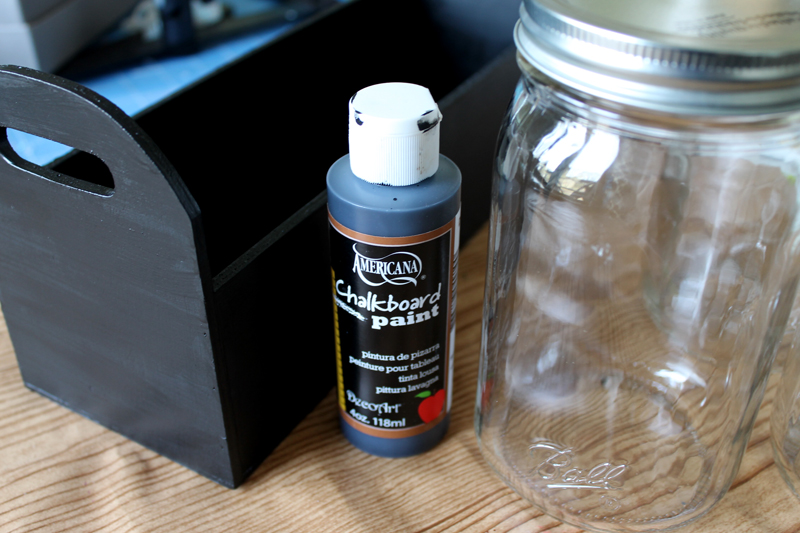
Step 1: Paint Planter Box With Chalkboard Paint
First, use a paintbrush to apply chalkboard paint to the entire planter box.
I find it works best to apply a coat in one direction, then allow it to dry before applying a coat in the opposite direction. Allow your paint to dry and cure according to the package directions before using.
You will then want to use regular chalk to condition the entire surface before use.
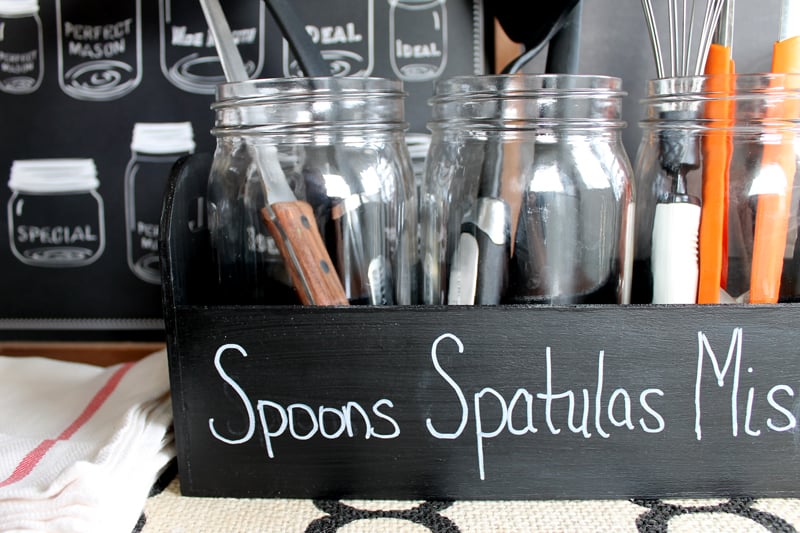
Step 2: Use Chalk Marker To Write Word Onto Planter Box
Use your chalk marker to write your word on the planter box.
For kitchen use, I use chalk markers. These are not required, but they are slightly more permanent than regular chalk. Once you write your words and allow them to dry, the writing can only be removed with water. This is much better than regular chalk, which can be easily removed by rubbing against a surface.
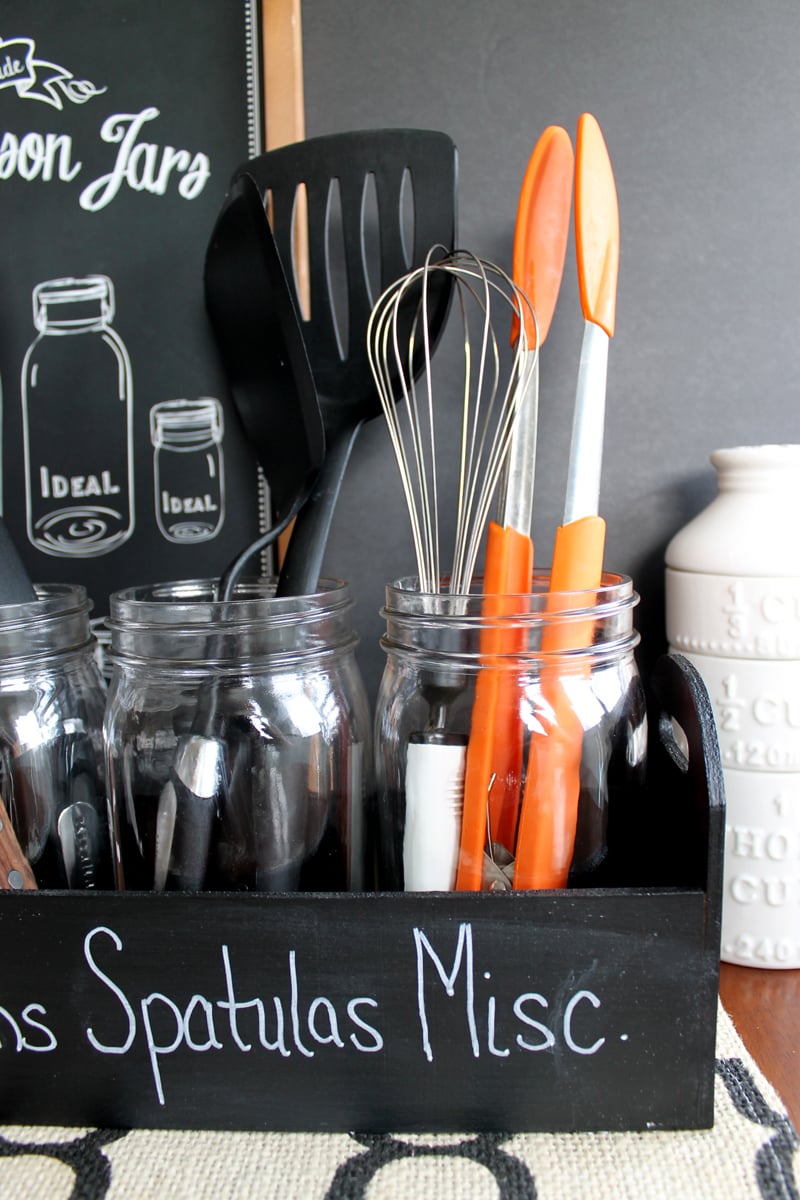
Step 3: Add In Mason Jars & Kitchen Utensils
Once your chalk word is dry, add in your mason jars and kitchen utensils!
I use one jar for spoons, one for spatulas, and one for miscellaneous utensils. You can customize this project to your kitchen's needs and use it in ways that work for you.
You can easily make this utensil organizer in an afternoon! Plus, you can customize it to fit your needs and space.
If you made this mason jar utensil holder, how would you use it in your kitchen? Let me know in the comments below!
Tips and Tricks for Mason Jar Utensil Holder
Now that you’ve seen this fun mason jar utensil holder, are you ready to make your own? Here are a few tips and tricks to help!
- Adjust The Size Of The Planter Box – Depending on the size of items you are storing, you can adjust the planter box for this project. Please note that if you reduce the planter box size, you will need smaller mason jars.
- Use Jars Of The Same Height & Size – Whether you use brand-new mason jars or recycled jars, I highly recommend using jars of the same height and size. Doing this will give you a professional, store-bought look that appears high-end.
- Think Outside Your Kitchen – Although I designed this utensil holder for the kitchen, you can use it anywhere in your home. This chalkboard mason jar holder is perfect for your living room, craft room, bathroom, and more!
5 More Kitchen DIYs & Organization Tips
Did you love this mason jar utensil holder, and need more kitchen ideas? Check out the kitchen DIYs and organization tips below!
- Dollar Store Lazy Susan
- Kitchen Organization Tips
- DIY Menu Board For A Farmhouse Style Kitchen
- Organize Your Kitchen With One Trip To The Dollar Store
- Magnetic Knife Block