Learn about your Cricut machine, sublimation printer, or any other craft you can imagine! Angie Holden shares her crafting tips so you can craft like a pro!
This post and photos may contain Amazon or other affiliate links. If you purchase something through any link, I may receive a small commission at no extra charge to you. Any supplies used may be given to me free of charge, however, all projects and opinions are my own.
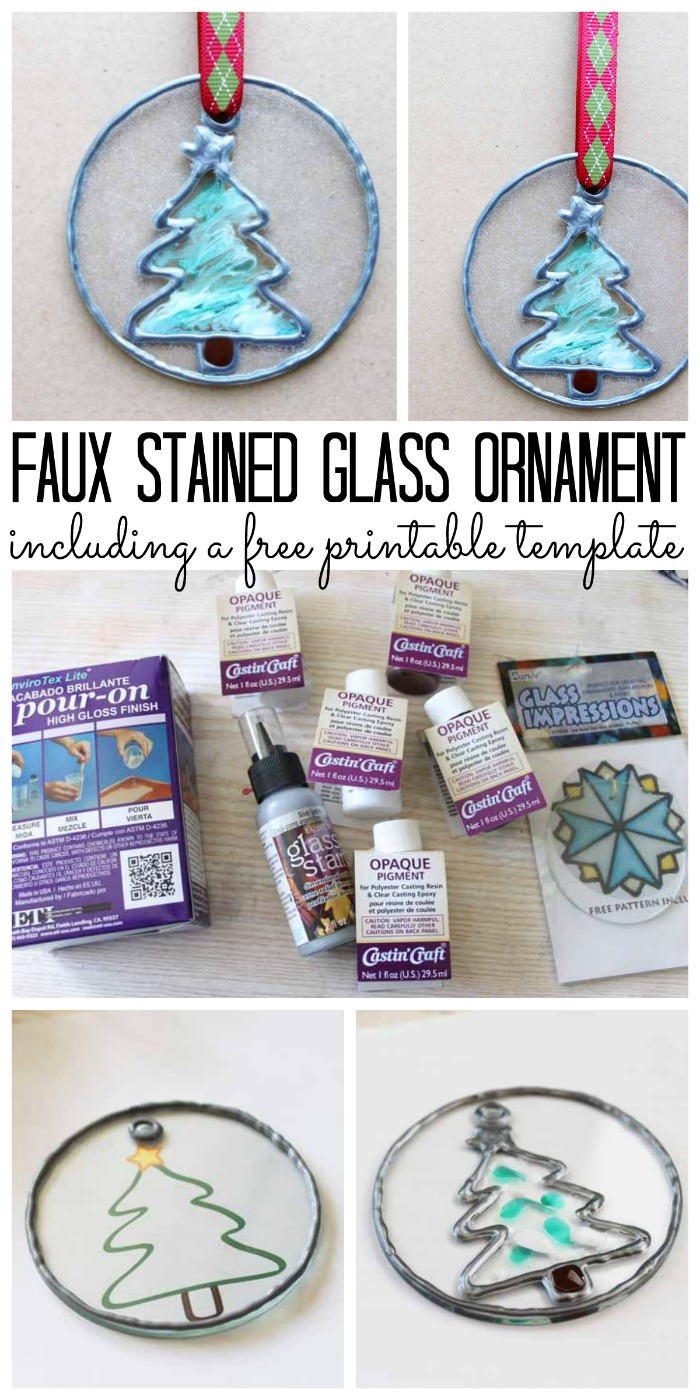
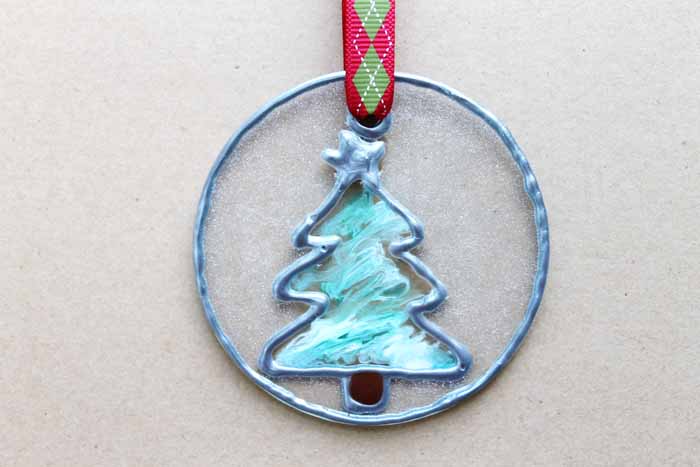
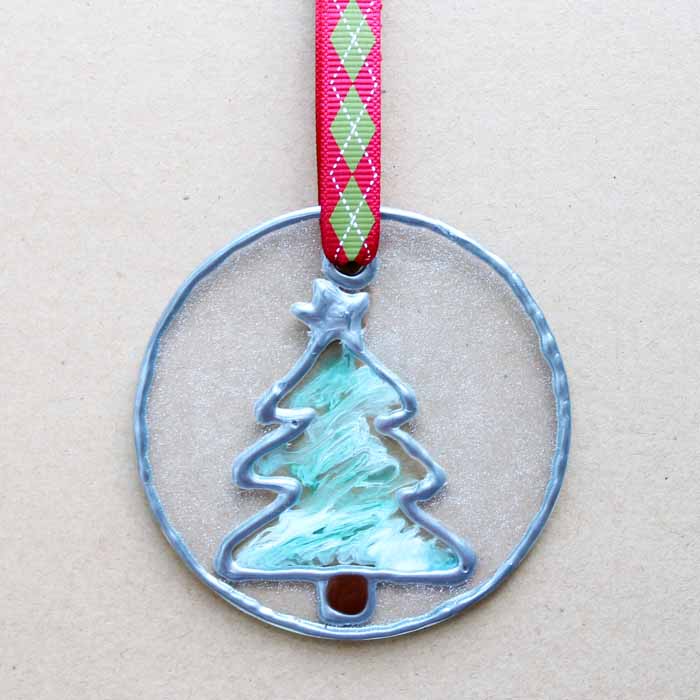
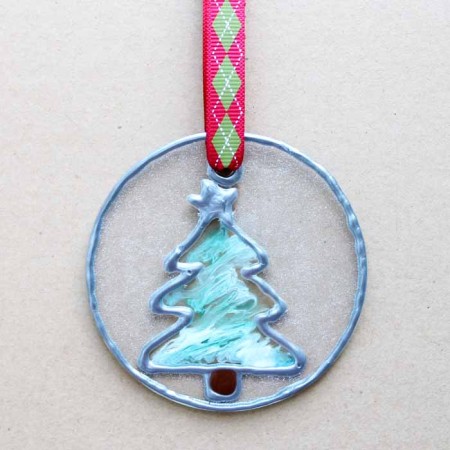
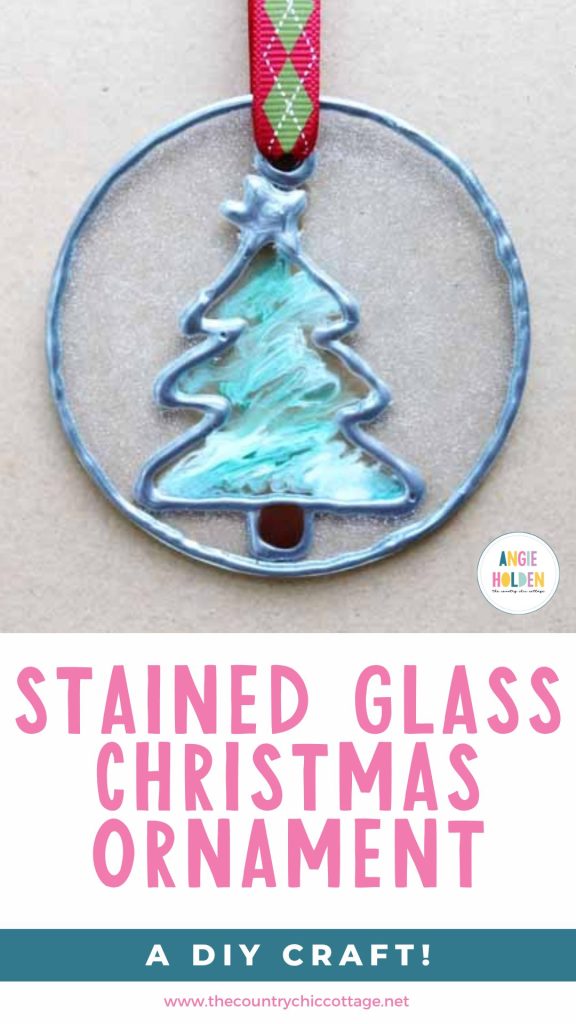
Making a DIY stained glass Christmas ornament may be easier to make than you think. This technique uses epoxy resin for a long-lasting ornament that is fairly simple to create. I am using a Christmas tree on mine and have the template below that you can print at home. You can, however, use any design you would like once you learn this technique.
Pin
Handmade Christmas ornaments make great gifts for parents, grandparents, and relatives. You can use whatever colors you prefer and even customize the ornament with a name or short message.
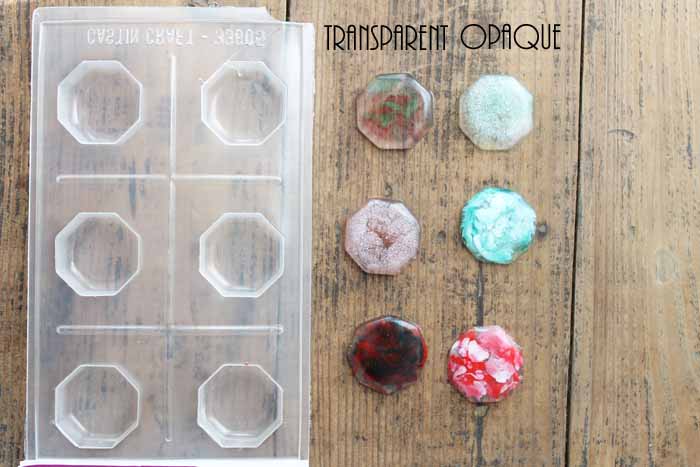
I have the opaque pigments in the supply list but wanted to talk a bit about the differences in case you were wondering. I tested a few different transparent and opaque pigments to decide which would work best for my project. As you can see below, the transparent pigments are see through while the opaque gives a more colorful appearance. I really loved the look of the Opalescent pigment which I thought I could make look like snow.
Pin
Making DIY stained glass:
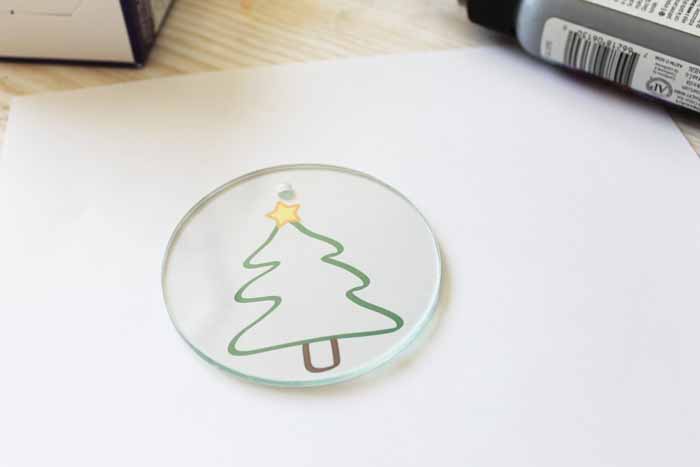
Print out the tree template to the size of your glass ornament. Then just lay your ornament on top of the template.
Pin
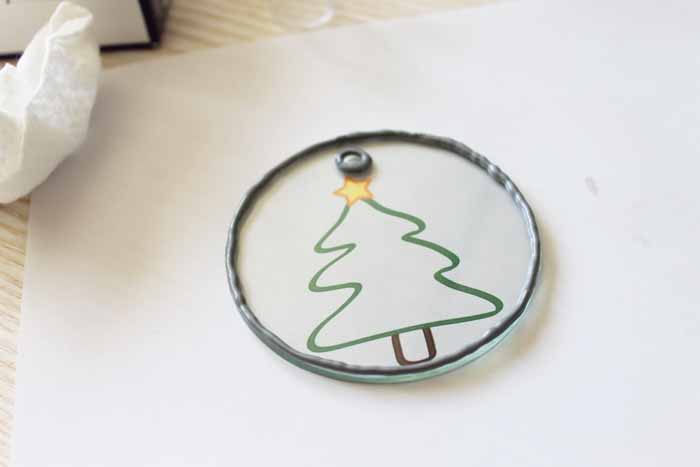
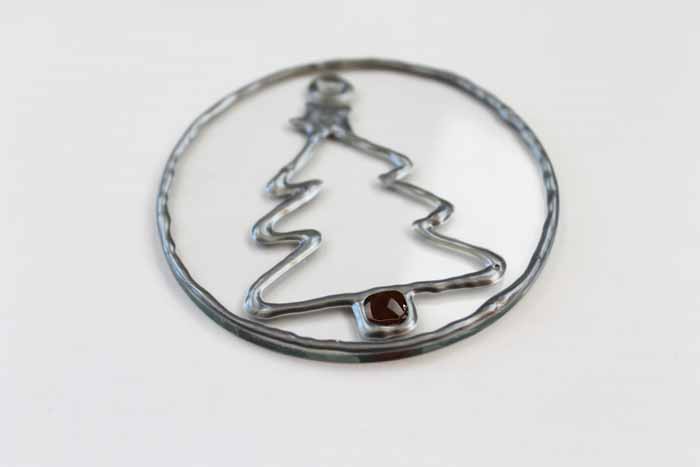
Trace around the outer edge as well as the hole for the hanger with the faux leading paint. As you can see, this is a dimensional paint and it sticks up on top of the glass. Just be sure that there are no gaps when using this product as it will be like a dam for our resin.
Pin
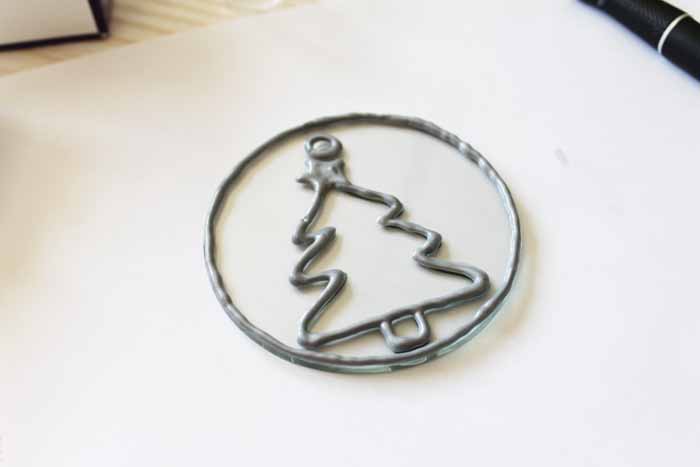
You will also want to trace that tree and I filled the entire star in with the leading. This will need to dry overnight before continuing.
Pin
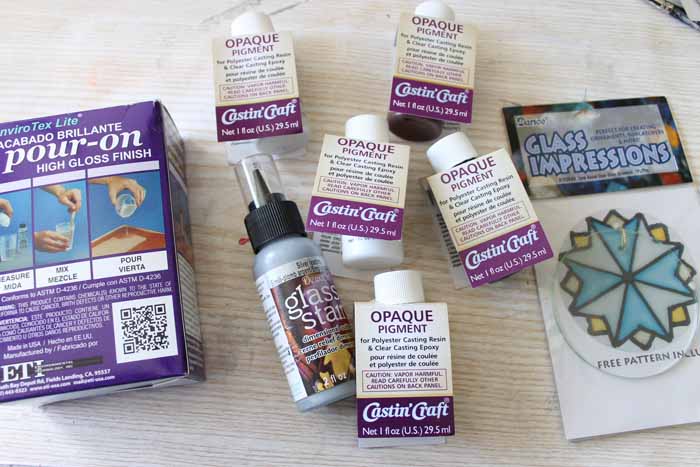
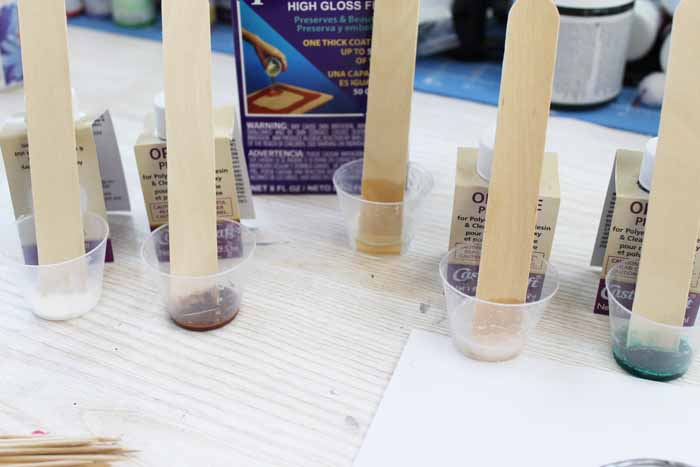
Then mix up your EnviroTex Lite Pour On High Gloss Finish and add it to several small cups. Tint each one with the pigment colors of your choice. Be sure to keep some mixed resin with no tint at all.
Pin
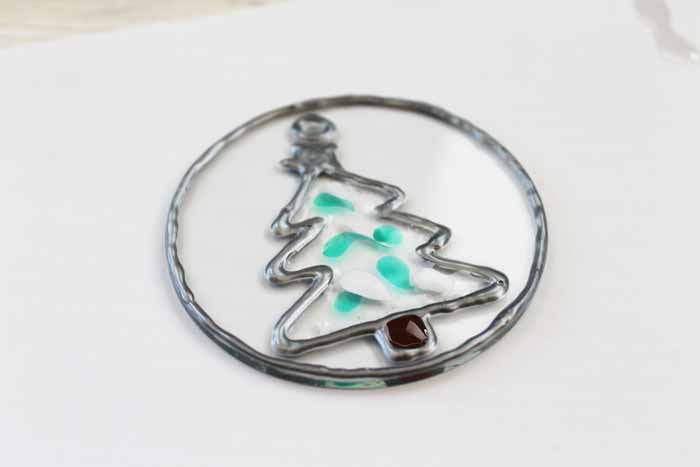
Start dripping the resin into place on your ornament. Be sure not to fill the areas too full and allow them to spill over. You can use toothpicks to push the resin around and make sure it gets into all of the corners.
Pin
For the tree, I added clear resin then put on a few drops of green and white.
Pin
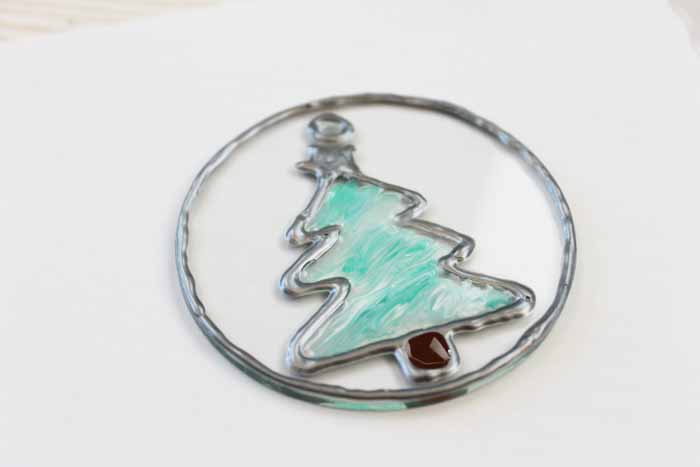
I then swirled them with a toothpick to give it a marbled look.
Pin
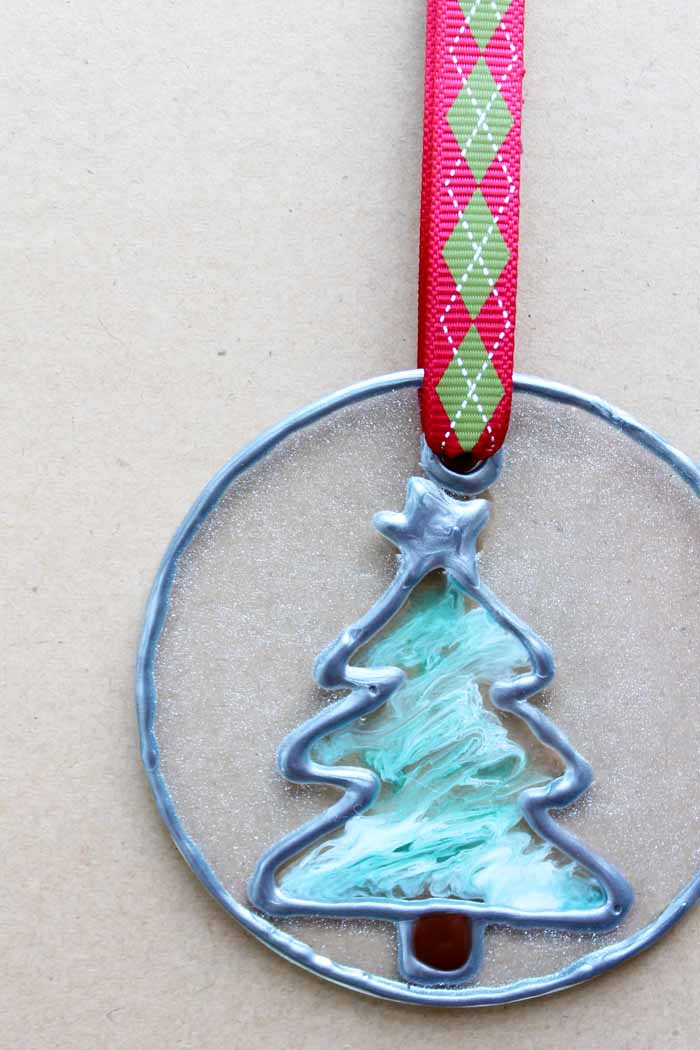
Then add resin that has been tinted with the Opalescent pigment to the rest of the ornament. This dries looking a bit like snow with a glittering that I love. Remove any bubbles that come to the surface.
Pin
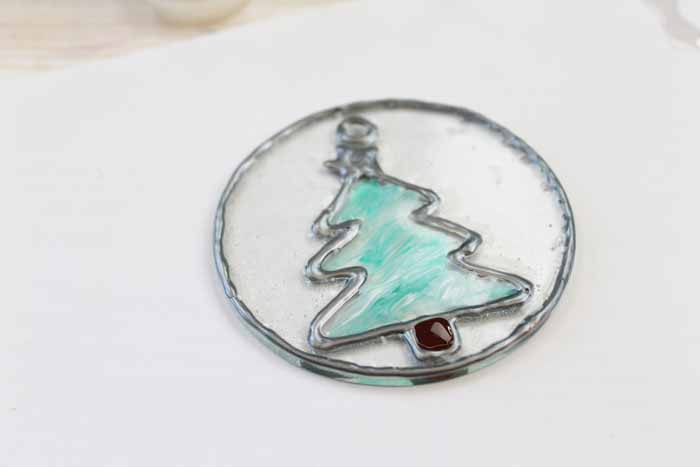
Set everything aside and allow it to dry flat overnight. Then you have a DIY stained glass Christmas ornament to add to your tree!
Pin
Now that you know how easy this technique is, what else will you make?
Pin
You can see the shimmer of the Opalescent pigment a little better in the image below. It looks great right? Grab your supplies and try your hand at DIY stained glass today!
Pin
Love this DIY stained glass and want more ideas? Try the links below!
I know that a ton of you are intimidated by resin. Don't be! You just need to know the basics and gain some experience with the medium. I have a course that will help you master epoxy resin and give you the confidence you need to tackle this project and so much more.
Pin
With unique insights drawn from more than a decade of creating and selling resin jewelry worldwide, this course is from an Amazon best-selling author on the topic. This class goes beyond making a few projects. You get thirty video lessons to give you clear directions on how to make resin jewelry you can confidently share and sell. Want to see more?
Making a DIY stained glass Christmas ornament may be easier to make than you think. This technique uses epoxy resin for a long-lasting ornament that is fairly simple to create. I am using a Christmas tree on mine and have the template below that you can print at home. You can, however, use any design you would like once you learn this technique.
CastinCraft Opaque Pigments in BrownGreen, White, and Opalescent
Free Tree Template
Instructions
Print out the tree template to the size of your glass ornament. Lay your ornament on top of the template.
Trace around the outer edge as well as the hole for the hanger with the faux leading paint. (This is a dimensional paint and it sticks up on top of the glass. Just be sure that there are no gaps when using this product as it will be like a dam for our resin.)
Trace the tree and fill in the entire star in with the leading paint. Allow to dry overnight before continuing.
After drying, mix up the EnviroTex Lite Pour On High Gloss Finish and add it to several small cups. Tint each one with the pigment colors of your choice. Be sure to keep some mixed resin with no tint at all.
Start dripping the resin into place on your ornament. Be sure not to fill the areas too full and allow them to spill over. You can use toothpicks to push the resin around and make sure it gets into all of the corners.
For the tree, I added clear resin then put on a few drops of green and white. Then, I swirled them with a toothpick to give it a marbled look.
Add the tinted resin with the Opalescent pigment to the rest of the ornament. This dries looking a bit like snow with a glittering that I love. Remove any bubbles that come to the surface.
Set everything aside and allow it to dry flat overnight. Then you have a DIY stained glass Christmas ornament to add to your tree!
For over a decade, I have been sharing Cricut tutorials and craft ideas here as well as on my YouTube channel. My passions include teaching others to be creative and learning as many new things as possible about crafting technology! Click here to read more about me!
Subscribe
2 Comments
tanya
3 years ago
what is the base ornament made from or where do you get them?














what is the base ornament made from or where do you get them?
Thanks for reaching out. I updated the post to include a link to the ornaments.