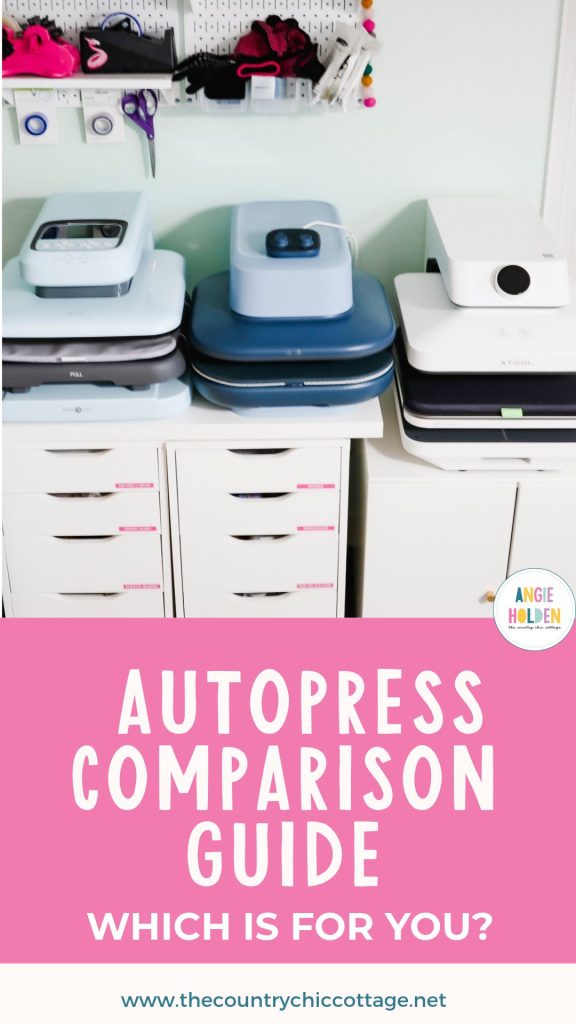
If you’ve been keeping an eye on craft technology lately, you know that automatic heat presses are taking over craft rooms everywhere. In this autopress comparison, I'm putting 3 brand-name autopresses to the test in a head-to-head comparison.
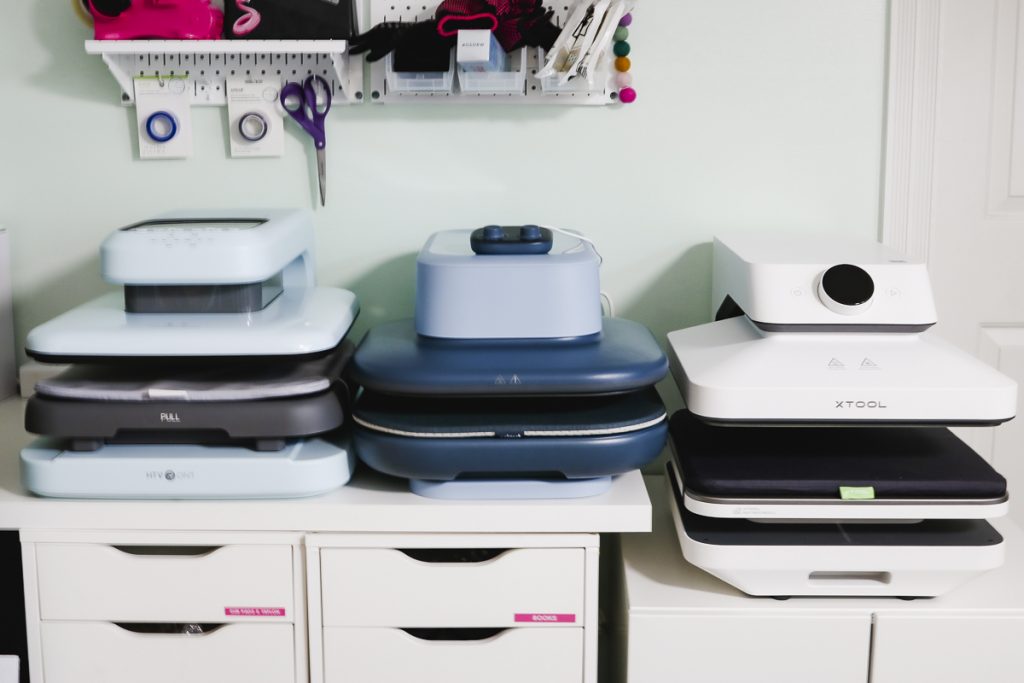
These three auto press models are currently on the market: the HTVRont Auto Press 2, the Cricut Autopress 2, and the xTool WonderPress. Keep reading to find out which one is right for you.
I have done a full review of each of these presses individually. If you'd like a deep dive on each press, I have linked them above. This comparison specifically discusses how they compare to each other to help you decide which one is right for you.
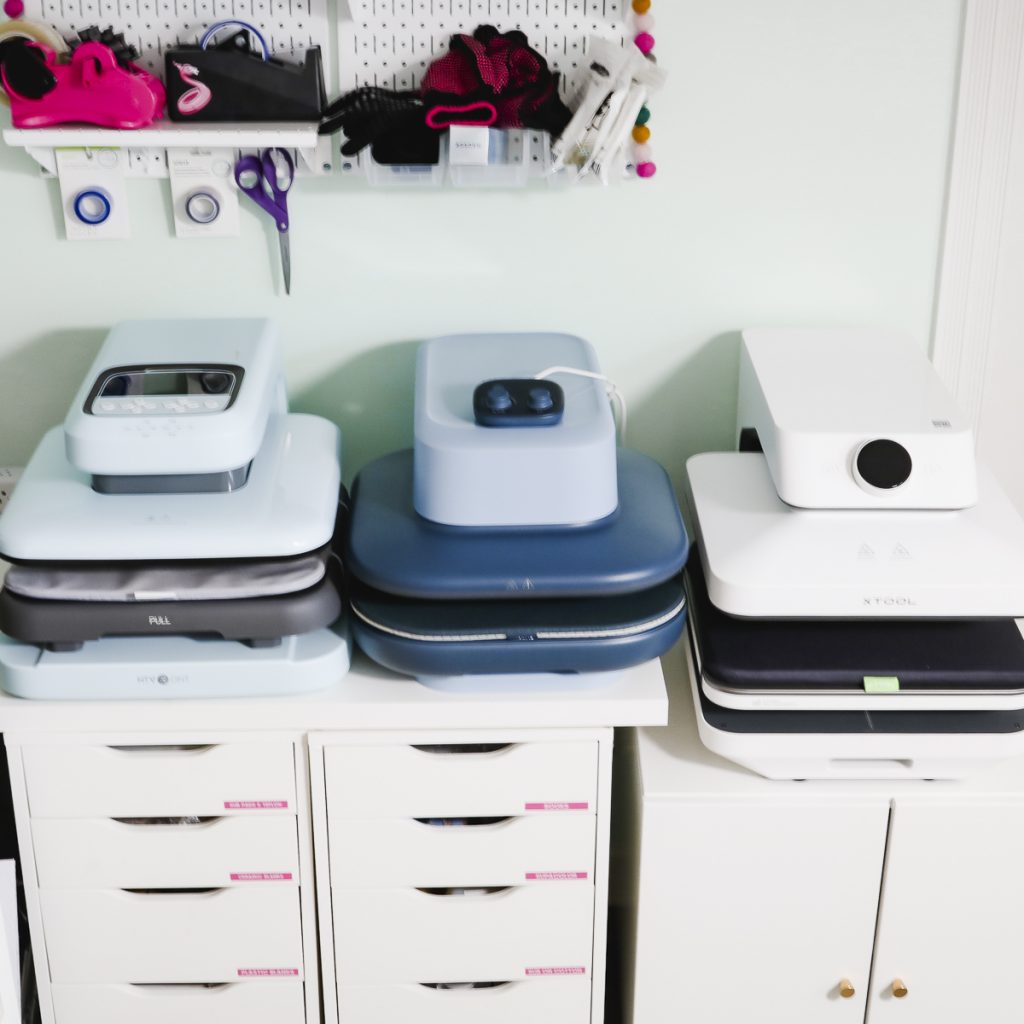
All of these presses aim to make heat pressing easier, safer, and more consistent. They're similar, but they are not the same.
You can watch me go through the comparison by pressing play on the video below.
Which Auto Heat Press is Right for You?
To truly test how these presses compare, I'm going to make comparable projects using three popular materials: Sublimation, Direct-to-Film (DTF), and Puff HTV.
My goal with this autopress comparison is to make sure you know how each works with the materials you may want to use with it.
Side by Side Comparison at a Glance
This side-by-side comparison at a glance includes answers to common questions about each press. The measurements for each are taken when the machine is completely closed and does not represent the actual space needed to operate the machine.
Also, in this section, I am comparing the xTool Wonderpress without any additional items that can be purchased.
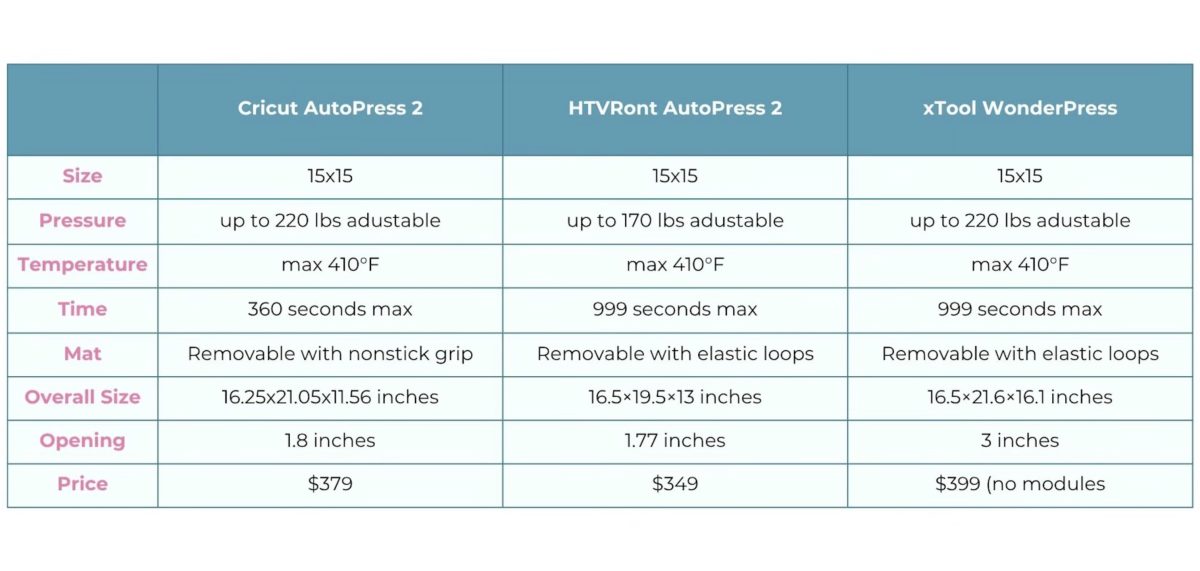
- All three auto presses have a 15 x 15 platen size.
- Both the Cricut Autopress 2 and xTool WonderPress have a maximum pressure of up to 220 lbs. The HTVRont Auto Press 2 has a maximum pressure of up to 170 lbs.
- All three have a maximum temperature of 410°F.
- The HTVRont Auto Press 2 and xTool WonderPress have a maximum timer limit of 999 seconds. The Cricut Autopress 2 has a maximum timer limit of 360 seconds.
- Cricut Autopress 2 has a clearance/opening of 1.8 inches, HTVRont's is 1.77 inches, and the xTool WonderPress has the largest opening of 3.0 inches.
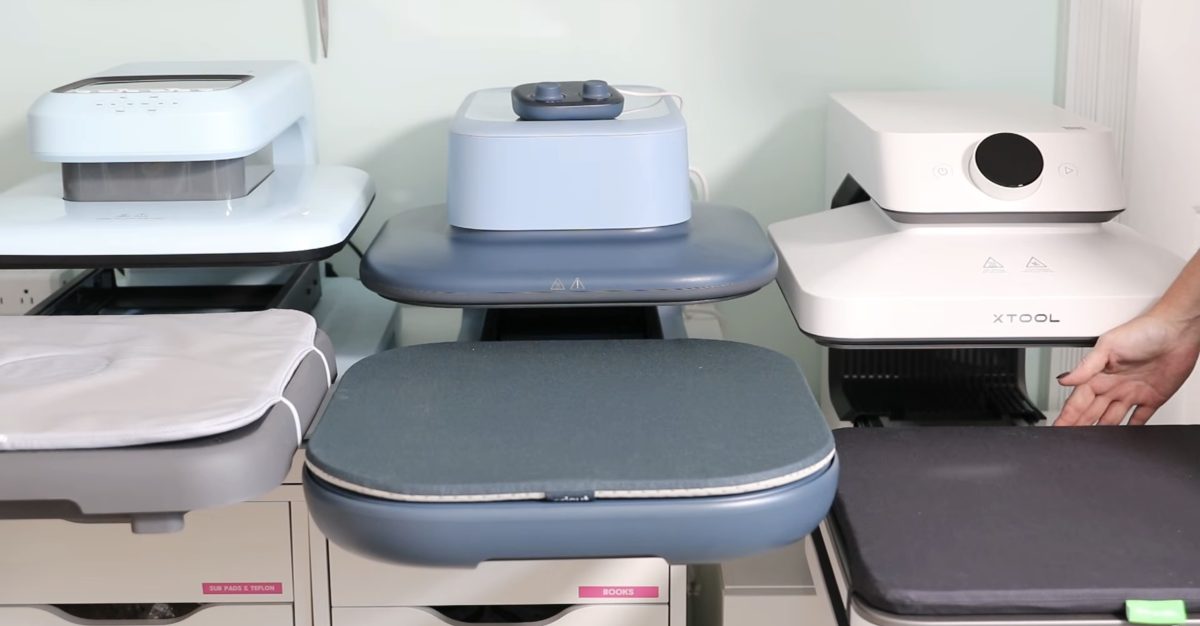
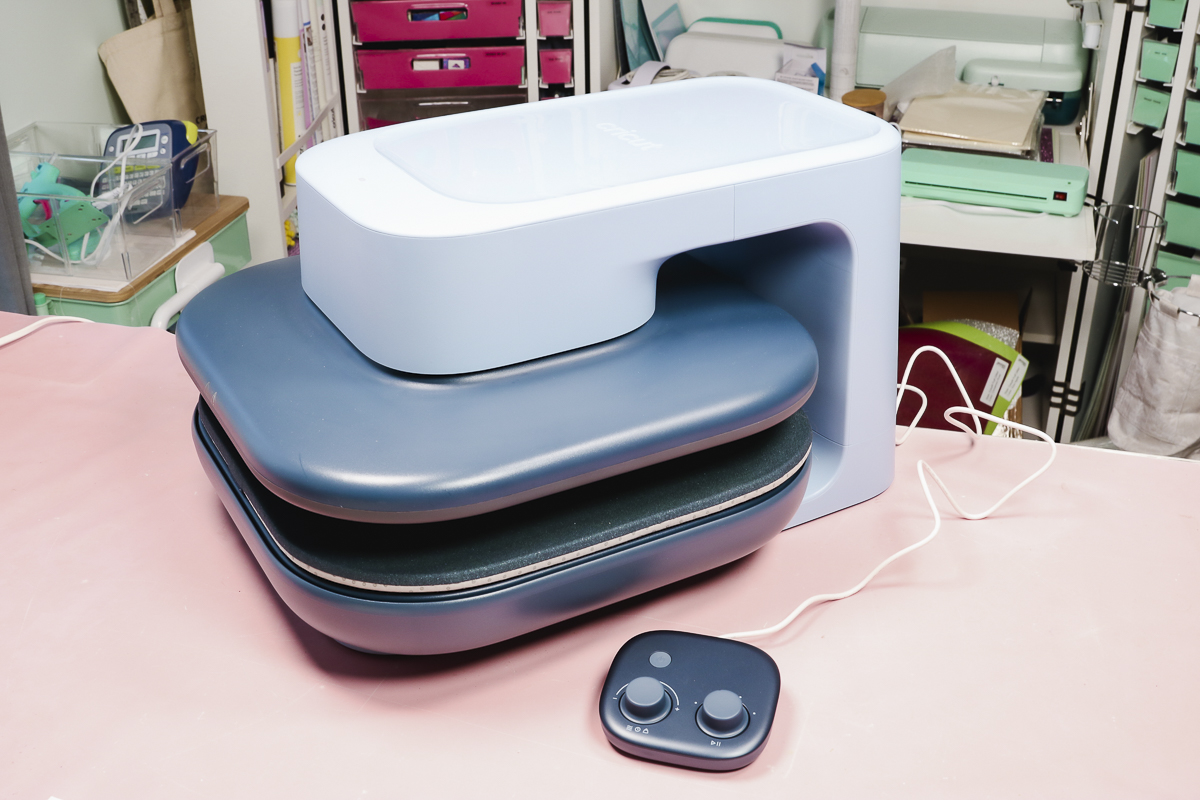
- The controls are different for each press. Cricut has an external control pod, HTVRont has a pop-up screen with buttons, and the xTool has knobs on the front that you turn and press to make adjustments.
- Each press comes with a mat. All of the mats are removable. The Cricut Autopress 2 mat has a nonstick grip, and the HTVRont and xTool both attach with elastic loops.
- The Cricut Autopress 2 is 16.25″ by 21.05″ by 11.56″. The HTVRont Auto Press 2 is 16.5″ x 19.5″ x 13″ closed, and the Wonderpress closed is 16.5″ by 21.6″ by 16.1″.
- Standard retail price is $379 for the Cricut Autopress 2, $349 for the HTVRont Auto Press 2, and $399 for the xTool Wonderpress base unit.
As you can see, there are a lot of comparable features between the presses. This is why I think doing a full comparison of common materials is helpful.
Key Hardware & Operational Differences
- Footprint & Height: Cricut is the most compact in overall height (11.5″), making it easiest to fit under low shelves. xTool is the tallest at 16″, while HTVRont sits in the middle at 13″ (when its flip-up screen is folded down).
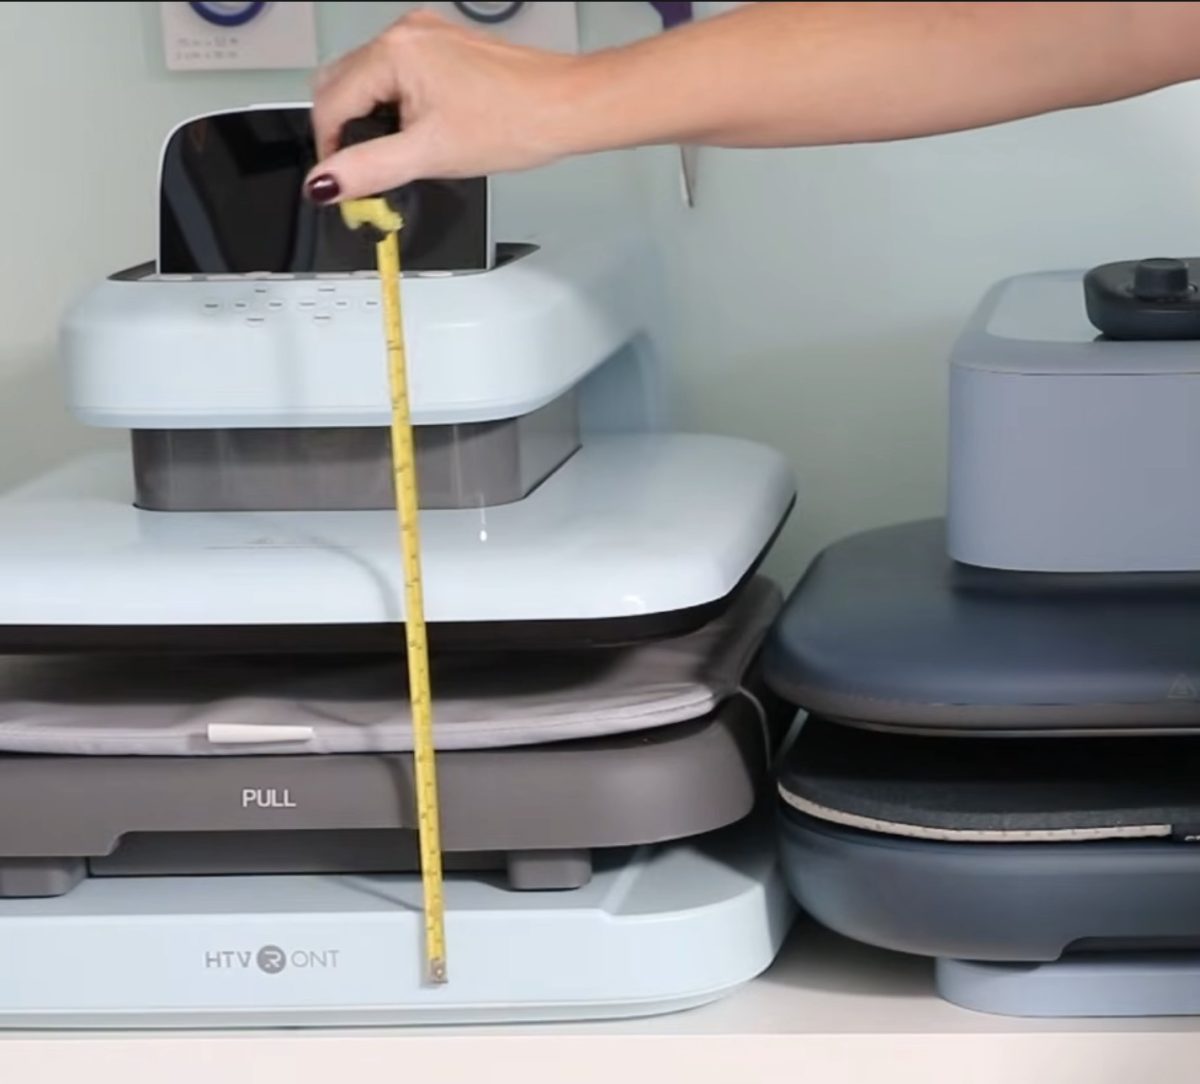
- Control Modules: The Cricut Autopress 2 features an independent control pod that can sit anywhere on your work surface, including on top of the press, since the outer housing stays cool. The HTVRont Auto Press 2 uses a pop-up display on top of the unit, while the xTool WonderPress operates via a single control knob on the front.
- Pull-Out Drawers: All three presses feature pull-out drawers to protect your hands from the heating element. HTVRont pulls out the furthest, followed closely by xTool. Cricut pulls out far, but leaves a small amount under the top heating element.
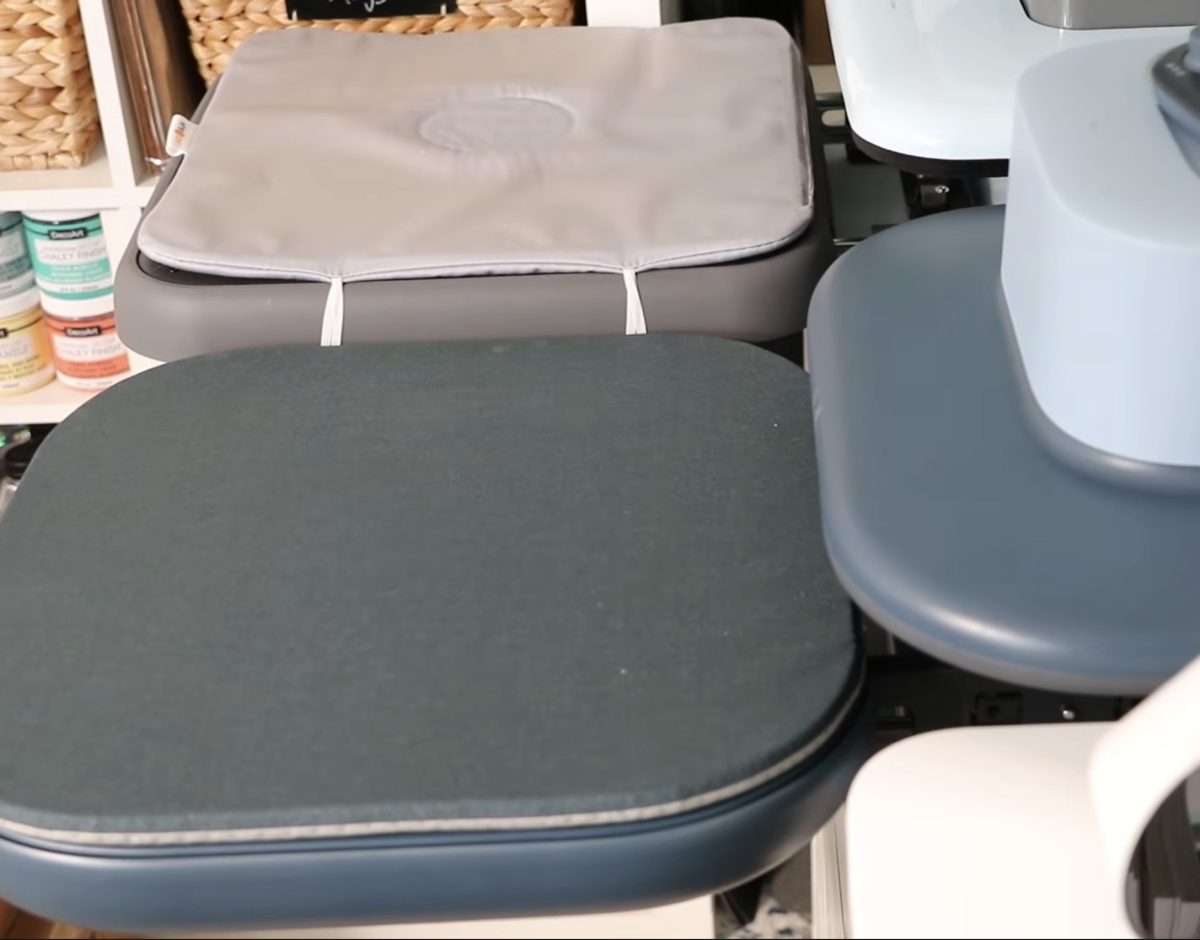
- Auto-Open & Auto-Close: All the presses automatically open when the countdown timer hits zero. Additionally, all three offer an optional “auto-close” feature, so once you slide the tray back into the machine, it automatically closes and begins heating without requiring you to do anything.
Note: On all three presses, you have to slide the tray out after it opens. There is no automatic setting that slides the tray in or out.
Side by Side Product Testing
To truly test how these heat presses compare, identical or equivalent test projects were run with sublimation, Direct-to-Film (DTF), and puff heat transfer vinyl (HTV).
1. Testing Sublimation
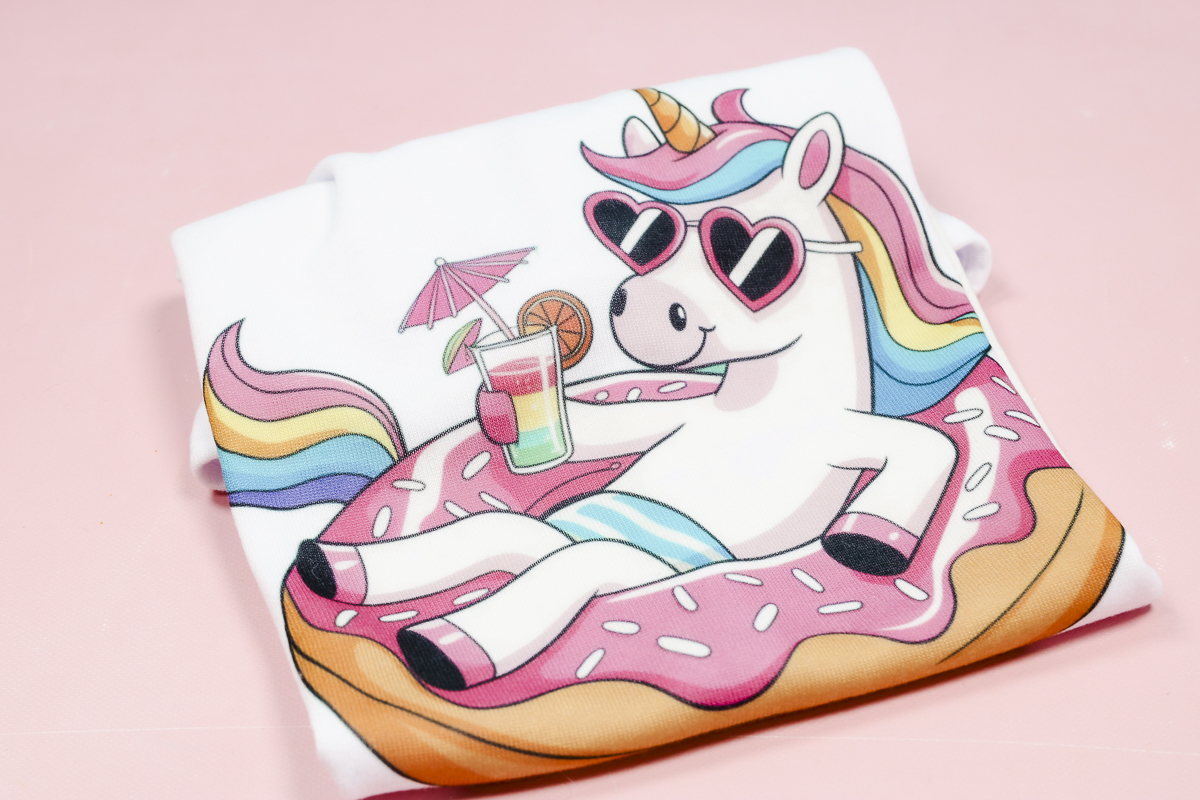
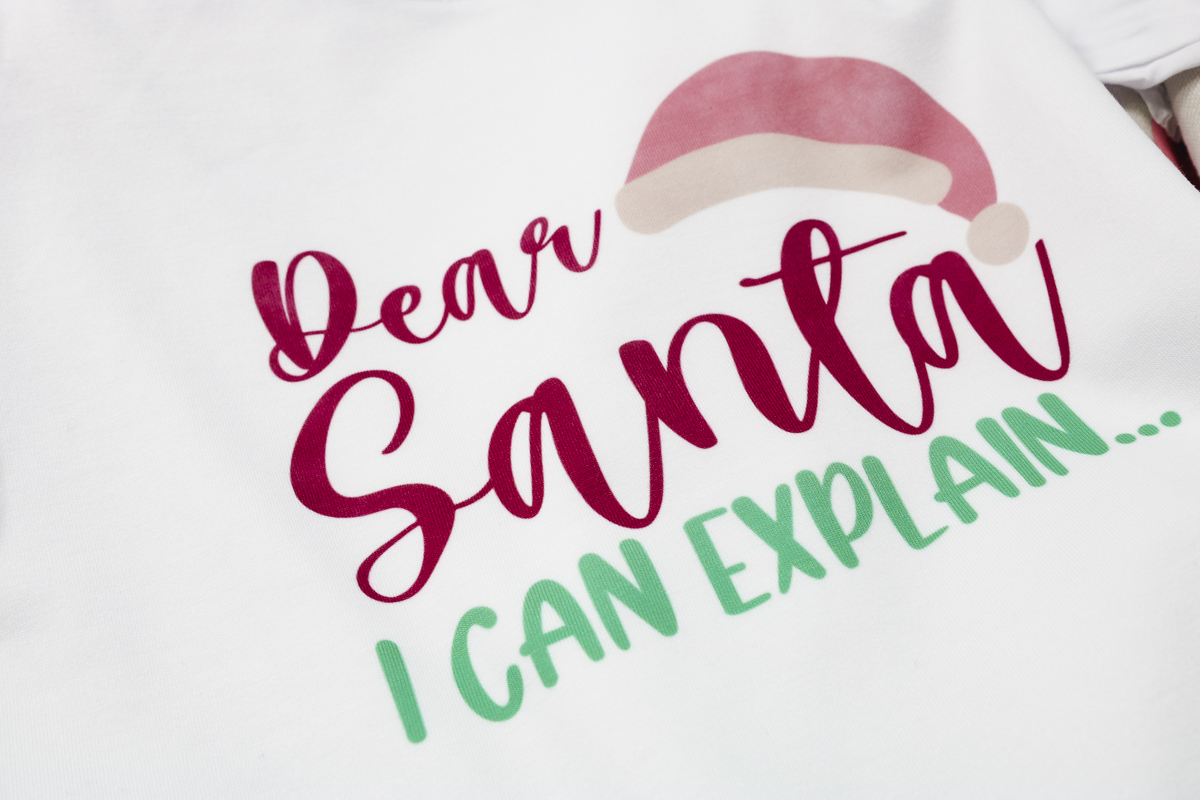
For the sublimation testing, I used white polyester shirts. On all of the shirts, I used protective paper inside the shirt and on top of the sublimation print to prevent the ink from transferring. I used heat-resistant tape to secure the print in place to prevent ghosting.
- Cricut Autopress 2: Pressed a polyester onesie at 385°F, 125 lbs pressure, for 50 seconds.
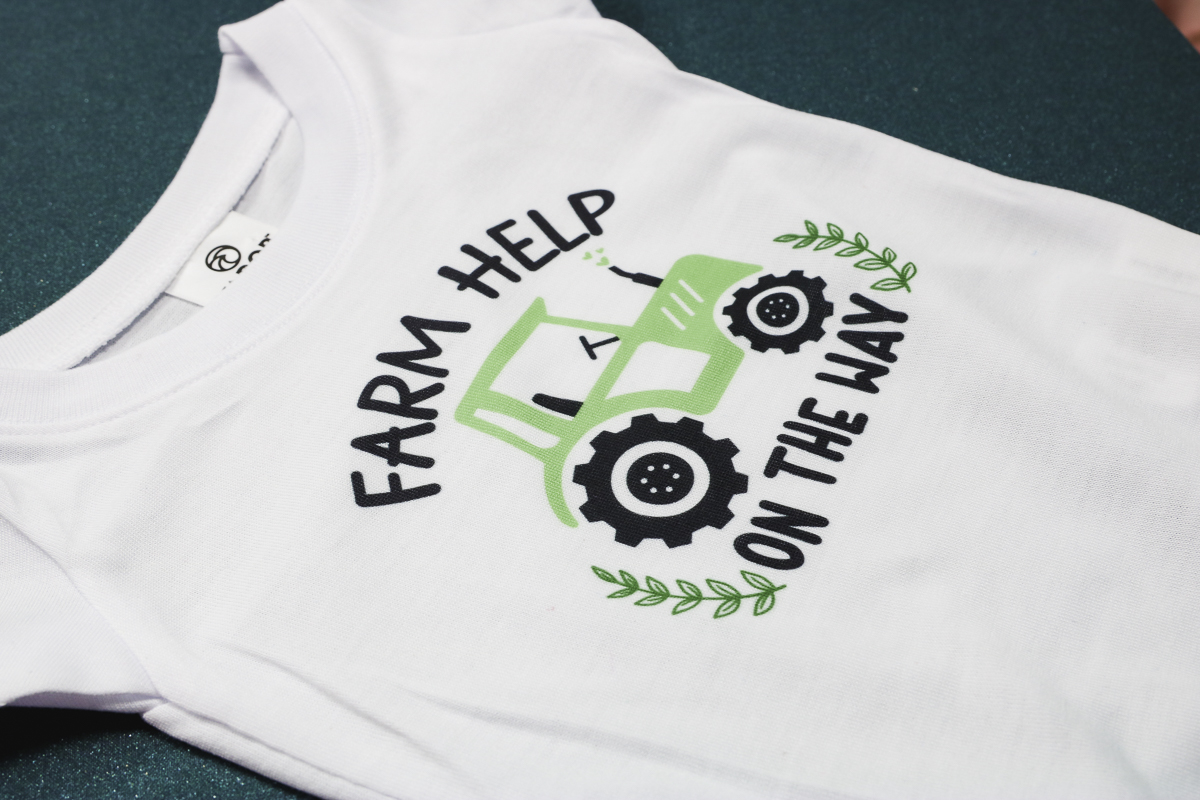
- xTool WonderPress: Pressed a kid’s polyester shirt at 385°F, 80 kg pressure, for 50 seconds.
- HTVRont Auto Press 2: Pressed an adult polyester shirt at 385°F, 70 lbs pressure, for 55 seconds (targeting low press marks).
Sublimation Results
All three auto presses delivered bright, vibrant, high-quality sublimation transfers without scorching or ghosting. If you want to make sublimation shirts, all of these auto presses did a great job.
2. Testing Direct-to-Film (DTF)
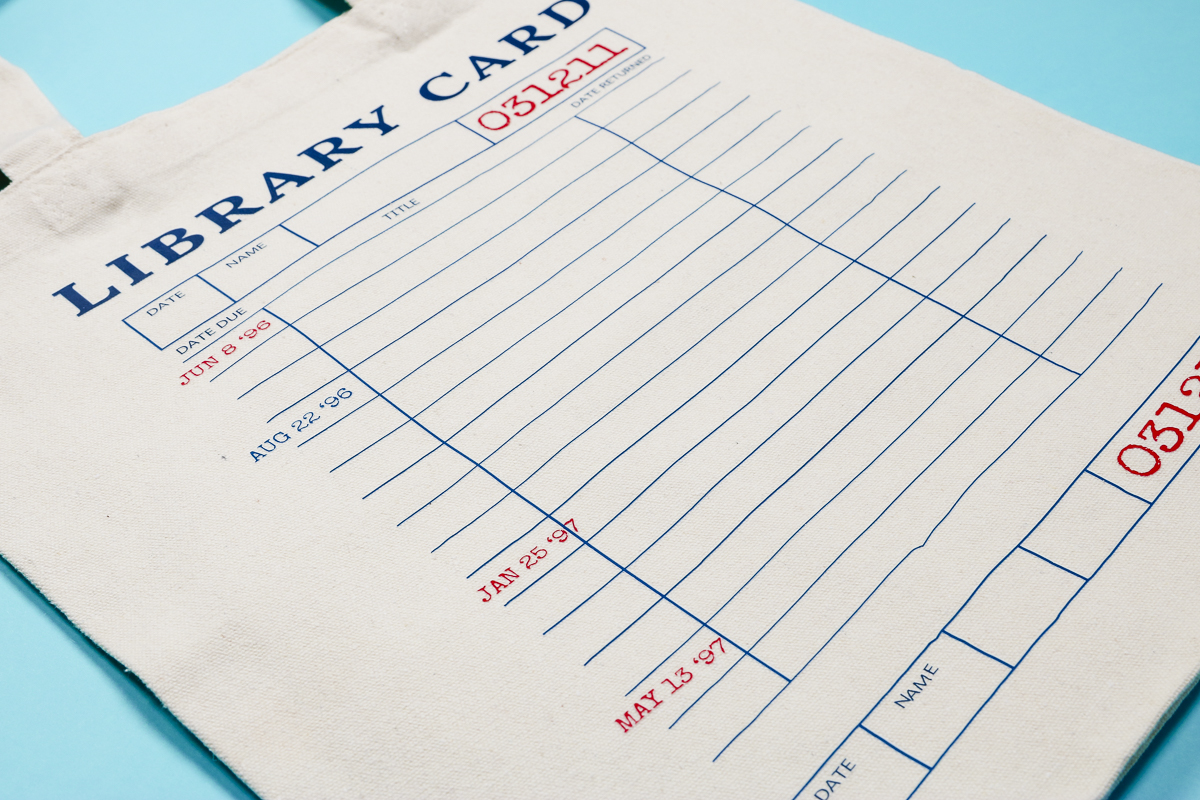
Next, we're going to test DTF prints on canvas bags. I'm testing tote bags and a zipper pouch. The fabric is similar for all of them.
All of these DTF prints are covered with protective paper before pressing, and each has a post-press.
With canvas blanks, I like to use a DTF cooling block and/or a microfiber cloth to help press the DTF into the canvas fabric while it's cooling. This helps the adhesive stick to the canvas and makes it easier to remove the carrier sheet.
For the post-press, remove the carrier sheet, cover with protective paper, and press again for the same amount of time at the same temperature.
- Cricut AutoPress 2: Pressed a canvas tote bag at 310°F for 15 seconds at 200 lbs pressure using a pressing pillow inside the bag.
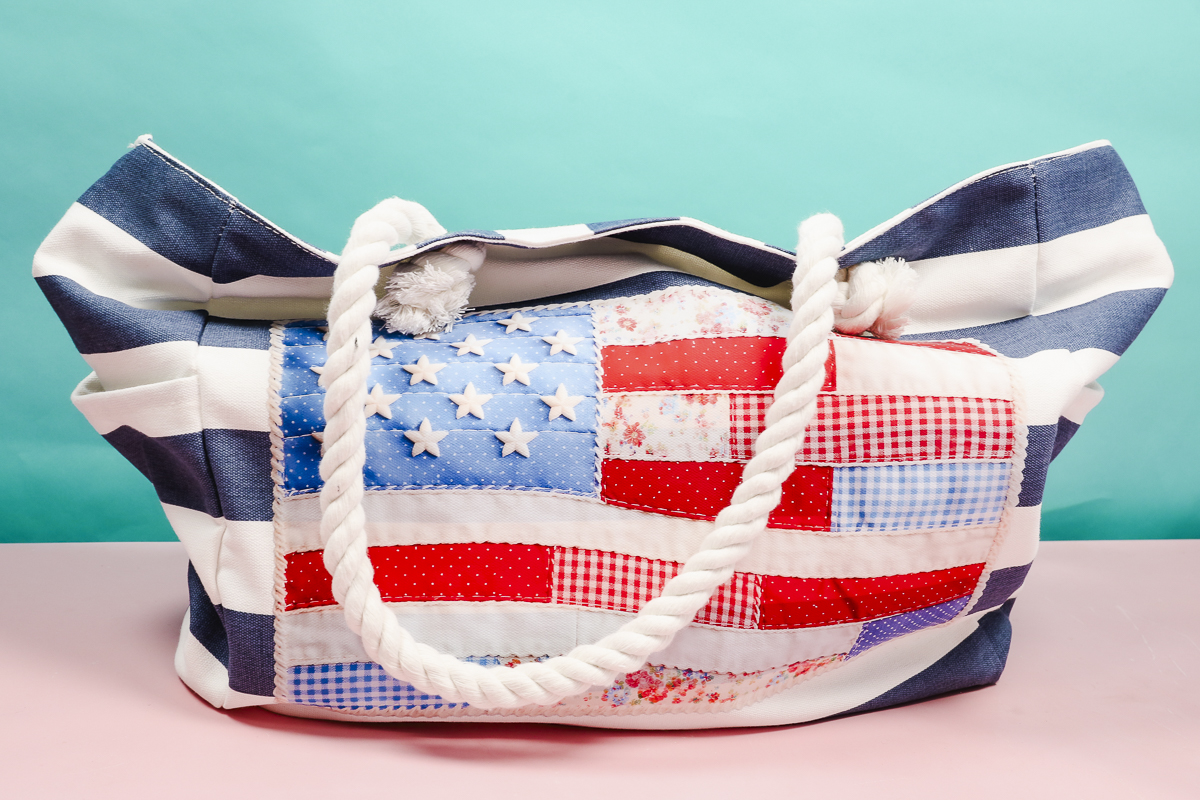
- xTool WonderPress: Tested on a thick, bulky tote bag featuring heavy rope handles and raised bottom seams. Thanks to the 3-inch opening, the bag fit inside the WonderPress with two internal pressing pillows. I pressed it at 320°F for 10 seconds.
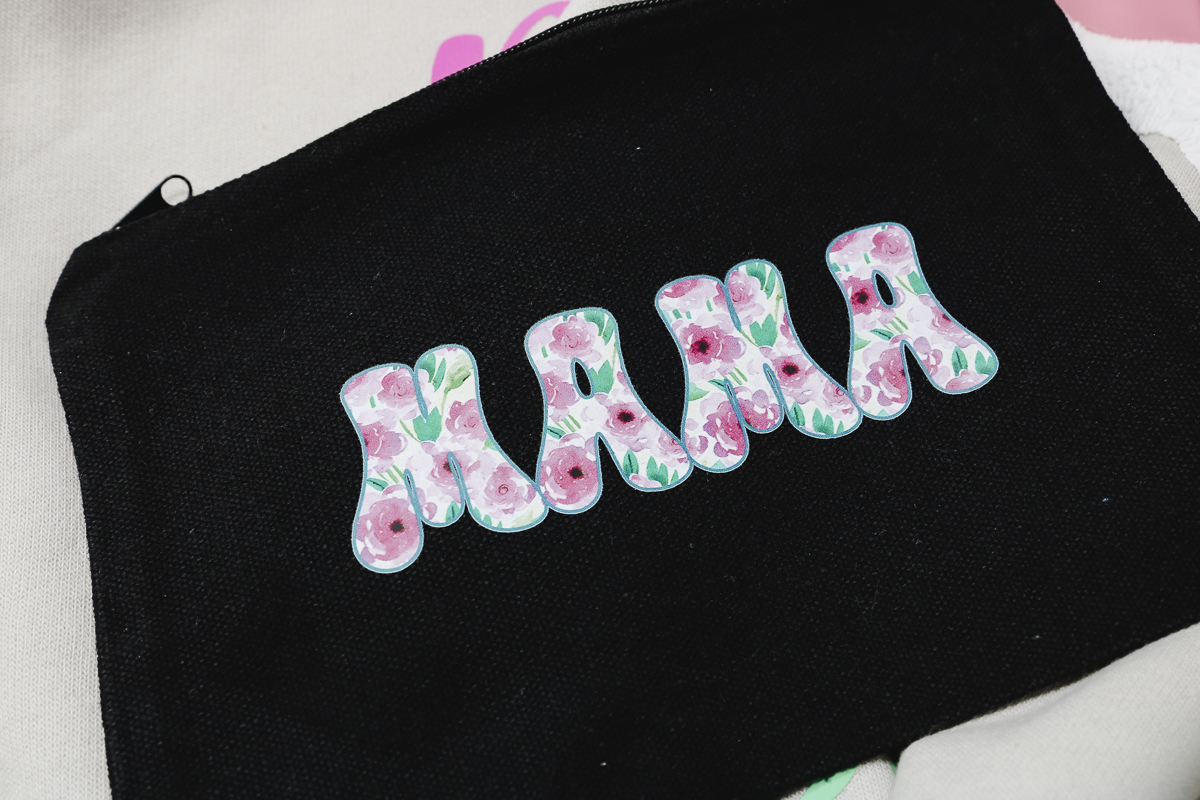
- HTVRont Auto Press 2: Pressed a black zipper pouch with a DTF transfer at 325°F for 15 seconds at 170 lbs of pressure. Because I hung the metal zipper outside the pressing area, I didn't need to use a pressing mat inside the pouch.
DTF Results
All three auto presses handled DTF transfers and post-pressing flawlessly. However, the xTool WonderPress stood out specifically for bulky items. The generous vertical clearance easily accommodated thick seams, two pressing pillows, and the handles.
3. Testing Puff HTV
Puff HTV requires firm, consistent, heavy pressure to achieve a smooth, even rise. Whether an auto press is a winner for me will be decided by its ability to successfully press puff HTV.
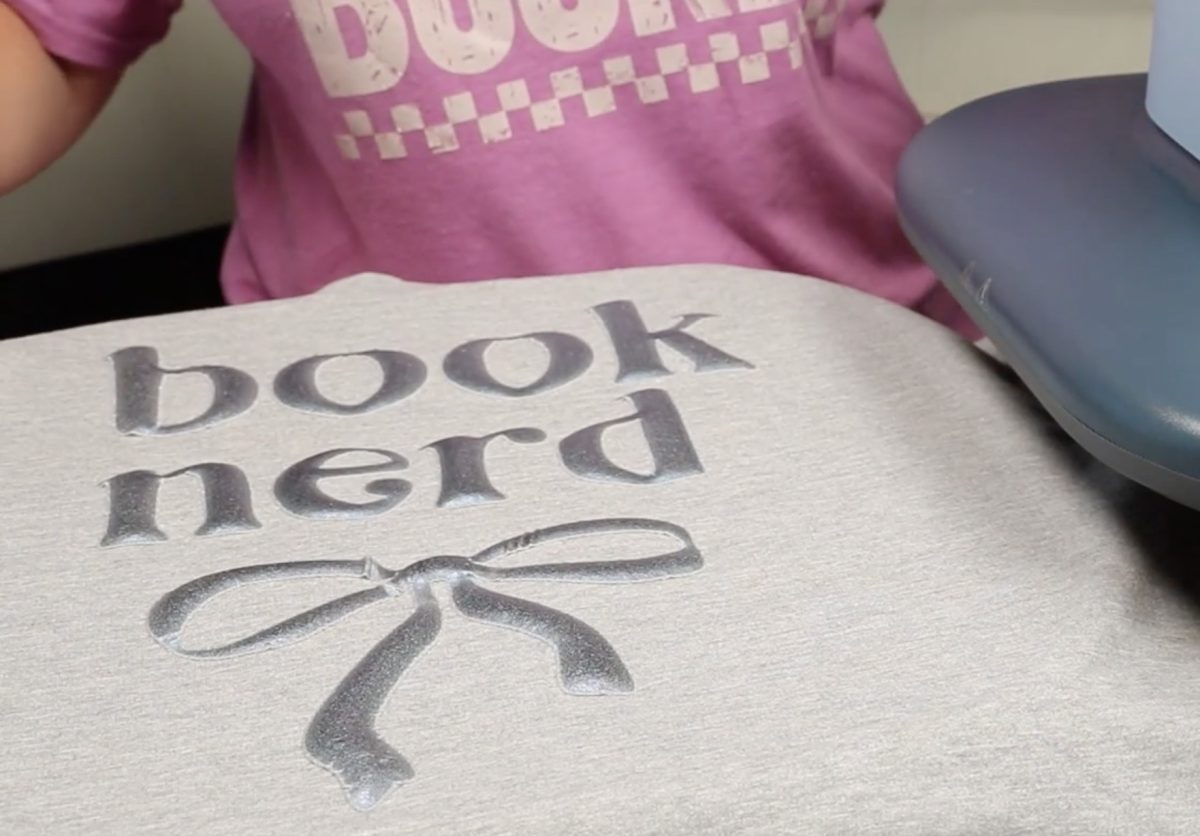
- Cricut Autopress 2: I applied metallic puff HTV to a sweatshirt at 320°F for 10 seconds at maximum pressure. This material calls for a 2-step pressing process. After the first press, remove the carrier sheet and cover with protective paper, then press it again for the same time, temperature, and pressure. The result was an exceptionally smooth, high, and even puff with zero wrinkling or texture issues.
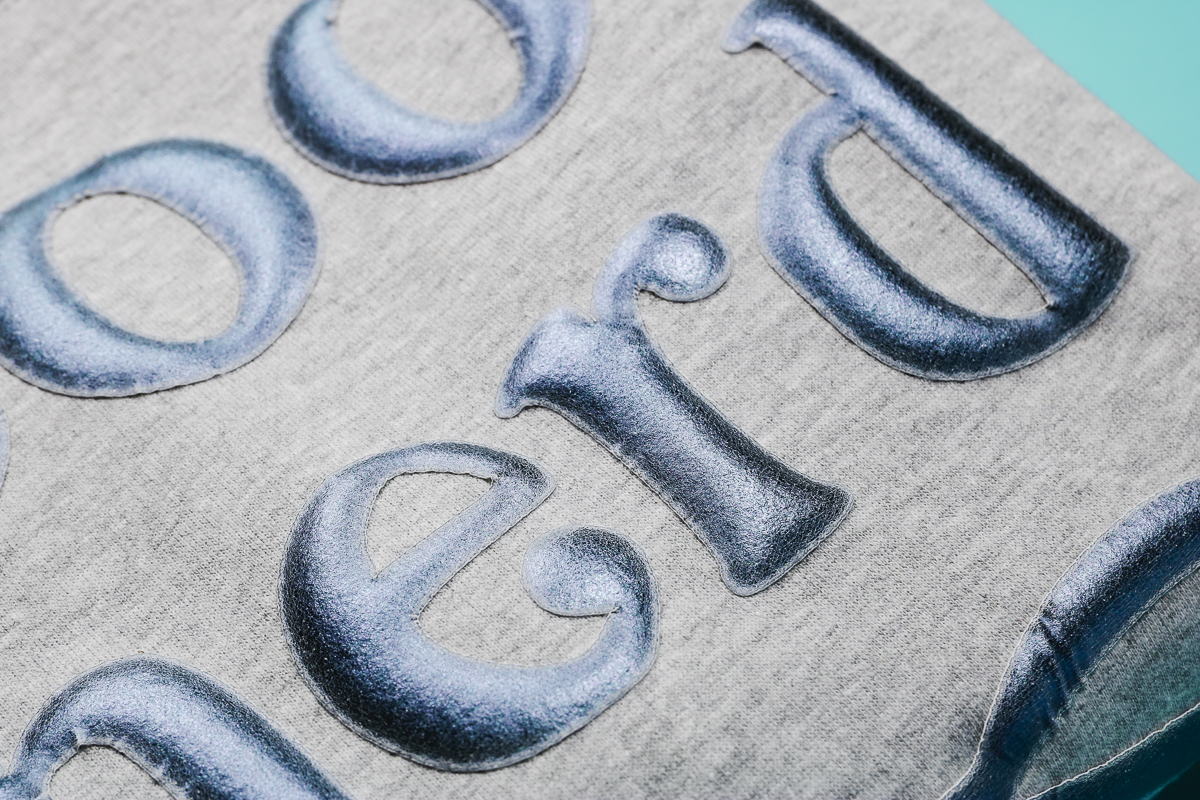
- xTool WonderPress: Pressed puff HTV on a hoodie at 265°F for 10 seconds at the highest pressure. While the vinyl expanded, it left a slightly rough, grainy texture. Even after fine-tuning times, temperatures, and pressures across multiple test patches that included different puff materials, it was difficult to achieve a completely smooth finish.
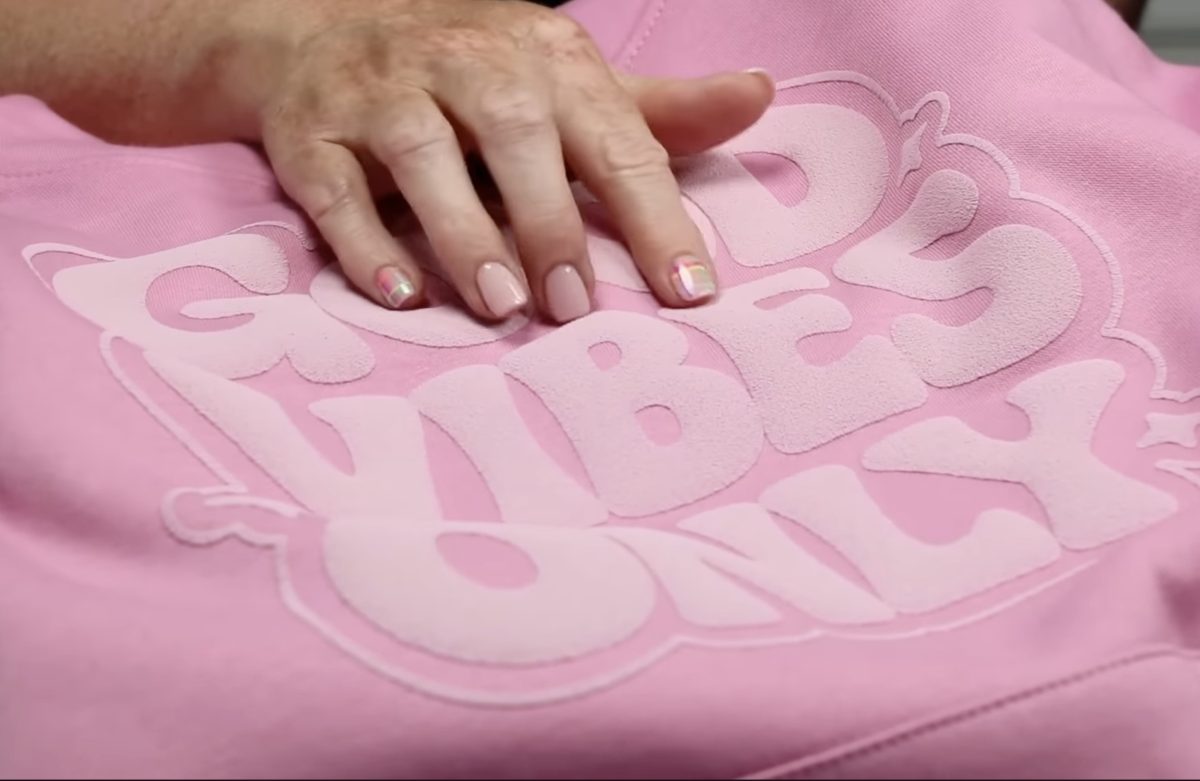
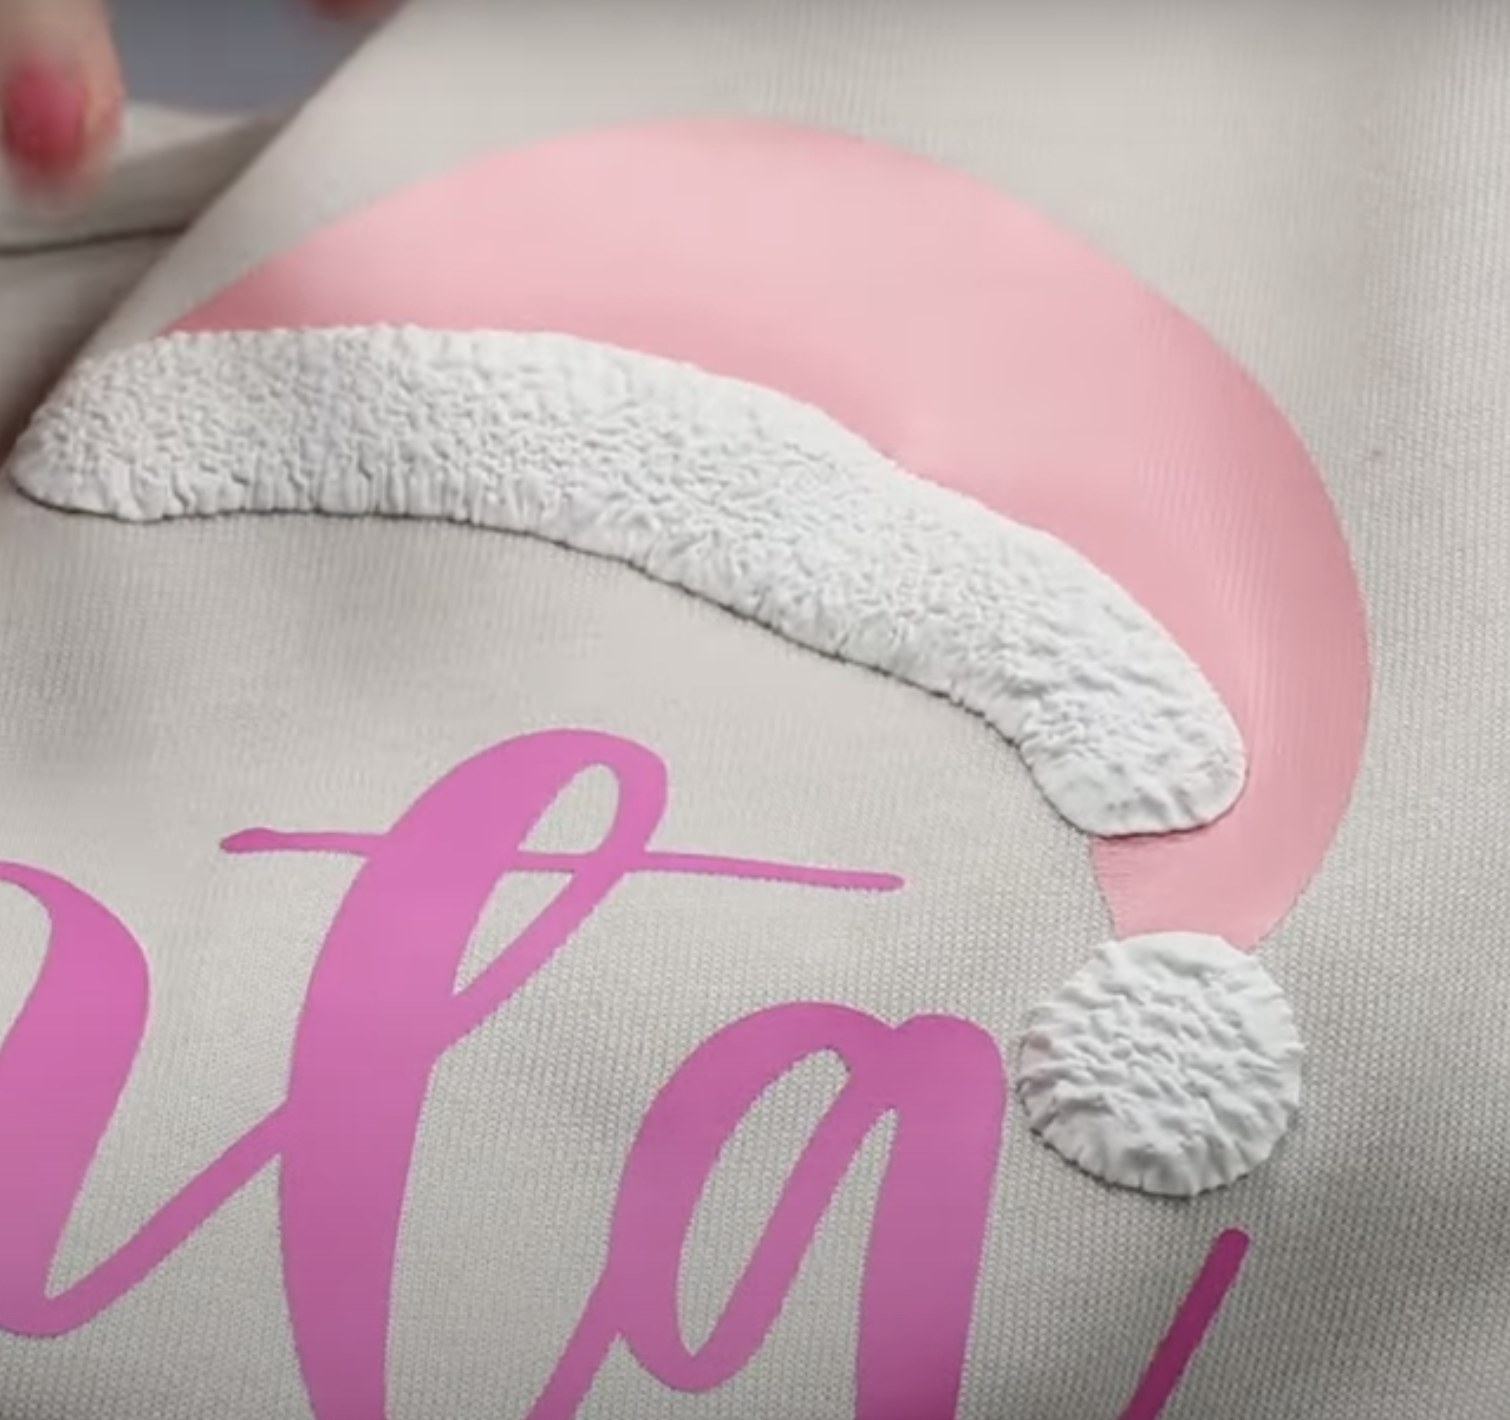
- HTVRont Auto Press 2: Applied puff HTV to a sweatshirt at its maximum setting (170 lbs). Because 170 lbs is lower than the competition, the puff vinyl ended up wrinkled and uneven, making it unsuitable for crisp designs that require a smooth finish. The material I used was a two-step process, and even after the second press, it is very wrinkly.
HTV Results
When it comes to puff HTV, there was a clear winner. The Cricut Autopress was the only press that gave the smooth, puffed-up result I wanted with puff HTV.
I was not able to get a smooth puff with the xTool WonderPress or the HTVRont Auto Press 2. If you want to make projects using puff HTV, the Cricut Autopress would be the press I would recommend.
Other Material Results
Because the Cricut Autopress 2 has a maximum timer of 360 seconds, you have to restart the timer for materials that require a longer pressing time, such as heavy slate coasters and thick plaques. Both the HTVRont and xTool auto presses have a maximum timer of 999 seconds.
If you know you're going to be regularly pressing materials that require longer pressing times, you may want to look at the xTool or HTVRont auto presses.
Another thing to note is that the xTool WonderPress is the only option tested today that has optional add-ons. This press can be a good option if you want to make tumblers, mugs, and even cure DTF powder or polymer clay.
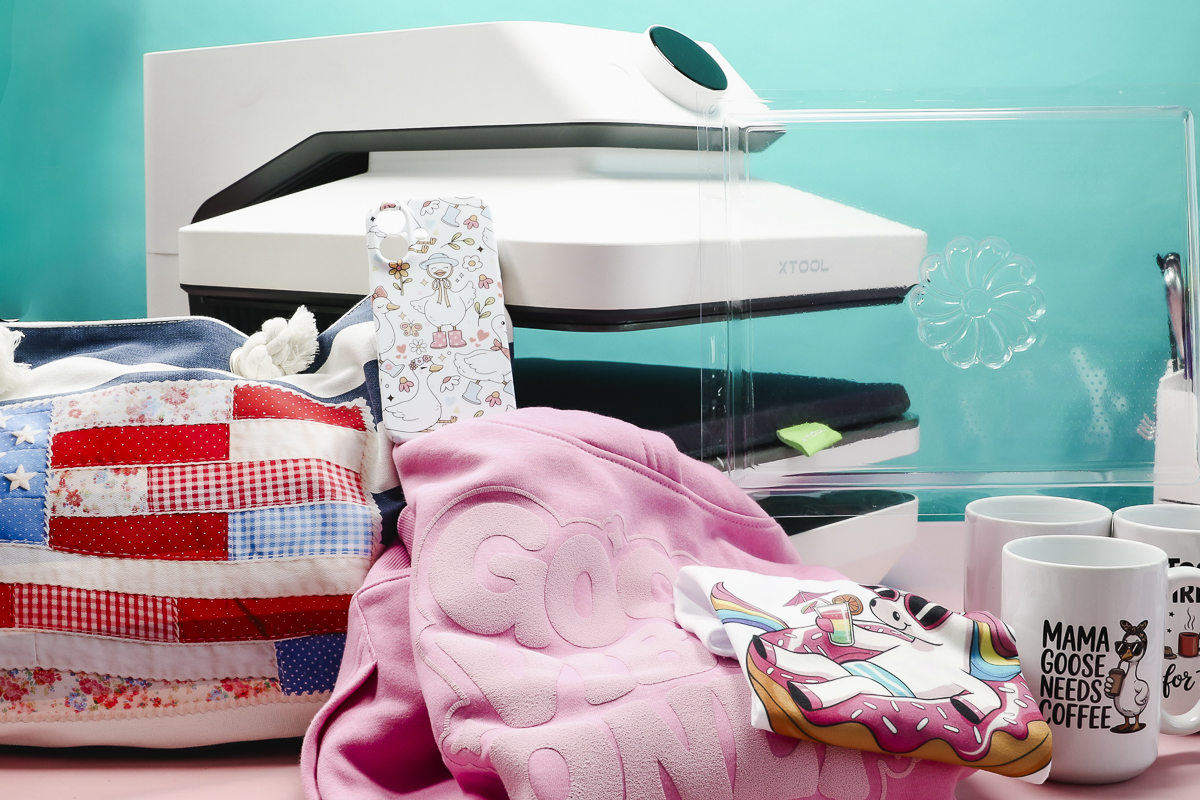
Because the WonderPress has both an Oven Module and a 3D Vacuum Module, you can make more projects. These pieces are an additional expense. You can purchase them initially in a bundle or add them later on. I do want to note that these pieces are not small, so they still take up space.
Also, there is a steep learning curve with those additional modules. Be prepared to spend some time learning how to use each of them because it will require some trial and error.
Which Auto Press is Right for You?
To wrap up this autopress comparison, let's chat about which one is right for you.
If price is the deciding factor, the HTVRont Auto Press 2 is the most affordable. It also has the lowest maximum pressure, so if you want to do things that require heavy pressure, like puff HTV, it may not be the right auto press for you.
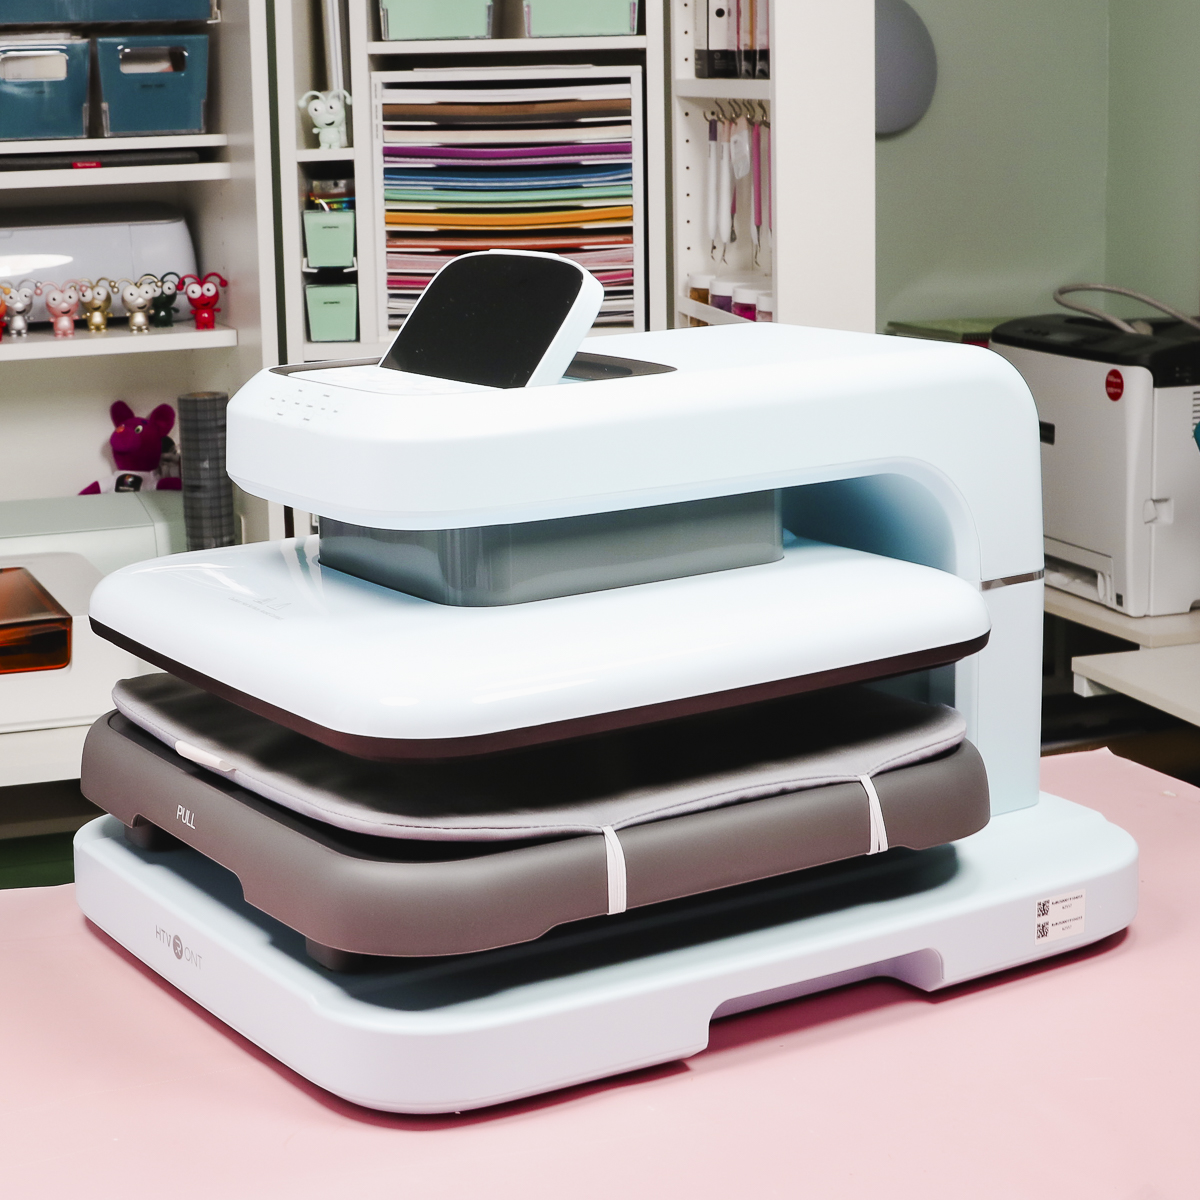
The Cricut Autopress 2 had the best heavy-pressure performance. If puff HTV is important to you, it's the best option. It worked well with everything else I tested; just be aware that it has the shortest timer, so items like slate would require setting the timer at least twice.
I also really love the control pod on the Autopress 2.
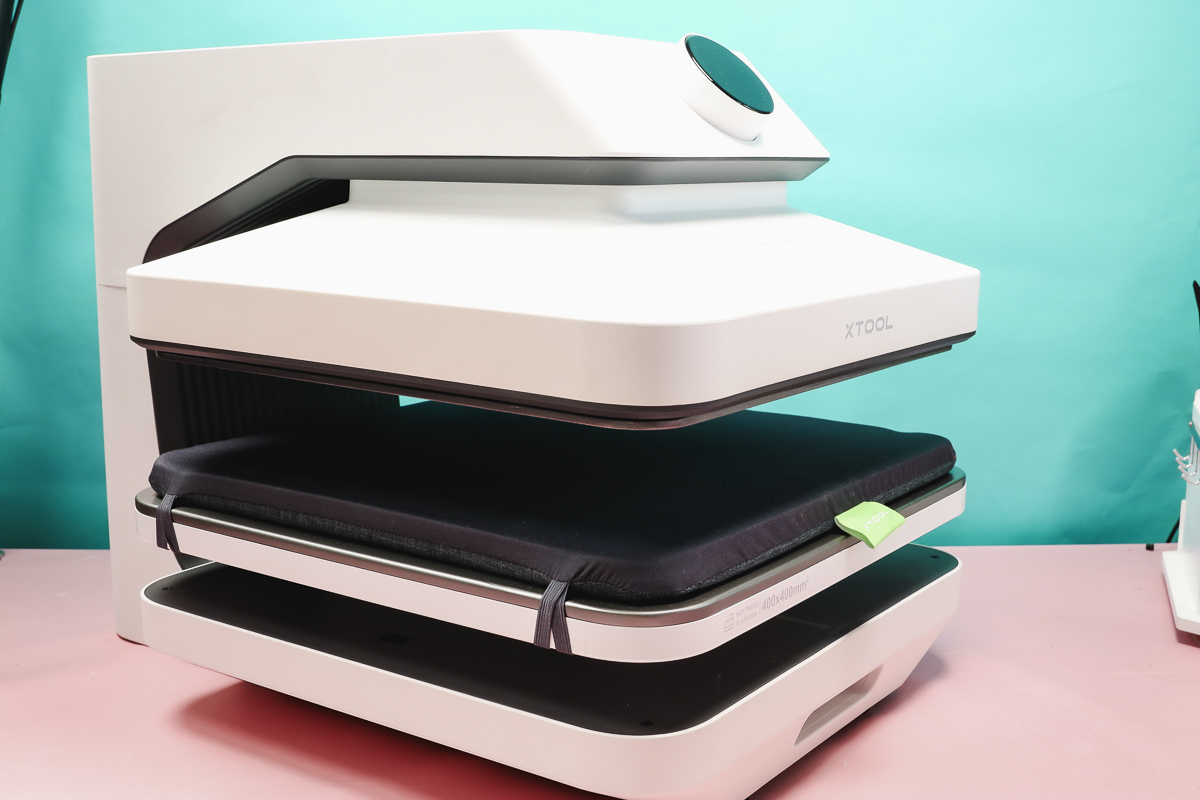
The xTool WonderPress has a handful of pros. With a 3-inch clearance opening for thick/bulky items, it's a great option for bulky items. While I didn't have great results with puff HTV, it does have a maximum pressure of 220 lbs.
Because of the 3-inch opening, it does take longer to open and close than the other auto presses.
With the additional modules, it could be a good option for you.
Where to Buy
I have fully reviewed each of these auto heat presses. If you want to see how they do with other materials and get a more complete look at them, make sure to check those out or you can buy at the links below!
- Cricut AutoPress 2 – Full Review – Buy Here
- HTVRont AutoPress – Full Review – Buy Here
- xTool WonderPress – Full Reivew – Buy Here
I hope this side-by-side autopress comparison has helped answer questions you have about which auto press is right for you. If you have any additional questions, leave them in the comments, and I'll be happy to answer them for you.