Have you heard of Cricut Sticker Cardstock? This adhesive-backed cardstock is a great option for quick and easy crafting. Because the adhesive is already on the cardstock, you can make party crafts and decorative projects in minutes — no messy glue required. It’s perfect for creating bright, polished designs that come together fast. In this post, we’ll explore the different ways you can use Cricut Sticker Cardstock and why it’s such a handy material to keep in your craft stash.
Sticker Cardstock Video Tutorial
If you want to see me use this sticker cardstock to make a party banner, watch the video below. Note: When I filmed this, the product was called Adhesive Backed Paper, and it needed to be placed on a cutting mat before use in a cutting machine. Cricut has since updated this material to be cut without a mat!
Can’t watch the video or miss some of the steps? See our step-by-step instructions below.
How to Make a Party Banner with Cticker Cardstock
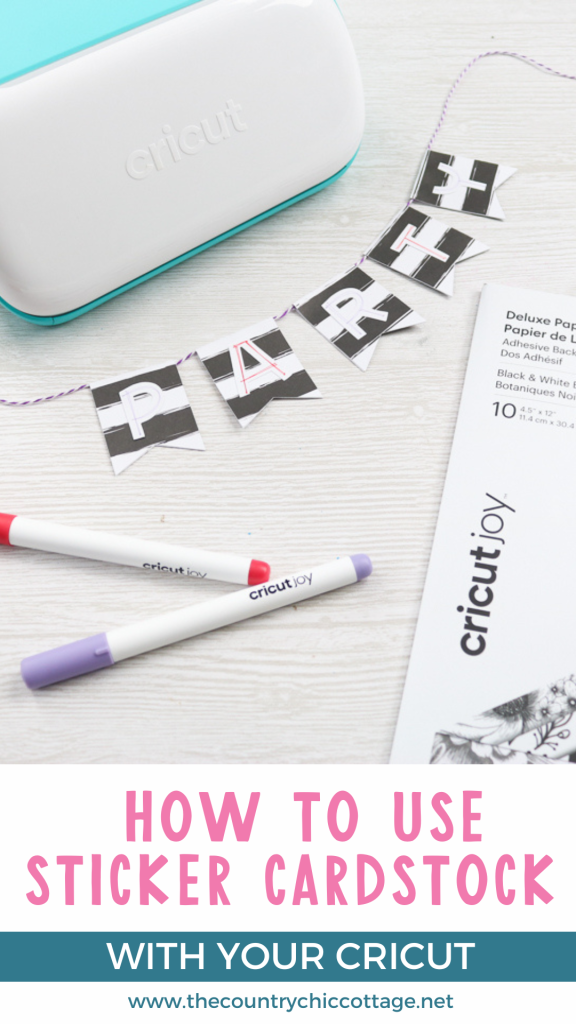
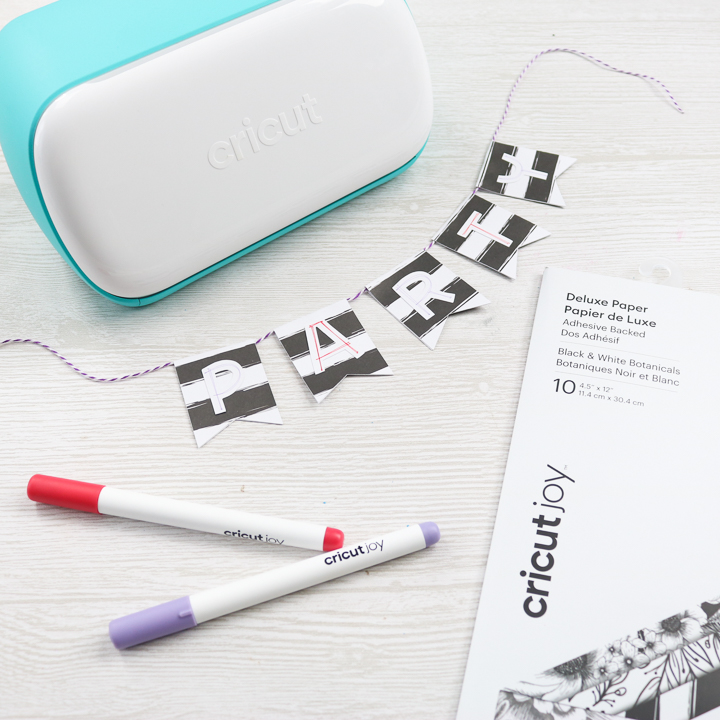
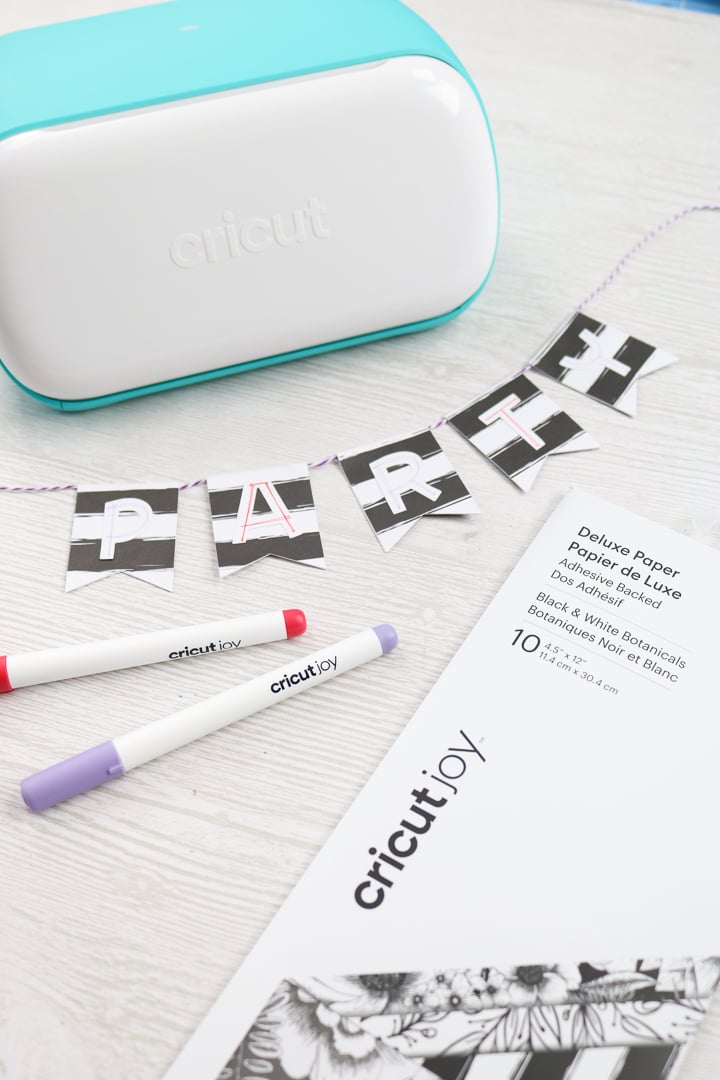
Cricut's Smart Paper Sticker Cardstock comes in several different colors and sizes. I’m going to show you how to make a party banner with this self-adhesive material using the Cricut Joy. Learn more about the Cricut Joy here.
You can also scroll to the bottom of this post for a great selection of Cricut party crafts that you don’t want to miss!
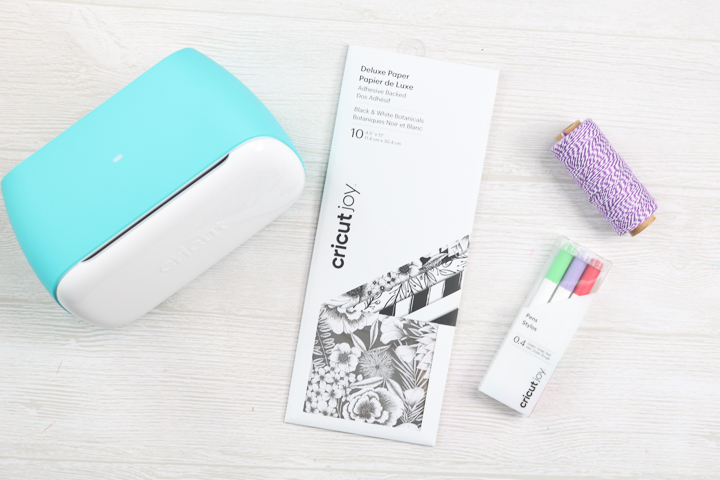
Supplies Needed
- Smart Paper Sticker Cardstock
- Cricut Joy
- Baker's Twine
- Cricut cut file (you can find the one I used here)
- Cricut Joy Pens
- Scissors
How To Use Sticker Cardstock
The Sticker Cardstock is simple to use. It’s just like any other paper; however, it has adhesive backing. This allows you to make crafts quickly and easily with no glue required.
Step 1: Prepare to cut the material
Since Sticker Cardstock is one of Cricut's Smart Materials, you don't need a cutting mat. Now, having said that, it will depend on the size of the material you plan on using.
If you are using a mat, the 12-inch mat works best; however, this is not the one that comes with the machine. You can cut your Sticker Cardstock strips if you would like to use the original shorter mat.
Note: When I made this project, I was able to purchase the adhesive paper in a print. At the time of this update, the Cricut Sticker Cardstock is only available in solid colors.
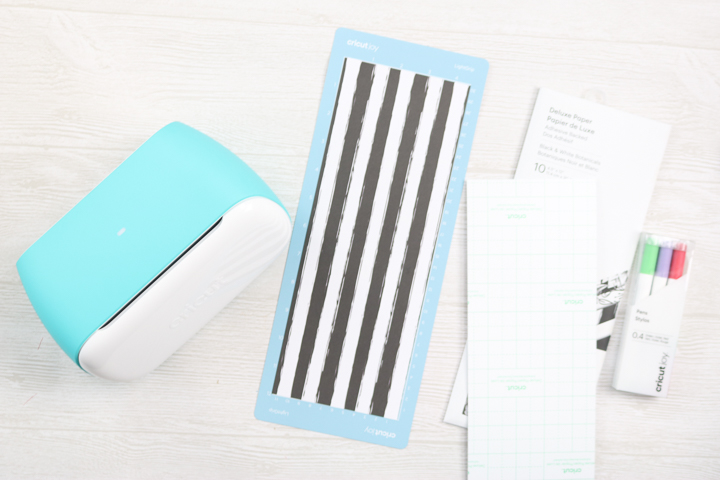
The Cricut Sticker Cardstock comes in sizes specifically designed for the Cricut Joy. You can, however, also find this material in a larger size for use with the Cricut Explore or Maker series models.
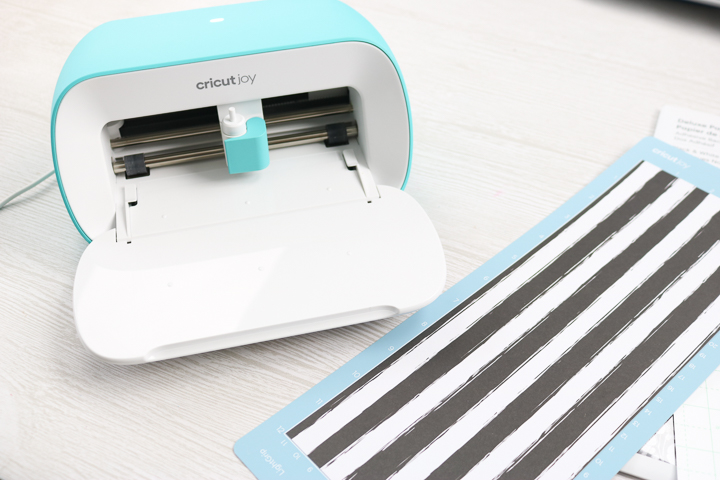
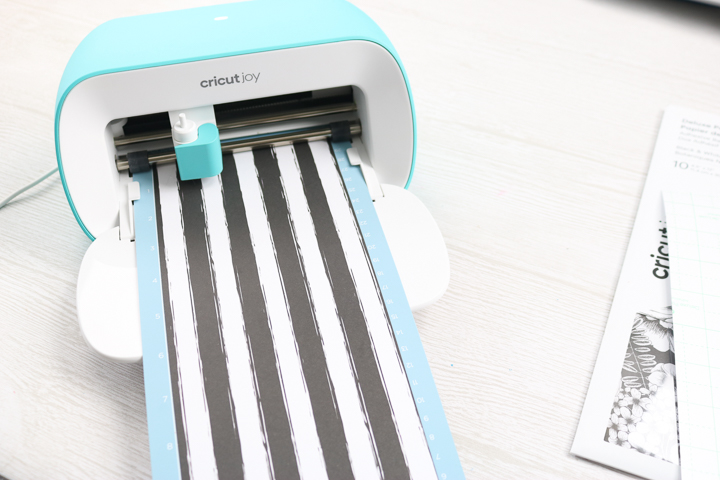
Step 2: Draw and cut your design
Then cut your design like normal. If you have a patterned piece of cardstock, be sure to account for the design's pattern when cutting your pieces. You don't want your pattern to end up upside down or sideways. You can see more about cutting with the Cricut Joy here.
If you want to use the pens to draw on the paper while cutting, use the Cricut Joy pens and add them to the blade holder when prompted in Cricut Design Space. Don't forget the front/top corners of your Cricut Joy are magnetic. Your blade housing will stick there while you're using the pen.
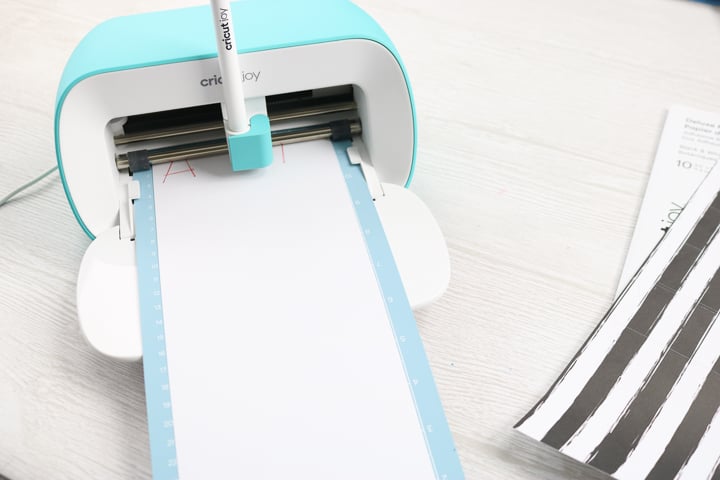
Then draw and cut your design out of the Cricut adhesive-backed paper.
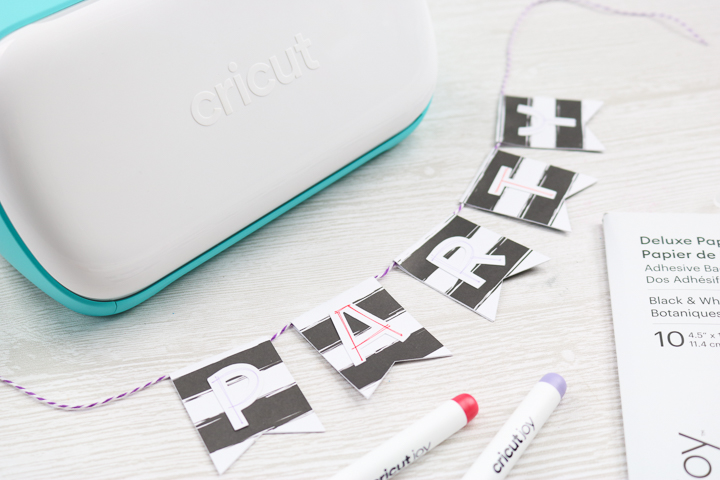
Assemble Your Party Banner
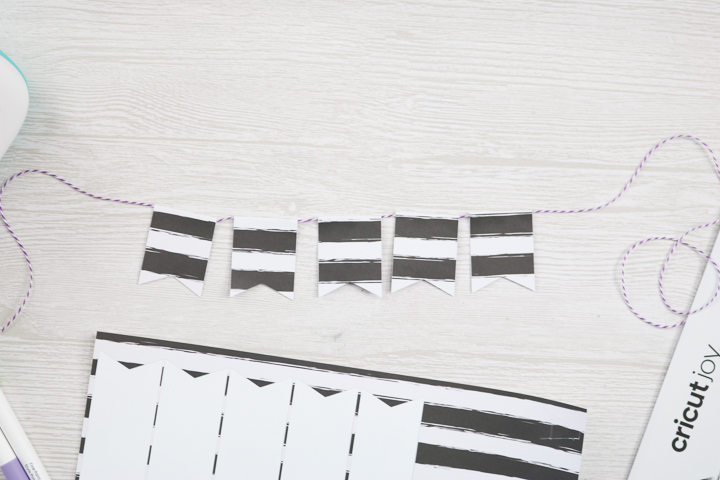
Now that you have all the pieces cut, it's time to make the banner!
Step 1: Add banner flags to twine
Add the banner flags around the baker's twine.
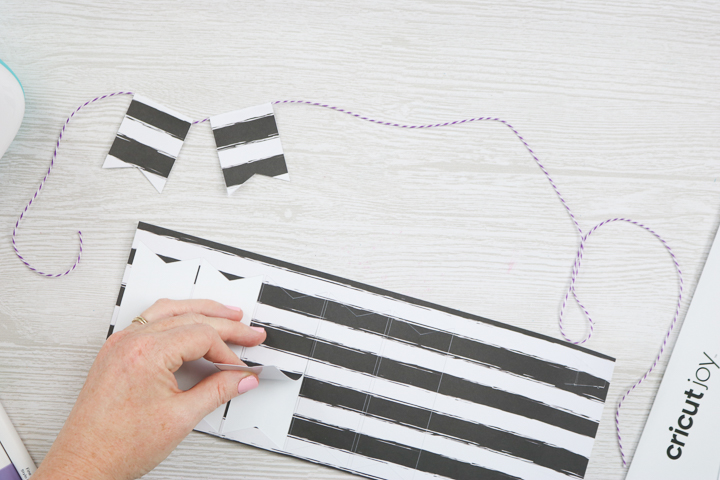
Peel away from the backing, and you now have a cardstock sticker. Position this on your baker's twine.
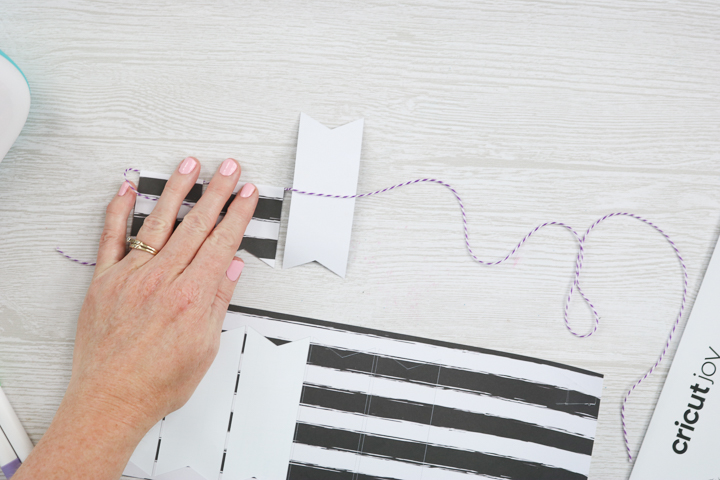
Step 2: Secure the banner flags into place
Secure in place by sticking the front and the back together and creasing down the center. Make sure to press them together well, top to bottom.
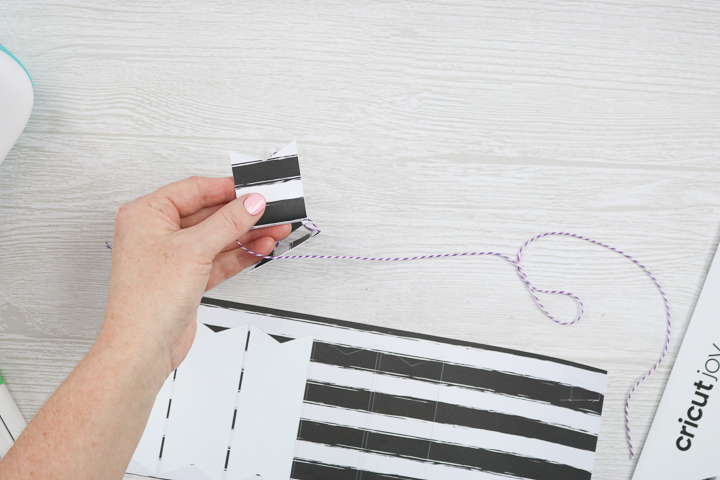
Step 3: Repeat steps 1-2
Repeat this same procedure for as many flags as are in your banner.
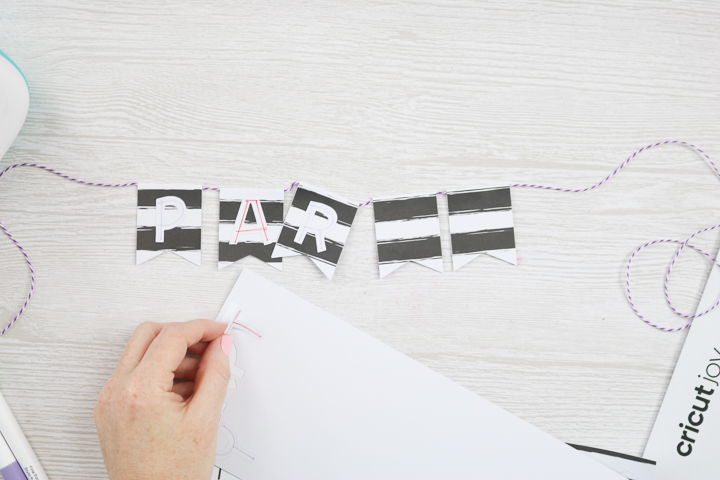
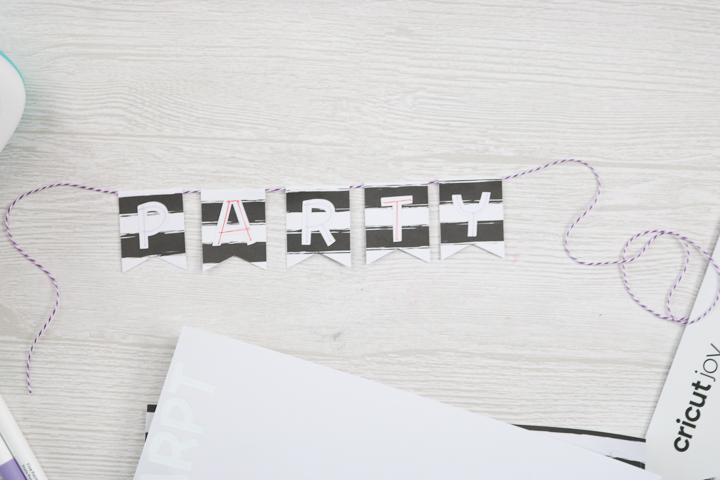
Step 4: Add Letters To Banner Flags
Then peel away the letters and stick them to the banner flags.
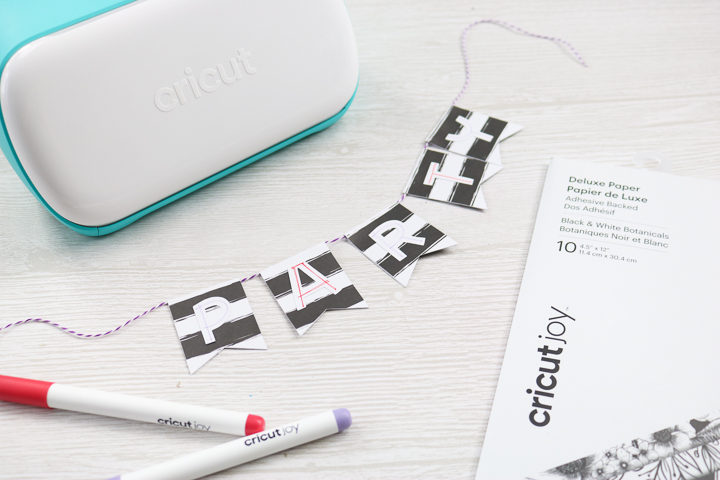
Once all the letters are in place, your party banner is ready to hang or add to the top of a cake!
So make a party banner with your Smart Paper™️ Sticker Cardstock or use it in your other crafts like cards or scrapbook pages. I think you’ll really like how easy and fun it is to use!
Will you be trying this Cricut product on any of your craft projects? I would love to hear what you plan on making with it.
I can't wait to try some of the other fun colors and sizes as well.
Stay tuned as I have so much more planned for the Cricut Joy and the other new products. This Sticker Cardstock is just the beginning, y'all!
FAQs About Sticker Cardstock
Here are answers to some of the most frequently asked questions I receive about creating with the Smart Paper Sticker Cardstock. If your question isn’t listed, feel free to drop it in the comments, and I’ll be happy to help!
What setting would I use on the Cricut Maker with this Sticker Cardstock?
You would use the cardstock adhesive-backed setting.
What setting would I use on the Cricut Explore Air 2 with this Sticker Cardstock?
I would try a cardstock setting on the Explore Air 2.
If I print a few letters on a sheet as you did, can I flip the adhesive sheet around and print letters on the other end, or is the rest of that sheet wasted?
Yep, just flip it!
Are there bigger sizes, or would I need a bigger Cricut?
Yes, the Smart Paper Sticker Cardstock comes in different sizes for the full-size models.
My material curled up when I removed it from the Cricut mat. Do you know how to fix that?
If your cardstock pieces curled up when you removed them from the Cricut mat, you could set some books on the paper to help flatten it.
In the video above, I show you how to prevent your paper from curling. The key is to pull your mat (or backing) away from your project, instead of pulling your project off the mat. To see how this is done, scroll back up to the video, and jump to 4:50 into the video!
Do you think this could be used to make stickers in some way, even though the Cricut Joy can’t do Print then Cut?
Definitely! You can draw the design with your Cricut pen and then cut the stickers with the Cricut Joy.
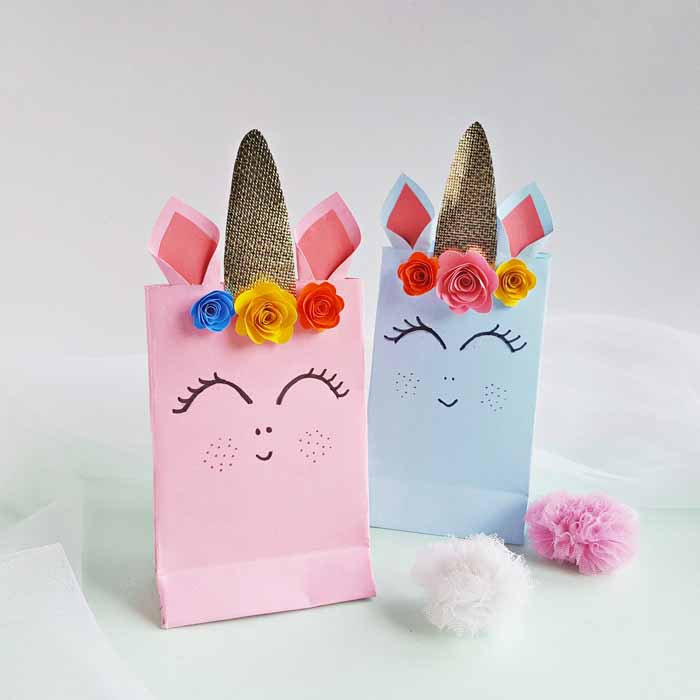
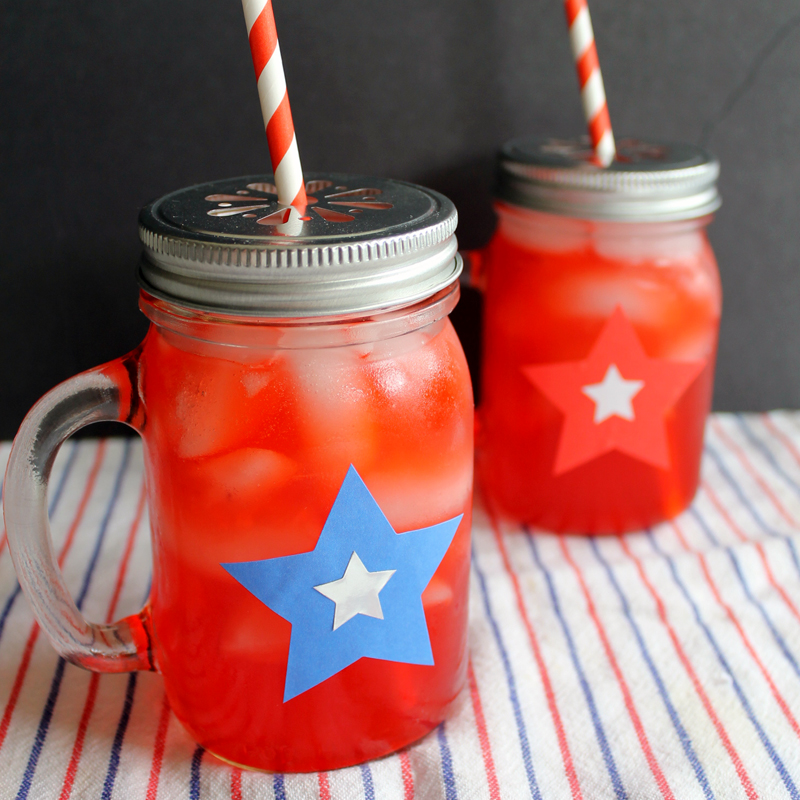
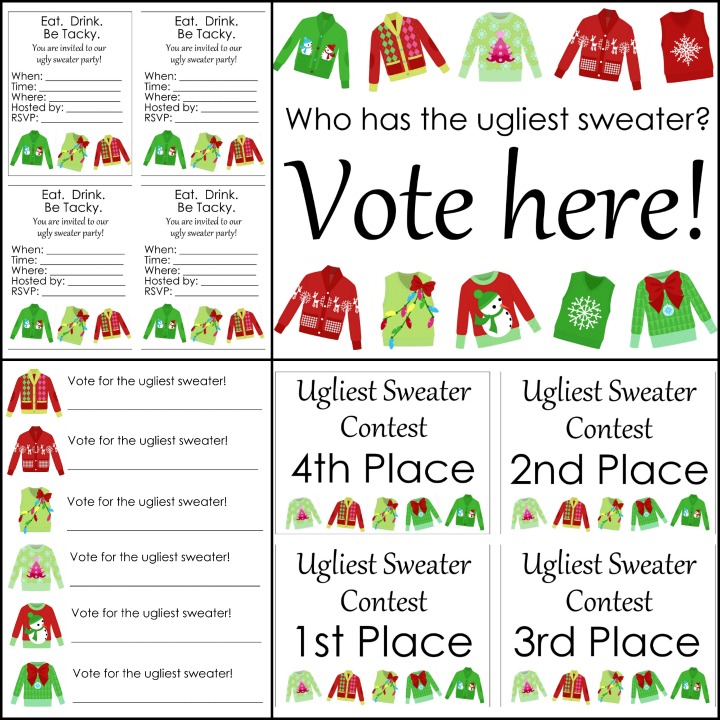
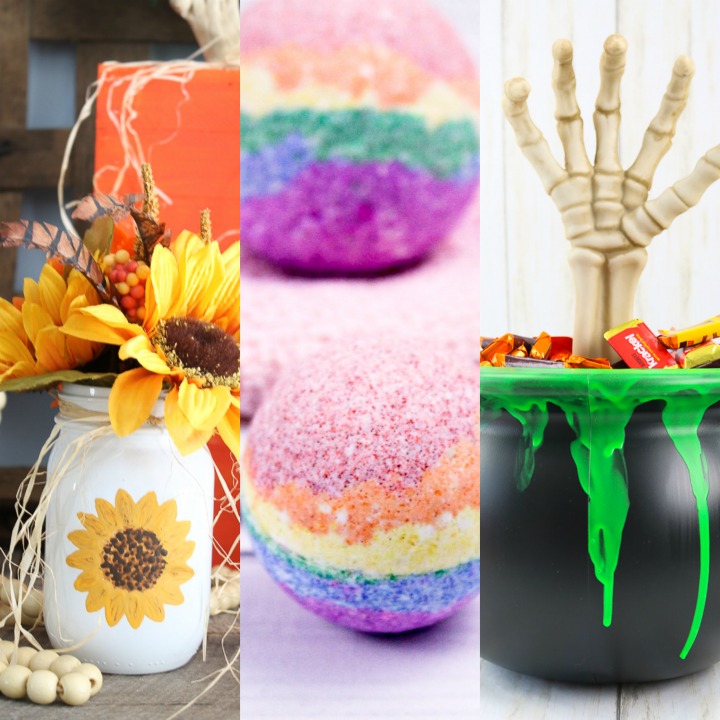
More Cricut Craft Party Ideas
Did you love learning about Cricut's Smart Paper Sticker Cardstock, and want more Cricut party ideas? Check out the projects below: