

Are you ready to learn how to use the Cricut Engraving Tool? We are going to compare the Fine Deboss Tip with the Engraving Tip to see which works better on different materials. With the QuickSwap housing in the Cricut Maker, it is easy to switch tools and make all the things.
Follow the guide below to learn more and get started engraving with your Cricut Maker machine today!

What is the Cricut engraving tool?
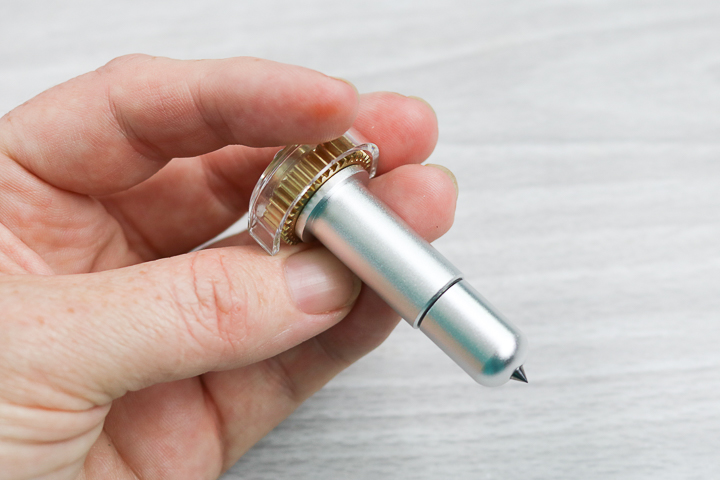
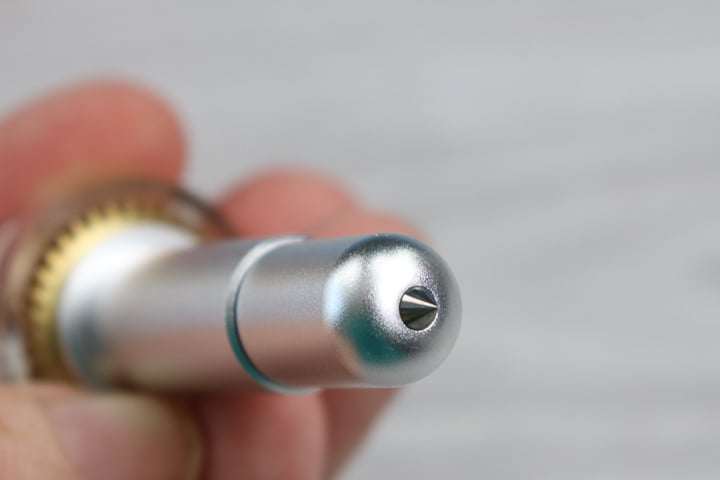
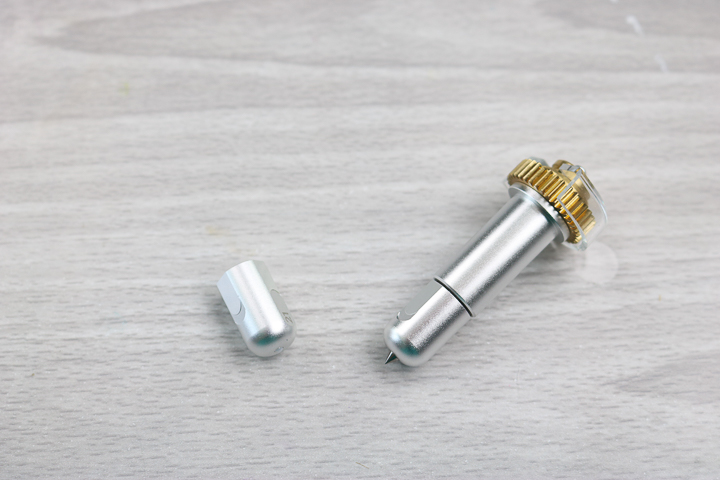
The engraving tool is exclusive to the Cricut Maker line of machines and utilizes the QuickSwap housing. It has a sharp, pointed metal tip that allows it to engrave a variety of materials.
As you can see, the tip is sharp and can really dig into your material.
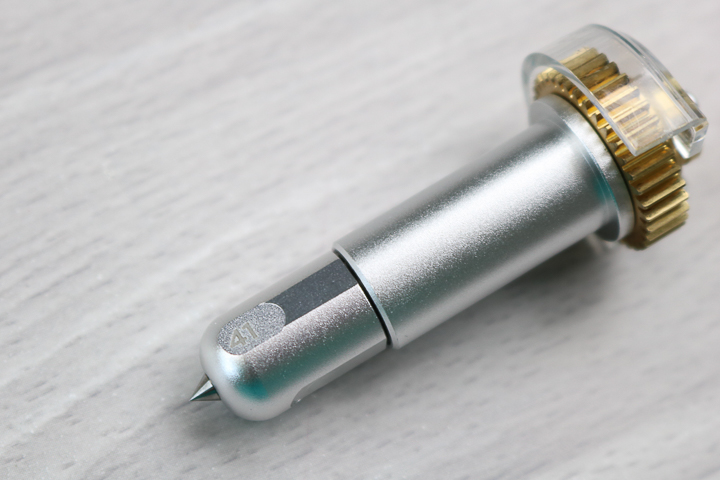
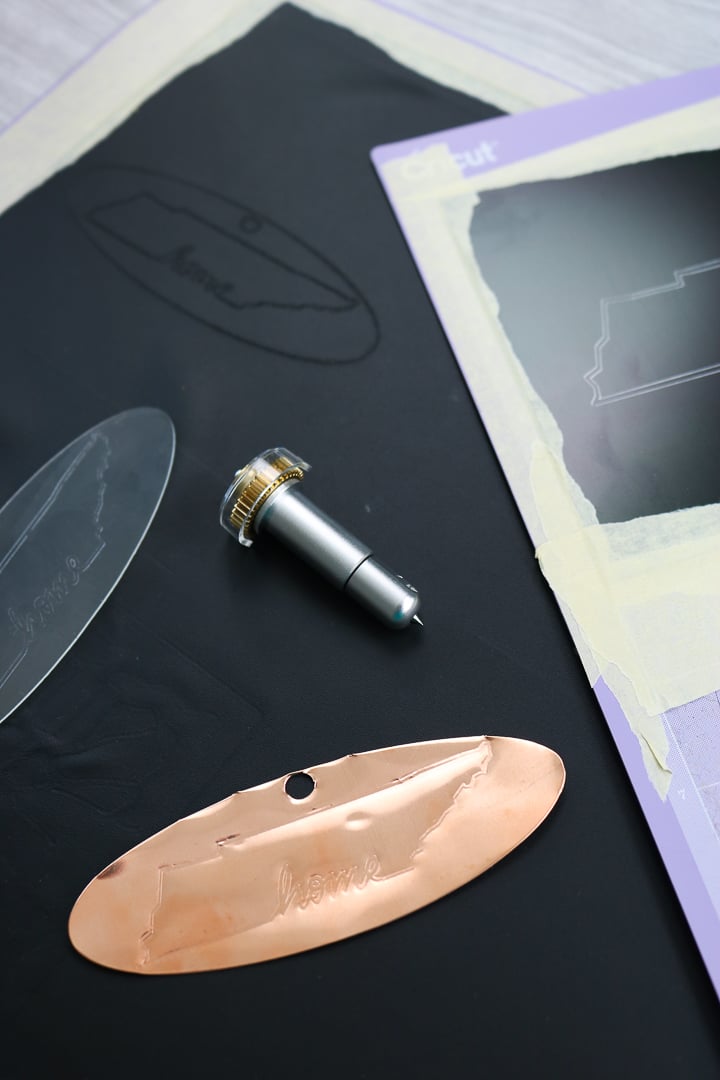
The tip itself fits on the same QuickSwap housing as the Scoring Wheel, and the other tools in the Cricut Maker models line up. You can see that this one has a “41” engraved on the side to distinguish it from the other tools. Want to know how the QuickSwap Housing works? Head here for a short video! You can purchase the Cricut Engraving Tip by itself here or with a housing on the Cricut website. Remember that you only need one housing and it will work with as many Quick Swap tips as you would like.
Putting the Engraving Tool in the Cricut Maker
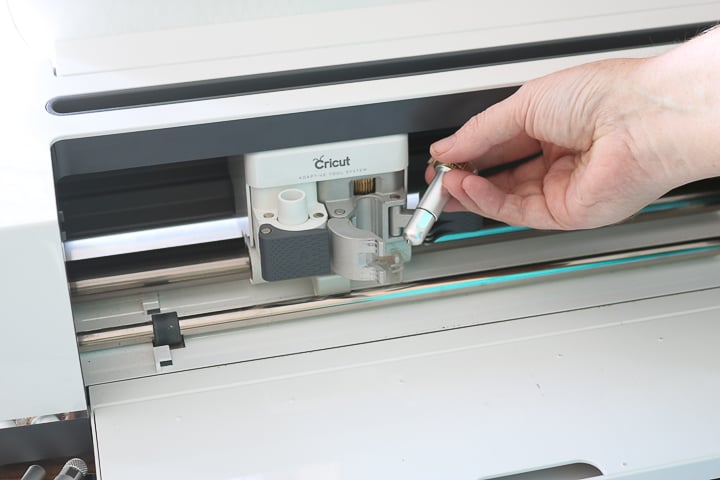
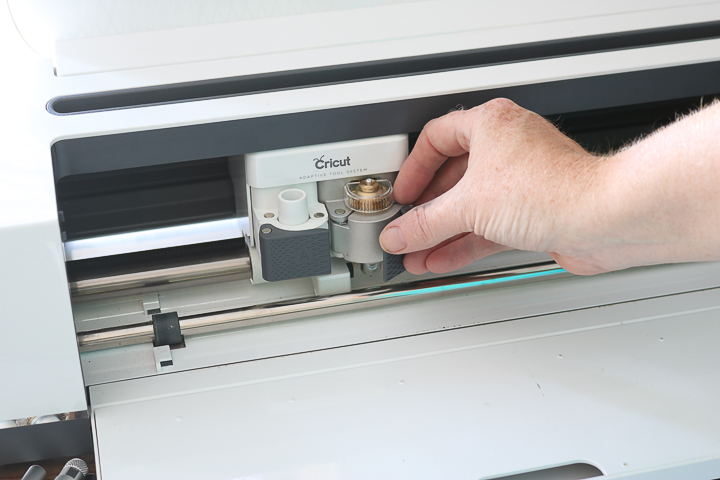
Add the Engraving Tip to the QuickSwap housing first. Then you can just put the blade into the cutting side of your machine.
Design Space will then prompt you to change to a cutting tool when needed.
Cricut Engrave Tip Video
Want to see everything you ever wanted to know about the engraving tip in a video? Just watch below! I'll also share how to change to engraving lines in Cricut Design Space, so be sure to watch.
Can't watch the video or missed some of the steps? Just keep reading!
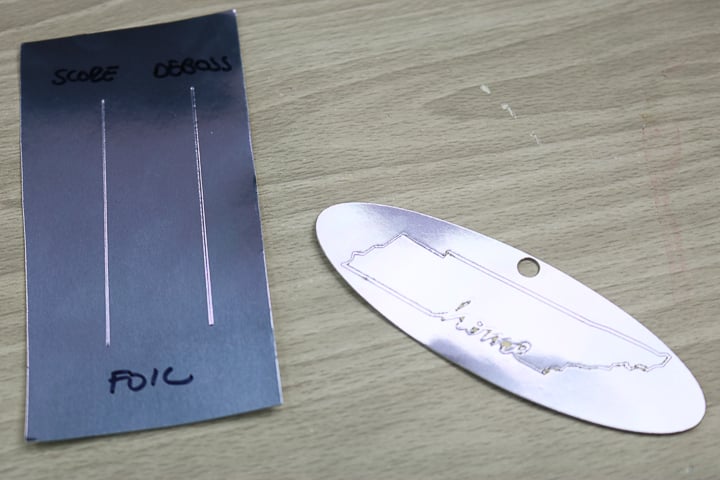
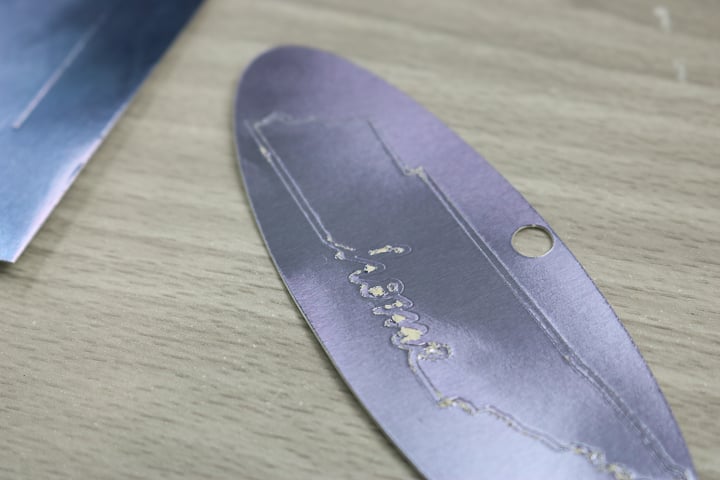
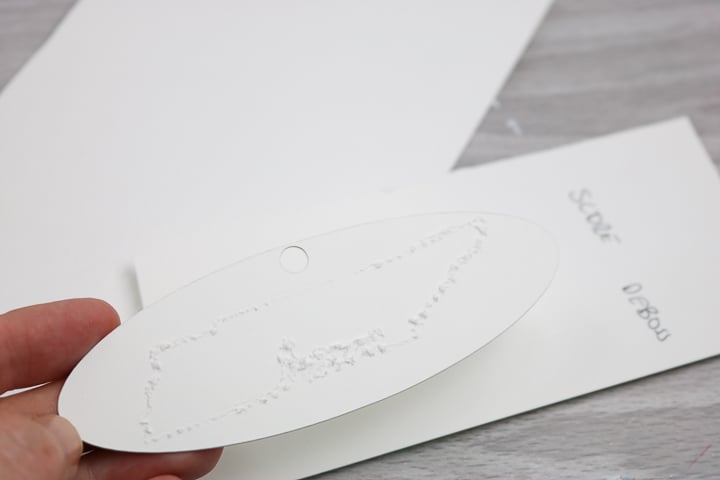
Cricut Fine Deboss Versus Engraving Tip
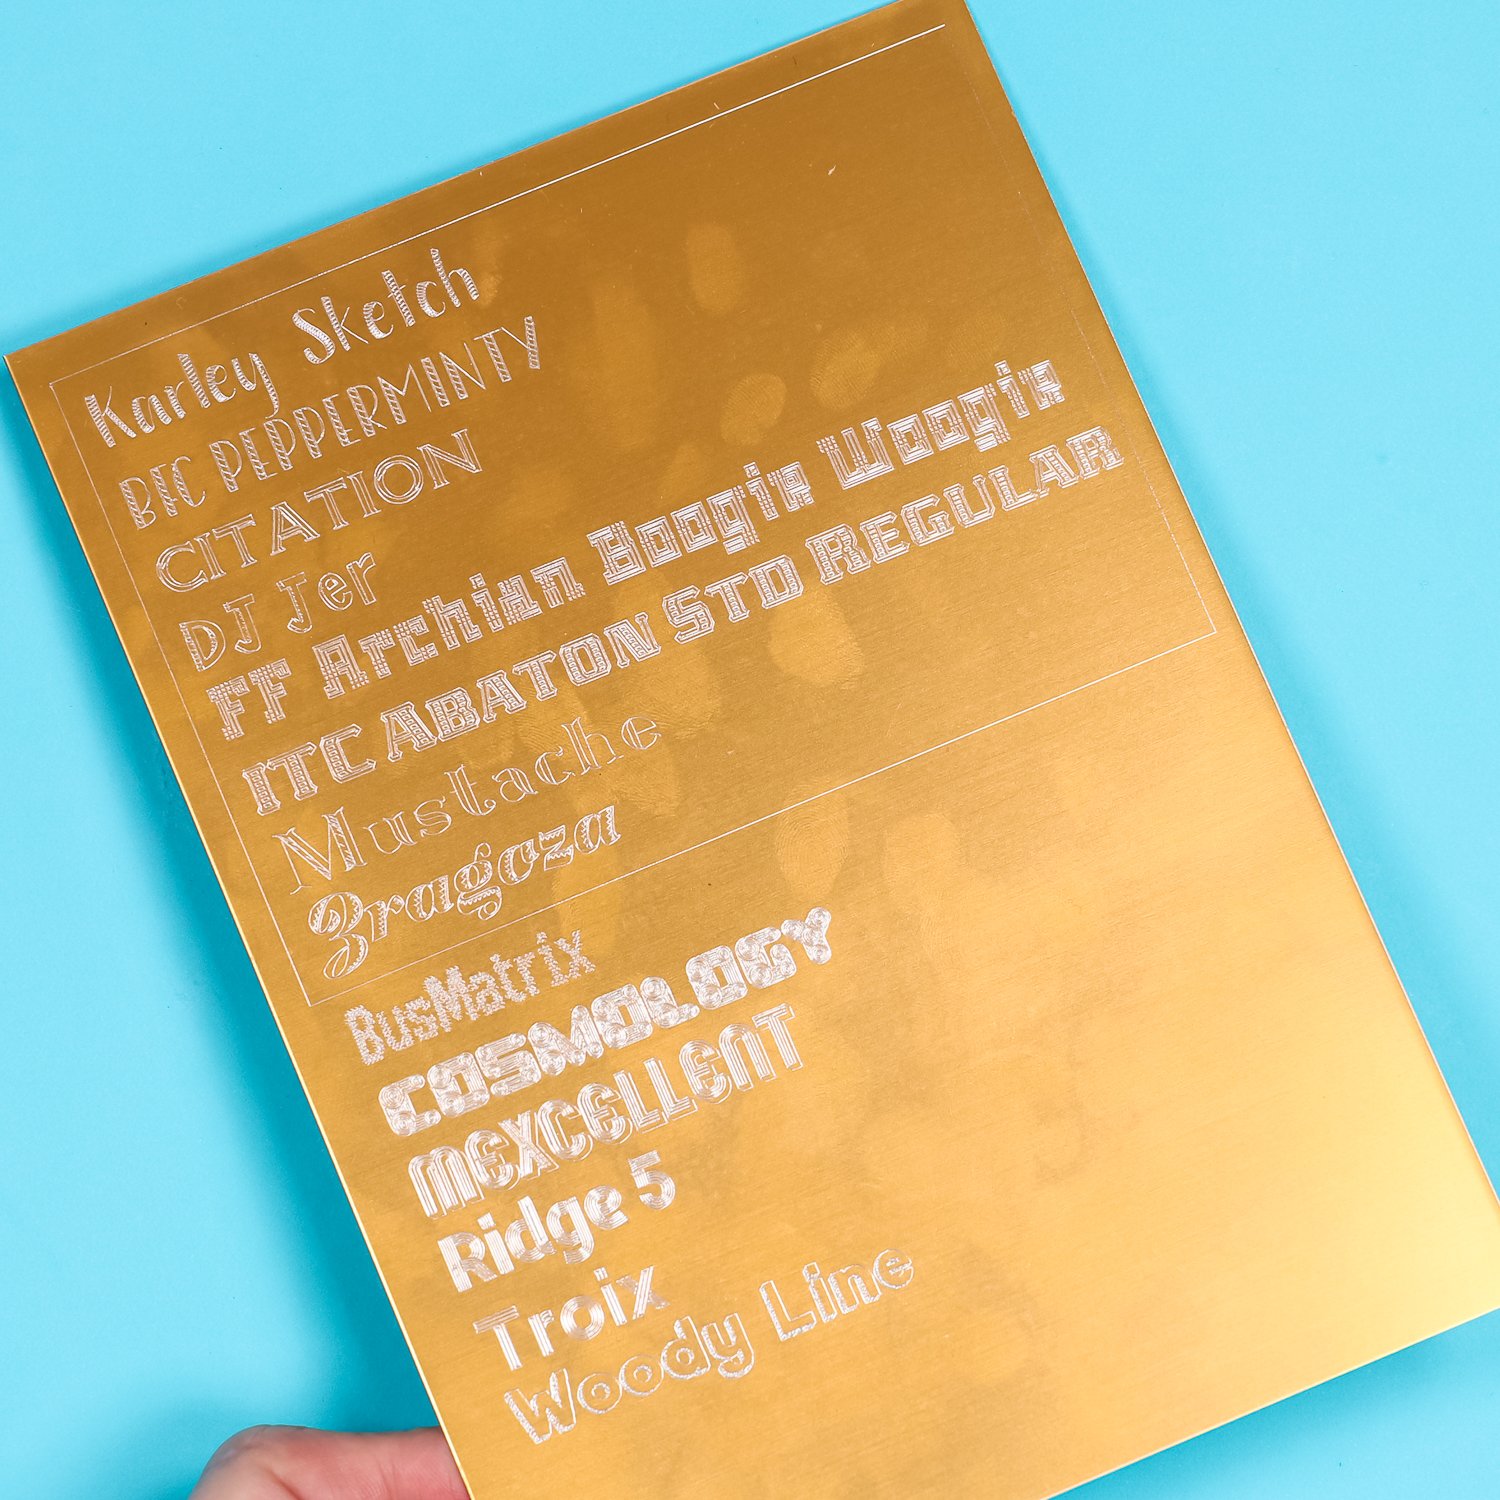
You can see the two tips in the image below. They look similar, but there is a BIG difference in what they can do. I will be comparing their effect on several of the materials below, so keep reading. However, I think your choice depends on what type of craft you're making. So, start by thinking of what materials you want to work with, then keep reading. I will have some final thoughts on this debate at the bottom of this post as well.
What materials can you engrave with the Cricut Engraving Tool and your Maker?
Here is the entire list of materials that are compatible with the Cricut engraving tool:
- Acetate (including the foil version)
- Aluminum Sheets (0.5 mm)
- Faux Leather (Paper Thin)
- Foil Holographic Kraft Board – Neon
- Foil Poster Board
- Garment Leather 2-3 oz. (0.8 mm)
- Genuine Leather
- Glitter Cardstock
- Heavy Watercolor Paper – 140 lb (300 gsm)
- Kraft Board
- Metal – 40 gauge thin copper
- Metallic Leather
- Metallic Poster Board
- Shimmer Paper
- Sparkle Paper
- Tooling Leather 2-3 oz. (0.8 mm), 4-5-oz. (1.6 mm), 6-7 oz. (2.4 mm)
- Transparency
- Vinyl Record
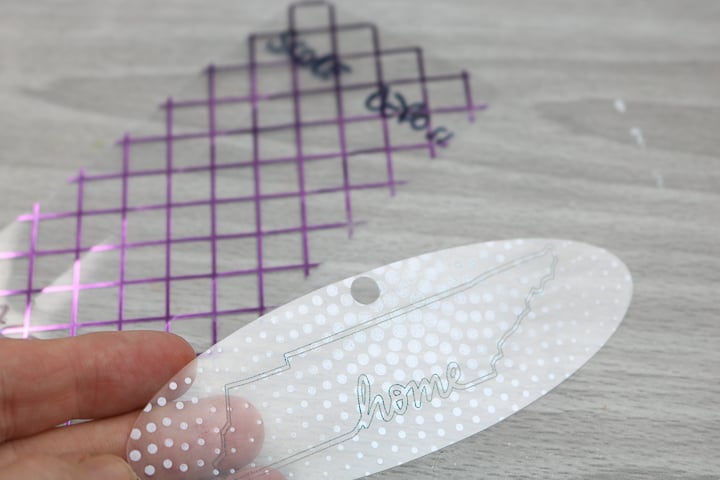
I put several of these materials to the test with various results. Some great, some not-so-great. You will want to read on if you are considering engraving any of these materials with your Cricut Maker.
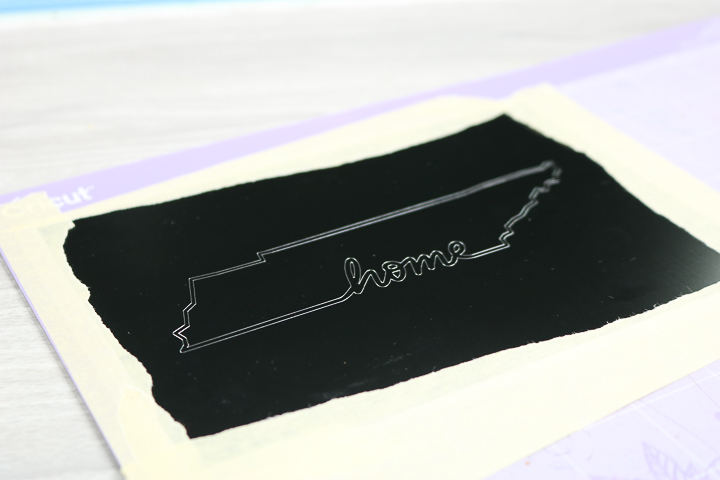
This project is made with Design Space files. To access the file, click here for my profile. Once on my profile, find the image of the project you want to create, click it to open it up, and then you can make it yourself.
Foil Poster Board
I wanted to start with some paper materials to see what the Cricut engraving tip would do to them. I had used both the scoring wheel and deboss tip on foil poster board, so I tried engraving as well.
The results were horrible! The Cricut engraving tool actually rips and tears the paper as it runs across it. You can see an up-close view of the damage in the picture below.
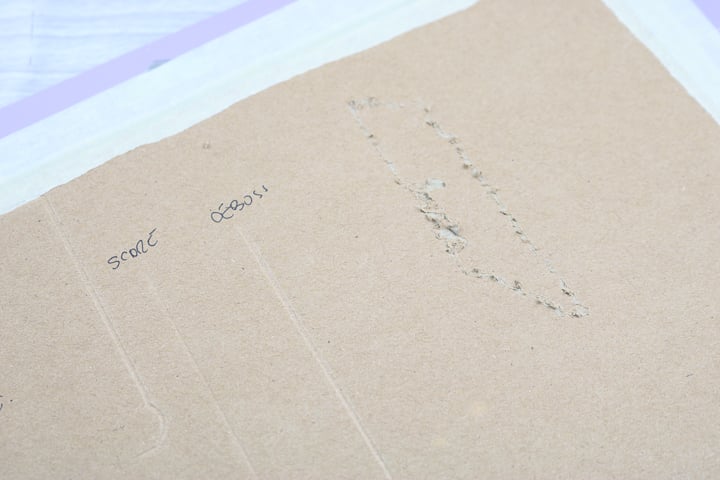
Kraft Board
I had basically the same result with kraft board as well. The paper was torn rather than engraved.
Chipboard
Now chipboard is not on the list of compatible materials but I gave it a try as well. I had the exact same result as the above two materials. I am going to say that the Cricut Engraving Tip does not work well with any paper materials. Because it isn't a wheel or a ball like a blade it's dragging across the paper. You are much better off with the Deboss tip if you want to add something to paper.
Acetate
Now for some materials where the Cricut Engraving Tool worked well! The acetate had a really cool effect. I actually liked it much better than using the deboss on the same material. I did add some ink to the engraving in the image below so you could see it a bit better.
Genuine Leather
When it came to debossing and the leather, I was not happy with the results at all! You can barely see those on the left in the image below. But the Cricut engraving tip worked like a charm! You can see the engraving on the right in the image below. I loved this effect and can see this used on all sorts of projects.
Acrylic
So, what about materials that the deboss tool would not work on? I did a post on how to cut acrylic here and now it is time to engrave it as well! The Cricut Engraving Tool works great on acrylic and I even cut this piece out as well. The two of these techniques combine to open up a ton of crafting possibilities.
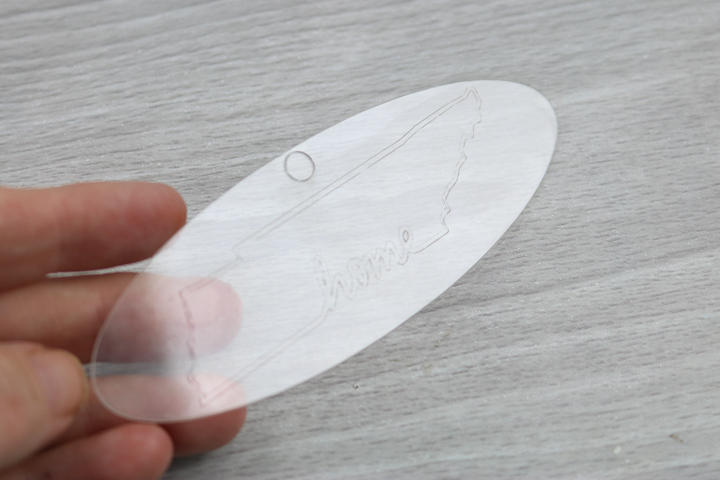
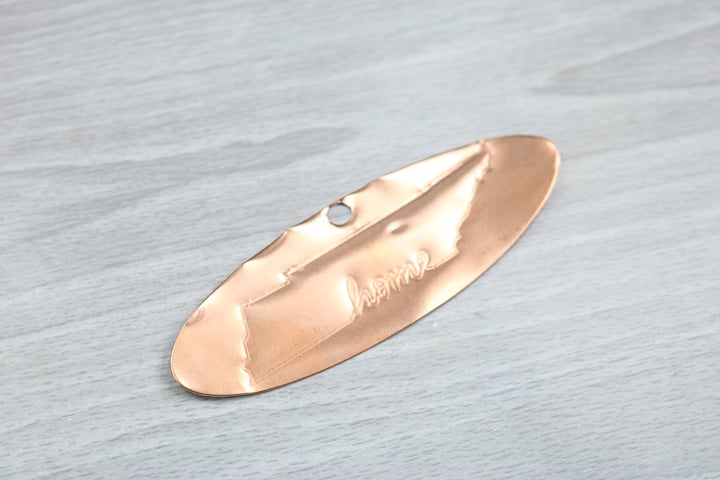
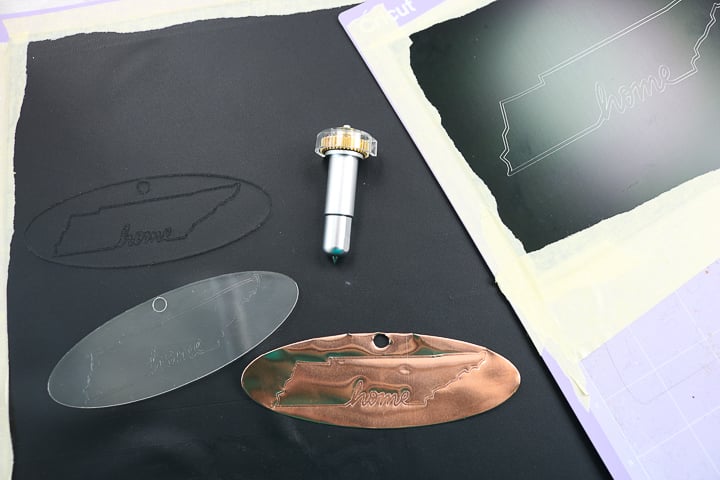
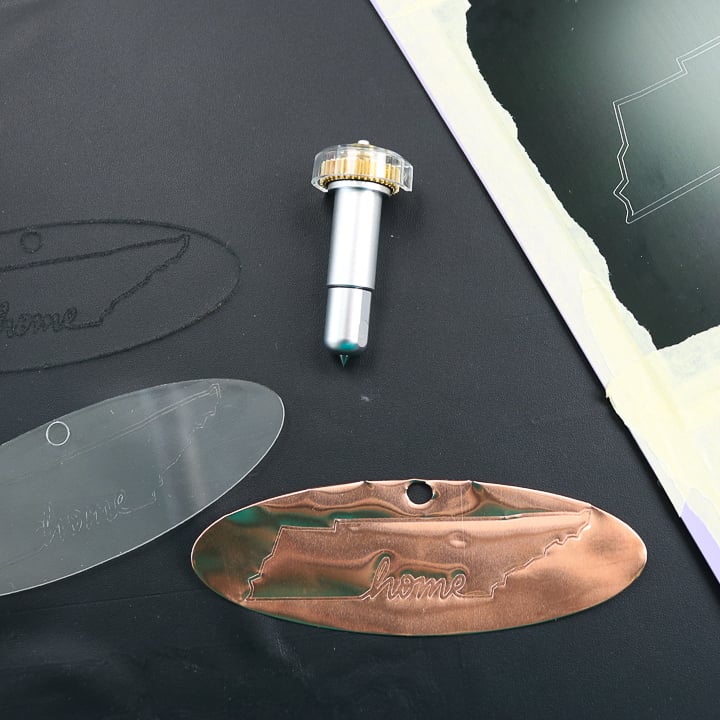
Copper
I shared how to cut copper with your Cricut here but now that there is an engraving option it is even better! The look of copper is amazing and now I can engrave and cut custom pieces. I can see this one as a Christmas ornament during the holidays.
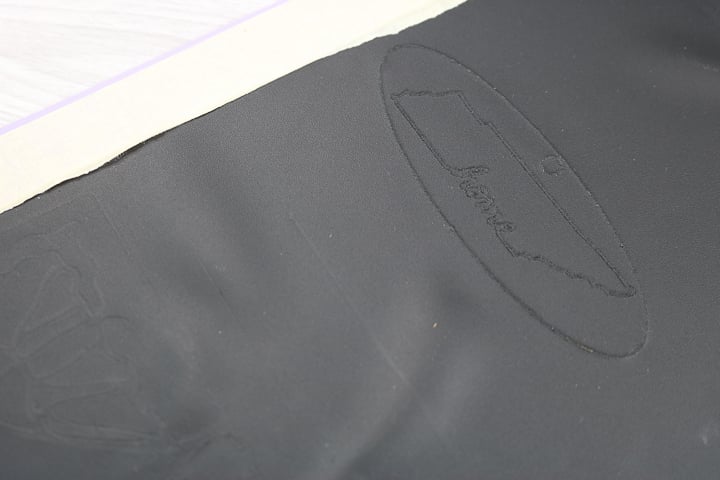
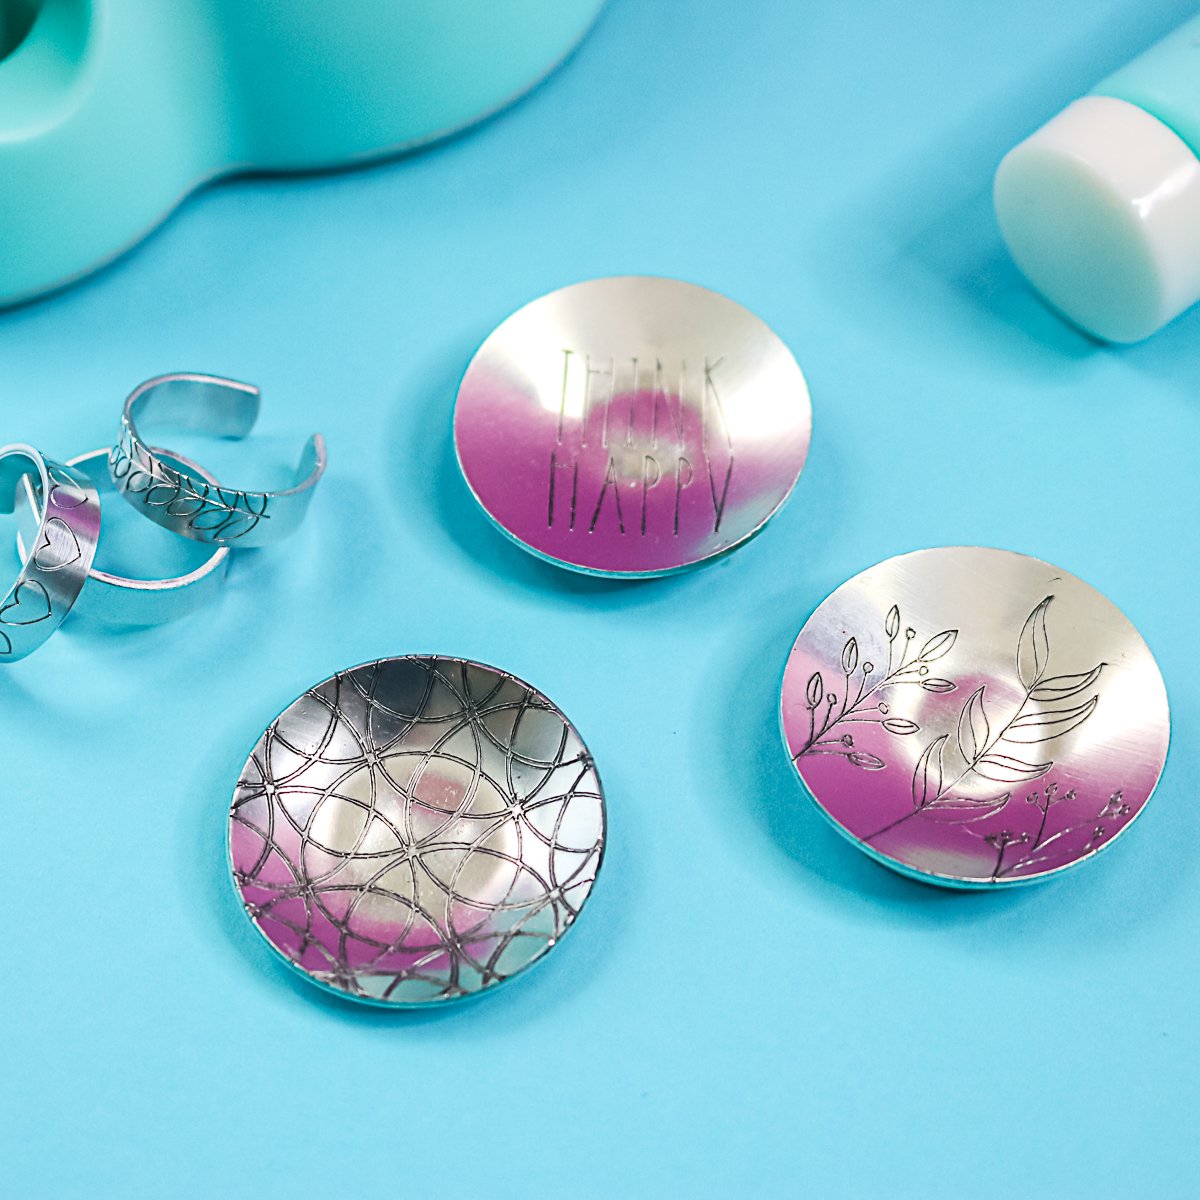
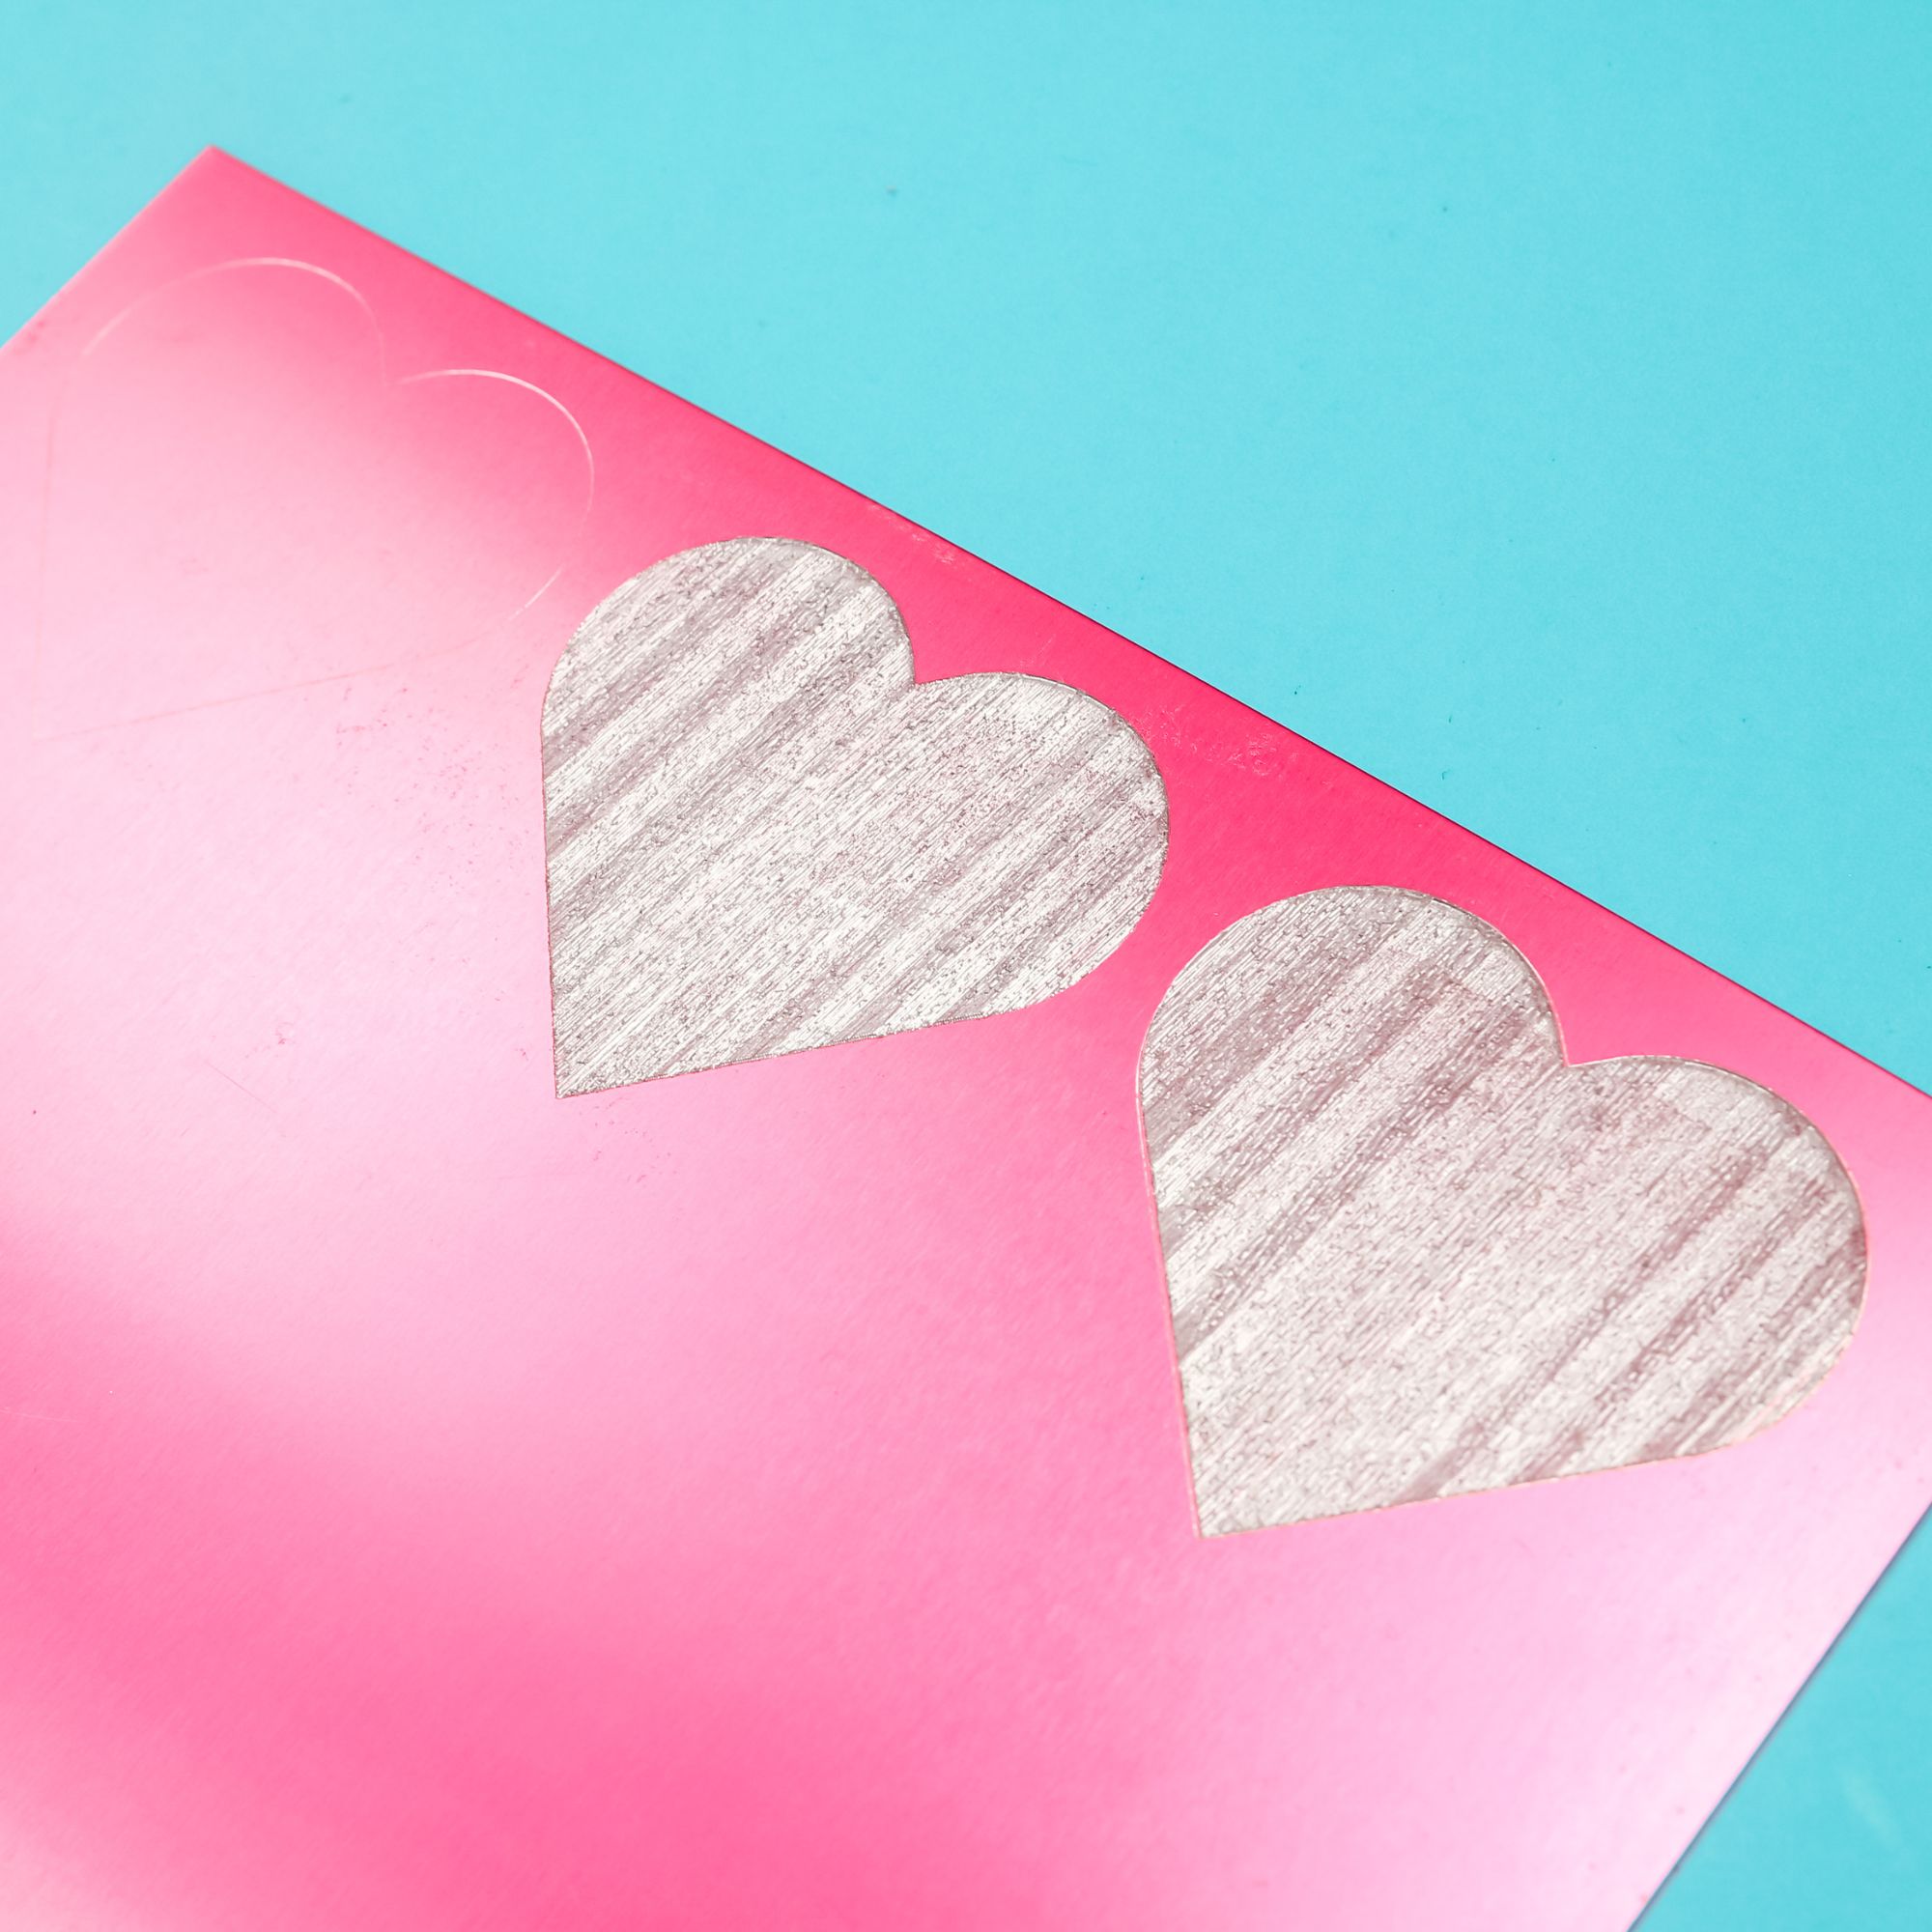
Aluminum
You can't cut aluminum with your Cricut Maker but you can engrave it. The Cricut engraving tip works great on this material! I used a 5×7 sheet that was painted black. The Engraving Tip makes the silver of the metal show through for an amazing effect. You could then frame this piece for a cute piece of art that is all your own. Want to see another project along with tips for locating your engraving on the mat? Try this post!
Want the cut files for these projects?
If you want the cut files for anything shown above, you can find those below.
Do you need the Cricut Engraving Tool?
So the big question is… do you need this tip for your Cricut Maker? I would say if you are mainly doing paper crafts, stick with the Deboss Tip. If you want to branch out into other materials, the Cricut Engraving Tool is a great addition to your machine tools. If you love the look of projects like the copper and aluminum above, the Engraving Tip is really the only way to get that look!
I hope this helps answer a few of the questions you might have when looking at the Cricut Engraving Tool. Now that you know how to use the Cricut Engraving Tool, what projects will you make with it? Be sure to join our Facebook group and share your success. You can also post any questions you have there!
More Projects using the Cricut Engraving Tool
Love this post on the Cricut Engraving Tool for Cricut Maker machines and want more ideas? Try the links below!


Thank you
loved the video. definitely have to get the engraving tip.
You will love it!