Did you know that you can make a DIY distressed shirt with Infusible Ink? Yep! The new Cricut Infusible Ink allows you to add distressing to your projects easily. Now, you can make a worn-looking shirt in a few minutes with your Cricut machine. This is the perfect technique for those who want that vintage look but don't want to wait for it to happen naturally. Haven't used Infusible Ink yet? Read our beginner's guide to Cricut Infusible Ink here.
DIY Distressed Shirt With Cricut Infusible Ink Video
Want to see the entire process for making a distressed Infusible Ink shirt on video? Just watch it below!
Can't watch the video or missed some of the steps? We also have everything with images and text below.
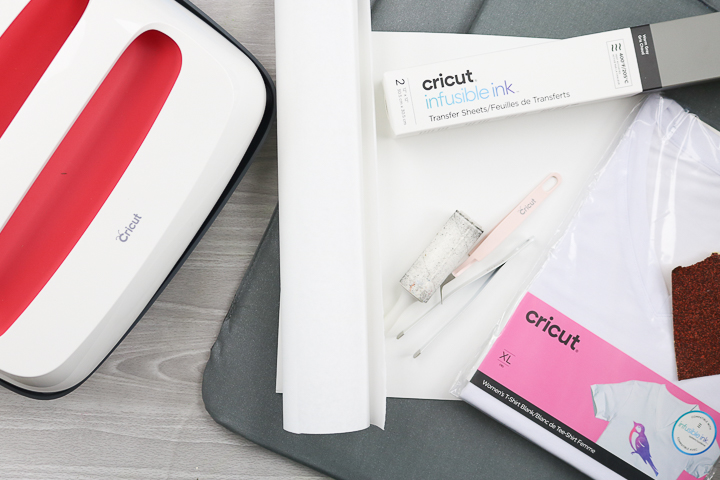
Supplies To Make A DIY Distressed Shirt With Infusible Ink
- Infusible Ink transfer sheets in the color of your choice (I used warm grey)
- Cricut Infusible Ink Shirt (use this blank or pick up a different brand, but be sure it is intended for sublimation, or it will not work!)
- Cricut machine (either the Cricut Explore series or the Maker will work) (see which one I like better here)
- Butcher paper
- White Cardstock
- Cricut EasyPress (you want to use one larger than your design)
- EasyPress Mat (I am using two sizes)
- Lint roller
- Tweezers
- Sandpaper
- Painter's tape
- Design to cut (you can find the free SVG used in this post in our exclusive Facebook group here) (more free SVGs are listed at the bottom of this post)
- Scissors
How to Make a DIY Distressed Shirt With Cricut Infusible Ink
How To Cut Infusible Ink
Step 1: Cut Your Design From Infusible Ink
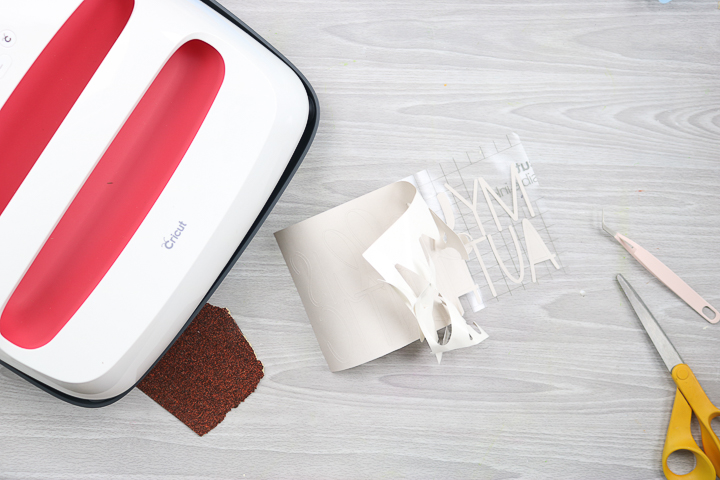
Start by cutting your design from the Infusible Ink. You will need to mirror your design and cut the Infusible Ink face down on the mat. Turn the mat over and peel the mat away from the Ink. Cut around the design with scissors so that you save as much of your sheet as possible.
How To Weed Infusible Ink
Step 1: Weed Vinyl
Then, you can weed away all of the excess. Bend the Infusible Ink sheet several times to “crack” the design and make it easier to weed. Pull up the corner of the ink and start peeling back. Remember that using weeding tools is not recommended here. You can use tweezers if you are having issues lifting some of the pieces.
Step 2: Remove Excess Vinyl
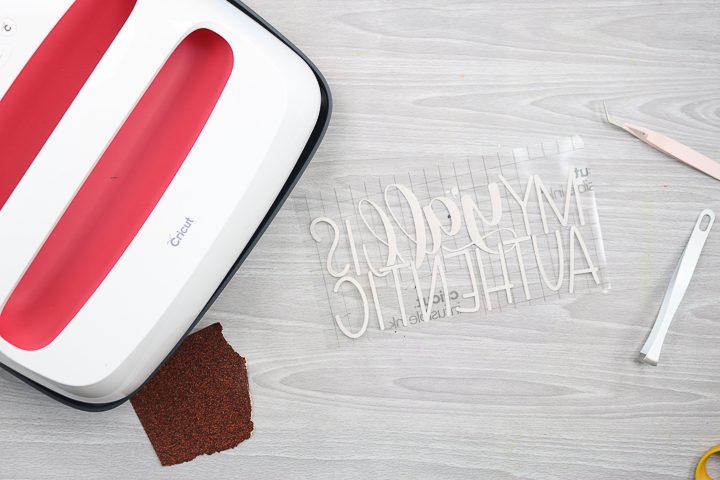
Remove the excess around the outside as well as the centers of all of the letters.
How To Distressing Infusible Ink
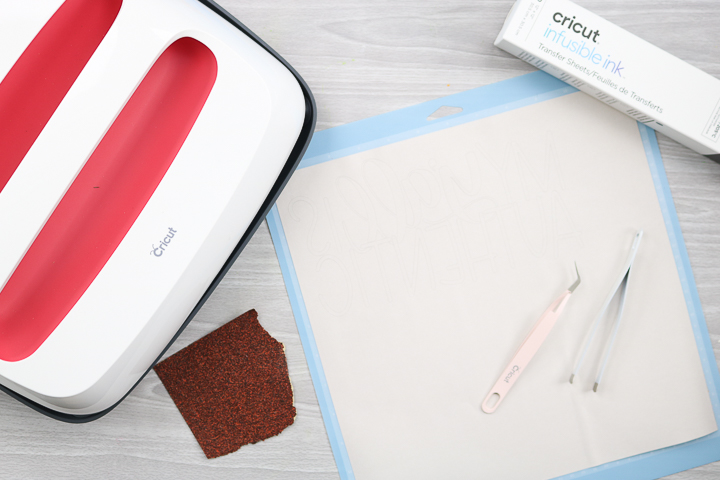
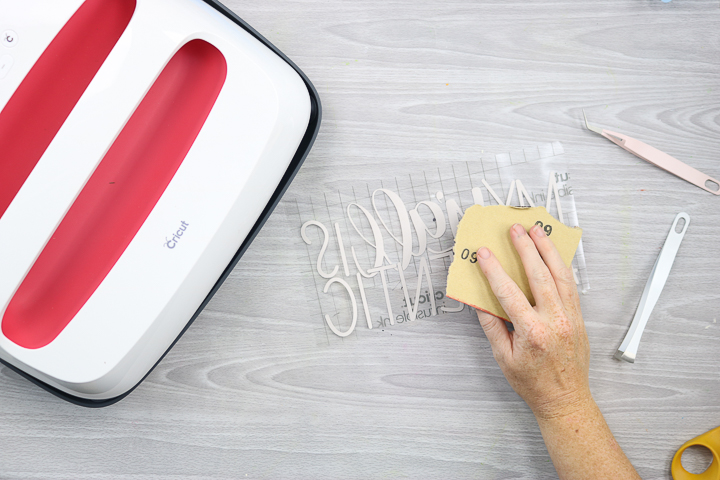
Step 1: Use Sandpaper Over Your Design
Then, use sandpaper over your design. This is where you get your distressed look. You can sand as much or as little as you would like.
Step 2: Remove Sanding Residue From Design
Pick up the sheet occasionally and tap to remove as much of the sanding residue as possible.
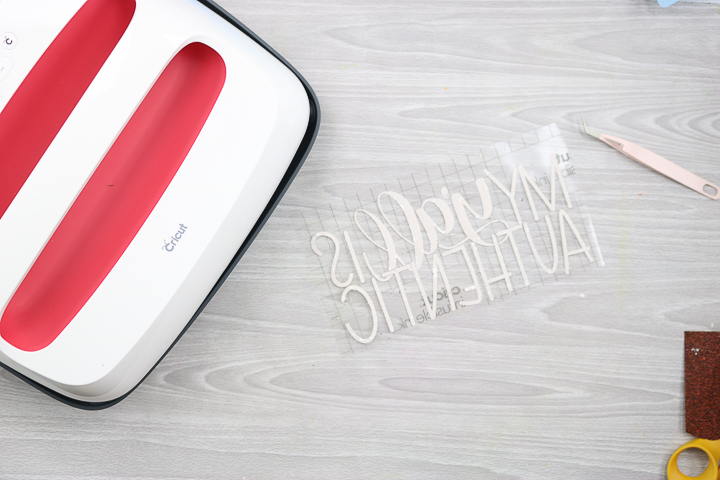
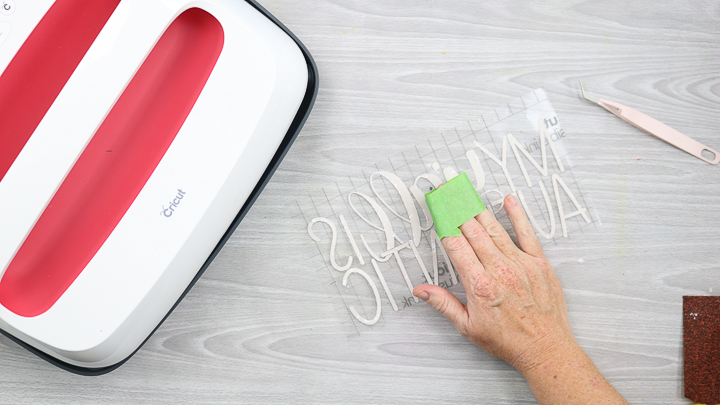
Step 3: Go Lightly Over Design With Painter's Tape
You will also want to go lightly over the area with painter's tape to pick up any excess bits. Remember that the pieces you sanded off are ink. If you leave any on the carrier sheet, they will transfer to your shirt.
How To Transfer Your Design To A Shirt
Step 1: Add Your EasyPress Mat To Your Shirt
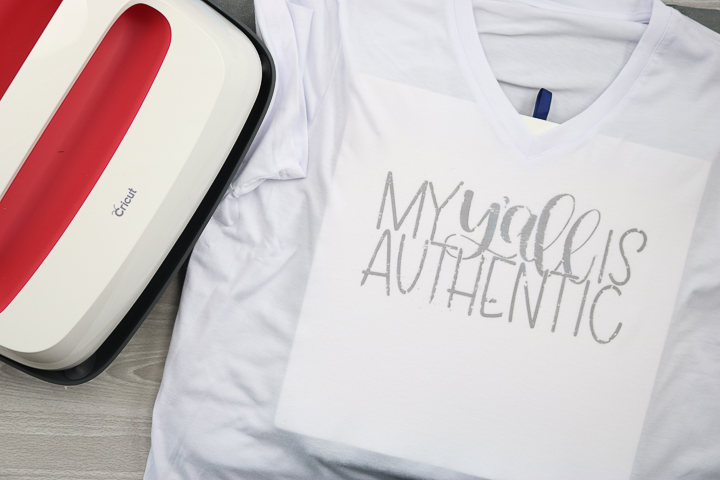
Add an EasyPress mat larger than your design covered by a piece of white cardstock inside your shirt.
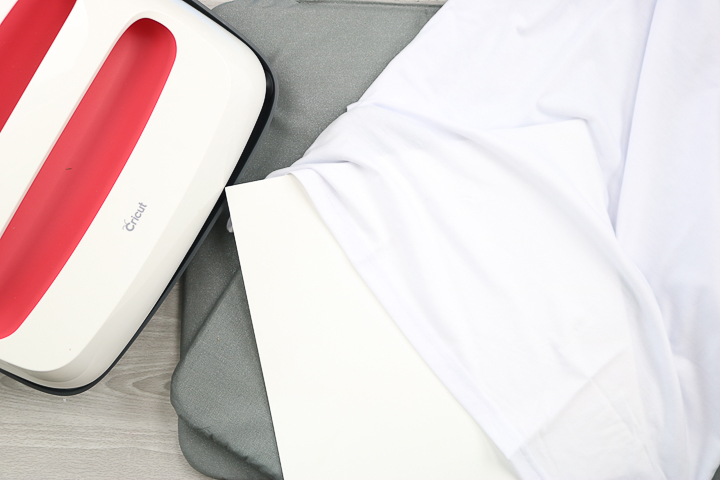
Step 2: Prep Shirt For Design
Lay the shirt on another EasyPress mat or on a folded-up towel. Run a lint roller over your shirt to remove any fibers. Press with the heated EasyPress for about 15 seconds to remove moisture. Allow to cool then put your design face up on the shirt.

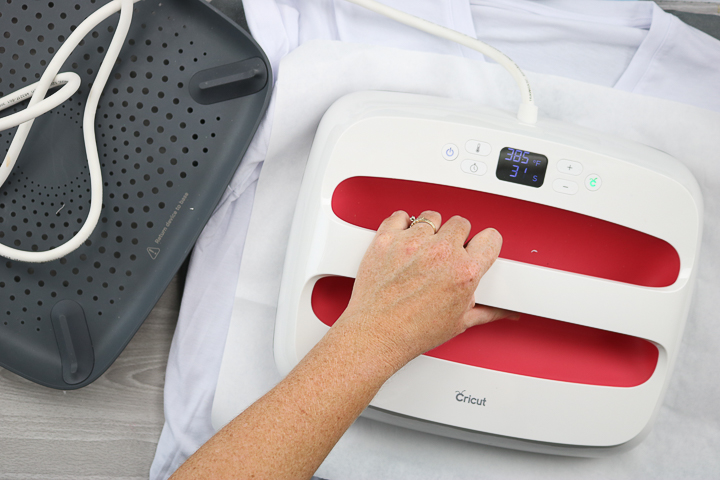
Step 3: Add Design Using Cricut EasyPress
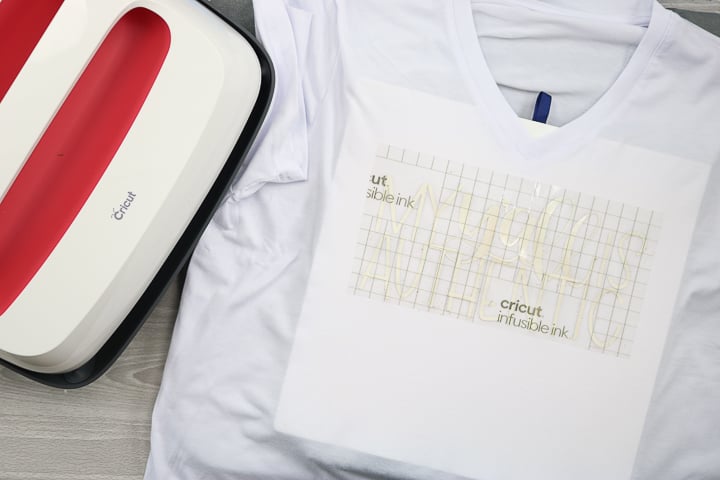
Make sure the design is stuck down well to the shirt so it doesn't move. Then, add butcher paper over the top. Press with the EasyPress for the recommended time and temperature.
Step 4: Allow Design To Cool
Remove the EasyPress and butcher paper. Allow to cool before removing the carrier sheet.
Step 5: Remove Carrier Sheet
Peel back your carrier sheet to reveal your design. Pick up any small pieces of the transfer that did not lift with the carrier sheet with a pair of tweezers.
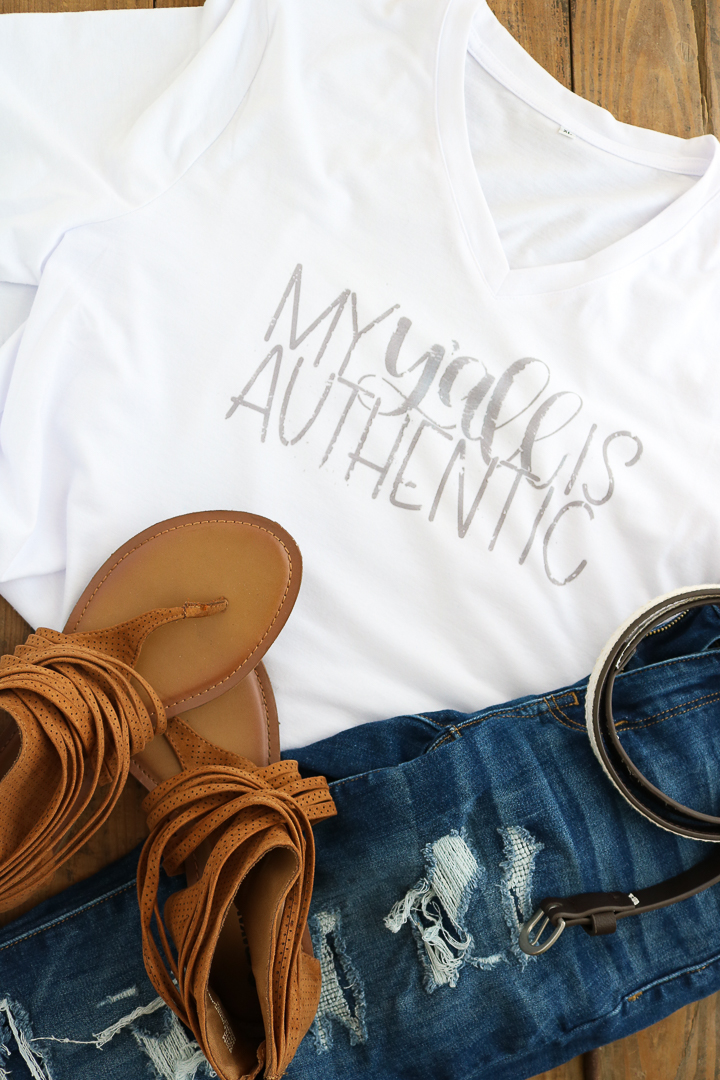
Step 6: Wear Your New DIY Distressed Shirt
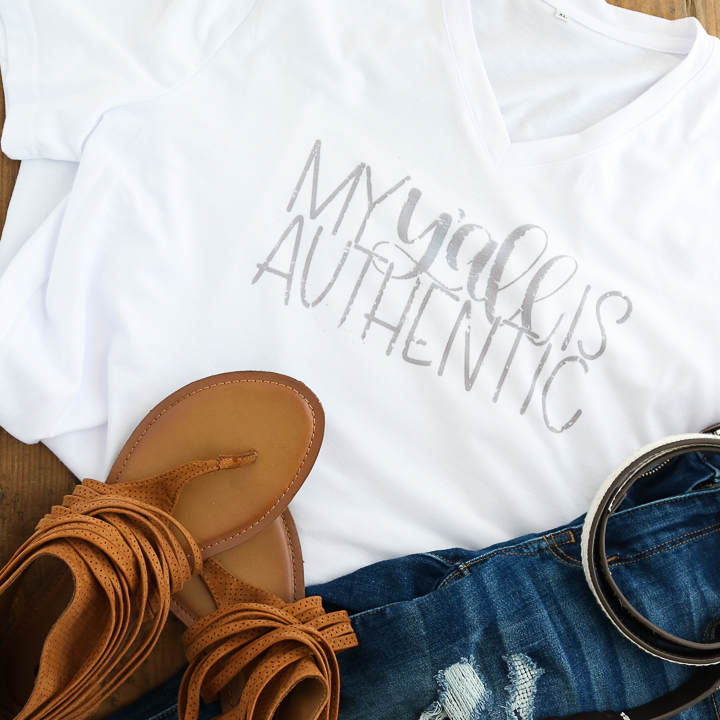
Your distressed Infusible Ink shirt is ready immediately! You can wear it, wash it, and not worry about your design fading or washing out.
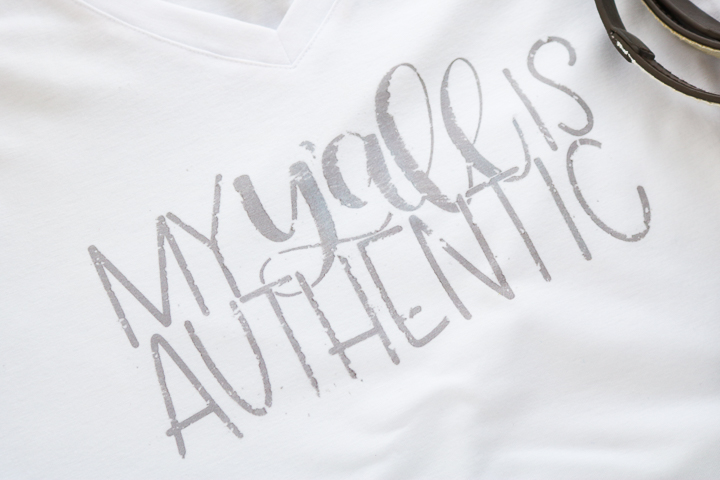
If you love a worn-looking shirt, then Infusible Ink is definitely your answer!
You can also try sanding before weeding to minimize the chance of the ink bits getting on your transfer sheet. If you look really closely, you might be able to see a few bits that transferred to my shirt. Overall, I am happy with the design and look of this, however! After all, it is supposed to be a distressed Infusible Ink shirt!
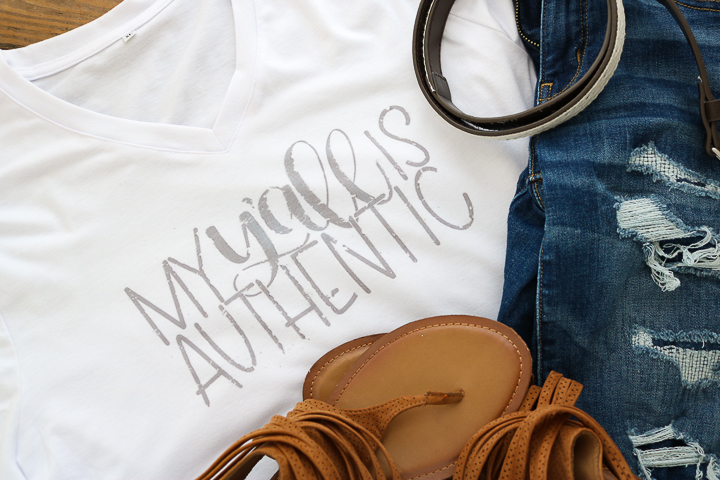
So, make your own vintage-look shirt with Infusible Ink and any design you can imagine! You no longer have the limitations of heat transfer vinyl.
FAQs About DIY Distressed Shirt
Here are the answers to some common questions I often get about this project.
Can I Use Any Type Of Shirt For This Project?
No, you can't use any type of shirt for this project!
This is one of the most important things to remember for your project to be successful. You have to use a sublimation/infusible ink shirt, or this project will not work! I used the Cricut Infusible Ink Shirt, but you can pick up a different brand as long as it's intended for sublimation.
Do You Have Any Tips On How To Best Use Infusible Ink?
Yes, I do!
I wrote a whole blog post called How to Use Cricut Infusible Ink the Right Way! In the post, I go over everything you need to know about infusible ink and share my tips on how to best use it for your projects. I also created a helpful video to go with the blog post showing you how to use infusible ink on different surfaces.
How Long Does Cricut Infused Ink Last?
Cricut Infusible Ink will last as long as whatever you put it on. It is embedded into the surface and doesn’t just sit on top. So, there is no need to worry about cracking or peeling.
What Cricut Machine Can I Use To Cut Infusible Ink?
All of them! The Cricut Maker, Cricut Explore series, Cricut Joy, Cricut Joy Xtra, and Cricut Venture can all cut infusible ink!
The only thing to keep in mind is that each Cricut machine is different in regard to project size capabilities. Due to that, depending on what project you have in mind, you might need to resize the design before you cut it out in your infusible ink.
What Grit Sandpaper Did You Use?
I used a piece of 60-grit sandpaper, which is a fairly coarse grit. However, you could use whatever sandpaper you have on hand or you can adjust the grit level depending on your preference.
Can I Apply This Distressing Technique to Any Design?
Yes, you can!
You don't have to use the same design as I did to create your shirt. Instead, you can pick whatever design you like and follow the above steps to create your own DIY distressed shirt!
5 Free SVG Files For Distressed Infusible Ink Shirts
So, tell us, what will you add to the front of your DIY distressed shirt?
Also, if you loved this project and want more designs to put on your shirt, check out the free SVG files below!
- Free Thankful SVG for Fall Crafting
- Free Pineapple SVG File for Your Cutting Machine
- Patriotic SVG: 15 Free Files for Your Crafts
- Mermaid SVG File for Free
- Free Momlife SVG File for Mother’s Day