
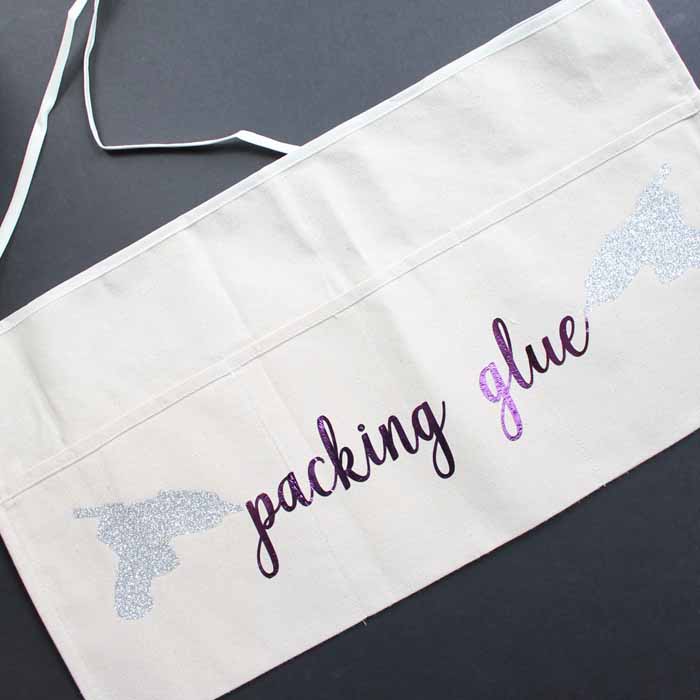
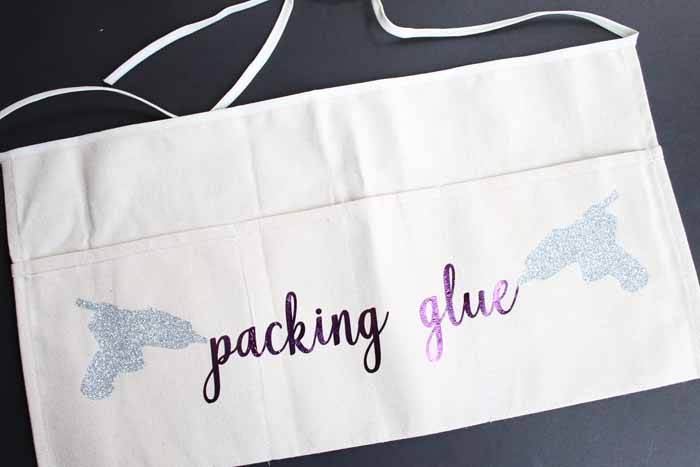
I am continuing iron-on week with this DIY apron that you are going to love! If you are looking for a craft apron, this may just be the one for you. After all, when you write a book about hot glue, you need an apron that will be appropriate for the occasion! You will also want to scroll to the bottom of this post to see even more ideas using iron-on (my new favorite medium!).
This crafting apron is THE trusty sidekick for all us makers and DIY enthusiasts. It's like the superhero cape for the creative, complete with paint splatters, glue smudges, and more evidence from countless projects. I keep this one hanging in my craft room.
Let's be honest, this is less about keeping your clothes clean and more about having one more excuse to craft something for…crafts. Whether it's stitching up a storm, whipping out a hot glue gun, or unleashing a paintbrush frenzy, this crafting apron is ready to catch the creative aftermath. All kidding aside, this is a great thing to slap on as you begin your next project. If for nothing more than having all of your project's tools in one place.
If you are looking for more ways to keep your craft room organized, I have plenty of other ideas on this website: Including a handy pegboard for ribbon and other small items. Plus, you can organize all your craft paint with recycled cans!
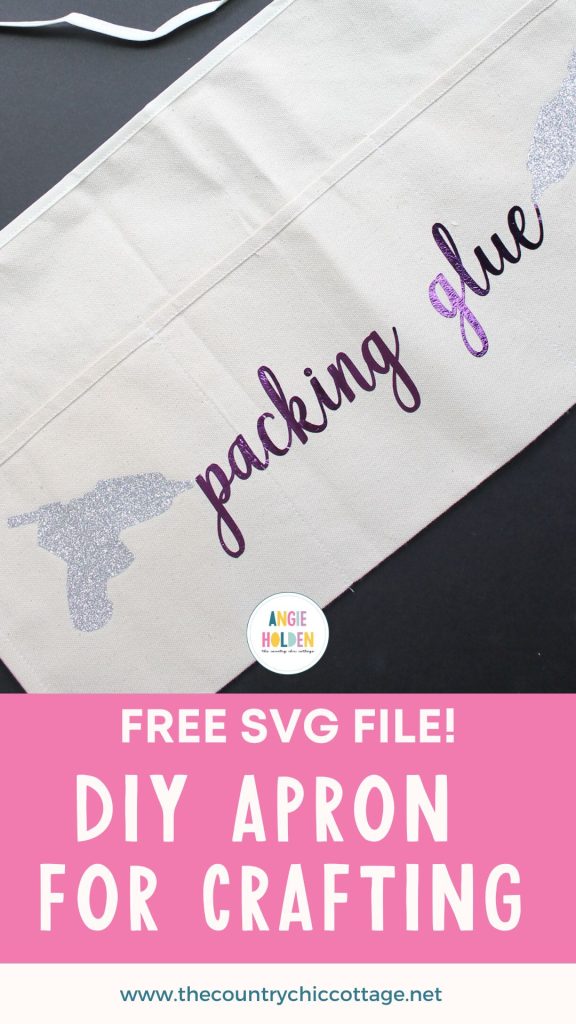
How to Make a DIY apron for crafting
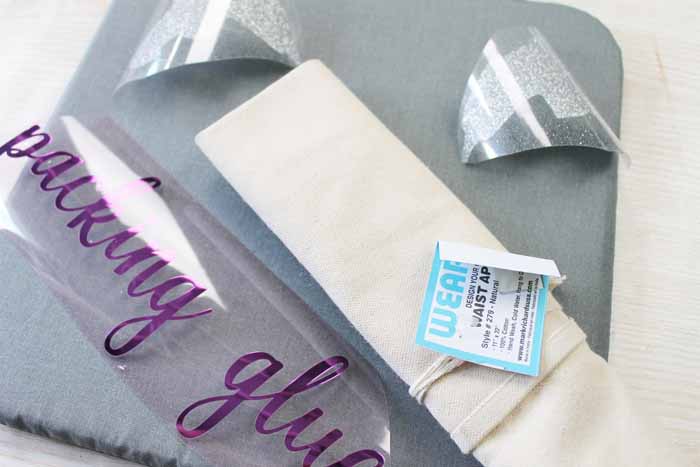
Supplies needed:
- Canvas waist apron
- Cricut machine (click here to see which one I prefer)
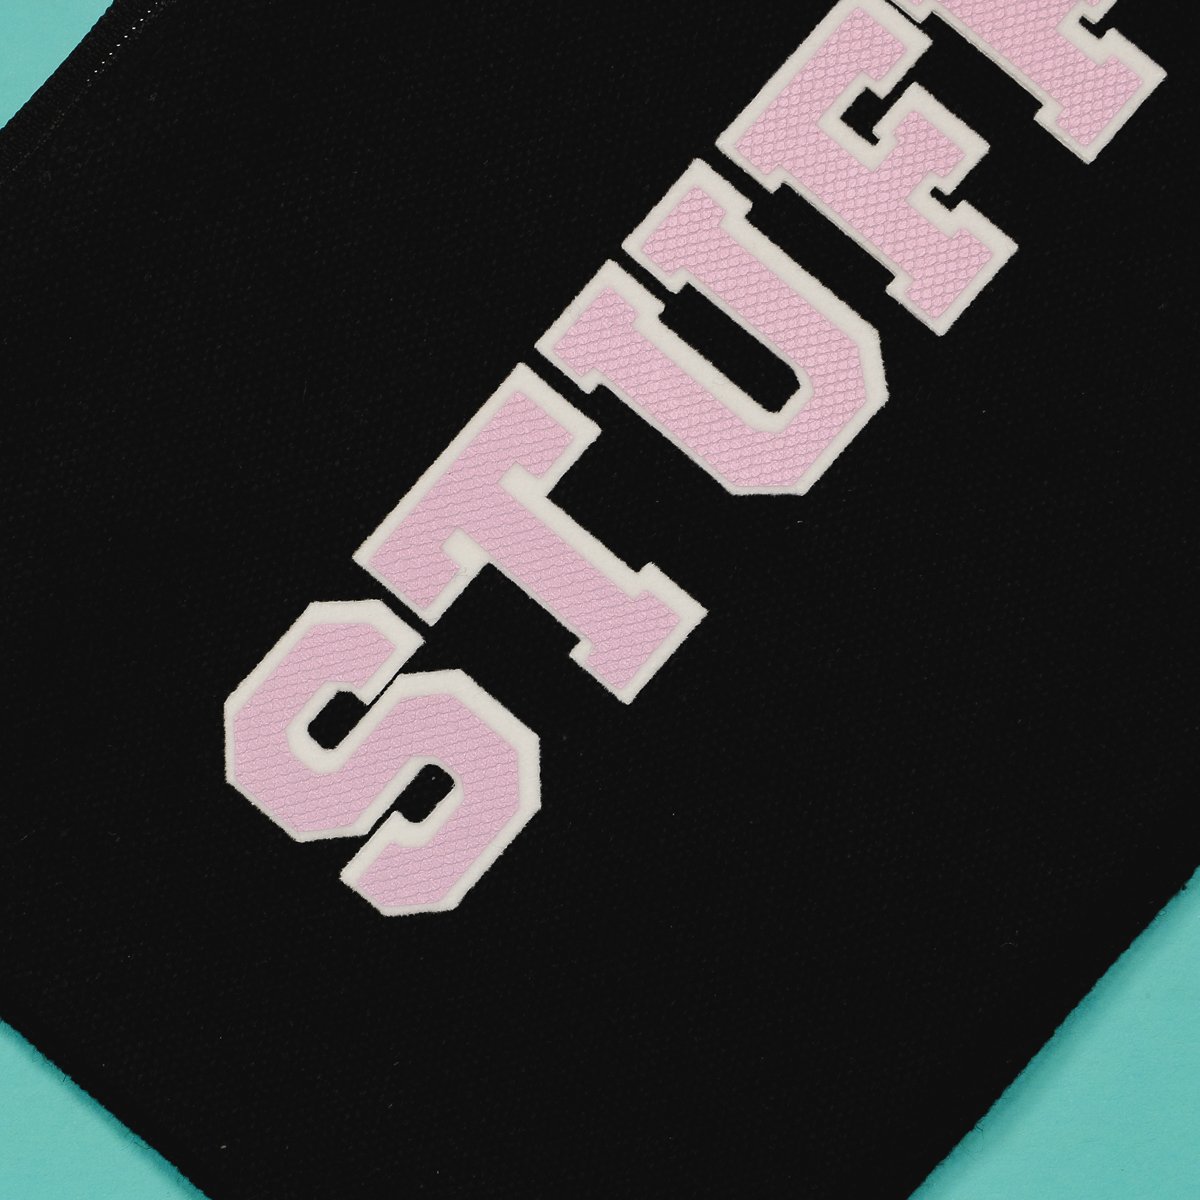
- Glitter iron-on (in the color of your choice)
- Foil iron-on (in the color of your choice)
- Cricut EasyPress (click here to see why I like this instead of an iron)
- EasyPress mat (optional)
- Weeding tools (optional)
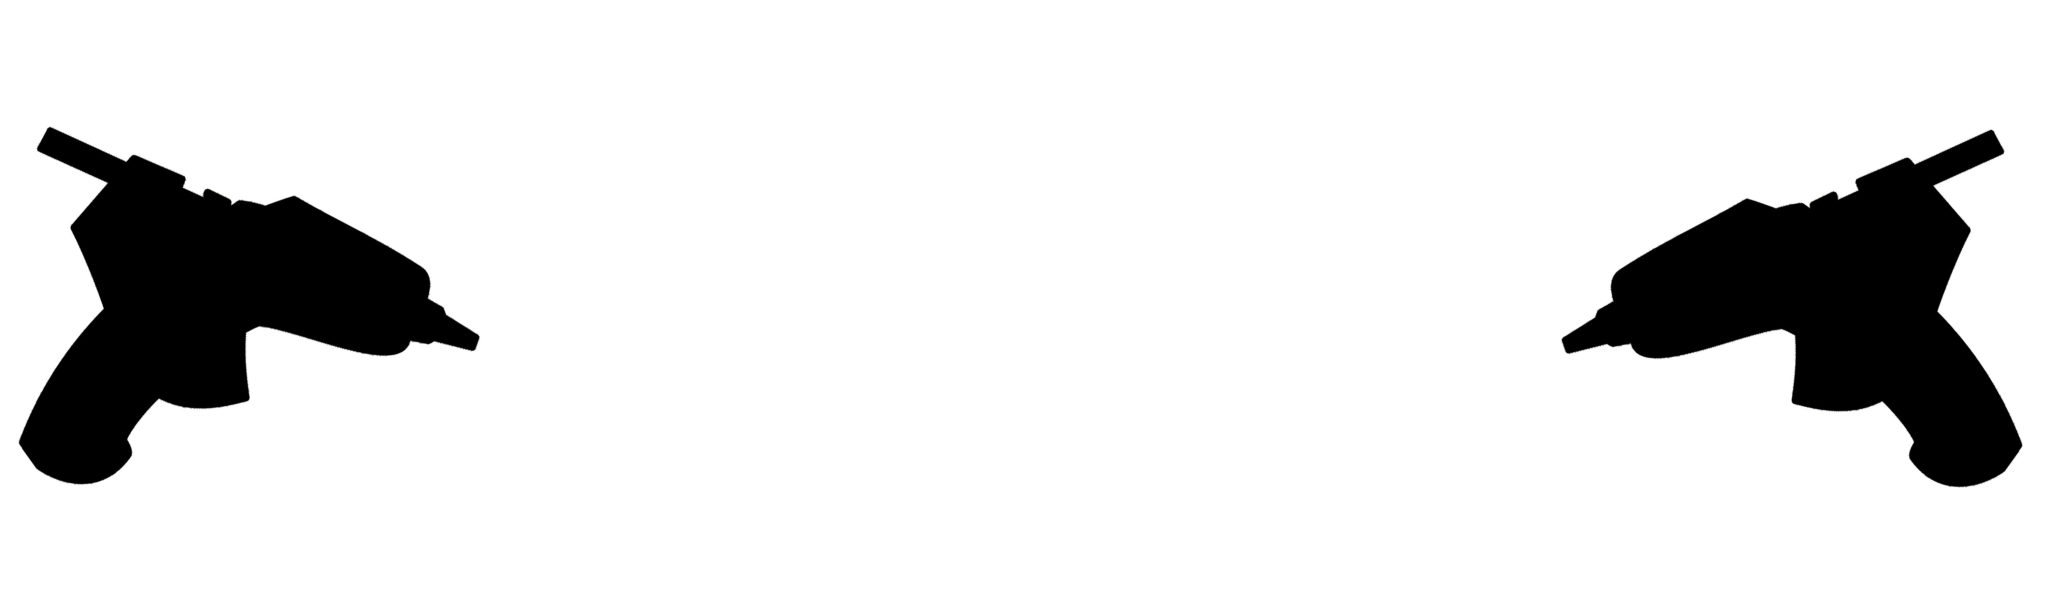
- Packing glue cut file #1
- Packing glue cut file #2
Instructions
Making this crafting apron is super simple. Take a look at the directions below and make your own DIY apron for crafting.
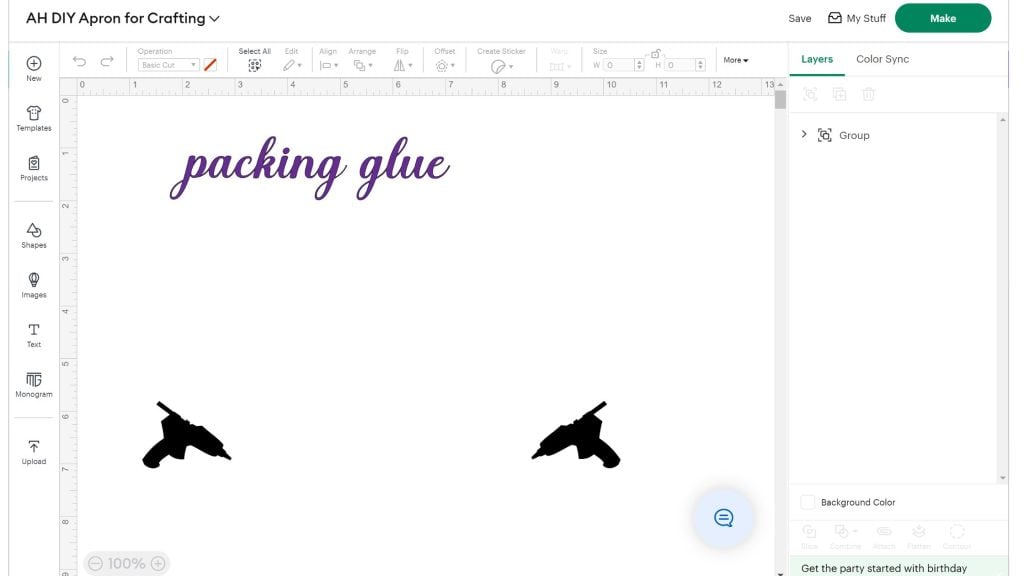
Step 1 – Upload the cut file
Upload the SVG file to Cricut Design Space for cutting. You can see more on how to upload files here. I have the file grouped so it will be easy to make them two different colors or even two different materials like shown below.
Step 2 – Send the project to cut
Cut the iron-on or HTV with your Cricut machine and then weed away any excess. Weeding tools make this a bit easier but those are optional. Pro Tip: This is a great way to use up HTV scraps – since it's a smaller project, you can use whatever you have on hand!
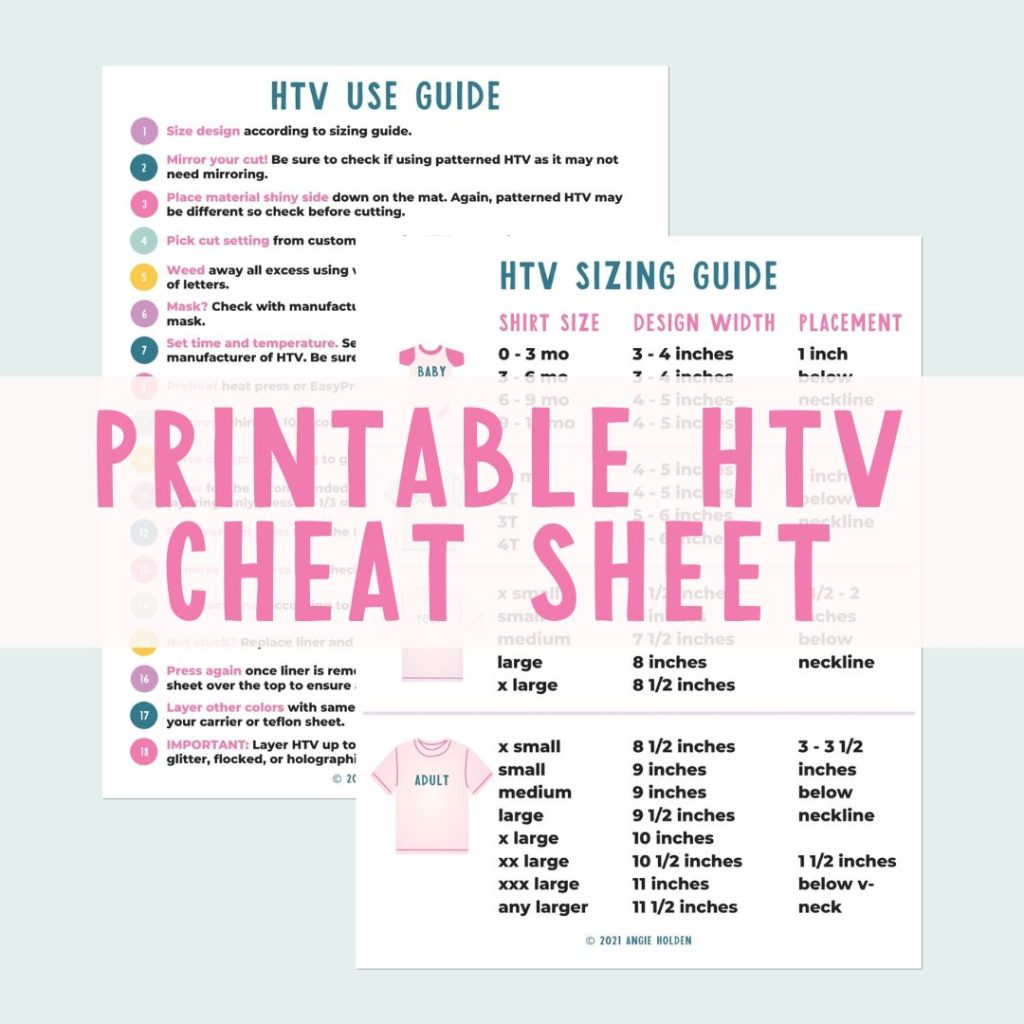
Free HTV Cheat Sheet
Get your FREE Printable HTV Cheat Sheet now! This guide has sizing and position recommendations for infant through adult shirts as well as a handy HTV use guide. Print this double sided guide and put it by any heat press you own!
Step 3 – Add vinyl to the apron
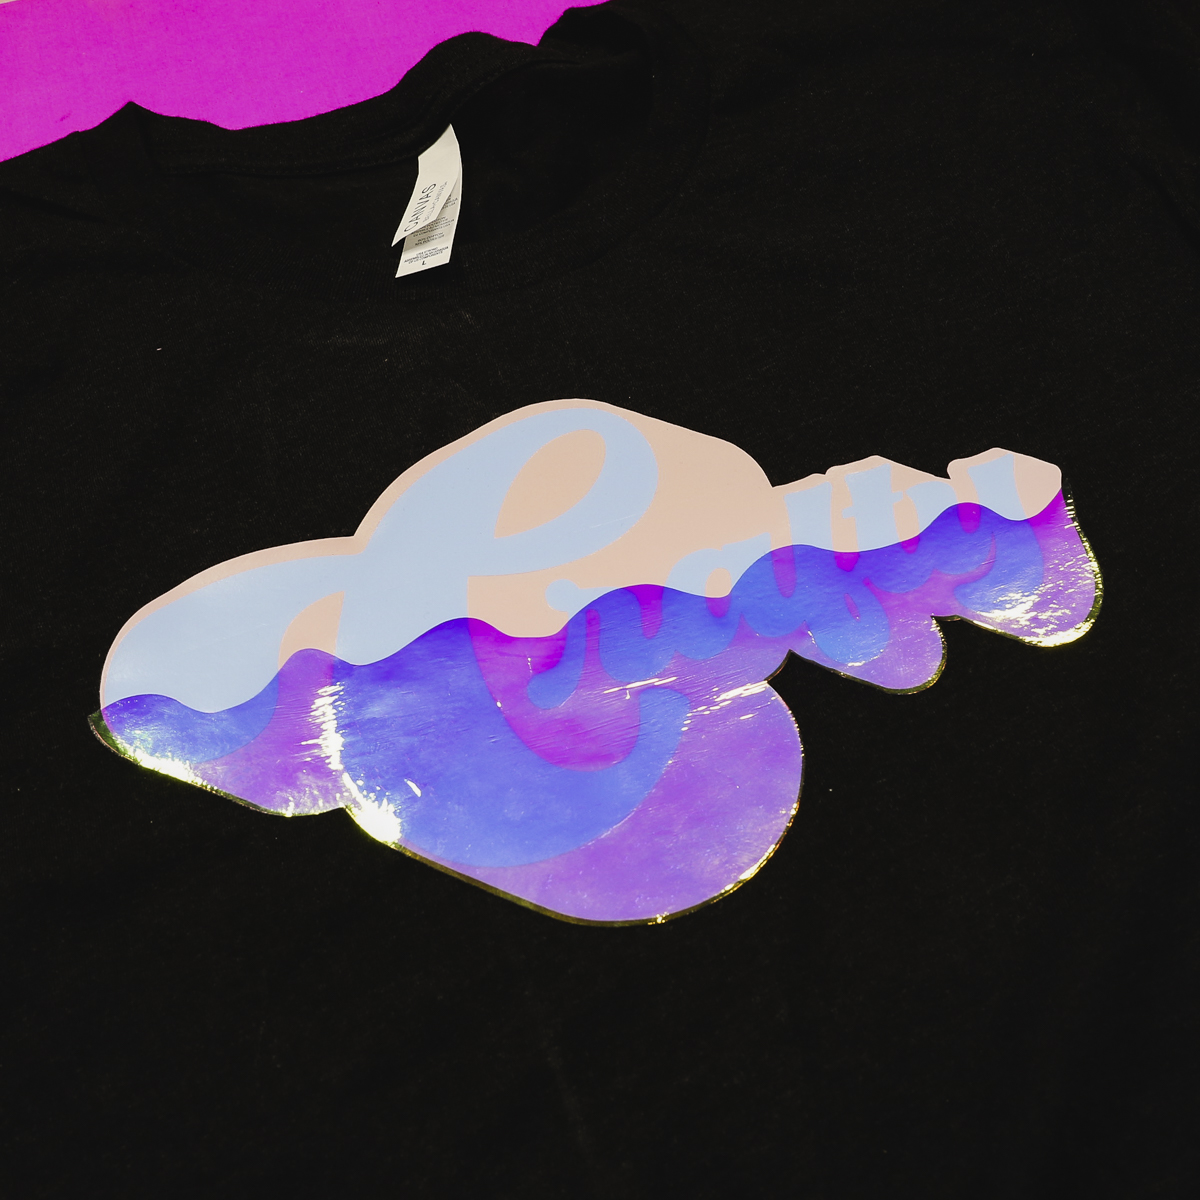
Use your Cricut EasyPress or other heat press to add the design to the front of the apron as shown. Be sure to follow all time and temperature recommendations for pressing. If you have an EasyPress, follow the instructions using the heat guide. When pressing different materials be sure to press one, and then change your settings and the press the other.
That is it! Your DIY apron is complete and ready for your next craft project! Where am I going to wear mine? Well my next event is the Cricut Mountain Make-a-Thon! Be sure to let me know if you are going to be there in the comments as I would love to see you!
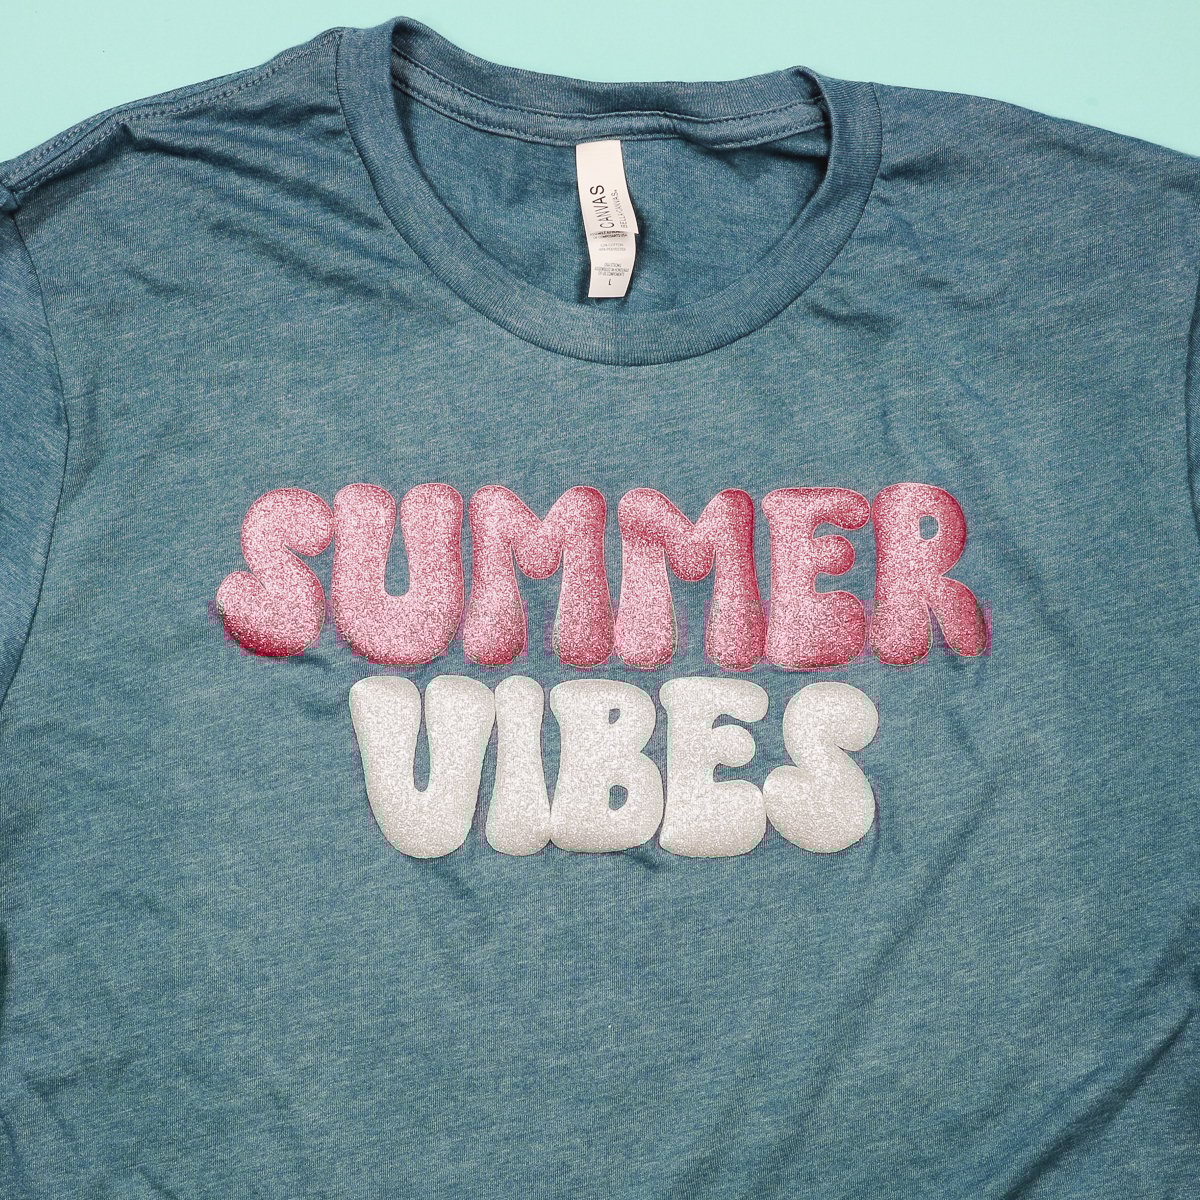
More Iron-on Projects
Want more iron-on ideas or take your projects to the next level? Take a look the HTV options below!


This is so cute! We would love for you to come link up on our new party Wall to Wall DIY over at R&R at home!
Cute idea! Would make a fun gift for a crafty gal. Visiting from Flaunt It Friday.