
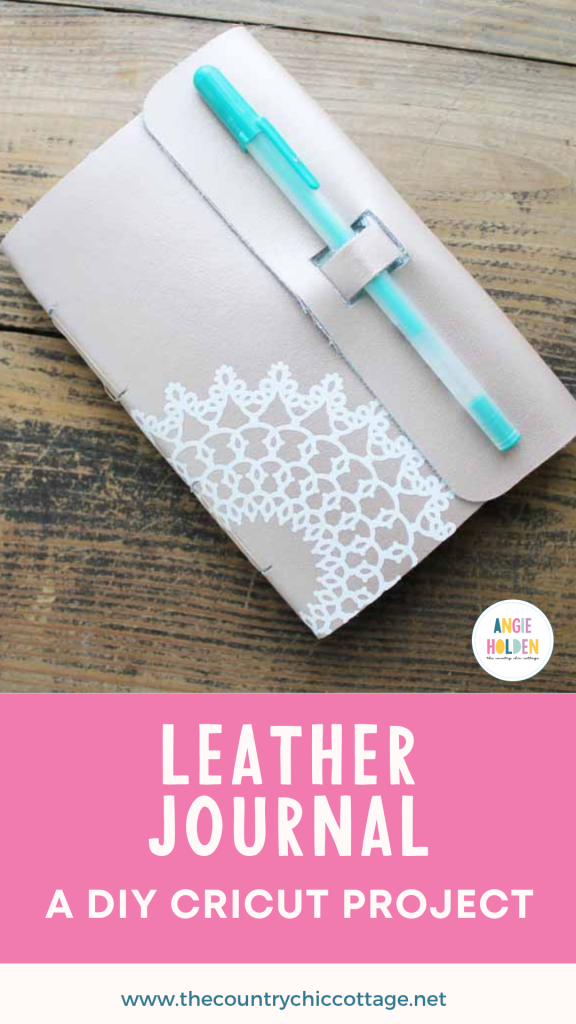
Have you ever considered making your very own DIY leather journal? With the help of a Cricut Maker, it’s easier than you might think! In this post, I’ll guide you through the entire process step by step, so you can create a beautiful, functional journal tailored to your style.
This post is sponsored by Cricut; however, all project ideas and opinions expressed are genuinely my own.

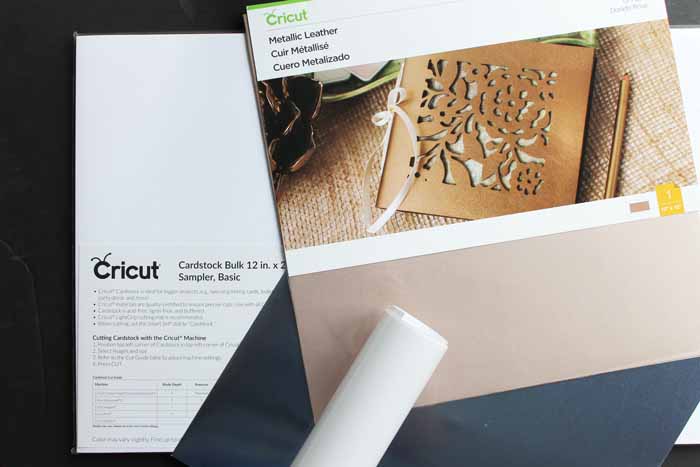
Supplies Needed
- Cricut Maker
- Knife Blade
- Scoring Wheel
- Cricut Metallic Leather (in the color of your choice)
- Foil Posterboard (in the color of your choice)
- White cardstock (12×24 sheets offer better material utilization)
- Everyday Iron-on in white
- Parchment Paper
- Craft knife
- Needle
- Thread
- Scissors
- Weeding tools (optional)
- Cricut EasyPress
- EasyPress mat
- Quick-dry adhesive
- Cricut Cut File
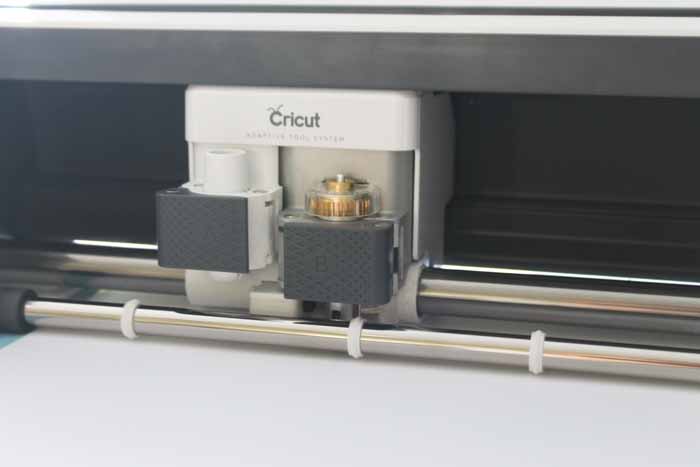
The Cricut Maker and the Adaptive Tool System, with its expandable tool suite, make projects like these possible. It is the only Cricut machine that lets you cut real leather and add deep scoring lines to materials like foil poster board. This DIY leather journal is a great example of everything this machine can do.
DIY Leather Journal Video Tutorial
Curious about the power of this machine? Watch the video below to see it in action and learn all the steps to create this fantastic leather journal!
Can't watch the video or missed some of the steps? Just follow along below!
Making a DIY Leather Journal
Step 1 – Cut all of the materials
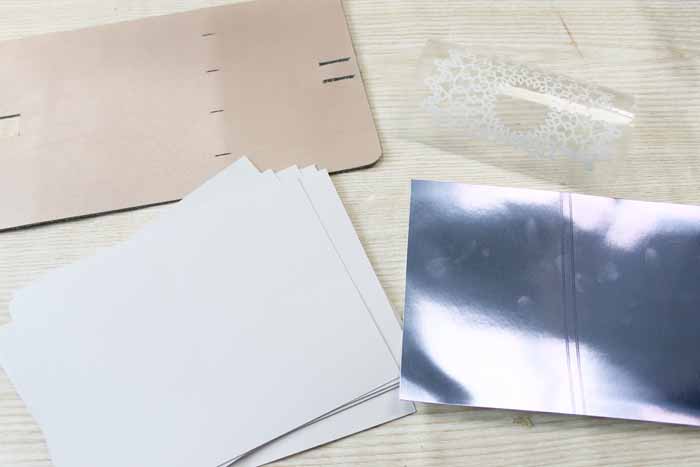
Start by cutting out all of your pieces from this cut file. There are several pieces to cut, and I have them all broken down here with tips:
- Leather cover – cuts great with the knife blade. Be sure to move the star wheels all the way to the right before cutting. I cut on a garment leather setting and did two extra passes. Just check to see that the outside is completely cut. Finish all internal cuts with your craft knife after removing them from your machine. You can see more about checking your cuts and moving those star wheels here. Remember, the knife blade gives you deeper, more precise cuts, and it is perfect for leather!
- Iron-on applique – remember to mirror your image before cutting. Cut with your fine-point blade and weed out excess portions with your weeding tools.
- White cardstock – cut nine pieces each that are scored down the center. The 12×24 paper size offers better material utilization here. The single scoring wheel works great for regular cardstock. The machine will score your material first, then stop and ask for the cutting blade. You can see more about using the scoring wheel here.
- Foil cardstock – the scoring wheel is a must for this type of material! Use the double wheel to ensure a great fold line with minimal cracking. You can change the scoring wheel from single to double easily with the QuickSwap™ Drive Housing. You can also see more about how to do that here. Cut with the shiny side up, as we will be folding this in for our project.
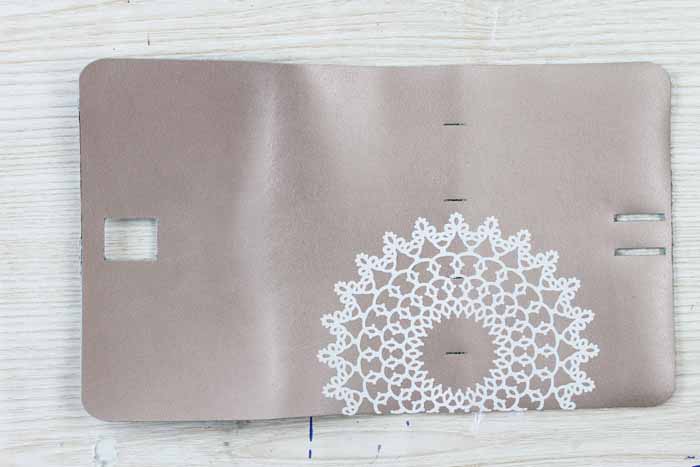
Step 2 – Apply the iron-on
We can now start to assemble our leather journal. Start by applying the iron-on to the outside of your leather piece. A few tips here:
- Use the EasyPress for maximum success.
- Put the weeded piece of iron-on directly on the leather with the carrier sheet still attached.
- Cover the entire thing with parchment paper to protect your surface.
- Follow the official Cricut Heat Guide guidelines for time and temperature.
- Remove the carrier sheet while still warm.
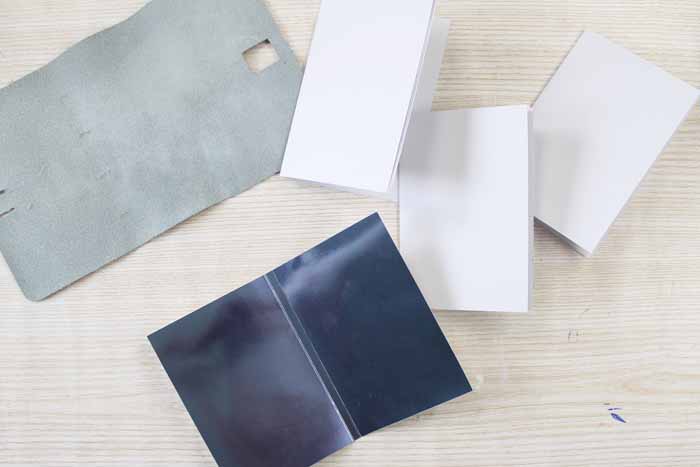
Step 3 – Fold your pieces
Now, you can fold all of your paper pieces on those score lines you created in the Cricut Maker. The scoring wheel allows you to make perfect, effortless folds. Your white cardstock should be placed in three stacks of three. Then fold the foil poster board along both score lines, as this will line your leather piece.
Step 4 – Assemble the leather journal
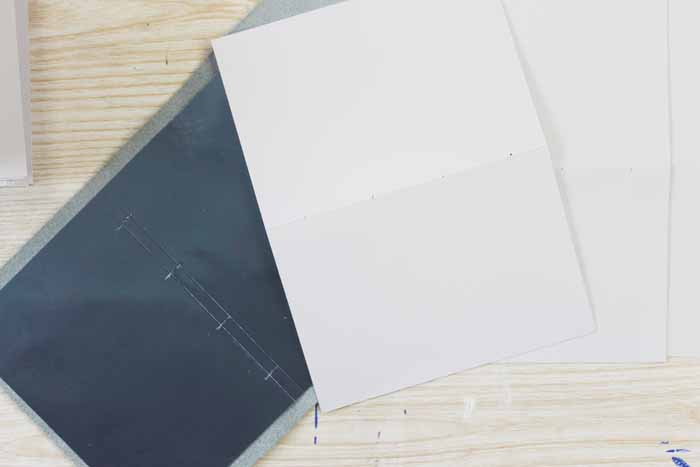
Then use a quick-dry adhesive to place the foil poster board inside your journal, as shown below. Line up the folds with the small slits in the leather.
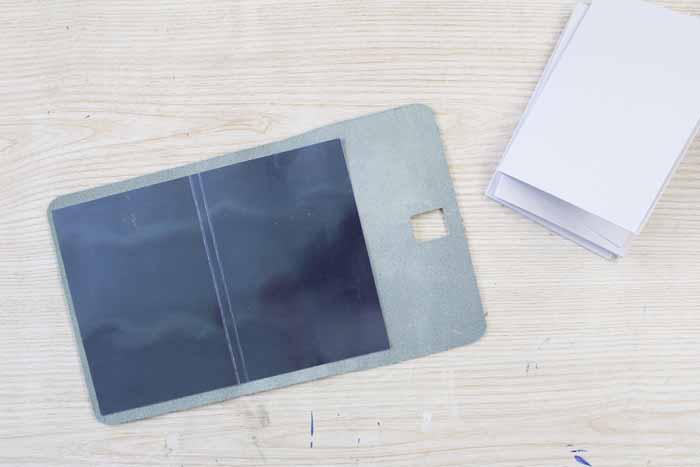
Once dry, use a craft knife to transfer those cut slits to the foil piece.
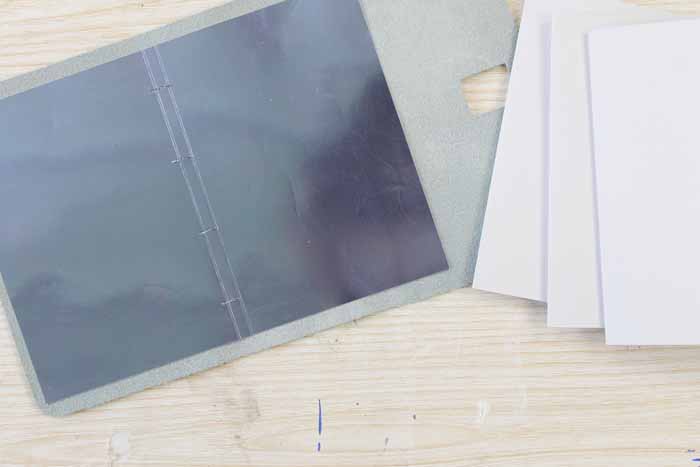
You will also want to mark each piece of cardstock along the fold exactly where the slits will end up once assembled. Then use a needle to poke a hole in these locations. This will make sewing a bit easier later.
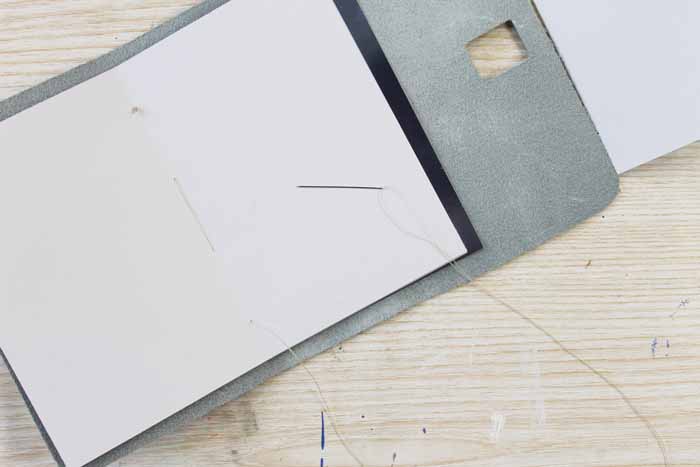
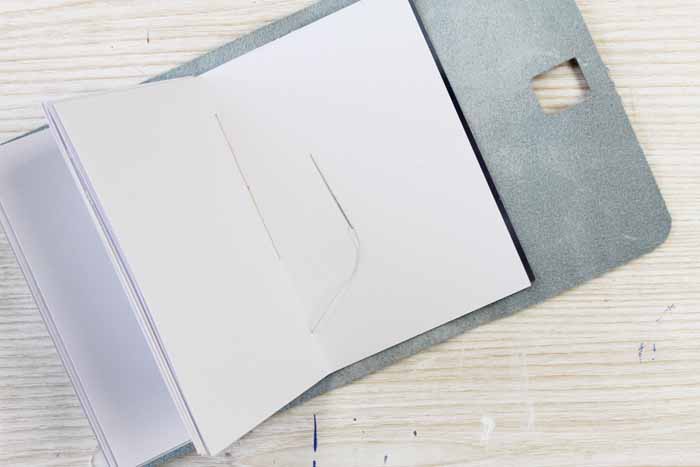
Then use a needle and thread to sew up your journal. Start with your knot on the inside, go through the three sheets of cardstock, then through the foil, and finally through the leather. You will then go up through the next slit in the leather and foil, then through the next set of holes in the cardstock. Repeat for all four slit locations.
Continue through each of the three sets of three until all of your paper has been sewn into the leather notebook.
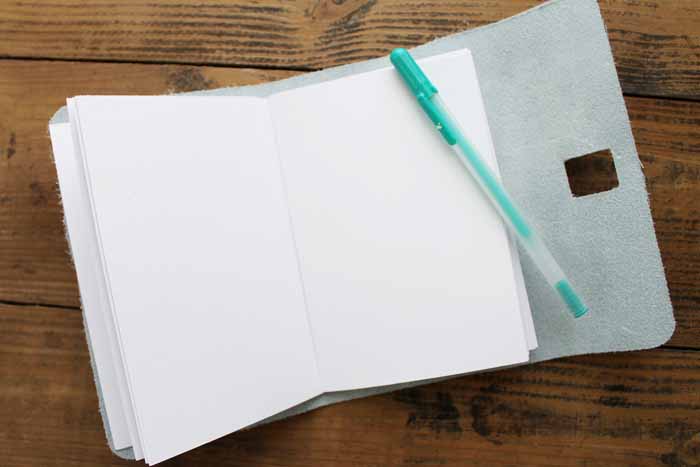
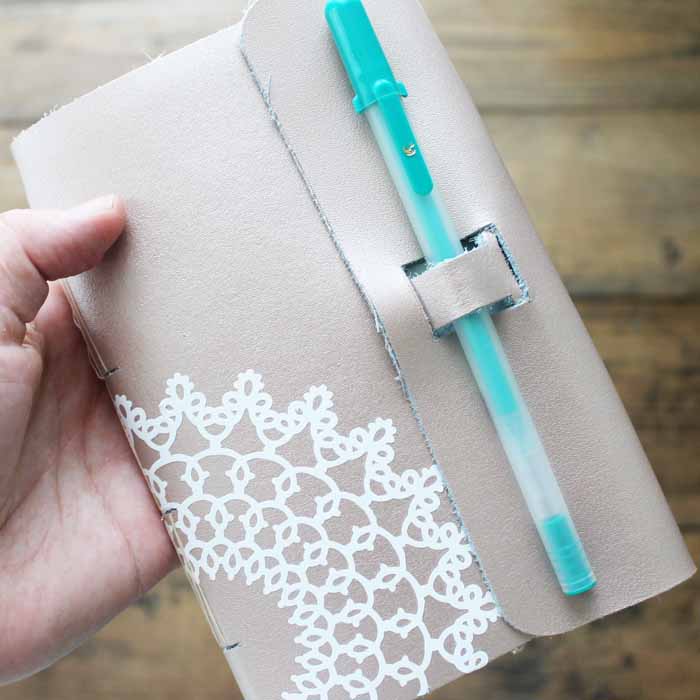
Now, knot off your thread, and you have completed your project! But how do you keep your new leather journal closed? Well, that is easy!
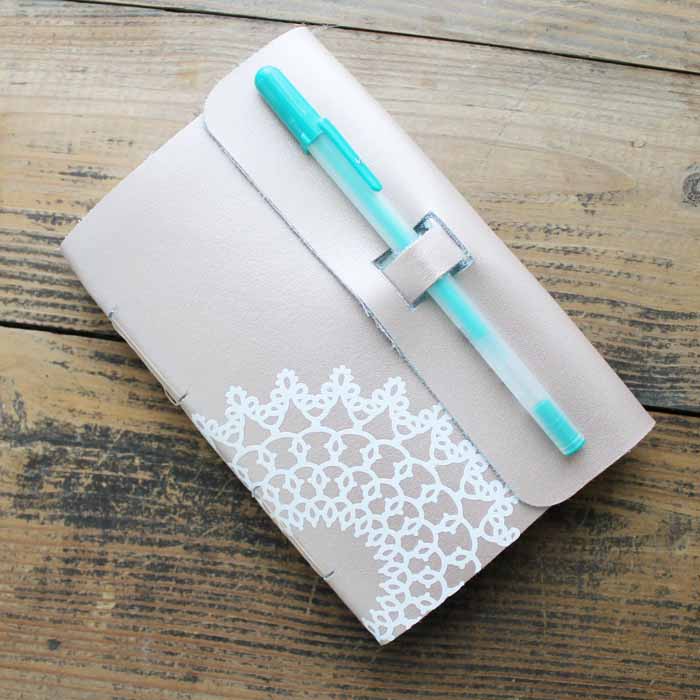
Just pull up on the loop you created in the leather and then pull it through the rectangular hole. Add a pen, and your cute DIY leather journal is ready!
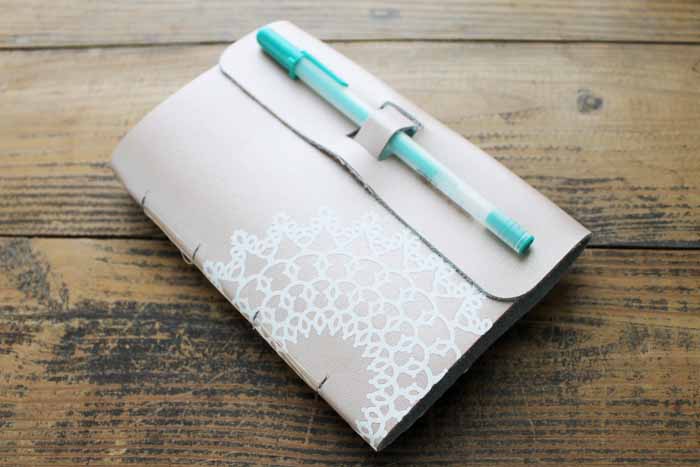
Now you have the perfect thing to write down all of your deep thoughts or just jot down some notes!
And think of all of the gift-giving possibilities! Change up the iron-on design to personalize them as thoughtful gifts.
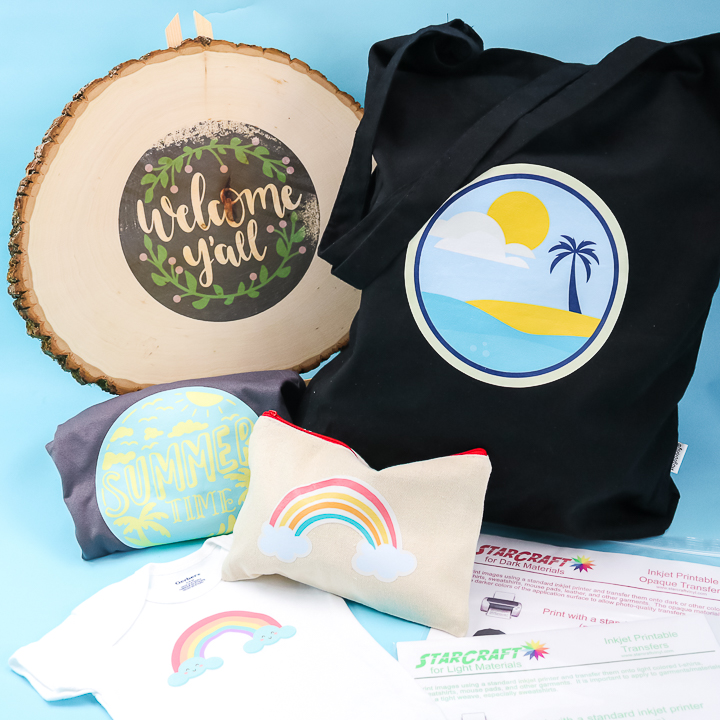
More Iron-on Projects
Want even more ideas with iron-on? Check out these ideas below!


I love all your cricut maker tutorials. That leather is so neat! I will be featuring this at Merry Monday in my Get Crafty post. See you at the party.
I love this note book! I’m not able to access the Cricut File to do the project. How can I get to it?
Make sure you have Design Space installed and running then click the link. Something should prompt you and you will click “open” to open the file. It is working for me.
I love this notebook it’s exactly what I was looking for, however I cannot access the link and I do have DS open. Can you post the file again please?
Design Space has been messed up. I will see if I can fix it!
having the same issue.
.did yours ever work for you?
I also can not get the file. Is there another way to access it? Id love to try this project
I’ve updated the link in the post so it’ll take you right to the canvas 🙂