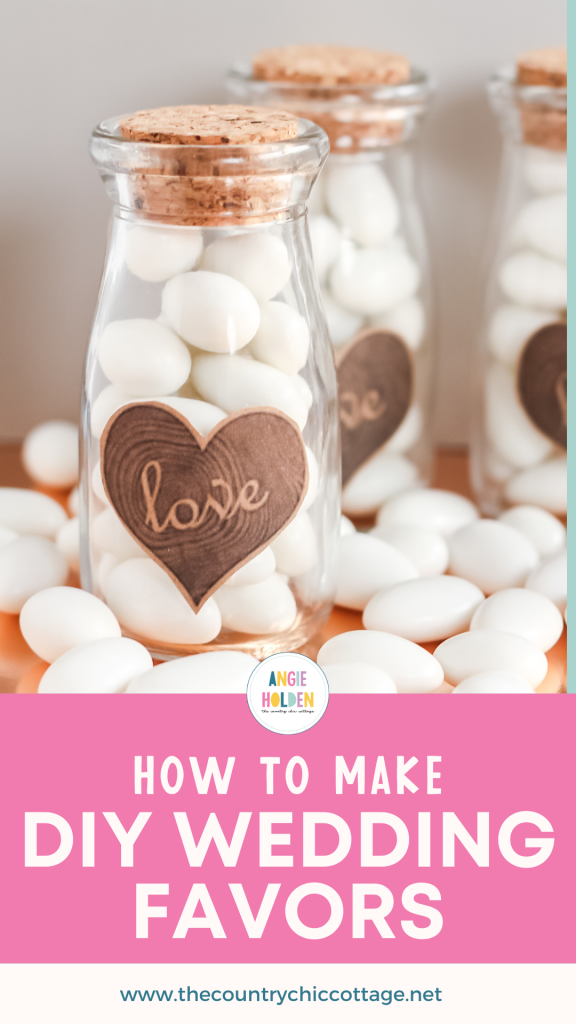
DIY wedding favors are a simple project that can make your reception even more special! I love quick and easy crafts, especially for weddings. With the numerous craft ideas you might have for your big day, the easier, the better, in my opinion! So, gather your supplies and create your own DIY wedding favors using miniature milk bottles today.
For this project, I am using print then cut with my Cricut machine. You can use scissors as an alternative to the Cricut if you would like.
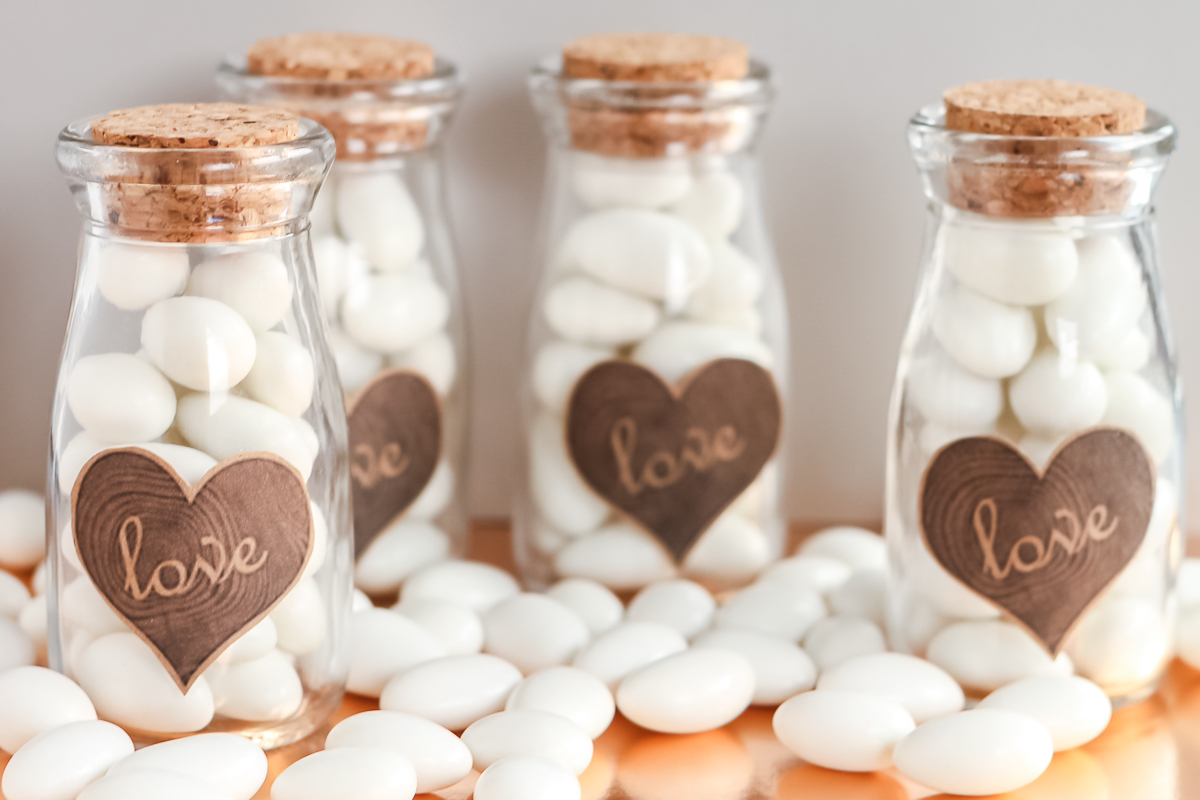
DIY Wedding Favors
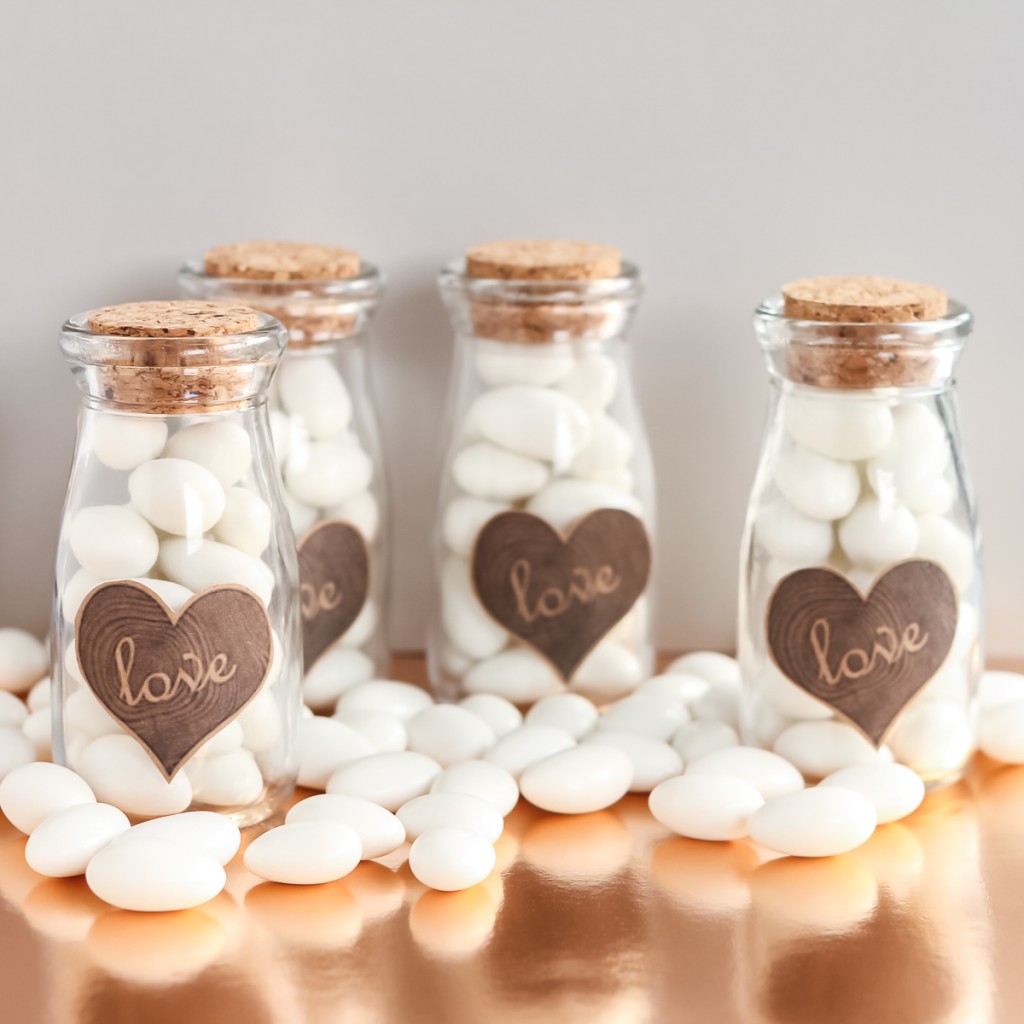
These simple wedding favors are inexpensive and perfect for a rustic wedding. If you cannot find enough of the milk bottles I used, there are other options on Amazon that will work as well.
Also, the instructions below will cover how to add the file to Cricut Design Space and cut the labels with your Cricut machine. You can skip the Cricut portion if you are going to use scissors for cutting around the labels.
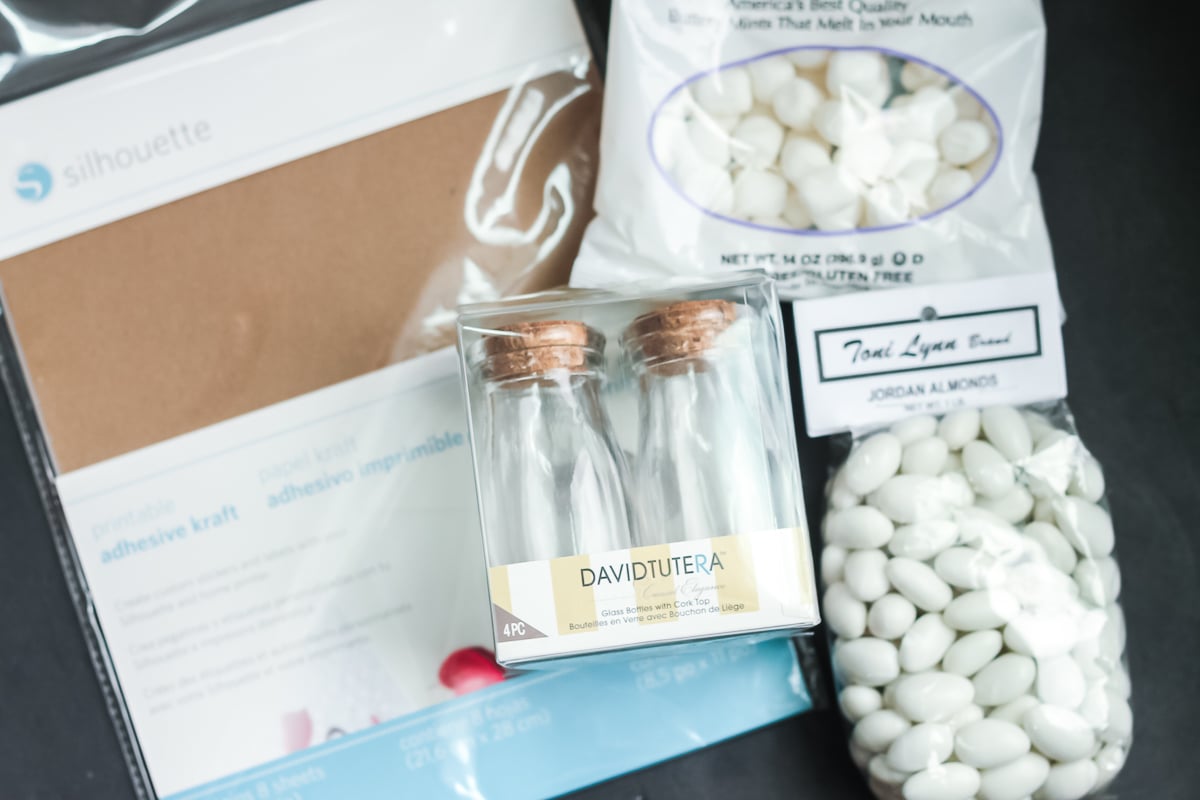
Supplies Needed To Make DIY Wedding Favors
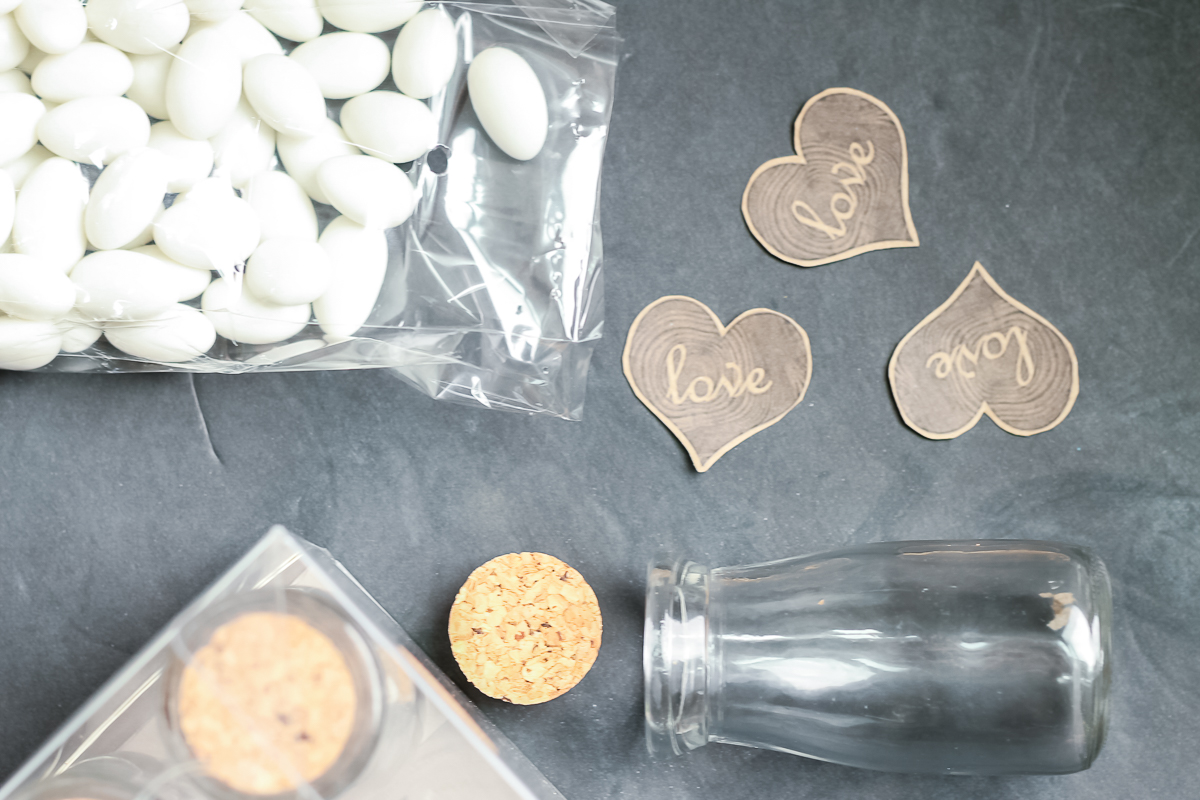
- Mini Milk Bottles
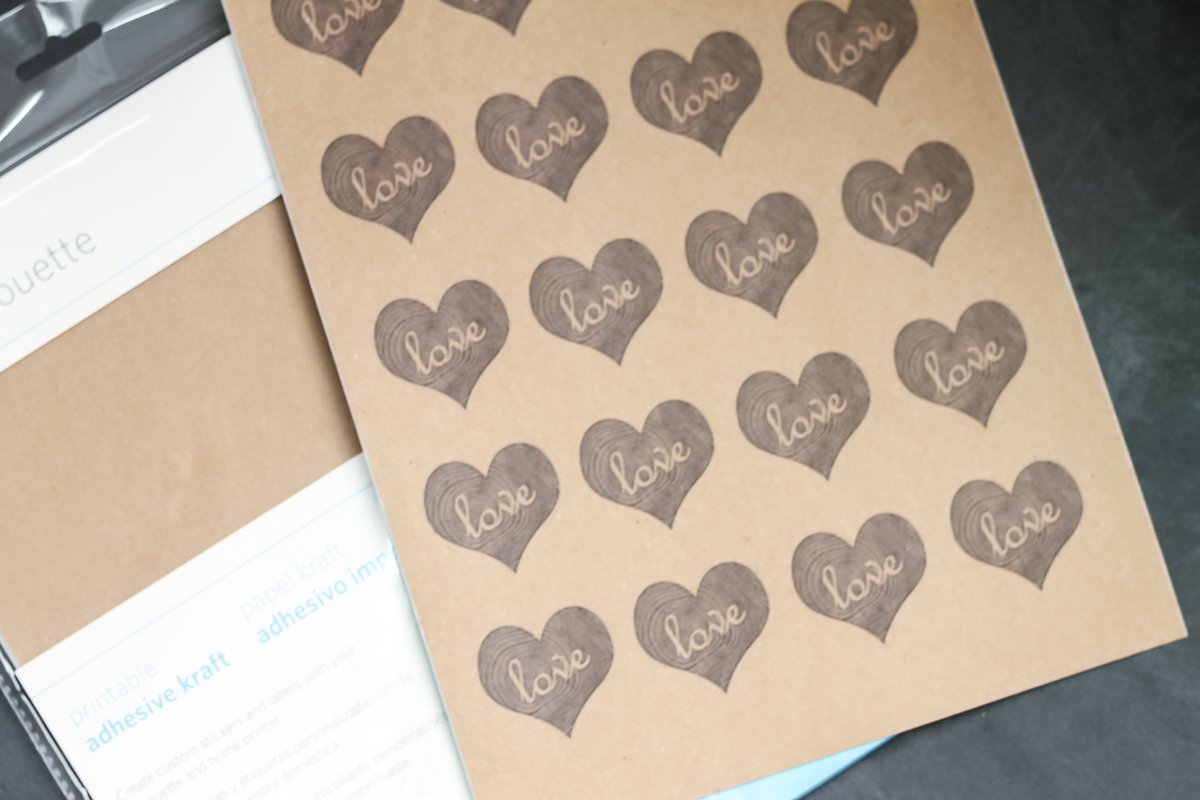
- Adhesive Printable Kraft Paper
- Jordan Almonds or White Buttermints (Or the candy of your choice.)
- Printable Label File (See below for how to access this free file.)
- Printer
- Cricut machine or scissors
Download Free Printable Label File
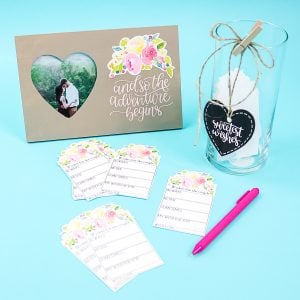
Please sign up for the email list using the form below to receive the free label file. You'll see a form with a picture of the label file. Simply enter your information, and then check your email to download the file. If you are already on my email list, please fill out the form again, as you won't be signed up for anything additional. If you don't receive your file, please first check your spam and other email folders. If you still can't find it, email angie@thecountrychiccottage.net, and I will be happy to help.
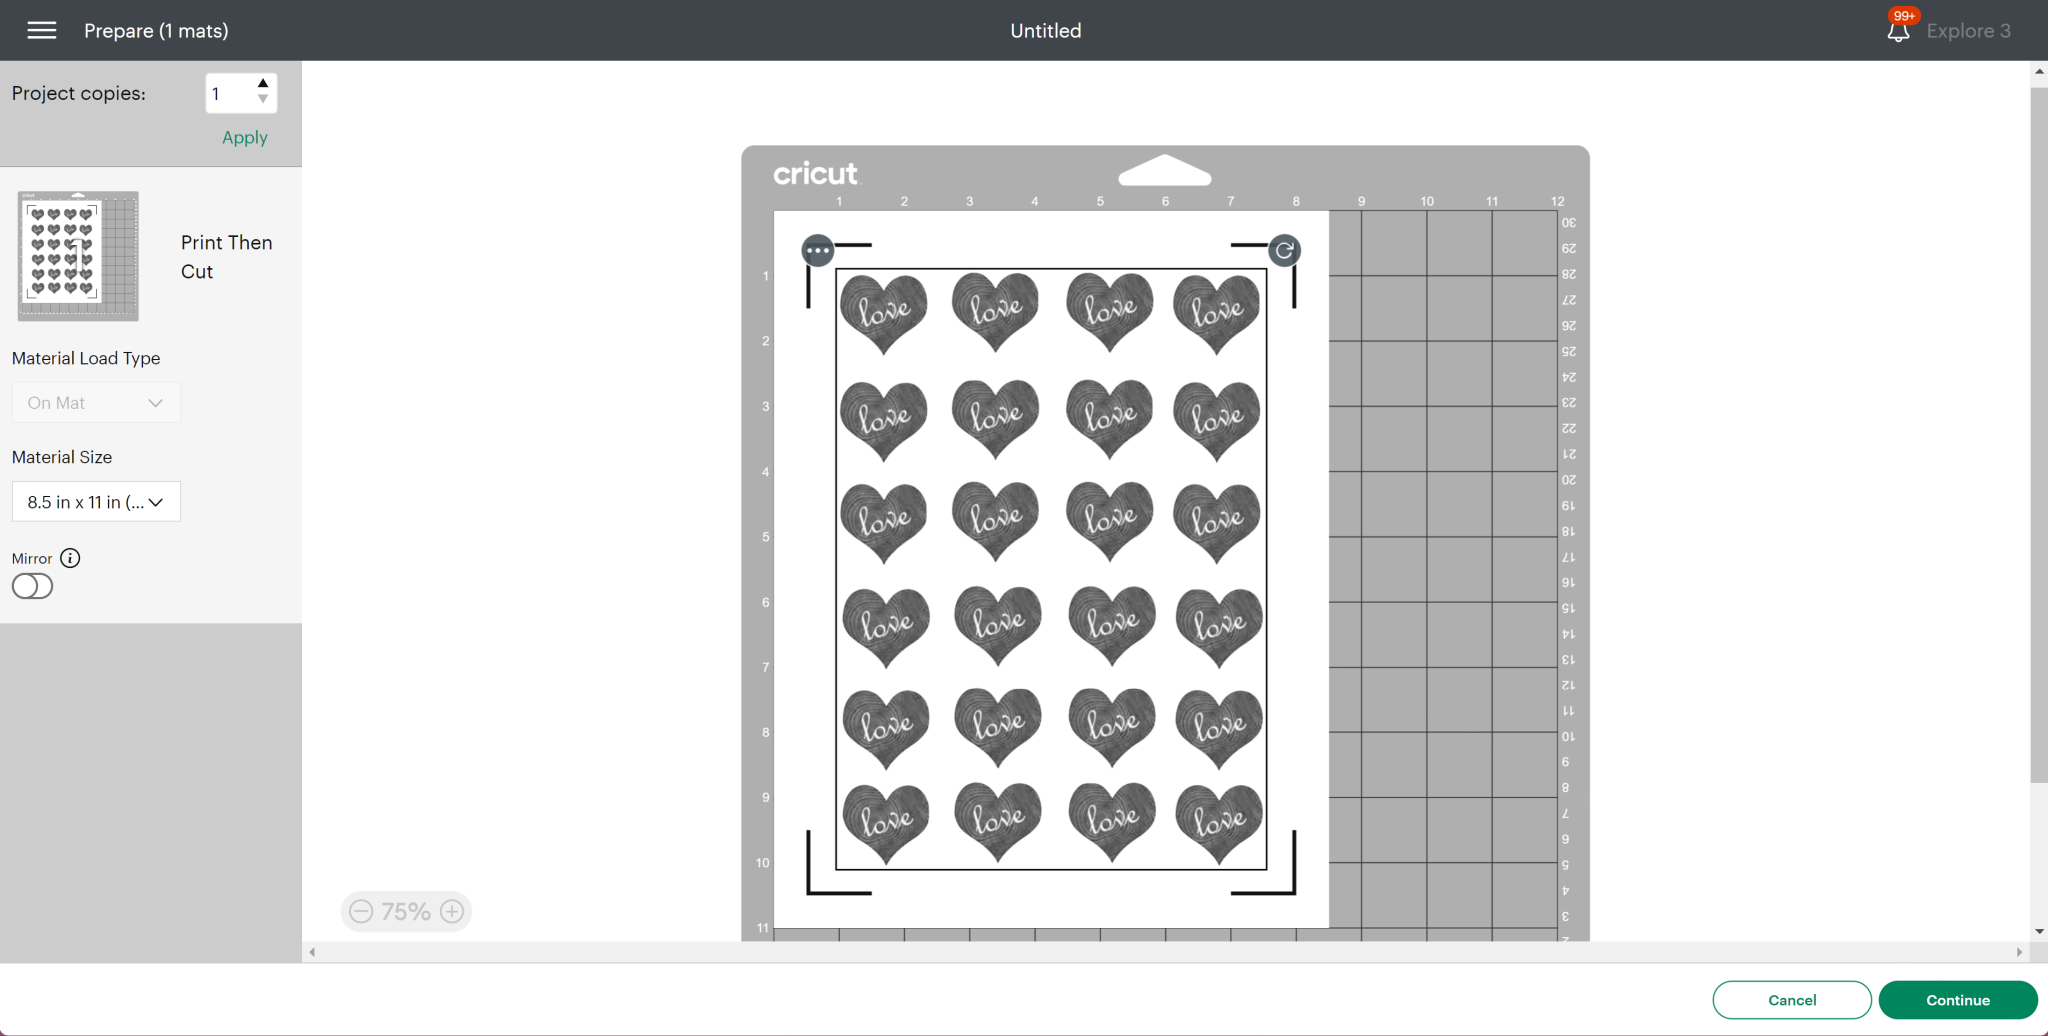
Uploading To Cricut Design Space
Unzip the file you get with the email sign-up form above. Upload the PNG file to Cricut Design Space and save it as a print then cut file. For more information on uploading files, please refer to this section.
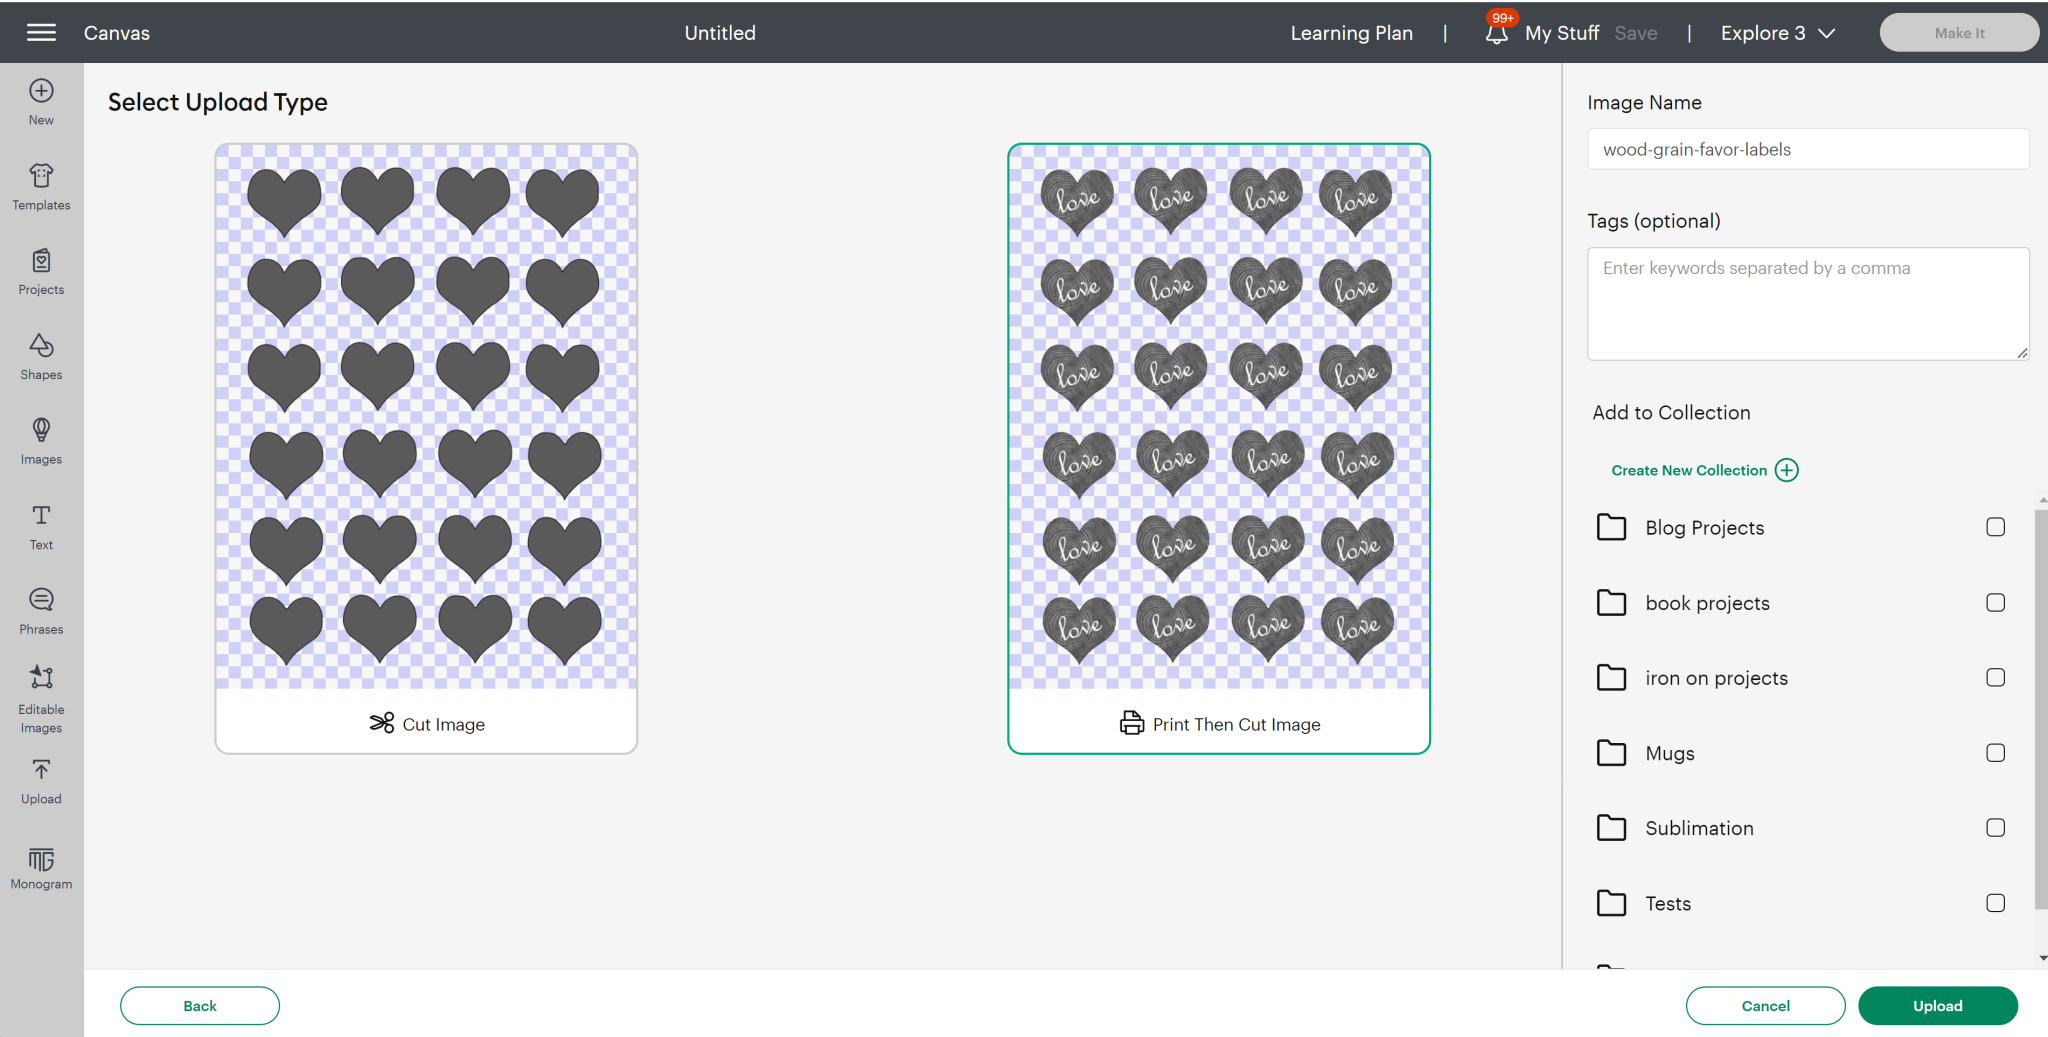
Select the file and click ‘Add to Canvas'. Resize as needed to make printing possible with your Cricut machine.
Add An Offset
I like to add an offset around labels like these, but this step is optional. Pick your labels and click the offset button. I used a .05 offset around my labels.
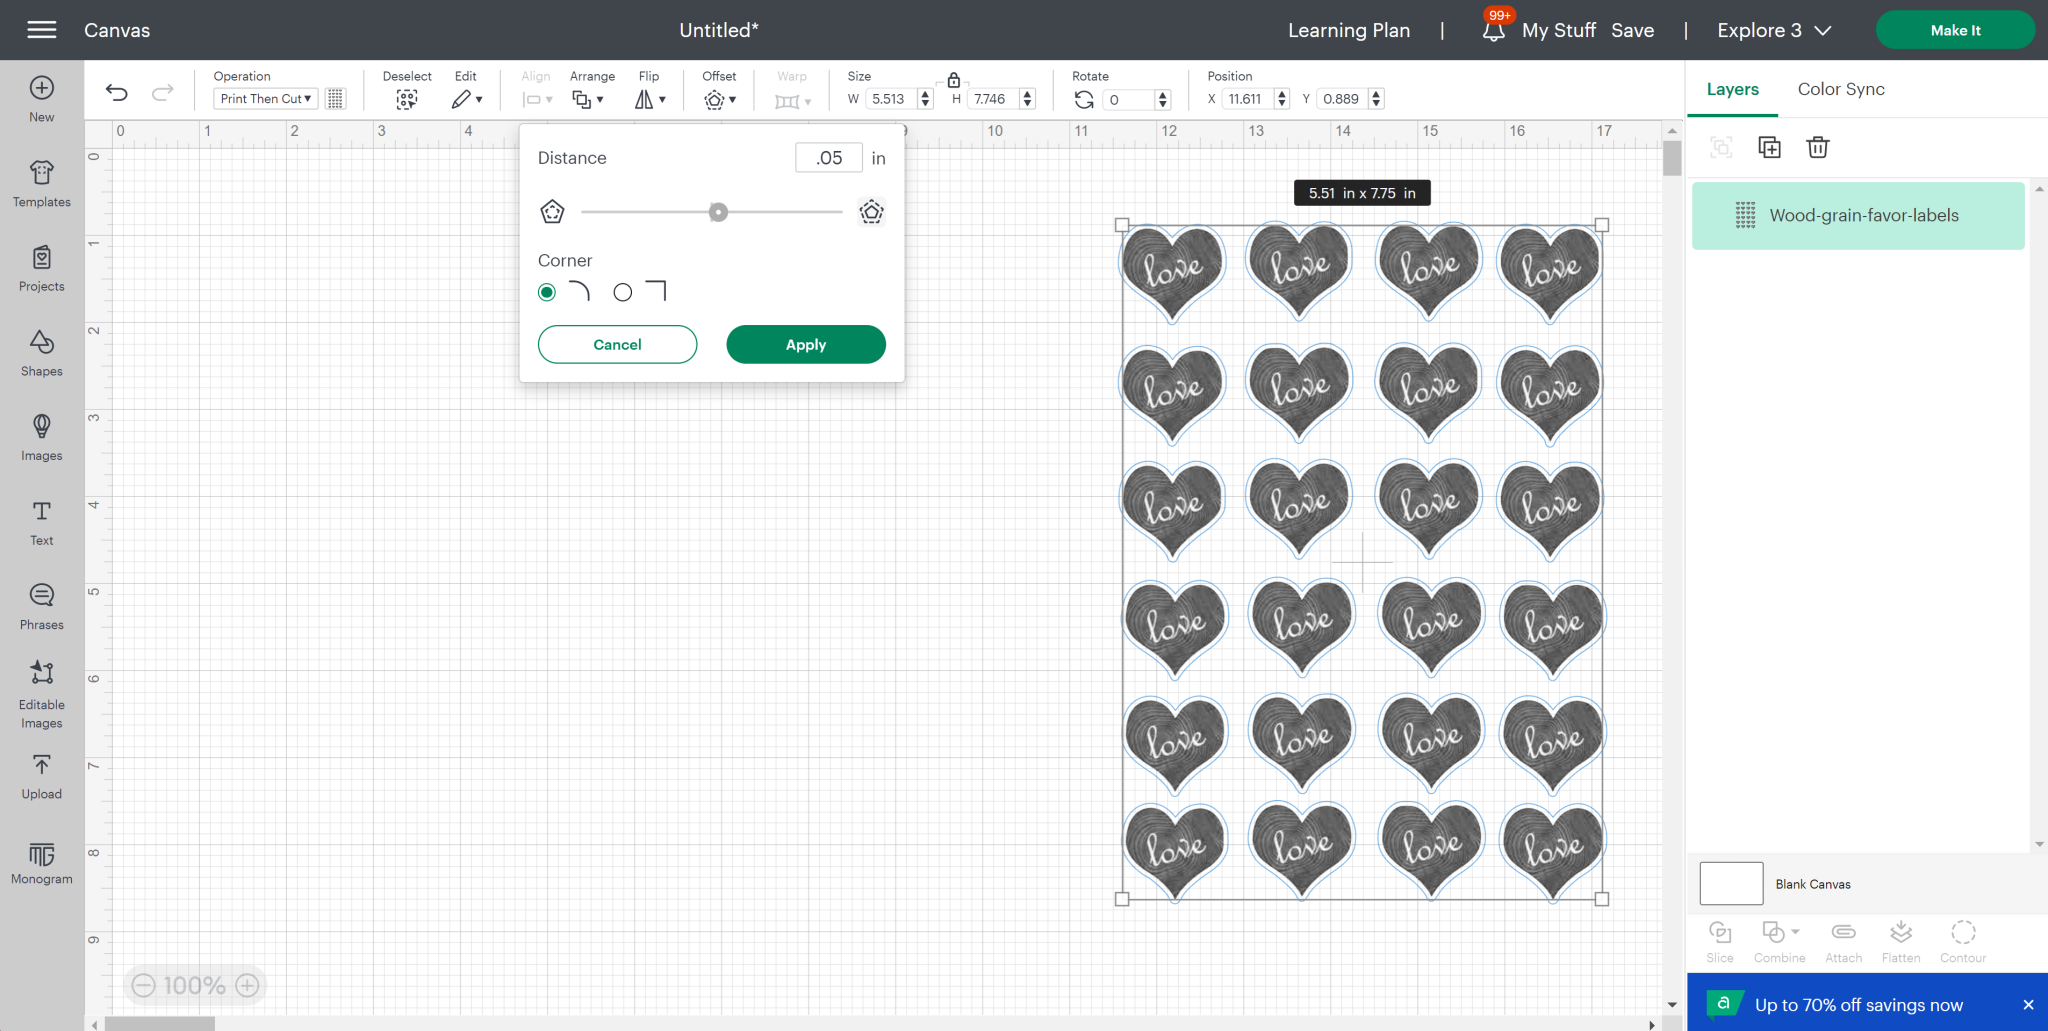
Click Apply. Then change the color of the offset to white. Pick both the labels and the offset and click Flatten. This will cause your labels to print and your Cricut to cut around the offset only.
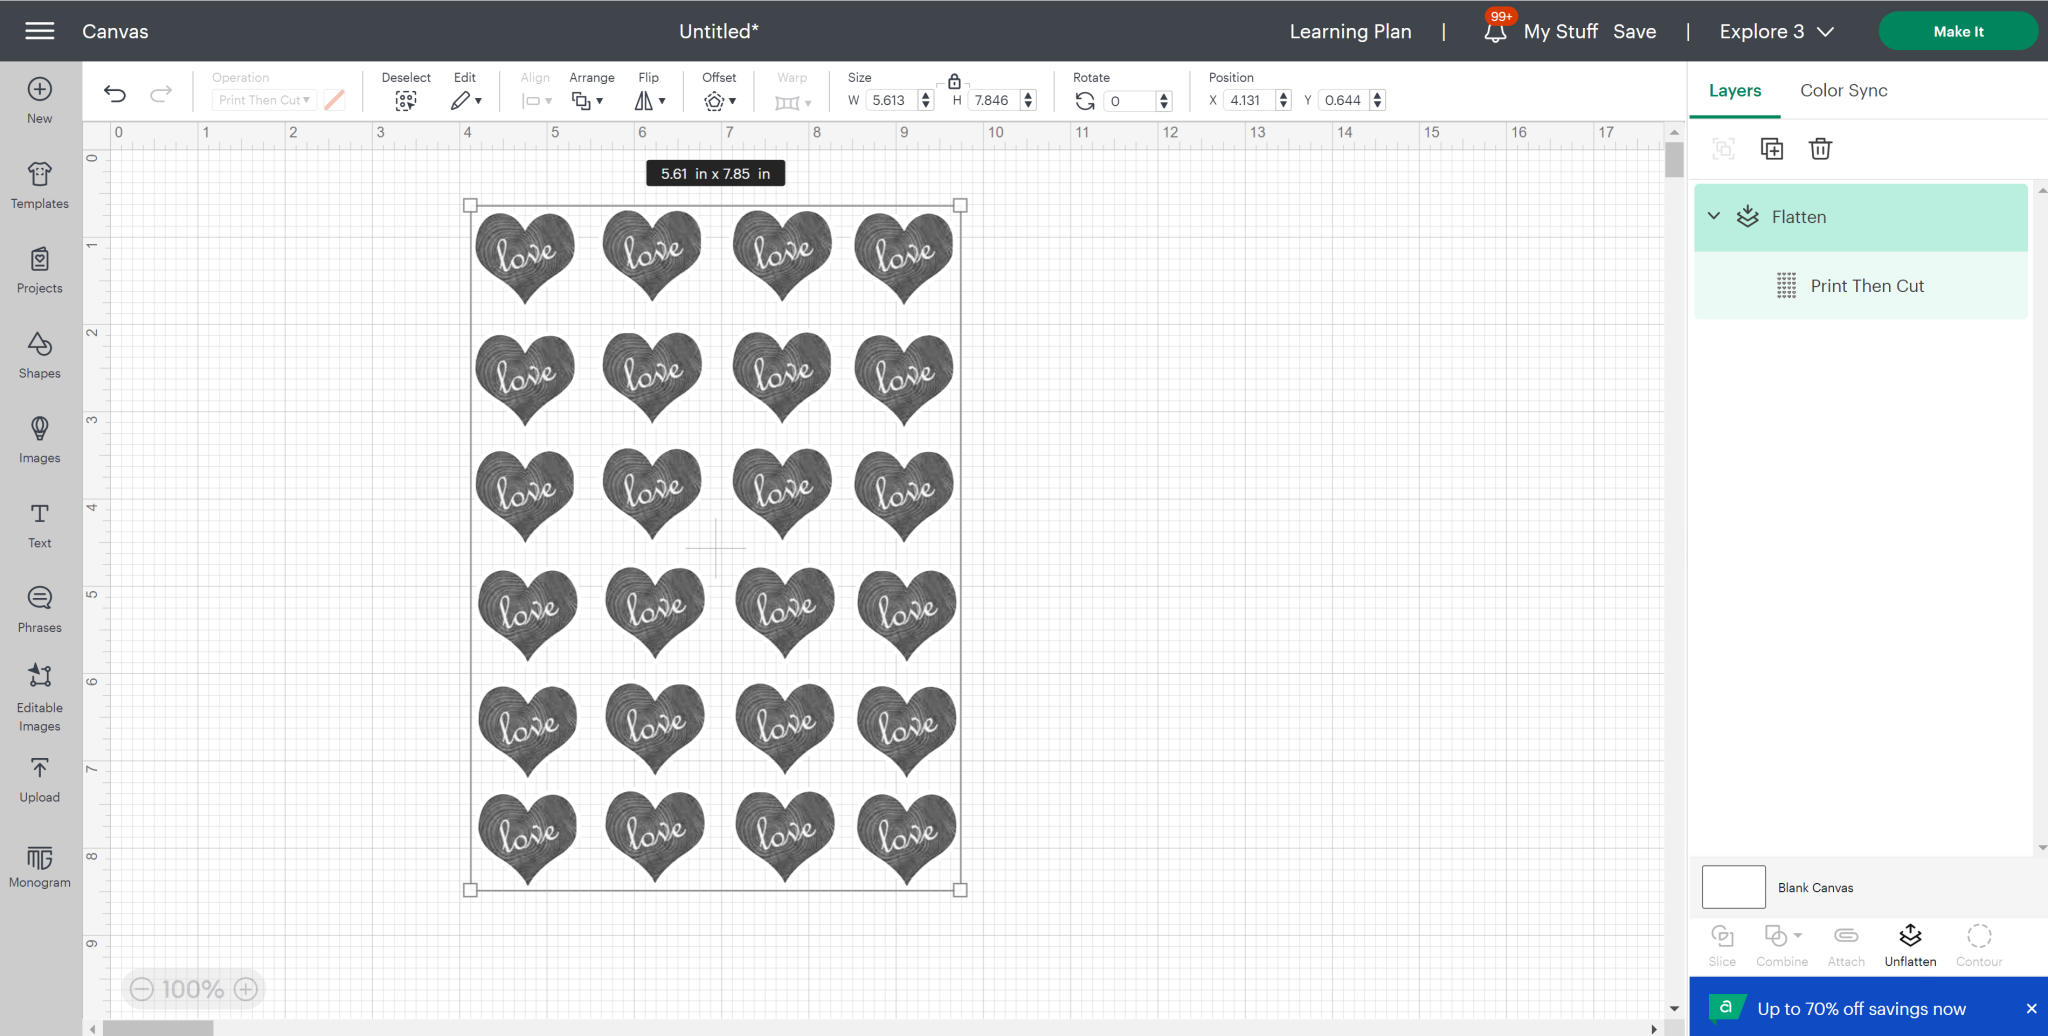
Cutting Labels With A Cricut Machine
Click make it and continue to print the labels on a printer from Cricut Design Space. Once printed, use your Cricut to cut around the labels. Generally, the printable vinyl setting works well with this material; however, you may need to perform a test cut on a scrap piece of material.
Cutting With Scissors
If you do not have a Cricut machine, print the wood grain labels onto the kraft paper with your printer. Then cut around each label carefully with scissors. This process will take longer, but it will work as well.
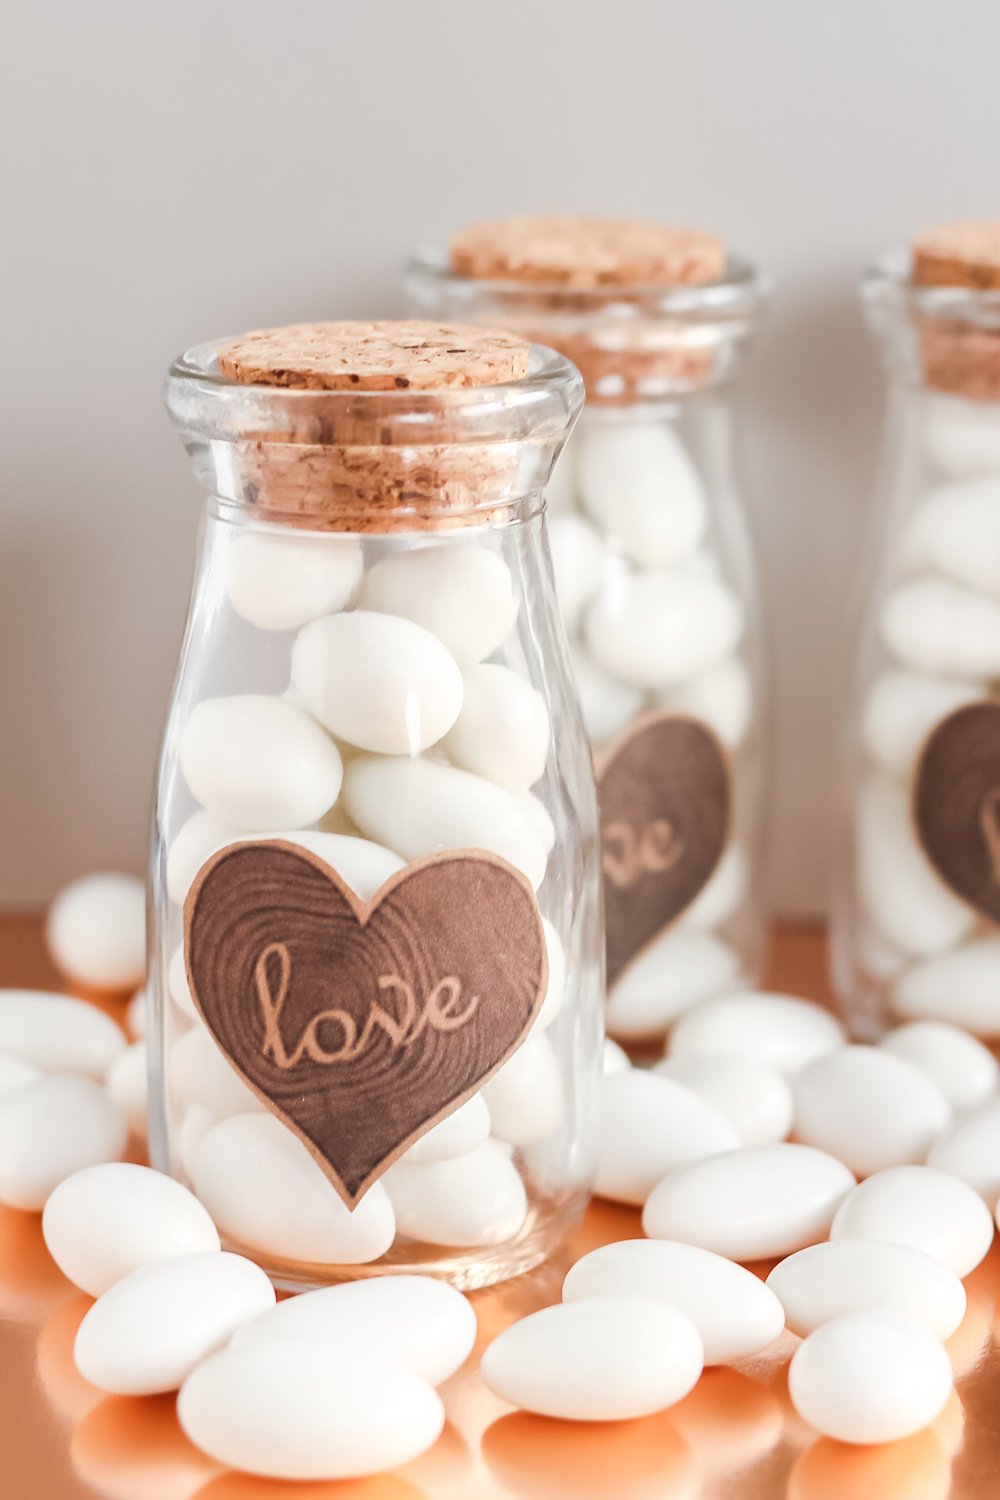
Assembling The DIY Wedding Favors
These simple wedding favors are easy to assemble. Fill each milk bottle with the candy of your choice, then cap with the cork stopper.
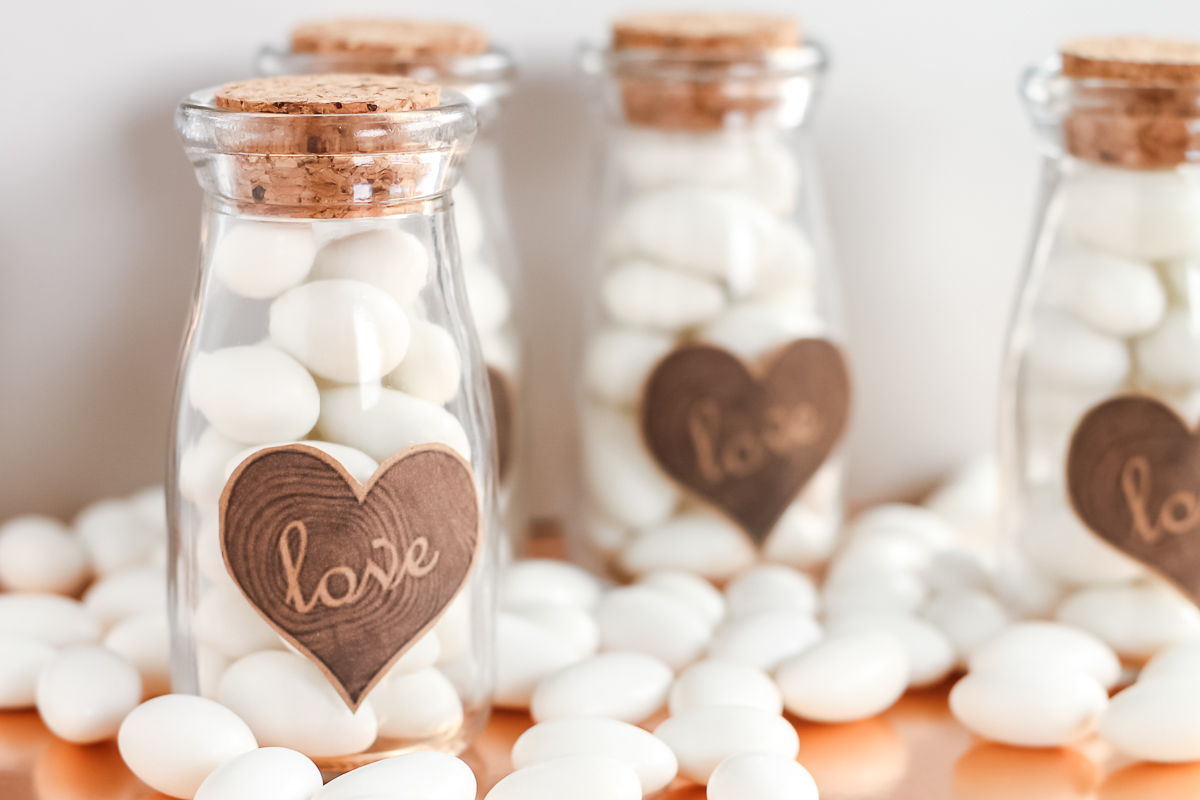
Apply the heart labels to the front of each milk bottle and hold until set. The paper is self-adhesive, so this part should be very easy. These fun DIY wedding favors are ready for your wedding reception! The best part is that they are made in just minutes!
Gather your bridesmaids for a crafting party! With everyone's help, you'll complete and assemble your DIY wedding favors, making them ready for your big day.
Love ideas with jars for weddings? Get 50 mason jar wedding ideas by clicking here. These will go great with your DIY wedding favors! You can have the rustic DIY wedding of your dreams with projects just like this one!
FAQs About DIY Wedding Favors
Here are answers to some of the most frequently asked questions I receive about creating DIY Wedding Favors. If your question isn’t listed, feel free to drop it in the comments, and I’ll be happy to help!
Can I Change The Size Of These Wedding Favors?
Absolutely! The size of the milk bottles I used was 3.75 inches tall, but you can use milk bottles that are smaller or bigger, depending on your needs.
Do I Need To Use A Milk Bottle For These Favors?
No! You can use any shape bottle that you like for your favors.
What Cricut Machine Can I Use For This Project?
The Cricut machines that you can use for this project are the Cricut Joy Xtra, and Maker, and Explore series. This is because these Cricut machines have the print then cut feature.
Can I Add More Embellishments To These Favors?
Yes, you can! A great addition to this favor would be to add a twine bow around the milk bottle at the top.
5 More Wedding Crafts
Did you love these DIY wedding favors and are looking for more wedding crafts? Then check out the projects below!