
Learn how to airbrush shirts with this super simple technique. It's so easy that the kids can even make their own shirts!
As a parent, there are times when you need just a simple crafting activity to keep the kids busy and engaged. Making tie-dye creations is classic, but also time-consuming and really pretty messy.
What if, instead of tie-dying shirts, you could paint t-shirts in an easy and FAST way? It just might keep the kids entertained (and beat back summertime boredom).
Do you know how to airbrush shirts in just minutes? I'm here to walk you through it. And, as a bonus, it's easy enough that your kids can do it and have a hand in creating their own shirts!
We heard about the Airbrainz Airbrush and wanted to give it a try. To say that we had a blast coming up with a shirt design and experimenting with the Airbrainz Airbrush is a huge understatement. We had a really fun time with this project!
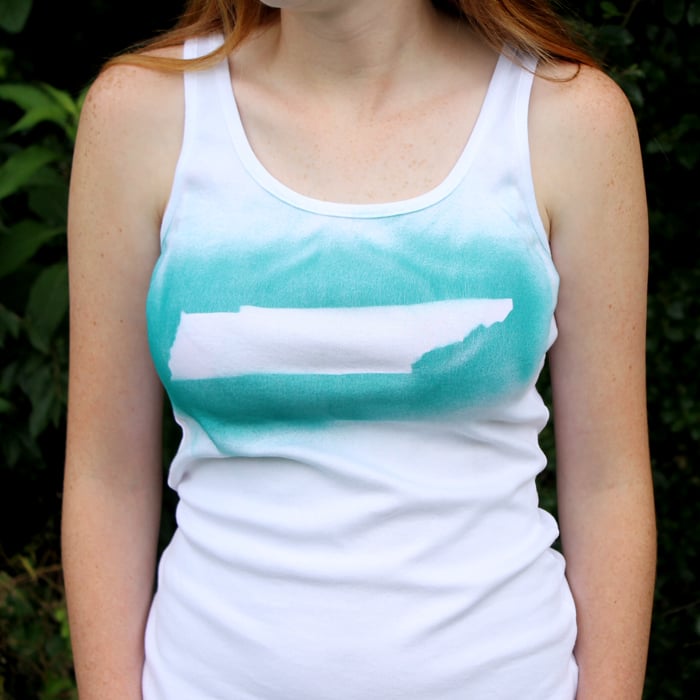
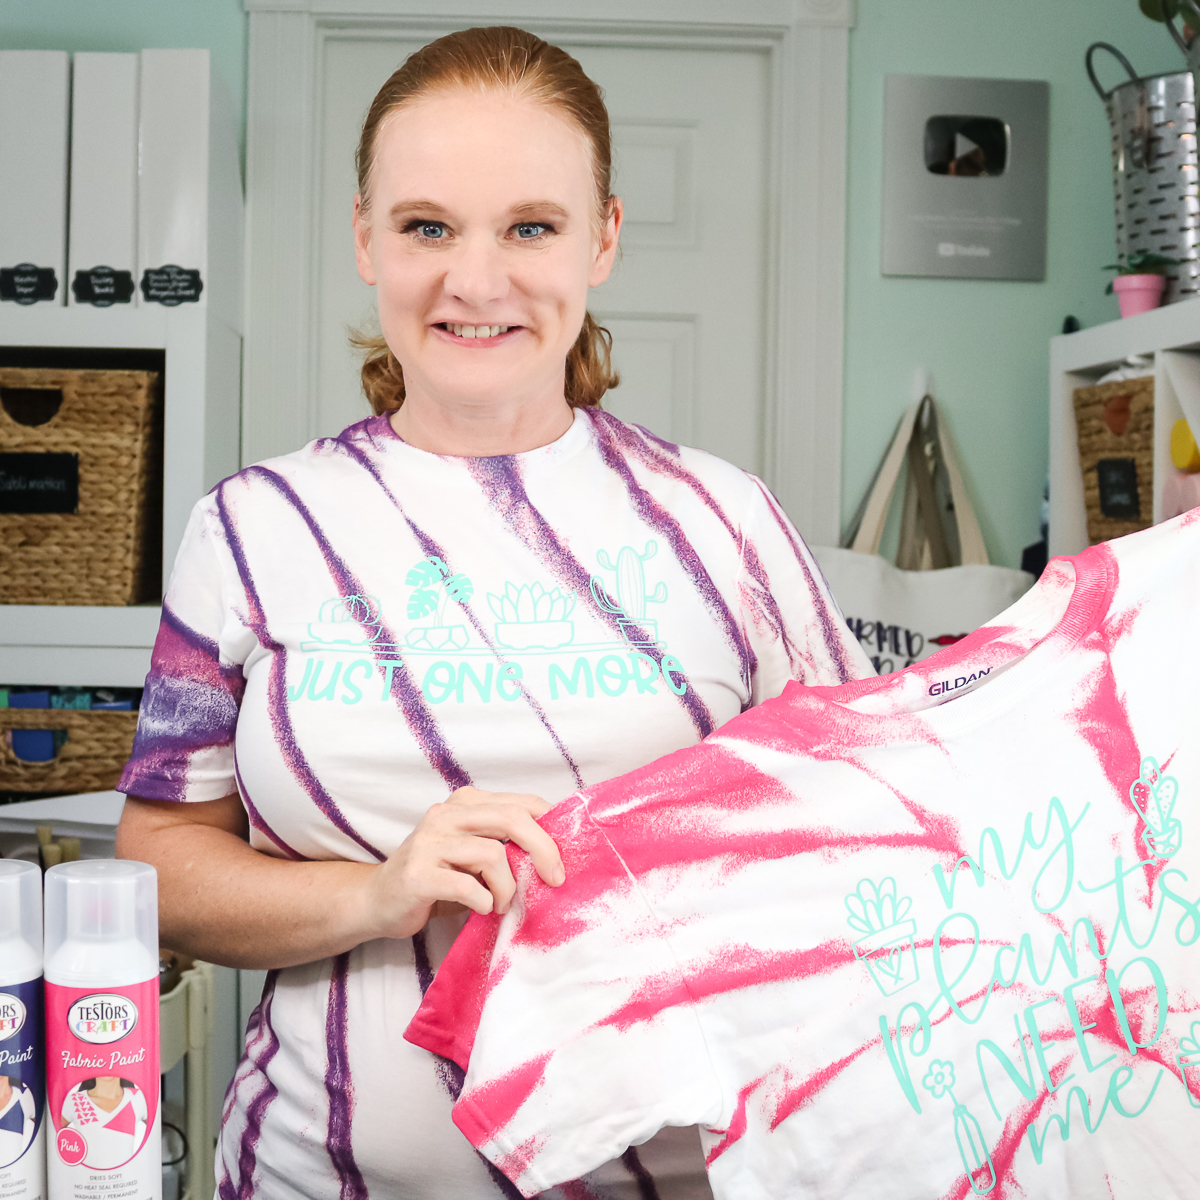
If that alone wasn't enough, this project is really super easy, making it perfect for kids to participate in. Check out how our t-shirts came out! And, if you like how our shirts turned out, make sure to check out Easy Skull Shirt for Halloween.
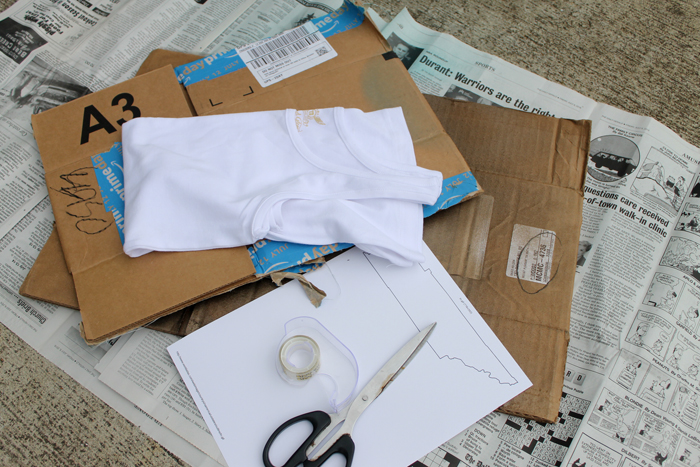
Supplies Needed To Make An Airbrushed Shirt
The beautiful thing about this craft is that, in addition to the Airbrainz Airbrush, you only need a few simple, everyday supplies.
- Airbrush set for crafting
- Fabric paint
- Shirt of your choice
- Heavy cardstock or Adhesive vinyl
- Cricut machine
- Tape
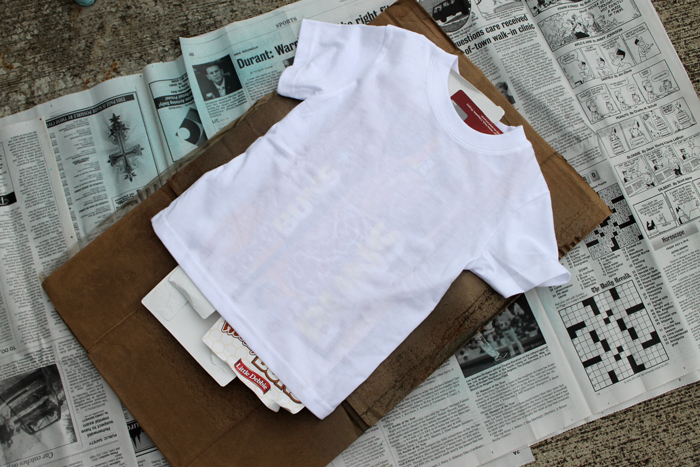
- Cardboard, newspaper, etc., to protect your work surface
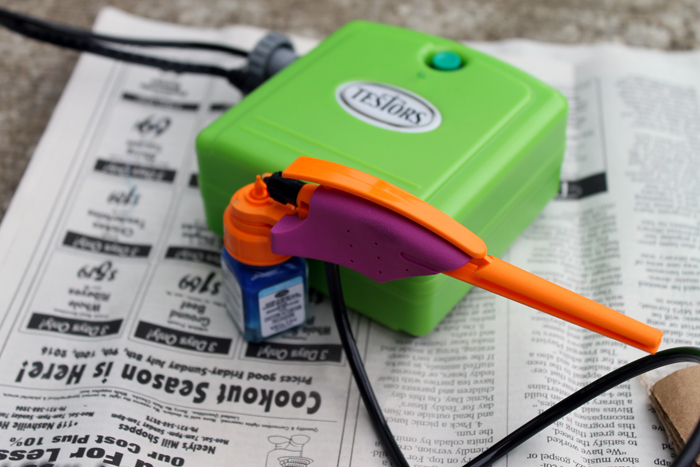
First, a note about the Airbrainz Airbrush from Testors, before we begin with the instructions. The Testors Airbrainz Airbrush is no longer available, but several airbrushes for crafting are still available.
You will also need to pick up fabric paint in the colors you want to try out. The paint really seems to go a long way, and a set should be enough to make several airbrushed shirts.
That is it for supplies! Now, let's give your airbrush a test drive!
Airbrushed Shirt Video Tutorial
I thought I would make a fun video of the process for creating this custom airbrushed shirt, so you can see just how easy it is! The video is less than 3 minutes long, and we came away with a completed shirt! Super easy!
How To Make Airbrushed Shirts
Now for some written instructions plus tips and tricks!
Pro Tip: I didn't have any trouble with the paint bleeding through, but I added cardboard between the front and back of my shirts, just in case.
Step 1
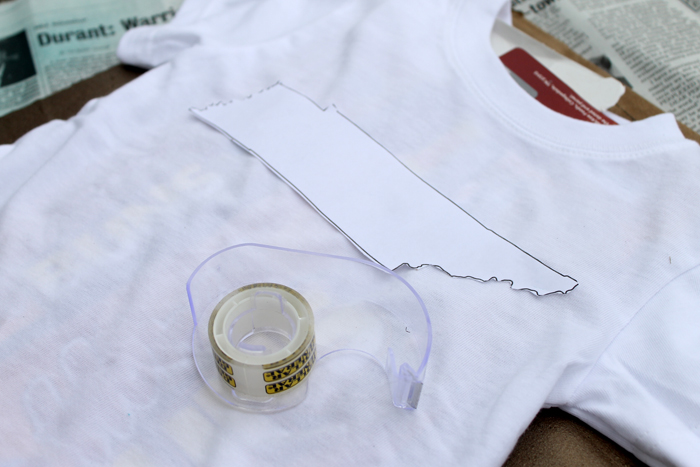
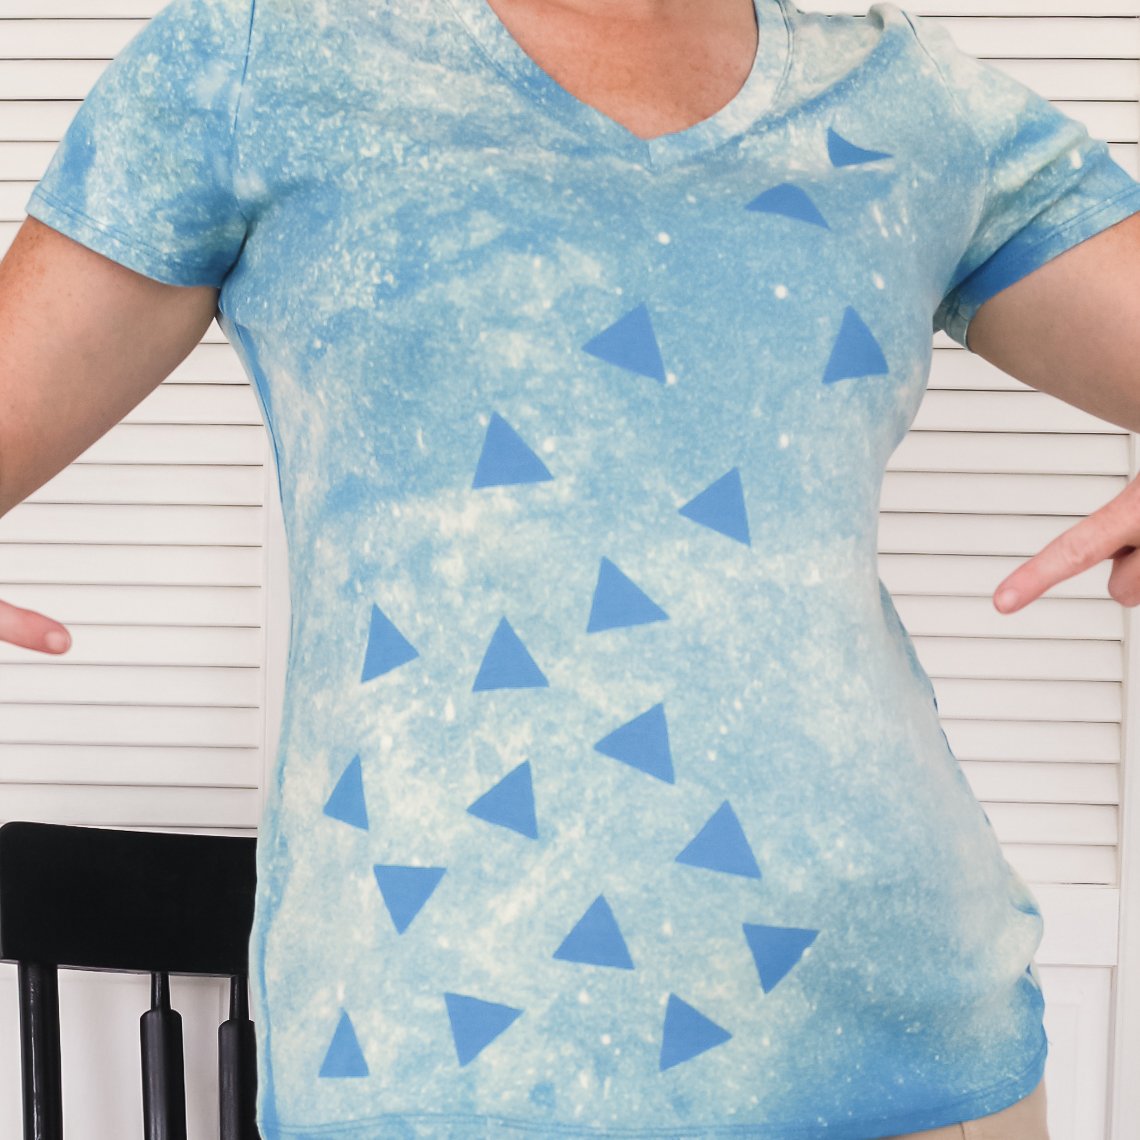
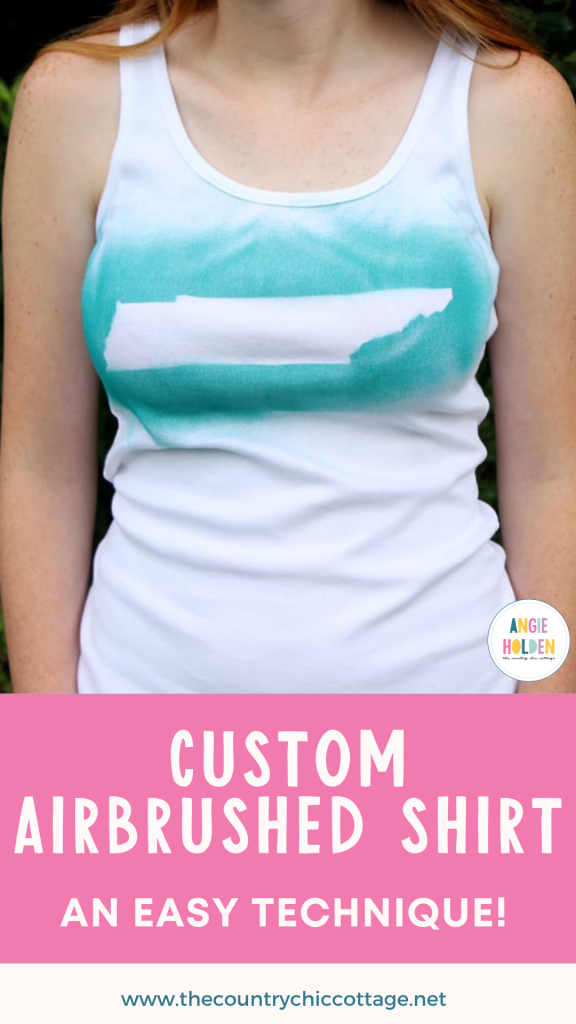
Using your Cricut cutting machine, cut shapes from heavy-duty cardstock or adhesive vinyl to use as a mask when painting. We used our state's shape, but you could use any shape.
Step 2
It's time to prepare for airbrushing. There are different methods you can use to airbrush with a shape.
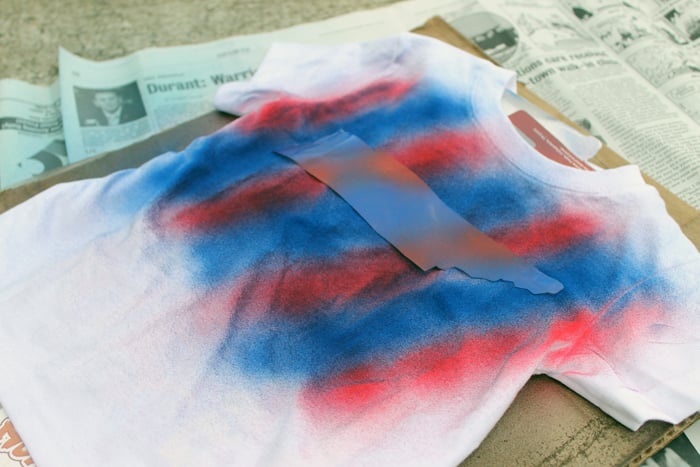
Method 1: I simply taped my cardstock shape down to prevent it from flying around when the air hit it. This means that the shape was slightly raised. Some of the paint will slip under the edge, leaving you with an imperfect line. You could also use a water-based spray adhesive that will wash out of your shirt.
Method 2: You could use a removable adhesive vinyl instead of cardstock. This will ensure that all the edges are down onto your shirt before spraying, resulting in a very clean line.
Regardless of how you choose to approach this project, the final result is sure to be super fun!
Step 3
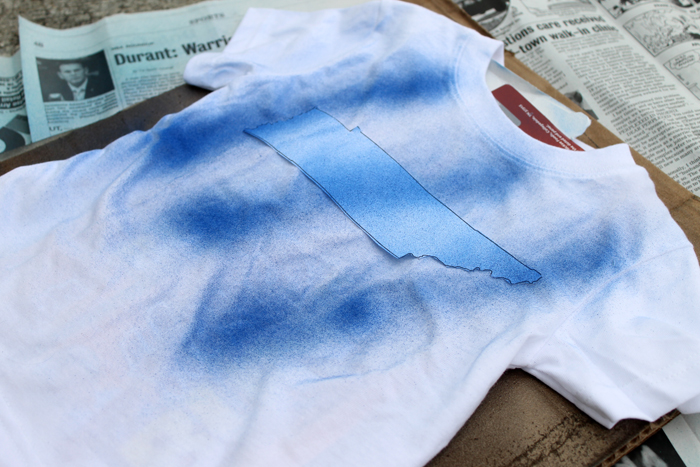
Now, it is time to spray!
Follow the directions for using your airbrush. If you find that the paint is too thick, you may need to thin it out slightly to achieve the desired consistency. Let the kids experiment with how the spray works and various ways to add it to the shirt. Different methods will get different (cool) results.
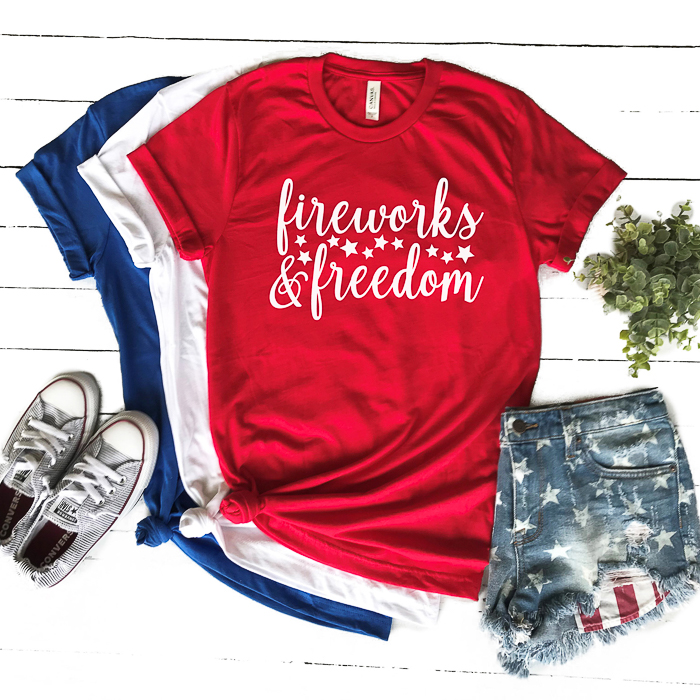
Pro Tip: Swapping out the paint bottles for the airbrush takes just seconds, making it a fun option to explore when using multiple colors on one shirt. Here, my kids went for a patriotic striped effect.
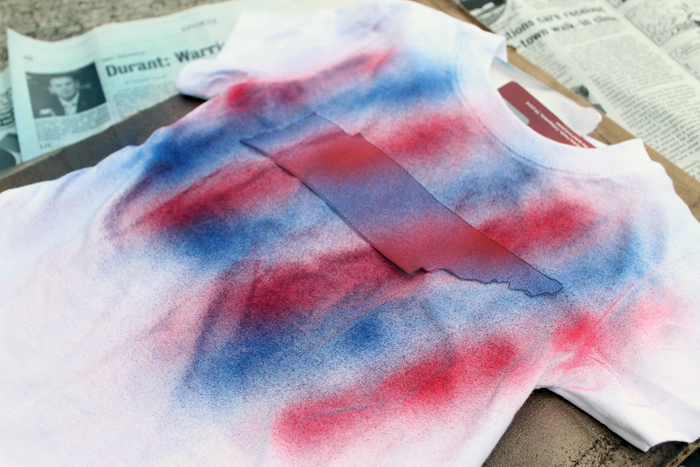
Continue spraying the paint until you are happy with the appearance.
Step 4
All that's left is to just lift your mask from the shirt. I was impatient and lifted ours while the paint was still slightly wet, but you can wait if you prefer to do it once it dries.
If you use adhesive vinyl, use tweezers to help lift the shape from your shirt. You can remove it while the paint is wet, or let it dry a bit.
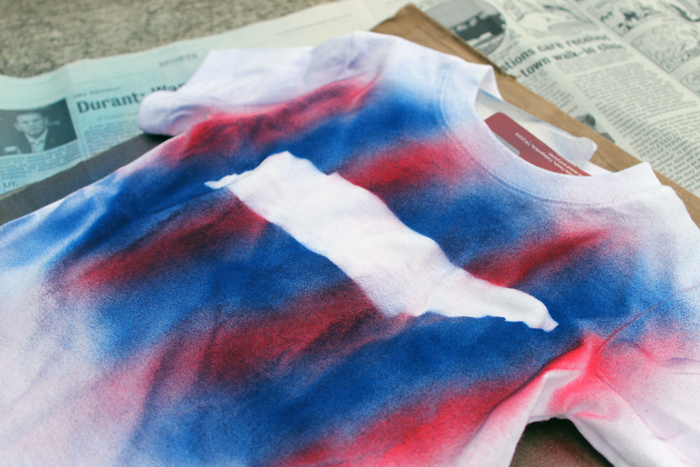
Once it's dry, your shirt is ready to wear! The kids will love designing and creating their own clothing. Plus, they'll be amazed at how quick and simple this project is. We had a blast experimenting and made several shirts in just a few minutes!
Try this airbrush project with your kids and see for yourself how amazing it is. Creating a custom airbrushed shirt (or multiple shirts) has never been easier!

Irresistible T-Shirt Crafts
T-shirt crafts are insanely versatile and easy to make. There are so many different methods you can use! Give this easy airbrushed shirt method a try and explore other ways to create your own t-shirts below!


Cute shirt! I love the patriot one – perfect for the summer Olympics coming up. I have not tried the air brush but recently have been into dying fabric and elastics for some sewing projects. I haven’t used dye in over 20 years – it seems a lot easier than it used to be and the dye seem to take better than I remember. Pinned your project.
Oh I LOVE these ideas! You should sell them! 🙂
I would love for you to share this with my Facebook Group for crafts, recipes, and tips: https://www.facebook.com/groups/pluckyrecipescraftstips/
Thanks for joining Cooking and Crafting with J & J!
This is so cute! What a great way to represent your state 🙂
Blessings,
Edye | http://gracefulcoffee.wordpress.com
Awesome, educational, fun ideas for kids to make and give if wanted. These are such wonderful crafts for scouts, whomever to make. Gee takes me back when my boys were cub scouts, they were so proud to wear their uniforms.
This could be fun researching crafts for them to make. I still have couple things my boys made in scouts, we’ve moved few times and they’re all grown up 53 and 52. Think will find photos of them in their outfits, miss my big boys.
Would like to try that Testor spray gun, will think of other things to use sprayer for. Always enjoy your very inventive posts. Have wonderful Sunday
You might want to try cutting the shape out of freezer paper. It irons on and will stay in place. I love the fun painting technique.
Yes! That will definitely work for a clean line!