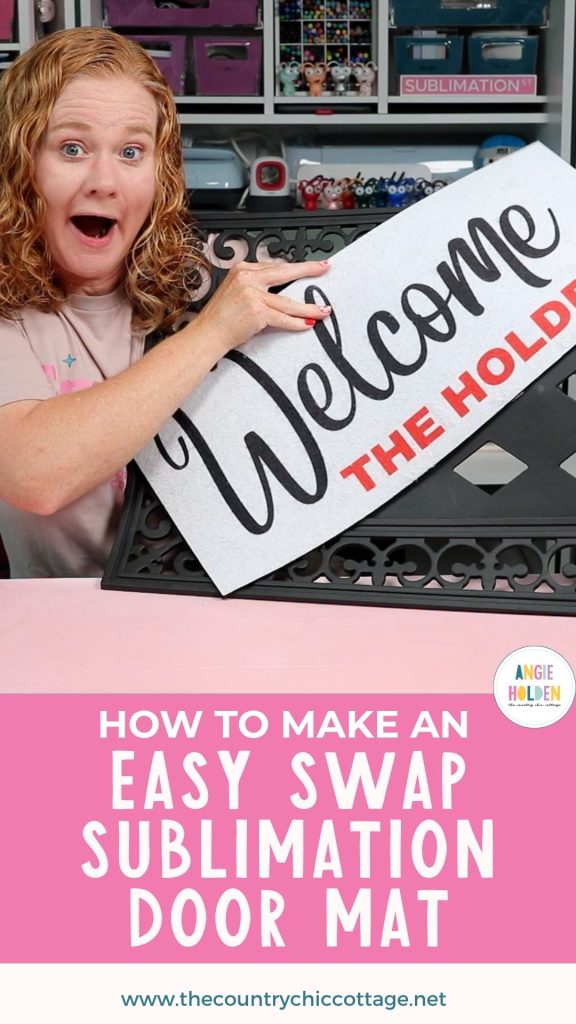
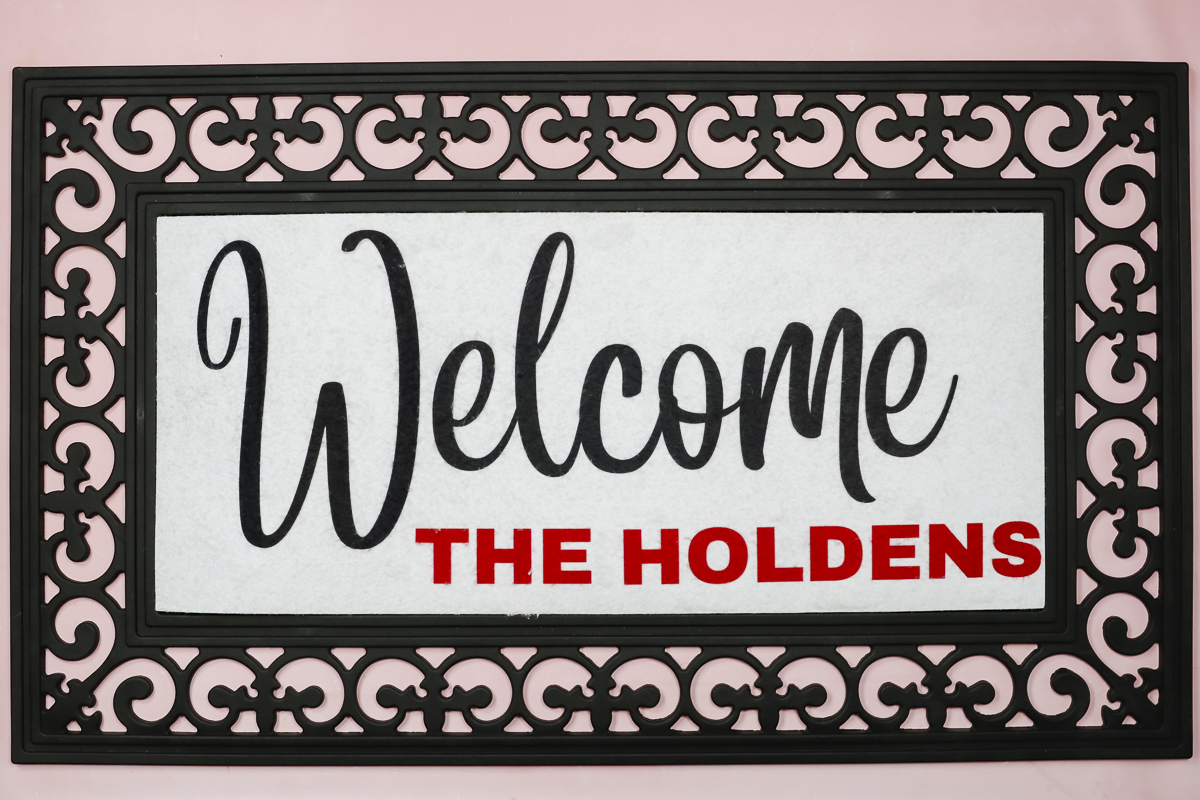
If you love changing up your front door mat as much as I do, you're going to love this easy swap sublimation door mat. No need to store full mats for all seasons; now you can just swap out the insert quickly and easily.
The white portion of this mat is sublimatable and can be swapped out without having to replace the black rubber base.
If you're new to sublimation and you're not sure how to get started, check out my Sublimation Start Guide.

There are so many ways you can customize this doormat. The insert is easy to pop in and out, so you can change the design for everything from holidays and birthdays to different seasons and even sports teams.
I'm sharing tips for how to create designs large enough to fill the whole mat, even if you have a standard-sized sublimation printer.
How to Make an Easy Swap Sublimation Door Mat
I'm really excited for all the possibilities this sublimation door mat offers. Even if you have a smaller-sized sublimation printer or heat press, you can use this door mat.
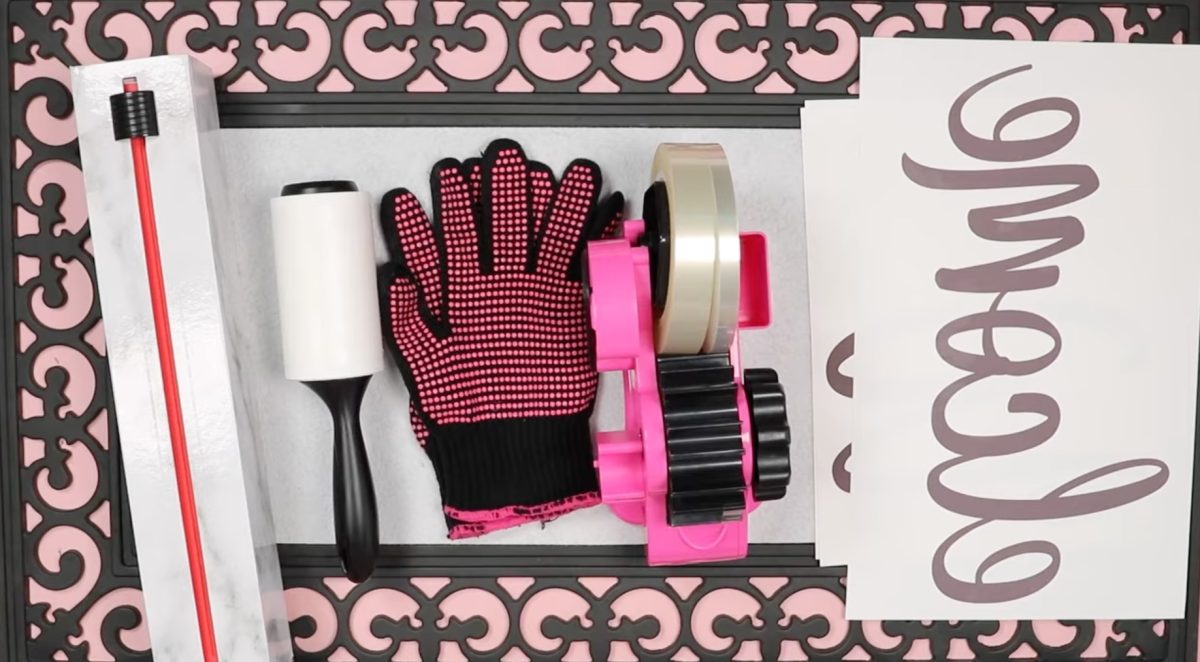
Supplies Used
- Canva Template
- Door Mat
- Inserts
- Brother Sublimation Printer
- Sublimation Paper
- Lint Roller
- Heat Resistant Tape
- Heat Resistant Gloves
- Tape Dispenser
- Protective Paper
- Heat Press
Step 1. Create Your Sublimation Design
The first thing we're going to do is create our sublimation design. For my door mat, I am creating a simple text design that says Welcome and our family name.
If you want to make a sublimation door mat like the one I made, click the Canva template in the supplies list above.
This template is set up for 8.5 by 14 sublimation paper. Most printers that can accept 8.5 by 11 can also accept 8.5 by 14.
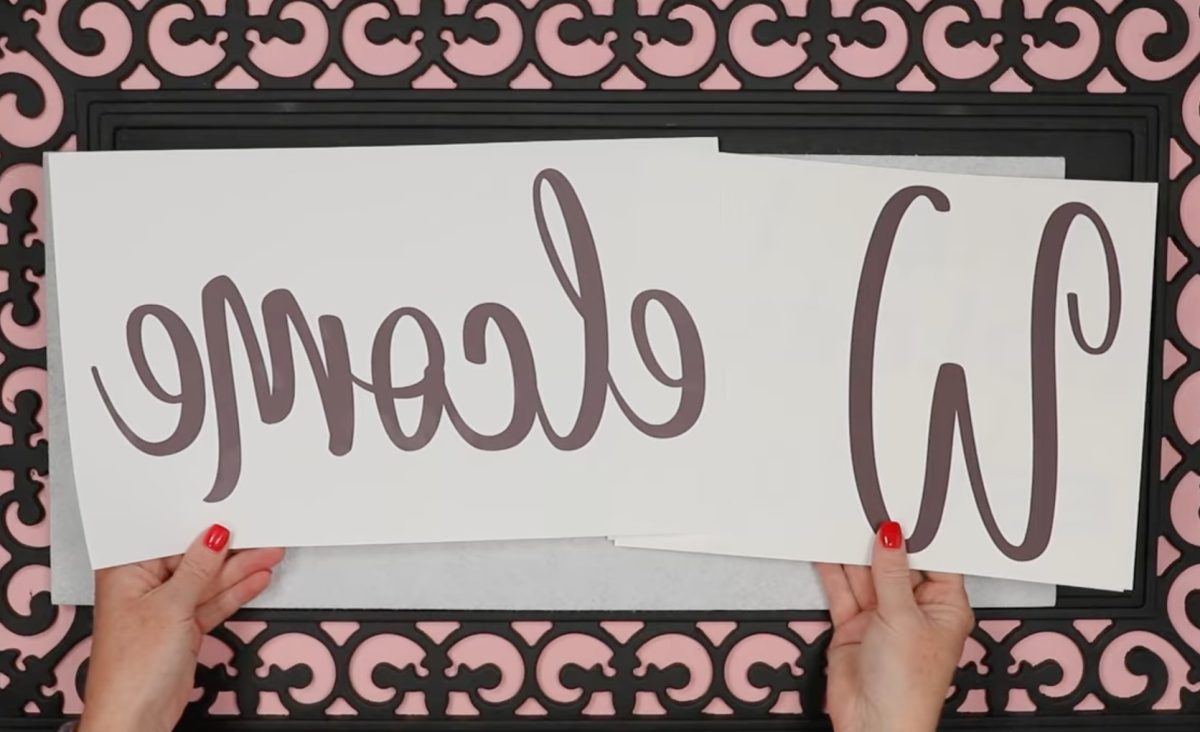
I have the word welcome separated so that the W is on one page and the elcome is on a separate page. This will allow me to create a design that takes up more of the mat than if I tried to print it all on one page.
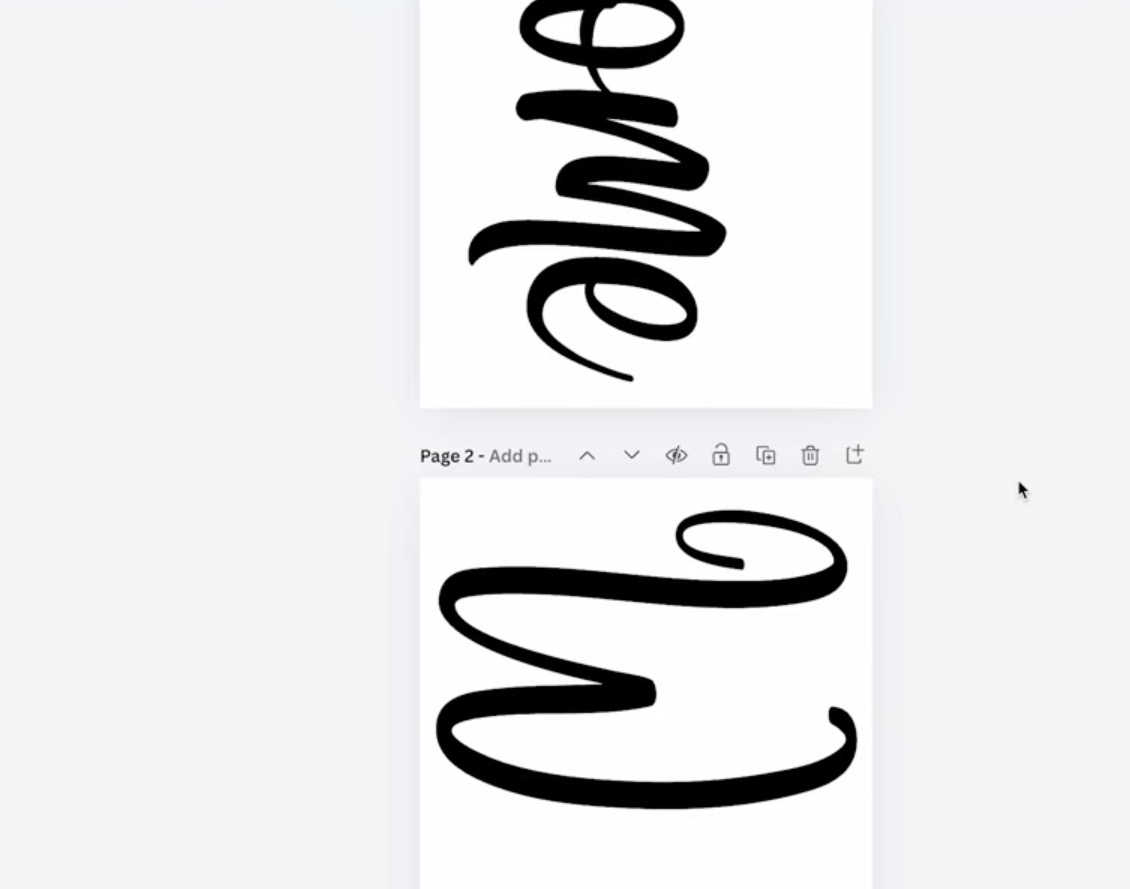
On the third page, I have our family name. You can also add when your family was established, etc.
Within Canva, you can change any of the colors; you can also resize elements or change the font if you'd like.

Note – if you're using Welcome the way I have it set up and you want to resize the design, make sure you resize the entire word to the same font size. This will ensure everything looks good together.
If you choose a different script font, look for fonts where the W looks good and is not connected to the other letters.
If you'd like more design elements added to your mat, you can search right within Canva for a lot of different designs.
The free version of Canva has a lot of designs you can use, just make sure you check for designs that don't have the crown icon.
Step 2. Print the Sublimation Design
You cannot print directly from Canva. Click Share and then Download.
For my printer, the best setting is PDF for Print using CMYK.
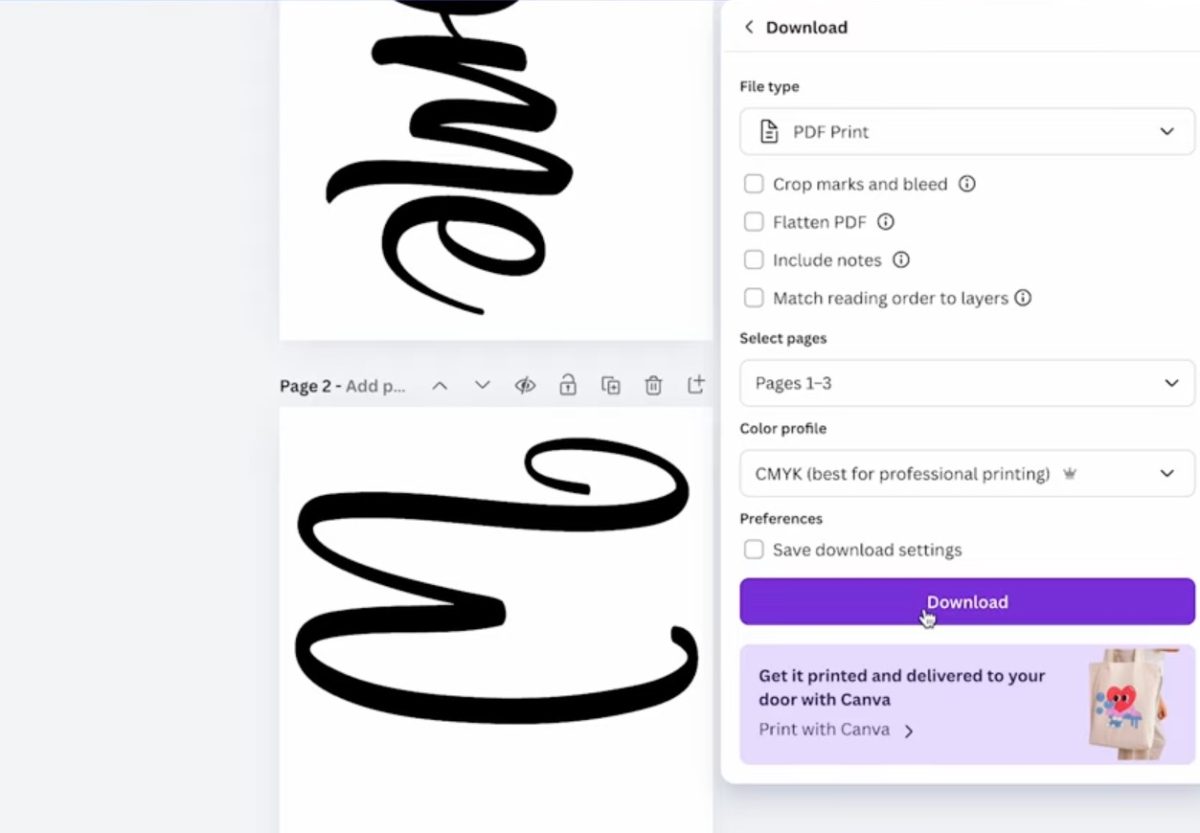
Click Download and save the design to your computer.
Open the file and print it on sublimation paper, with sublimation ink, from a sublimation printer.
The way my design is set up, the first page is 8.5 by 14, and the rest are 8.5 by 11. If you're using different-sized paper, make sure to make those adjustments before downloading the design.
Step 3. Prepare the Sublimation Print and Mat
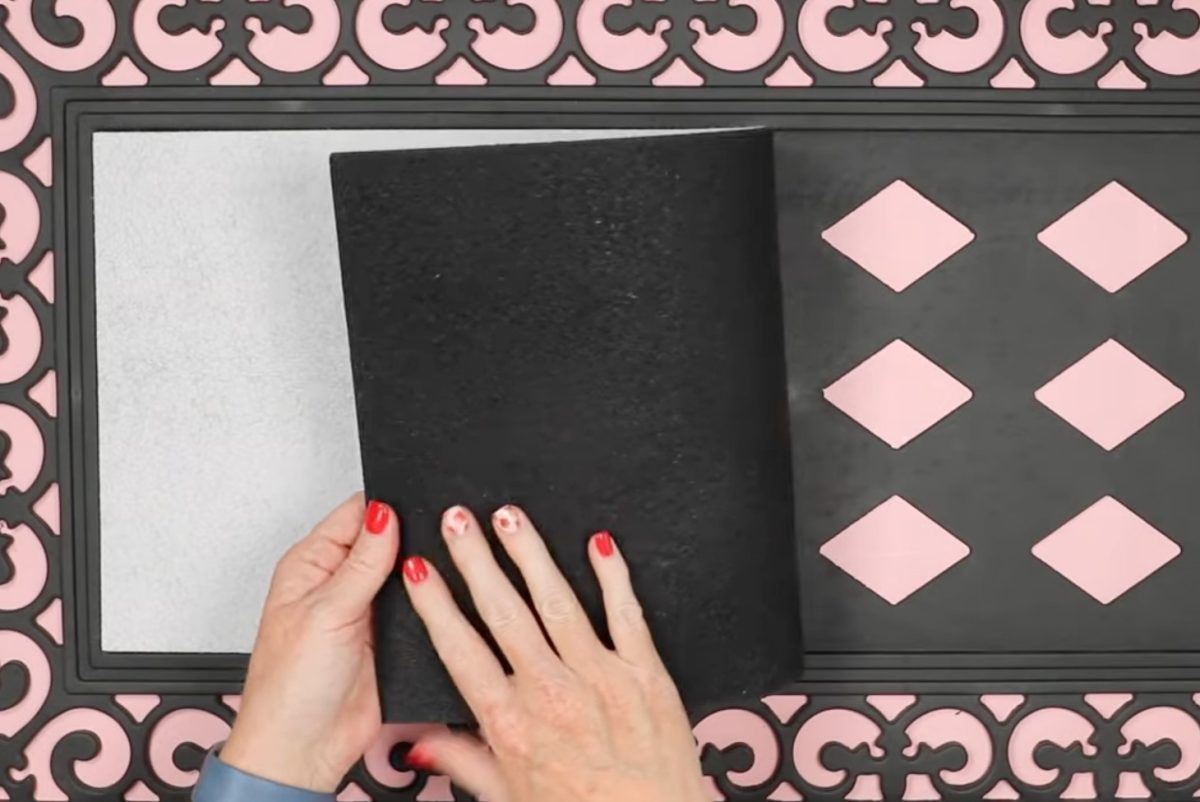
We don't need the black portion of the mat, so move that to the side.
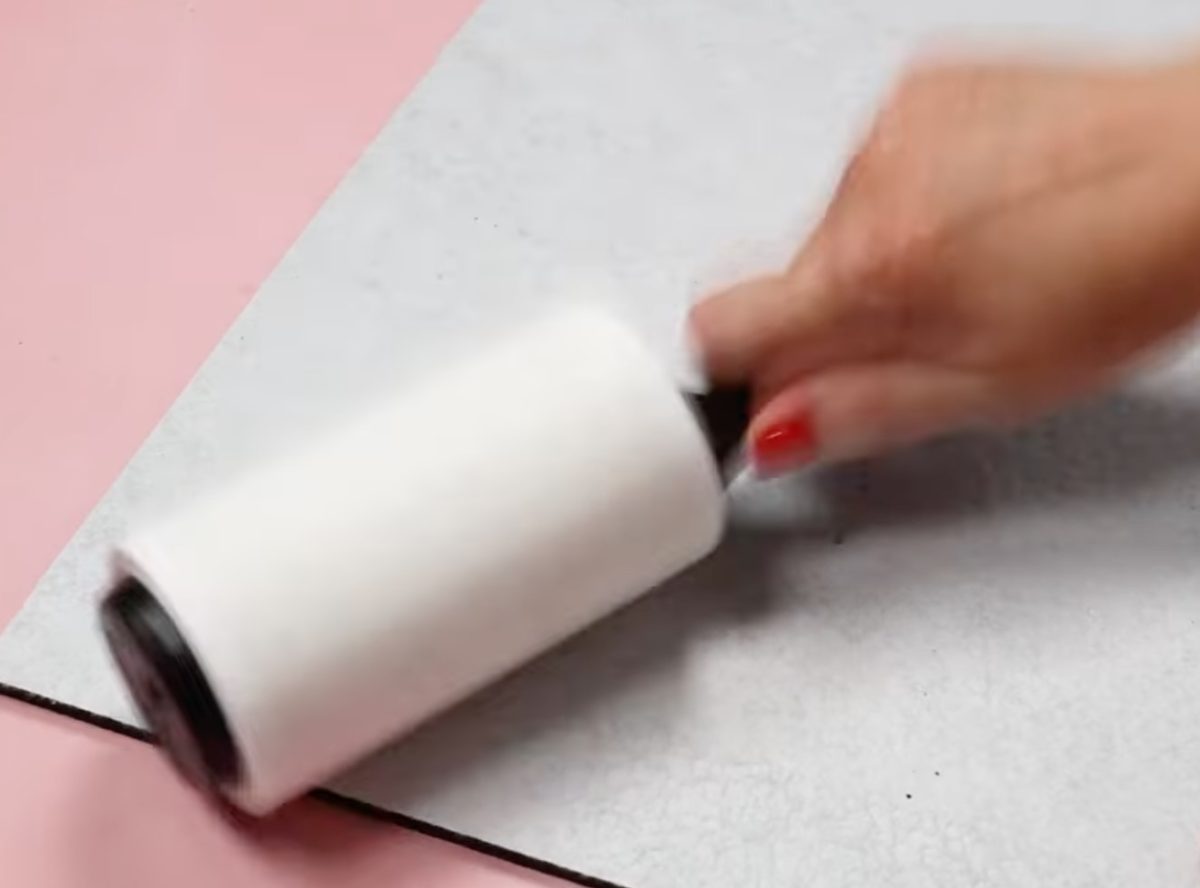
Use a lint roller to clean the white portion of the mat to remove any hair, dust, or other debris.
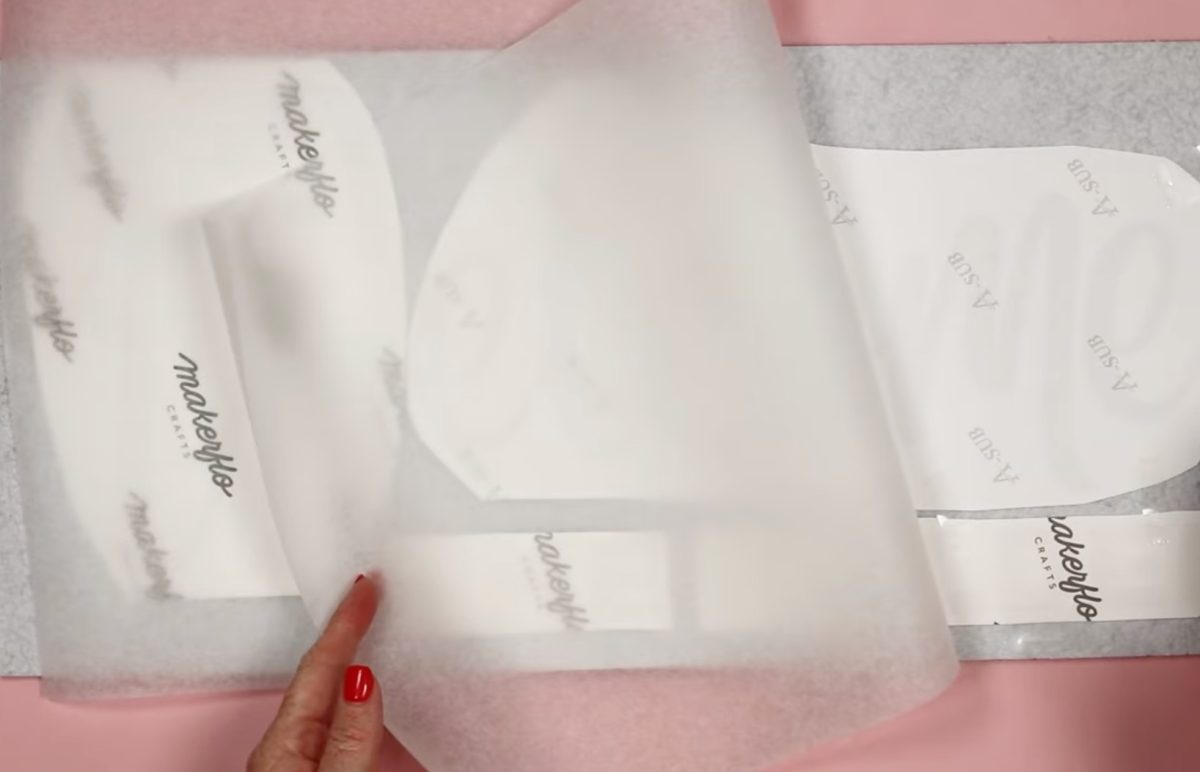
How you lay out the design will depend on how you printed the design.
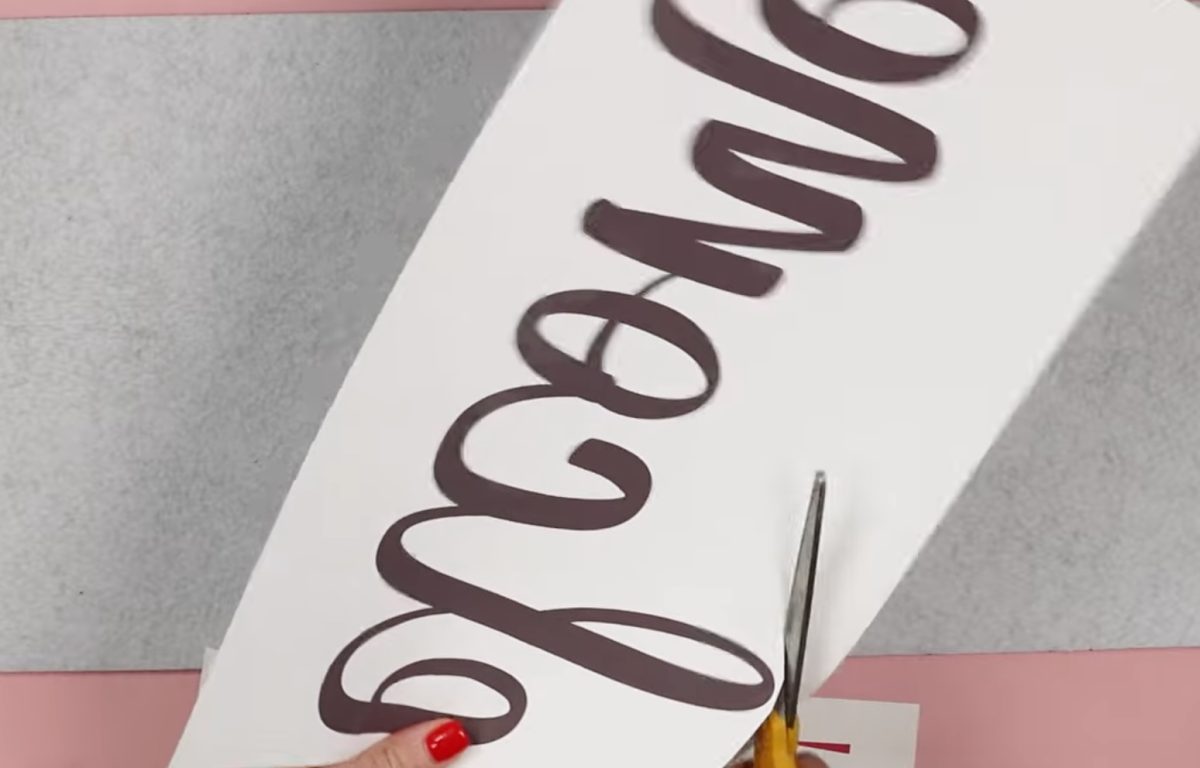
I am trimming close to the print so I can lay everything out to press at the same time.
I can see the design through the back of the paper, which allows me to see how close I want the W and the elcome prints.
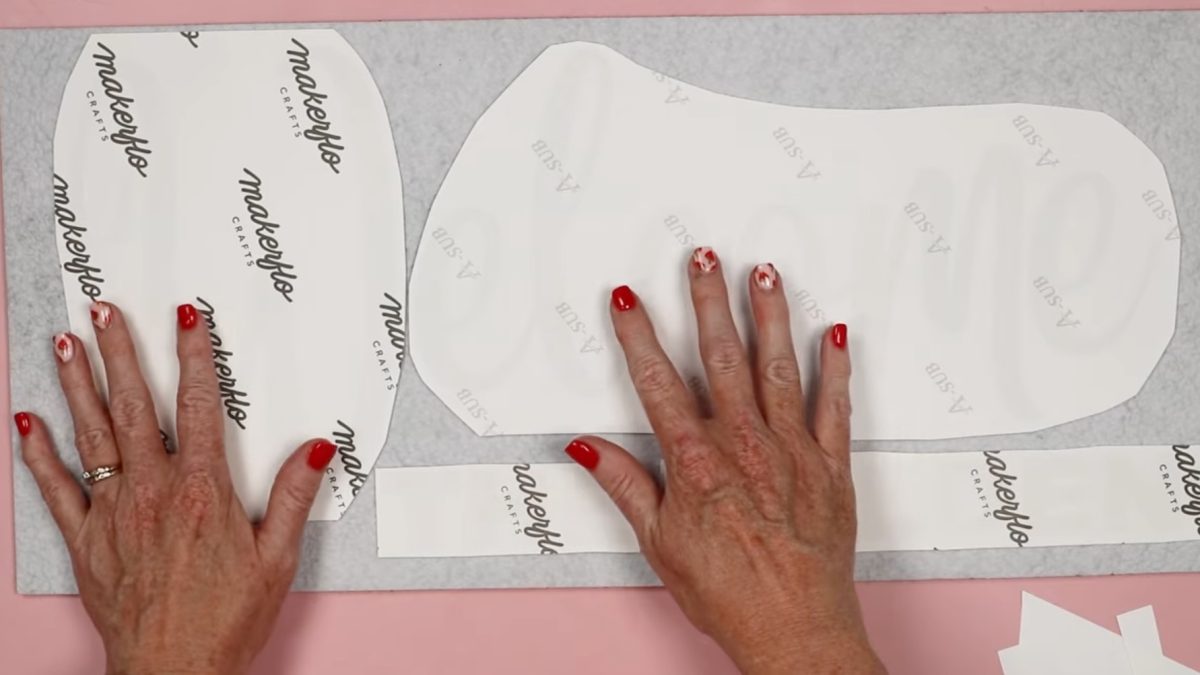
With everything located where you want it. Use heat-resistant tape to secure it all in place.
Place protective paper over the top of the prints to protect the press from any ink that bleeds through.
Step 4. Press Sublimation Door Mat with a Heat Press
Place the sublimation door mat in the heat press.
If any part of your print hangs over the side of the mat, place protective paper under the mat to protect the heat press. The mat itself is thick enough that nothing will bleed through it.
You can use an EasyPress, Auto Press, clamshell press, or swing-away with this door mat.
I have a larger heat press, so I am going to use it today. Using a larger press allows you to press the mat in fewer presses, which reduces the risk of ghosting from moving the mat or fading if you press the same area more than once.
I have my heat press set at 390° F for 60 seconds. You want light to medium pressure while pressing.
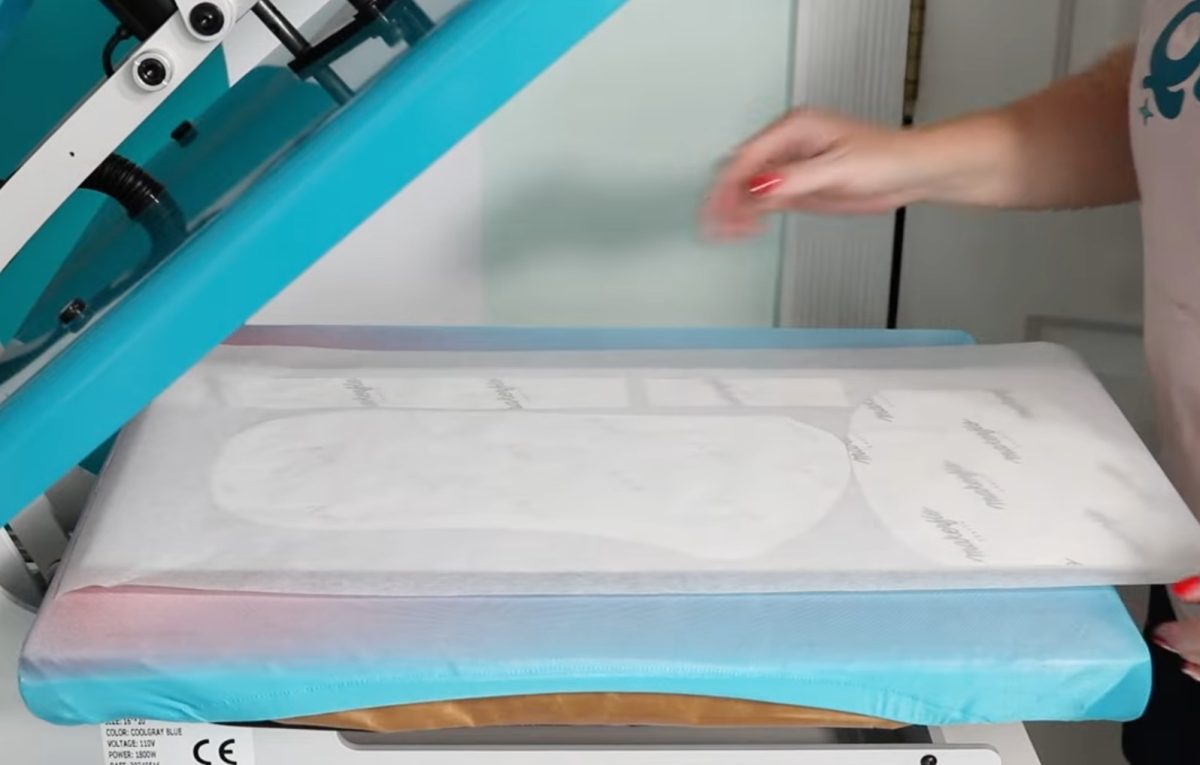
Press the entire design for the full time.
Step 5 – Finish the Sublimation Door Mat
When you're done pressing the whole mat, remove the protective paper, sublimation paper, and heat-resistant tape.
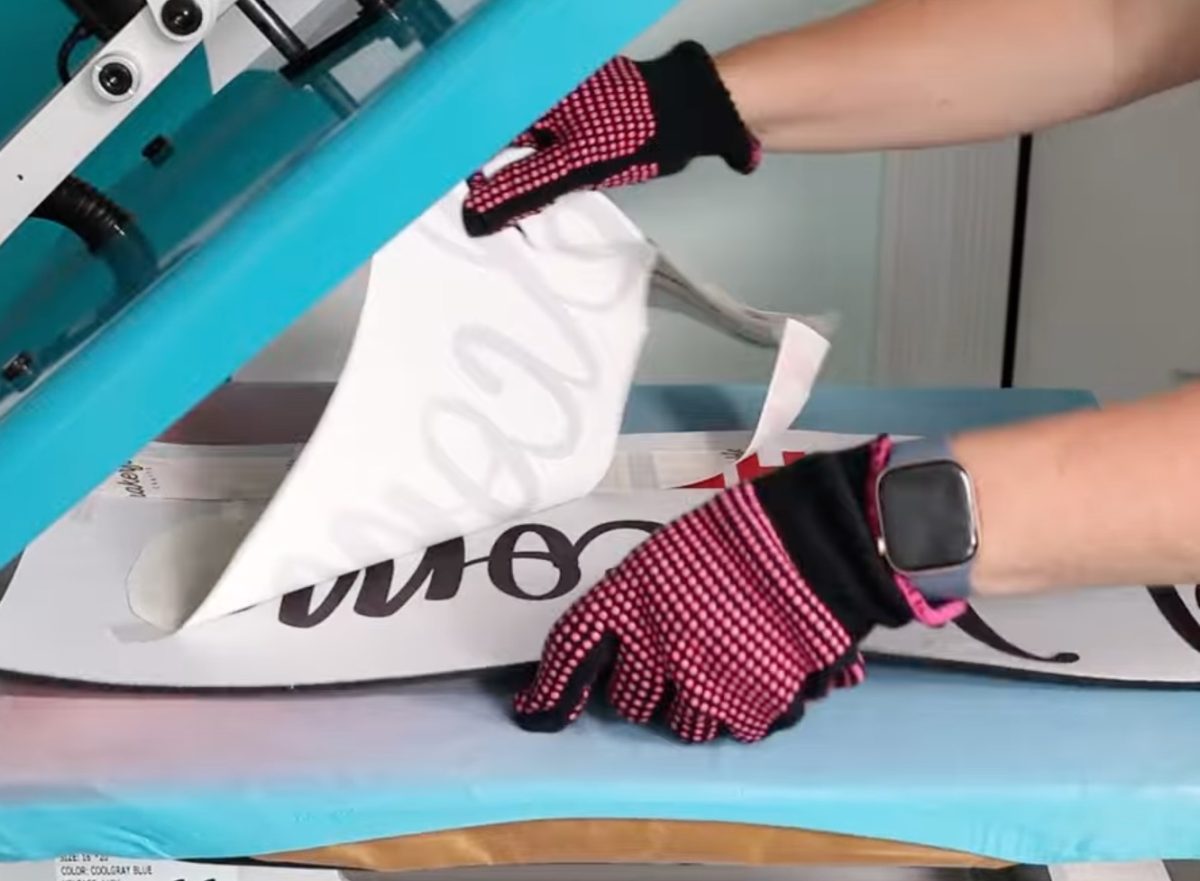
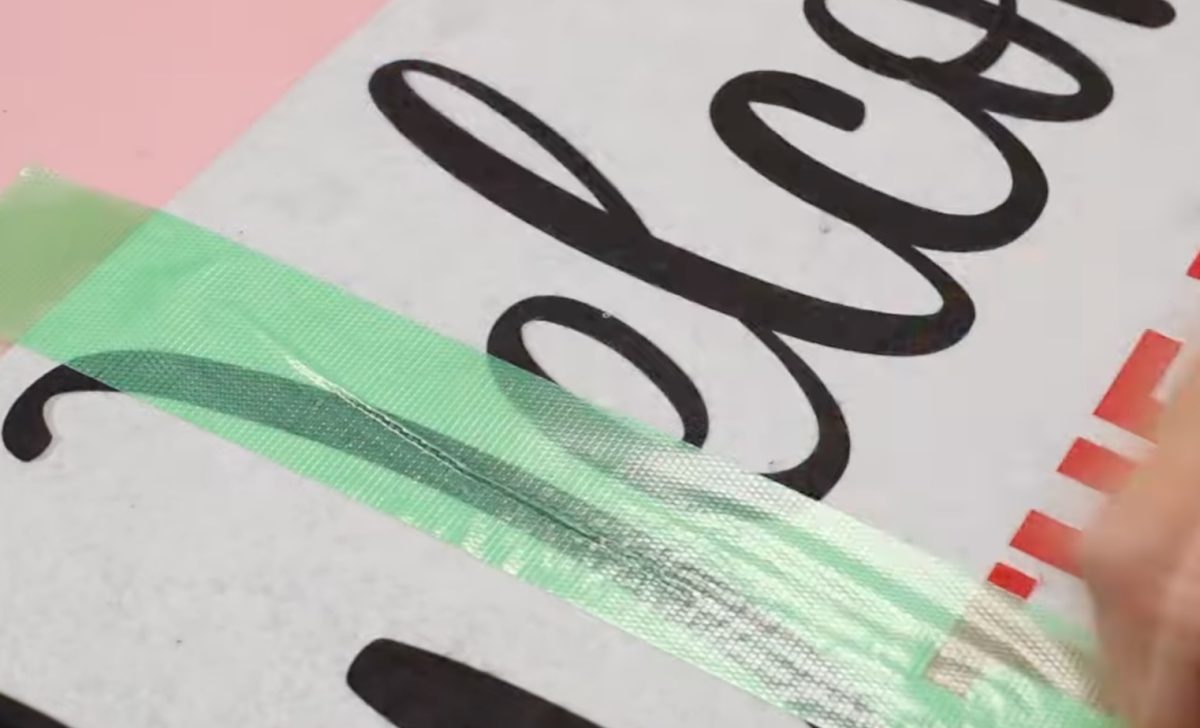
If you notice fuzzy pressing marks from the heat-resistant tape, grab some strong adhesive tape and stick it to the mat and pull it up.
The strong grip tape helps make the surface all look the same.
I did try using a lint roller for this step, and mine didn't work. If you have a strong adhesive lint roller, it may work better than mine did.
Step 6. Place Sublimation Mat Insert Inside Rubber Door Mat
To finish your sublimation door mat, simply place the mat insert into the rubber door mat.
It is a tight fit, which I think is good. The insert sits in the rubber mat, not needing adhesives or clips to hold it in place.
If you wanted to add a double-sided adhesive, you can; it just may make it a little more difficult to swap out in the future.
Are You Ready to Make an Easy Swap Sublimation Door Mat?
I'm really impressed with how this sublimation door mat turned out. It sublimated really well and was really easy to do.
I'm a big fan of having the sublimation portion removable. This makes it easier to press and allows you to change out the design without having to replace and store a new mat for every occasion.
I hope I've answered any questions you have about making a sublimation door mat. If you have any other questions, leave them in the comments, and I'll be happy to answer them for you.