
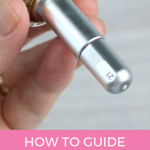
The release of the fine deboss tool—along with several other tools that work with the QuickSwap housing and Cricut Maker machines—has created a lot of excitement in the crafting world. I’ll create a post and a video for each tool so you can see exactly how they work and how to use them with your Cricut machine. First up: how to deboss with your Cricut Maker or Cricut Maker 3. Keep in mind, the fine deboss tool is only compatible with the Cricut Maker line of machines.
What is the fine Cricut deboss tool?
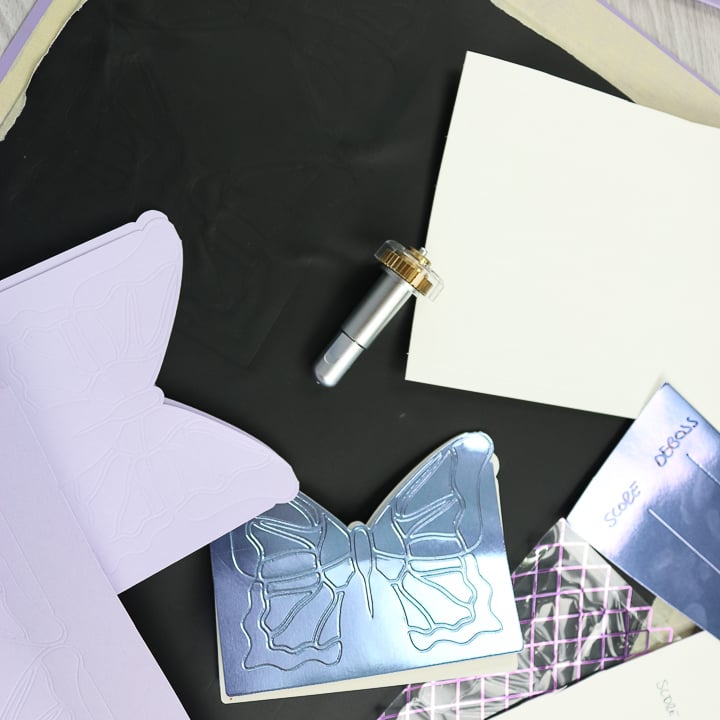
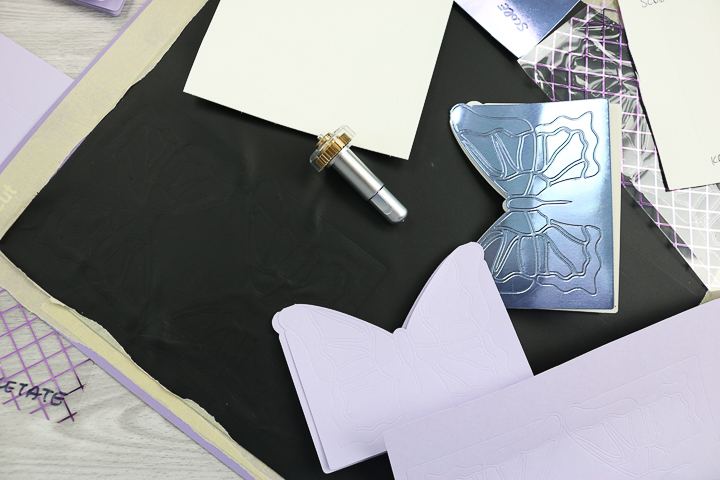
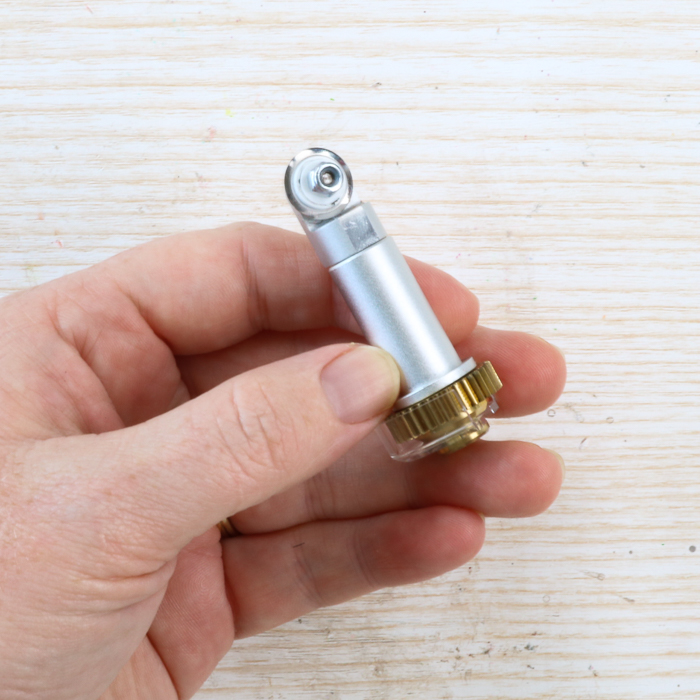
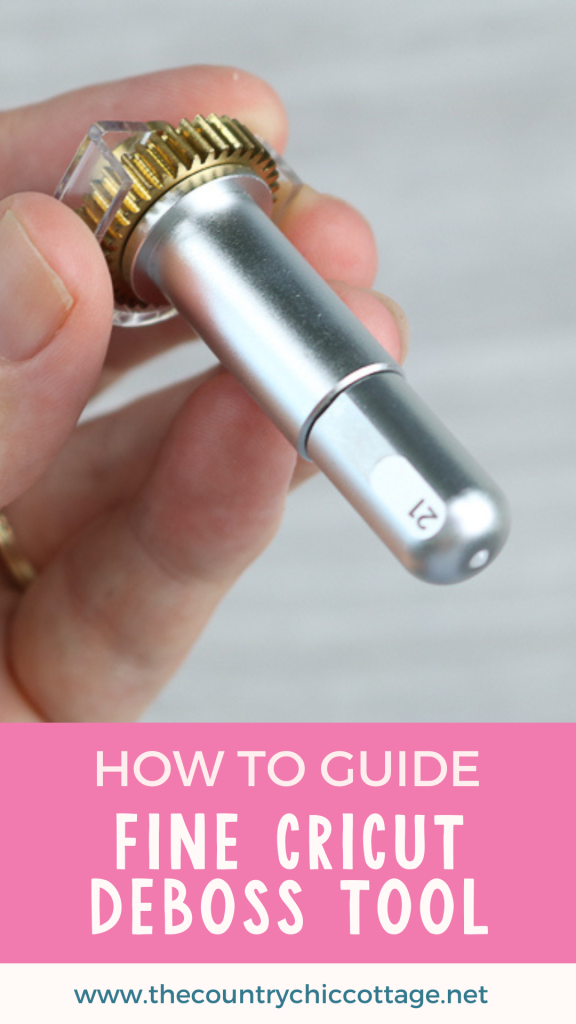
Now you can deboss any design with no folders required with your Cricut Maker or Cricut Maker 3 machine. This tool features a small rollerball at the tip that can roll over any shape or curve to create a debossed look.
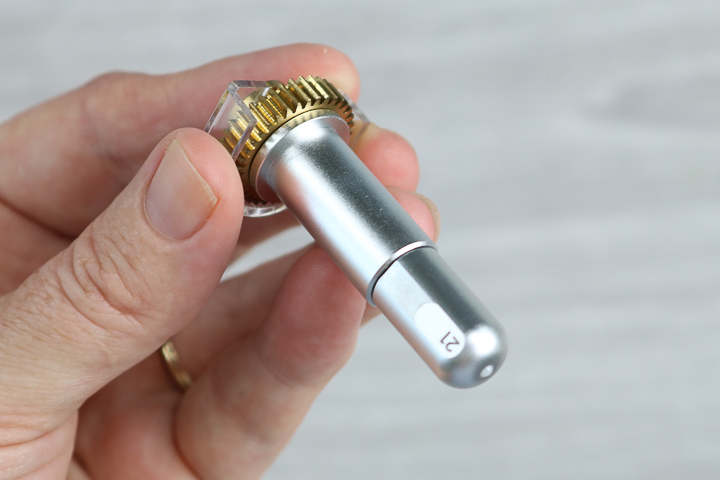
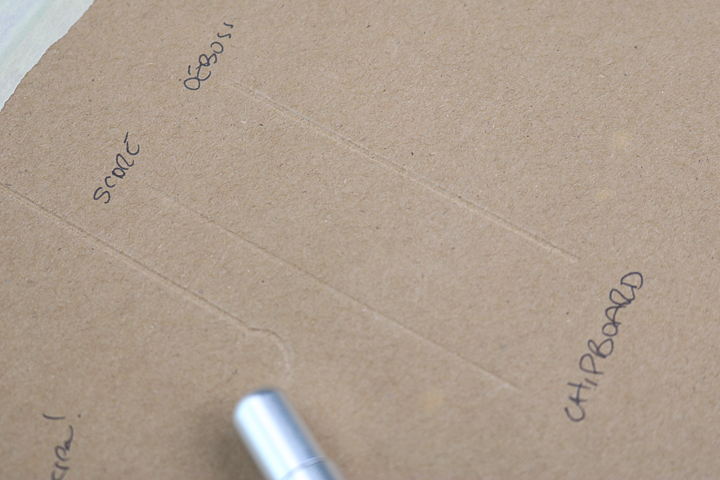
The rollerball is shown in the image below. It is very small and shallow. Keep this in mind when choosing a tool for your project.
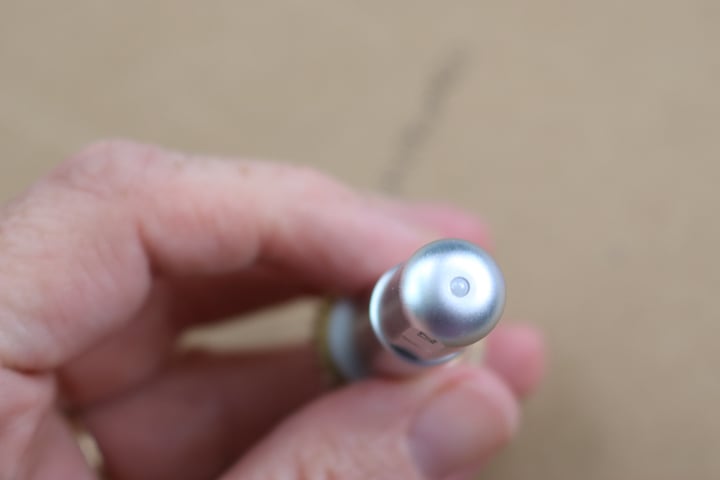
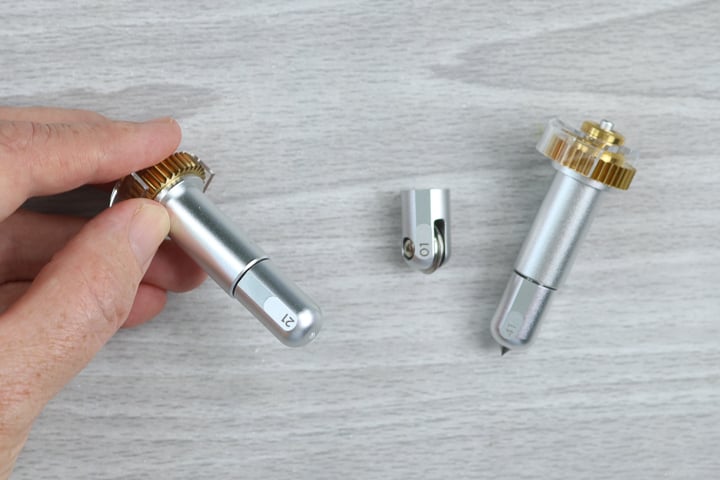
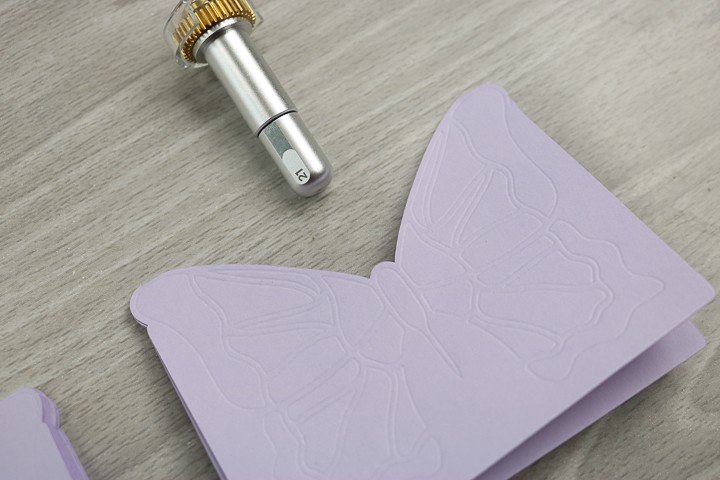
The tip fits the same QuickSwap housing as the scoring wheel and the other tools in the Cricut Maker lineup. The deboss tip is marked with the number “21”. Want to see how the QuickSwap housing works? Head here for a short video!
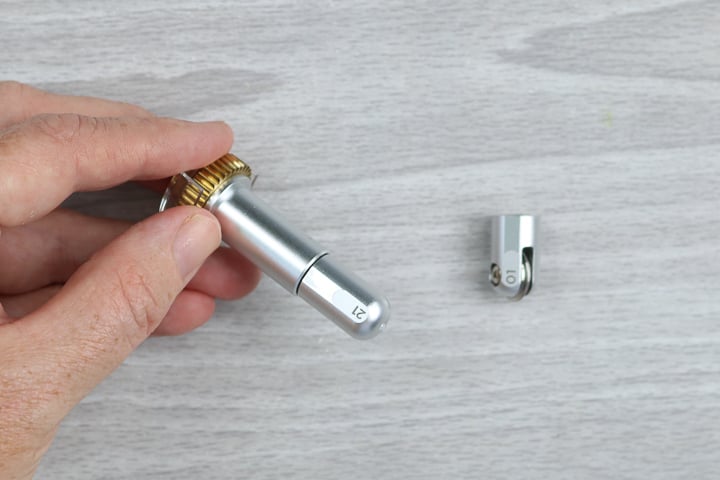
You can purchase a single housing for all your tips, but you may want two if you plan to use these tools frequently. You can find the deboss tool with housing on the Cricut website or just the tip here. The deboss tip is designed for fine debossing. You can see it next to the engraving tip below; the difference is significant. I also have a post on the engrave tool.
Cricut Debossing Tip Video
Want to see all about this tip in a video? You can watch that below! This is also the only place where I have a description of how to change to deboss lines in Cricut Design Space, so be sure to watch.
Can't watch the video or missed something? Everything I discussed in the video is also below.
Why not deboss with the scoring wheel?
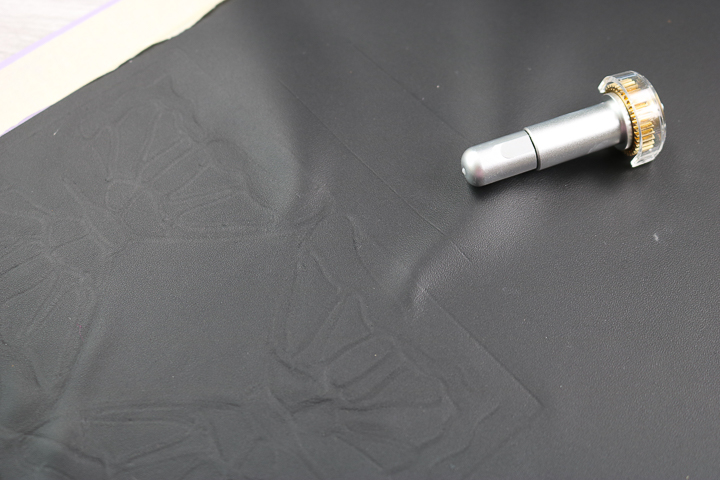
So, I have made a few debossing projects and just used the scoring wheel? Why not continue to do that? Why do you need two tools? Here is a comparison that shows why the scoring wheel does not work well for a debossed pattern.
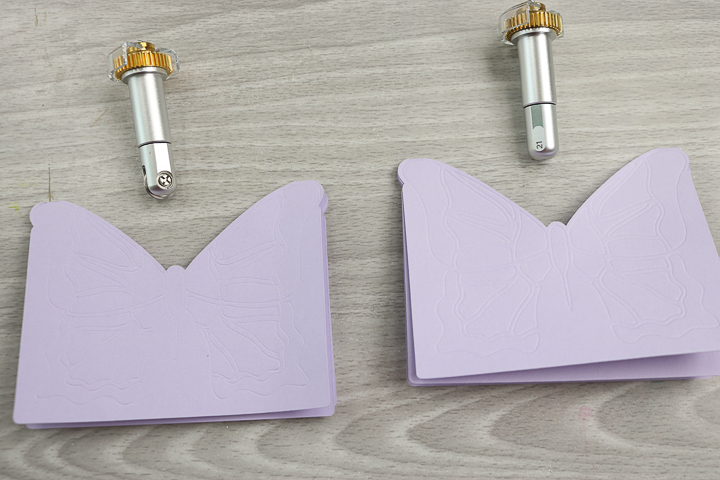
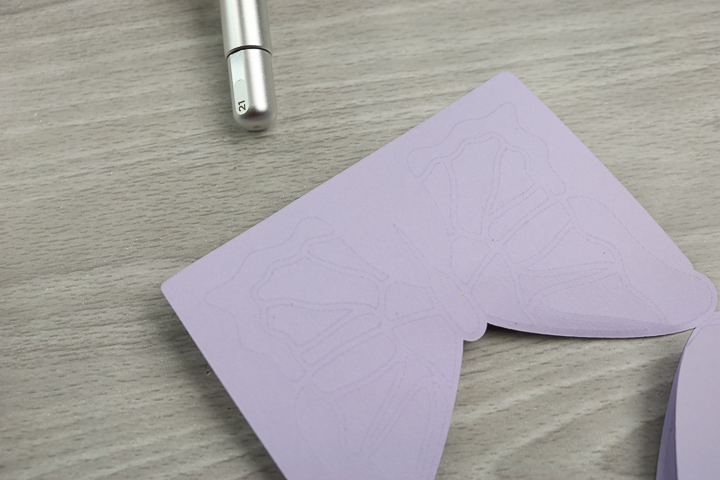
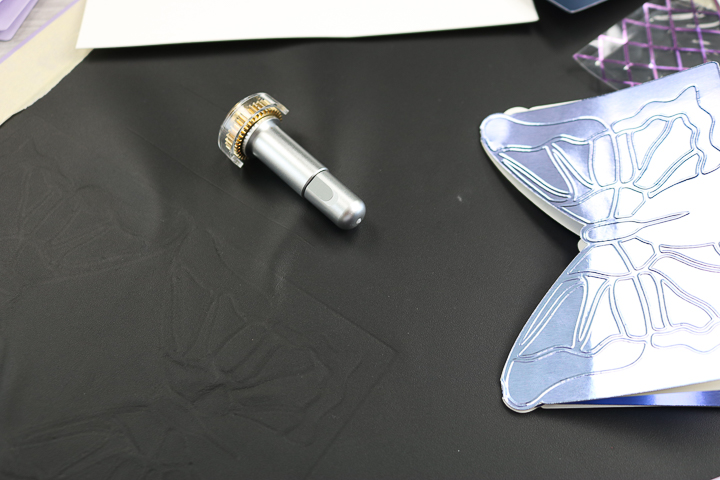
Below is a card we created using only the scoring wheel. While you can see the butterfly pattern, can you see how the wheel goes slightly over each line? The scoring wheel does not stop exactly on the line, making your deboss look a bit sloppy. The finer the pattern, the worse this problem becomes.

The same card, debossed with the deboss tip, shows that this tool performs much better. The lines are crisp, and the pattern is perfect. If you want to deboss with your Cricut, the fine deboss tip is really the only way to go.
What materials can you deboss on your Cricut Maker?
So, what can you use the fine Cricut deboss tool on? The official list from Cricut for materials you can deboss is as follows:
- Adhesive Sheet, Double-Sided
- Construction Paper
- Copy Paper – 20 lb (75 gsm)
- Copy Paper – 32 lb
- Craft Foam
- Deluxe Paper
- Duct Tape Sheet
- Faux Leather (Paper Thin)
- Flocked Paper
- Foil Acetate
- Foil Holographic Kraft Board – Neon
- Foil Poster Board
- Freezer Paper
- Genuine Leather
- Glitter Cardstock – Use coupon code COUNTRY10 for 10% off an order of paper
- Glitter Craft Foam
- Heavy Cardstock – 100 lb – Use coupon code COUNTRY10 for 10% off an order of paper
- Heavy Chipboard
- Medium Cardstock – 80 lb (216 gsm) – Use coupon code COUNTRY10 for 10% off an order of paper
- Heavy Watercolor Paper – 140 lb (300 gsm)
- Kraft Board
- Kraft Cardstock
- Light Cardstock – 60 lb (163 gsm) – Use coupon code COUNTRY10 for 10% off an order of paper
- Light Chipboard – 0.37 mm
- Light Glitter Paper
- Light Patterned Paper – Use coupon code COUNTRY10 for 10% off an order of paper
- Matboard
- Metallic Poster Board
- Mulberry Paper – Use coupon code COUNTRY10 for 10% off an order of paper
- Pearl Paper – Use coupon code COUNTRY10 for 10% off an order of paper
- Poster Board
- Shimmer Paper – Use coupon code COUNTRY10 for 10% off an order of paper
- Sparkle Paper – Use coupon code COUNTRY10 for 10% off an order of paper
- Sticker Paper – Removable
- Sticky Note
- Tooling Leather 2-3 oz. (0.8 mm), 4-5-oz. (1.6 mm), 6-7 oz. (2.4 mm)
- Transparency Film
- Vellum – Use coupon code COUNTRY10 for 10% off an order of paper
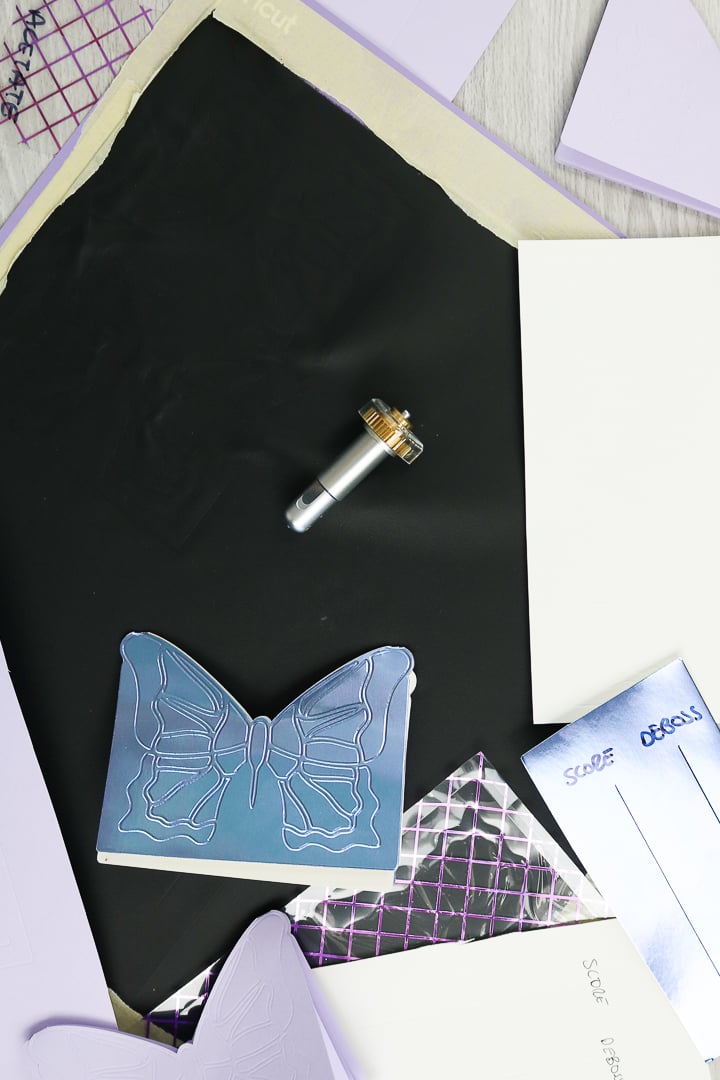
I thought we would test a few of those materials to assess how well the tip performs under various conditions. We will use the butterfly bag topper cut file (Cricut Design Space file #MC0633D1) for all experiments below; you can use it for your project.
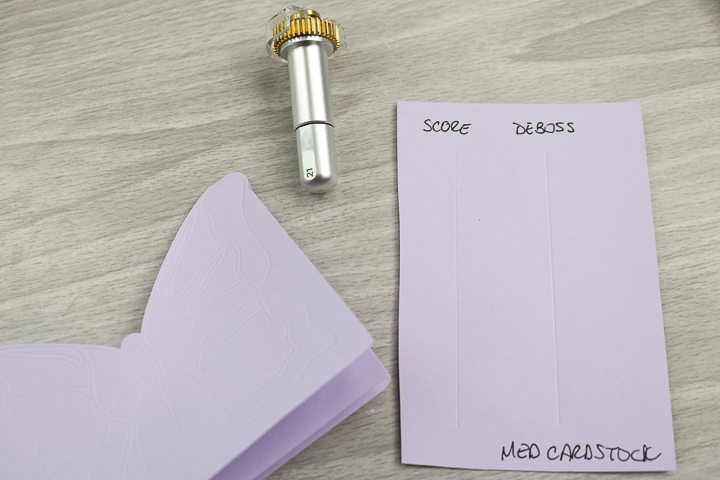
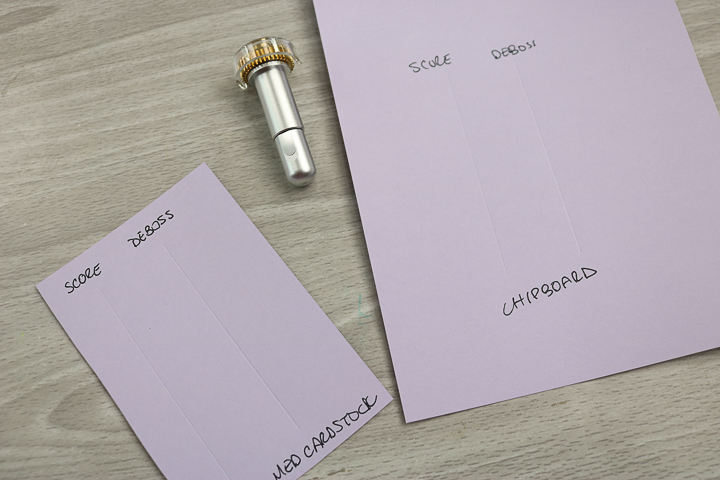
Medium Cardstock
The first thing I made was something from medium cardstock. You saw this above when comparing the scoring wheel and deboss tip. The butterfly looks amazing! I also compared the depth of the scoring wheel and the deboss tip, and the deboss tip is consistently slightly deeper and more pronounced.
From behind, the deboss is not very appealing. This means you really can't use the back of the project for an embossed look. It also means that for a card, you will need to use an additional piece to cover the inside.
I also wondered whether, with the thinner material, I would get a deeper deboss if I used a thicker material setting. The answer is no. I used a chipboard setting on medium cardstock, and the deboss was identical to the cardstock setting.
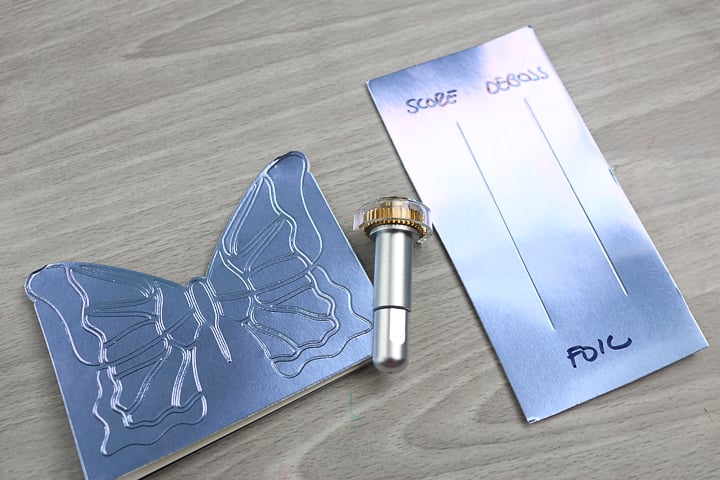
Foil Paper
What happens when you use the fine Cricut deboss tool on foil paper? Magic! I really loved this tip for this type of paper. It really pops and adds something extra special to a project.
Acetate
The Cricut deboss tip also worked on acetate. I will say that the lines are hard to see on this material, so the application would have to be unique, but it is definitely possible.

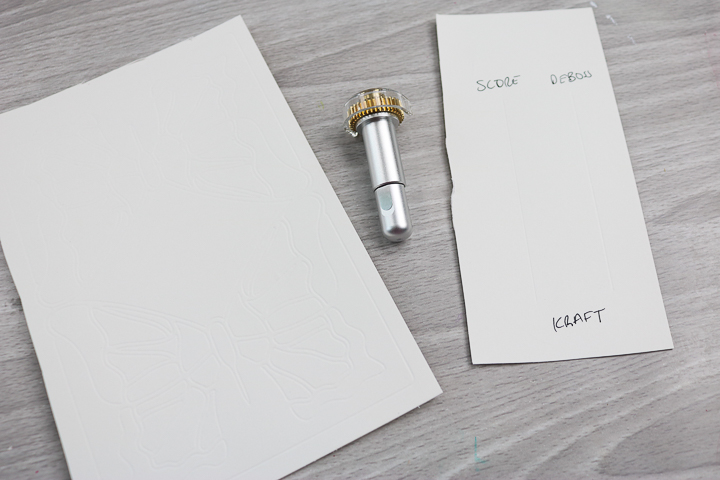
Kraft Paper
The debossing tip for the Cricut Maker also works great on this material. This is one of those projects where you probably add ink or another contrast agent to make the deboss pop more; it is hard to see on the white, but it's definitely there!
Chipboard
A couple of tips when it comes to chipboard:
- Move your star wheels all the way to the right and use only 11-inch-wide material.
- Use the strong-grip mat and tape it down all the way around the edges.
- Be sure not to put the tape anywhere that the deboss tool will go. It can clog the tip and stop.
If you follow these tips, the fine Cricut deboss tool works great on chipboard!
Genuine Leather
So, the thicker the material, the more issues I had with the deboss tip. Leather gave me a few problems. Here are a few tips if you are going to attempt a project:
- Move your star wheels all the way to the right and use only 11-inch-wide material.
- Use a NEW strong-grip mat and tape it down all the way around the edges.
- Be sure not to put the tape anywhere that the deboss tool will go. It can clog the tip and stop.
The debossing worked, but not very well. The effect is super subtle. I am actually hoping that the engraving tip works better on leather. Stay tuned; I expect to have that post up soon, and you can compare the two before deciding which to purchase. I was able to get the deboss to work on the leather, but I frankly was not impressed. I will probably not use this tip for this application again.
Do you need the fine debossing tip from Cricut?
Should you purchase this tool for your Cricut Maker? Is it worth the investment? The bottom line is that if you do a lot of debossing when crafting, it is definitely worth it. Think about never needing to invest in another debossing folder. Just fire up your Cricut machine and do it all right there. I think the fine Cricut deboss tool is a great addition to your machine for those who love that debossed look.
I hope this post has helped you learn about the new tip and how it can be applied to a wide variety of materials.
Jump in and make something amazing with your Cricut deboss tip!
We would love it if you shared your creations in our Facebook group as well. We are always looking for inspiration. You can also ask any questions you have about the fine Cricut deboss tool below. Enjoy and happy crafting!
More Cricut tools and ideas
Did you love this post on the deboss tip for the Cricut Maker and want more ideas? Try the links below!


I am trying to use the fine deboss tip to create roof for a model building on a train display. I want the roof to look like it has shingles, but each time I select deboss when preparing the pattern all details except the large rectangular outline disappear. I’m not sure how to keep details in a complex image.
Thanks!
I have never had this issue. Can you send me a screen shot or two? Just email me!
Couldn’t I just use the debossing tip for scoring (card folds etc)?
You can. The line is not quite the same.