
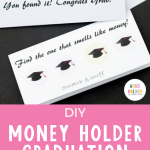
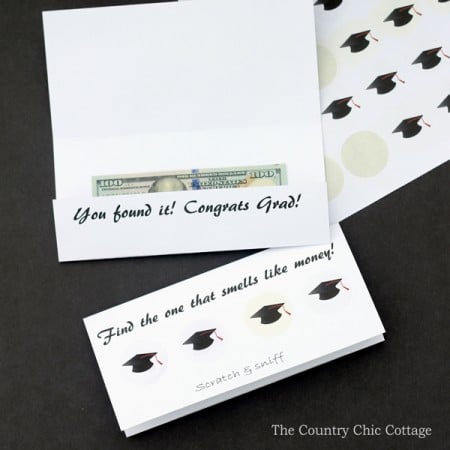
Make a money holder graduation card with our quick and easy tutorial below. This project is perfect for graduates of all ages. We all know that graduates love to receive money as a gift!
This post was originally posted over at Online Labels, but I wanted to share it here in case y'all missed it.
I love a good handmade gift, especially for recent graduates! Really, the number one thing all grads want is cash, cash, cash! Can you blame them? Not only is it a practical gift as they go off to college, but it gives them a sense of freedom, too.
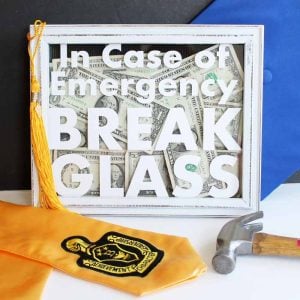
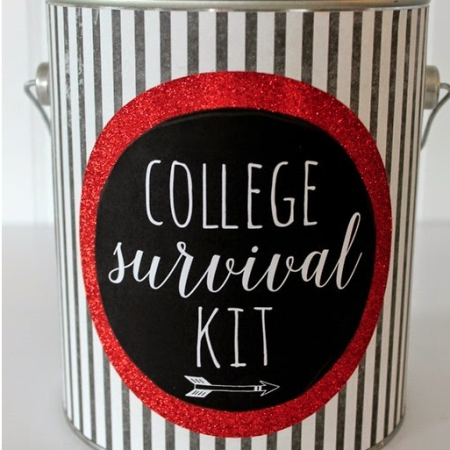
Planning a high school graduation party? There are so many great crafts and decor items you can make to save a little extra money. After all, it's all going to the graduate!
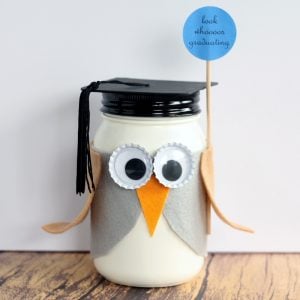
Don't forget about a graduation card box and a words of wisdom notes jar!
How to Make a Money Holder Card
Supplies:
- 1.5″ circle labels in white matte
- Printable graduation hat labels
- Printable graduation card
- White card stock
- Essential oils in the scents of your choice
- Printer
- Scissors
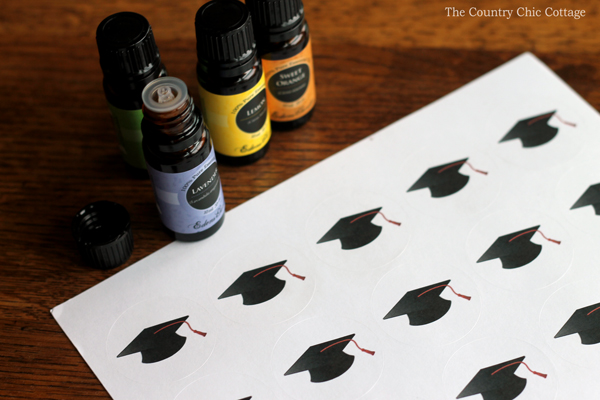
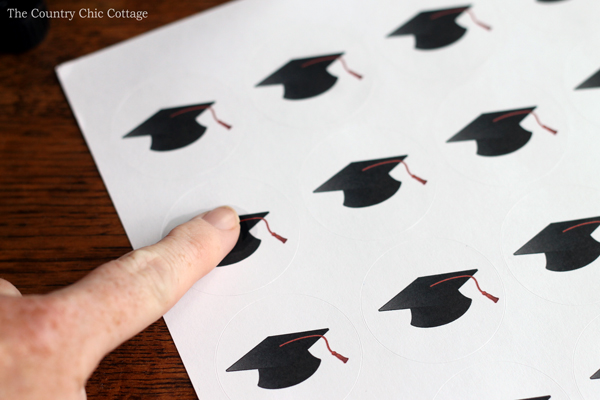
I came up with this idea after creating my own scratch and sniff stickers. This is basically the same type of idea, just a different sticker and using it to create a fun card. Use a drop of essential oil on each of the labels.
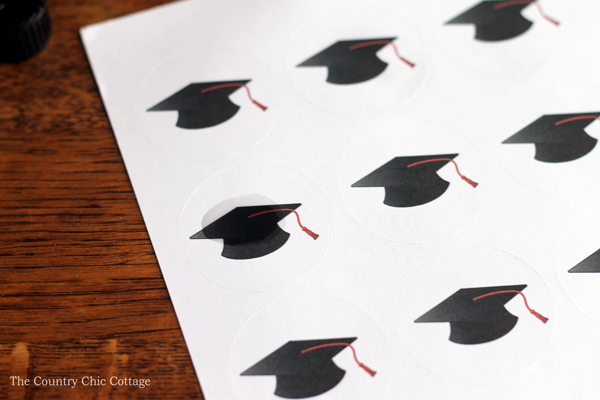
Rub over the entire label with your finger. Do not rub too long! You do not want the ink to bleed.
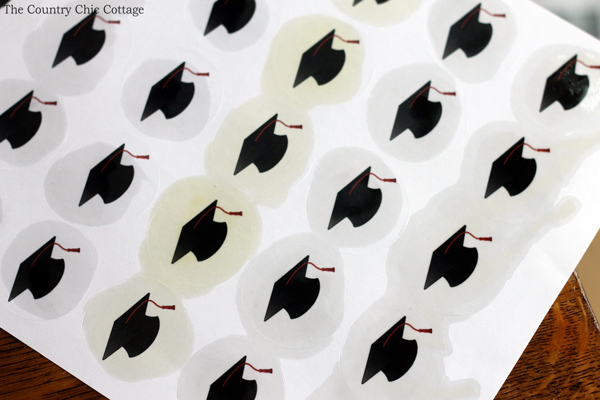
Allow it to dry completely before continuing. NOTE: Some of the essential oils may discolor the stickers slightly.
While the labels are drying, print the card onto card stock.
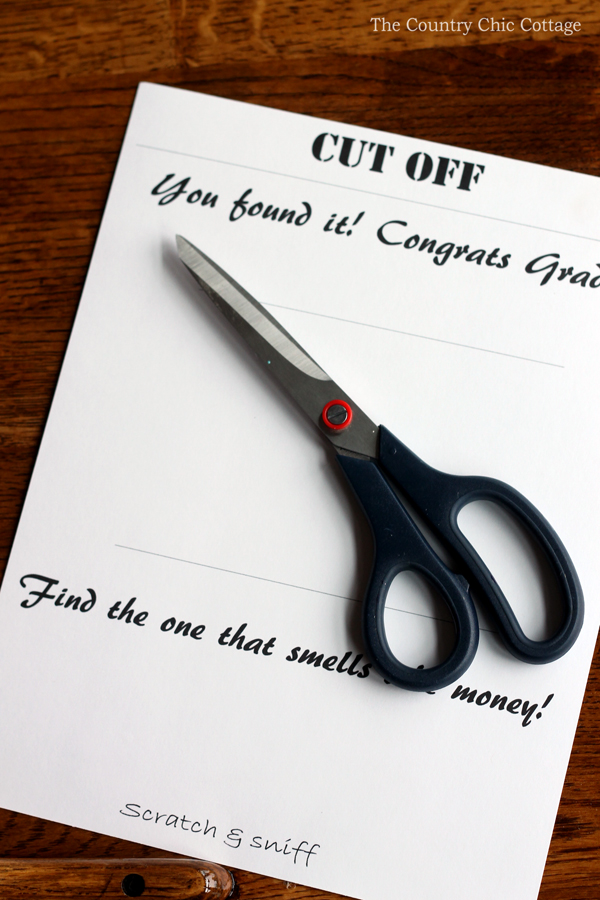
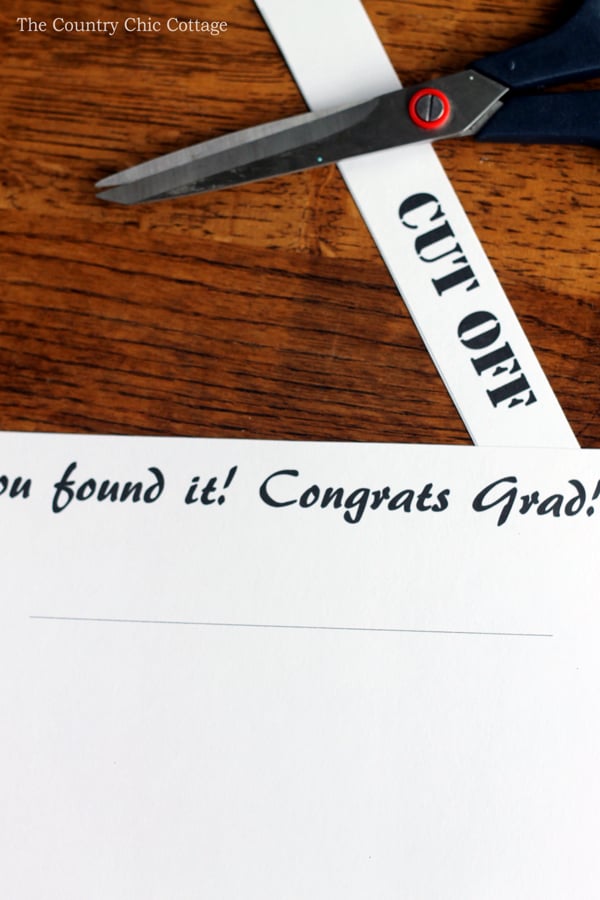
Trim the portion that says “CUT OFF” with your scissors. There is a cut line indicated.
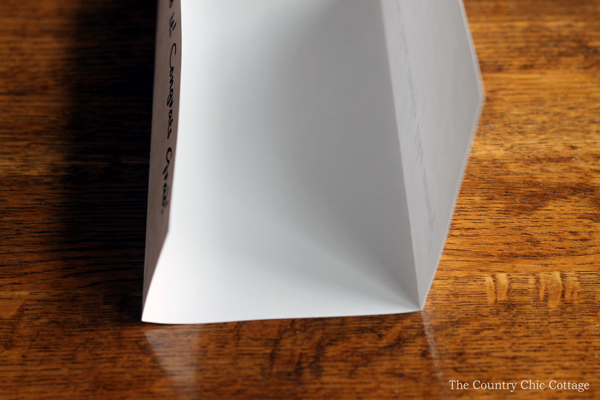
Fold the card along the fold lines.
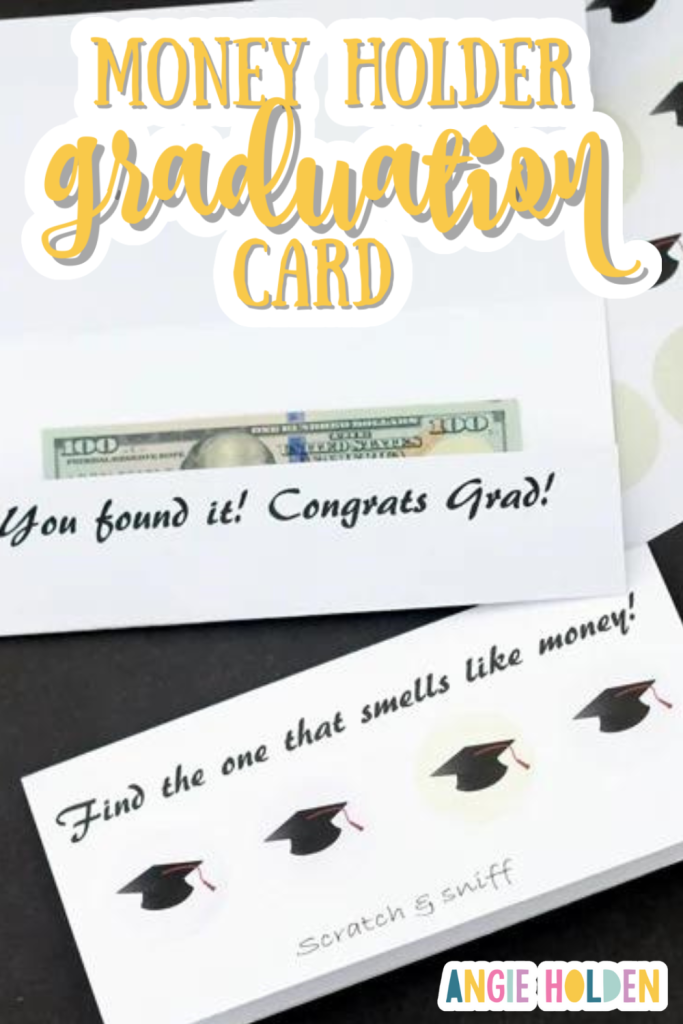
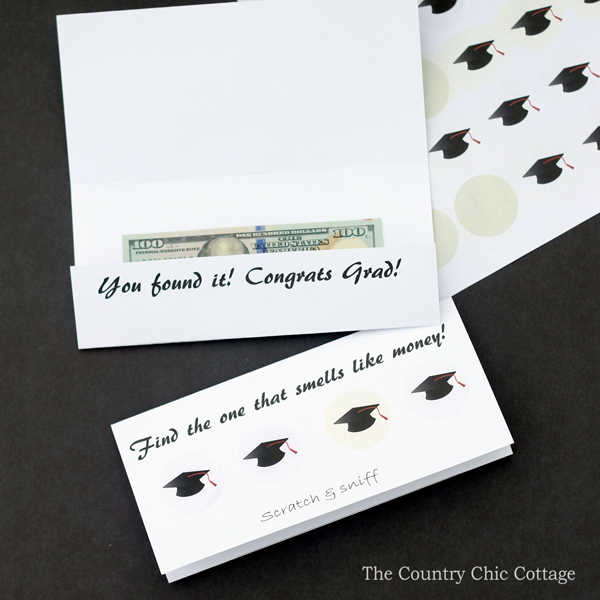
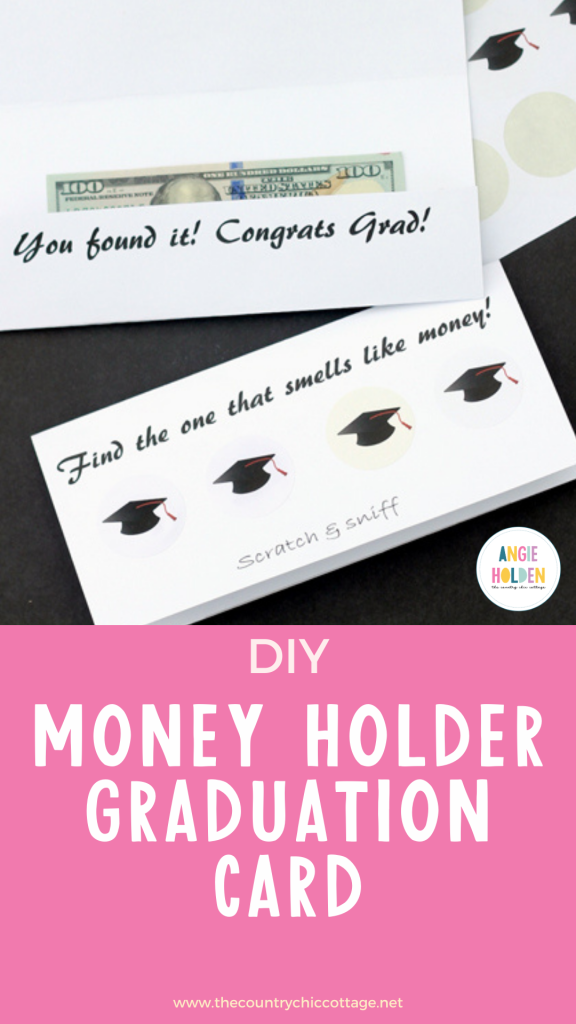
Add in your money. Then stick four different smelling stickers across the front of the card as shown.
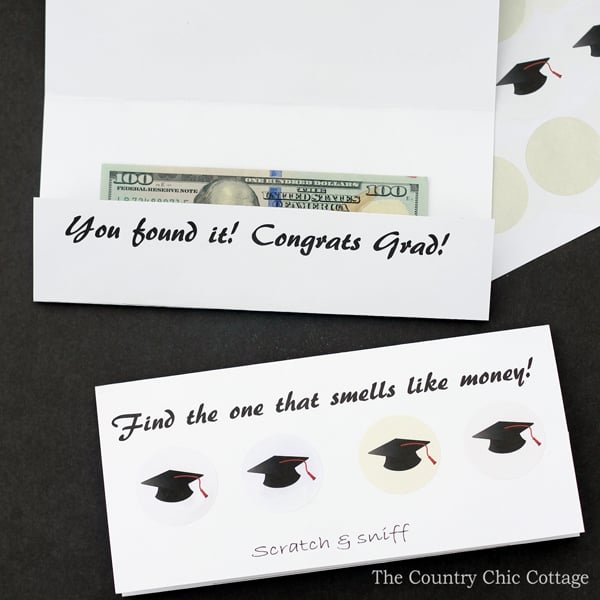
You can add your money holder graduation card to a standard business-sized envelope for gift giving. Your graduate will love this game of hide and seek! They will eventually find what smells like money! Y'all enjoy this tutorial on how to make your own graduation card. Your graduate will love the results as well!
Need more ideas for graduation gifts?

Supplies
- Circle labels in white matte
- Printable graduation hat labels
- Printable graduation card
- White card stock
- Essential oils in the scents of your choice
- Printer
- Scissors
Instructions
- Print out the graduation hat labels from Online Labels.
- Rub a small amount of essential oils over the entire label with your finger. Do not rub too long! You do not want the ink to bleed.
- Allow it to dry completely before continuing.
- While the labels are drying, print the card onto card stock.
- Trim the portion that says “CUT OFF” with your scissors. There is a cut line indicated.
- Fold the card along the fold lines.
- Add in your money. Then stick on four different smelling stickers across the front of the card.
- Add your card to a standard business-sized envelope for gift giving.
Notes


Such a brilliant idea. It is a pleasure for me to see so creative designs. I love handmade things and this one is awesome. Well done, thanks for sharing . 🙂